dug out the 109

This site contains affiliate links for which LandyZone may be compensated if you make a purchase.
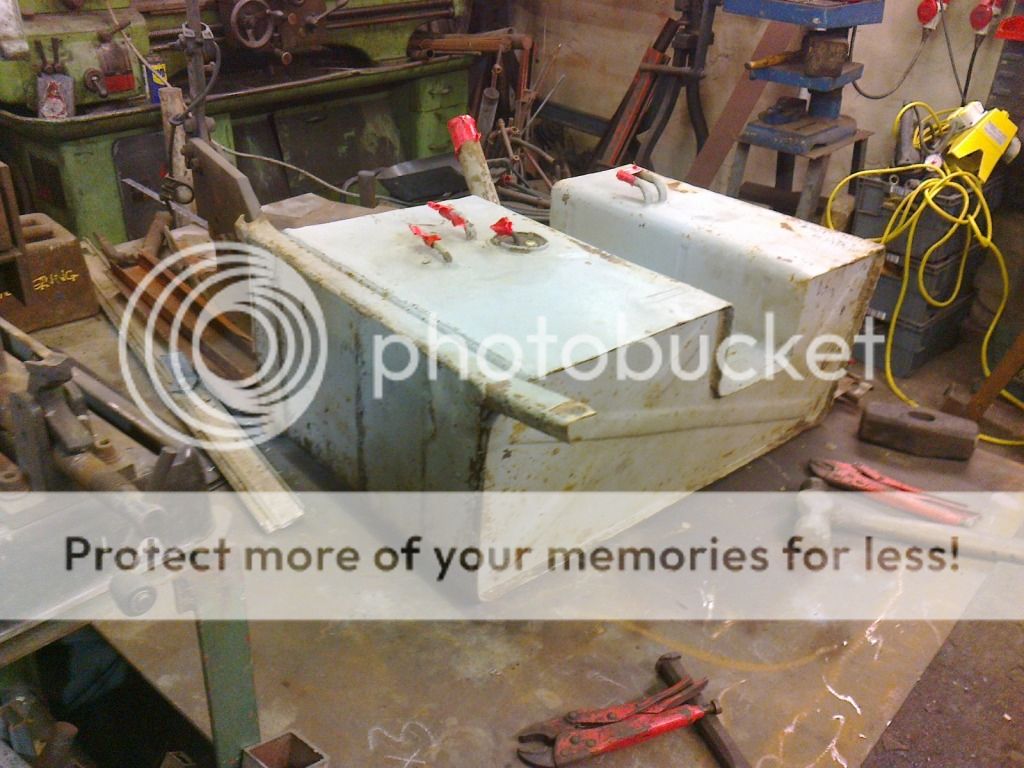
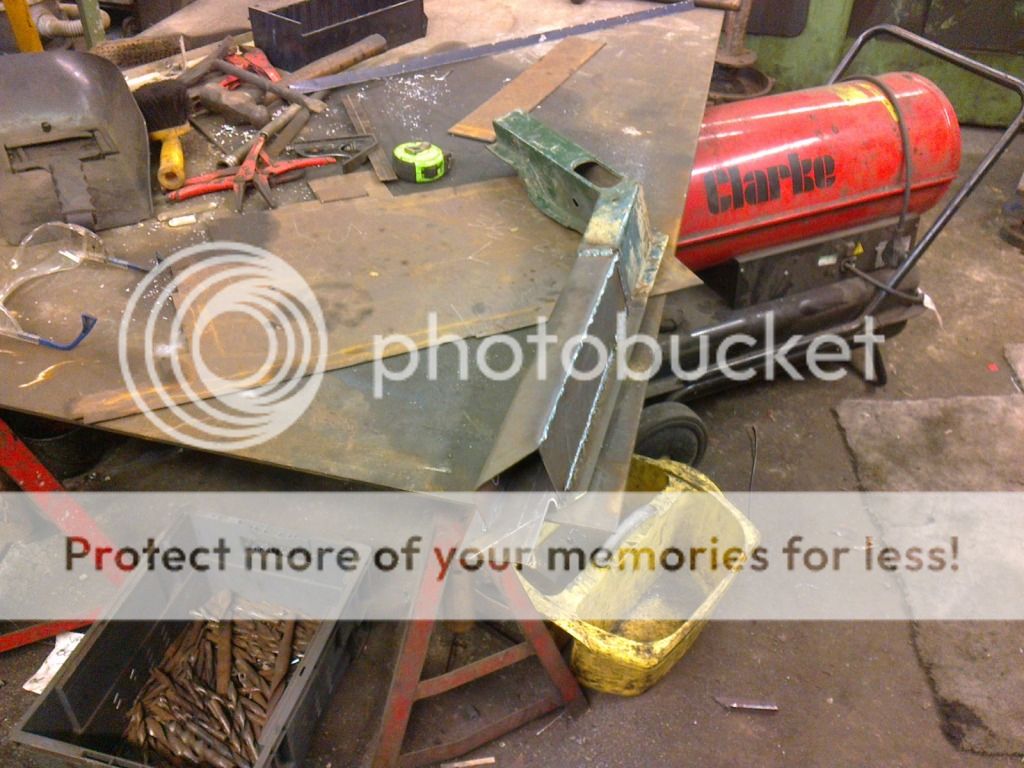
todays tinkering was with the c pillar repairs and the inadvertent manufacture of a couple of door hinge bolts.

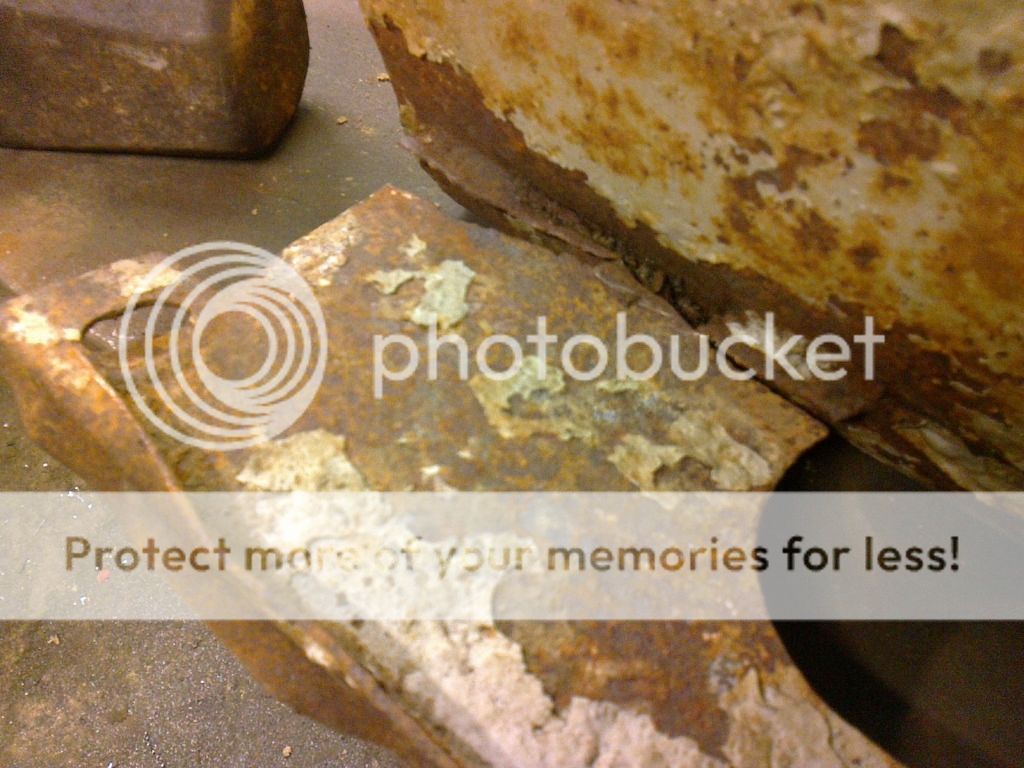
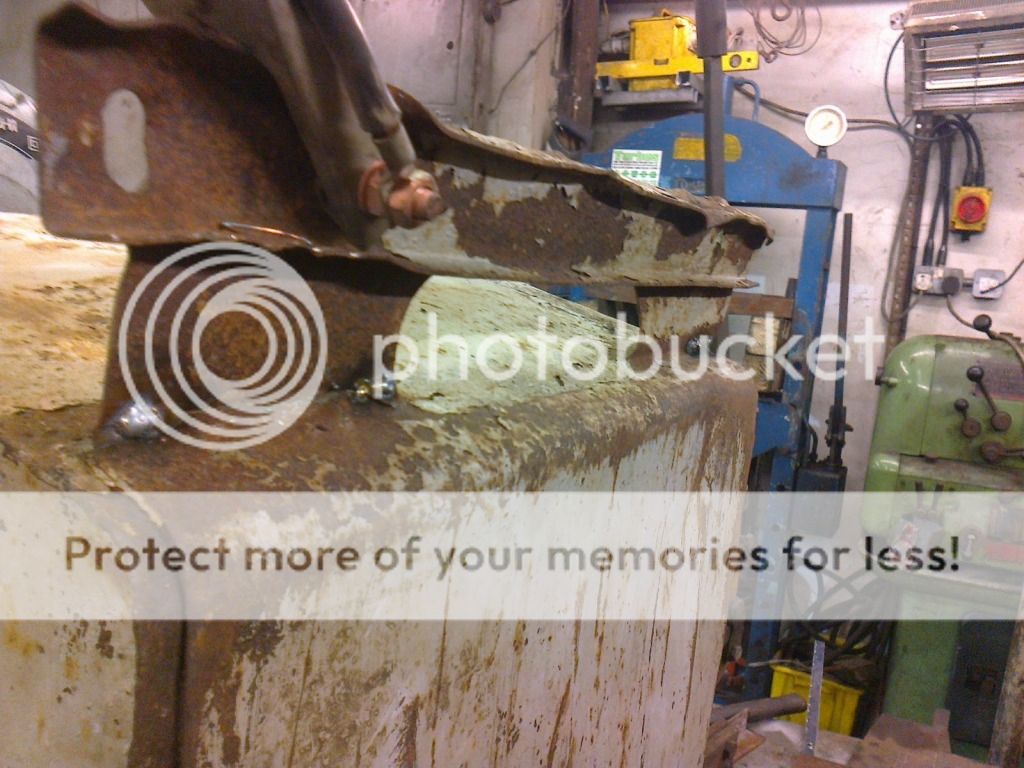
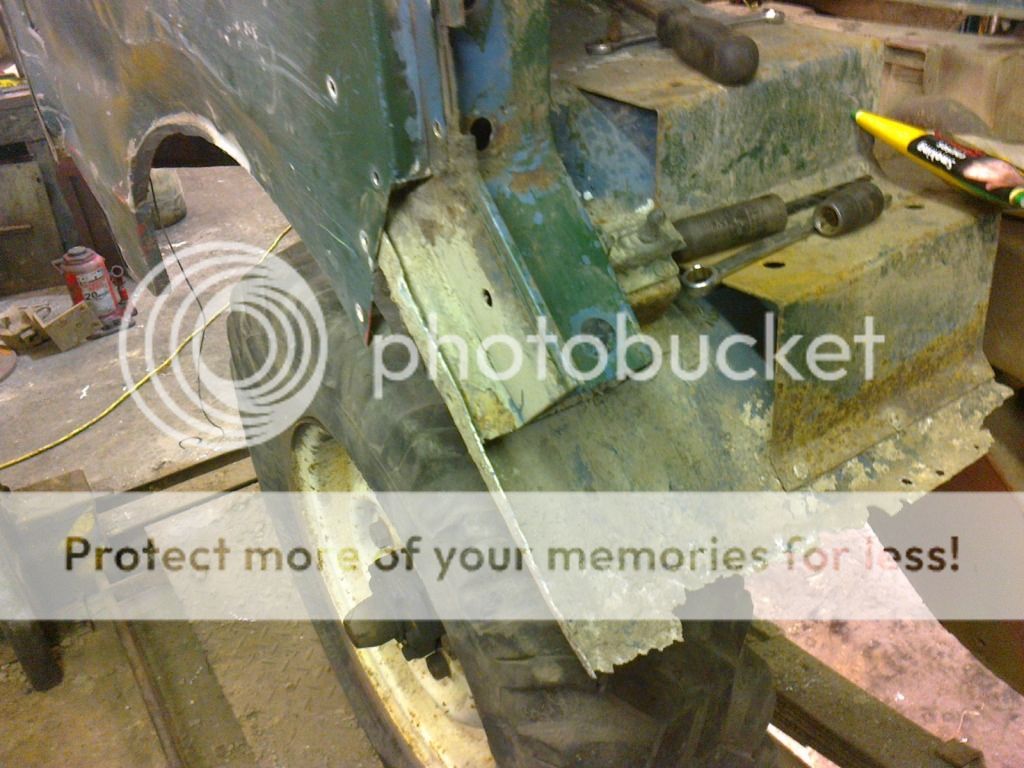
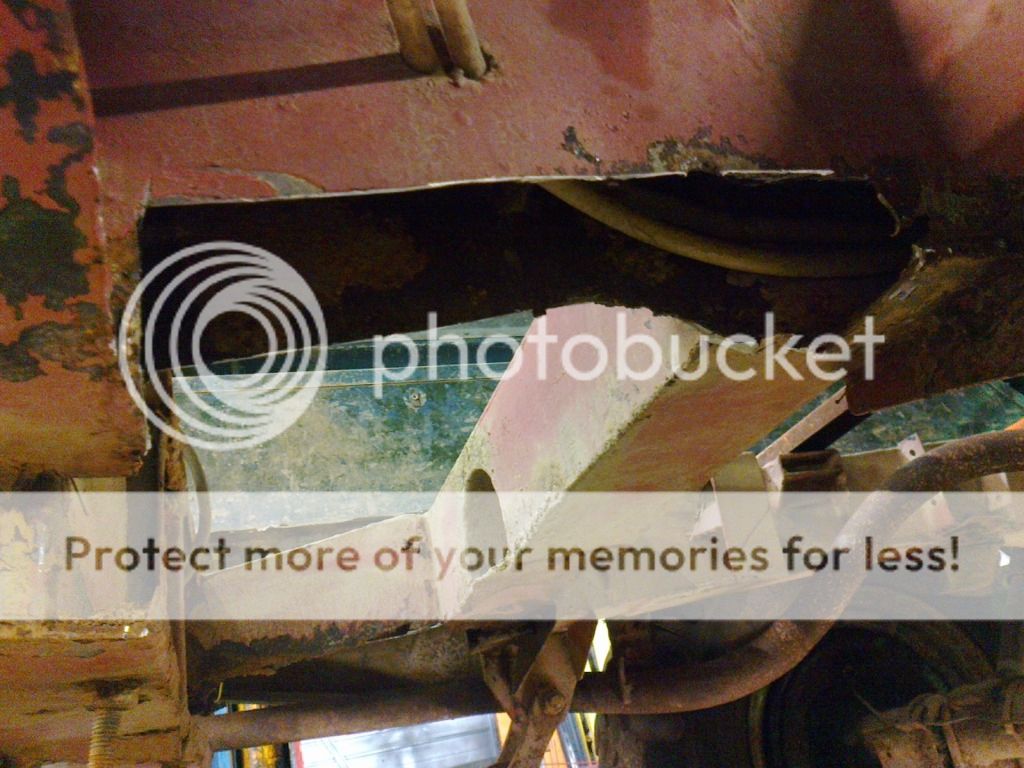
first off was cut the cak off the bottom of the old c pillar
cpillarbottomcutoff.jpg


after a bit of codgitation, head scratching and a smoky, a plan was divised.
markingoutsilltocpillarrepairsection.jpg


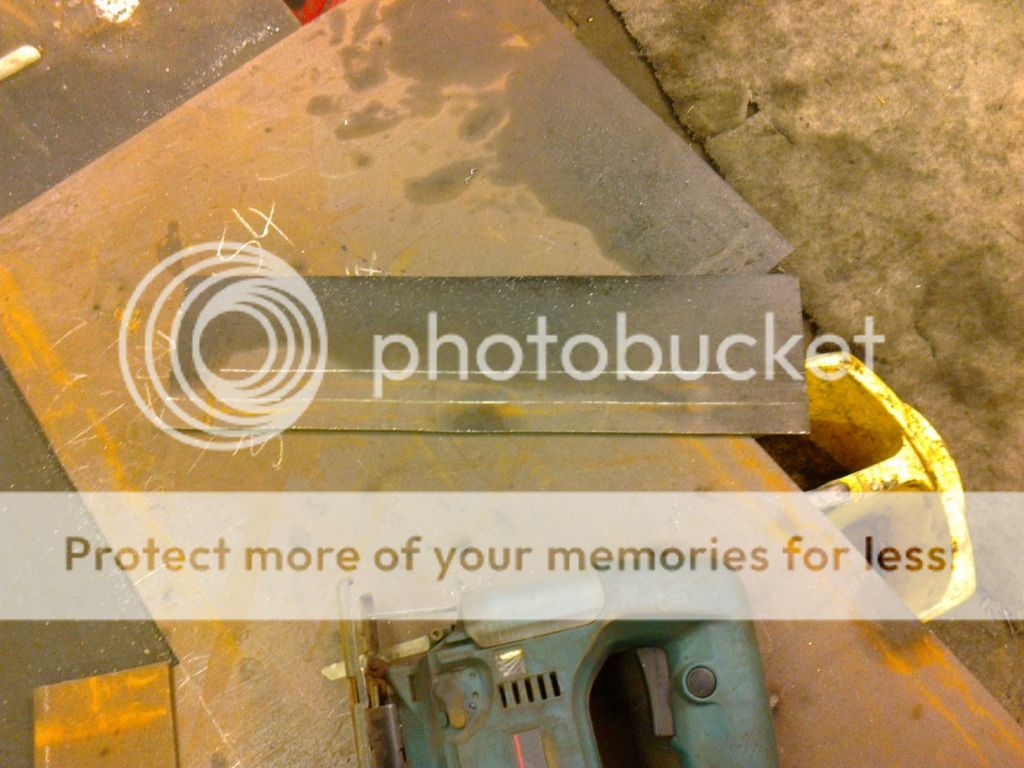
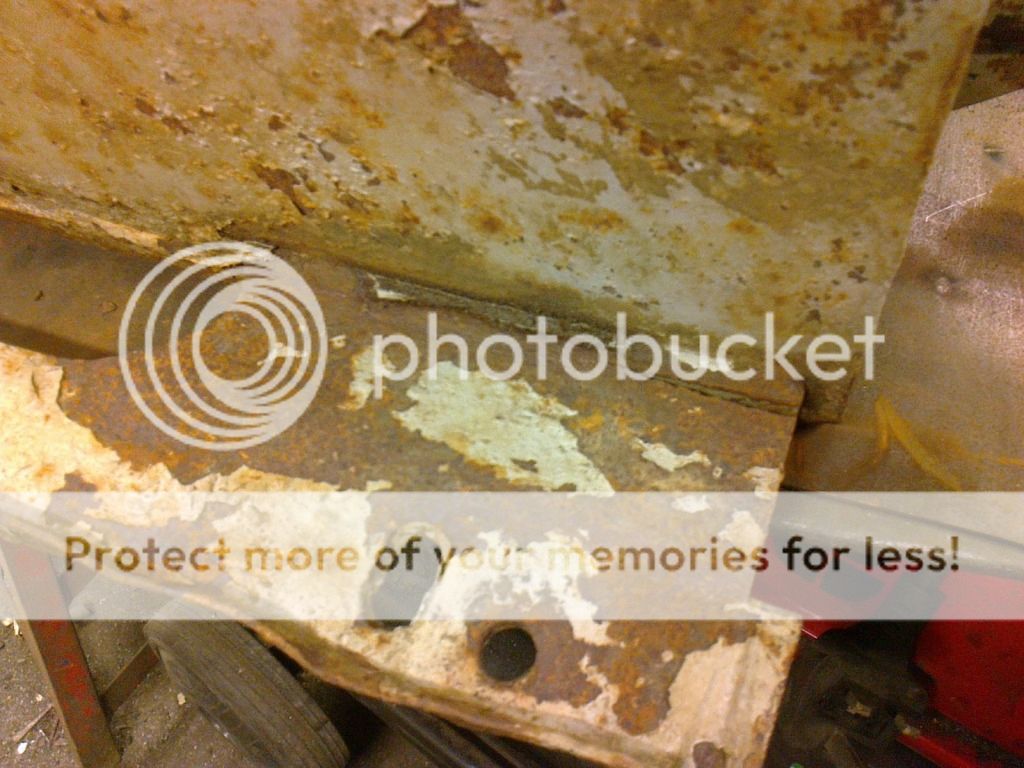
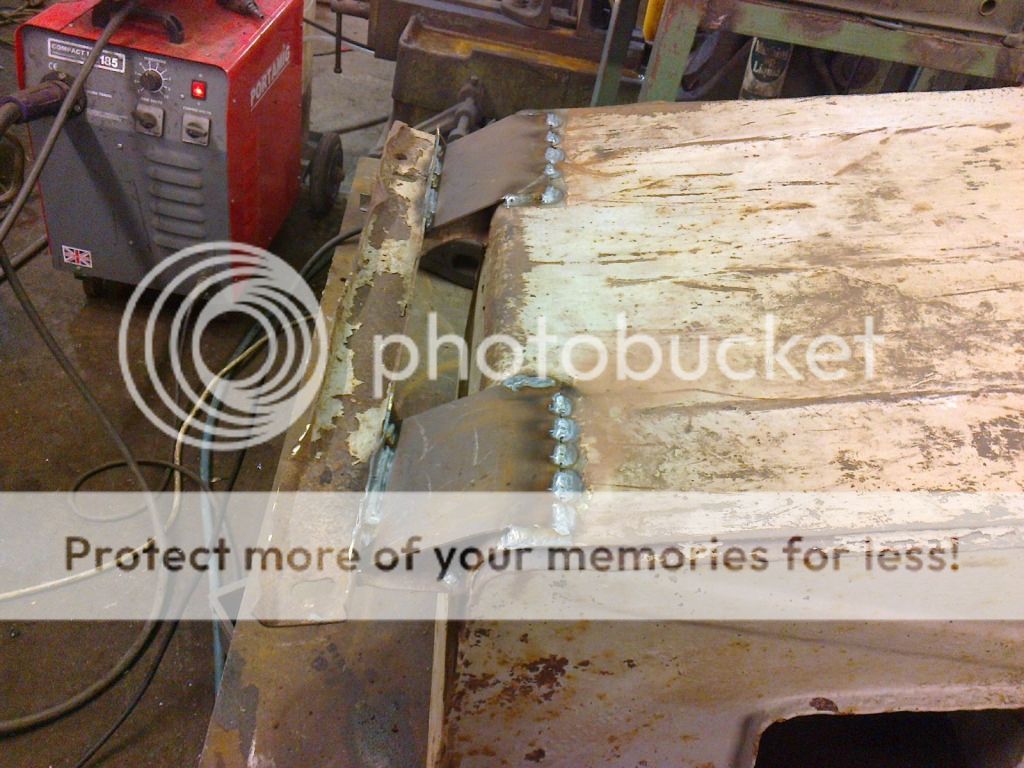
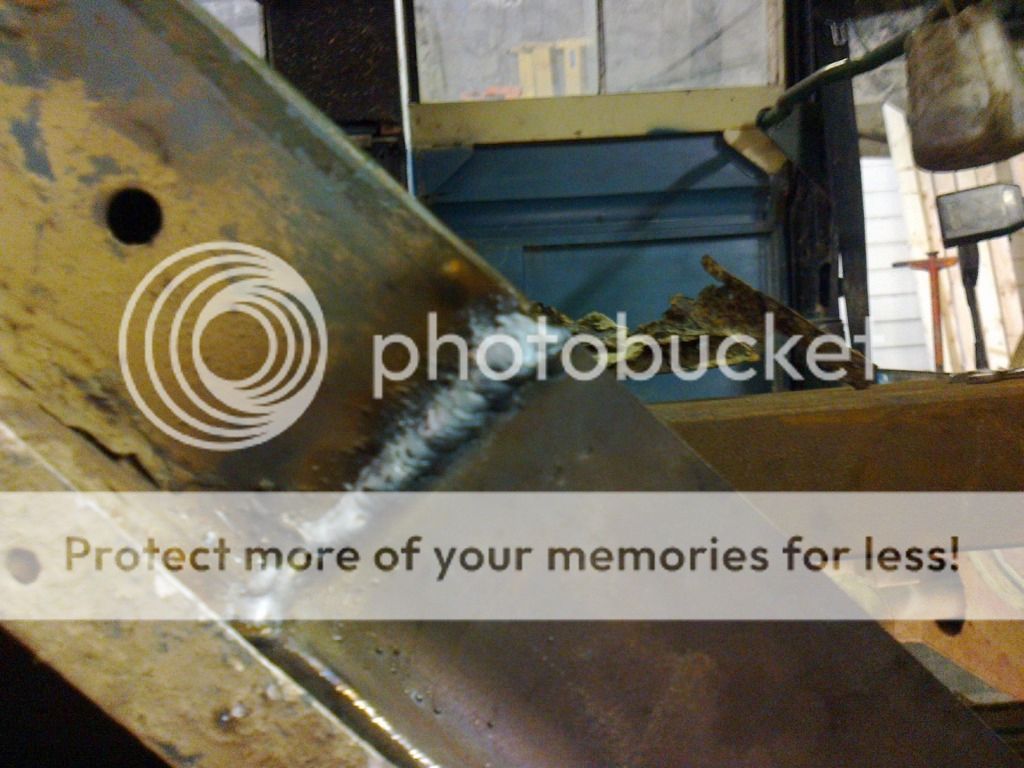
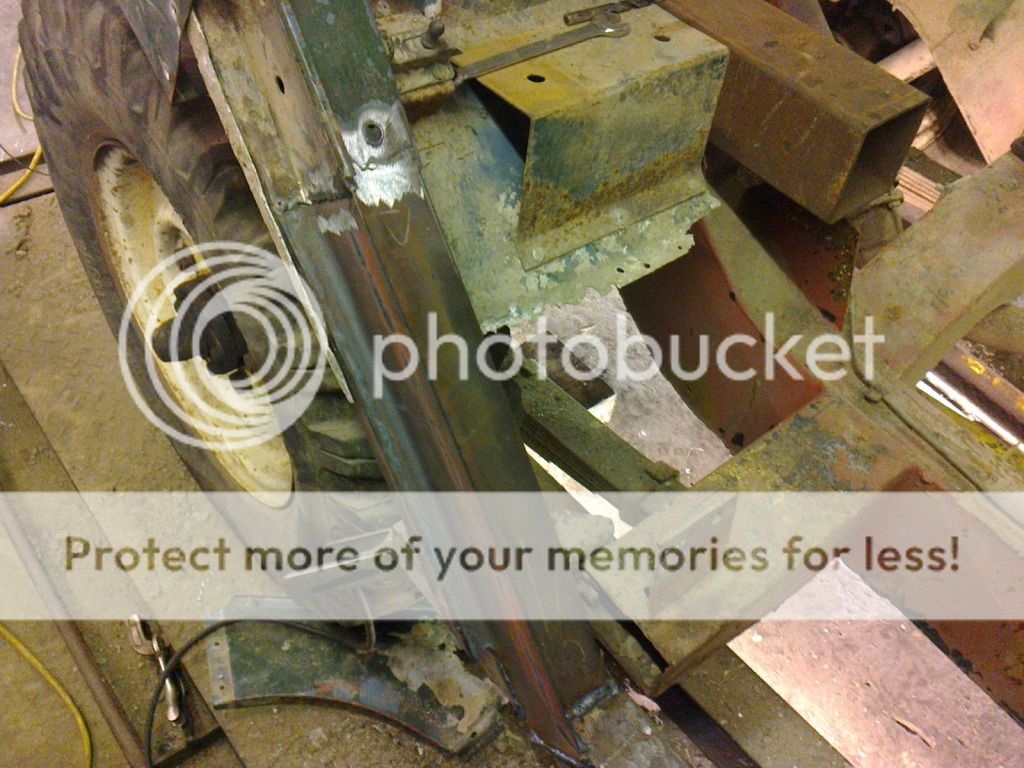
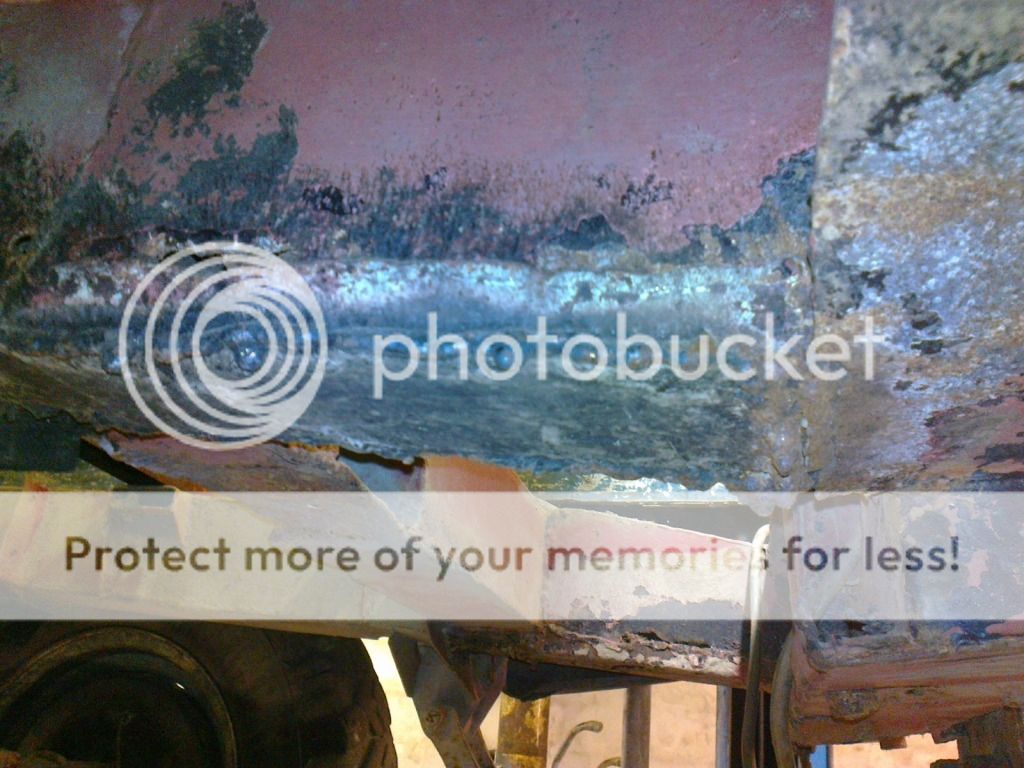
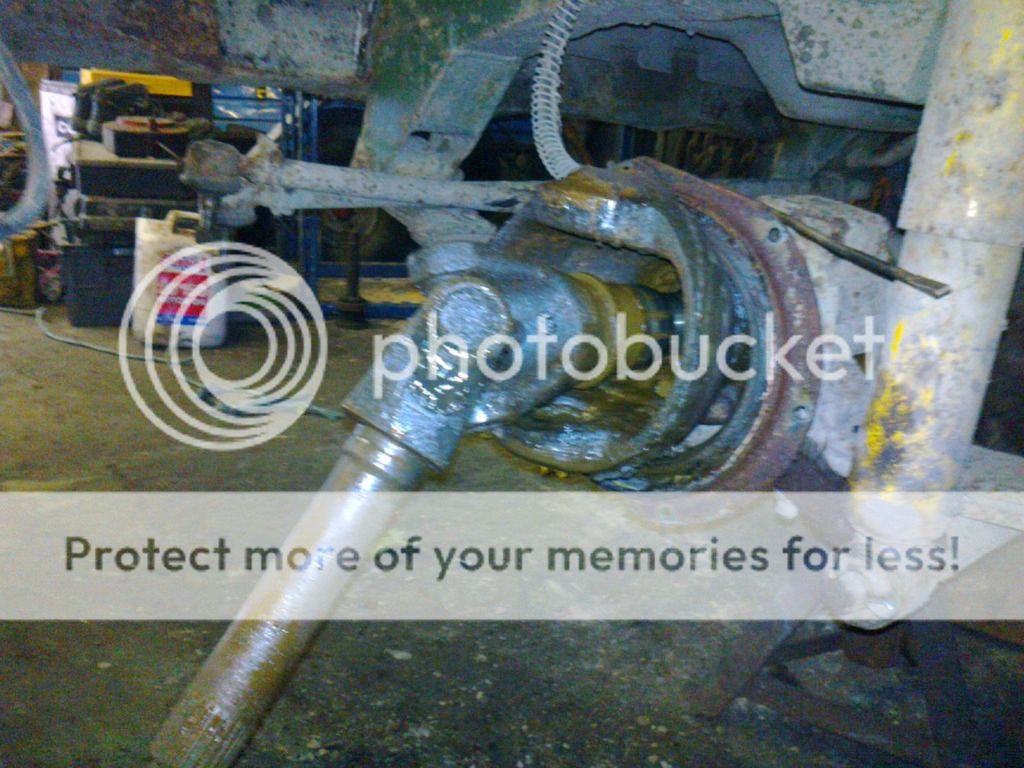
due to the bender not being able to put a return bend on tight enough, the return was welded from the inside
cpillarrepairsectionpriortogrindingradius.jpg


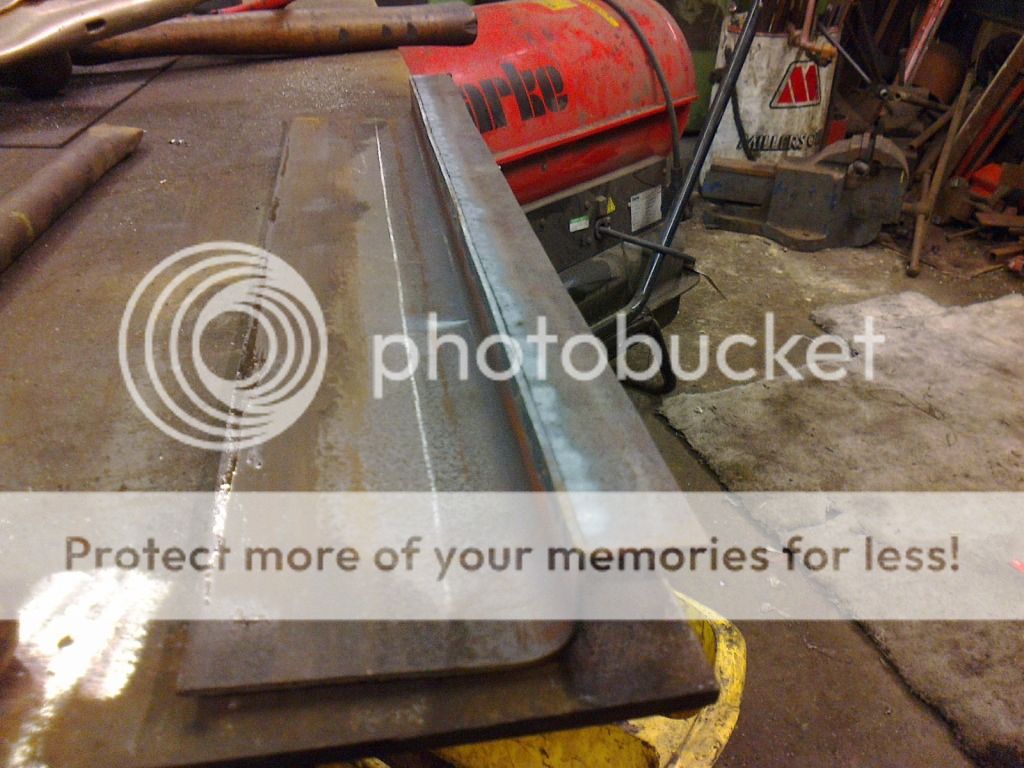
then the outside was ground off giving a radius similar to the old c pillar
cpillarrepairsectionaftergrindingradius.jpg


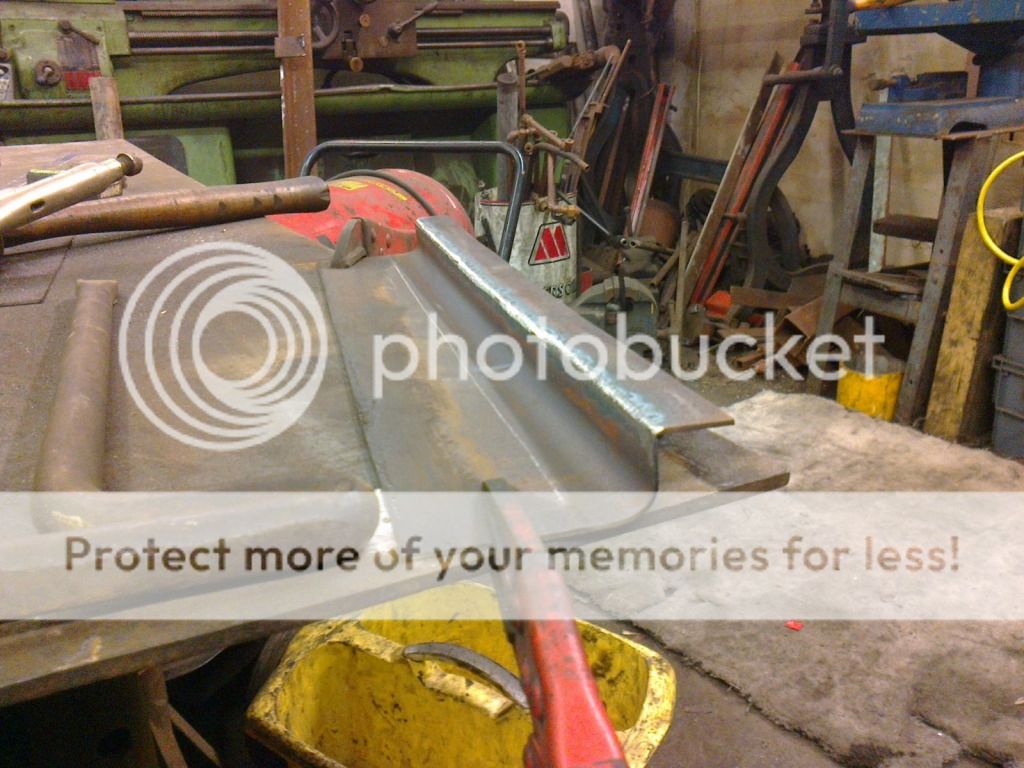
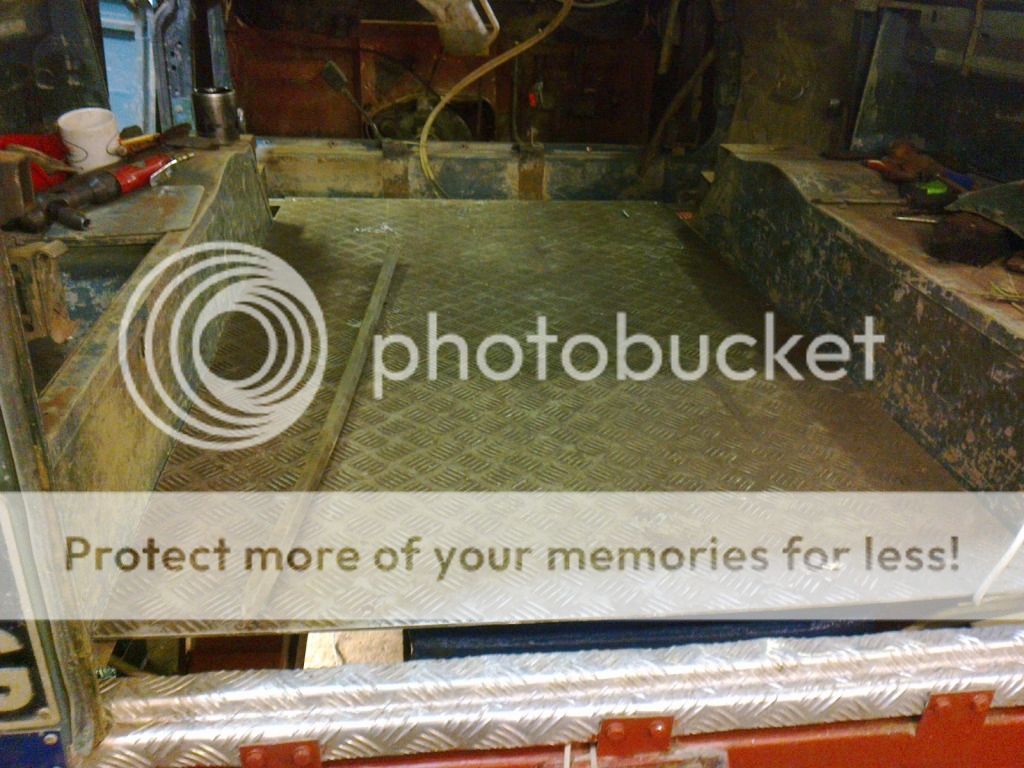
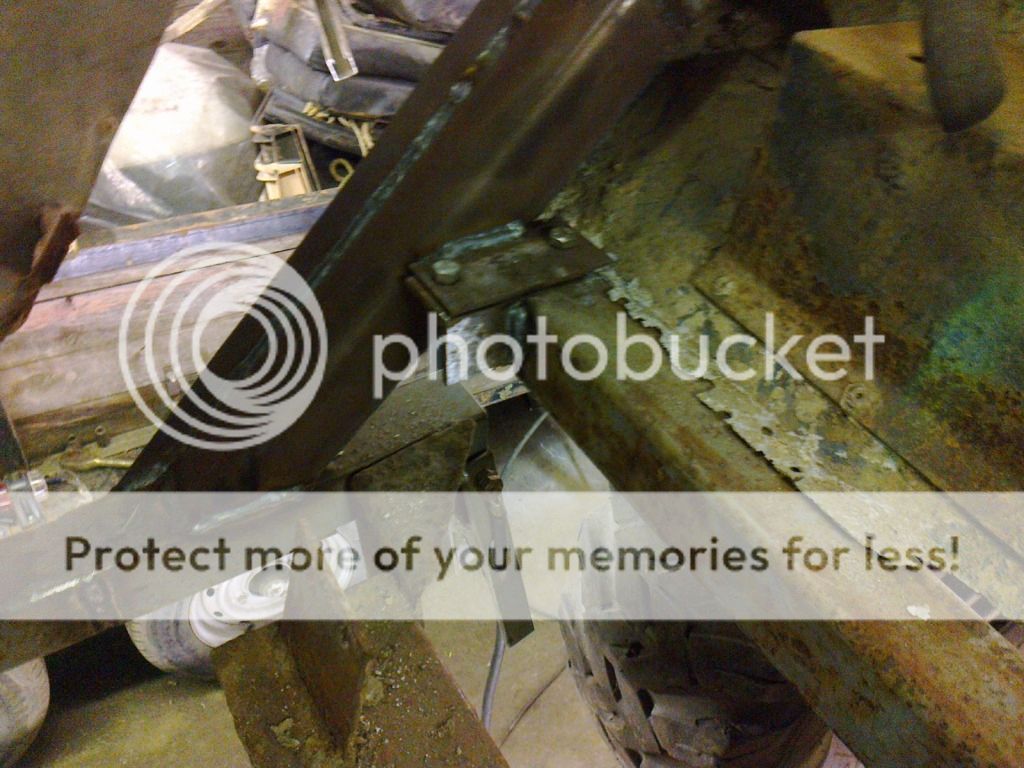
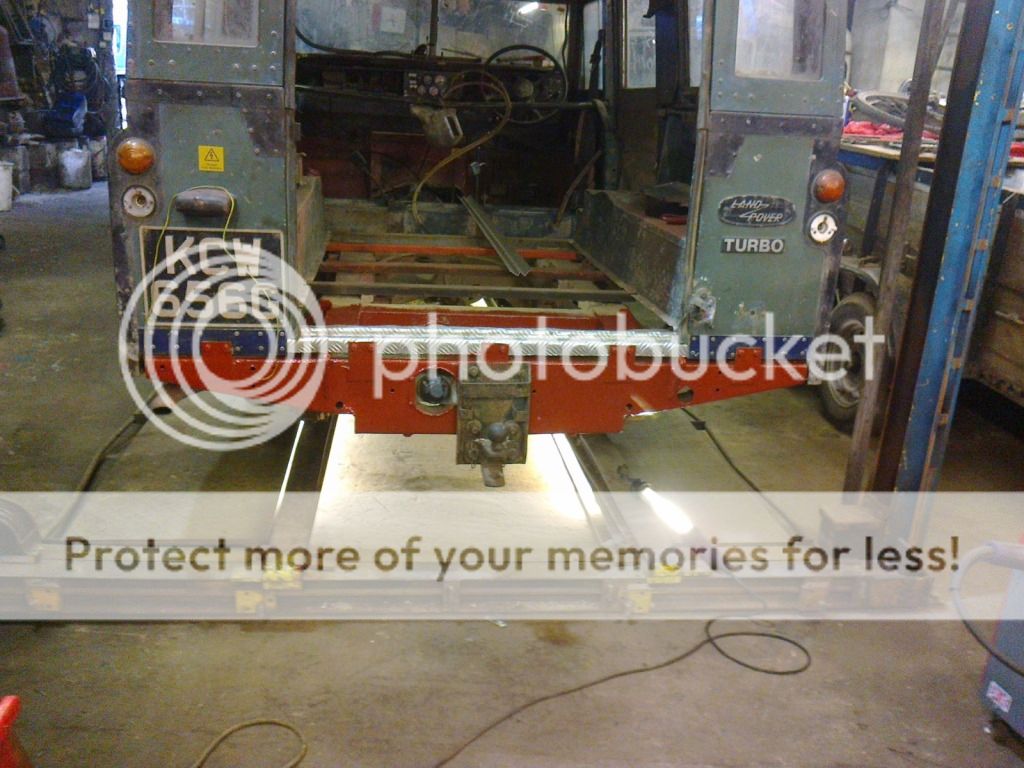
this lot was then trial fitted to ensure stuff lined up.
all appeared good so a bit more than tacked in.....
cpillarreweledafteradjustment.jpg


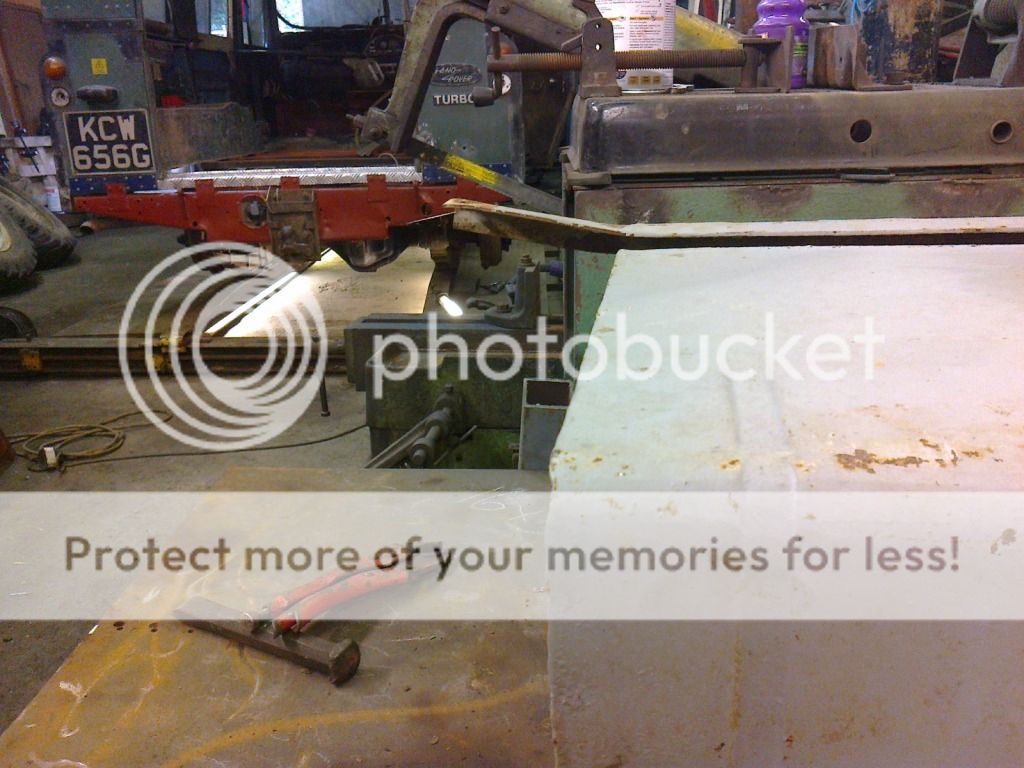
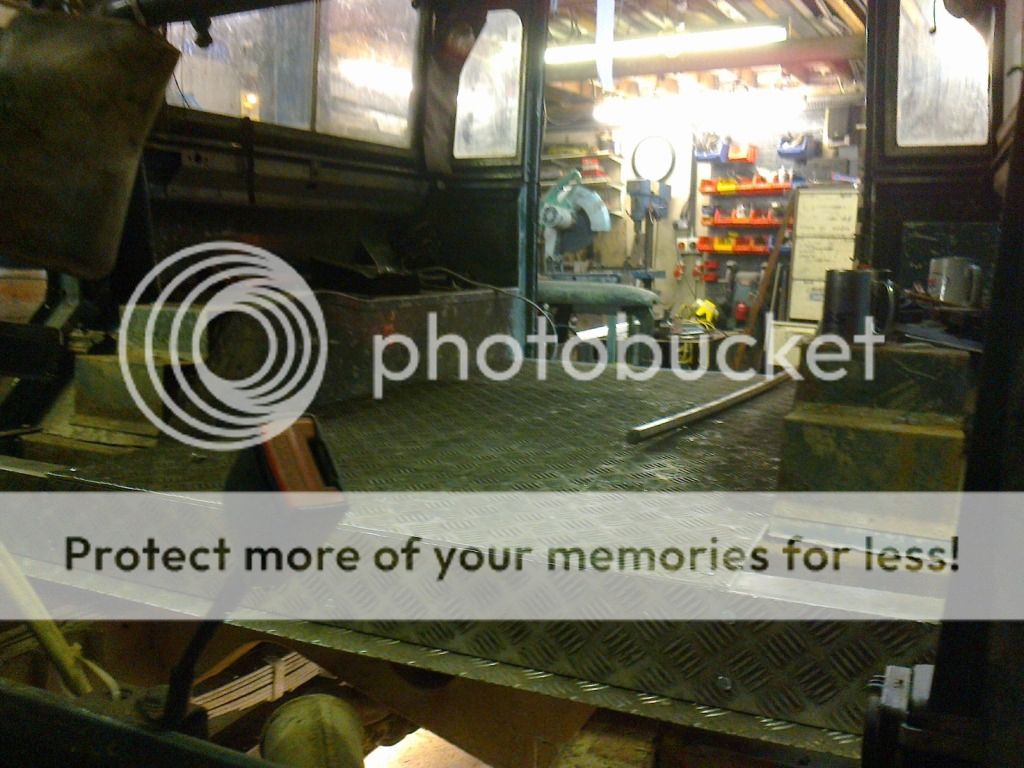
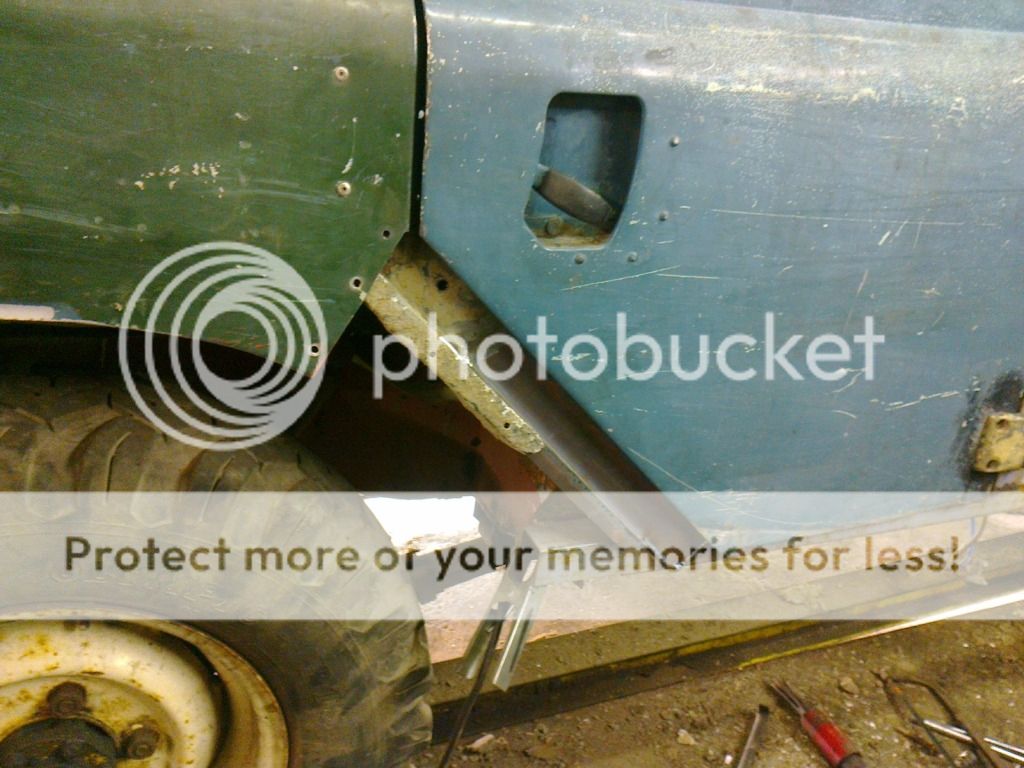
then thought it might be a good idea to check the door fits the door hole before any more welding.


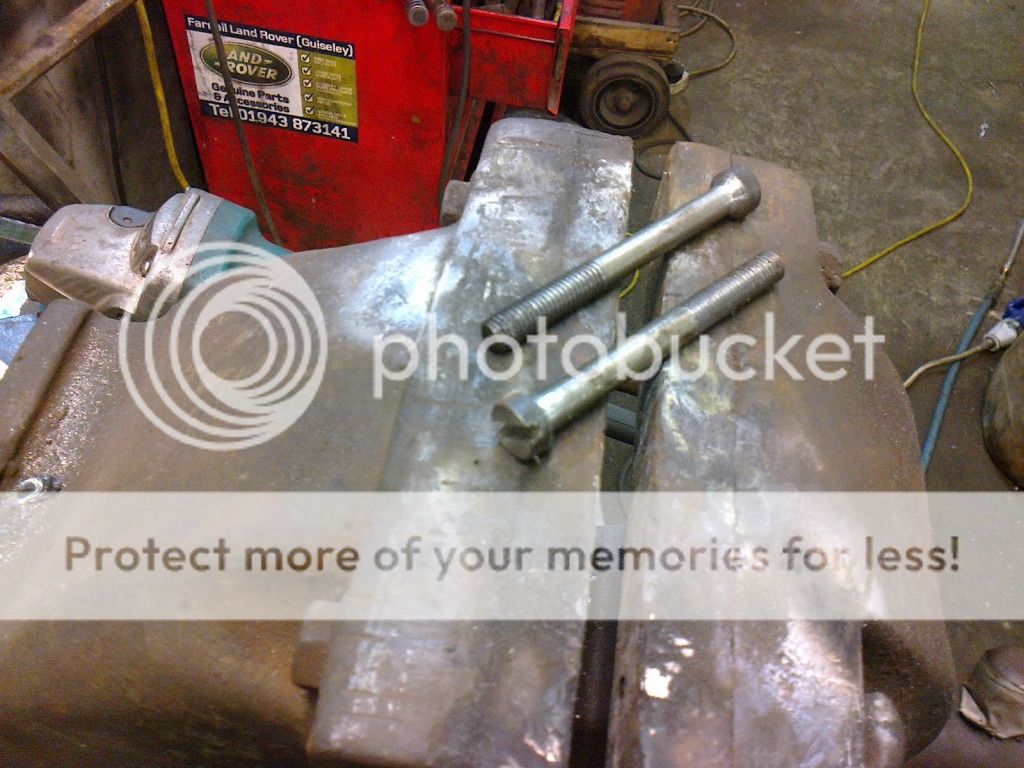
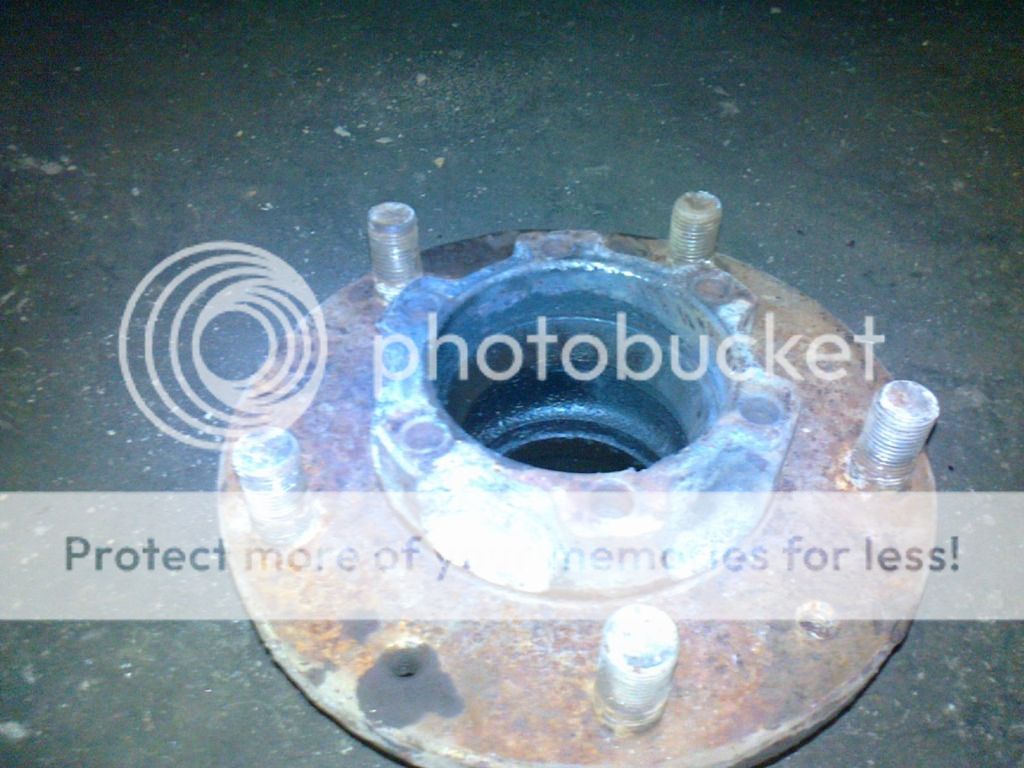
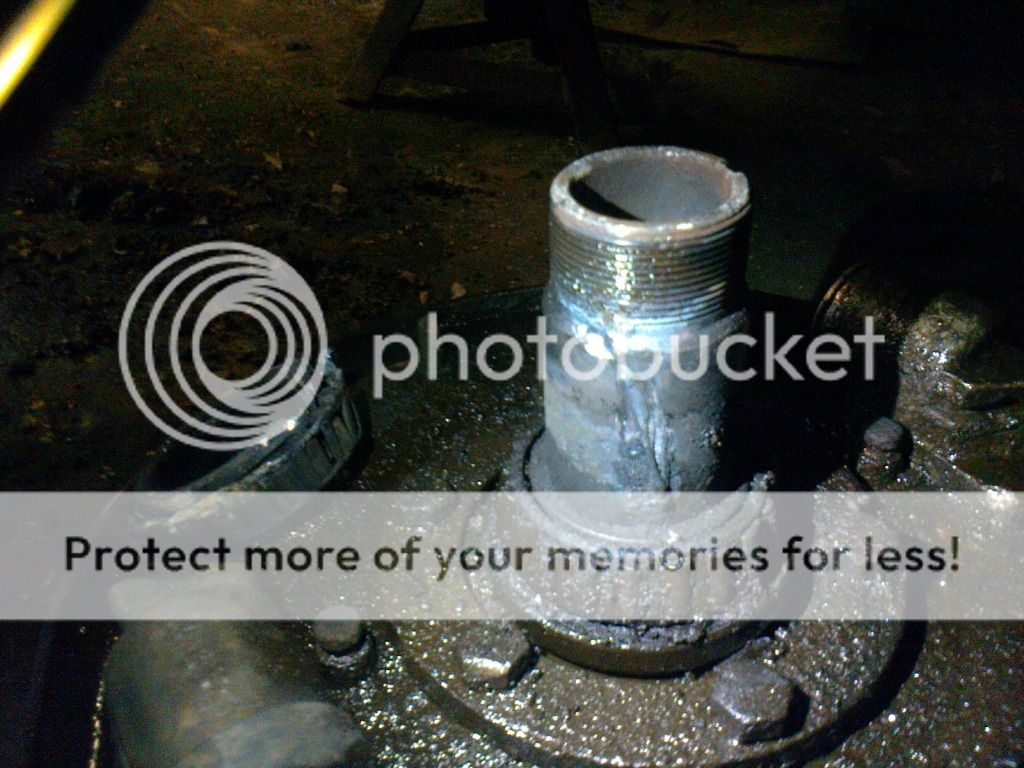
had to whip up a couple of hinge bolts as the ones i bought were too short
the lathe shot's just for johnny!
machiningthedoorhingebolt.jpg


twonewhingebolts.jpg


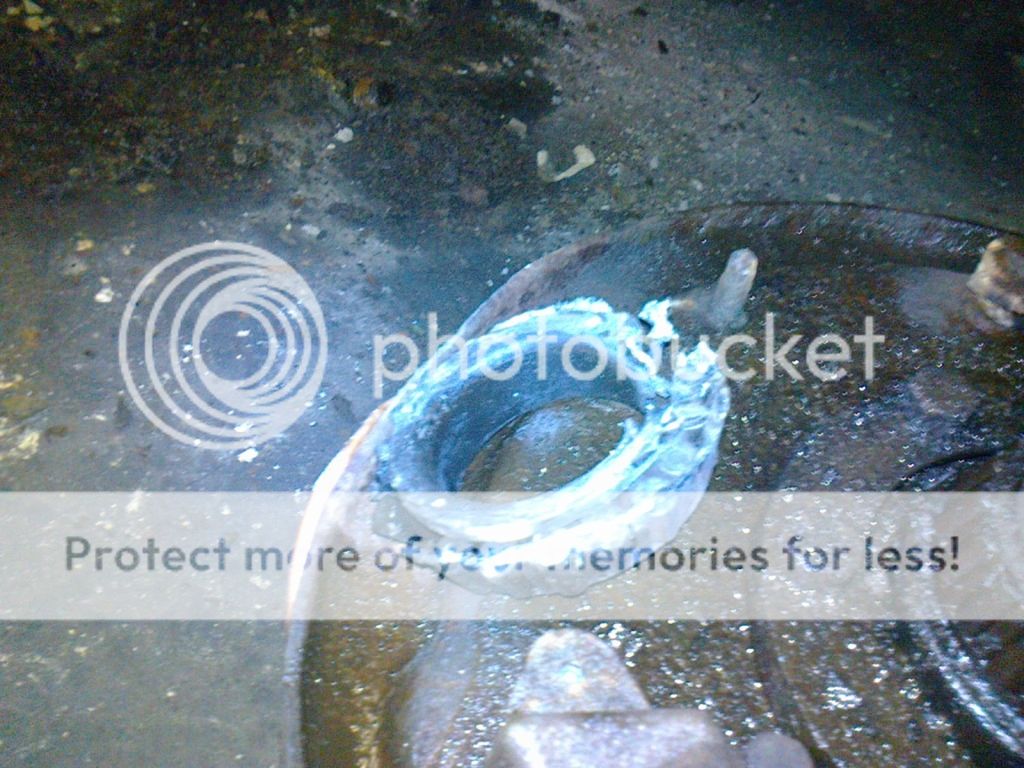
hmmm.... got it wrong somewhere
gottheanglewrongoncpillarrepairsection.jpg


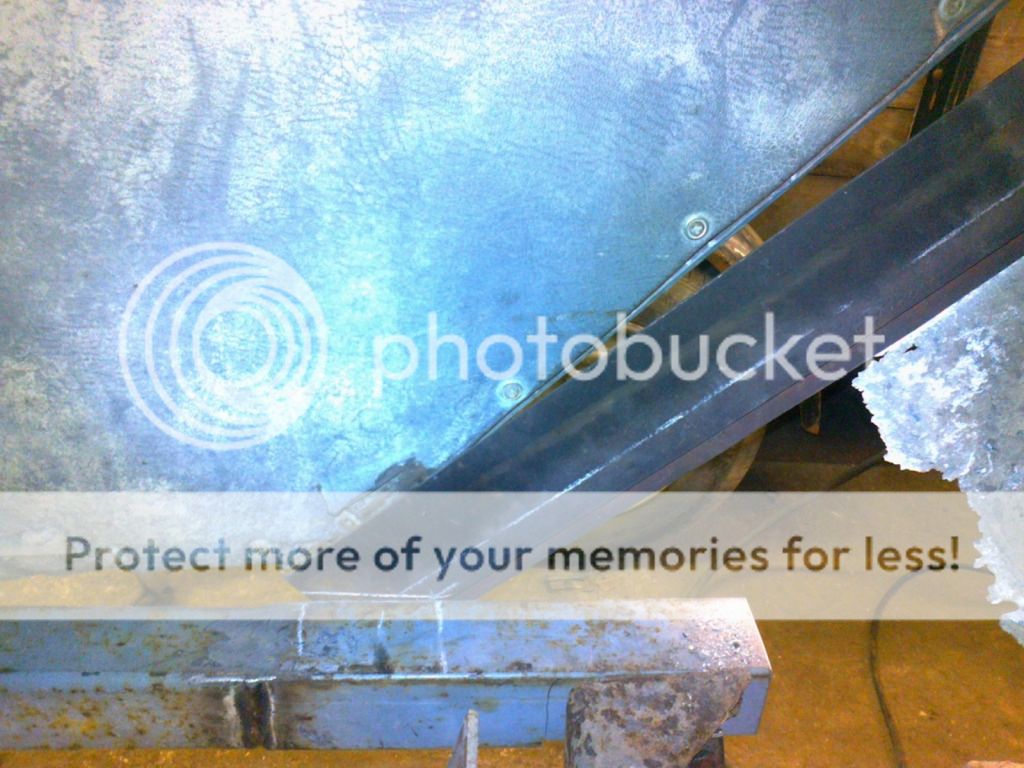
so an impromtu alteration
cpillarrepairweldcuttorealign.jpg


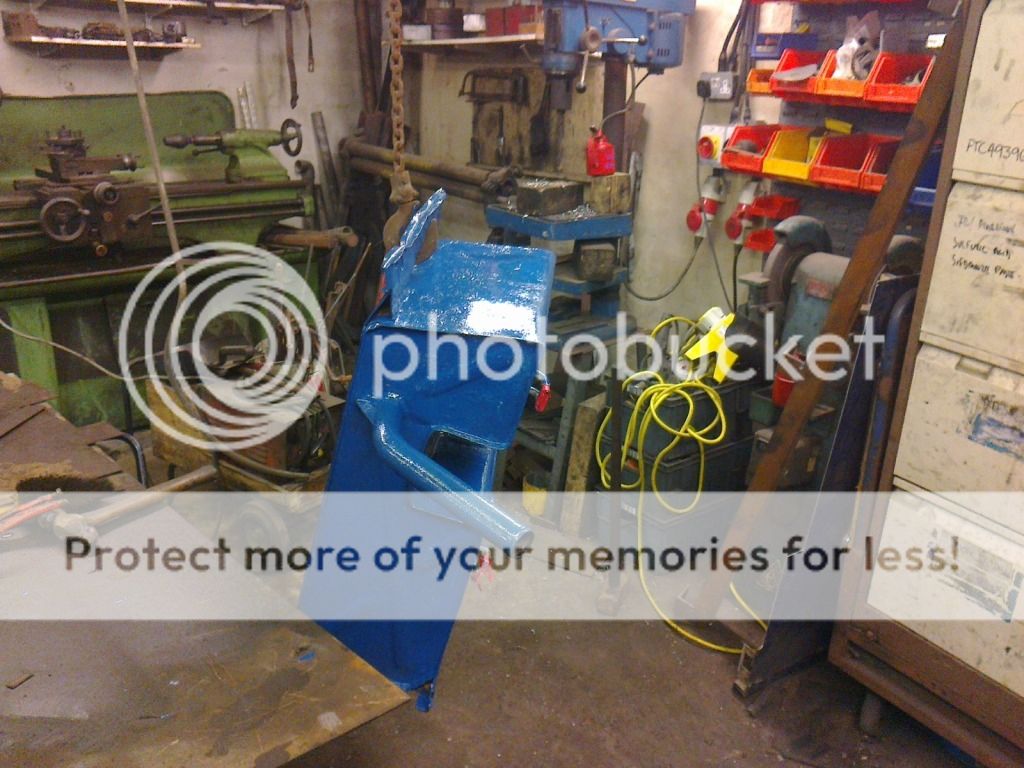
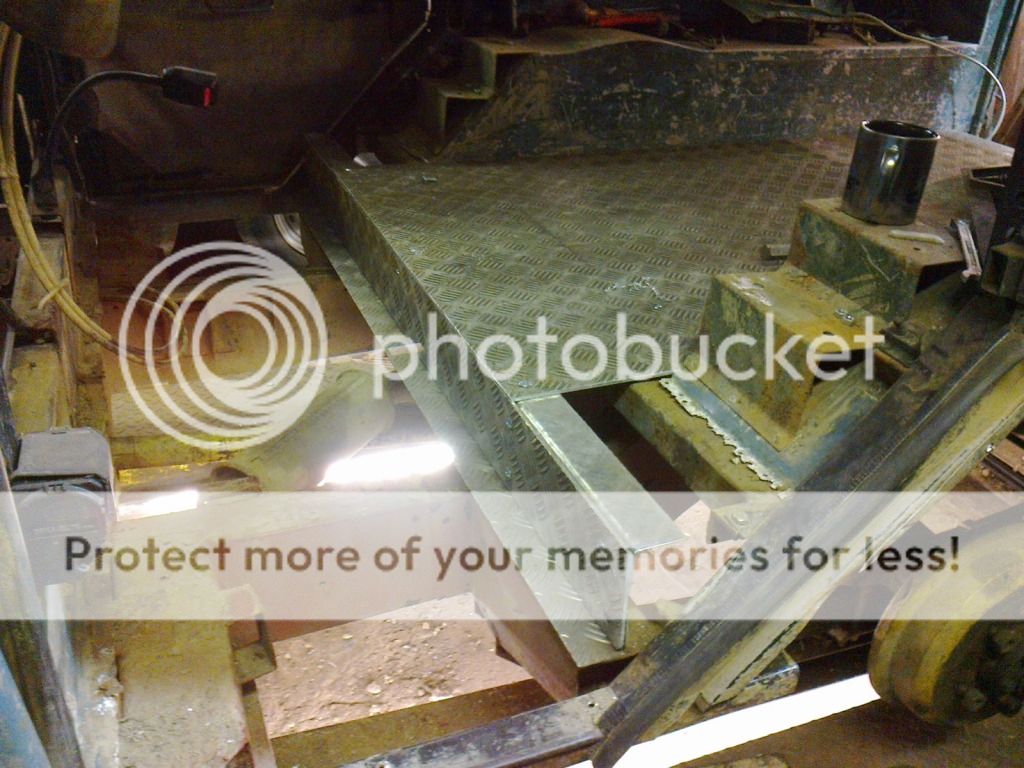
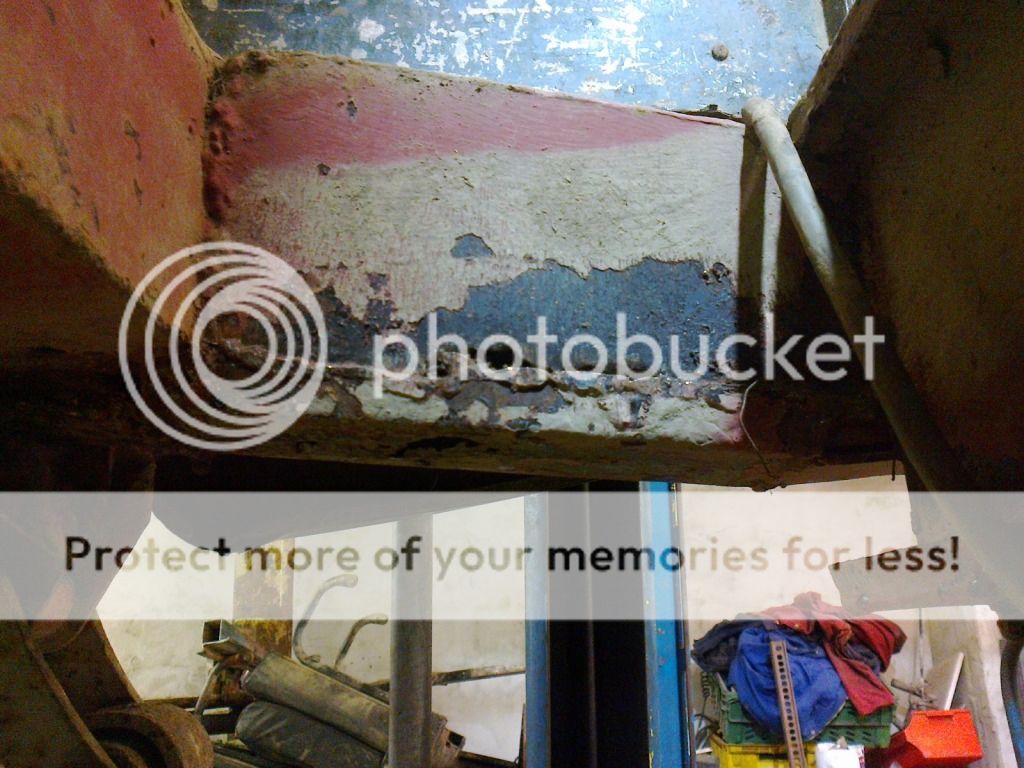
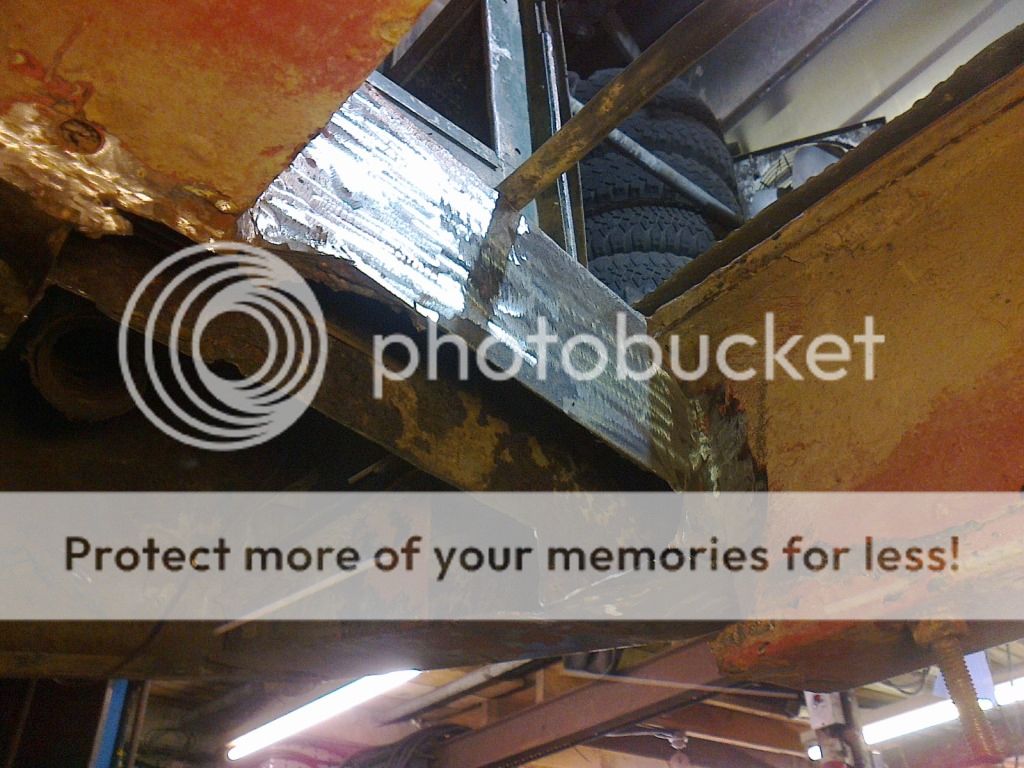
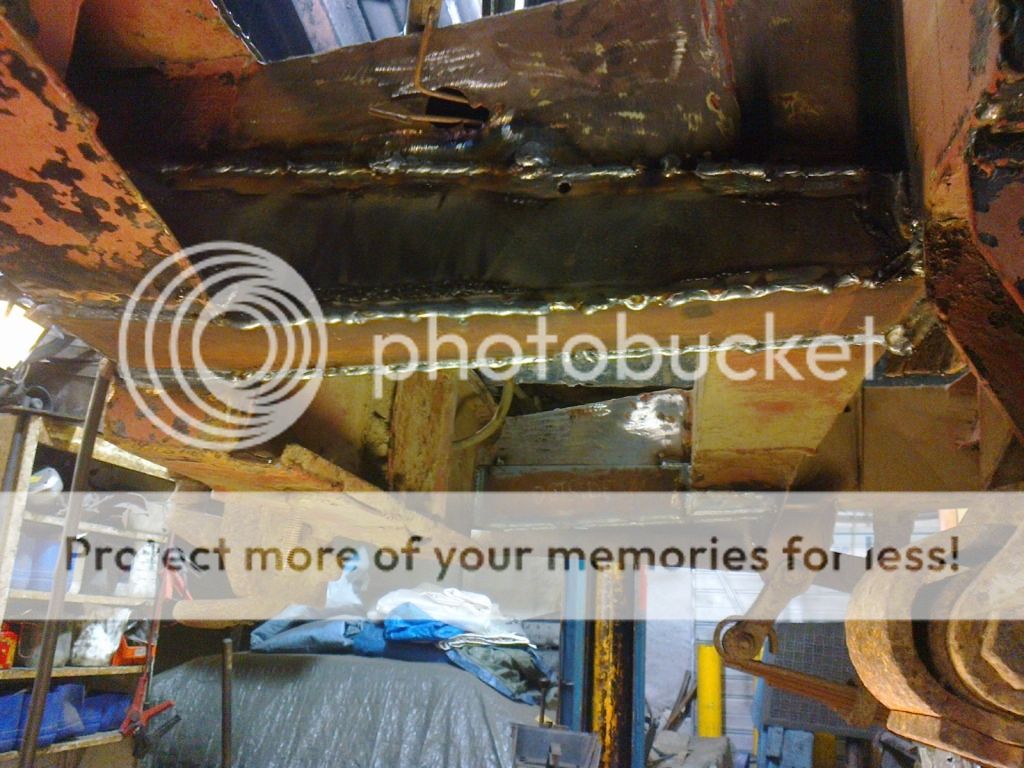
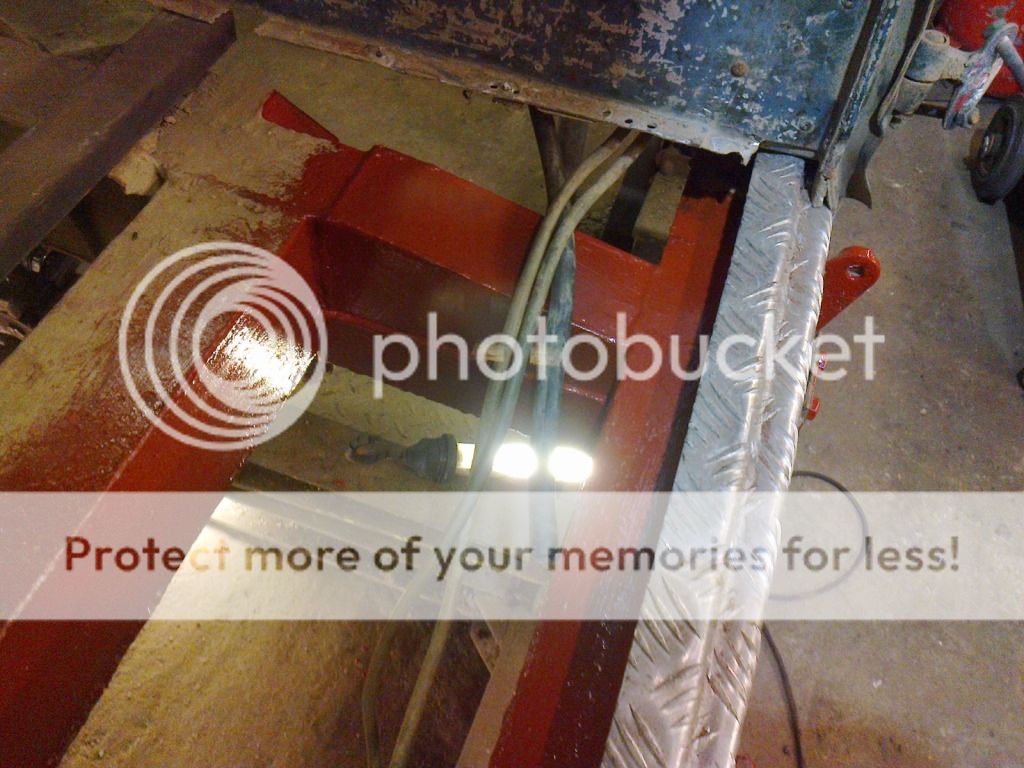
once the angle looked good, even with the door shut, fabrication of the box section for the c pillar ensued
cpillarrepairsectionremovedtofabricatboxsectiononrear1.jpg


cpillarboxsectionweldedtogether.jpg


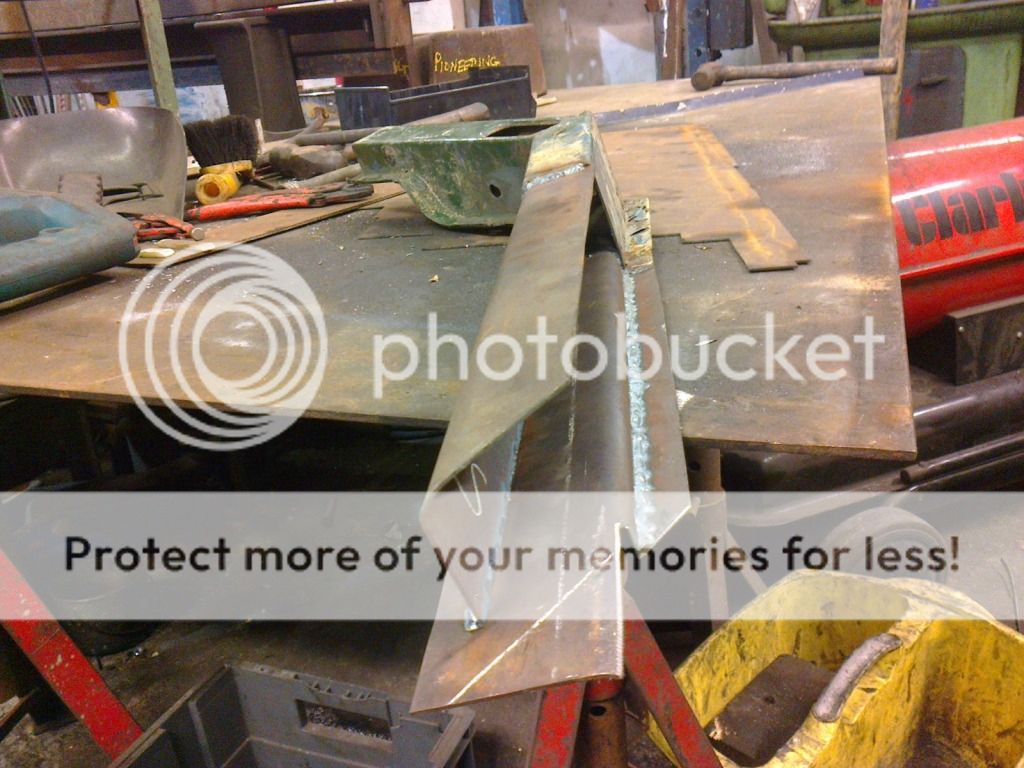
all was replaced, a couple of rivits popped in the top end and the bottom end welded in.
cpillarrepairfromabove.jpg


alignmentcheckagainwithdoorshut.jpg


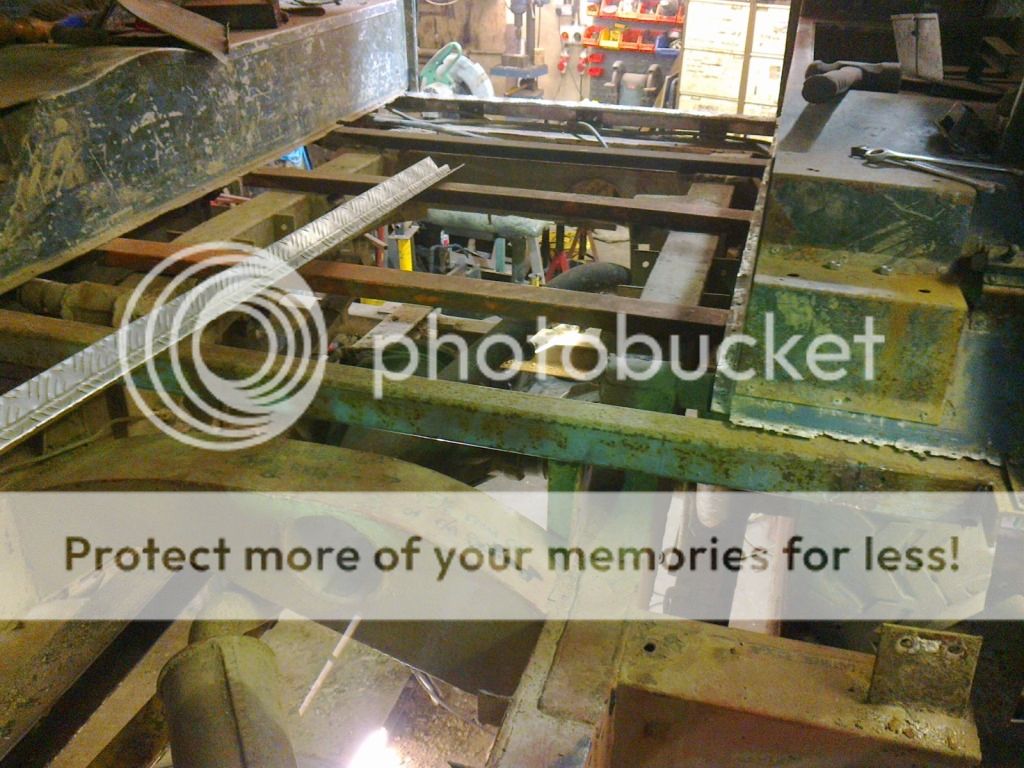
tomorrow will probably be the floor for the middle mounts, and the rear floor if time allows.

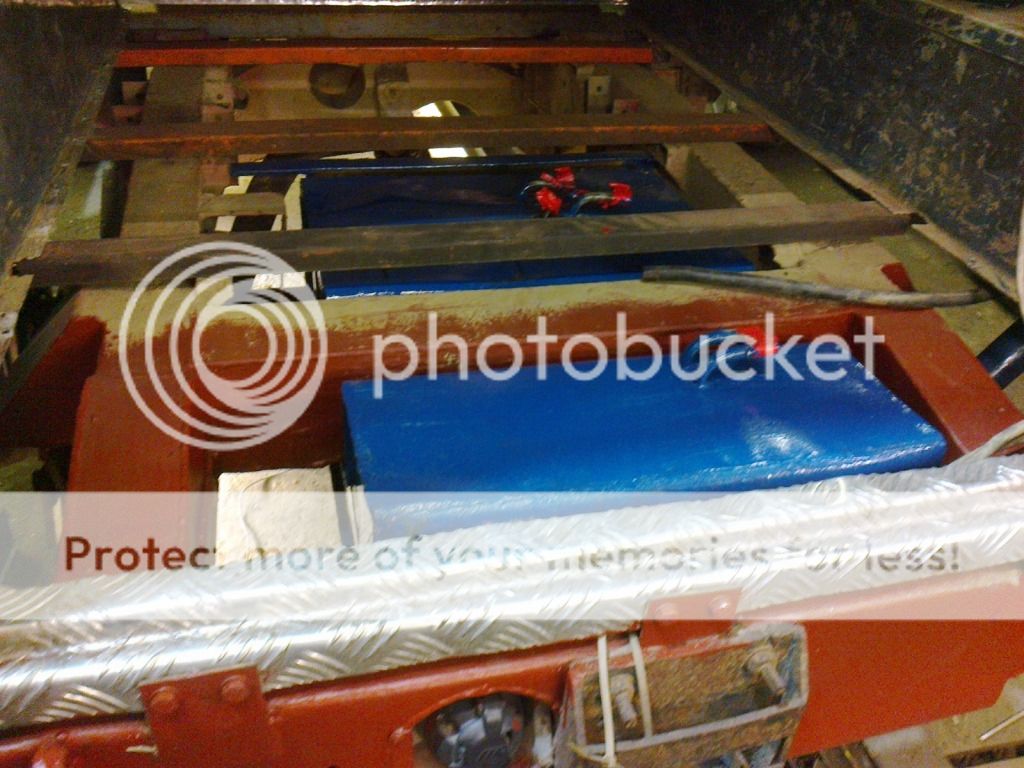
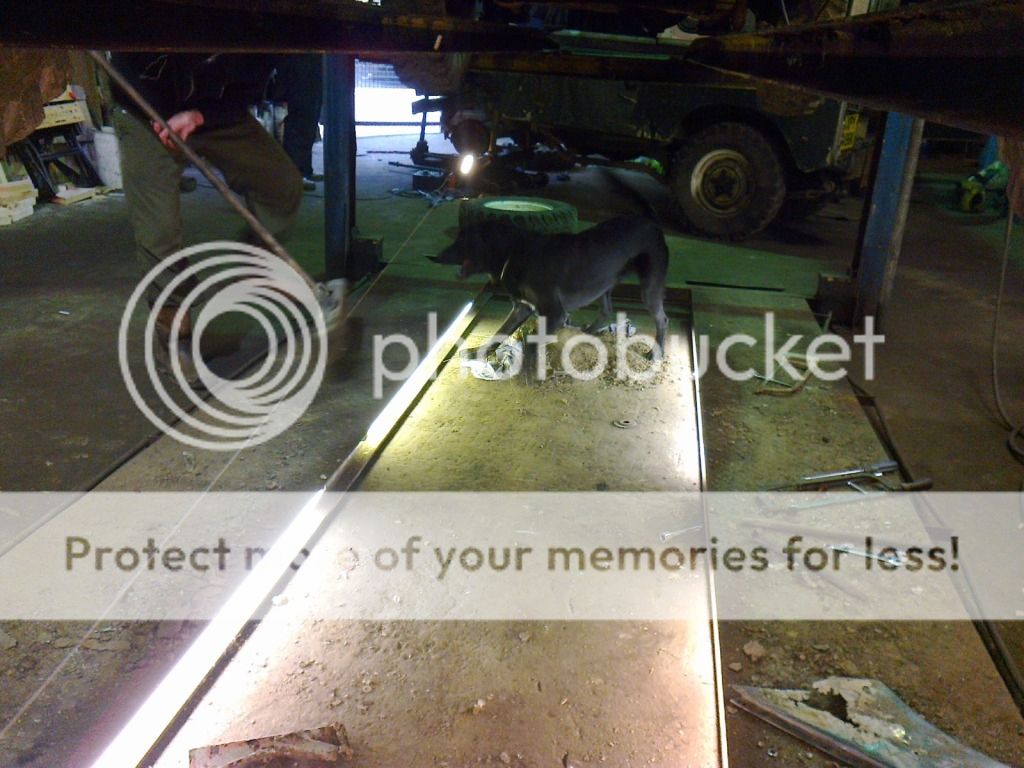
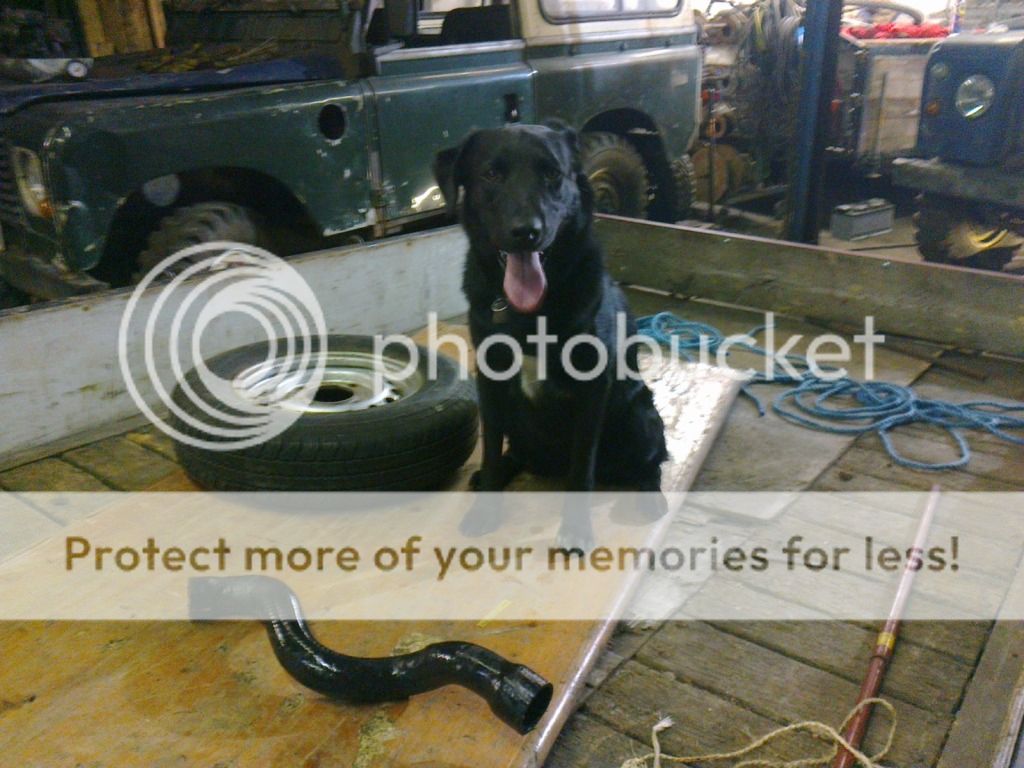
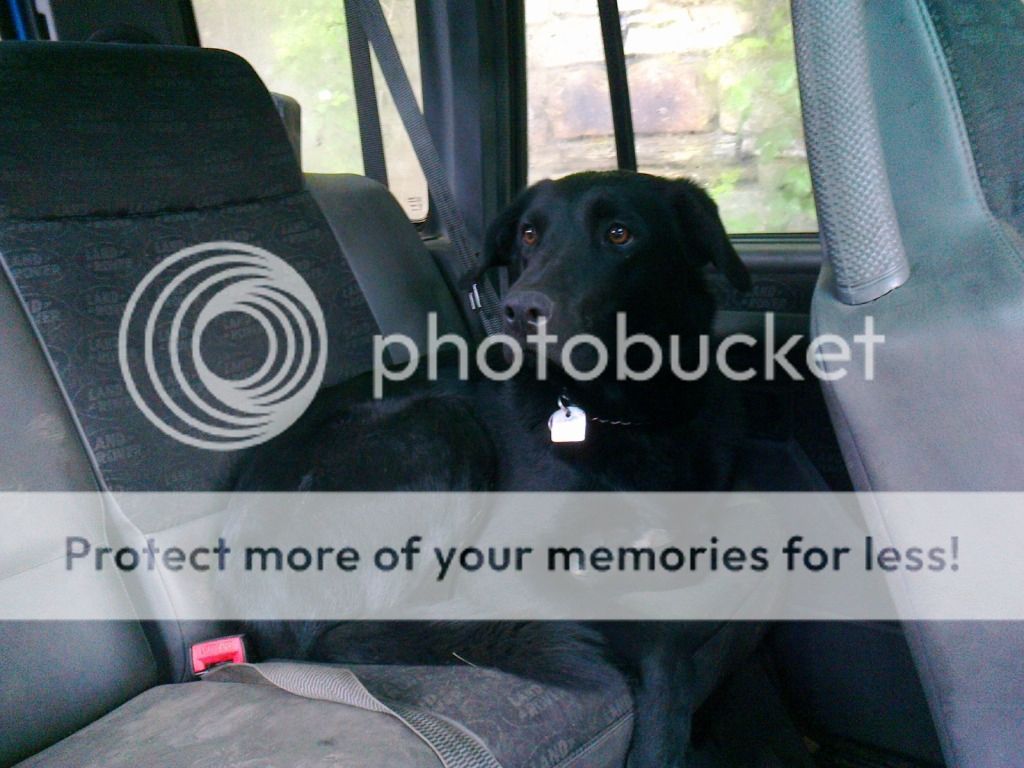
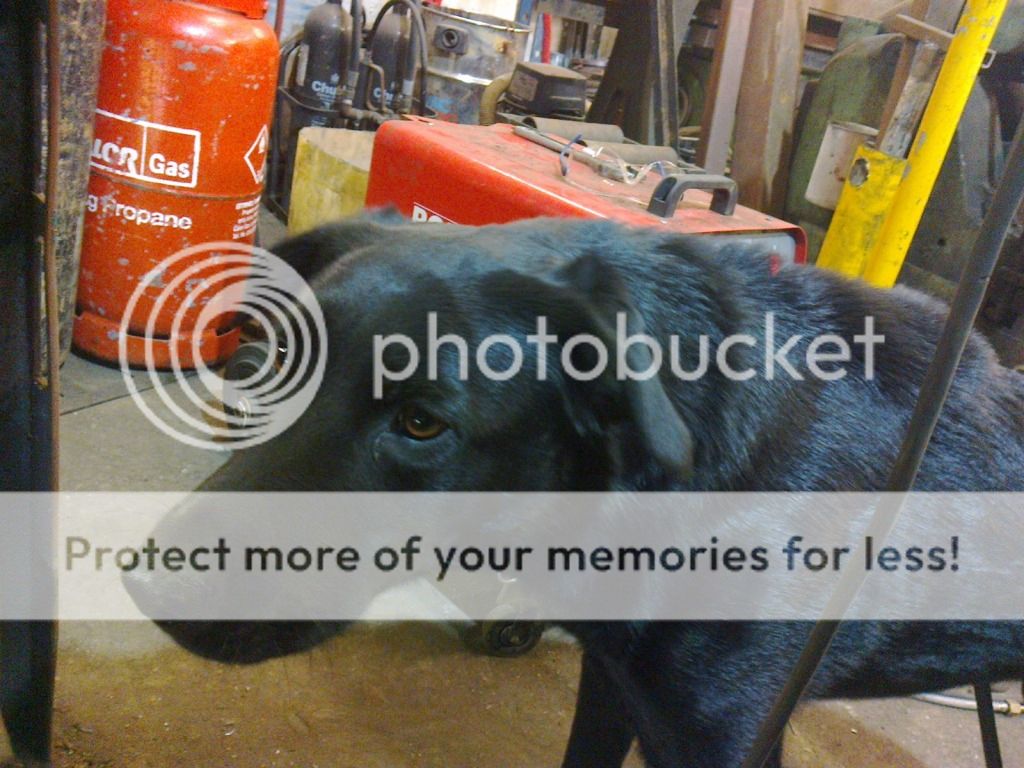
and finally, the rubber tube.
the dog must have been a bit bored today, as i seemed to spend half the time throwing the tube for him. hopefully tomorrow being saturday there might be a few other folks down to throw bushes and tube. however, that also means more coffee fags and talkin!
dogshotwaitingforthepipetobethrown.jpg
 
not as much progress as anticipated, but still photo'd it so will share anyway.

seatbase cross member temp fitted
Photo0264.jpg


rear load bed supports temp fitted
Photo0265.jpg


attention diverted to address chassis problem prior to continuing with floor
Photo0255.jpg


Photo0256.jpg


grotty stuff cut out
Photo0258.jpg


Photo0257.jpg


now i managed to plate the nearside and make a start on the off side, but didnt picture it because i got sidetracked by uncle zip.
he had an issue with some binding brakes which turned into this

Photo0268.jpg


Photo0269.jpg


Photo0271.jpg


Photo0273.jpg


as the king pin showed signs of potentially being fubar'd, and the hub point blankly refused to come off the stub, we removed the drag link and track rod, swivel seal retainer, then the lower arm and upper king pin with a veiw to putting the hub assembly on the press to get the stub out.
10 tons later and its not showing signs of shifting, after the obligatory hammer wallops, then a sledge hammer and flat end road chisel, we got the oxy propane on it. warmed the bearing carefully, then not so carefully, then got cheesed off.
deciding that it was probably gonna be knacked, went for broke and attempted to oxy cut the bearing inner race. (all while still in the press.....)

removed from press and managed to chisel the inner race round til some rollers fell out giving enough expansion on the race to come off.
zip took a few pics but i think he's more auto****e than landyzone, so will post a link if he does a write up. guess he'll clean the parts and assess whats reuseable.
suffice, i didnt get the 109 chasis welded up. will picture the patch later and continue from where we left off.

and as usual..
Photo0274.jpg
 
Ya gonna be shacking down some lanes in this with us?

pmsl yeah why not! (used to trial this!)
so long as your up for dragging it off every little axle twister we come across!
pace might be a bit slower tho....

Getting there. What welder are you using?
various.
the door pillar and sill work was my ancient arc welder i paid a tenner for about 20 years ago.
the arse end crossmember was using grubby john's portamig as its miles better than my clarke 130t.
i swapped welding methods somewhere round the c pillar fabrication work.
 
ere with the welding ive found that the type of metal your using on the pillar frames welds better on the push with the mig rather than going back on yourself as the plasma blast burns **** away from the weld

this method works extremeley well with galvanised , painted , undersealed , and hot rolled steel for some mad reason

"plasma blast" how frecking high do you have your gass turned up?!
I prefeFr cleaning this before there welded, that works better. Welder by trade too btw :)
 
pmsl yeah why not! (used to trial this!)
so long as your up for dragging it off every little axle twister we come across!
pace might be a bit slower tho....


various.
the door pillar and sill work was my ancient arc welder i paid a tenner for about 20 years ago.
the arse end crossmember was using grubby john's portamig as its miles better than my clarke 130t.
i swapped welding methods somewhere round the c pillar fabrication work.

Ar be fine! B good to c a proper old girl out with us
 
Ar be fine! B good to c a proper old girl out with us
rofl
you need uncle zip for the old girl! (in joke. once saw a book at a sodbury sortout on a tat stand with a title of "a girl named zippy". wish i'd spent the 50p for he **** take!)

will be back out with your lot sometime, we do keep an eye on north yorkshire lanes thread.
 
ere with the welding ive found that the type of metal your using on the pillar frames welds better on the push with the mig rather than going back on yourself as the plasma blast burns **** away from the weld

this method works extremeley well with galvanised , painted , undersealed , and hot rolled steel for some mad reason
use both methods of push/pull, but tend to grind the **** off first, specially with galv and zintec!
most of the works in the prep, once the welding gets going its usually pretty fast.
 
latest pics, not as much done today due to other stuff getting in the way.

general shot of diesel tank prior to repair
generalshotdieseltankpriortorepair.jpg


diesel tank mounting rip left hand side
dieseltankmontingriplhs.jpg


diesel tank mounting rip right hand side
dieseltankmountingriprhs.jpg


diesel tank mounting bent
dieseltankmountingbent.jpg


diesel tank mounting pulled thru
dieseltankmountingpulledthru.jpg


diesel tank mounting tacked.
dieseltankmountingtacked.jpg


diesel tank mounting plated
dieseltankmountingplated.jpg


diesel tank repainted
dieseltankrepainted.jpg


diesel tank refitted top view
dieseltankrefittedtopview.jpg


diesel tank refitted underneath view
dieseltankrefitted1.jpg


chequer plate rear floor temp fit
109chequerplaterearfloortempfit.jpg


chequer plate rear floor temp fit view from front
109chequerplaterearfloortempfitfromfront.jpg


chequer plate rear floor temp fit view from cab
109chequerplaterearfloortempfitfromcab.jpg


hard day.
closeupofsloppychopsasleep.jpg
 
Excellent stuff :D

Ps. The opposition have gone quiet :confused:
the opposition is recovering from shock as its just had to fork out for a new kingpin kit and two wheel bearing kits.
this is inside information and top secret and must not be disclosed to the third opposition, who i found out this morning is considering buying a '95 3 door discovery with a blown engine.......
not that this would help in any way as i'm now unsure as to wether the maseratti refurb is to take precidence over the other 109 (a s2a) or not.

however the third opposition did take the oppertunity to assist me today in the removal of all the old seat brackets from the original floor, ready to install in my 109. he wasnt allowed to fit any tho as he sugested earlier he may fill my chassis full of lead in order to slow me down.
all this time i was assisting in the removal of a 90 drop arm in order to change the pin. the 90 owner who is not partaking in any particular epic yet was carefully watching the third opposition for me and taking notes on any rigging / tampering.

not much else to show today, got the front of the floor bolted in and access holes cut for the diesel pipes and sender unit (this was an epic in itself as it seems my jigsaw has been tampered with causing the blade to continually fall out)
also the breather pipe that connects the 2 higher sides of the tank seems to have gone missing. initial suspicion was that an opposition may have moved it, however it turns out it may be the dog that shifted it....

more serious pictures later, but i'll leave with the dog fending off opposion 3.....

tuichasingjohnwithbrush.jpg
 
Back
Top