Coming to a thread near you soon. Td5 90 full rebuild. At last

This site contains affiliate links for which LandyZone may be compensated if you make a purchase.
Looking good, mate. There is a lot of corrosion on there though as everyone has been saying. All repairable though. I hope you're rear quarter panels are ok, mine were shot and replacing them was a pain. I've got some pics on my thread of refitting them, but I made a few mistakes. :eek:
If you need to take them off, do so very carefully without bending them or cutting them if possible. That way you can check the correct measurements for the new panels. Or, buy a new tub!

Cheers. I'll take a look at your pics once I've removed the stupid checker plate someone has fitted and see how bad the corrosion is. 😩😢
 
Grabbed a few hours yesterday so thought I'd try and get the tub removed. That was fun 😓
3 cutting discs later. Firstly the bolts where the tub bolt to the chassis out rigger things was solid so I cut these off only to find one side fell completely through the tub and the other is just hanging on by a thread.


Next was more cutting as all the rear tub bolts were rusted solid, then removed the two rubber fuel hoses at the filler neck and taped the ends up in a bag to stop the tons of mud going down them.
I could not undo all the sill bolts so left them on until the tub was removed for better access. Removed the remaining rear light wiring and thought that should be about it. But no it sure wasn't. I jacked the body up with a trolley jack just to check for any remaining bolts and there was.


Again it was out with the cutter as the two bolt holding on for dear life to a pair of rotten brackets. Once they were removed I needed a hand to lift this off and my best mate moved to Wales now it was out with my other best friend the mini digger for a help with removing the tub. Easy does it and it was off.


This then lead to more horrors when I saw the bulk of what remains of the chassis although to be honest I'm not getting quiet so shocked anymore 😔
Once I had done a bit more cutting I removed the sills and put the tub up for storage.

Then came to surveying some more rot and wondering how the hell in going to clean all the parts up.


Wow she's a rotten old girl new chassis or r u repairing it [emoji383][emoji383]watching you're thread with interest keep pics coming pls [emoji106][emoji106][emoji477]️[emoji477]️
 
I feel your pain regarding the tub rot. You can buy repair panels to rivet on but I just got another tub that was in cracking condition for chip money.
A good tip is when putting the tub back on, fit a thin gasket (rubber/neoprene etc) between tub and mounting brackets. Stops any future electrolytic corrosion of the Ali tub..

And as for cleaning all the suspension parts/brackets etc, get them all collected together and have them all media blasted. They will come back like new for not a lot of money. Then you can decide whether to paint or galv them.. HTH
 
Wow she's a rotten old girl new chassis or r u repairing it [emoji383][emoji383]watching you're thread with interest keep pics coming pls [emoji106][emoji106][emoji477]️[emoji477]️

Hi Gatso. Defo going Galv chassis wise but I plan on repairing the bulkhead. But yep she's a rotter 😆
 
I feel your pain regarding the tub rot. You can buy repair panels to rivet on but I just got another tub that was in cracking condition for chip money.
A good tip is when putting the tub back on, fit a thin gasket (rubber/neoprene etc) between tub and mounting brackets. Stops any future electrolytic corrosion of the Ali tub..

And as for cleaning all the suspension parts/brackets etc, get them all collected together and have them all media blasted. They will come back like new for not a lot of money. Then you can decide whether to paint or galv them.. HTH
Hi Mayor, cheers for the tips mate. I am on the scout for a tub and seat box now. Going to repair the bulkhead and stick under a Galv chassis.
This media blasting sounds great. Is that like bead blasting and where are they as I could take a whole load of stuff in one sitting ?
 
I agree ref the rear tub
I had a td5 one that was in ok condition but needed work
I really wish I had waited and got one I could just bolt back on.

cracking rebuild thread so far
 
No time spent on the Landy to date but I was looking at it yesterday as was wondering if anyone knows what or were or why there is oil coming from the intercooler.

Also I have a rather nice item I'm picking up tomorrow which should push this project on. 😏😏😏😏😏
 
There aren't very many places where oil can get in to the inlet tract. Possibly the breather from the rocker cover, or the bearing seals on the turbo and that's about it. Or maybe there's one of those oil filled air filters and someone has been a bit generous in oiling it! Another possibility is that there's oil coming from somewhere else and it is getting blown around by the fan and just happens to be spattering the intercooler.
 
There aren't very many places where oil can get in to the inlet tract. Possibly the breather from the rocker cover, or the bearing seals on the turbo and that's about it. Or maybe there's one of those oil filled air filters and someone has been a bit generous in oiling it! Another possibility is that there's oil coming from somewhere else and it is getting blown around by the fan and just happens to be spattering the intercooler.

Yes I did think it could have been blown over it. I will investigate that next week hopefully when I plan on pull the engine and box out.
 
Anyway I have just returned from a little shopping with something rather shinny and new. This should help my build gain some speed. Got it for a good price too. It came complete with new Vented discs, which mine are only solid and my calipers and Pistons were In need of a serious rebuild, new shocks and springs, again mine want replacing, although I may change the shocks to Terrafirma recon ABS axles, galv G/box x-member, galv tank guard and galv shock turrets & galv adjuster rail on the rear x member. Just need some free time now and I'll be a happy boy again. 👍😆😆😆😆

 
Thank you. I feel a bit of a cheat compared to some of you guys out there, but I do still plan on changing a few things. Like the shocks maybe polybush it etc to put my own small stamp on it.

I did the same thing for my 110 build. Started with a galv rolling chassis and went from there..

Regarding polybushes I wouldn't. Fit new, genuine. I know some people swear by polybushes but I've always found them to make the ride harsh - especially in a 90. Even the more expensive kind. Honestly stick with Genuine ones. I know they're more of a pain to replace but how often do you need to do that??

Thanks for the tip. The are all new genuine LR ones fitted so I'll leave it as is. 👍
 
So after a while away I set about removing the bulkhead.


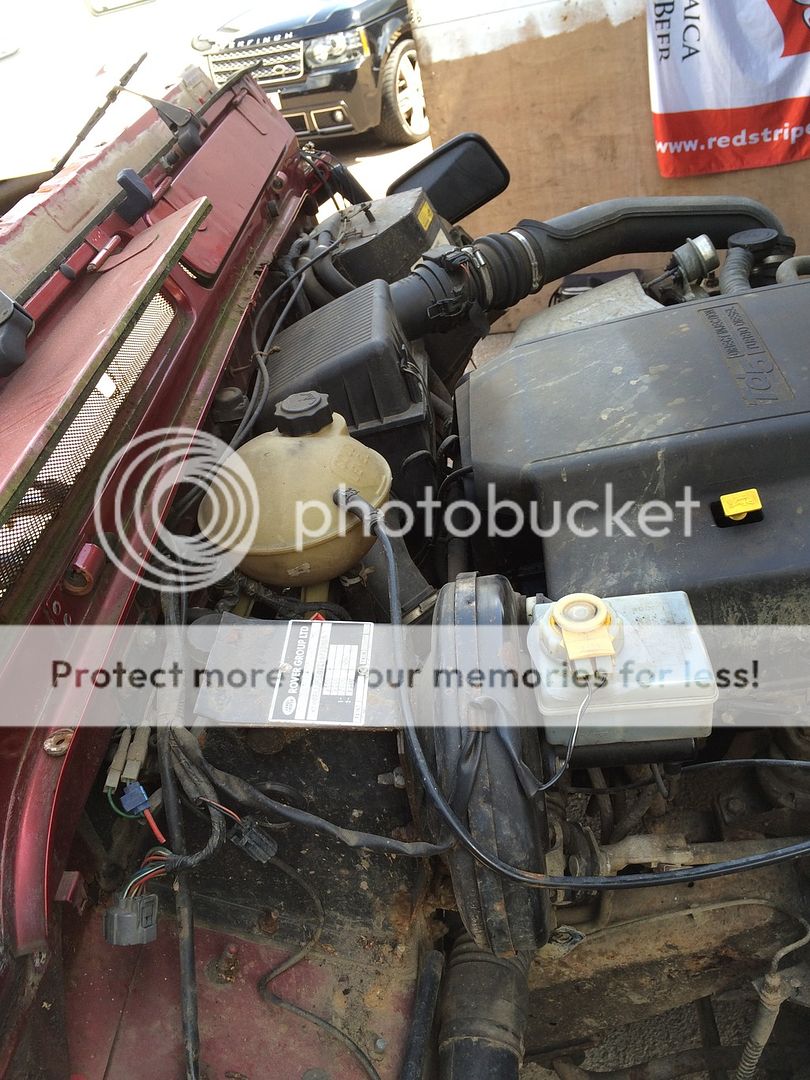
So firstly I removed all the parts bolted to the engine side of the Bulkhead. I drained down the brake reservoir and the clutch reservoir before disconnecting the pipe work. Then unbolted both clutch and brake pedal boxes and removed them.
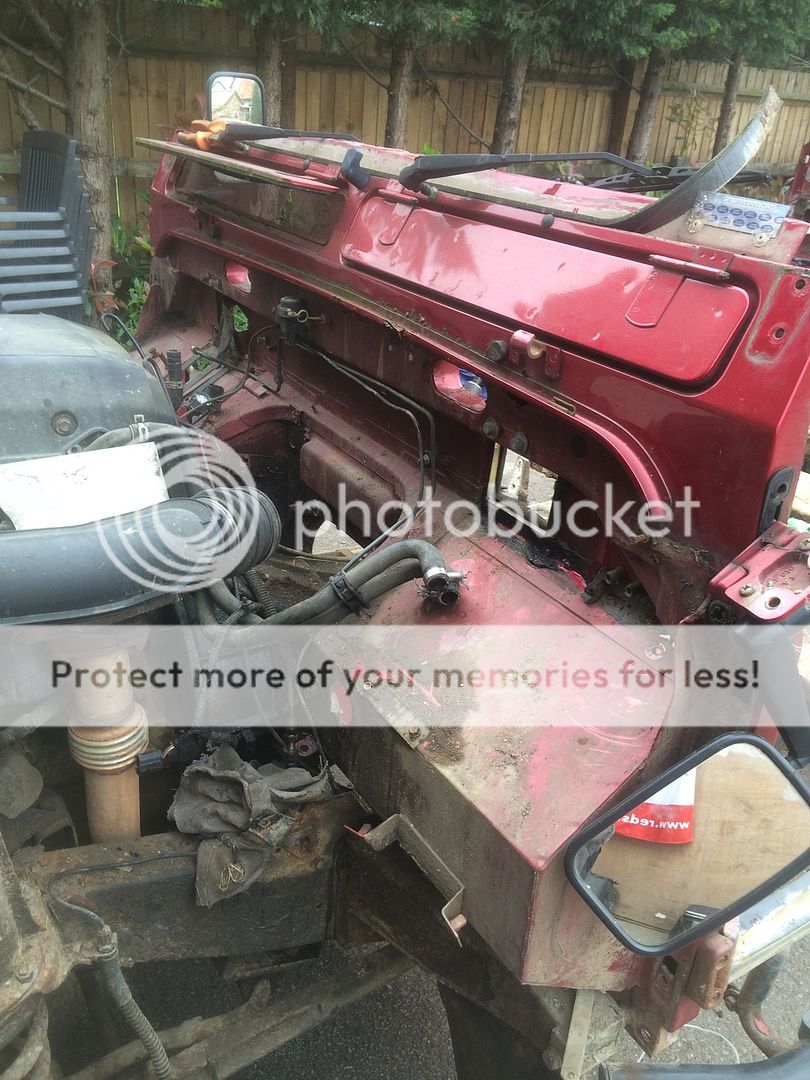
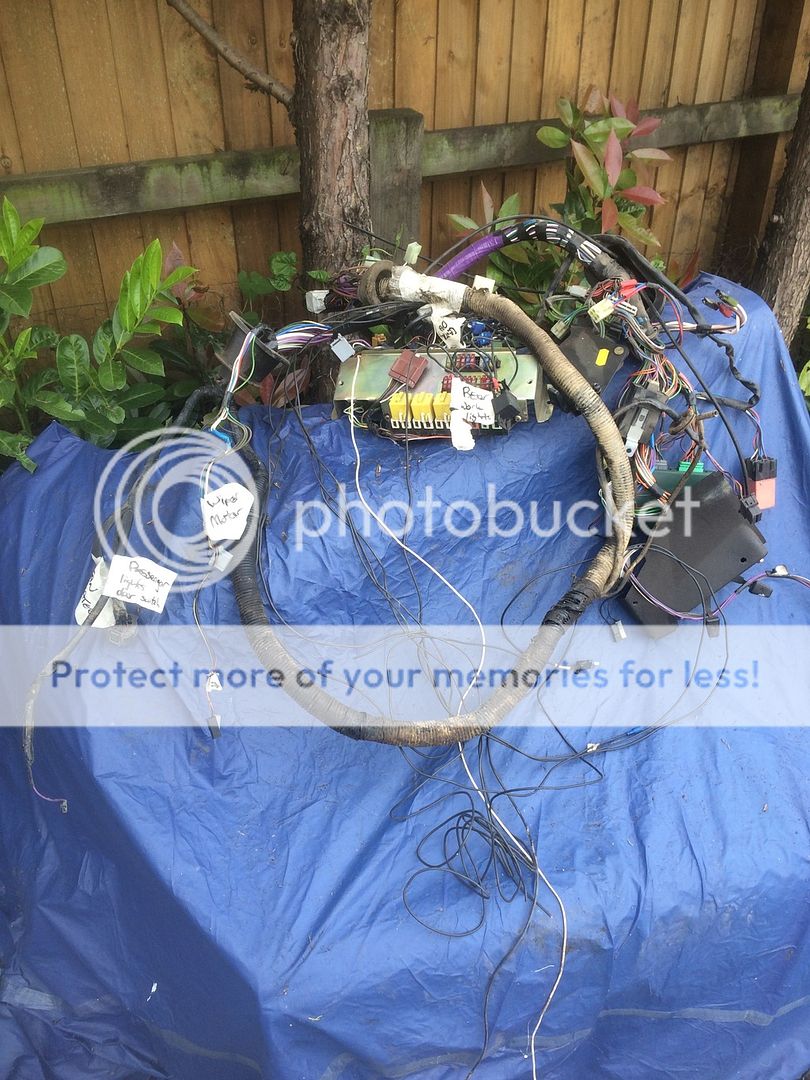
Next I in lipped what seemed like a dozen electrical connector and passes the left and right side mountain of loom through to the inside of the bulkhead. Then I was left with this...

Next was the steering column. As this has to go through the bulkhead and out the engine side, this meant removing the steering wheel, indicator stalks etc and the ignition barrel. The wheel can off easy the stalk cluster slid straight off so next was the ignition barrel. This has 2 snap bolts holding it on. Which means when these bolts are tight the head snaps off to stop thieves undoing it to release the steering lock I presume. So I tried to drill them out and this wasn't working so I thought I would have a go using a small punch and knock them undone and hay presto it only worked. 👍
Next was to undo the joint where the column goes on to the steering link. I loosened what I thought would release it on the splines but it wouldn't budge.

What I failed to realize after much WD40 and pulling was the bolt actually has to come right out as this passes over the shaft. So after removing said bolt I just slid right out with no force needed. Then it was just a matter of sliding the steering coloumn through the bulkhead.
The the air box pops out leaving the cradle it sits in needs unbolting.
Then the heater/fan box was removed. The header tank is held in with one bolt then slides up and out. The clutch pipe work was removed from the bulkhead and the flexy hose from the slave cylinder was removed from the bracket on the bulkhead.
I removed the accelerator with just two
Bolts.
Then I took note of the spacers between the bulkhead and the chassis.

Mine has 3 on each side. Whether that's the case when I put it back together who knows😂
With a bit of heat the bolts cam out. Next to be removed are the two bolt in either floor pans. Sadly just before I could do this I had to call it a day as I was going out and now had 20 mins to be ready to go out for dinner. Being a man this was not a problem just not sure what I'd do with the spare 5 mins. 😂
This is how she looked when I called it a day


Back
Top