Changed the storage setup in my 90 today :)

This site contains affiliate links for which LandyZone may be compensated if you make a purchase.
I also started carpeting the front of the bulkhead... the carpet has finally reached the cab! I was gonna do a bit more but I ran out of light! Tomorrow is another day :)

20140913_193757_zpsbfe8db57.jpg
[/URL][/IMG]
 
Evening all...

So today I mainly tackled electrics. I've had a leisure battery for a while now and been working out a way of mounting it in the vehicle, I made a plinth to sit in the bottom of the battery box out of a couple of scrap bits of wood I had lying about, the plinth levels the bottom of the battery box and allows the starter battery to sit sideways and the leisure battery to sit along side it. I was very pushed for space but the leisure battery is slightly shallower than the starter battery so the pair follow the line of the top of the seat box nicely and leave just enough room for my split charge relay to mount inside the battery box. I even managed to use the original battery strap with some longer fixings made from 6mm threaded bar :)

20140914_192458_zpse6364b48.jpg
[/URL][/IMG]

The leisure battery runs to an auxiliary fuse box which allows 6 separate fuses all on a common positive. A nice little feature is each fuse has a red led which illuminates if the fuse is blown

20140914_192417_zps80b8ebf6.jpg
[/URL][/IMG]

So far the fuse box is running my 3 extra cigarette lighter sockets and......

my water heater :)

20140914_185922_zps438fbd3d.jpg
[/URL][/IMG]
20140914_185931_zps5b7b0139.jpg
[/URL][/IMG]
20140914_185949_zps6723d7f5.jpg
[/URL][/IMG]

Works a treat! The heater gets up to about 45°C in about 20mins and stays hot for about an hour, it holds about 5L of water so great for washing hands, face etc. Most people mount their cooker on the back door but I thought I'd do it a bit differently, should be useful for a quick wash down before climbing into the roof tent. The unit has an on/off switch on it so I'll probably just flick it on when needed :)

So the lil' 90 is getting there... gonna test fit the fridge tomorrow, I'm going to wire in a separate socket off the fuse box for it as it's quite a large draw, but other than that it's pretty much sorted :) Once I've loaded all my gear I'll post up some pics, hopefully my load out works after all this effort!! :eek:
 
Really innovative mate. Def gives me ideas for my 110, the load area looks really smart. Bet the insulation works so well you can turn the radio down from max ???:)
 
Next was to start carpeting, I bought 2 metres of anthracite van carpet from a local carpet supplier, this stuff is quite thin and has no backing so it's great for this sort of thing. It came on a 4m wide roll so that gave me 8 square meters... I think that'll do to start with! I pre-emptivly cut the rough shape of the carpet using the 9mm ply as a template, this also allowed me to tuck and glue the bottom floor edge under the ply before it was fixed in place. This stage proved to be a pain in the ass as I'm a bit of a perfectionist and I wanted to get it right. Anyways, I carpeted over the ply and cut out little holes where the captive nuts are, I continued the carpet onto the sides of the vehicle and overlapped the sides as this will get insulated and ply lined later.

20140906_131026_zpsc7b06a17.jpg
[/URL][/IMG]#
20140906_131013_zps3a4727b8.jpg
[/URL][/IMG]
20140906_173549_zps07bc497d.jpg
[/URL][/IMG]
20140906_173543_zpsdc979171.jpg
[/URL][/IMG]
20140906_173553_zps3036a4a9.jpg
[/URL][/IMG]

I also carpeted over the back of the bulkhead and up to my newly fitted dog guard. The box in the middle of the bulkhead is for my speakers in case you were wondering, it holds two 6x9's which sit behind the front seats assisted by two smaller tweeters mounted to the side in their own little boxes :)

20140906_173537_zpscbcd86b8.jpg
[/URL][/IMG]

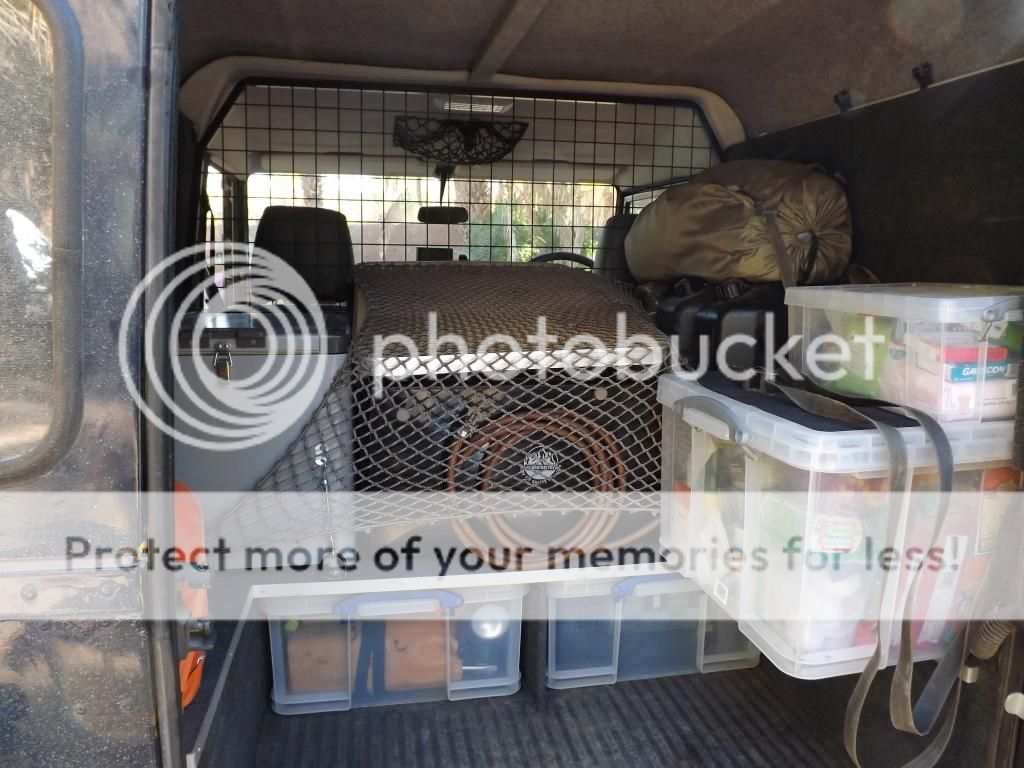
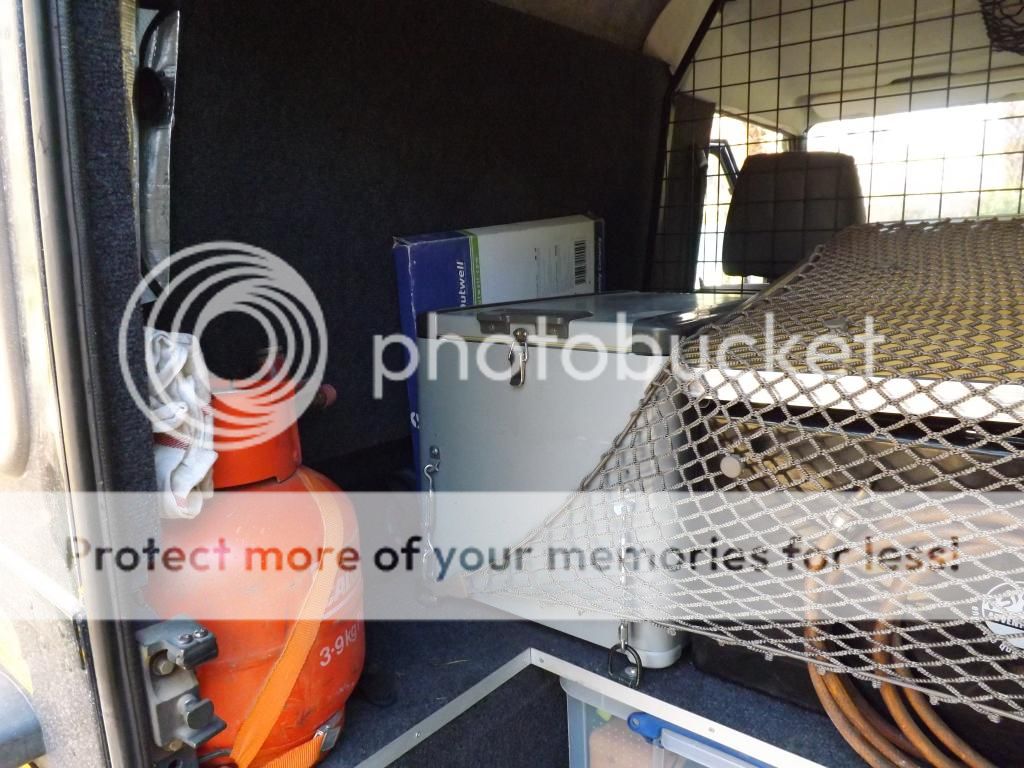
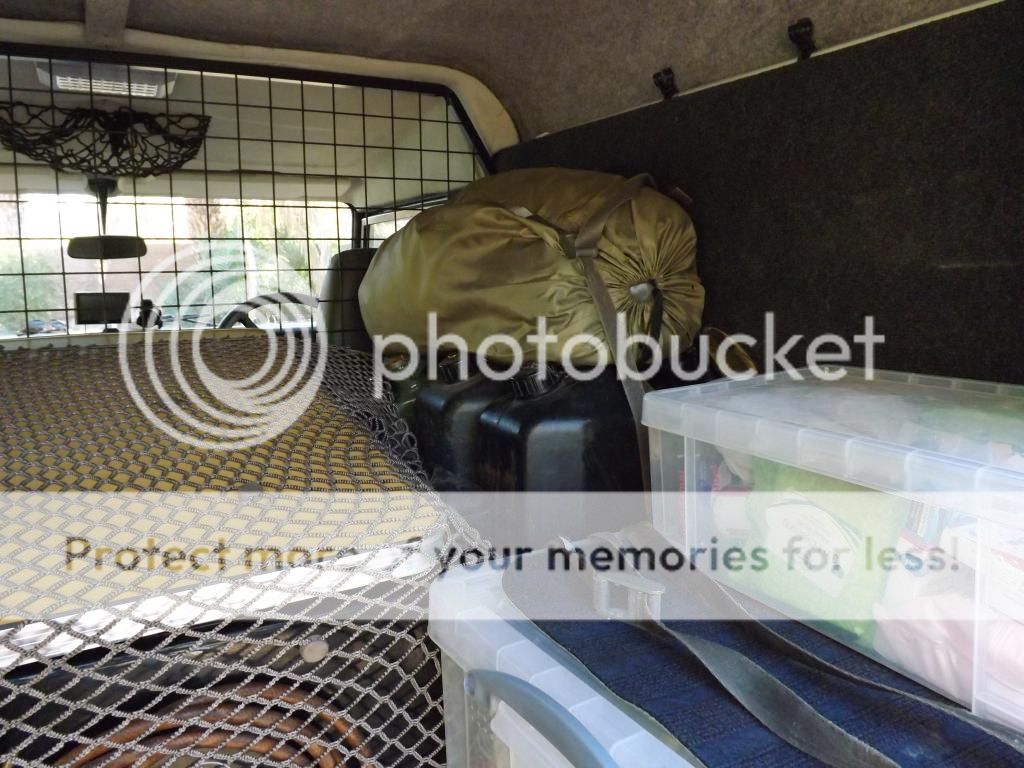
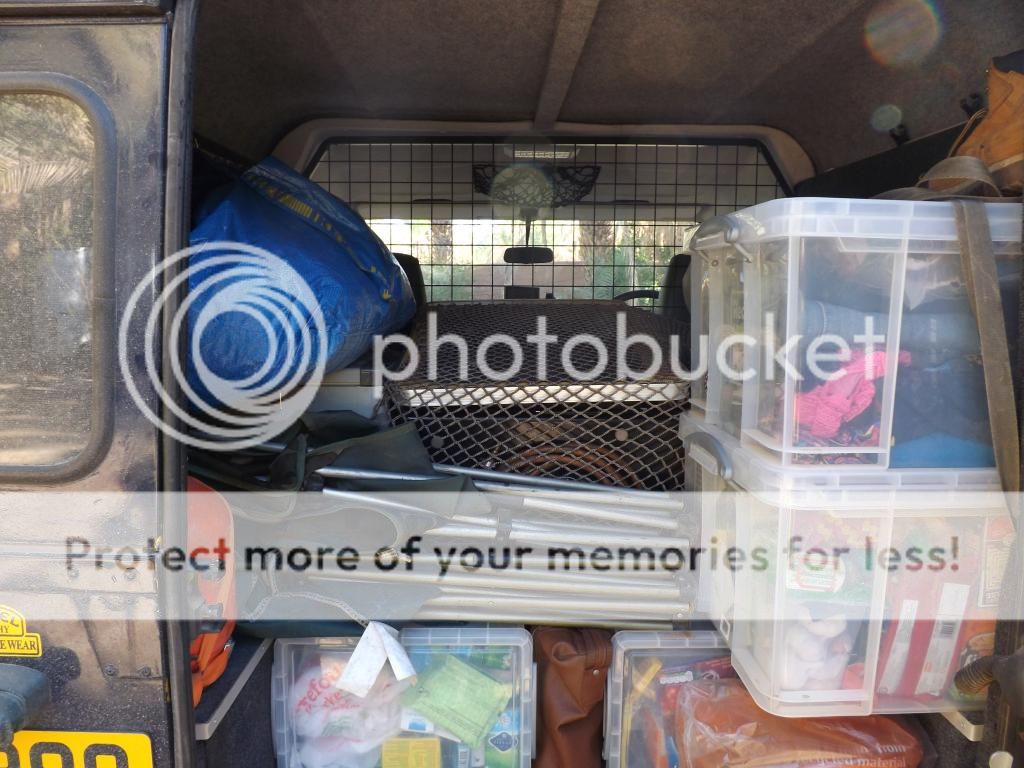
Next was to start covering the top deck. I covered all the bits of the puzzle individually just on the top surface leaving the sides clear as there was not enough gap to allow for the carpet. My fixings for the top deck also double up as very carefully positioned lashing points for my fridge, jerry cans and gas bottle. :p

20140906_174408_zps35088b2f.jpg
[/URL][/IMG]

I had to do some slight adjusting of the holes to allow for a nicer fit, but other than that it all went together very well. I also found that I had to add a few more fixings to keep the top deck in place and since I'd already carpeted over the 9mm stuff I had to do a quick trip to screwfix to get some different captive fixings that can be screwed in from the top. :frusty: After the extra fixings were fitted to was all kushty!

20140906_183212_zps1ac23043.jpg
[/URL][/IMG]

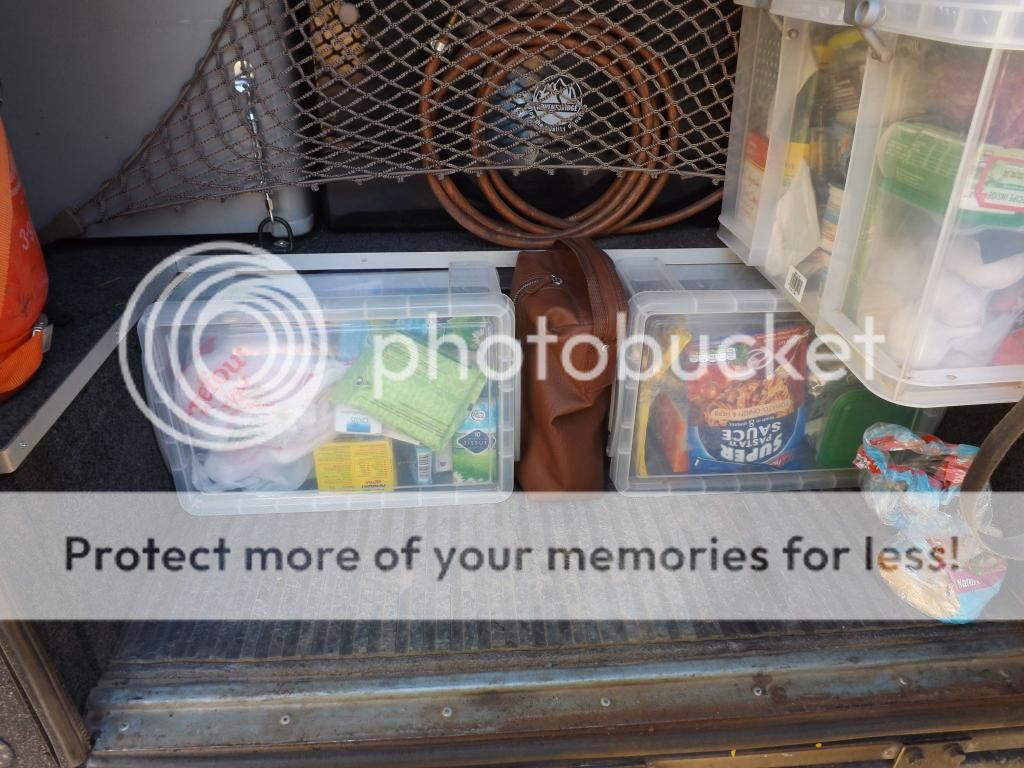
And my 'really useful boxes' fit well. The centre support isn't really needed with the 18mm upper deck but it helps spread any load. It's not fixed, it just sits in with resistance - this turned out to be a good thing as the boxes wouldn't have cleared the boot hinge with out the centre support not moving over slightly when you pull them out :)

20140906_183429_zps86aa18a7.jpg
[/URL][/IMG]
20140906_183442_zps086fe200.jpg
[/URL][/IMG]

I just need to add a bit of aluminium finishing around the leading edges and then crack on with the sides... watch this space!! :tea:


Bring back a dead post I know.. But any chance of letting us know what size the really useful boxes were. Loving the idea
 
Can I also ask a quick question.

You used roofing flash on the roof and side panels, to help with the sound.
I'm guessing it helps with both leaks and condensation too.

But how did you fit it? Did you use the tub of black glue type paint that comes with it and did you heat it all up before fitting?

Iv got a very small leak in the joint above the drivers seat, iv tried sealing it from the outside along the seam but it doesn't last long, just thinking this might be a good idea as I a couple of spare rolls knocking around the garage.

That said I don't want to just stick it in like duct take if I should be using the paint staff too.
Could you also let us have a link to the 110 your doing?
Cheers Steve
 
Jackattheback the boxes are listed as 50L on their website but they're actually 48L, Nevets22002 the flashing is the self adhesive type, you just peel the back and stick it on. It's made a big difference to noise and temperature in the vehicle, I'll be doing the same on my 110 too :)
 
Hi all!

Long awaited update... some of you have asked about my setup, well, it worked/is working really well for us! I can tell you that it was worth it's weight in gold for organising the boot while we travelled round Morocco back in September/October :) Here's a few pics of it packed in full overland mode.

(and yes we have lots of stuff... probably too much but we were lone travelling for a month so better safe than sorry!)

DSCF1829_zpsthm3simz.jpg


Fridge with fold flat bbq tucked beside it

DSCF1830_zpsq8z61ygc.jpg


Fuel and water, we purified the water as and when we used it. The rear awning got strapped on top - as it happened we didn't use it!

DSCF1831_zpsa5ijnoem.jpg


The hot water was plenty enough to wash and wash up with

DSCF1832_zpsl4hjjj2u.jpg


Toiletries, wash bag and the small 'lunch box' on the right, we pre packed this with the ingredients for lunch each day to save unpacking the gear mid trial.

DSCF1833_zpsqmypht4x.jpg


Stacked and racked but still leaving the view out of the rear un obstructed. When we bought local produce we just tucked it under the cargo net on top of the little table :)

DSCF1834_zpsvsxjhted.jpg


Coats and blanket in the ikea bag hooked over the top of the top of the ply lining nicely

DSCF1835_zps5sokduqw.jpg
 
That is bloody awesome, was that morocco you say?

What did you do go out off roading and move about camping?

I'd love to do this some day!
 
Back
Top