Budget Rebuild

This site contains affiliate links for which LandyZone may be compensated if you make a purchase.

@@ron

Member
Posts
66
Location
Birmingham
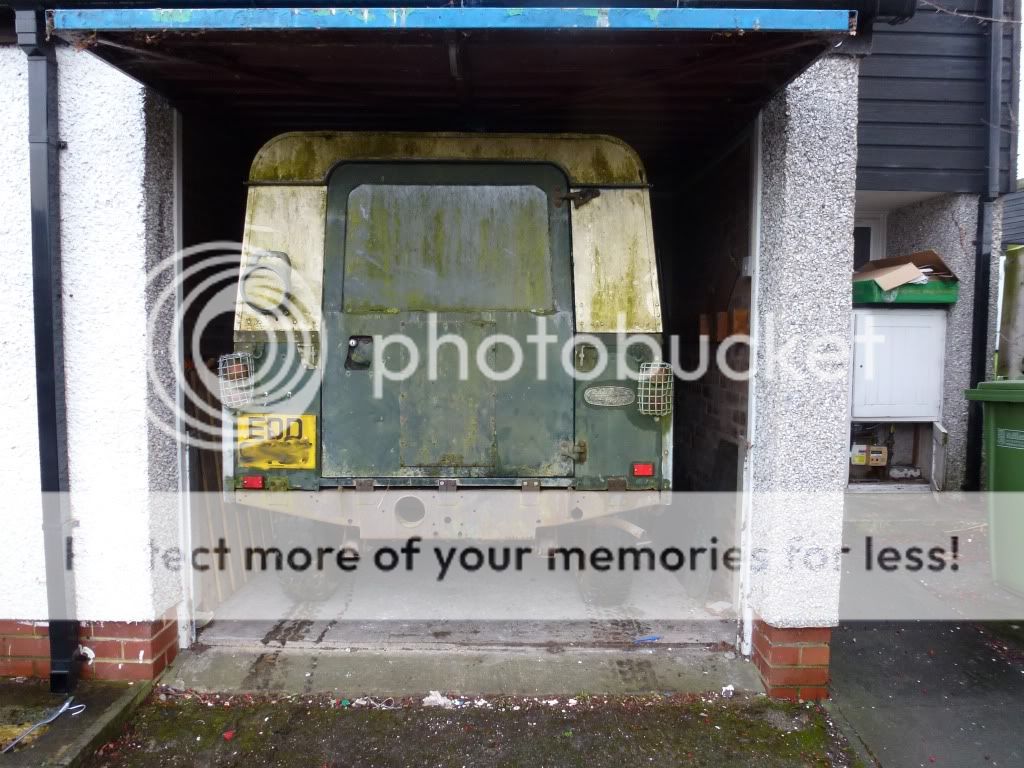
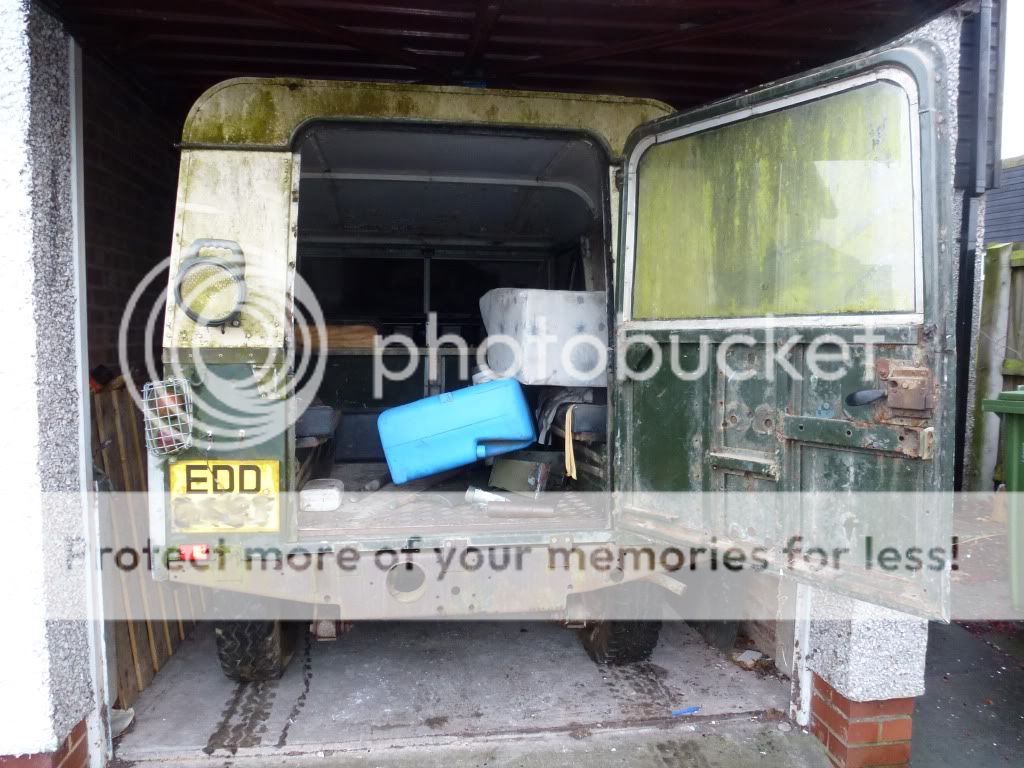
I've starting rebuilding a series 3 SWB and thought i would post a few pictures up and have a place i can ask all my stupid questions.

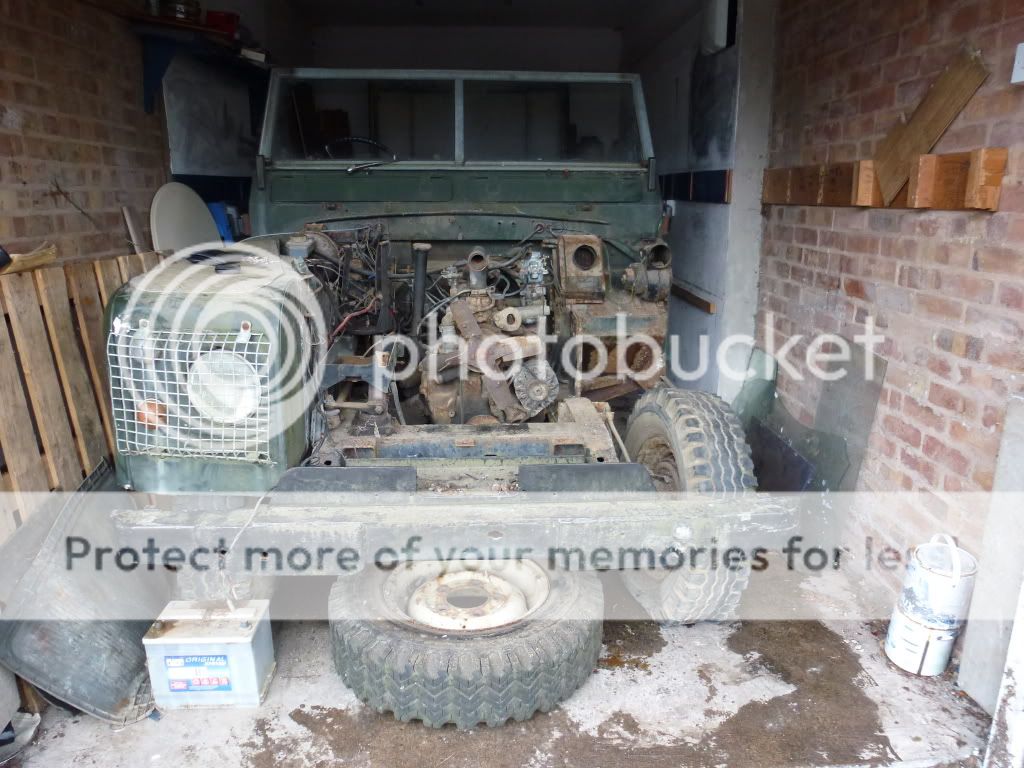
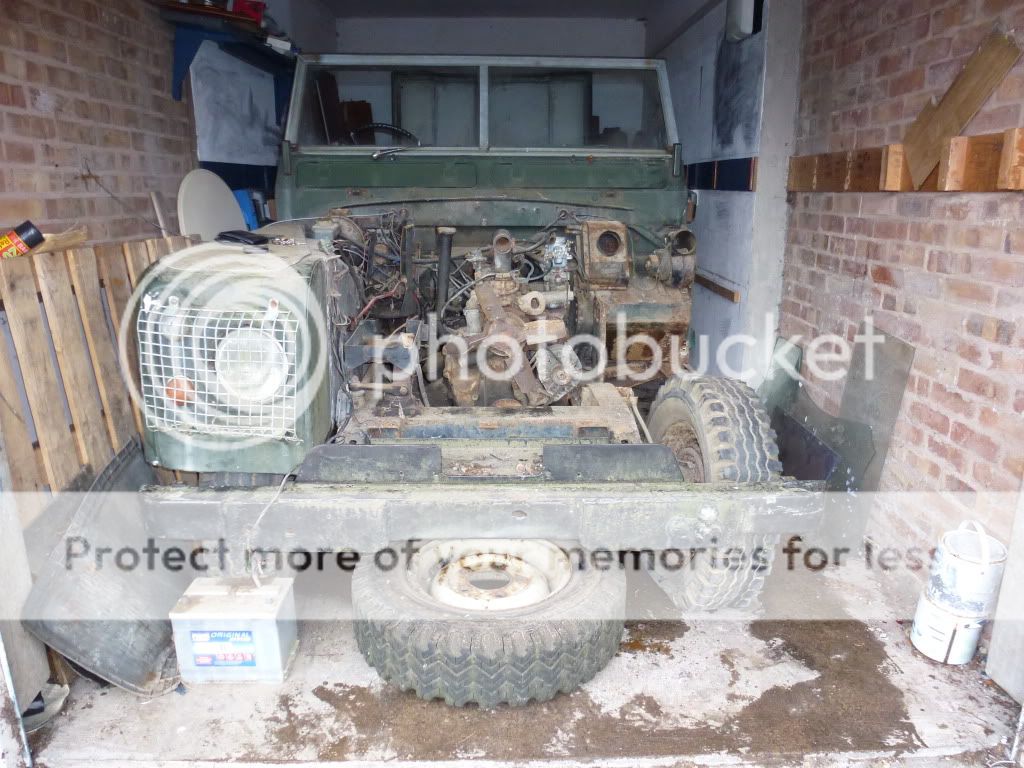
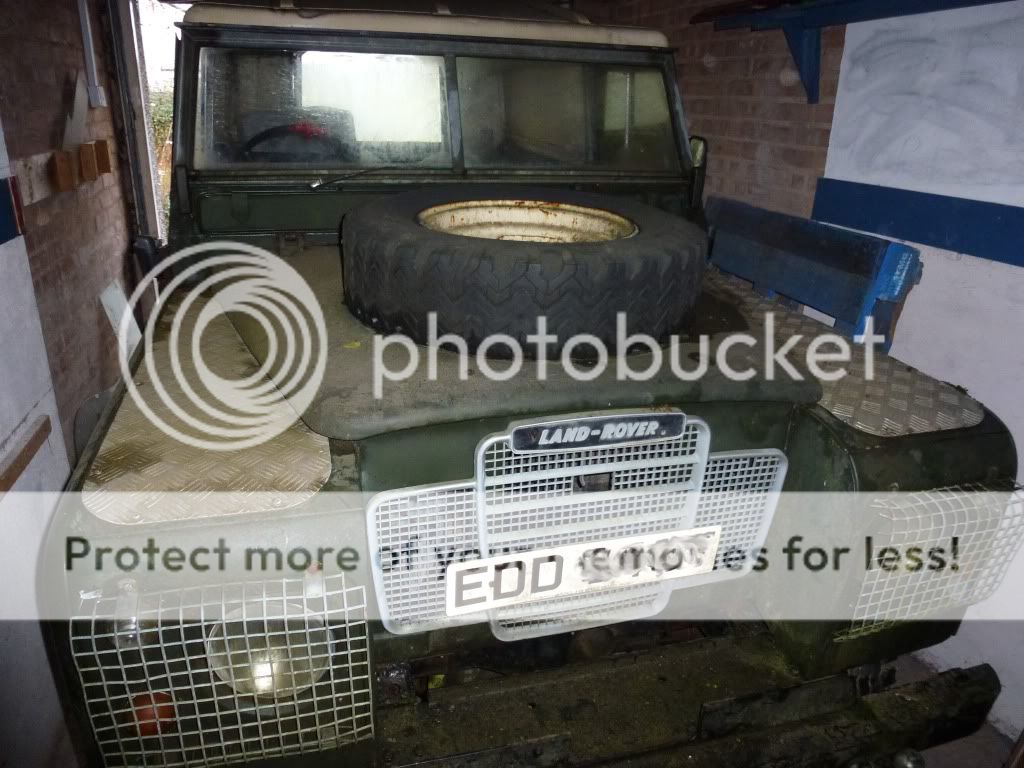
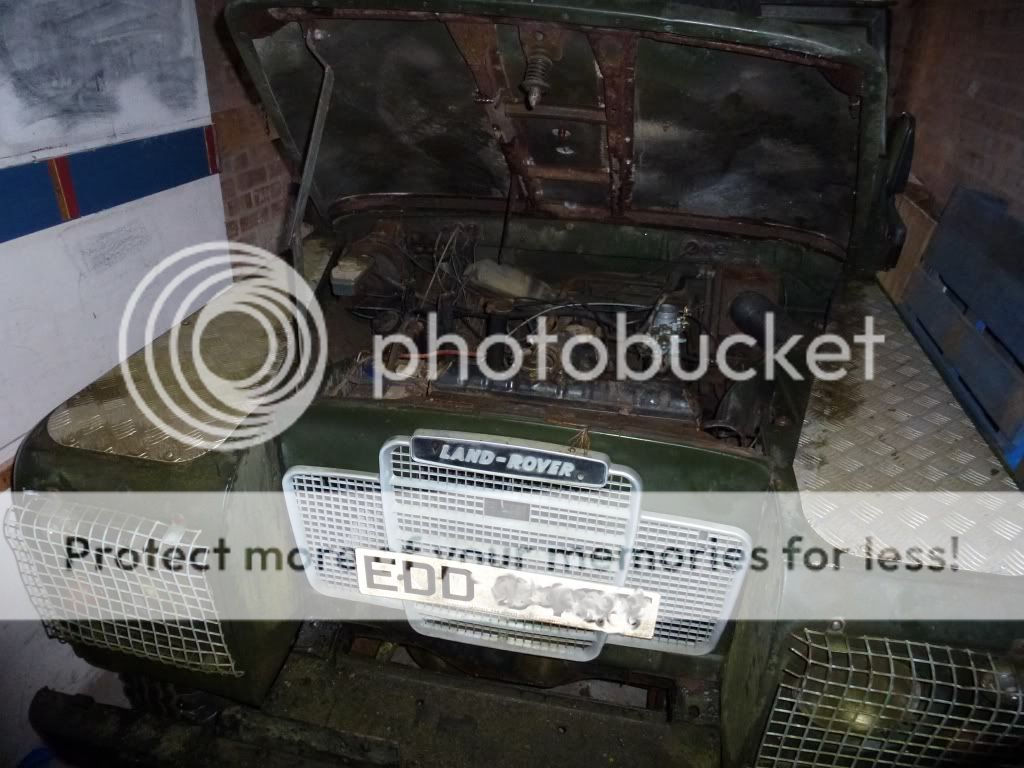
I'm only a student so it will be built on a tight budget but it looks solid underneath, just really really dirty. :)

P1000539a.jpg


P1000536a.jpg


P1000541a.jpg


This is how mouldy the windows were...

P1000581.jpg


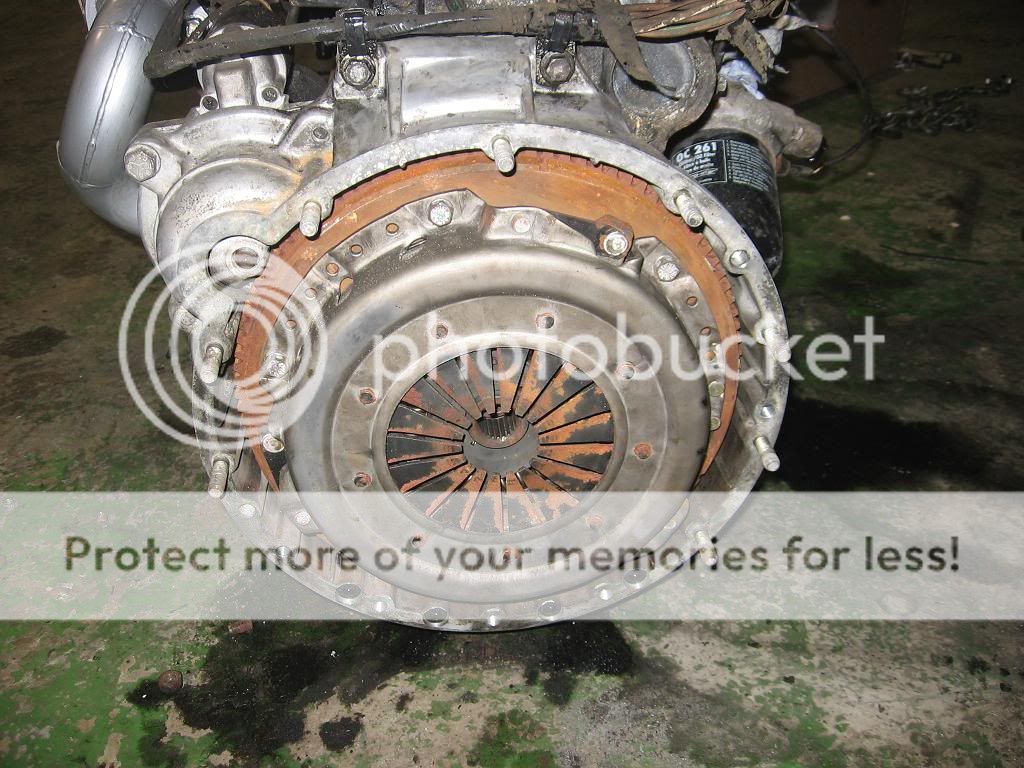
and the 2.25 petrol engine

P1000540a.jpg


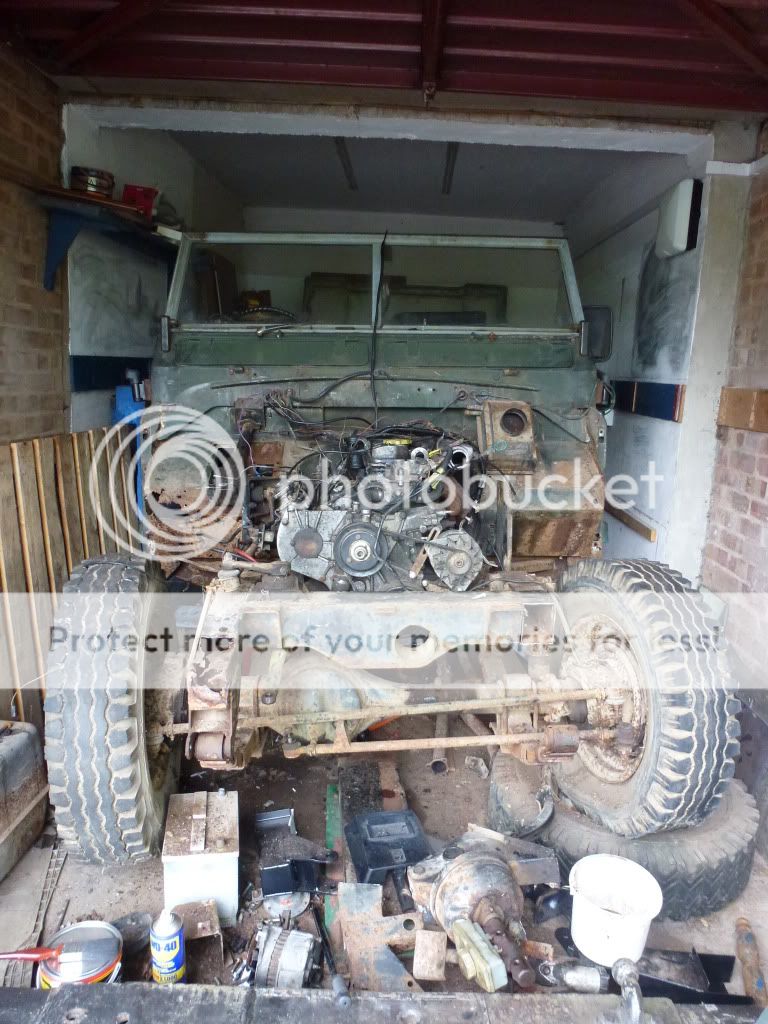
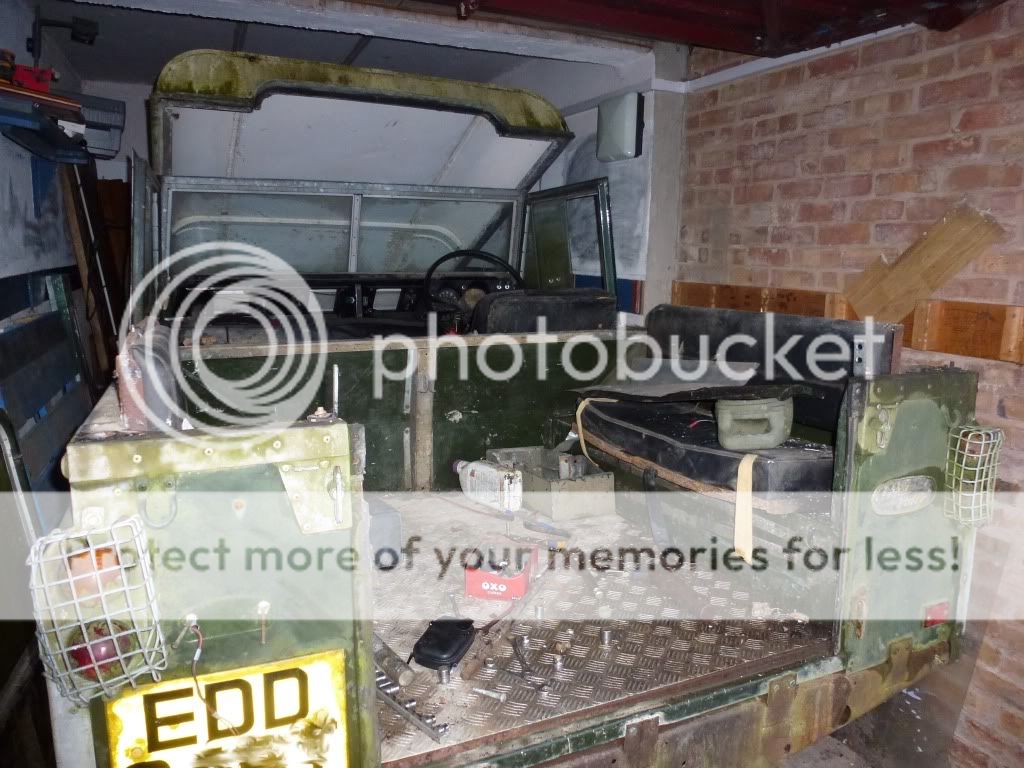
So I took the sides and the roof off

P1000542a.jpg


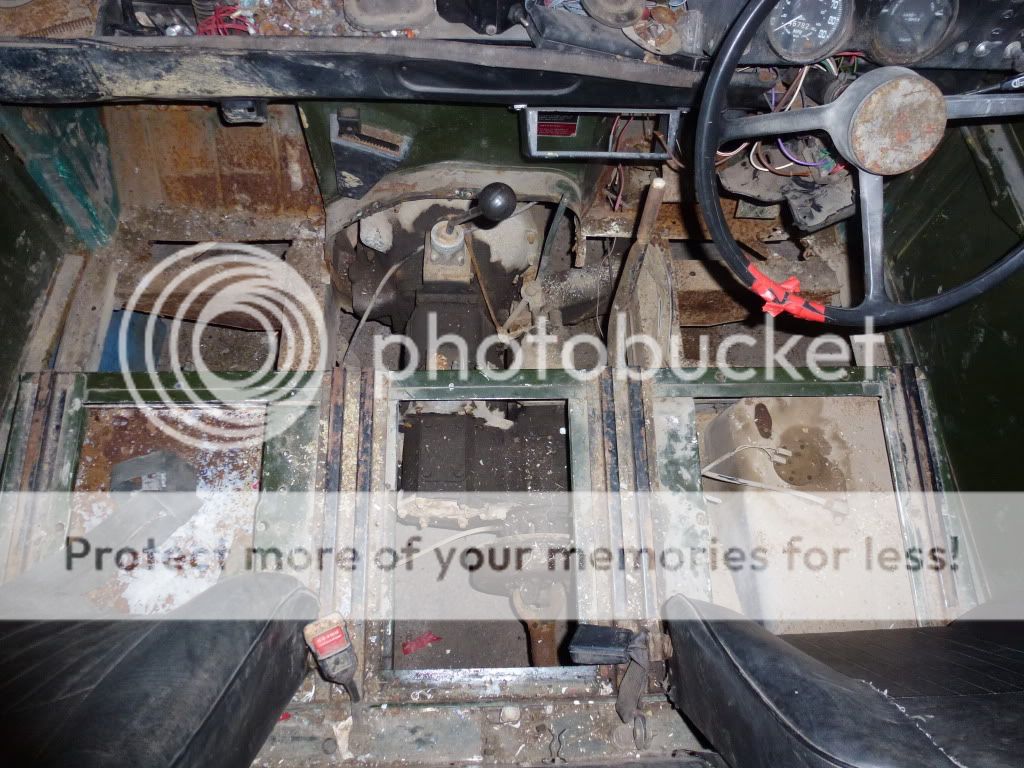
then the floors out, some of the screws were really rusted in there.

P1000577.jpg


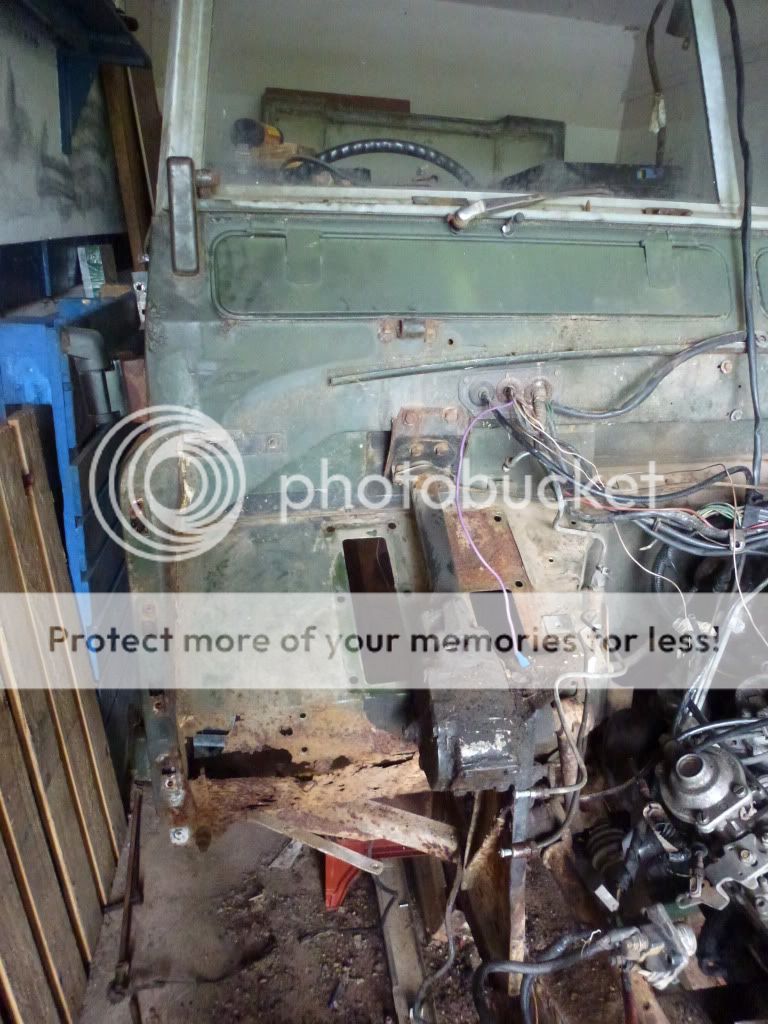
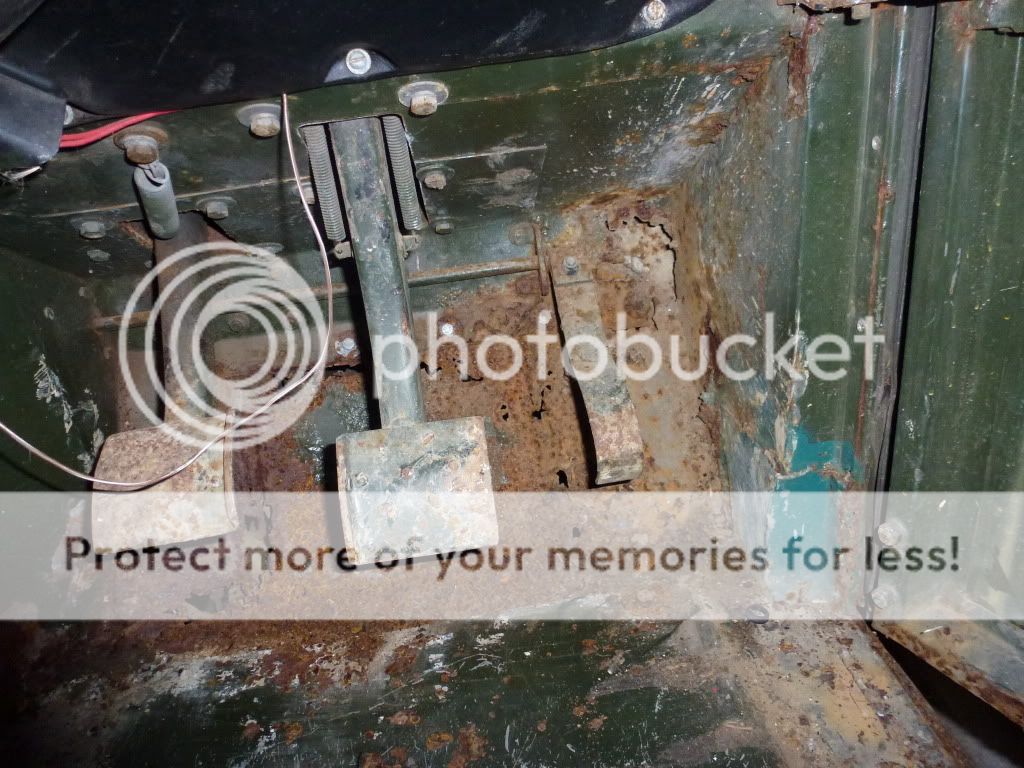
I've checked the chassis from the back up to the bulkhead and havent found any holes, the drivers footwell is rotten though.

P1000558.jpg


Thats where I am at the moment, next plans are to get the seat box and rear tub off to clean and paint the back of the chassis.
 
a nice little project :)

can i suggest you look for Les Cromie on ebay, he does the best footwells you'll find and they're definitely worth the bit extra you'll pay, i replaced both in my 2a bulkhead, they're heavier gauge steel than standard, they look spot on and don't flex unlike the cheap pattern ones from the usual suspects
 
do yourself a favour mate im not being cruel or picky but get it back out of that garage one morning sod the weather and give it a bloody good wash itll not take more than half a day and youll see the benefit of it right through your project

the landy will look 100 times better for it and youll enjoy working on it a lot more as you wont be constantly climbing over and around and putting yer hands in that green slimey **** :D:D:D:D
 
lol it does need a good wash its got a flat tyre and its not running though so the only way I can get it in and out is to pull it out then push it back in with my discovery. Sounds a bit dangerous on my own...
I've been cleaning the bits I've taken off and eventually I'll have to turn it round to work on the front end so i can clean it then.
 
why is it not running ( whats the symptoms ) thats another of the first things on the list the way i work is the way me grandad and his mate fred dibnah told me when i wa about 8 yrs old

1 does it move ( if not make it run ) ive had a petrol series 3 before and know exactly how to make them go as long as its a complete engine

2 get it clean so you know exactly where you stand with it ie; whats **** whats vehicle whats cleanable and whats not and whats knackered or not

3 sort the tin worm out by removeing replaceing welding treating and preventing

tell you what tell us what its doing as appose to wont start and well all what it will need but just to start you off with that quest

does the engine have a spark ( take a plug lead off take th spark plug out and wedge somewhere on th engine so you can see the bizniss end from the drivers seat )

turn the engine over if you have a spark ti needs to be blue and strong if it isnt clean the plug with a wire brush ( £1 from yer local poundland ) get all the black **** out of there and rub between the spark plug electrodes with a bit of sand paper

its also good practise to clean all the other plugs up at the same time but do them one at a time so as not to mix the ht leads up

if theres no spark still do what ive mentioned then move onto the dizzy ( the thing at the other end of the spark plug leads )
open this up with either 2 screws on either side or 2 clips and lift the top off but leave it connected to the ht leads so we dont mix up the leads and inspect the inside of this cup first
this should be clean and dry if it isnt get the hairdryer out and bogrolll and make it that way
next look at the little brass contacts inside if they appear dirty green ( like an old battery in a remote ) or white scrape this **** off back to clean metal with a terminal screwdriver and get the resulting dust out

now the other part of it there will be a large thing on the top of this called the rotor arm the brass contacts on this need to be clean ( sandpaper again ) if you need to take it off it will only go back on in the same position ever

under this rotor arm there will be a little cam ( square shaped bit on the shaft below it ) with a sort of little metal clothes peg thingy screwed to the backing plate with one side touching the cam dont remove this but put a bit of plastic between this side of the cam and peg thingy ( the peg thingy is your points ) the plastic being there should open the contacts on the points this will allow you to get a small piece of sand paper between these points and clean the little brass blobs in therew

put it all back together and lookm for a spark by removeing the spark plug and repeating the first thing you did it should now have a clear blue spark if not the fault will be with the vehicle wiring
 
The coil is missing and it hasnt been run for a few years but it does turn over so guess i could just get a new coil and see if it will run. It needs a new ignition switch too because I lost the keys...
 
don't worry about the keys they're not needed to see if the engine will run, just hotwire it it's simple enough

put a toggle switch in the ignition circuit to allow you to switch it off without trying to pull wires off

if it has a steering lock on it a centre punch will undo the sheer bolts

this will give you a chance to see if it will move under it's own power

don't forget to check it has oil and water
 
Finally made some progress...

P1000679.jpg


Doors and one wing are off to make it easier for access, engine is almost ready to come out just got the bellhousing and the engine mounts.
 
Well the engine's out now and I'm prepping the 200tdi to go in.

I've drilled out and taped the holes for the studs but i havent got a drill big enough to bore out the other holes. If I grind a slot into the casing so the bolt fits will mud and water get in and destroy the clutch?
Am I better off doing it like the one below? just means i need to buy a bigger drill and some new bolts.

tdifly.jpg
 
i've done none of the drilling shown in your picture, my engine has been in for three years now, it's my daily driver/workhorse and my play toy ...

i've not had any problems from not having those extra bolts/studs

i really wouldn't grind any of the flywheel housing away due to the risk of mud and water getting in, as you suggest it's likely to kill your clutch faster not to mention killing your release bearing in double quick time

the bearing will dry out and sieze up, then it starts to spin as a solid chunk of steel on the crappy plastic carrier, the plastic melts within yards :(
 
Last edited:
You are making progress !And it looks a lot better than a certain project I took on , but you would be surprised how good for the mind it is to give the beast a good wash , and invest in a bottle of dettol mould and mildew remover for the algae , spray it on , leave it for 20 minutes , and wash it off , it won't harm the paint work and saves an arse load of elbow grease , good luck !
 
Yeah I've been washing the parts when I've taken them off, it's at an aunts garage and she's out most of the time so she just left me with keys for the garage so I havent got any water there.

@NiteMare I read that it leaked a lot of oil from the rear crank seal if I didnt put a few bolts in the bottom. Haven't you had any leaks?
 
no i haven't, the one engine has been in three years and uses/loses no oil whatsoever

my second landy has only been on the road about 9 months and has probably only done about 3k miles but that doesn't leak either
 
Well that will save me some effort thanks. I'll still use the studs I've put in though
Should get the engine in this week then if the rain stays away for a few days
 
a nice little project :)

can i suggest you look for Les Cromie on ebay, he does the best footwells you'll find and they're definitely worth the bit extra you'll pay, i replaced both in my 2a bulkhead, they're heavier gauge steel than standard, they look spot on and don't flex unlike the cheap pattern ones from the usual suspects

Thanks for the tip - here's his shop:

eBay: lescr
 
Well after stripping it down I realised I couldn't afford the bits I needed to rebuild... so I finished uni, got a job and hopefully will be making some progress now.

The engine's gone from this

P1000680-1.jpg


to this

P1010220.jpg


I bought the alternator mount kit from steve parkers

P1010221.jpg


and started on the repairs

P1010222.jpg


I've got both dumb irons, a new footwell, the front fuel tank outrigger and a few little patches to weld up then I can start bolting bits back on!
 
Back
Top