landy10
New Member
- Posts
- 1,872
Stoopid people and chainsaws dont mix
Stoopid people and chainsaws dont mix

oooh thats cold. me thinks you gonna pay for that if she comes across that comment, even if you are her fav pikey
Run Pikey!
Aye, tell me 'bout itStoopid people and chainsaws dont mix
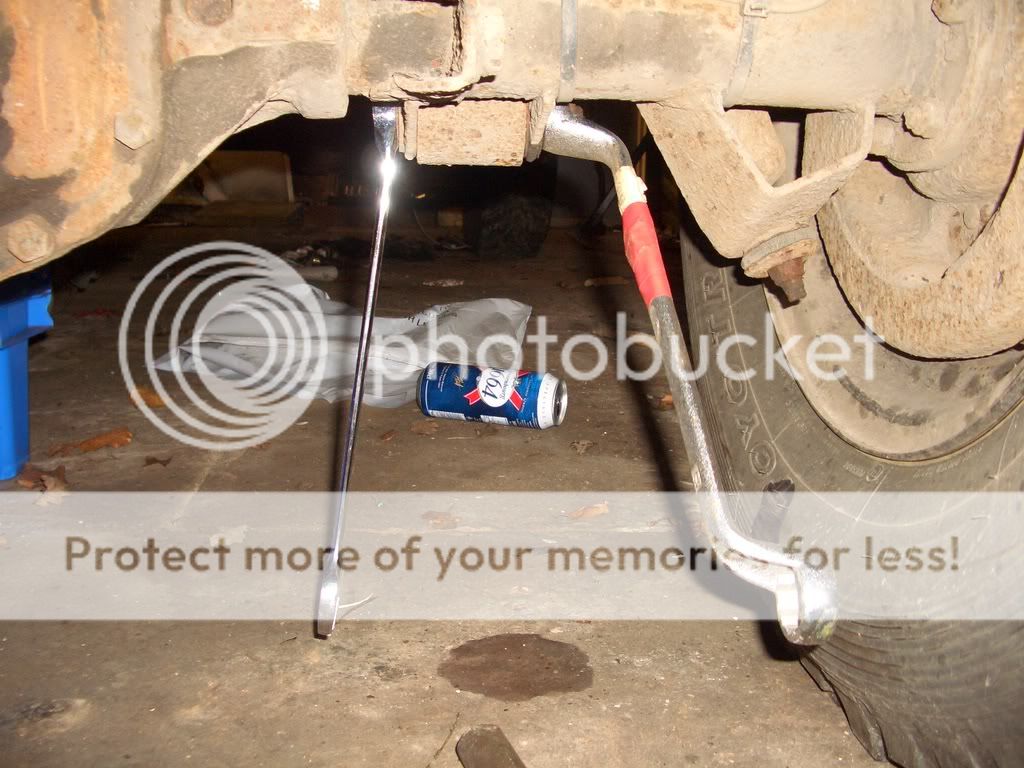
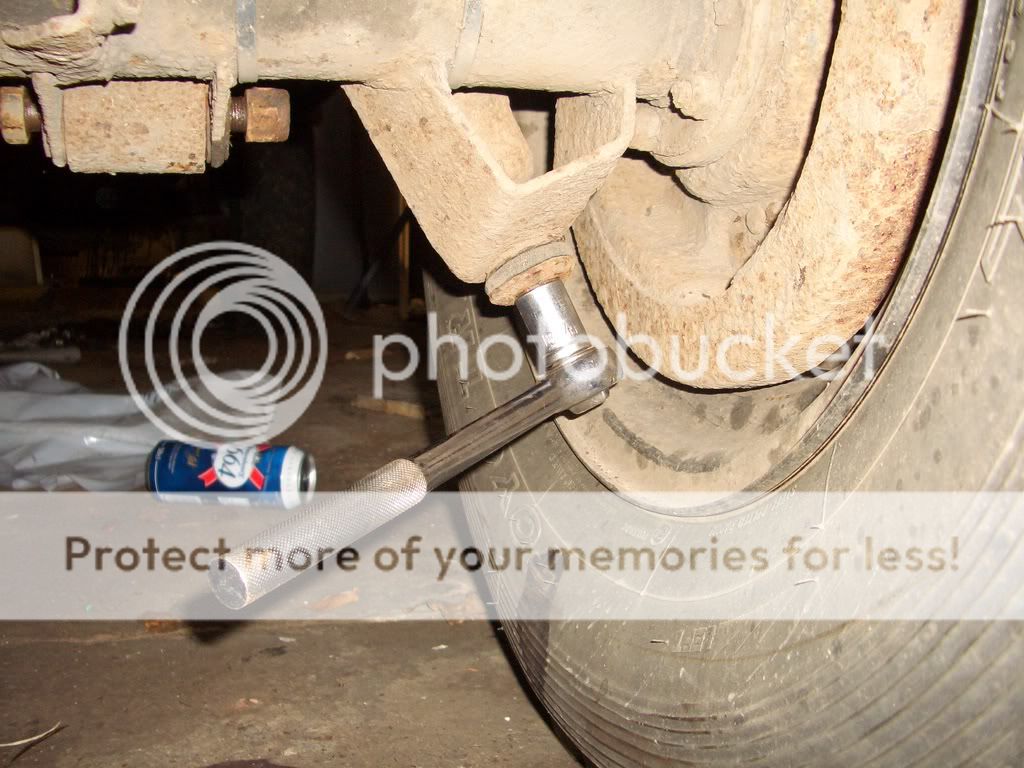
Never mind, ah don't think it happen again cheers daviegreat pics buster ahm a bit more confident aboot mine noo ive got a picture guide
jist one thing though aboot tools how many beers did it require
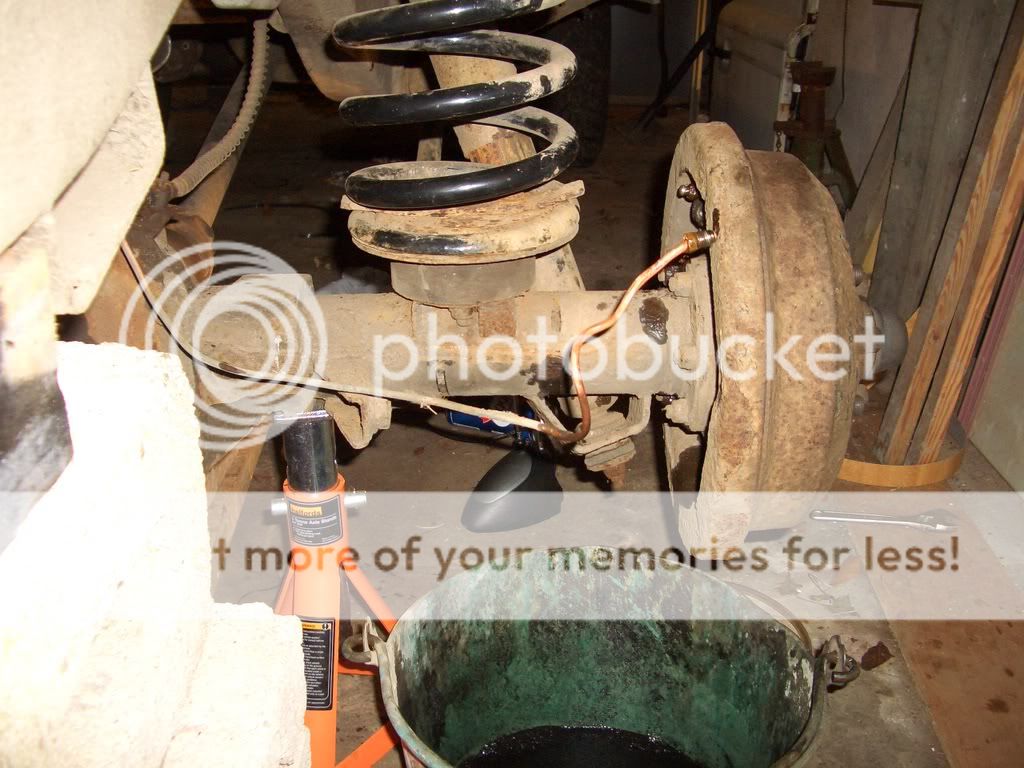
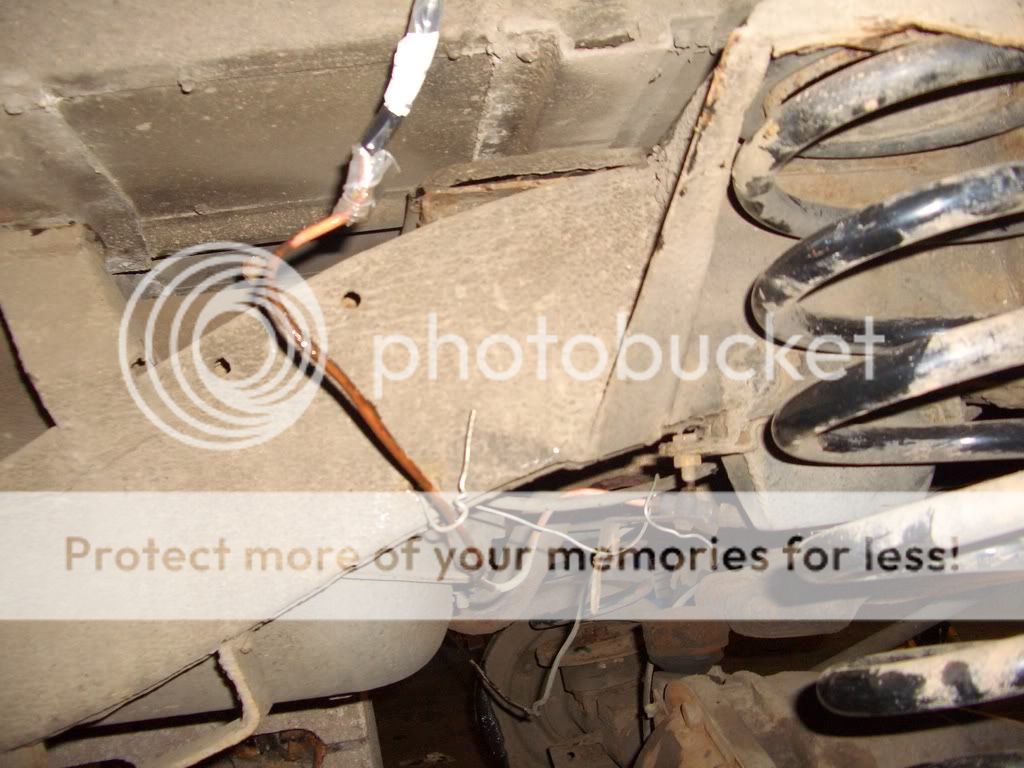
looking forward to seeing yer pics o the back
im doing mine about a week after yer pics go up
Cheers BandMBuster, great step by step - many thanks, now know how to do mine if ever needs it (how do you know if you need a new un?).....just need a nice warm garage with solid floors now...(only got open driveway, not even paved)
Fettle Davieafternoon buster
how long did it take includin the painting
S'funny, me neighbour sed the same thing yellaffs buster, yer could o cleaned them fancy yella springs ter match yer new axle
Ah half thought aboot it, and then thought WTF!.... and chuck me another beer Aye true, cheers RedKeep it on here. you know how noobies struggle to find anything on here. You don't want to confoose em by giving em a choice of axle freds ta read.


 )
)


Welcome To LandyZone, the Land Rover Forums!
Here at LandyZone we have plenty of very knowledgable members so if you have any questions about your Land Rover or just want to connect with other Landy owners, you're in the right place.
Registering is free and easy just click here, we hope to see you on the forums soon!