Aaron's 90 rebuild (round 3)

This site contains affiliate links for which LandyZone may be compensated if you make a purchase.
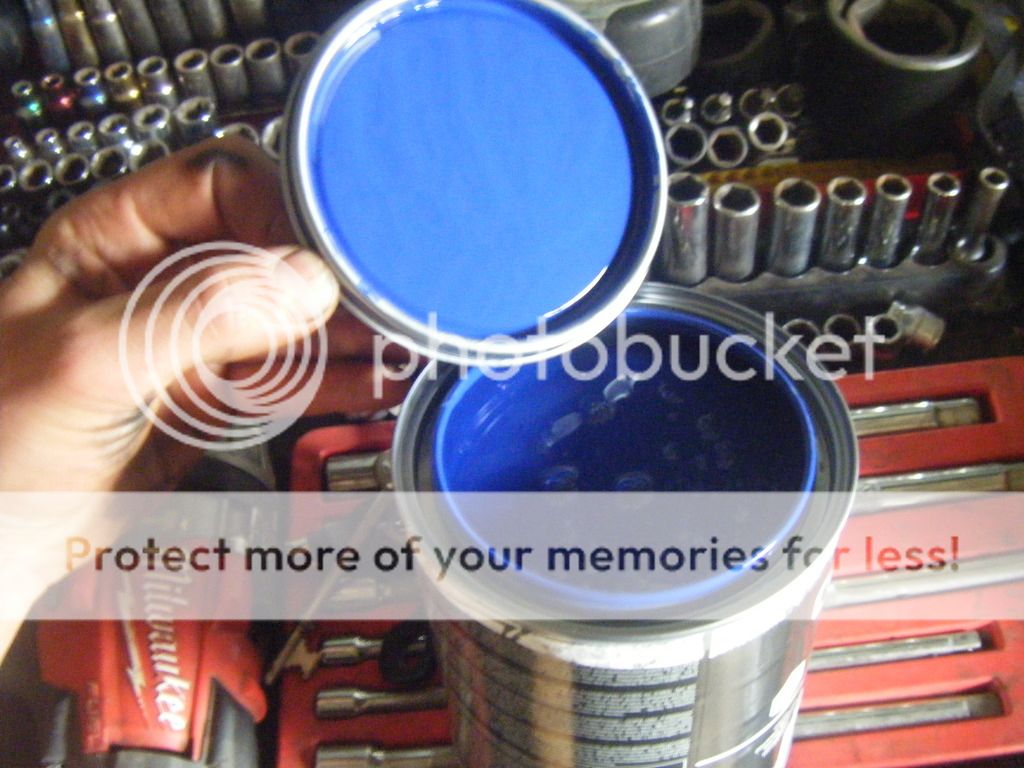
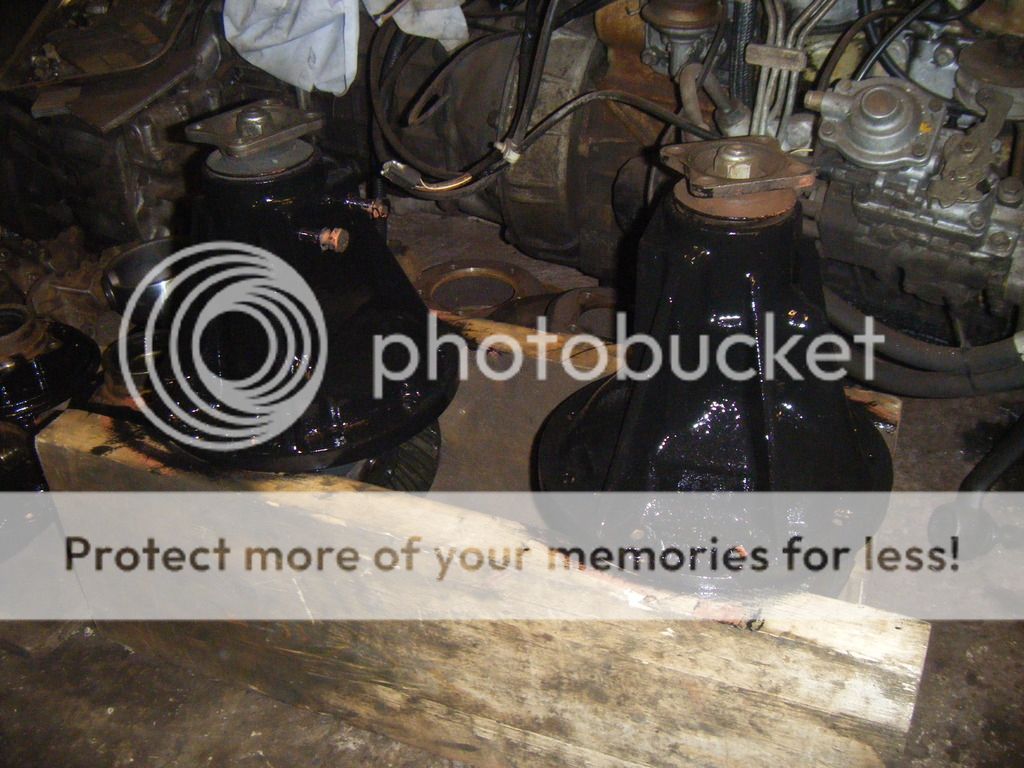
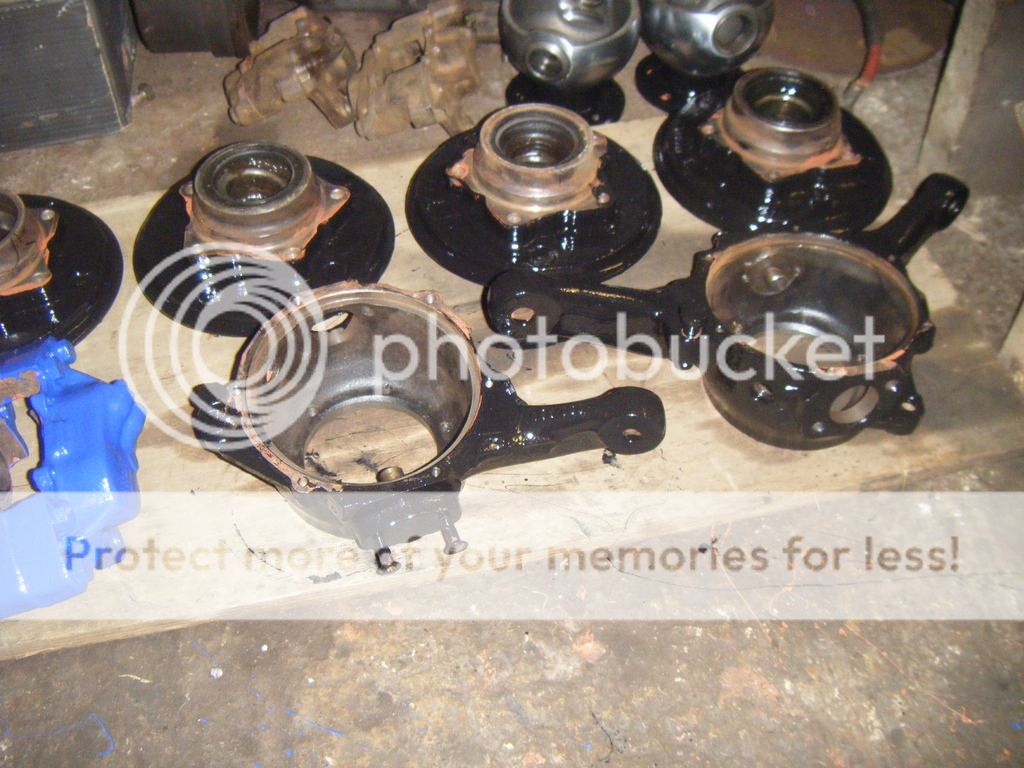
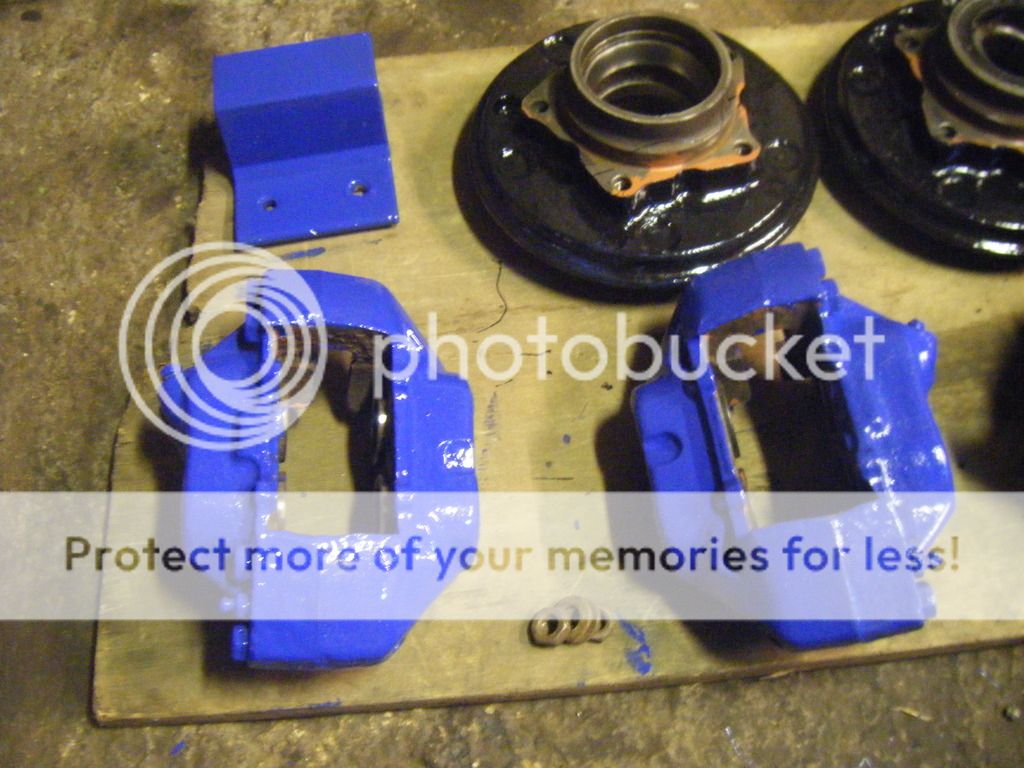
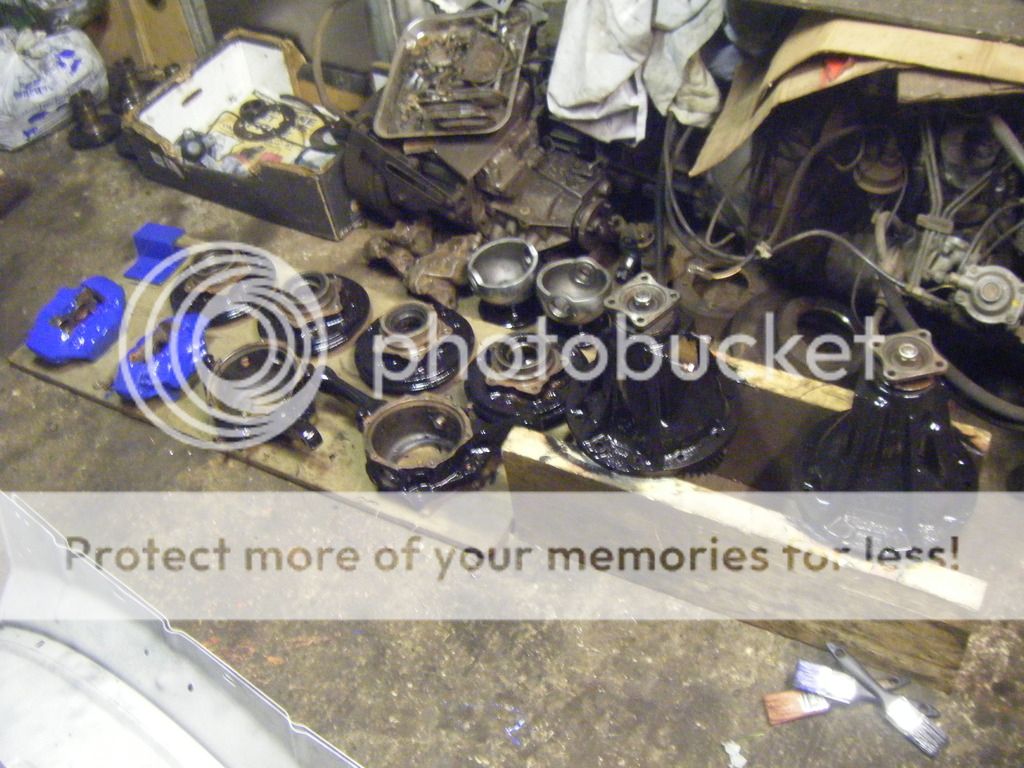
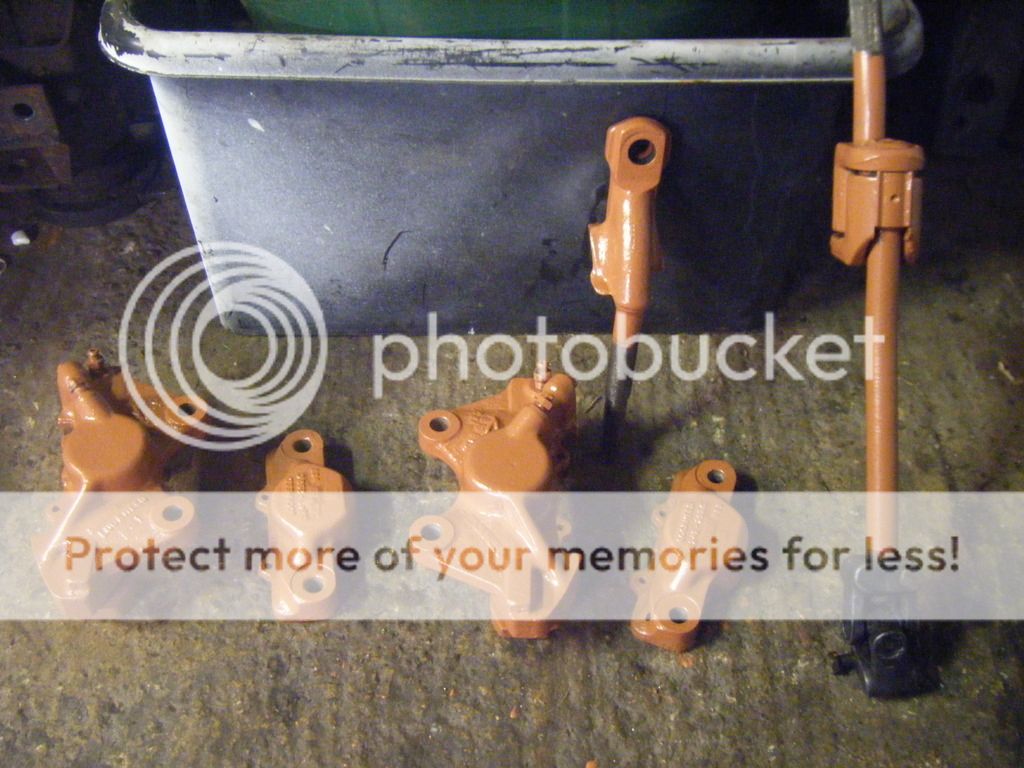
That lot looks great and will look even better when it's shiny! :)
Have you considered plastic inner wheel arches? I didn't know you could get them until I was examining my mates 61 plate a few weeks ago. Much lighter, obviously, but probably quieter too. As well as not rusting! If I'd known before I forked out for my replacements I think I would have went for them.

My thoughts too, should look good once back :)
Ref plastic inner wheel arches, that is just a cover, they still have the metal ones underneath. At least the ones I have seen are (not looked at a tdci mind), and it makes sense to me, as the inner wing is bolted to the chassis giving the wing as a whole some rigidity. Maybe they changed the design later on.
 
So some paint turned up mid week, Wednesday I think (I forget)
Primer to be specific. Corroless s2. Arguably one of the best primers available. Not cheap, but it's going that step further than I usually would, which has generally happened with each build.
I can feel this build going a little over the top :eek: (Maybe not, we'll see)

DSCF4779.jpg


So tonight I had an hour just getting a coat on a few bits, will do another in the morning. Strangely like the colour as is :oops:

DSCF4782.jpg
 
That looks good, mate. What is your final colour again? Is that one of the new final colour based primers? On the way to Ford ST orange, not as vivid though.
I can empathise with what you are saying about going over the top with your current build. Throughout my one build I've repeatedly said to myself, 'well now you've done that, you should really go on to to this'. Then, because you've made such a good job if that, the next thing you sort has to be to at least the previous quality or better and it spirals up over. I should imagine, the next build, cos you've learned so much and gained so much experience, you've got the capacity and knowledge to push the boat out even further.
Looking forward to watching you pushing your own boundaries, marra. Great job satisfaction. Plus, inspiration for others. Cracking work, son. Magic to watch. :)

Cheers mate :) Not sure on a final colour yet (but nothing as bright as st orange), most of this stuff will just be painted black, as I've got a fair amount of Rustoleum left from other projects, just be a few bits like calipers etc painted another colour.
The s2 primer I've put on this evening is just extra protection, you don't even see some of it but I want everything right.
To be honest it's a never ending cycle, I always want to better what I've previously done, but my issue has always been cash flow, or the lack of it.
I usually have lots of time and little income, (last year I was getting paid £50 a week) which didn't exactly go far so used some savings as well.
This year I seem to be doing ok, I have constant work and a steady income. Down side is the lack of time, but hey you can never have both.
I'm just going to try make the most of having any amount of money to spend while I can, time isn't an issue, I'd rather just get things 100% as I want, because for the first time ever I think I actually can.
 
Started painting a few things today, I had toyed with the idea of grey, but as I already had loads of black I decided I'd just use that up.
Apologies for crap pictures, better pics tomorrow hopefully when everything has had another coat.

DSCF4787.jpg


As most of you know I like a little colour underneath, calipers, radius arms etc.. So I chose a colour, blue (RAL5002 to be specific) so as not to be too in your face and bright.

DSCF4788.jpg


Cracked the tin open and it's **** me bright!
I should have learnt by now, I've done enough of these to realize they're always brighter than colour charts. Same thing every time :oops: but it'll be ok, they usually look ok when you start building them up after the initial shock.

DSCF4789.jpg


Put some on the front calipers (actually the only thing I can do) although I should have split them, would have (a) been easier to paint, and (b) replace the pistons for stainless.
Oh well, will wait until they're dry and split them then.

DSCF4792.jpg


Finally feels like I'm getting somewhere now stuff is being painted ready for re-assembly.
Things might start going back together at some point this year :eek:
 
You will easily finish this for Christmas. I on the other hand have put my rear tub on. I've been thinking about it all week and put it on today. 20 minute job. Next week I might get time to bolt it on!
 
Is this one going to be a keeper then, mate? :)
Do you need to split the calipers? I used the compressor to pop them out. Put a block of wood between pistons so they didn't actually fire right out.
If the calipers are blue, is that leaning you towards a body colour?
 
You will easily finish this for Christmas. I on the other hand have put my rear tub on. I've been thinking about it all week and put it on today. 20 minute job. Next week I might get time to bolt it on!

Very doubtful, at press I think next christmas would be a good target for me.
I take it you are busy then? Me too! But hoping for a little more time come December as my boss is going for an hernia operation, but in the meantime its trying to get all the jobs finished.
Think he wants me to do his drive December, but whether money or tinkering time wins I don't know yet, probably a bit of both.


Is this one going to be a keeper then, mate? :)
Do you need to split the calipers? I used the compressor to pop them out. Put a block of wood between pistons so they didn't actually fire right out.
If the calipers are blue, is that leaning you towards a body colour?

Everything is built as a keeper mate :) But generally things go up the ****ter in some way or other and plans change, maybe I should have given up by now. But at the minute I'm in the best position I have been for years, if not ever. So here's to hoping :)
While I love what I do, it does pain me to see them go after thousands of pounds and hundreds of hours, just sometimes it's the only way.

Ref the colour, it wasn't meant to be leaning towards a body colour no. I did try to choose it conservatively and not too in your face, something I thought blue wouldn't be, and so wouldn't look out of place with any body colour I chose.
I was actually more thinking along the lines of deep bronze green or the heritage green. Not really sure yet to be honest.

St orange
That would be really cool

Haha, just a little bright for me though :eek:
 
Not a deal done today, had a jig about in the garage and got a second coat on the diffs etc..
I really do need to get a shifty on or something, no room in the garage to work, some of the blasted stuff has already got surface rust in places, so could do with going pretty soon, which would also free some space up.
All very higgledy-piggledy at the mo, well no change their then :oops:

DSCF4800.jpg


Bit of clean up to do where I've got paint where I shouldn't, but rather that than mask it all up. Far to impatient for that :oops:

DSCF4804.jpg


DSCF4805.jpg


DSCF4806.jpg


Started repairing the battery box, folded some little cover things up for the vent on the bottom as originals where rotten.
Probably not square or straight, but it's not too bad to say it was done by bashing with a hammer in the vice.
Got one on and another repair and the gas ran out. **** sake! Getting a regular occurrence this. Should really start getting a big bottle but no real place to store it.

DSCF4796.jpg


DSCF4797.jpg


I also dealt with the broken bolts in the axle casings. I did try last week with some drill bits I had, all pretty new, but wouldn't even touch them 4mm plus.
That said I do only buy cheapo drill bits, £7 a set, which usually do everything I could want, and if I'm honest I'm hard on them so no point spending too much as I kill them in no time. Can just throw them away at £7.
Anyway, they had to come out so decided to buy some cobalt bits, at which the price scared me :eek: Bought these on ebay as a job lot, only a few sizes but pretty much perfect for what I needed.
Might not have been cheap, but by god they're good!

DSCF4791.jpg
 
Much better with a big bottle, unless you can get a free supply of fire extinguishers like I do. As for drill bits, I bought a small toolbox half full of drill bits the other week off local car boot. All dormer and sherwood, mostly brand new and all imperial but it saves my metric ones from getting worn out.
 
Much better with a big bottle, unless you can get a free supply of fire extinguishers like I do. As for drill bits, I bought a small toolbox half full of drill bits the other week off local car boot. All dormer and sherwood, mostly brand new and all imperial but it saves my metric ones from getting worn out.

Yep, big bottle is much better, but like most things, is lack of room, and I don't want to be carrying it to the shed and back either :eek:
Sounds like you got a bargain with the drill bits, these where imperial too, seem cheaper than metric at times, but makes no odds too me, just needed a 8.5mm to finish them off.
 
Starting to be a regular occurrence this, little progress again, just cleaned and painted a few bits and bobs.

First job was to repair a little hole in the inner wing. Forgot to take pics of it finished, doh!

DSCF4818.jpg


Started cleaning the steering box up.

DSCF4820.jpg


And gave it a coat of primer. Still need to remove the drop arm for prep and paint, plus a new ball joint, but for the time being it makes a nice hanging point to paint it.

DSCF4821.jpg


Split the rear calipers and removed the pistons which where slightly rusty. Will replace with stainless come re-assembly.

DSCF4822.jpg


Prepped and primed a couple of other bits too.

DSCF4827.jpg


DSCF4823.jpg


Then decided to get the fuel tank out. This started well as I knew exactly where it was, tried to lift is and thought ****, gotta' empty the fuel I put in it in my wisdom when I bought it, all bloody 45L of it. Why I put so much in I don't know. Tried very carefully not to spill any of the expensive stuff :oops:

DSCF4828.jpg


Prepped tank back to good clean steel, removing the **** poor coating they usually have.

DSCF4830.jpg


And again, stuck it in primer.

DSCF4831.jpg


Top coat to do during the week if I can.
 
Last edited:
Do not cut the drop arm off that box!!!!!!!!!!!! As nowhere has a replacement and I found out the hard way. I now have a cleaned and painted 6 bolt box sat on my yard that's useless.
 
Do not cut the drop arm off that box!!!!!!!!!!!! As nowhere has a replacement and I found out the hard way. I now have a cleaned and painted 6 bolt box sat on my yard that's useless.

Ah! I take it the drop arms are different on the 6 bolt boxes? Didn't realize, thought they was all the same, or 4 and 6 bolt at least.

Primer looks good stuff too, I'll invest in some on my next rebuild;)

It's good stuff, think I've got enough here for the next 3 projects :oops:
 
Back
Top