Aaron's 90 rebuild (round 3)

This site contains affiliate links for which LandyZone may be compensated if you make a purchase.
You couldn't just grind a bit off some of your existing puller legs to get that gear wheel off, could you? I've filed a bit off my slide hammer's hooks for one or two fiddly jobs where there wasn't much room. I worked out it was cheaper to modify an existing tool than buy the special one-off tool.
 
Cheers chaps, I should hope most of us would do the same, it's all too easy to turn a blind eye or to just let it be someone else's problem.
Most likely parked up to see if their was a tracker or the like, recon it would have been gone in hours if not reported when we did.
 
You couldn't just grind a bit off some of your existing puller legs to get that gear wheel off, could you? I've filed a bit off my slide hammer's hooks for one or two fiddly jobs where there wasn't much room. I worked out it was cheaper to modify an existing tool than buy the special one-off tool.

I could, and I did the same last year for a job, but I'd rather not as it was a significant amount more to remove, as much as it was tempting just to get the job done.
Sorted it now anyway :)
 
Where does time go, time is flying by with not a lot happening.
My main priority yesterday was to get the rest of the gearbox stripped down so I could clean and paint the casing ready for reassembly today.
Well yesterday didn't exactly go too plan what with other stuff..

Removed detente ball/spring and screw and interlock spool and lifted main casing off.

DSCF4939.jpg


Now remember this 5th lay gear I couldn't get off.. Well with the main casing now removed I could invert the lot and put it in the press to push the lay shaft off the gear.
Job sorted, awkward to say the least, but done without the need for expensive special tools :eek:

DSCF4944.jpg


Started cleaning the casing up.

DSCF4945.jpg


And a splash of paint.

DSCF4950.jpg


Pilot bearing puller used to remove bearing race from pinion shaft.

DSCF4951.jpg


New main shaft reassembled and fitted with new bearings and baulk rings.

DSCF4953.jpg


And the main casing back on.

DSCF4955.jpg


Still got to finish it, but things never really went to plan today either :confused:
 
I know hat you mean. I've been on hours today, made some progress but found more problems too :rolleyes:
Still, I'd be over the moon if I'd managed to do what you've done today with that gearbox :)
 
That looks good Aaron, a bit beyond my skill level! I'm sort if just hoping for the best with my gearbox etc, as I've only ever driven it off the drive, turned it around, and back on again. But If I do experience any problems with it I'm sure these pictures will help me figure it out. By the way, did you actually order a new chassis?
 
I know hat you mean. I've been on hours today, made some progress but found more problems too :rolleyes:
Still, I'd be over the moon if I'd managed to do what you've done today with that gearbox :)

Always the bloody same mate :( At least you should be coming to the end of finding problems, me.. well I'd say I've only just begun!
Gearbox went pretty well, just annoying having to walk too and from the shed everytime I need to use the press.

That looks good Aaron, a bit beyond my skill level! I'm sort if just hoping for the best with my gearbox etc, as I've only ever driven it off the drive, turned it around, and back on again. But If I do experience any problems with it I'm sure these pictures will help me figure it out. By the way, did you actually order a new chassis?

Cheers :) pretty simple really, well I've never been shown how to do it put it that way, just got to work through it and be methodical.
Their was actually nothing wrong with mine other than the mainshaft wear, but seemed a bit silly not to replace bearings, baulk rings etc while I was in their.
Again transfer box was pretty good with the main thing being a new input gear needed.
 
Well I usually start by moaning about something, so I'll not not break the habit of a lifetime.
By 'eck it's been cold! Not bloody used to this weather. Think it's time to finally dig some warmer clothes out.
Plan this weekend was to get the gearbox finished, so the 5th gear assembly was fitted, the extension casing was cleaned up and fitted, oil seal collar pressed on and job's a good 'un..

DSCF4958.jpg


DSCF4962.jpg


And moved onto cleaning up the bell housing and selector.

DSCF4963.jpg


DSCF4966.jpg


And re-fitted with new gaskets etc.. just need to get some new bolts for the selector mech..

DSCF4968.jpg
 
Always the bloody same mate :( At least you should be coming to the end of finding problems, me.. well I'd say I've only just begun!

I suppose I am, but it doesn't feel like it. :(


Cheers :) pretty simple really, well I've never been shown how to do it put it that way, just got to work through it and be methodical.

Not that simple, mate. I think you have a lot of natural ability. Just looking inside a gear box is enough to make most people's eyes spin. :)
 
I suppose I am, but it doesn't feel like it. :(

Not that simple, mate. I think you have a lot of natural ability. Just looking inside a gear box is enough to make most people's eyes spin. :)

You'll get their mate, you obviously have high standards and going through each and every component to try and get perfection takes time.

And cheers mate :) I just enjoy learning new stuff over and above the general spanner work that I already know, I've no one to show me so I just try myself, I've nothing to lose for the most part :)
 
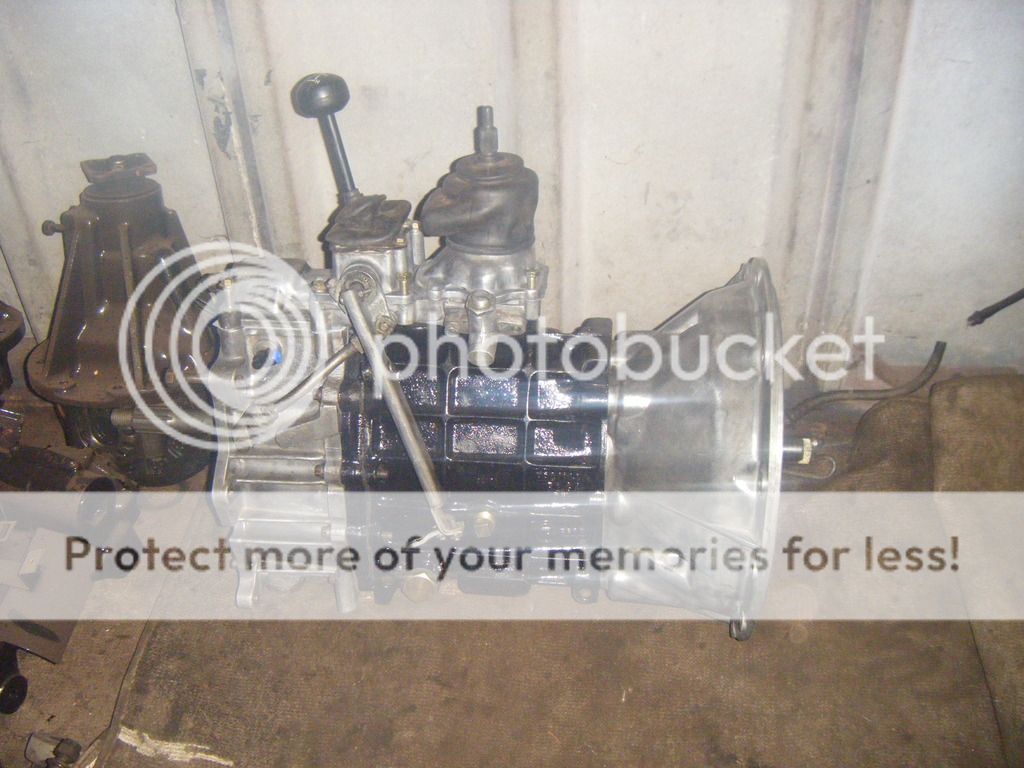
Well it's been a couple of weeks since I last posted, busy as usual and getting worse with the run upto christmas with all the jobs need finishing before then..
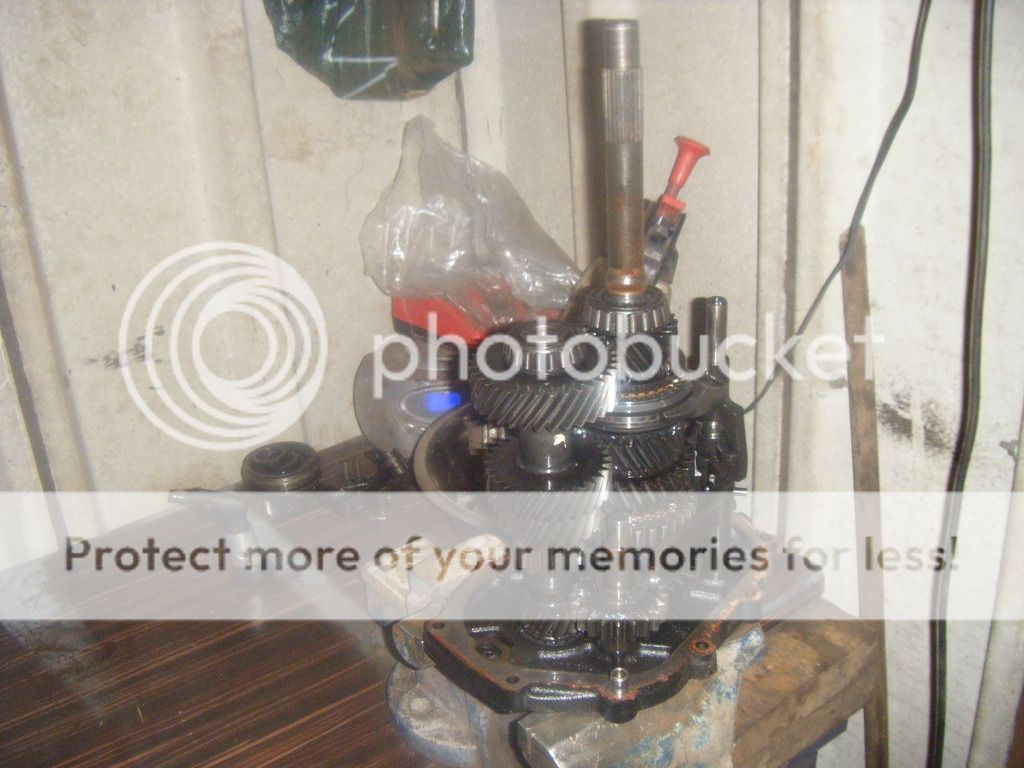
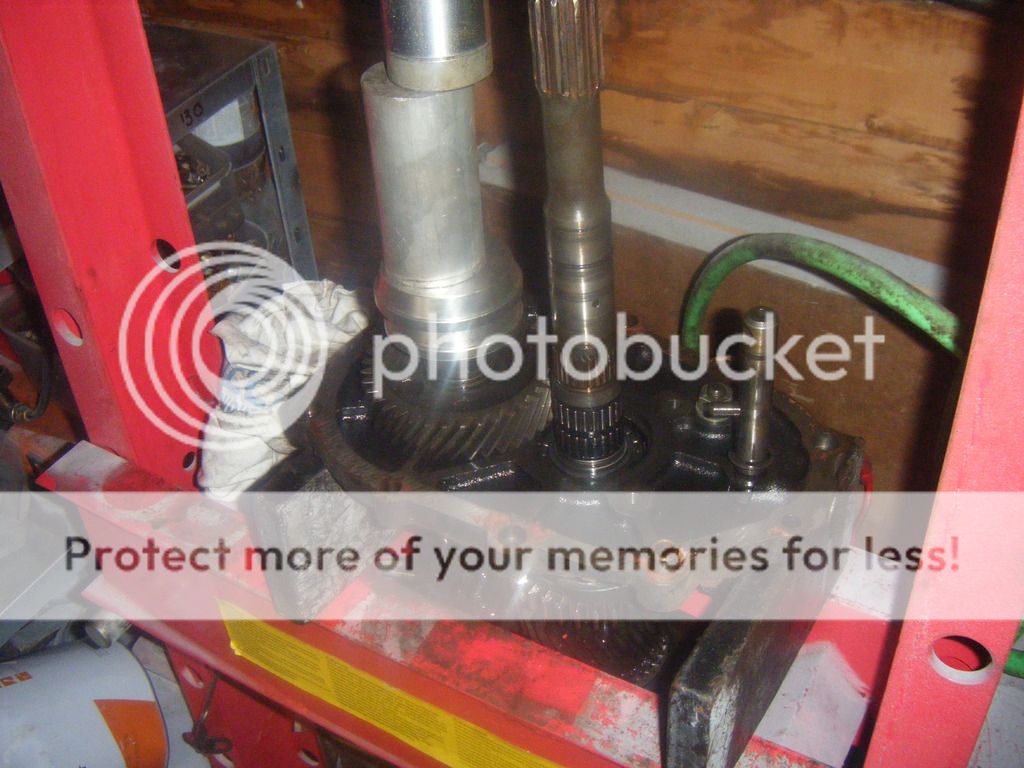
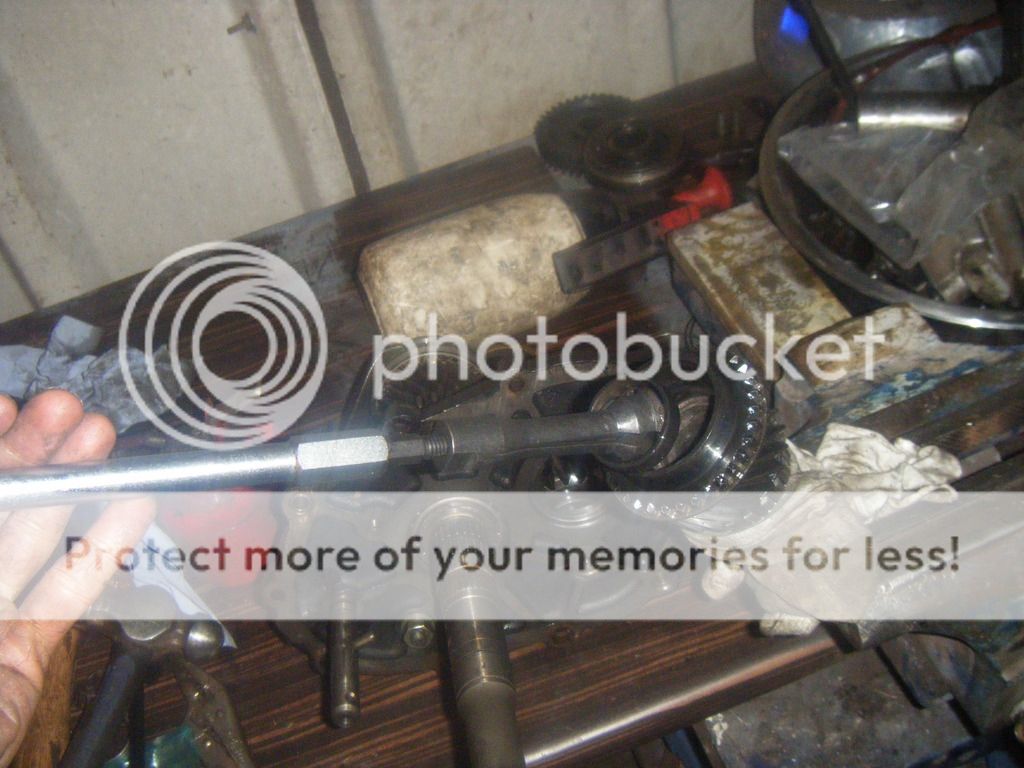
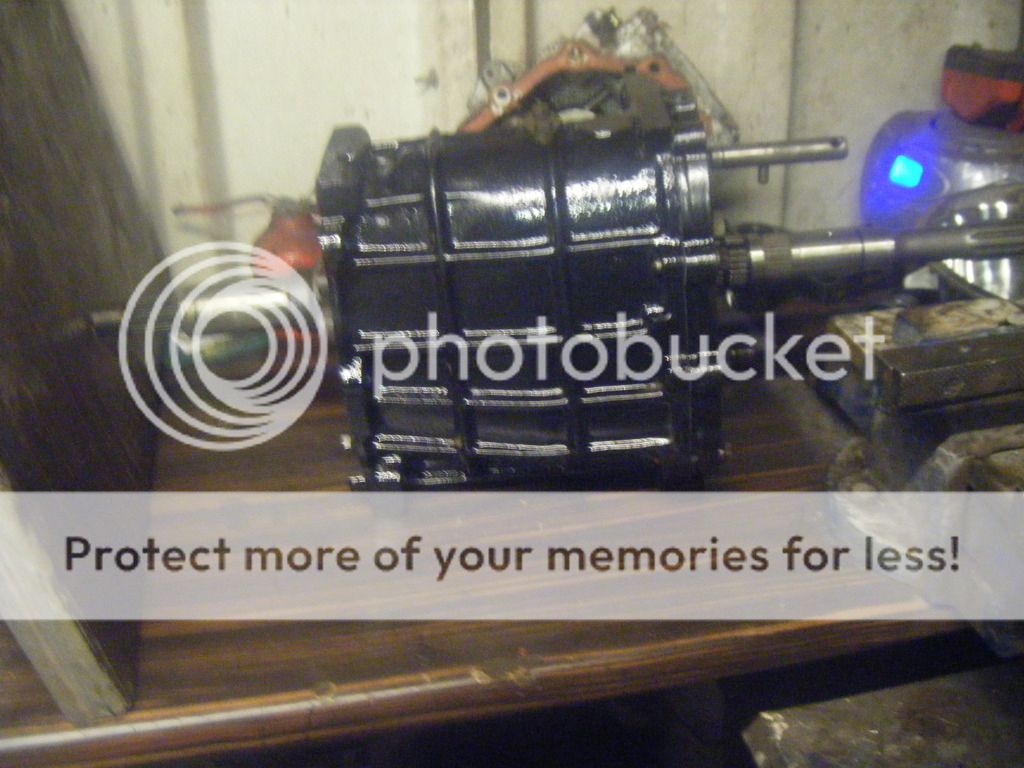
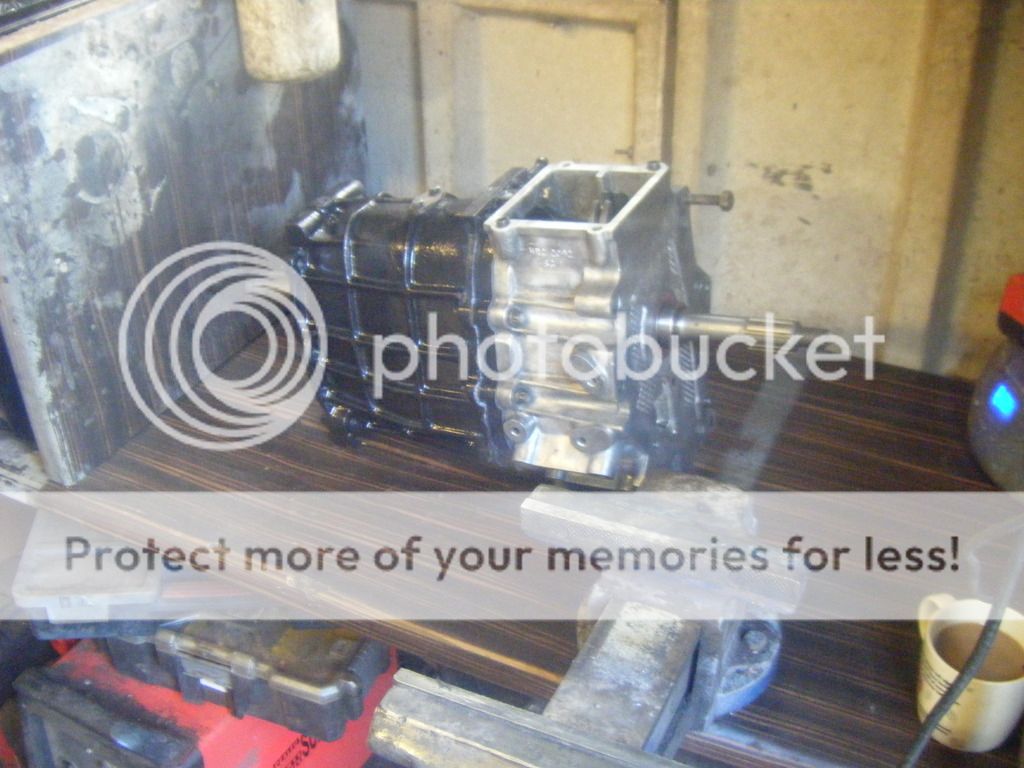
So with the gearbox done it's time to move onto the next little project, that being the engine.
Now I wasn't really sure how far to go with this, and took some deliberation to get to where I am now.
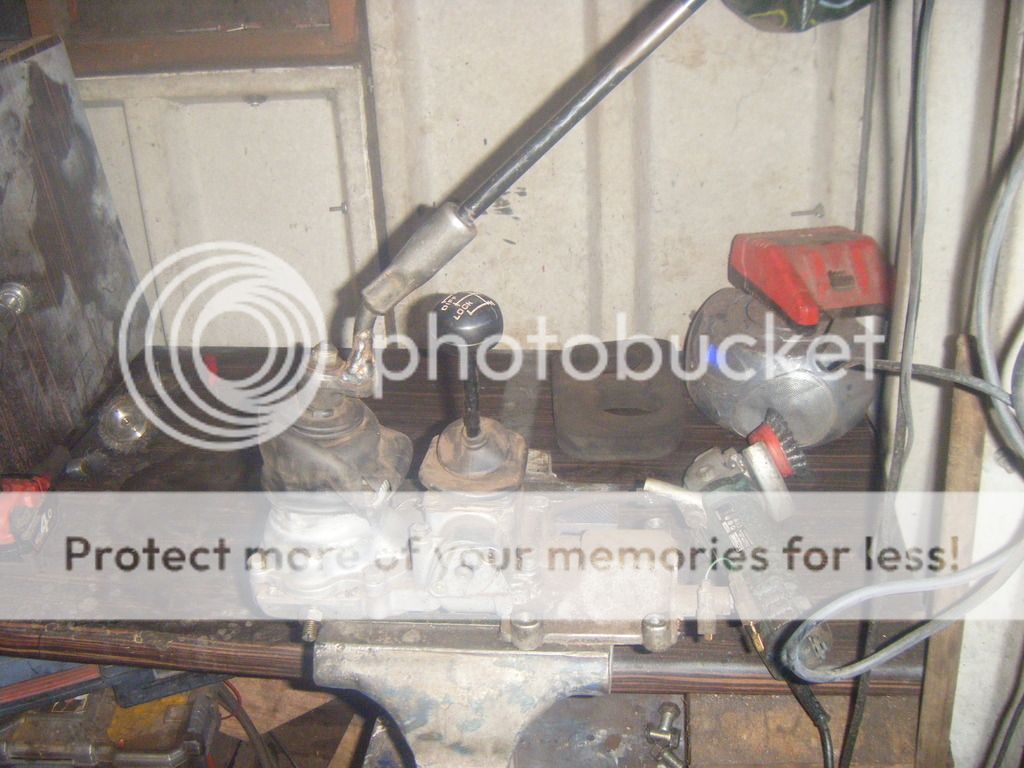
So what I decided to do was all the gaskets, seals, timing belt and aux belts to begin with, and ordered the following to be getting on with,
Bearmach/allmakes gaskets with a few oddball elrings thrown in the mix.
Corteco for seals.
Elring head gasket.
Dayco timing belt/ina tensioner and dayco pas/alt belts.
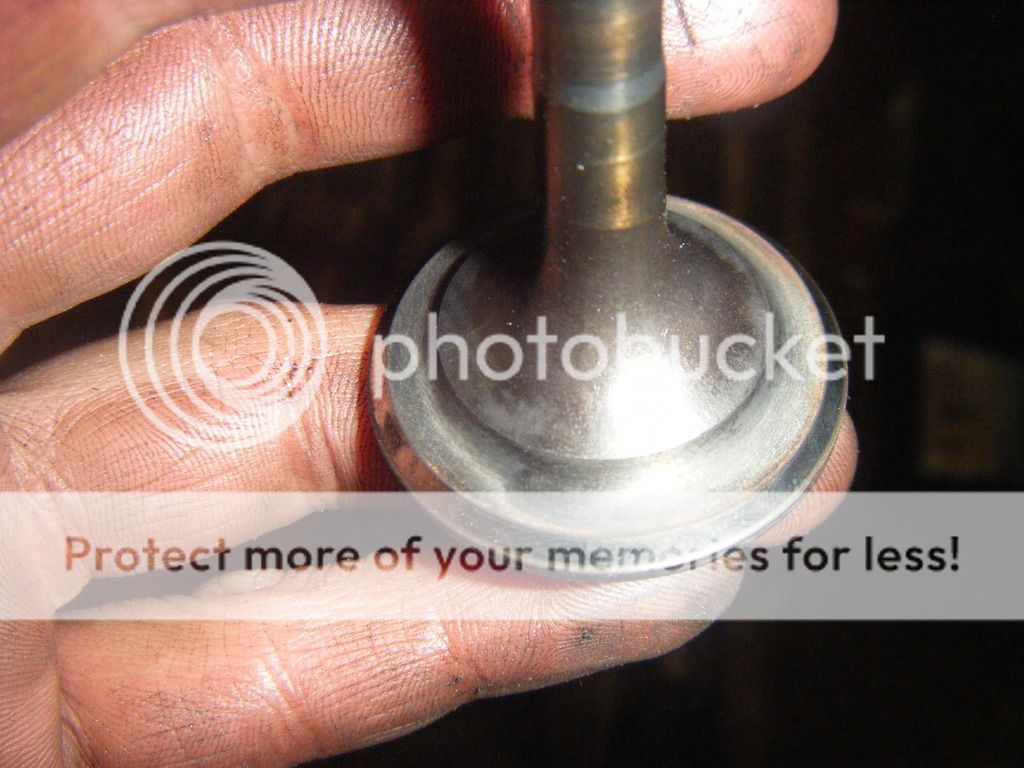
Corteco valve stem seals.
List will probably escalate as I go through it and already has, but will deal with that if/when it comes to it.

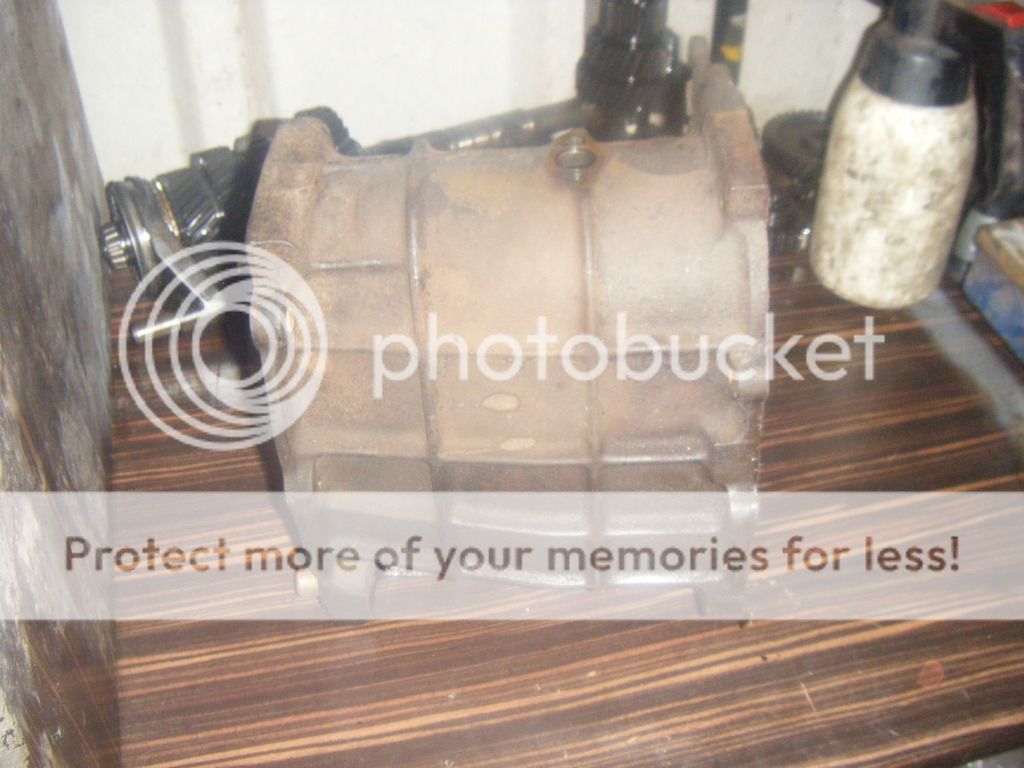
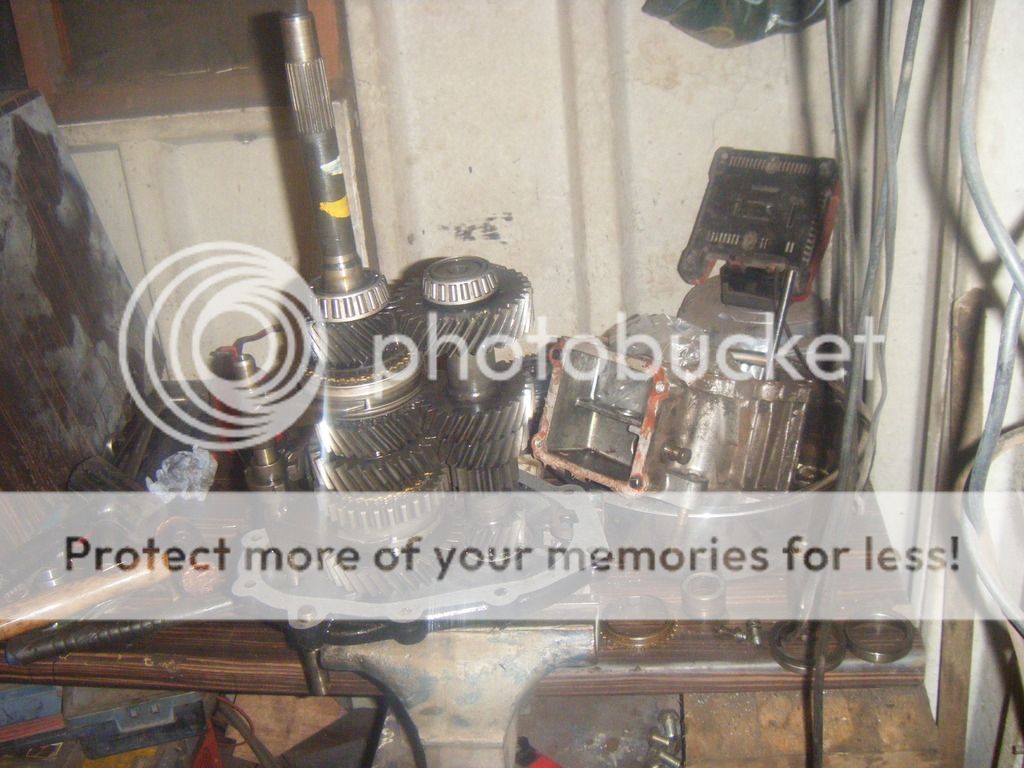
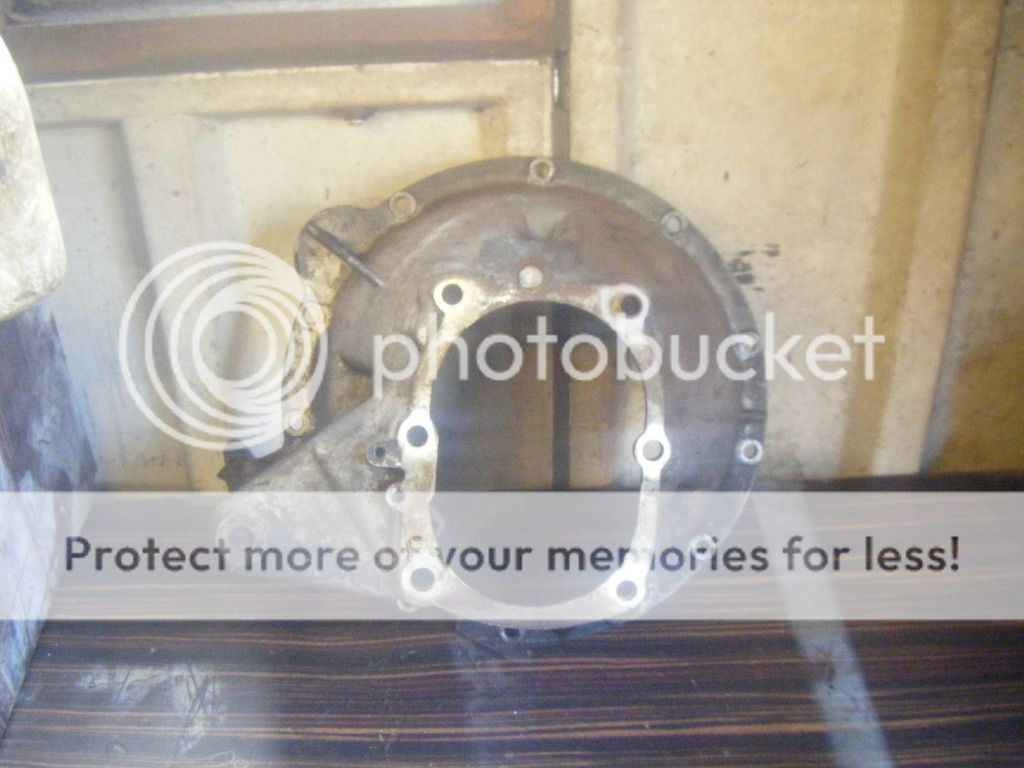
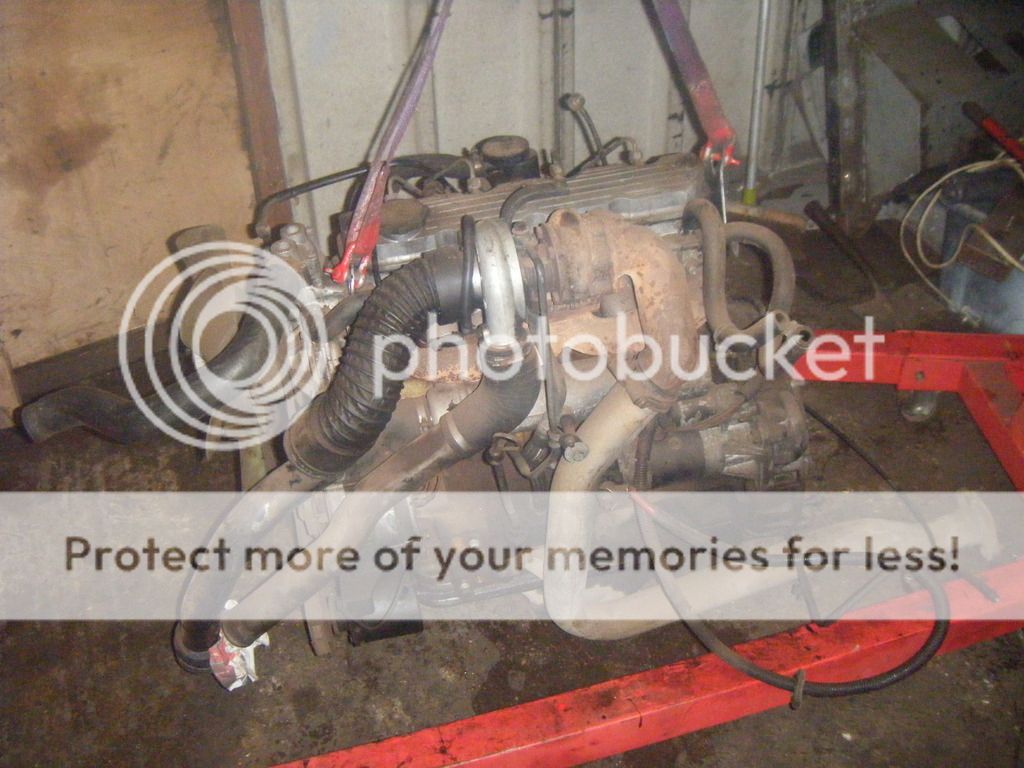
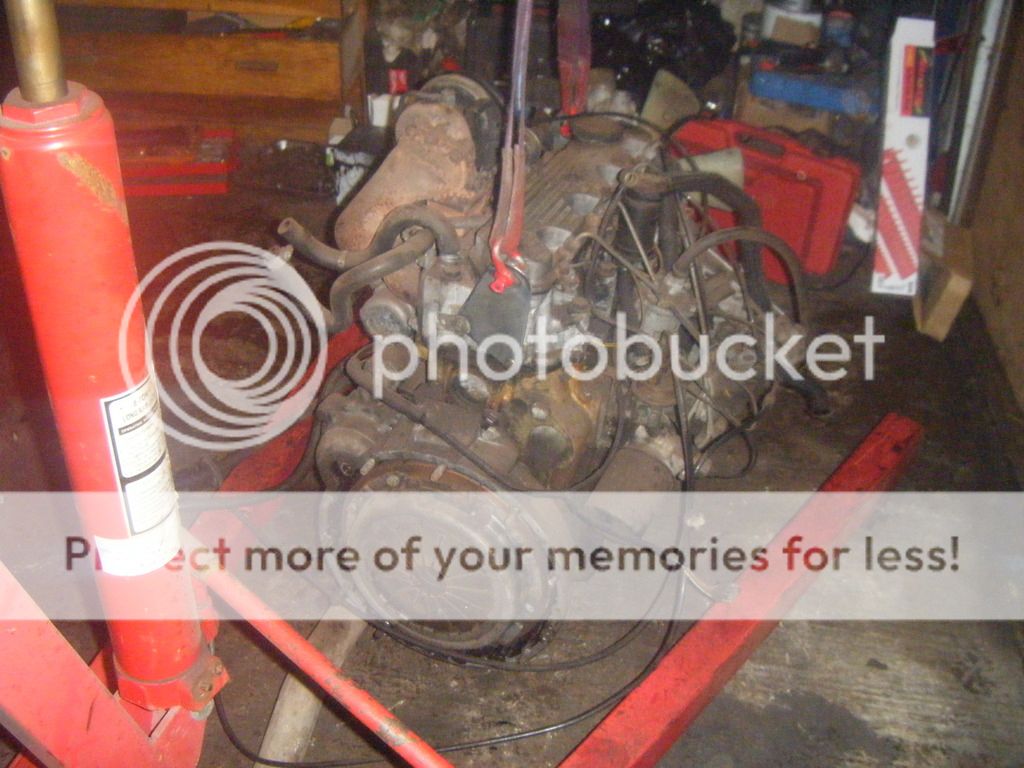
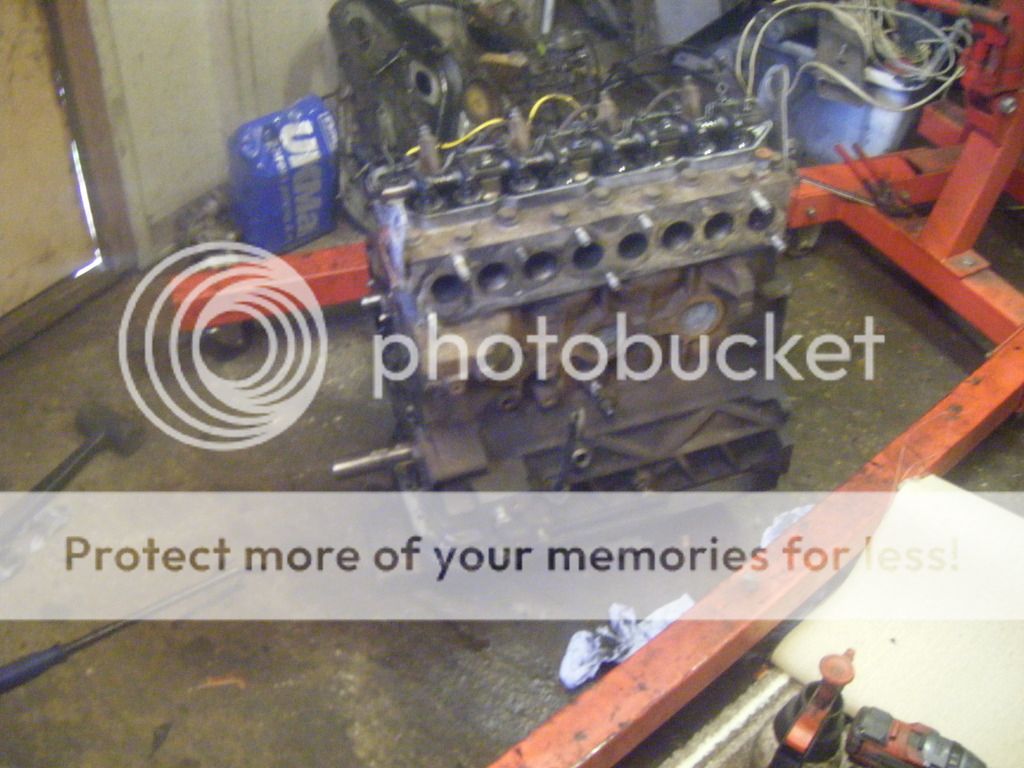
So I set to it this morning starting to strip the engine.

DSCF4999.jpg


DSCF5001.jpg


DSCF5002.jpg


Pulled the manifolds off.

DSCF5004.jpg


Timing case, injection pump, flywheel housing and all the rest of the gubbins!

DSCF5011.jpg


DSCF5014.jpg


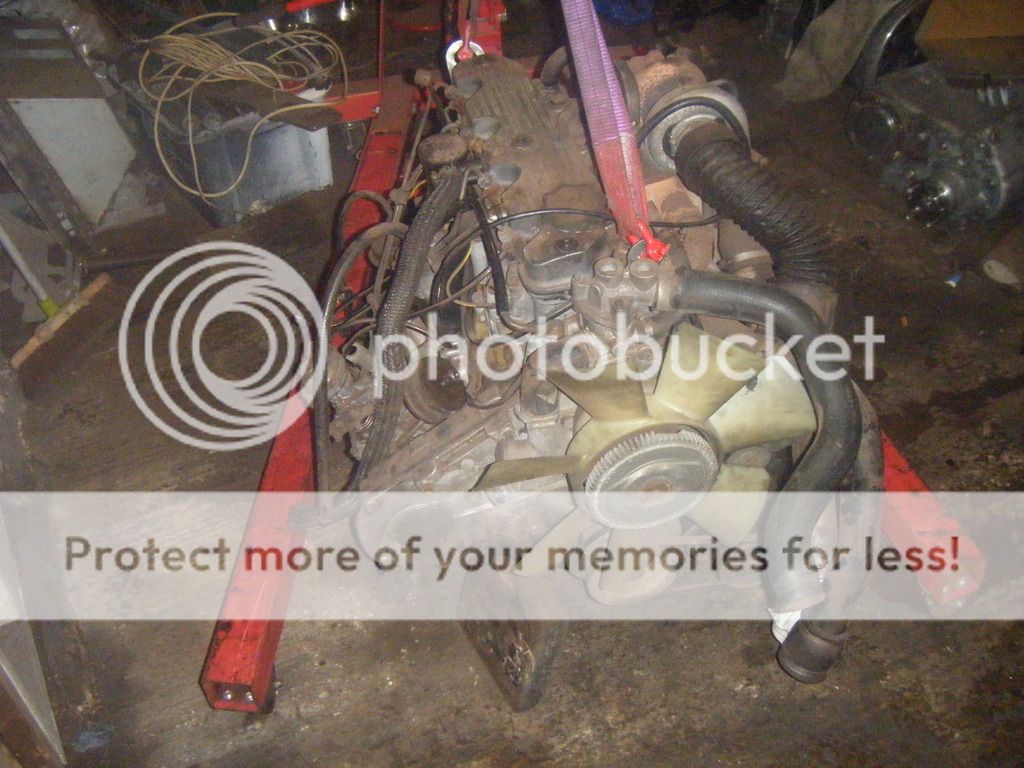
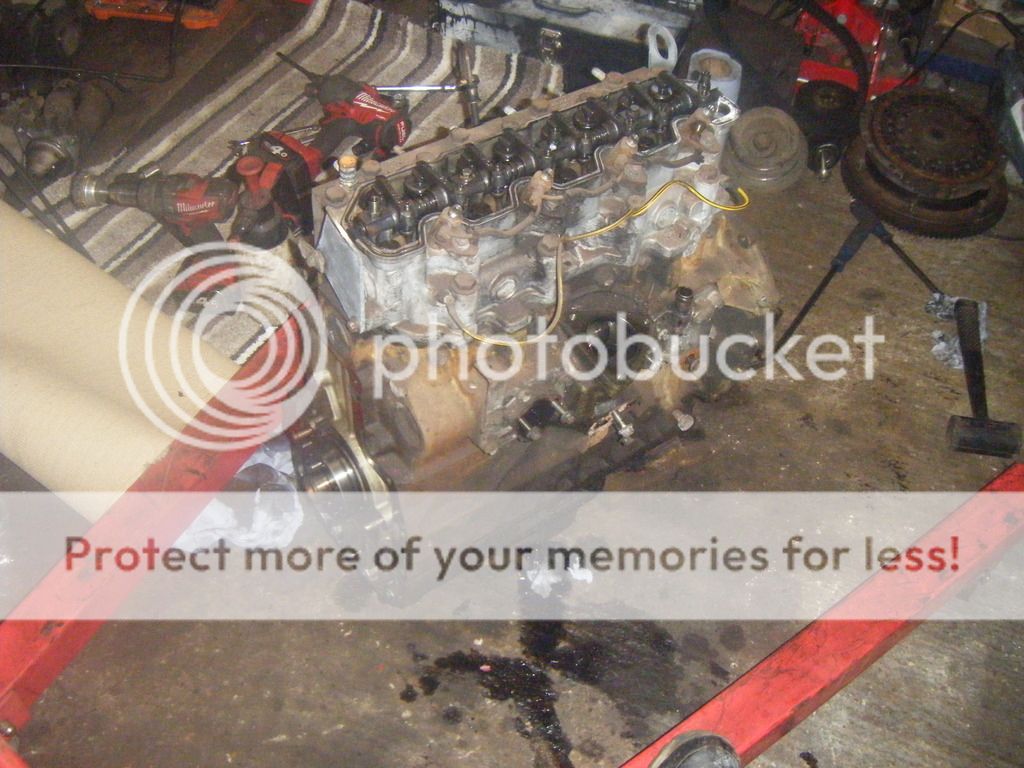
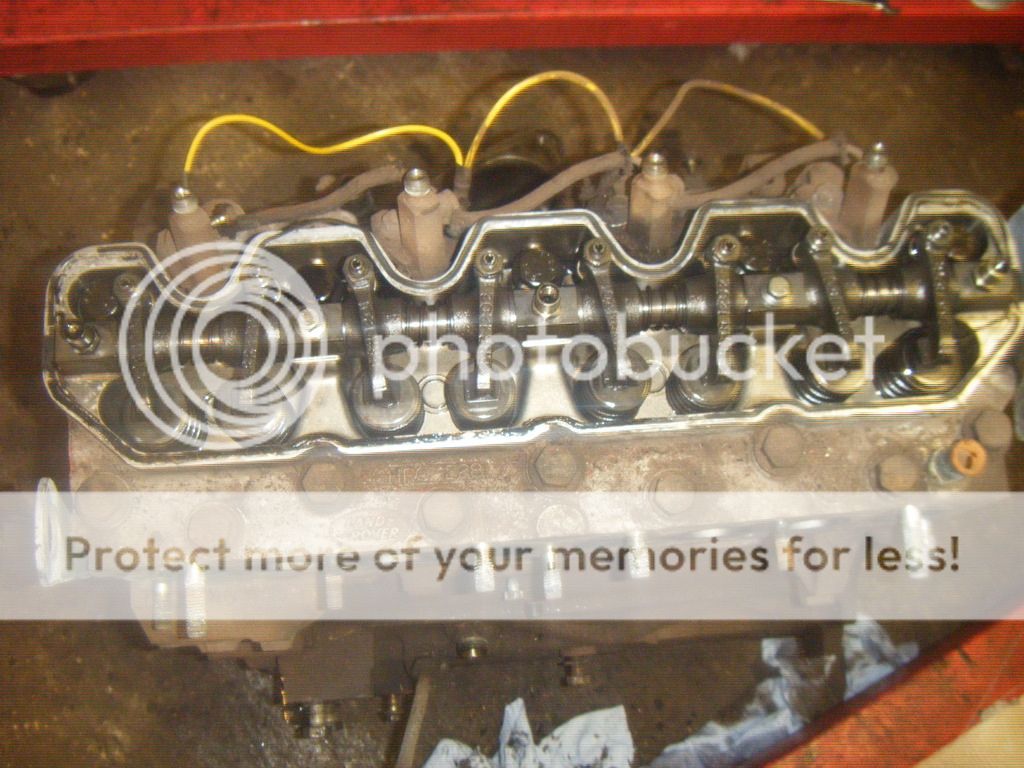
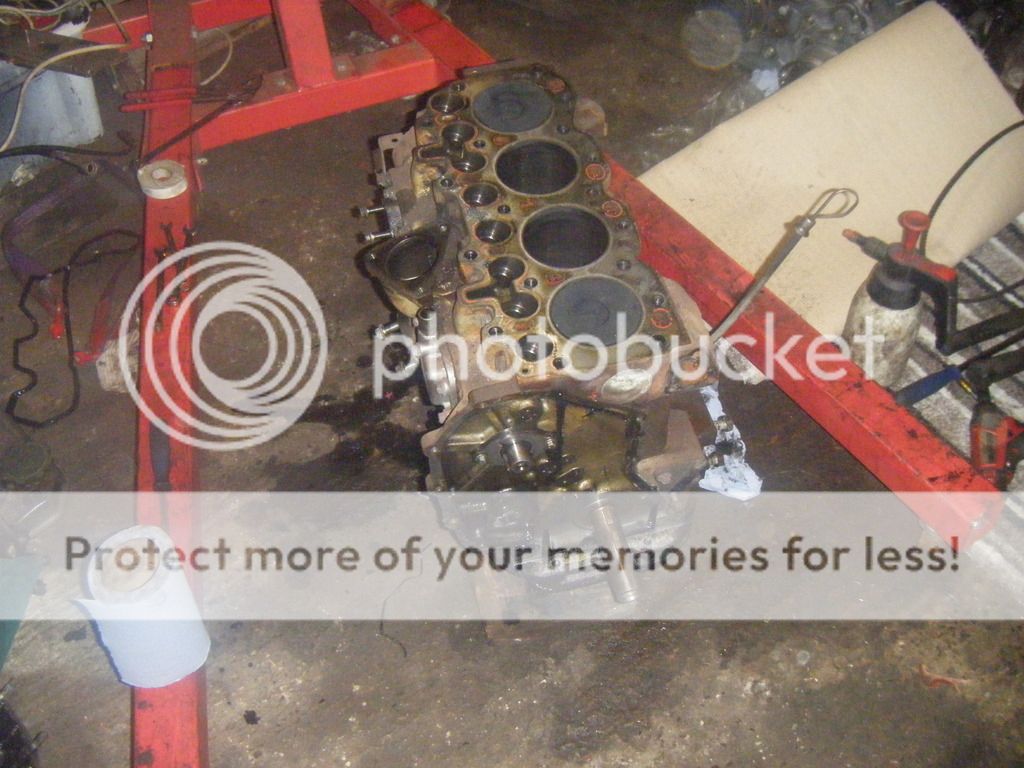
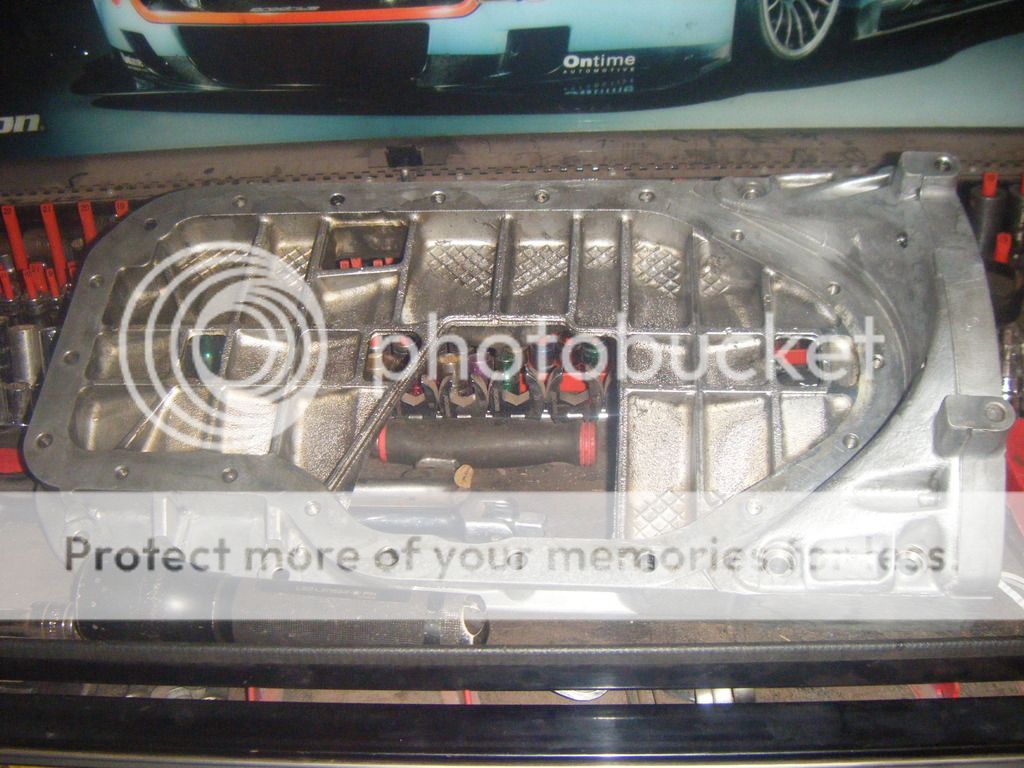
I had thought long and hard about pulling the head anyway, and when I removed the rocker cover all looked very clean, but seen as I'd already bought a new gasket I decided to anyway.

DSCF5009.jpg


Head looked very clean, possibly not long been done before me.

DSCF5025.jpg


DSCF5016.jpg


DSCF5017.jpg


DSCF5018.jpg


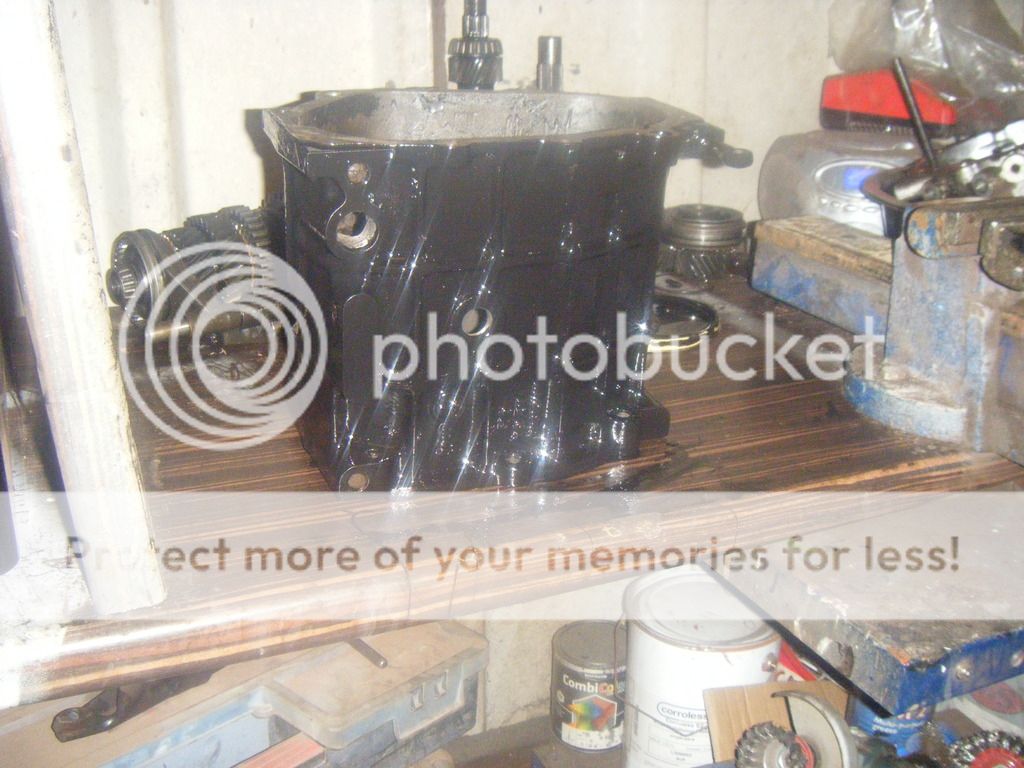
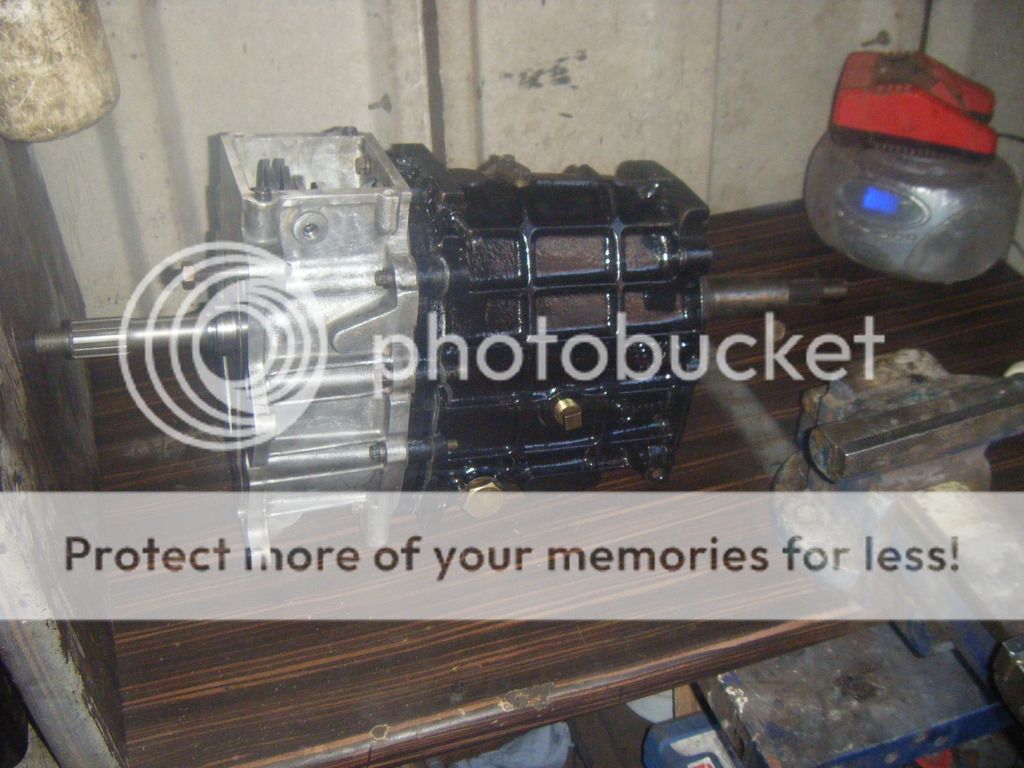
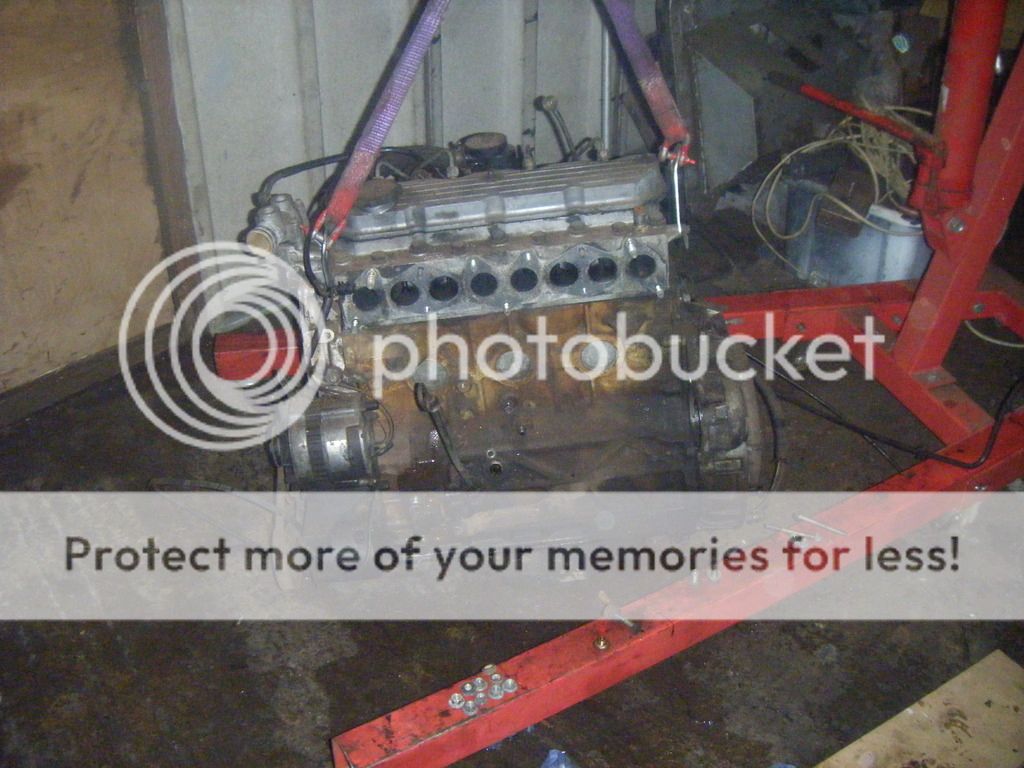
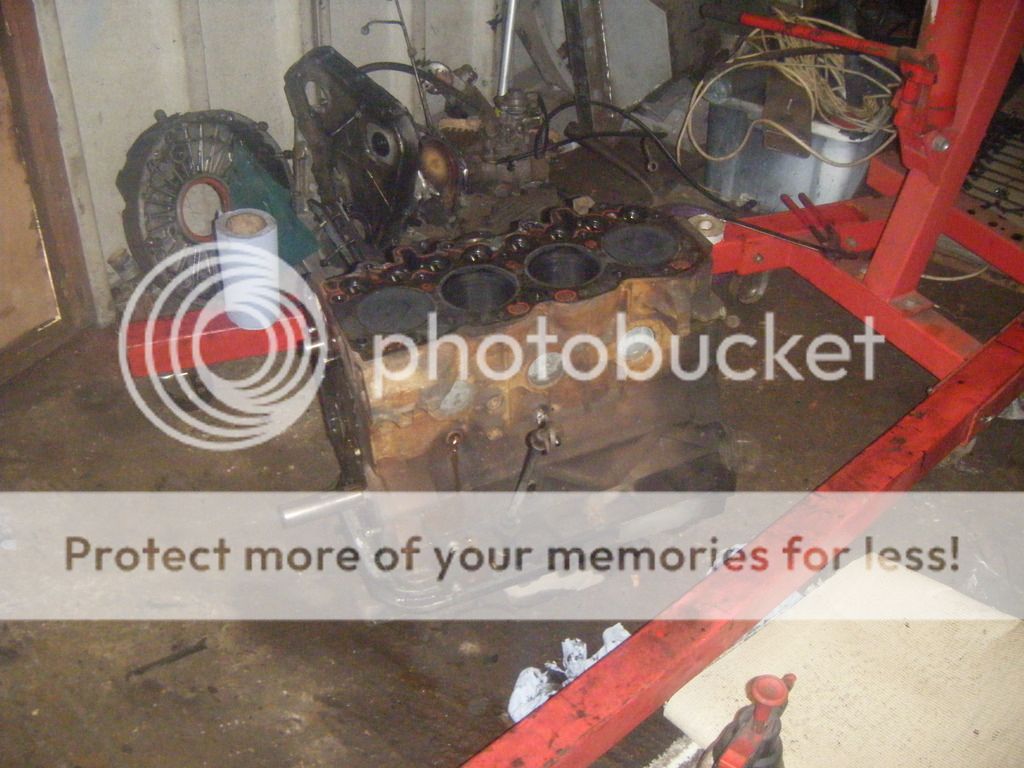
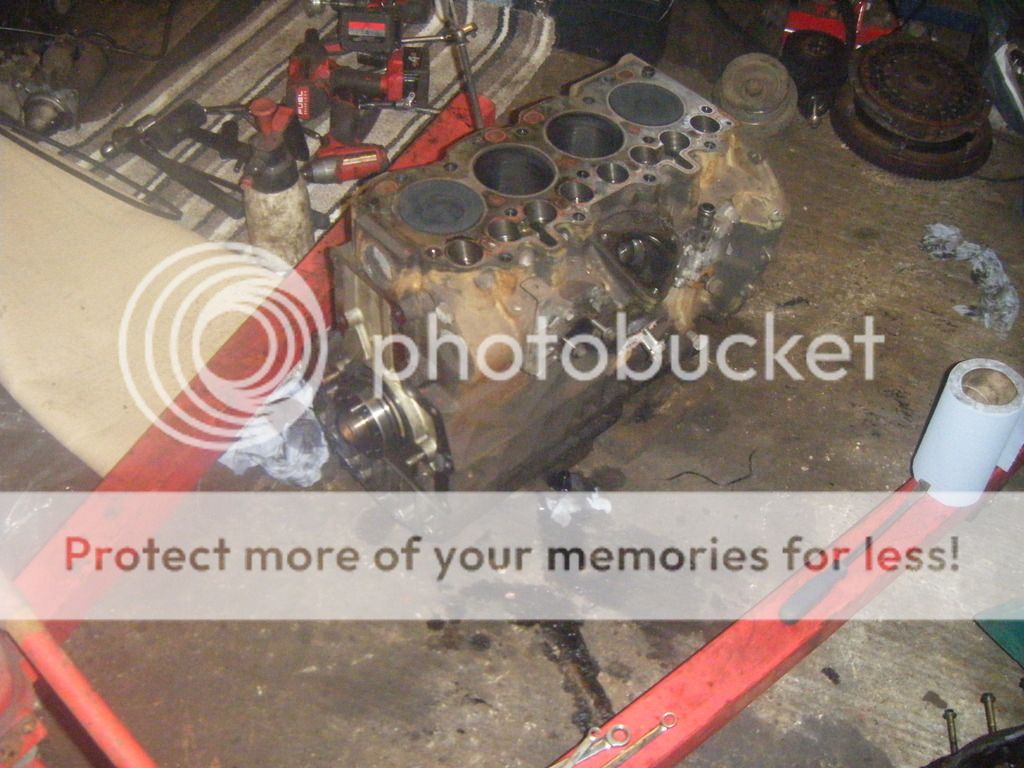
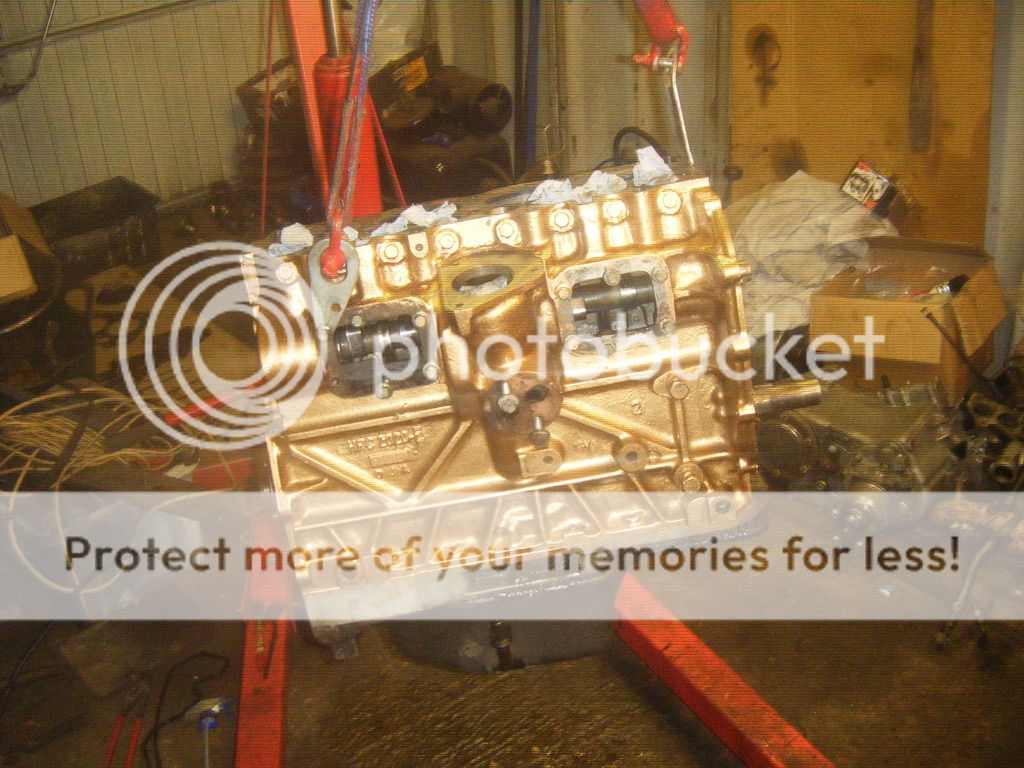
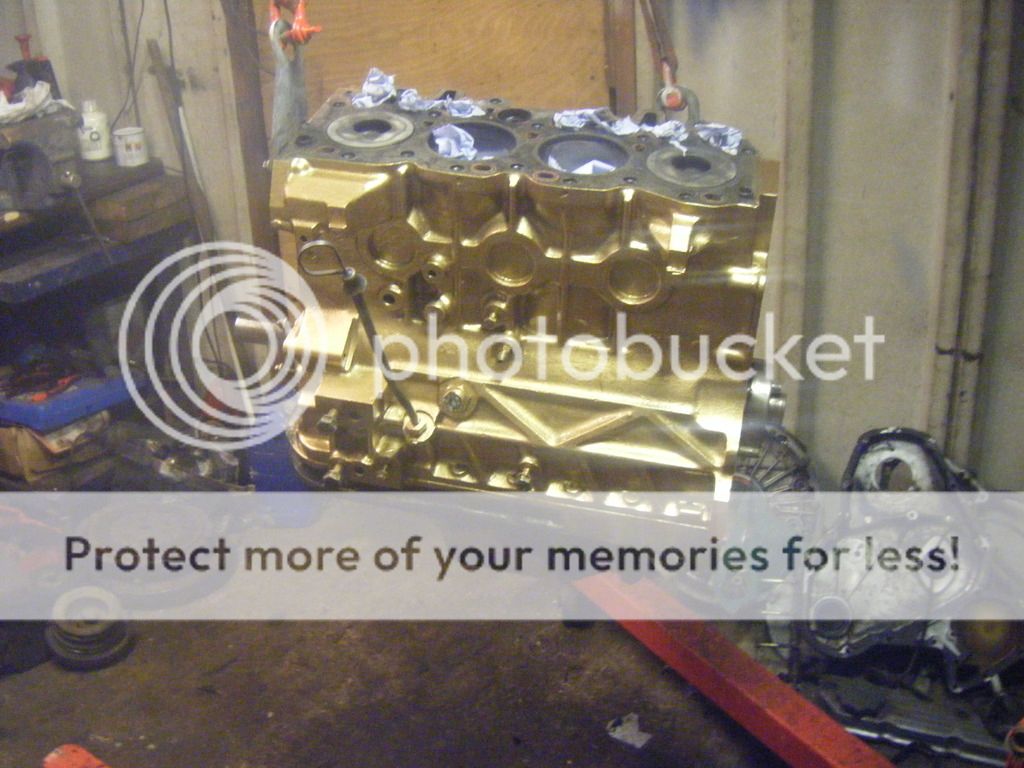
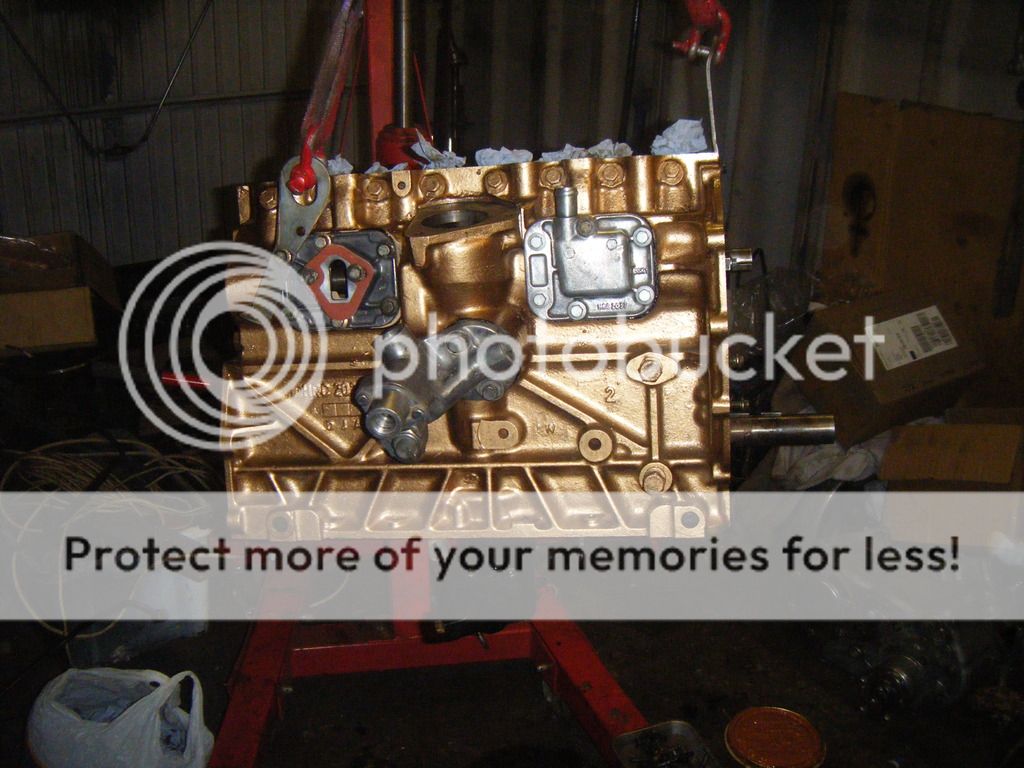
The block then had a thorough de-grease and clean, ready for a bit of paint.
It's, erm... a little bright :oops::eek:

DSCF5019.jpg


DSCF5022.jpg


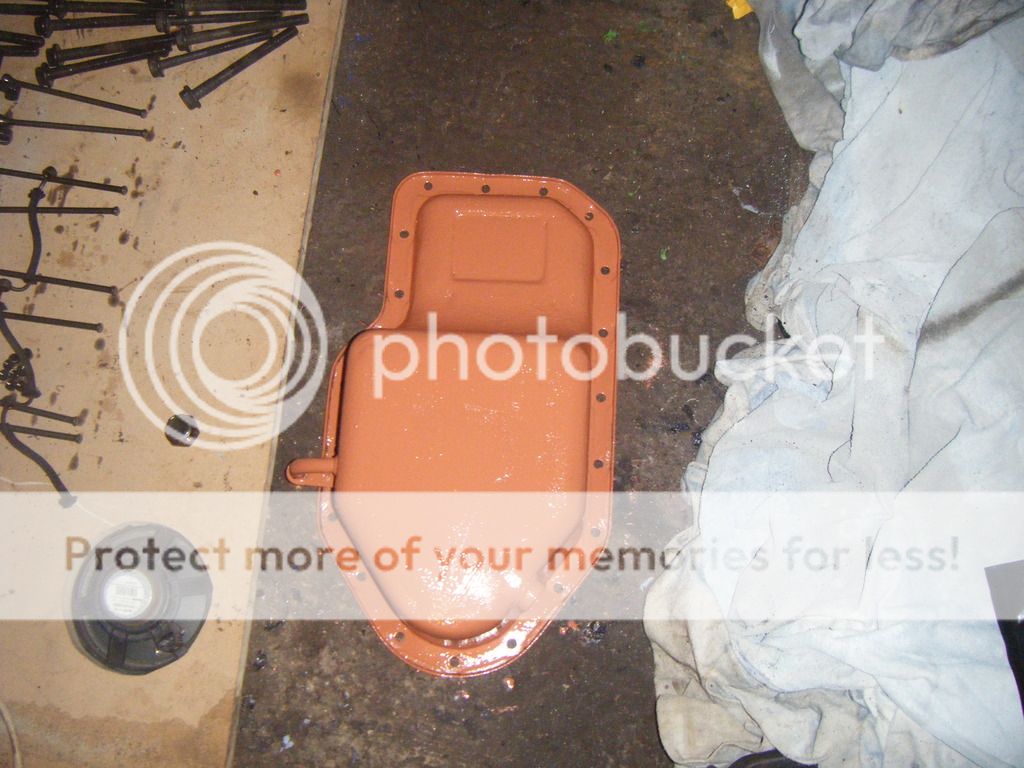
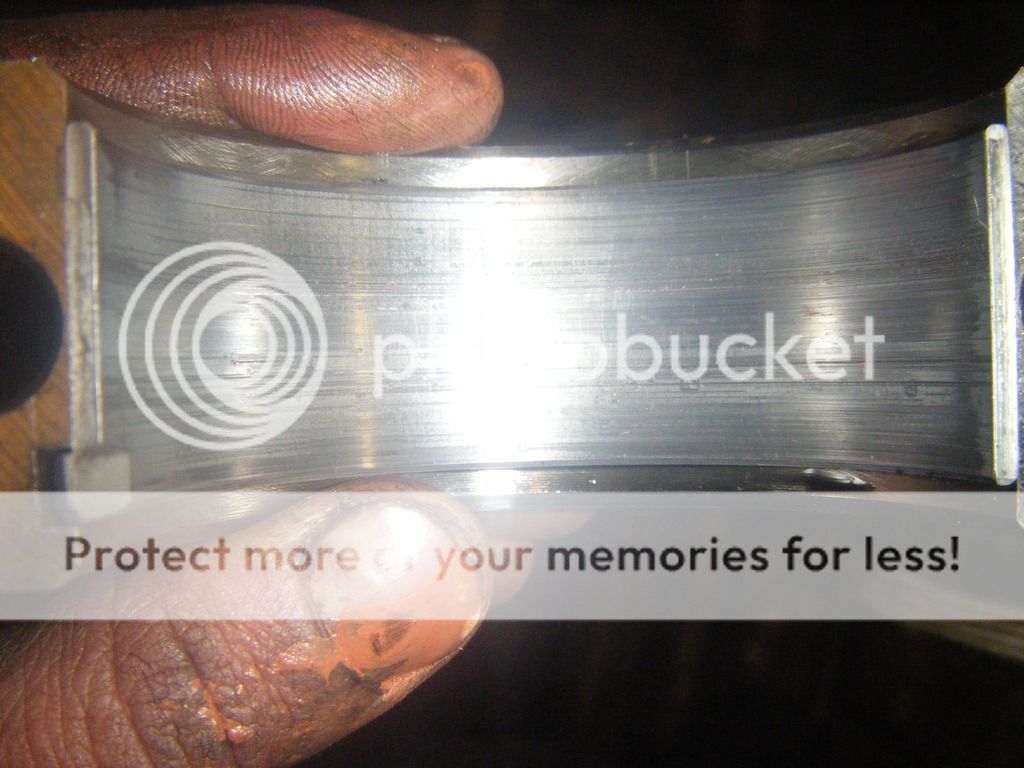
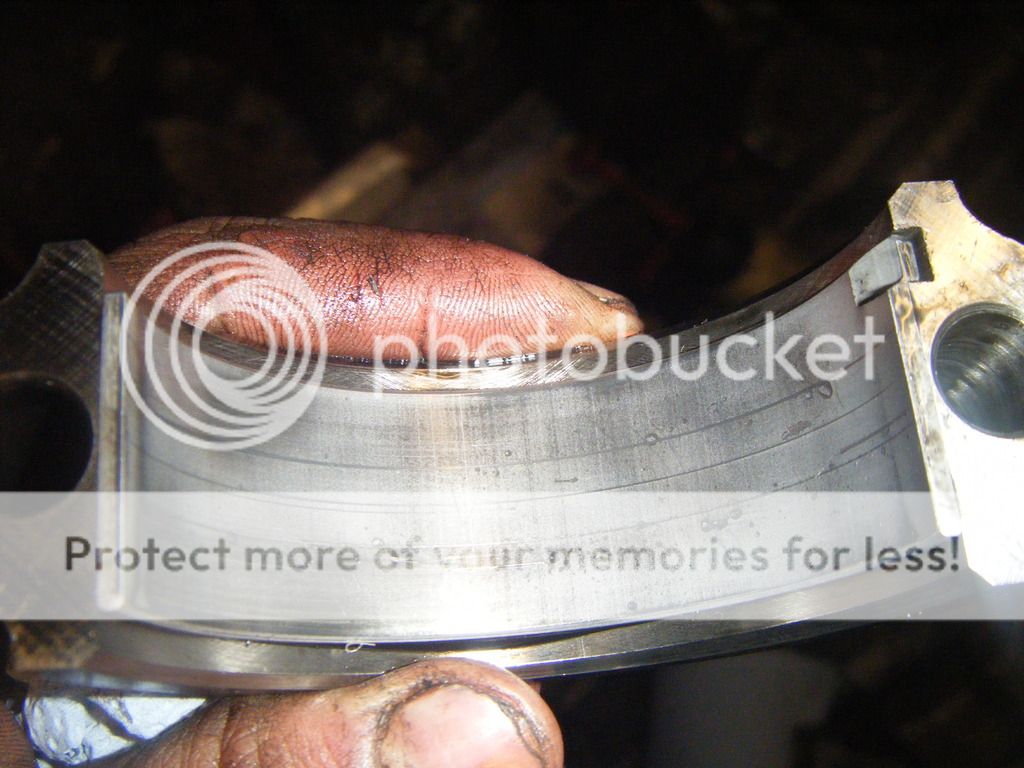
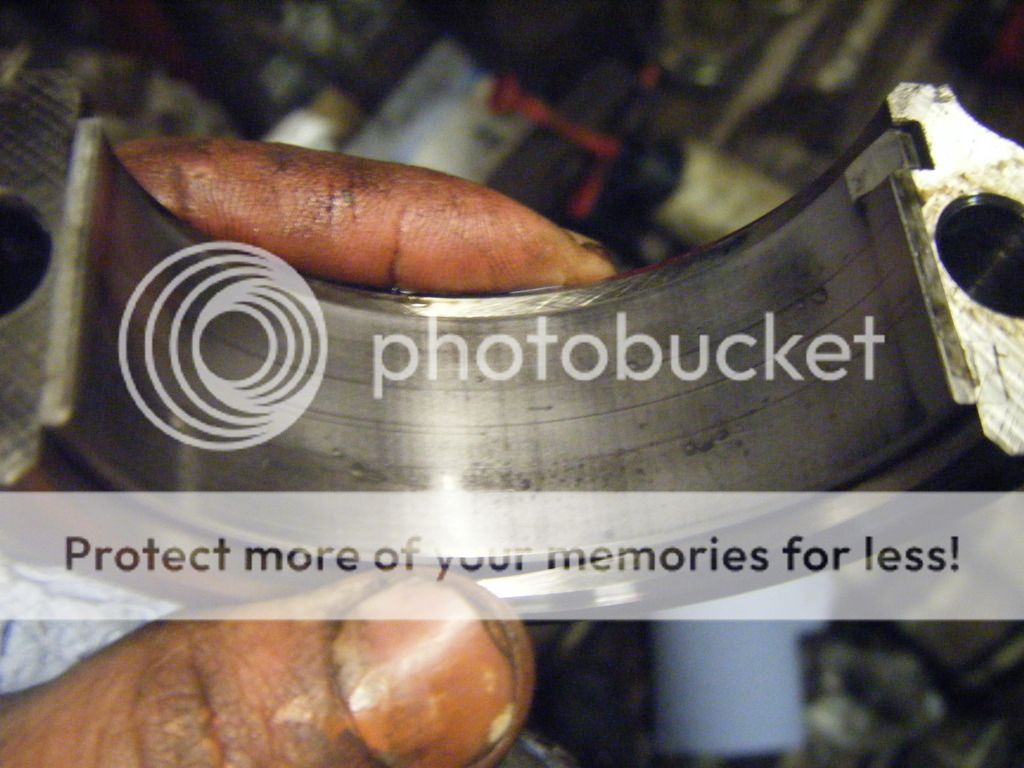
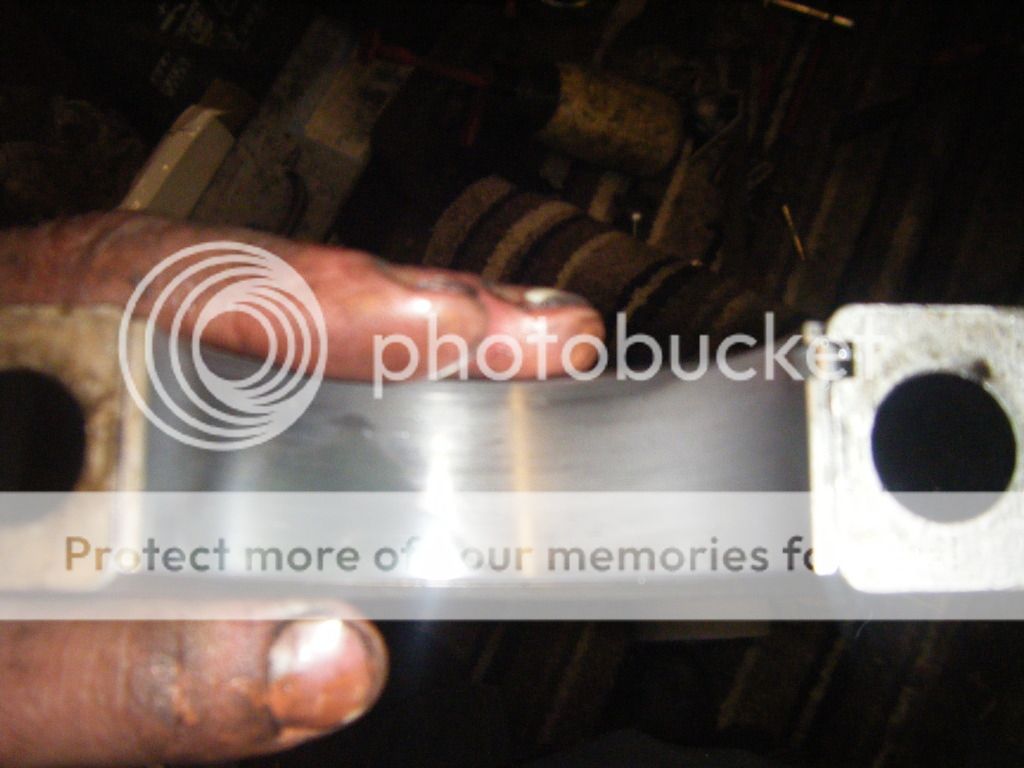
Tomorrow I will remove the sump, clean/paint and remove the ladder frame for a good scrub. Will also be pulling the shells whilst I'm in their to check condition and for wear.
Who knows I might be doing them and a set of rings yet, it was contemplated for a long time and the costs aren't exactly high in the grand scheme of things.

What else have I found out, well the rear crank oil seal is leaking, my general thoughts are if it's not leaking leave them be, but it is so it will be changed. So I am going to order a genuine lr one.
Other than that everything seems good, bores appear to be good with no wear ridge and hone marks still visible.
Maybe the owner was telling the truth about this part (unlike the rest) but that's why I at least wanted to strip it a little I wouldn't trust anything he said after a couple of things I've found.
 
Last edited:
I'm liking the look of that! Reckon that engine will be mint when you've finished with it. :)

Cheers mate :) Should be good for a few more miles yet.

Yeah that enginen looks in good condition mate done well there also like the gold :)

Wasn't sure at first, but now it's dry it looks a little different, doubt you'll see much of it when it's all back together anyhow.

"Gold Seal" engine ,,,,,,,,,,,,,,,,,,,,,,that takes me back ,lol

Are you of the vintage that you used to build them? :)

looking good mate

Cheers bud :)
 
Well very little to show for today's efforts,
I couldn't help but start cleaning and bolting a few things back on this morning.

DSCF5045.jpg


But then I had to get back to the plan, the sump was removed along with the ladder frame.
The sump had some surface rust, so it was painted in the corroless s2 stuff to give it some future protection and will be top coated later in the week.
A parts washer would have been very handy right about now, it was covered in thick oil and grime, what a lovely job it was too clean :eek:

DSCF5048.jpg


The ladder frame was much the same, and was barely recognizable as a ali part before hand.

DSCF5029.jpg


I removed a couple of the valves and much to my surprise they was actually pretty damn good, with no pitting etc whatsoever, so the stem seals will just be replaced if everything else measures upto spec.

DSCF5044.jpg


I then pulled a couple of the caps to check the condition of the bearing shells.
Here are a couple of pics of both mains/big ends, and will be ordering up some new ones this evening, would seem daft not too now, unless anyone can suggest otherwise?

Ignore the lines back-forth, that was me trying to feel if their was any grove/ridge I could feel with finger nail.
Hard to tell in the picture, but the copper can be seen underneath them in places, possibly cause by contaminated oil in some point in it's life? The crank it's self has no visual marks.

DSCF5031.jpg


Some pitting, or caused by bigger debris to this one (think this was a big end)

DSCF5036.jpg


Similar on this one too.

DSCF5041.jpg


DSCF5042.jpg


DSCF5040.jpg


In other news it was bloody windy last night and woke up to my 90's roof being on next doors garage roof :oops: (it's lives on my garage roof and blew off :eek:)
Also currently trying to find a 200tdi rebuild manual, so I can look up torque specs and measurements.
 
Back
Top