1976 series 3 rebuild

This site contains affiliate links for which LandyZone may be compensated if you make a purchase.
P1010744.jpg


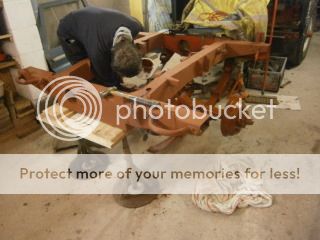
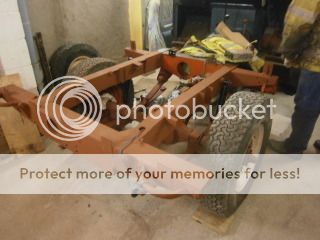
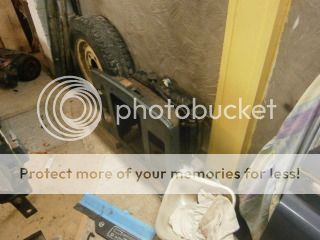
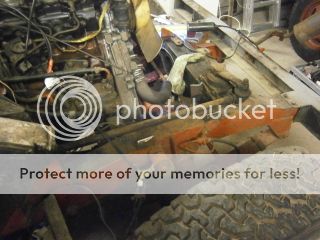
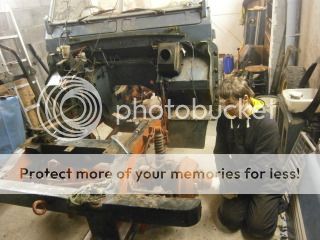
We decided to remove the sills so they wouldn't get damaged if we were tempted to lean on it
P1010747.jpg


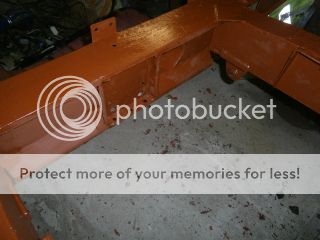
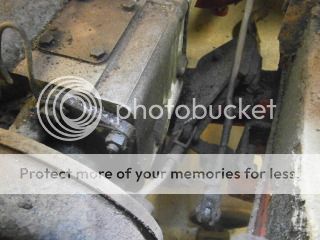
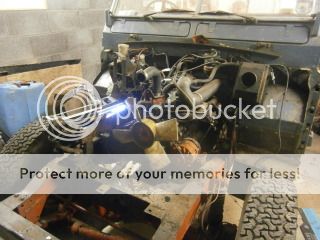
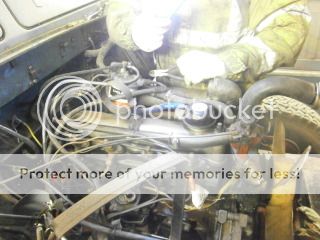
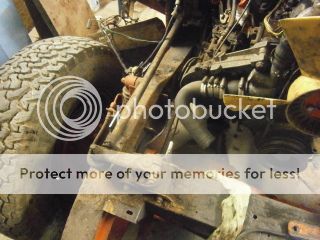
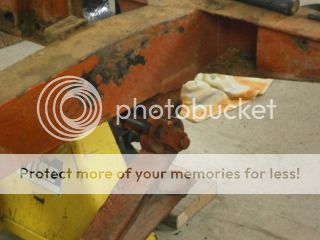
Top of the fuel tank
P1010749.jpg


The data plate (just thought I'd include it really :) )
P1010752.jpg


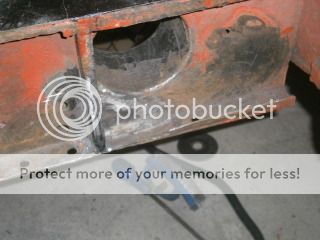
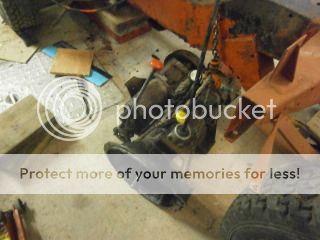
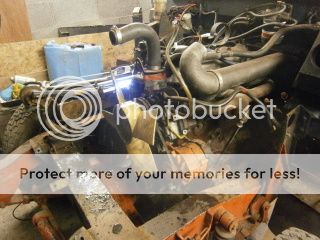
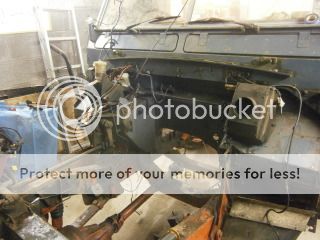
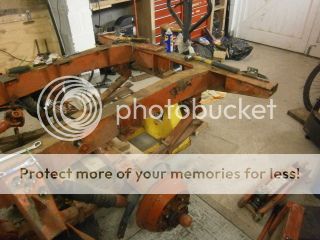
The fuel tank removed, There was about an inch of muck that was compacted behind the tank.
P1010755.jpg


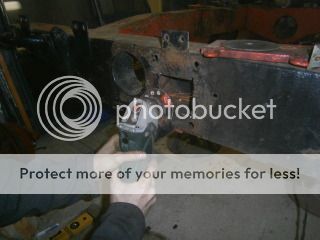
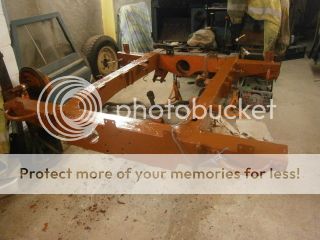
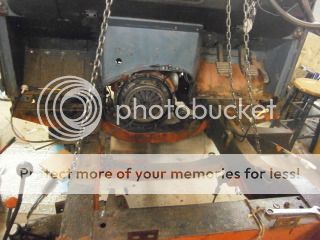
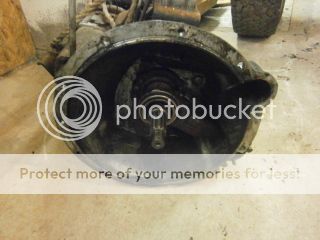
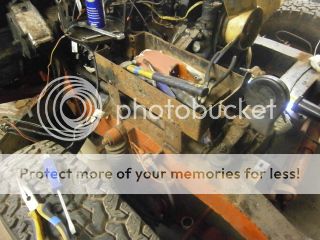
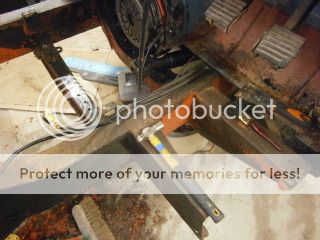
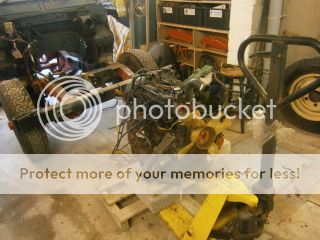
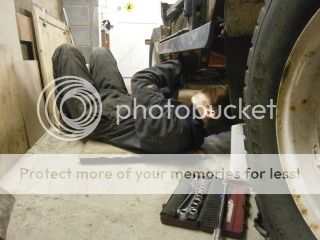
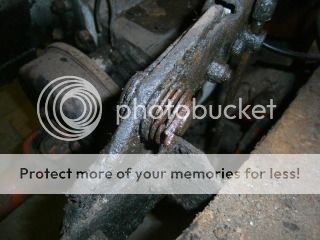
Removed the prop shaft
P1020756.jpg


P1020757.jpg


P1020758.jpg


P1020760.jpg


P1020761.jpg


P1020762.jpg


P1020763.jpg


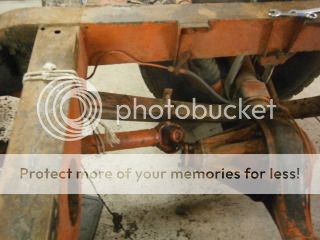
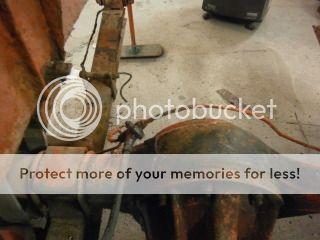
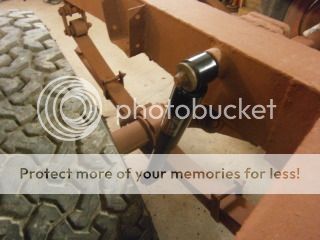
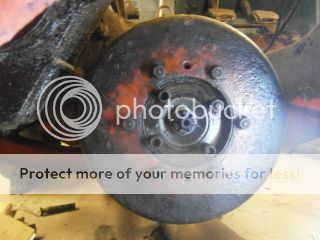
Notice the water on the floor which came out of one of the rear shocks :eek: New ones shall be bought I think ;)
P1020764.jpg


P1020765.jpg


P1020768.jpg


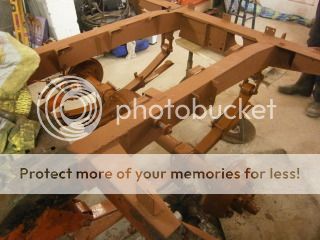
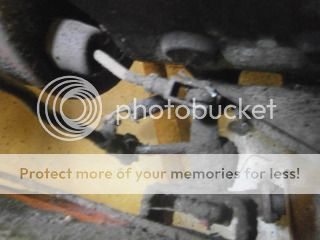
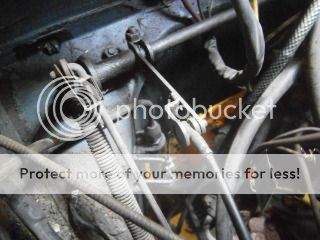
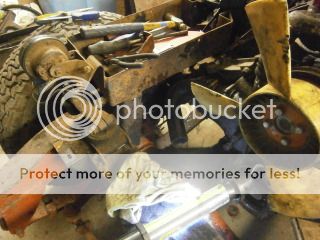
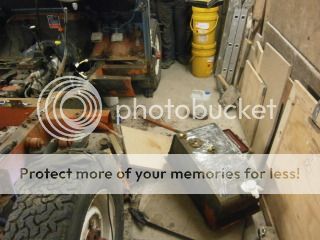
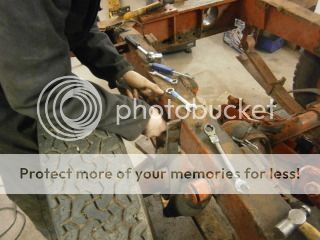
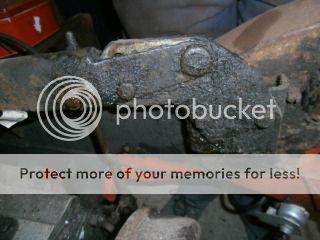
We also removed the handbrake to clean all the parts, here are a few pics of that (may be of use to someone I suppose)
P1030772.jpg


P1030773.jpg


P1030774.jpg
 
Last edited:
Grinding the rot back into a square which makes it easier to make an accurate template and apply to the metal The metal we're using to weld to the crossmember are new discovery sills which are roughly the same thickness of steel as the crossmember and as we don't have the disco anymore we might as well as put them into use for something :cool: )
P1020770.jpg


P1250797.jpg


I also decide to fill in the hole where the old towing electrics went to (just to make the back end look a bit neater really) which are now next to the back door of the vehicle.
P1250801.jpg


Welding in the square plate
P1250804.jpg


Cleaning up the welds with the grinder
P1250806.jpg


Metal trimmed to shape for the towing electrics hole and temporarily pushed in to sow the nice fit achieved
P1250805.jpg


After painting black to see how it looked
P1260809.jpg


P1260810.jpg


Now on to the inside edge of the crossmember
There was a small-ish hole either side that required patching and the vertical angle strips needed a part chopping out and replacing
P1280833.jpg


Then a plate was welded in at an angle which will hopefully remove some of the water traps in the crossmember

P1290834.jpg


P1290835.jpg


P1280832.jpg


And finally the rear section of the chassis was painted in red-oxide
P1290838.jpg


And that is all of you finally up to date (at last) :) The axle has been red oxided and we'll fit it back to the chassis within the next couple of days
 
Thank you all for the nice comments :)
This weekend we removed the hand throttle from the fron tof the cab
P2010839.jpg


P2010840.jpg


components on the other side of the bulkhead for the hand throttle
P2010841.jpg


P2010842.jpg


P2010843.jpg


The rear axle was also refitted and giving a coat of red-oxide
P2010845.jpg


P2010847.jpg


The new shocks were fitted
P2020848.jpg


P2020849.jpg


The handbrake linkage was removed to allow the gearbox to come out easily
P2020850.jpg


P2020851.jpg


The cable for the speedo drive was disconnected next, it is held on by three screws which need a flat bladed screwdriver to undo

The nuts around the bellhousing were the next things to be undone which was carried out with a 17mm socket
Gearbox mount
P2020852.jpg


Undoing the mount using 14mm spanners/ sockets
P2020856.jpg


Transmission brake drum
P2020853.jpg


Clutch slave cylinder was the next thing to be removed
P2020854.jpg


A pulley block was attached to a beam running along the garage cieling and was used to take the weight of the gearbox as we slid it off the bellhousing to reveal this:
P2020857.jpg


P2020859.jpg


The gearbox, we believe an oil seal may have gone on this due to the abundance of oily sludge in the bellhousing and around the gearbox (some over 10mm thick :eek: )

P2020858.jpg


P2020860.jpg


P2020861.jpg


If you have any questions on what we're doing please feel free to ask :)
 
Last edited:
Good God, I seem to be making regular updates for once, I must be ill :rolleyes:

Today me and my dad hoisted the engine (the mighty 2.5 n/a diesel) out of the front
We started by removing the front panel and radiator as one piece and then disconnecting various ancillary components such as the fuel filter, throttle cable, clutch pipes, various wires etc. The battery holder was also removed using a grinder (It needs re-welding anyway)

The engine mounts were next to come off (these had thankfully been copper greased before so came off pretty easily, much easier than the gearbox mountings in fact). The whole vehicle was then shoved down the garage until the engine was under the hoist and a pallet truck slid underneath the front of the chassis.

The engine was hoisted up and the rolling chassis rolled back, the engine was then lowered on the pallet truck without any hassle. The landrover was then pulled back up the garage using my Dad's Defender 110 after we moved our trailer out of the way first.

The final job of the day was to remove the front wheels and place the front on axle stands, this gives us much better space to get at and clean the chassis at the front.

P2030799.jpg


P2030797.jpg


P2030798.jpg


P2030800.jpg


P2030801.jpg


P2030802.jpg


P2030803.jpg


P2030804.jpg


P2030805.jpg


P2030806.jpg


P2030807.jpg


P2030808.jpg


P2030809.jpg


P2030810.jpg


P2030811.jpg


P2030812.jpg


P2030814.jpg


P2030815.jpg


P2030816.jpg


P2030817.jpg
 
You're really piling into that now, does it need much sorting out?

Not much :) The chassis was caught just in time before the rot set in so theres only small holes in the chassis left to weld now as well as the compulsory rotten footwell to replace. The engine is going to be rebuilt with new piston rings, bearings, gaskets and seals. The loom will also be replaced as some of it was shocking (if you'll pardon the pun :eek: ). I suppose it didn't really need stripping down this far but as we've got the space and tools we might as well do it :)
 
well done ,you have been lucky with the chassis my 76 s3 chassis was way beyond repair and i had to fit a new galv one .keep it coming you are doing great ,check the inside of the fuel tank before refitting i didnt and ended up with all kinds of probs
 
Right then, the chassis has been welded and given a coat of redoxide. The new footwells have come, a brake servo for the series 3 is on order (after a while of searching for one), front axle has been cleaned and painted in redoxide. A few other bits and pieces have been cleaned aswell. After the chassis the next job is the engine, that shouldn't take as long seeing as we'll be working in the workshop which has proper heating in there :) Pics tomorrow as promised ;)
 
Back
Top