Huddy84
Well-Known Member
- Posts
- 746
- Location
- East Anglia
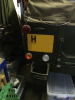
Cheers mate. Is the heater intake just sat behind your headlight or you cut a new intake for it from the outside?
")
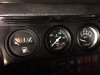
You have been busy, I just got some new dials on order for mine.
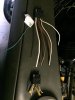
I'm a radio ham I can fix it for you. If you need help with the loom let me know.
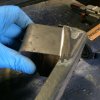
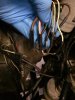
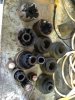
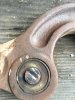
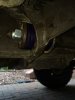
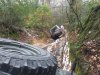
Bit of a mission couple of days but had an obviously dodgy bushing on the drivers side and a worsening clunk. As I dont have a press I had to butcher the old ones out then fit superpro poly bushes back in place.
Have done all the main bushes in poly and the shock absorbers are normal rubber.
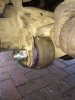
The hardest part was getting the radius arm aligned the first time and getting the arm out where the bolt had seized to the bushing inner sleeve.
Deffo a much better ride now. Less steering input needed to go straight so worth the effort.
Sorry forgot to take pics of the rear as did them on a different day.
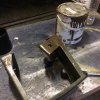
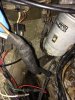
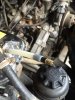
Also took the opportunity to do a fluid service.
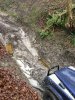
Like the look of the lane. Where abouts do you go? Im wilts/ Oxford
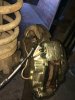
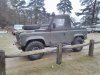
We run a truck cab canvas on the series 1 & a Rear cover which velcros to the top and bungy round the back body. No need for a heater.
Nice work to your motor. Good to see military motors brought back and used.
Welcome To LandyZone, the Land Rover Forums!
Here at LandyZone we have plenty of very knowledgable members so if you have any questions about your Land Rover or just want to connect with other Landy owners, you're in the right place.
Registering is free and easy just click here, we hope to see you on the forums soon!