I removed the block complete in it's housing...removed air pump and started to undo valve block from plastic housing...
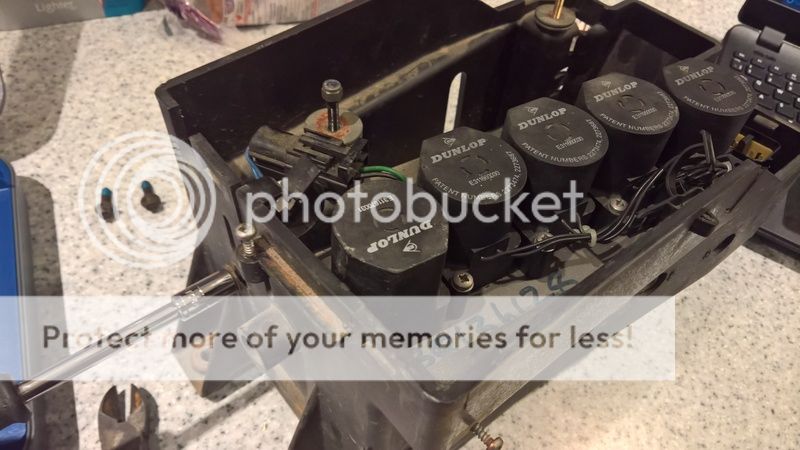
Undo the blue hose from valve block...
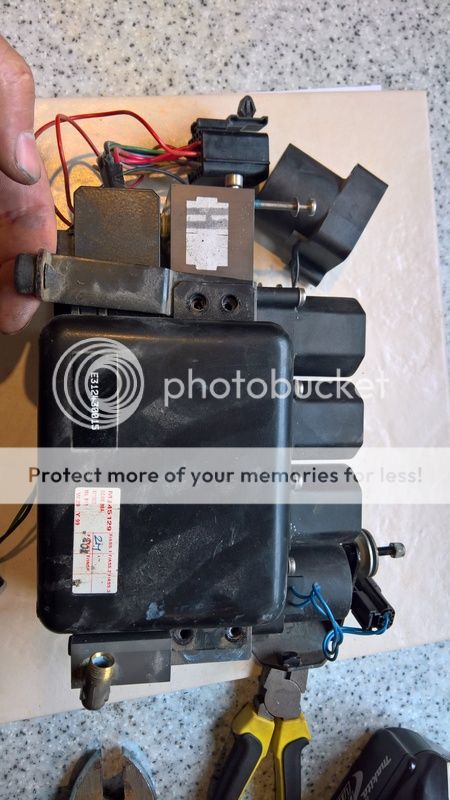
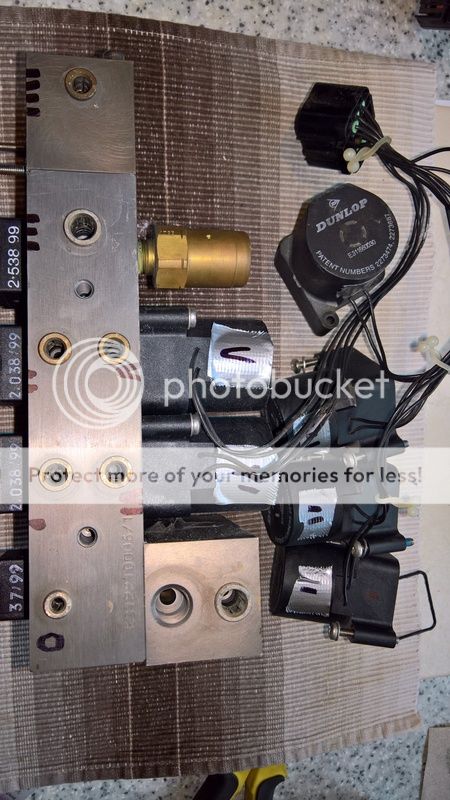
Working side....
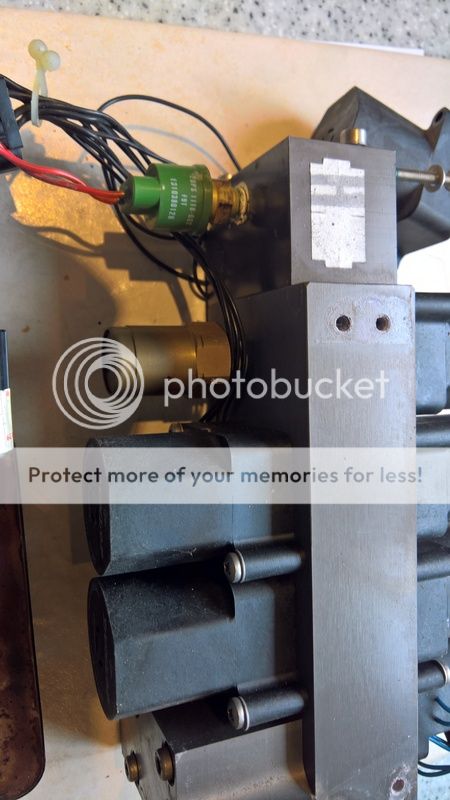
Undo solenoid covers from valves....
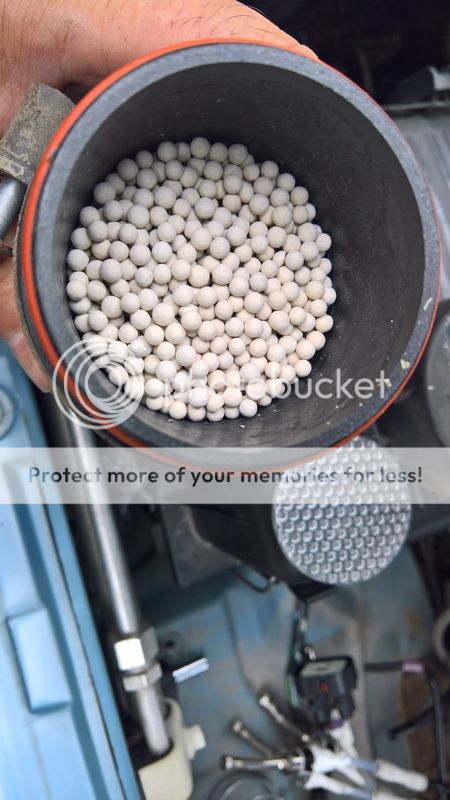
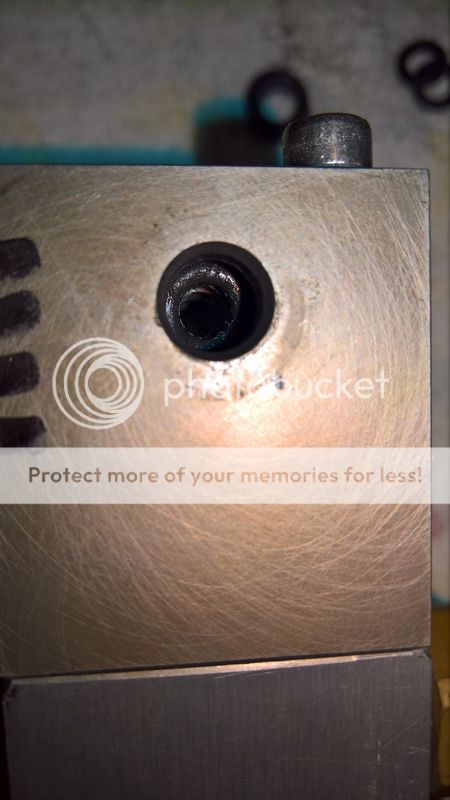
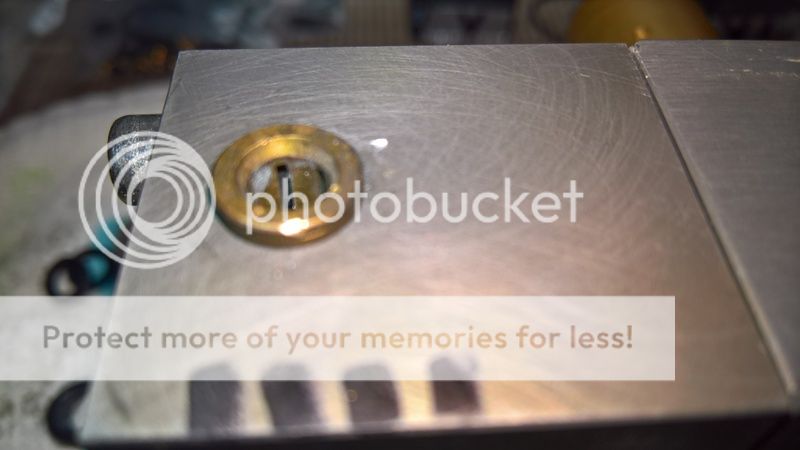
Meant to say, one job was to check the dessicant ....
If it was damp, wet or powdery it's time for a change...this is perfect")
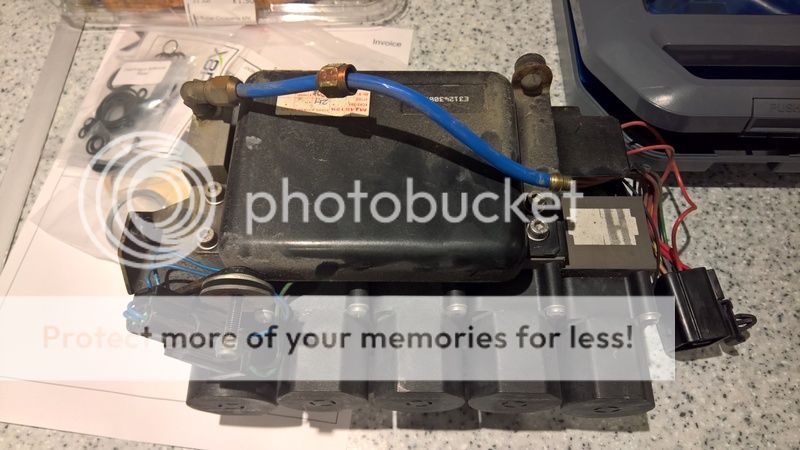
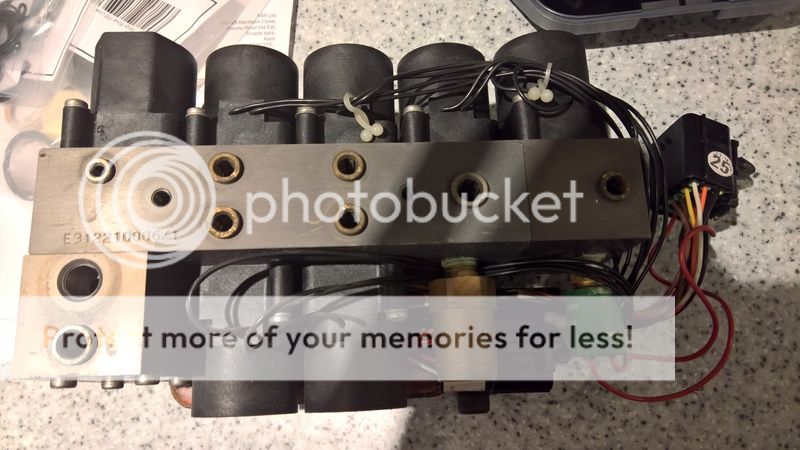
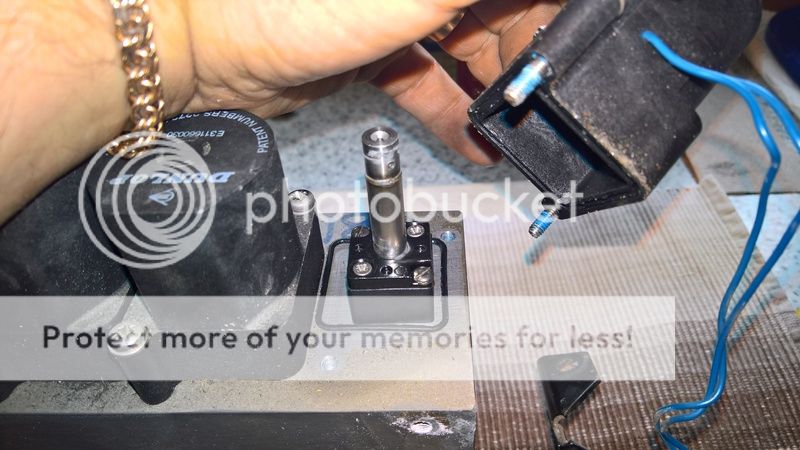
Next job, remove valve block from plastic housing and lay on clean work surface...undo drive control pack & note which way the brackets go...
Below is the other bracket, photo taken to recall which way round it goes...

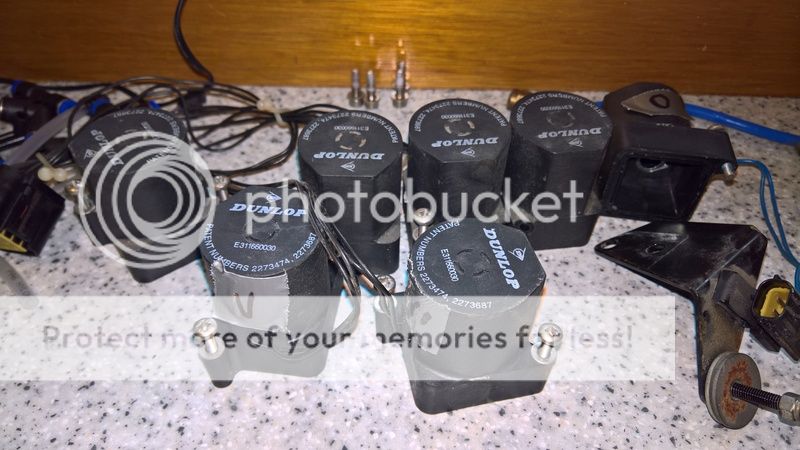
Ok, covers off...
I decided to mark each solenoid cover so I could replace them in the right order...imagine the fun if you mixed them up
Off.....next....
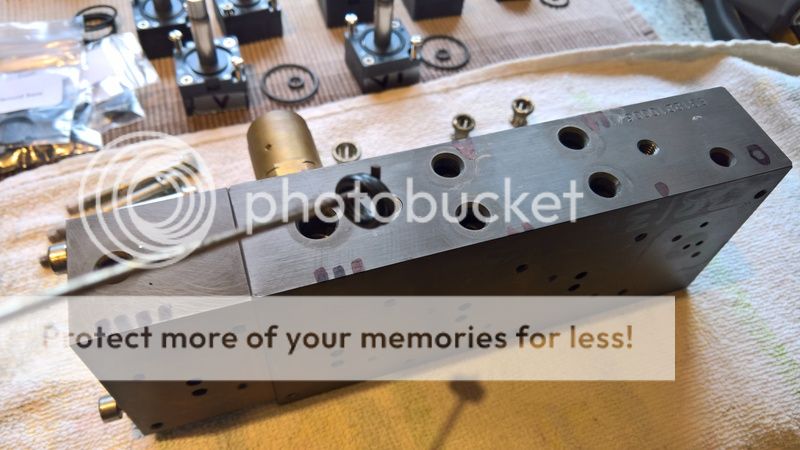
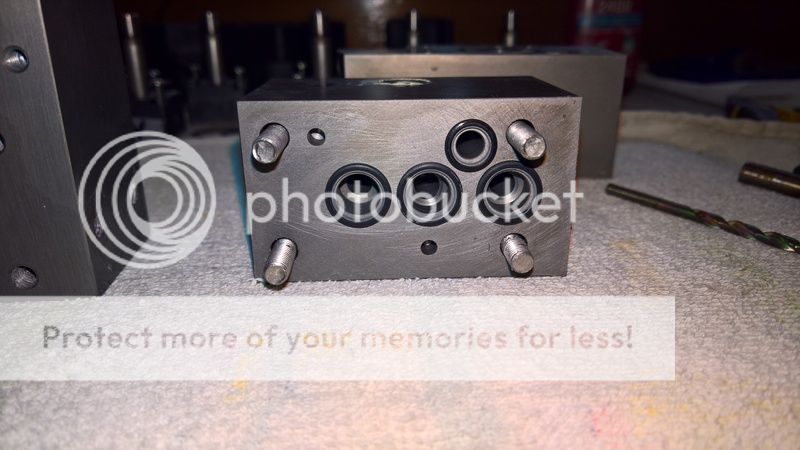
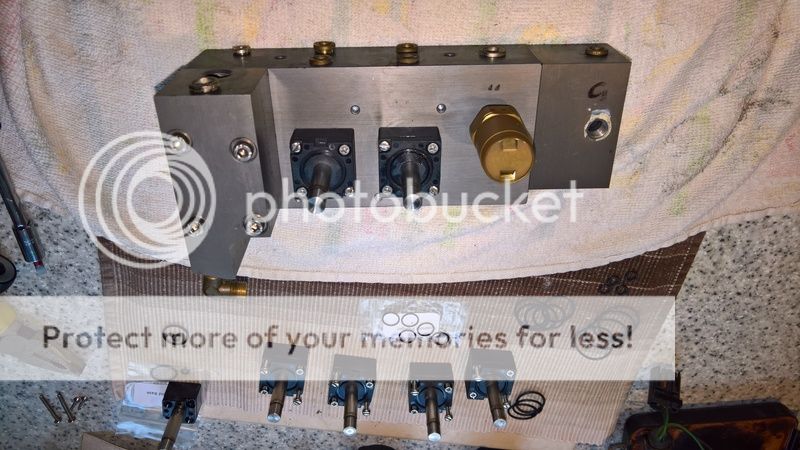
Naked!
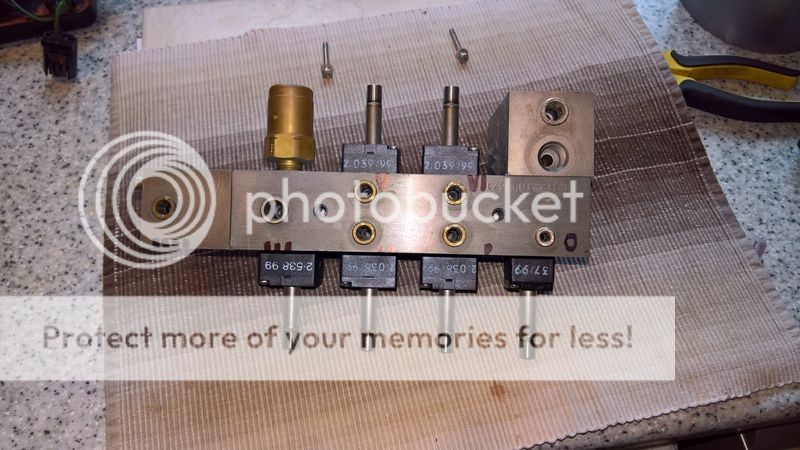
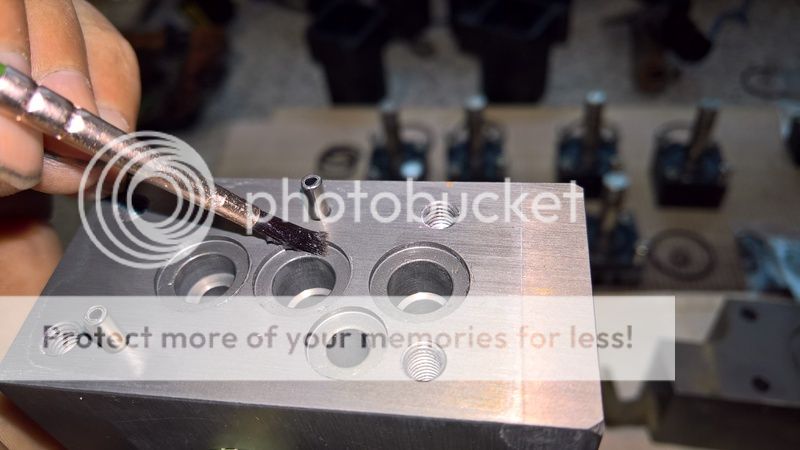
Then I removed the valves and was left with some "O" rings...remove these and wipe the block with a clean soft cloth. I used a dry tea towel.
I then vacuumed any dust with the tea towel over the nozzle to prevent damage

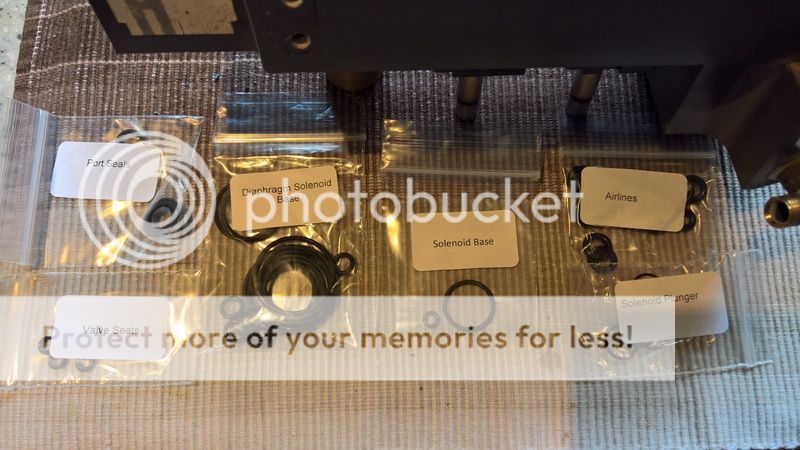
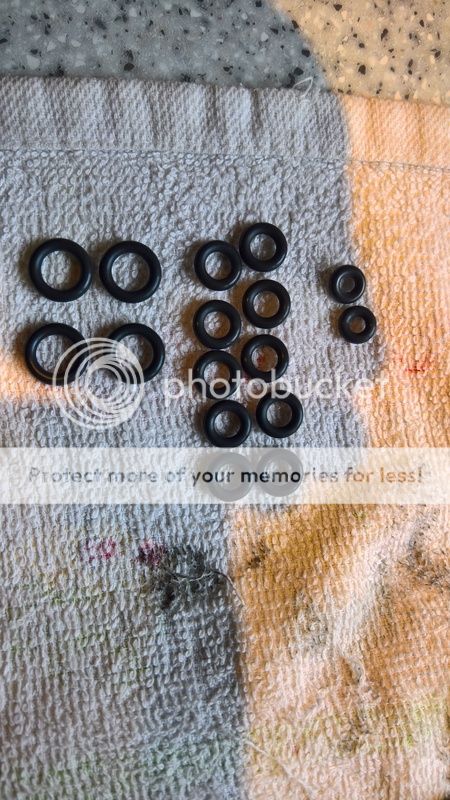
X8r's very comprehensive "O" ring set
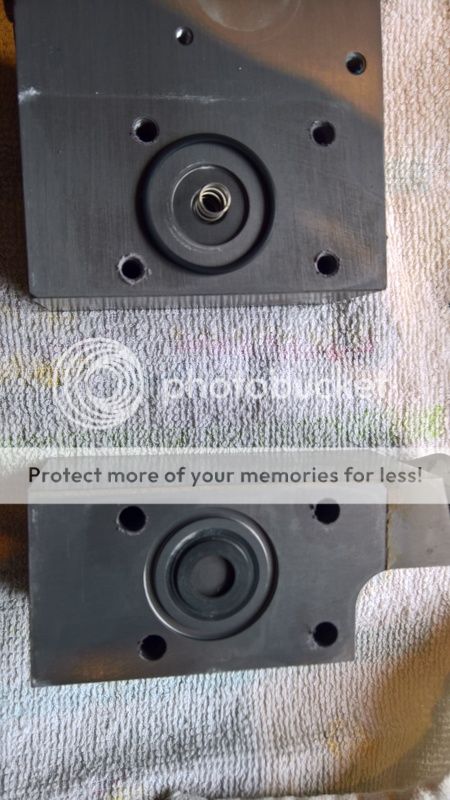
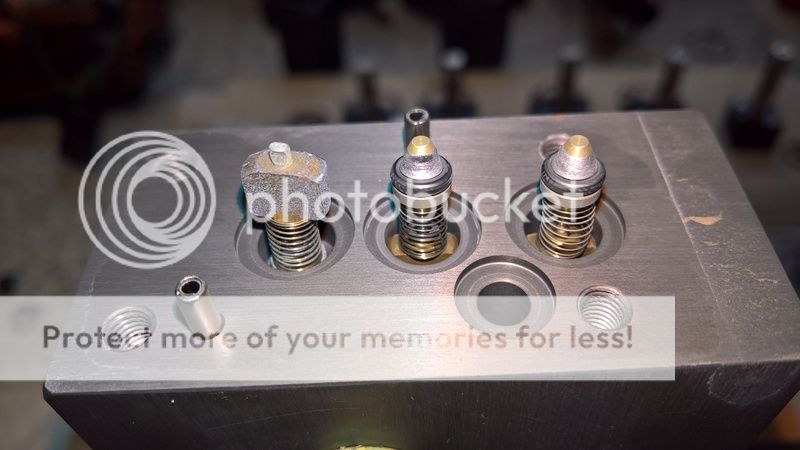
Didn't lose the spring...diaphragm was well jammed in though
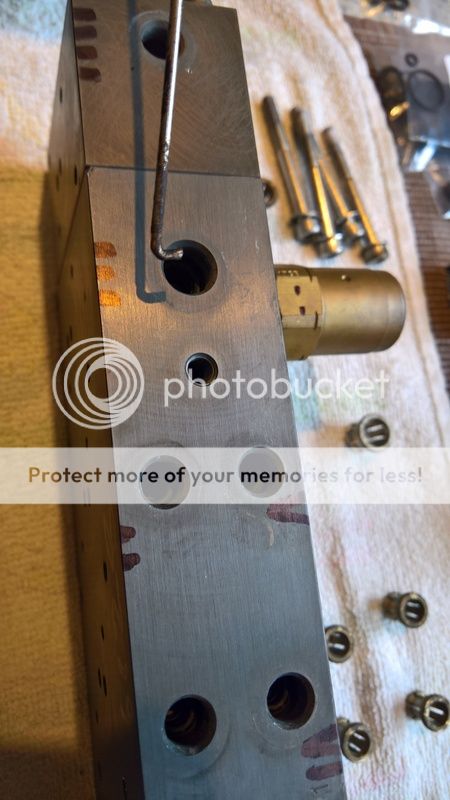
Removed the collets so I could replace the airline "O" rings
This is a very handy tool and got them all out, even the tiny wee ones...
Turns out it's a Mercedes tool (it came with my E320 couple of year ago) and the part number is there for all to see...

Just the job...

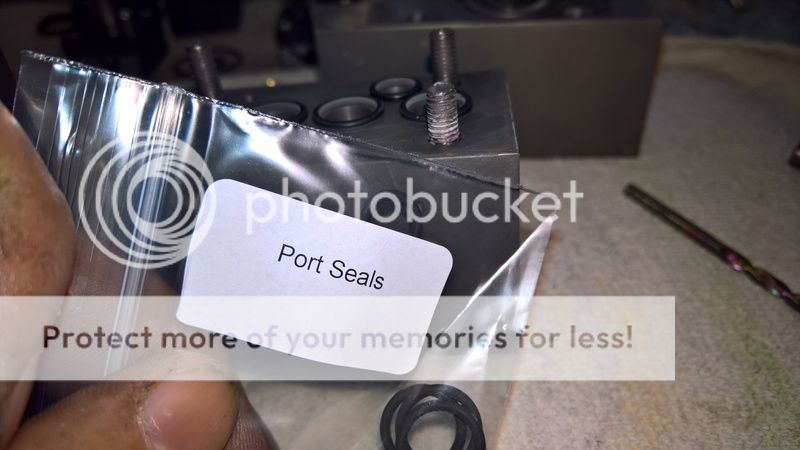
Next, I laid out the new "O" rings for insertion into the airline holes...
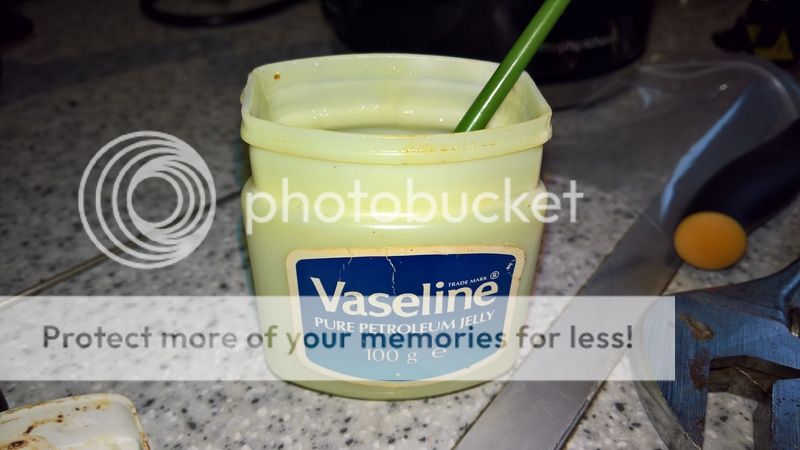
I painted each new "O" ring with vaseline to aid insertion and prevent nipping...
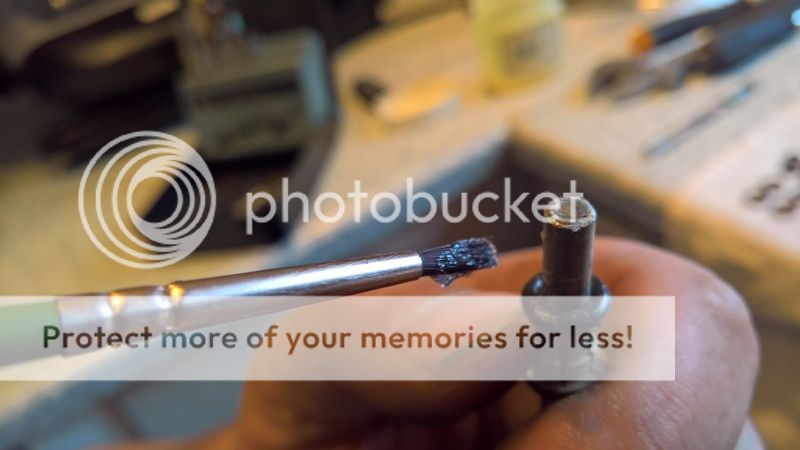
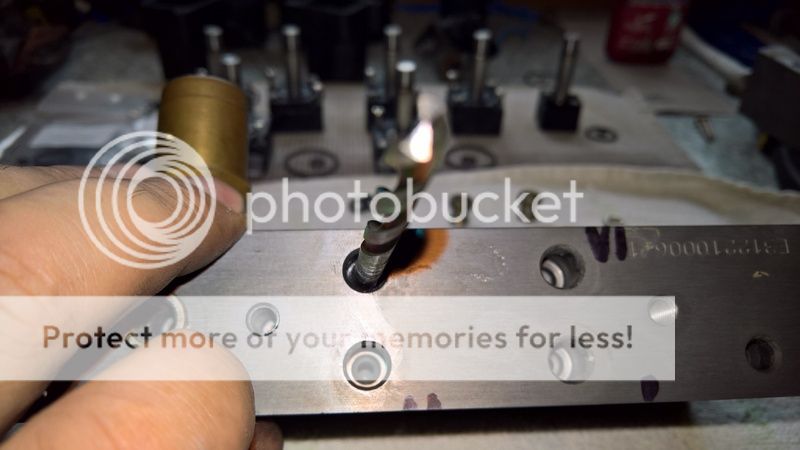
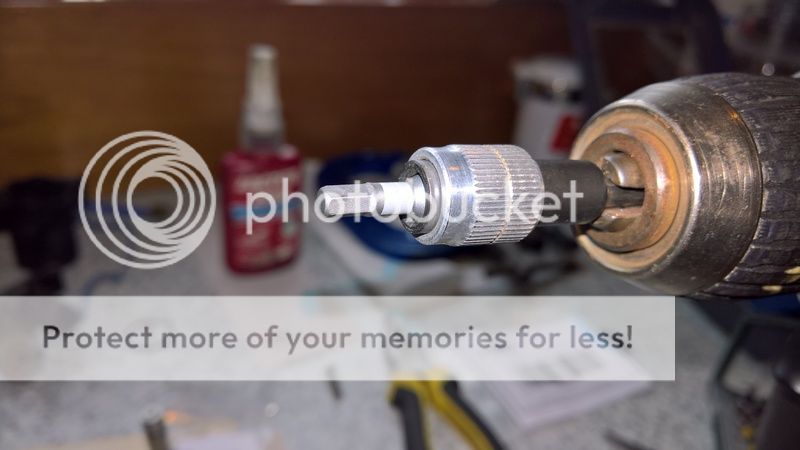
They are "mounted" on a drill bit 1/2 mm smaller than the "O" ring...
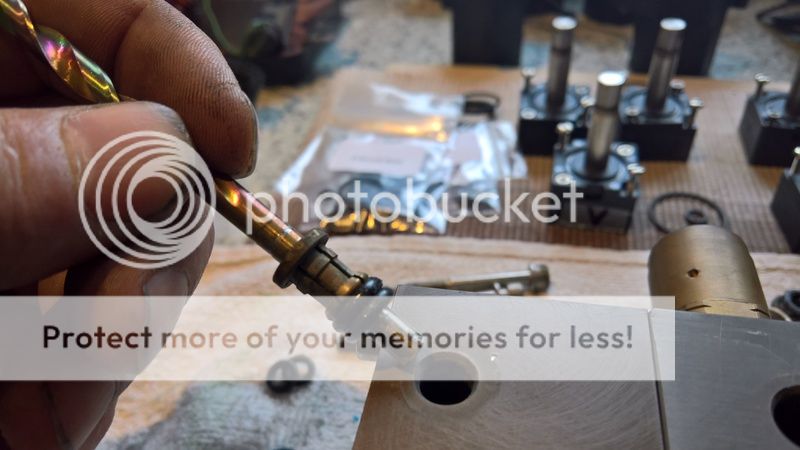
I inserted each "O" ring with my fingers, then pushed it home using the end of the drill bit (the blunt end), then poked the bit in (after a smear of Vaseline) and twisted it to ensure the "O" rings were centred...
I re-inserted the collets again...
Here's a photo for L322 to give him a buzz
As each set of "O" rings went in, I checked they were centred
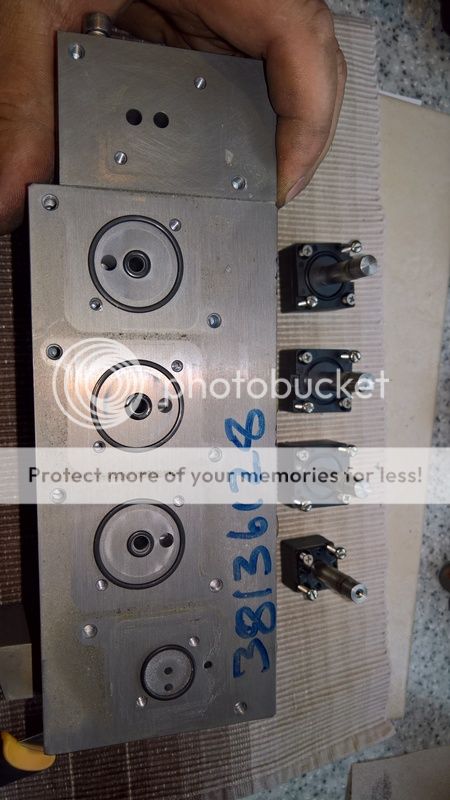
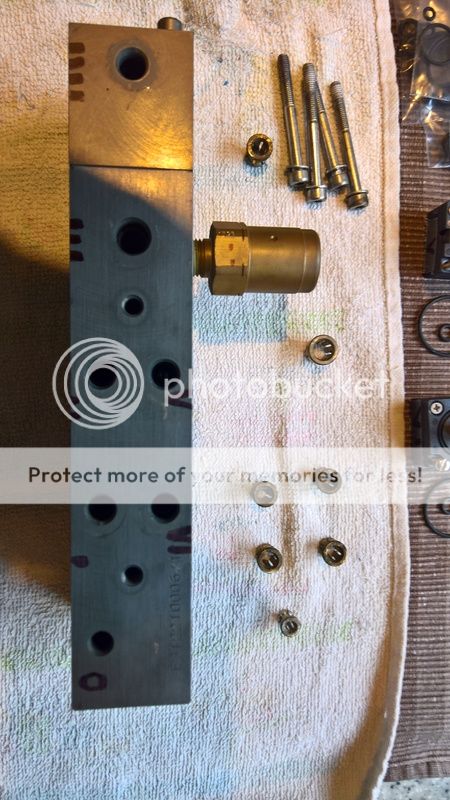
Valve block next
The teeny weeny "O" rings were a mare, ended up using a thin bladed knife to get them off over the end of the valve....
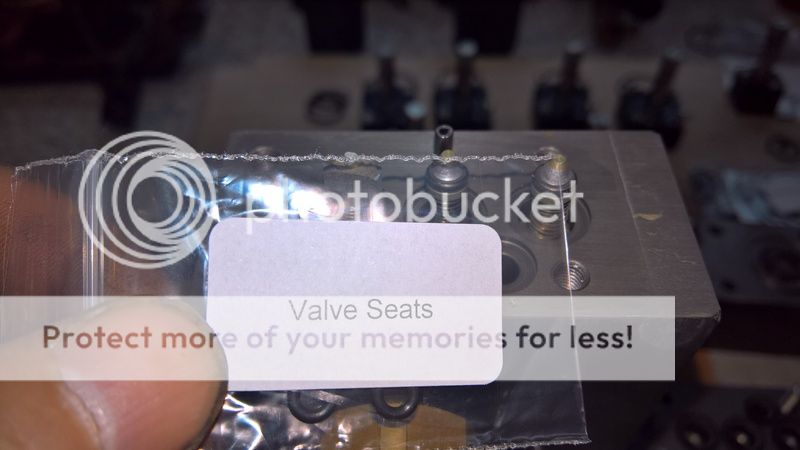
A smidge of Vaseline...
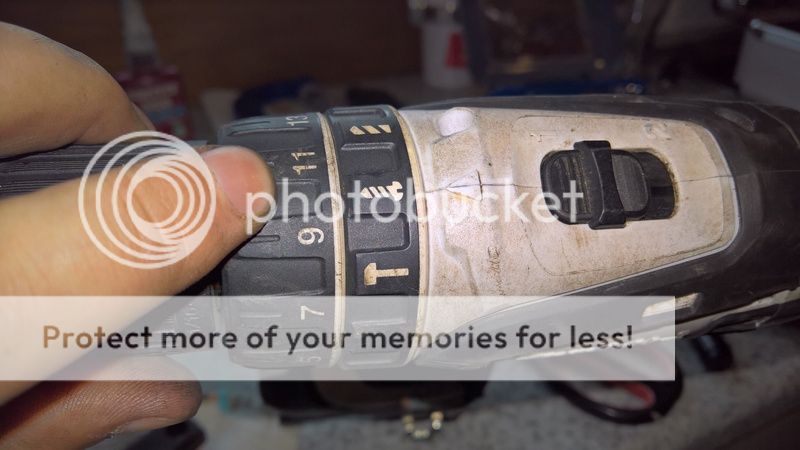
When screwing everything back together, I screwed them in a couple of turns, then used the drill. I set it to screw and adjusted the torque, more so I wouldn't snap my wrist
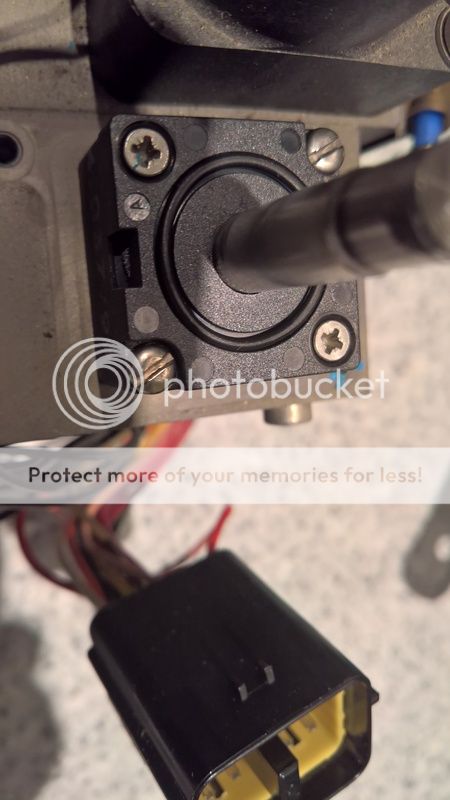
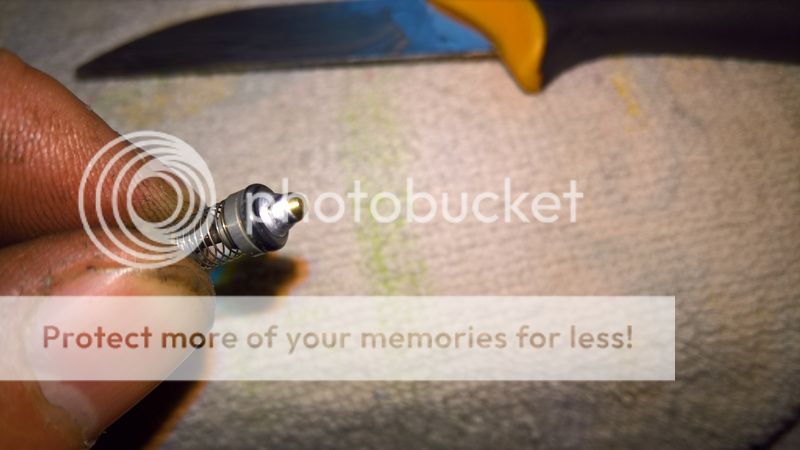
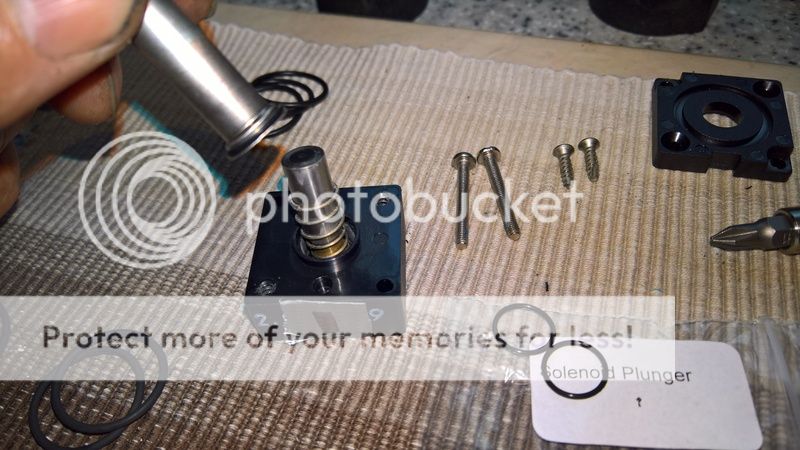
Don't forget these little boogers... Undo the phillips screws, remove the top and twist the cap until it comes off. Watch for springs. I painted a bit of Vaseline on the bottom, slid the "O" ring down and gently pushed it back in place, slid the top cover on and screwed it up hand tight...
Rebuild time... Anyone notice the cock up??
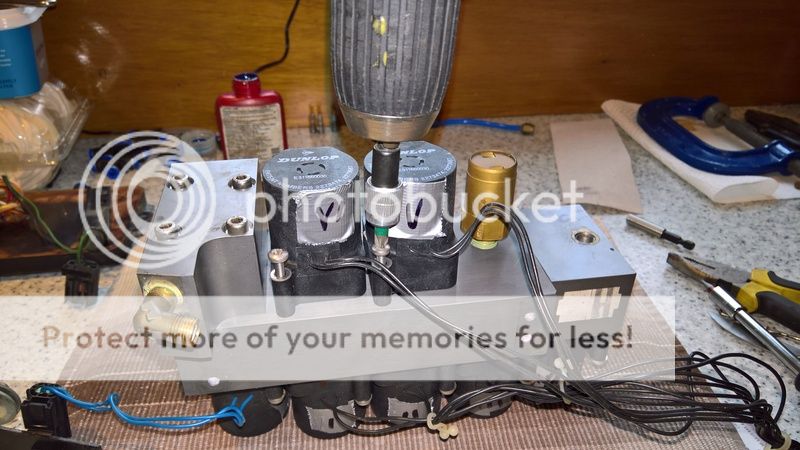
Above, I put the solenoid covers on 180 degree's out. Made for a bit of fun trying to place the wires, but I soon figured it out. Wife came home and wanted her kitchen back. She was hurrying me, but ended up waiting longer while I undid all the screws and fixed my cock up
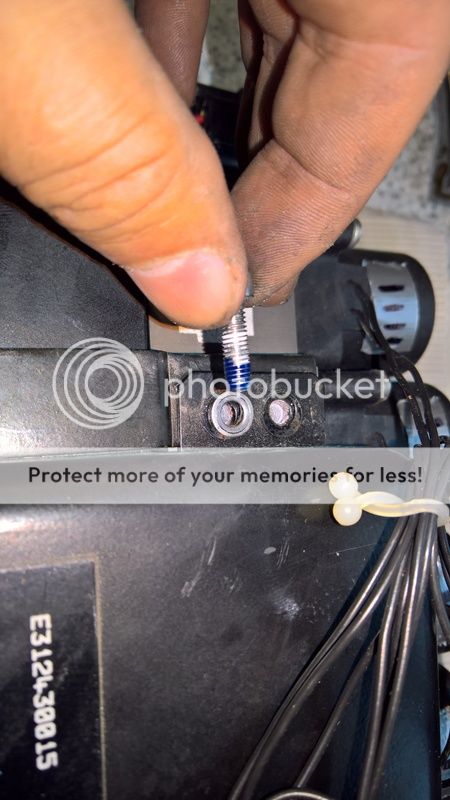
Thread lock just stops everything shaking loose
All that's missing is the motor... It's easier to replace it when the valve block is bolted back on the car.
So that was my attempt and tomorrow I'll find out if I was successful
Undo the blue hose from valve block...
Working side....
Undo solenoid covers from valves....
Meant to say, one job was to check the dessicant ....
If it was damp, wet or powdery it's time for a change...this is perfect
Next job, remove valve block from plastic housing and lay on clean work surface...undo drive control pack & note which way the brackets go...
Below is the other bracket, photo taken to recall which way round it goes...
Ok, covers off...
I decided to mark each solenoid cover so I could replace them in the right order...imagine the fun if you mixed them up
Off.....next....
Naked!
Then I removed the valves and was left with some "O" rings...remove these and wipe the block with a clean soft cloth. I used a dry tea towel.
I then vacuumed any dust with the tea towel over the nozzle to prevent damage
X8r's very comprehensive "O" ring set
Didn't lose the spring...diaphragm was well jammed in though
Removed the collets so I could replace the airline "O" rings
This is a very handy tool and got them all out, even the tiny wee ones...
Turns out it's a Mercedes tool (it came with my E320 couple of year ago) and the part number is there for all to see...
Just the job...
Next, I laid out the new "O" rings for insertion into the airline holes...
I painted each new "O" ring with vaseline to aid insertion and prevent nipping...
They are "mounted" on a drill bit 1/2 mm smaller than the "O" ring...
I inserted each "O" ring with my fingers, then pushed it home using the end of the drill bit (the blunt end), then poked the bit in (after a smear of Vaseline) and twisted it to ensure the "O" rings were centred...
I re-inserted the collets again...
Here's a photo for L322 to give him a buzz
As each set of "O" rings went in, I checked they were centred
Valve block next
The teeny weeny "O" rings were a mare, ended up using a thin bladed knife to get them off over the end of the valve....
A smidge of Vaseline...
When screwing everything back together, I screwed them in a couple of turns, then used the drill. I set it to screw and adjusted the torque, more so I wouldn't snap my wrist
Don't forget these little boogers...
Undo the phillips screws, remove the top and twist the cap until it comes off. Watch for springs. I painted a bit of Vaseline on the bottom, slid the "O" ring down and gently pushed it back in place, slid the top cover on and screwed it up hand tight...
Rebuild time... Anyone notice the cock up??
Above, I put the solenoid covers on 180 degree's out. Made for a bit of fun trying to place the wires, but I soon figured it out. Wife came home and wanted her kitchen back. She was hurrying me, but ended up waiting longer while I undid all the screws and fixed my cock up
Thread lock just stops everything shaking loose
All that's missing is the motor... It's easier to replace it when the valve block is bolted back on the car.
So that was my attempt and tomorrow I'll find out if I was successful