Tonks4x4 Defender 6x6 Expedition Camper

This site contains affiliate links for which LandyZone may be compensated if you make a purchase.
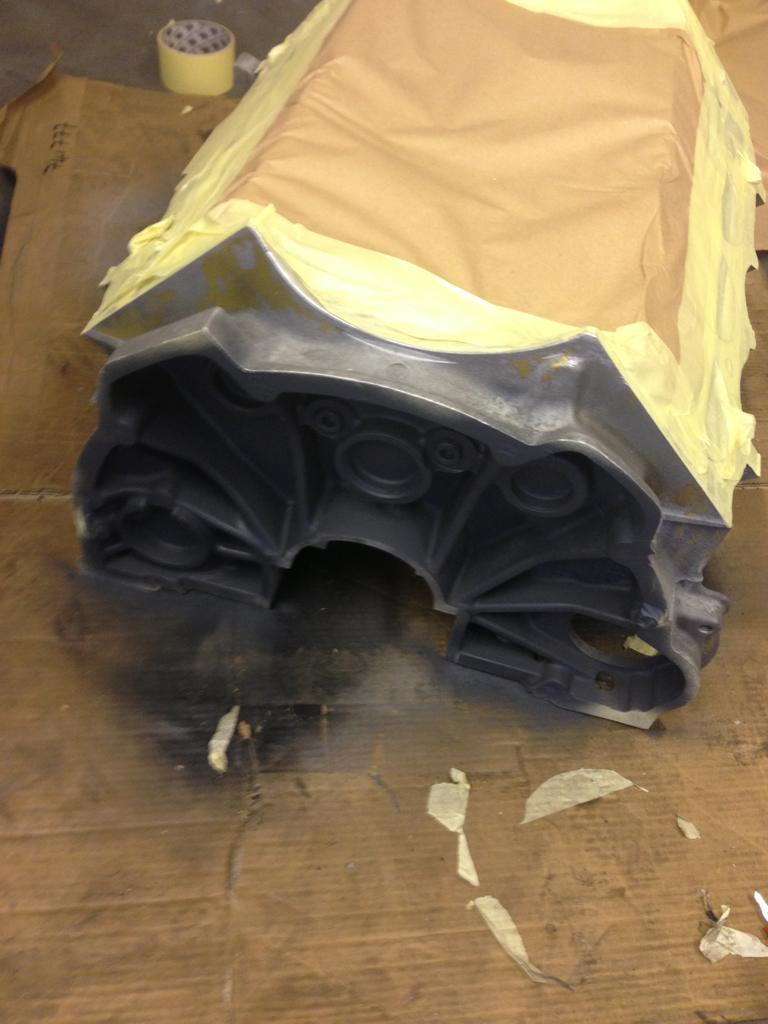
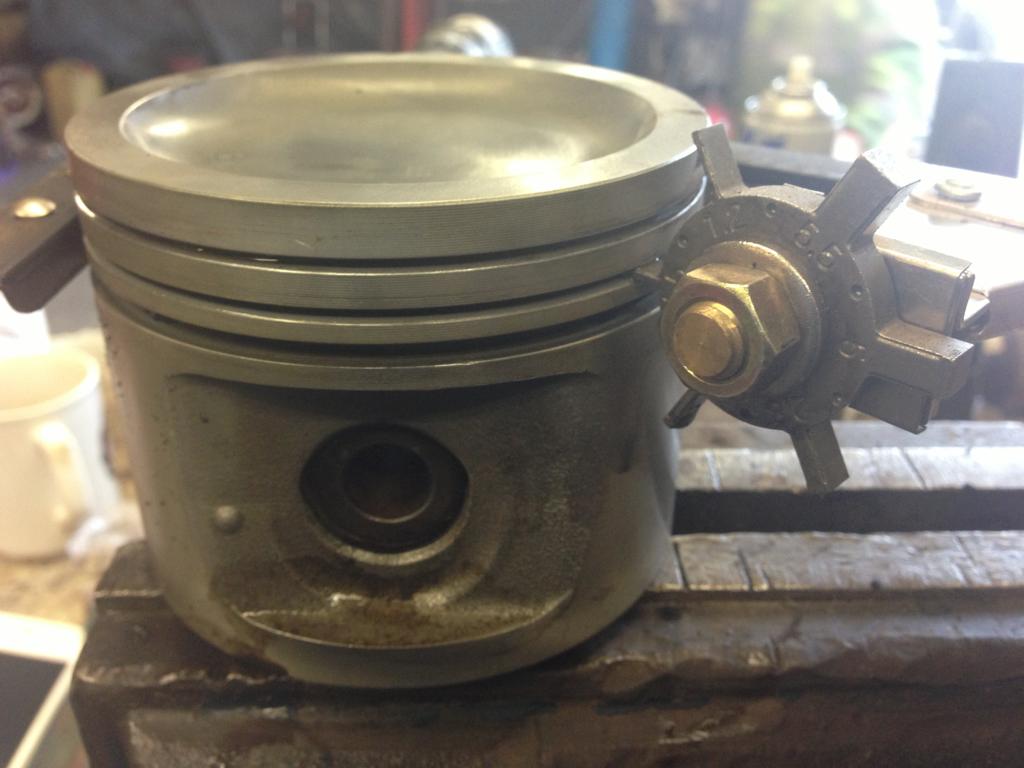
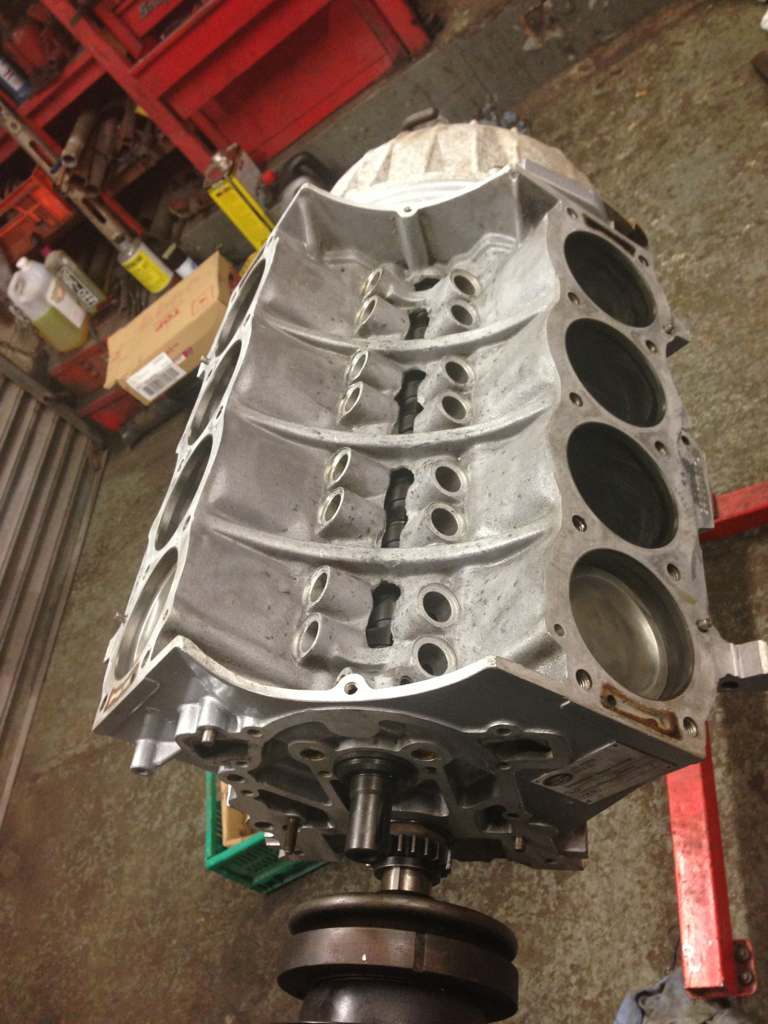
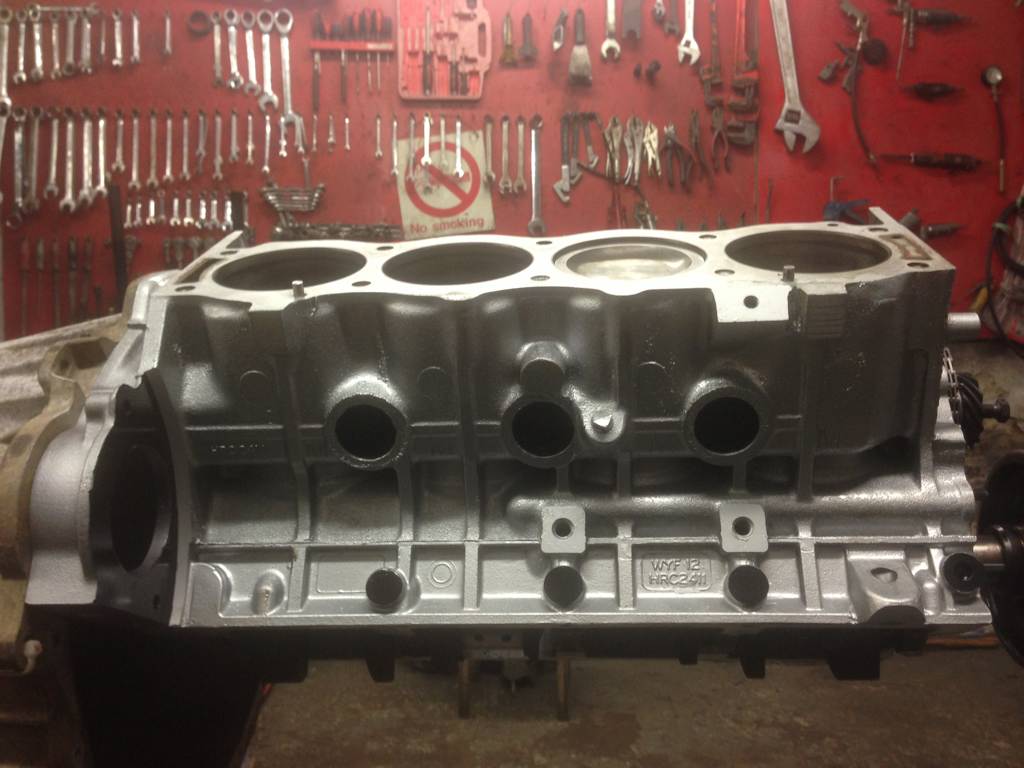
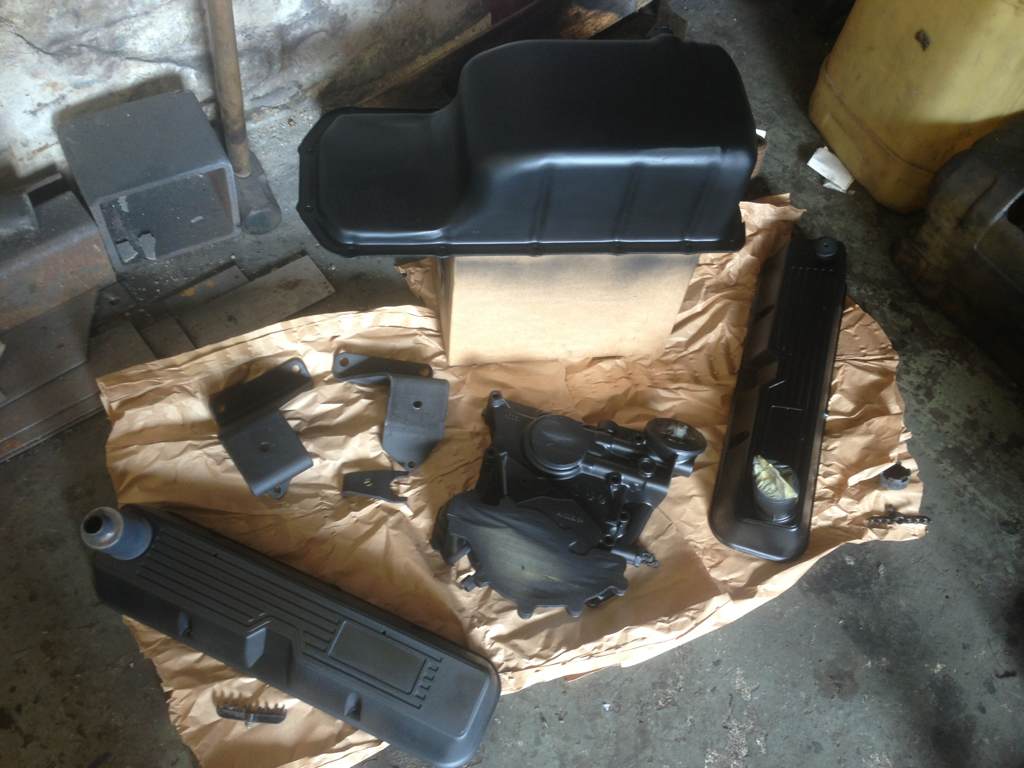
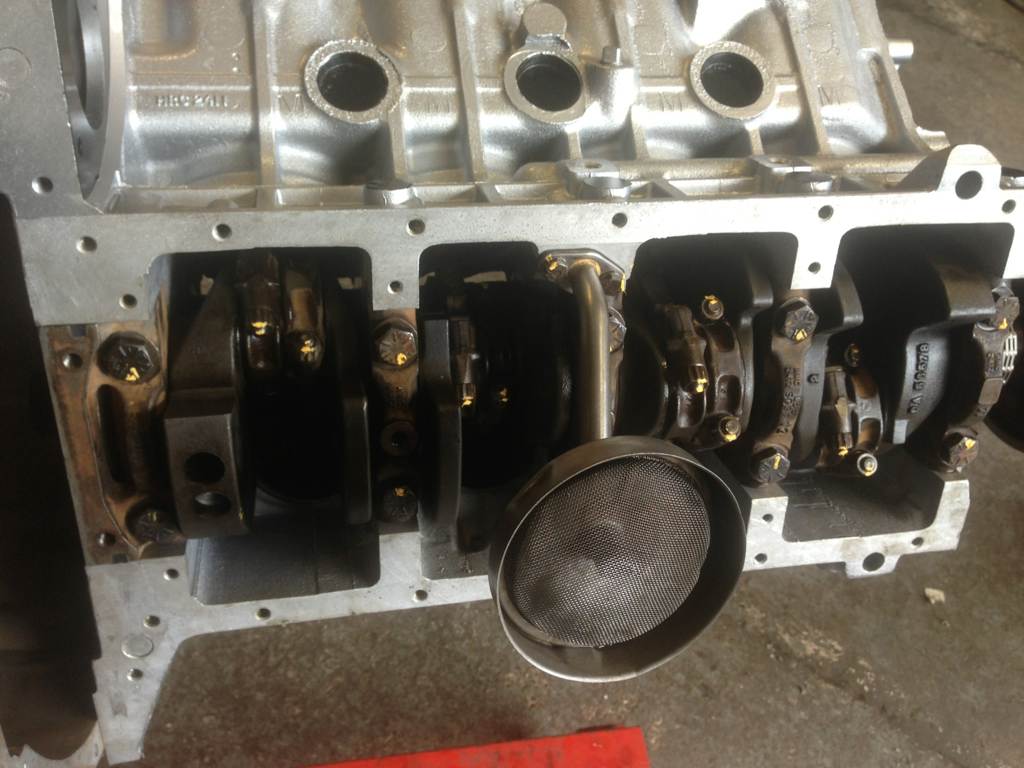
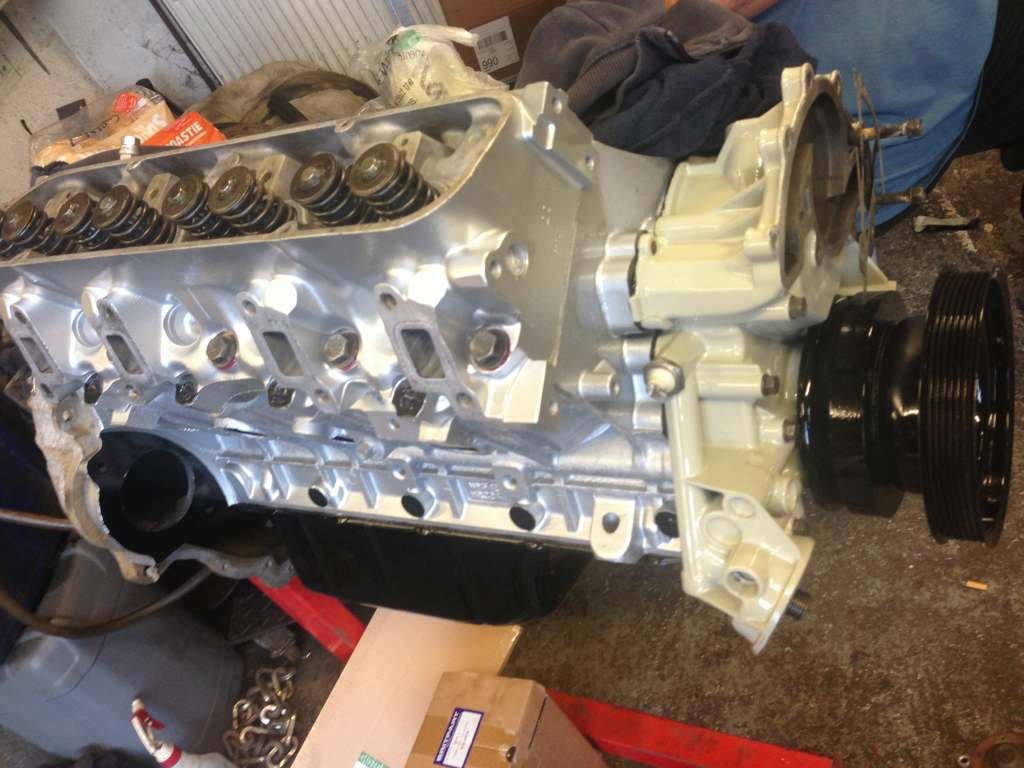
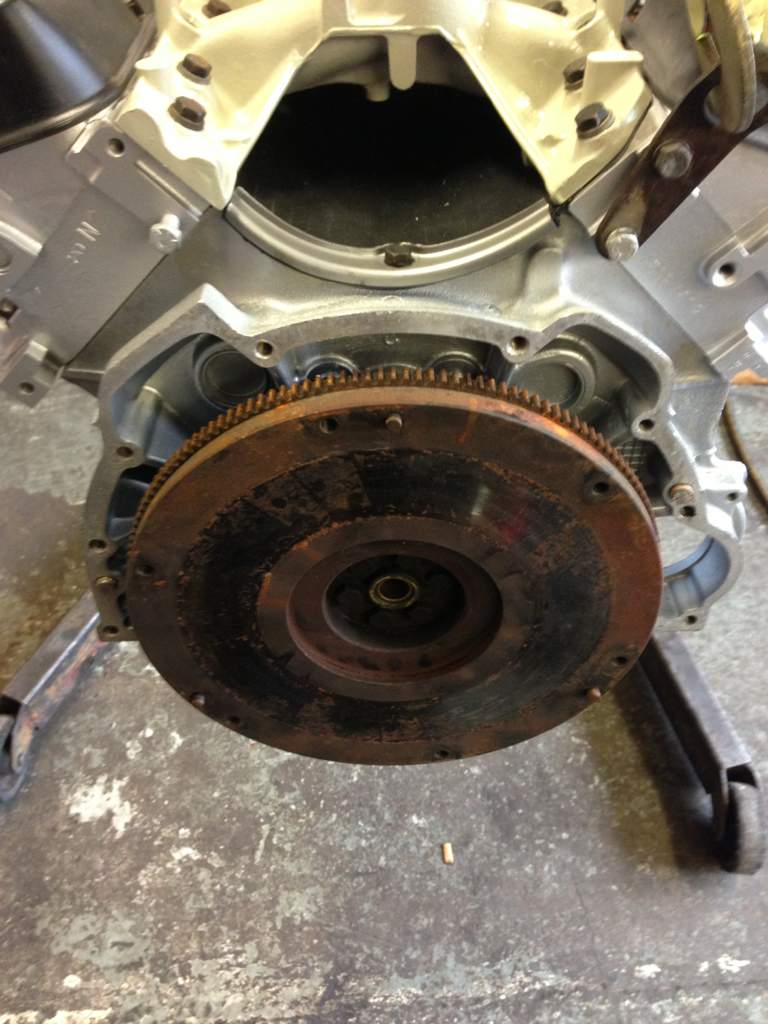
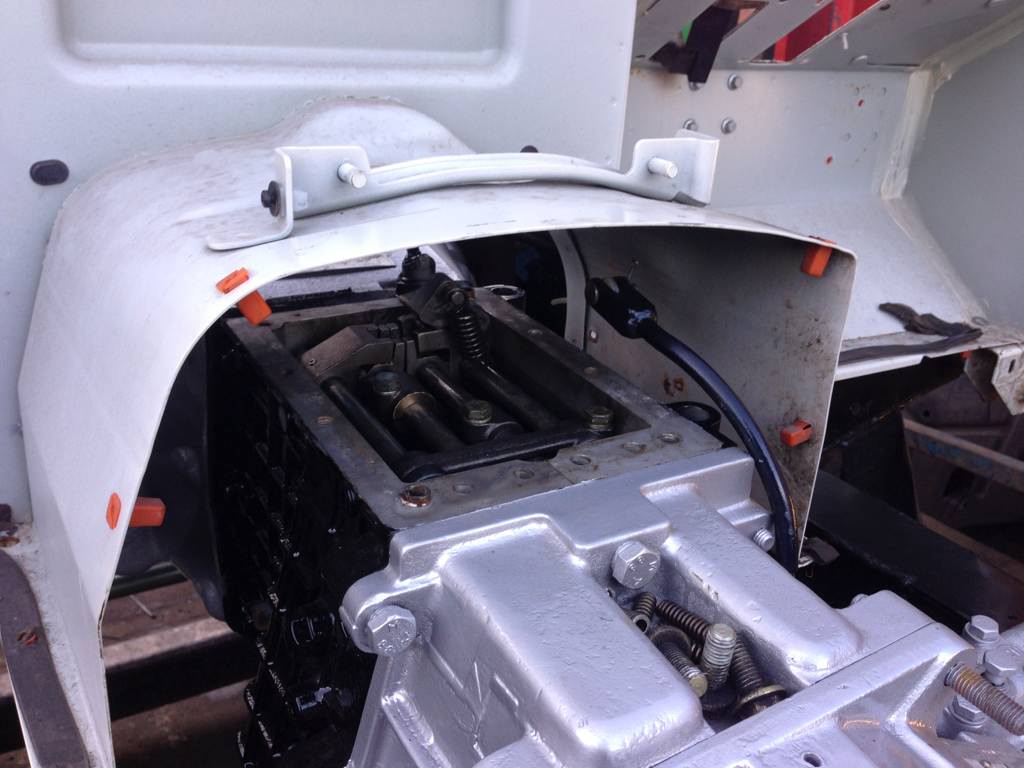
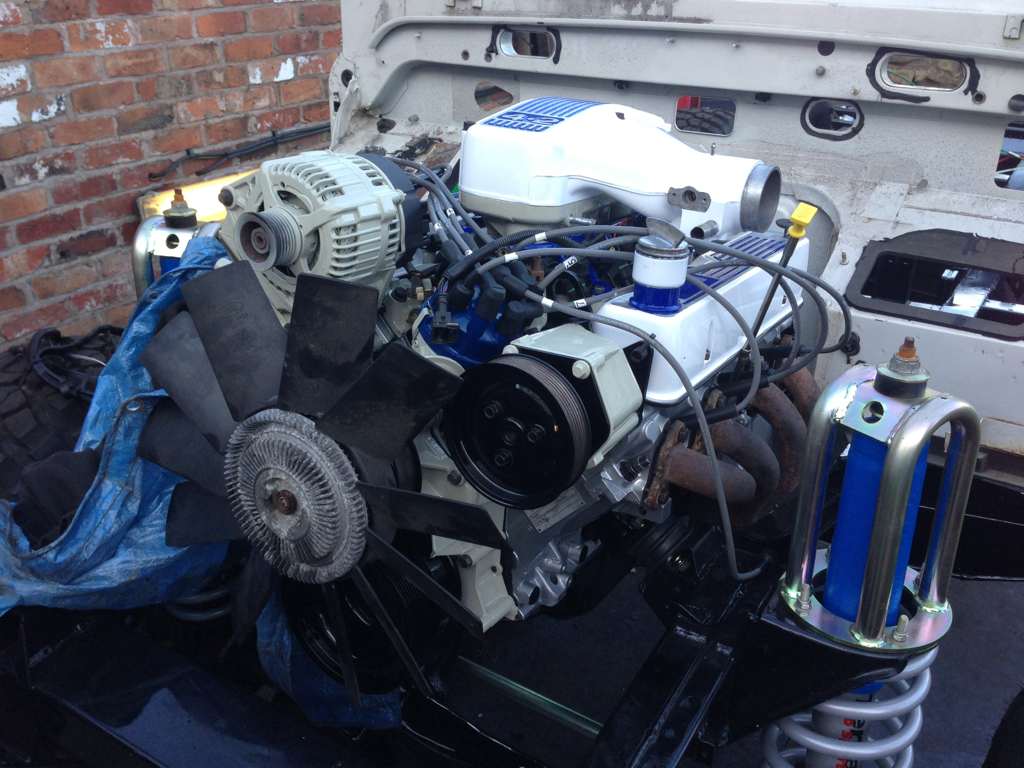
A little update. The V8 4.2 has now been fully stripped and has been sent off to the engine centre for machining.

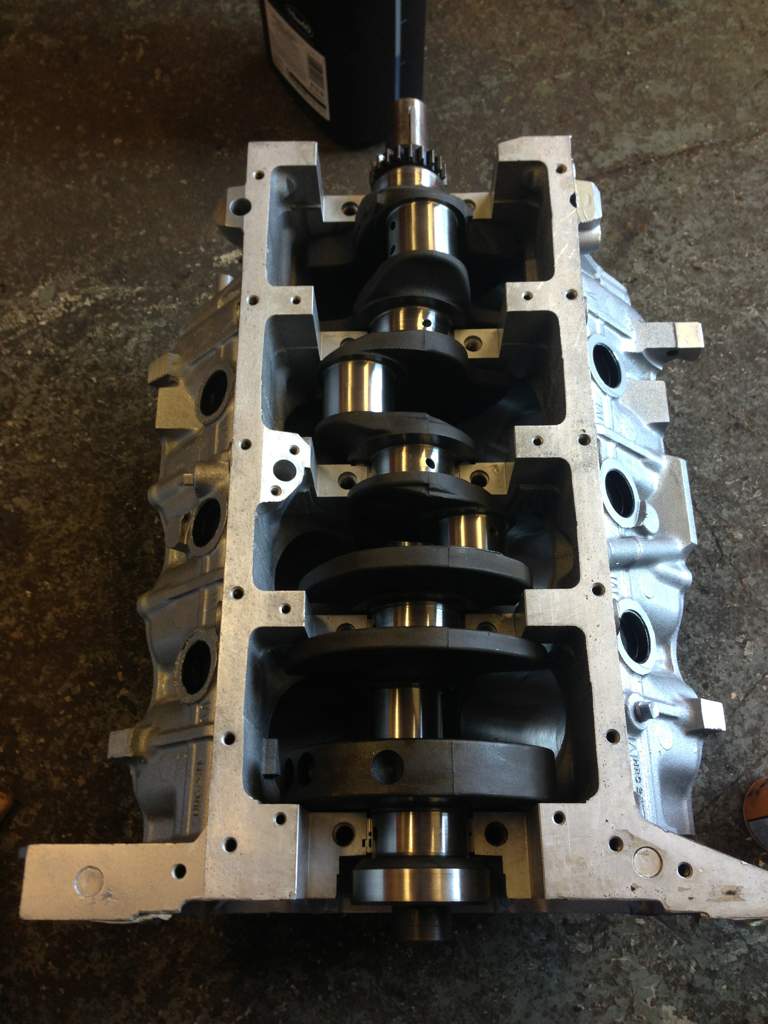
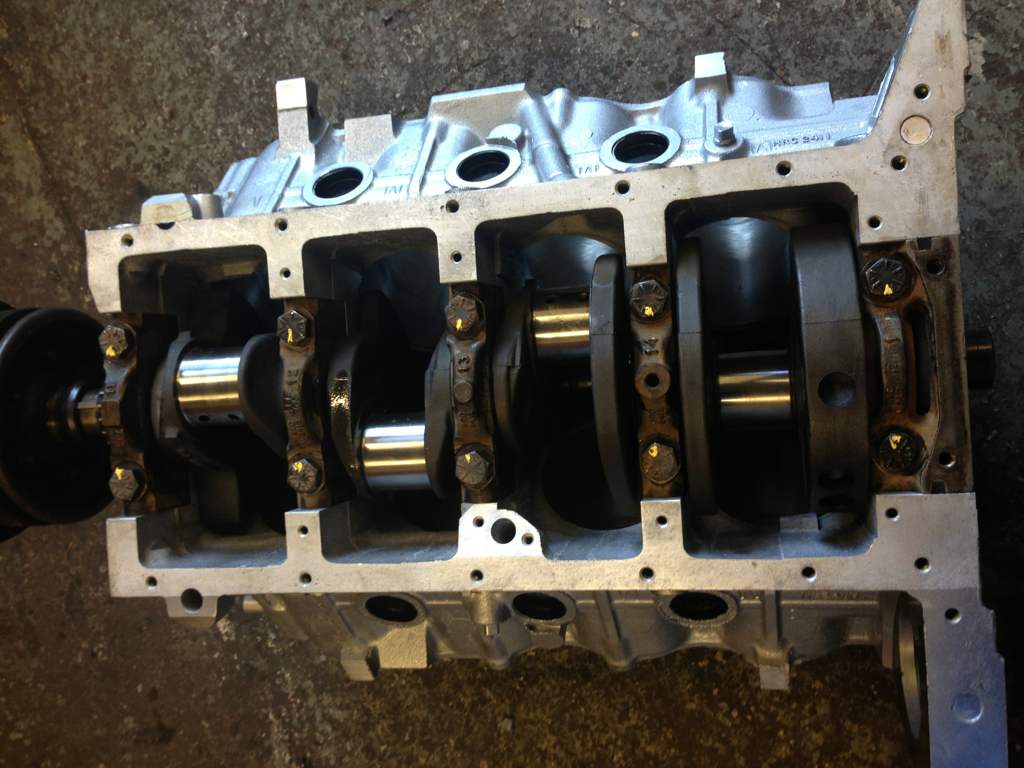
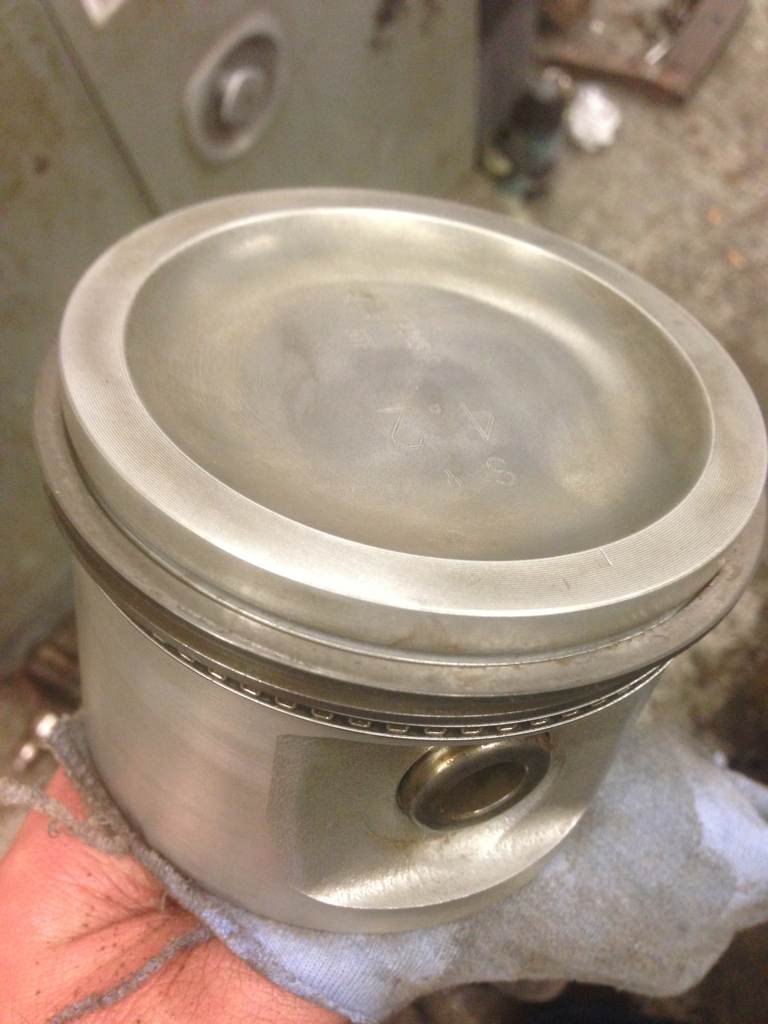
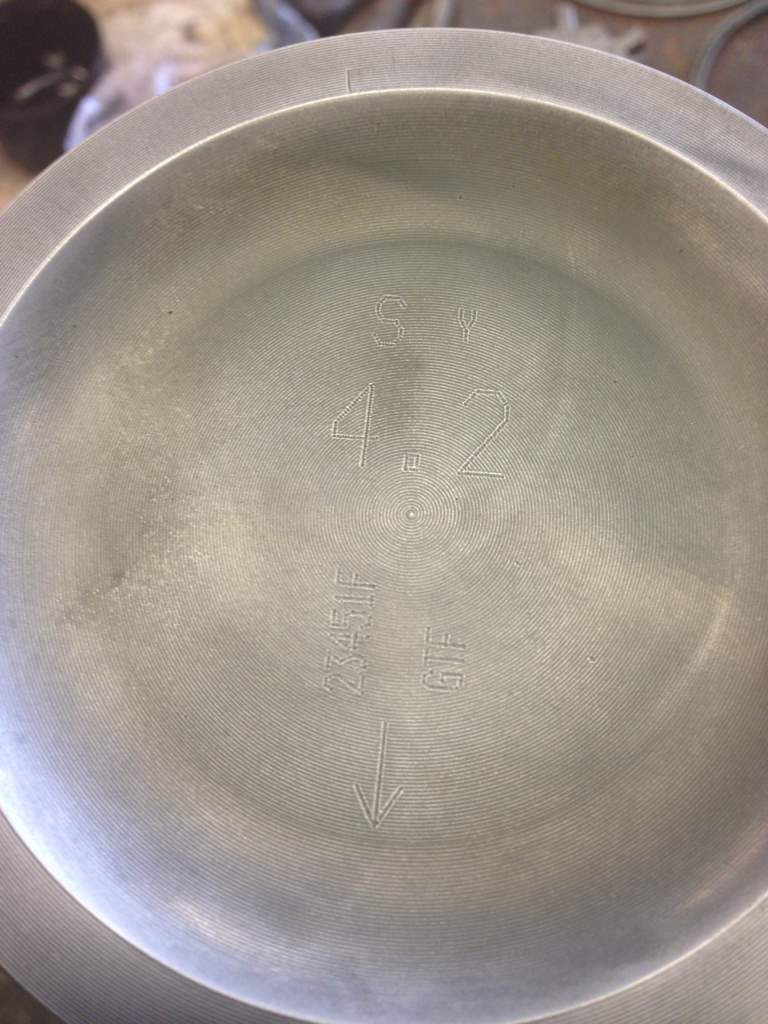
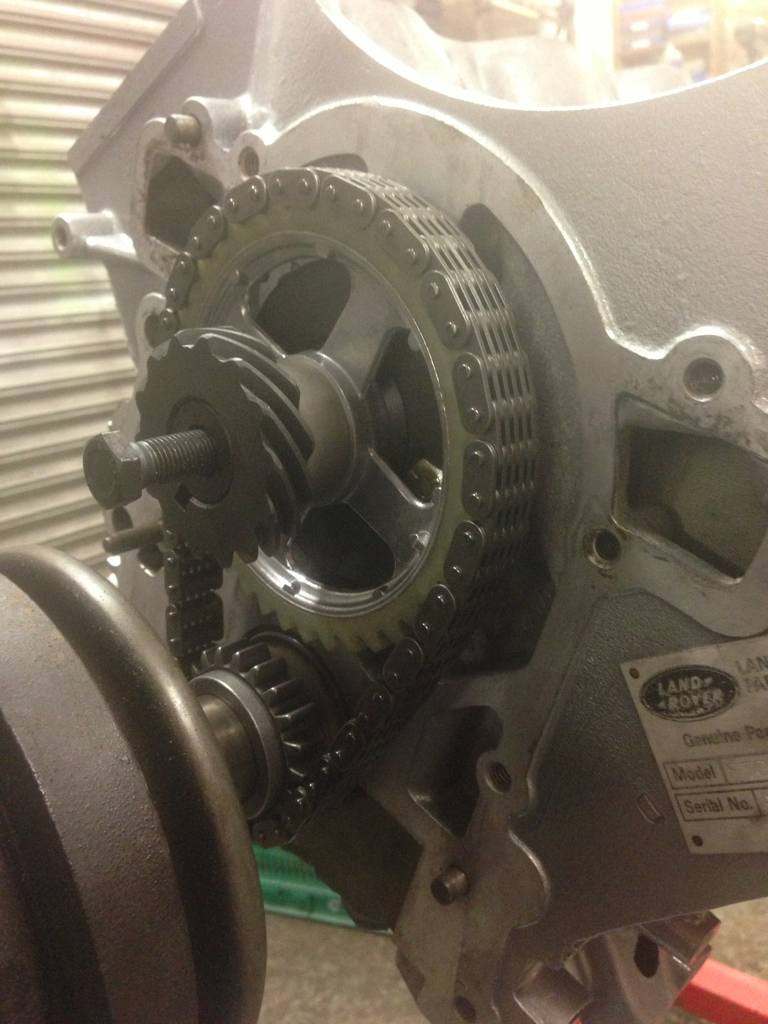
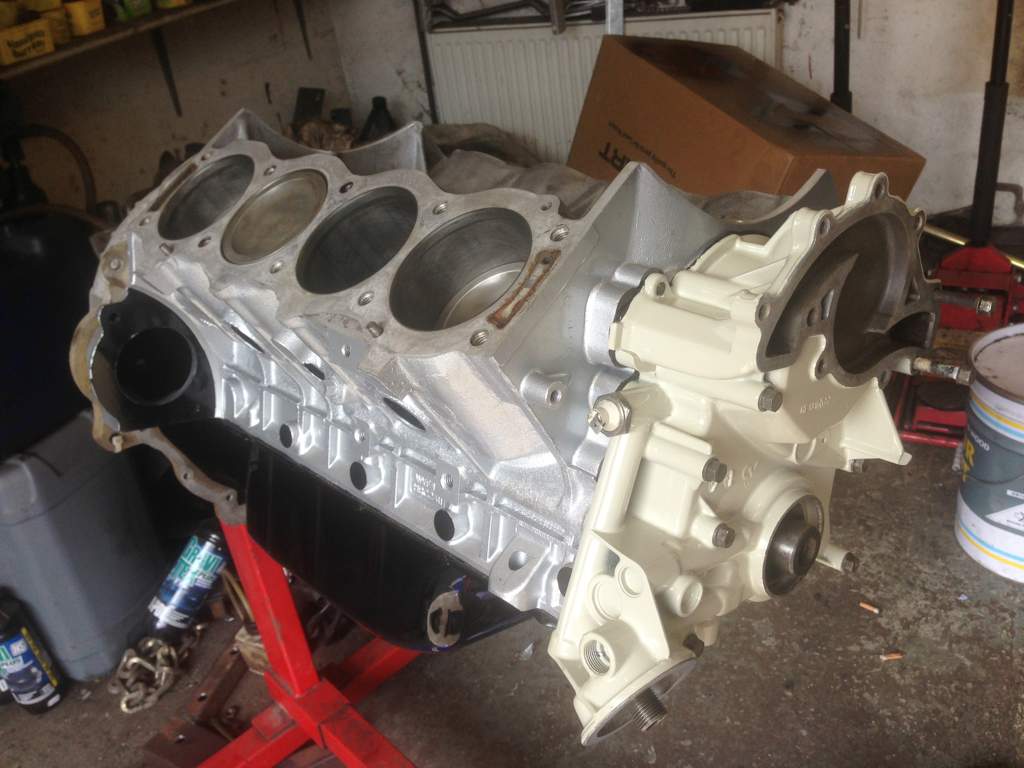
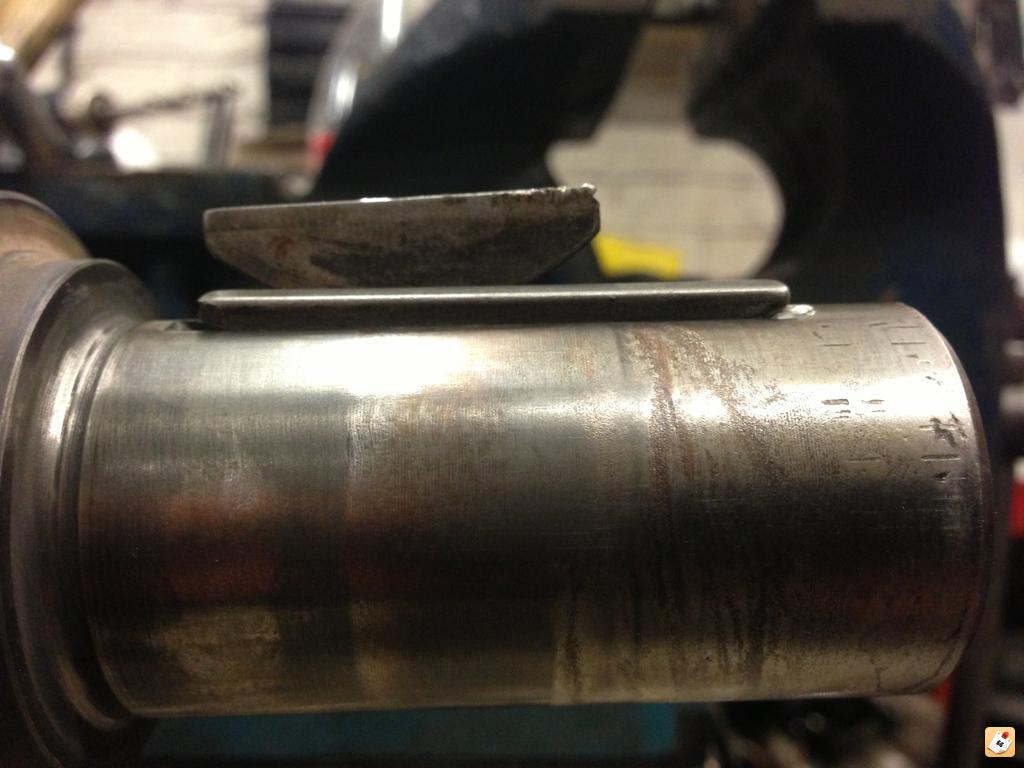
I have already collected the crank which is now 10thou undersized and polished ready to go.

But I have not been able to find any engineering shops to perform the machining on extending the keyway.

So I have taken it upon myself to set to with the dremel and some grinding stones, it took me an hour or two but have managed to sort it.

Here is a picture of the keyway in position and the old one to see the size difference

8abumy8a.jpg


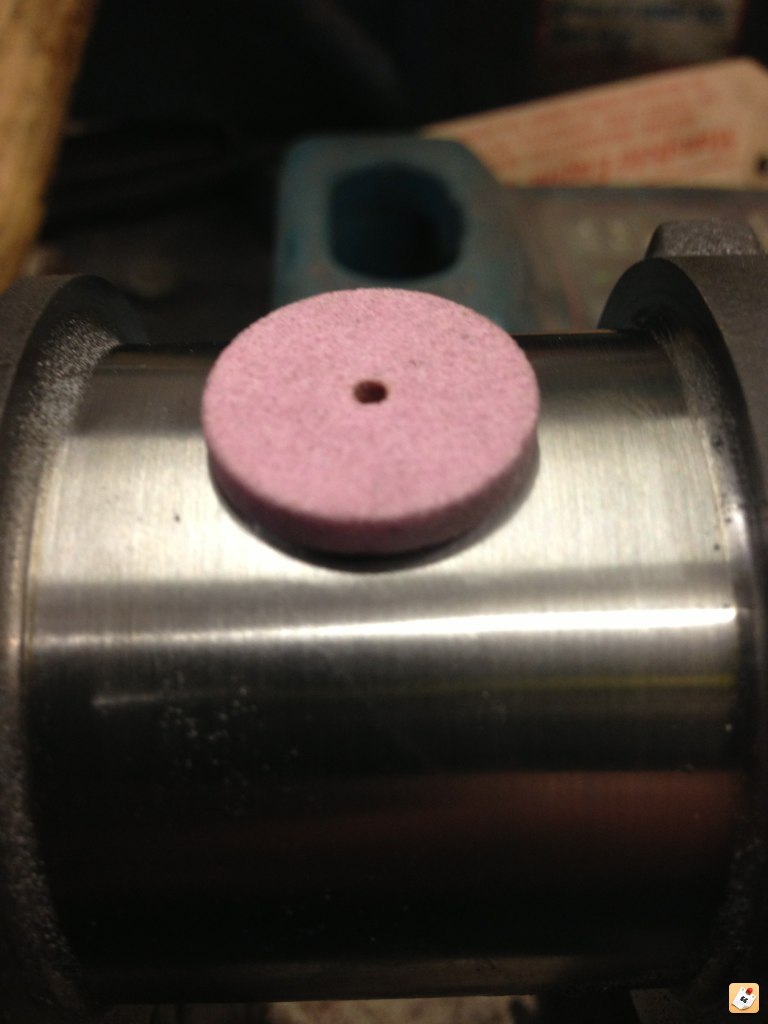
This is one of the grinding stones used which just happens to be 1mm thinner than the slot required

gunybabu.jpg


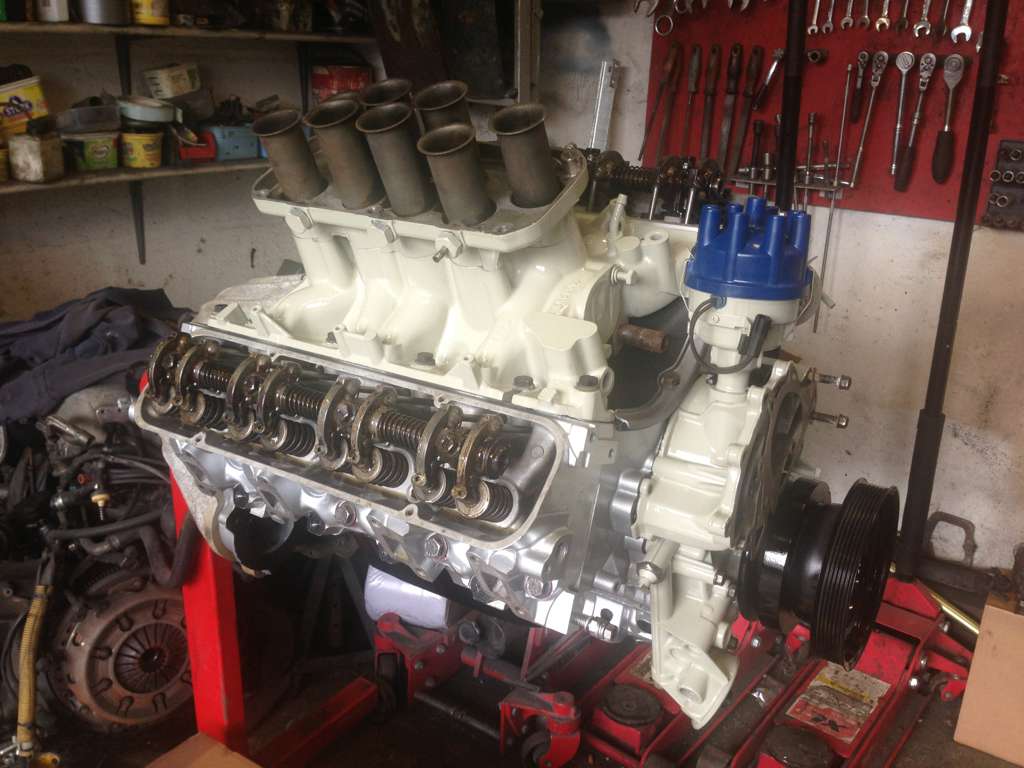
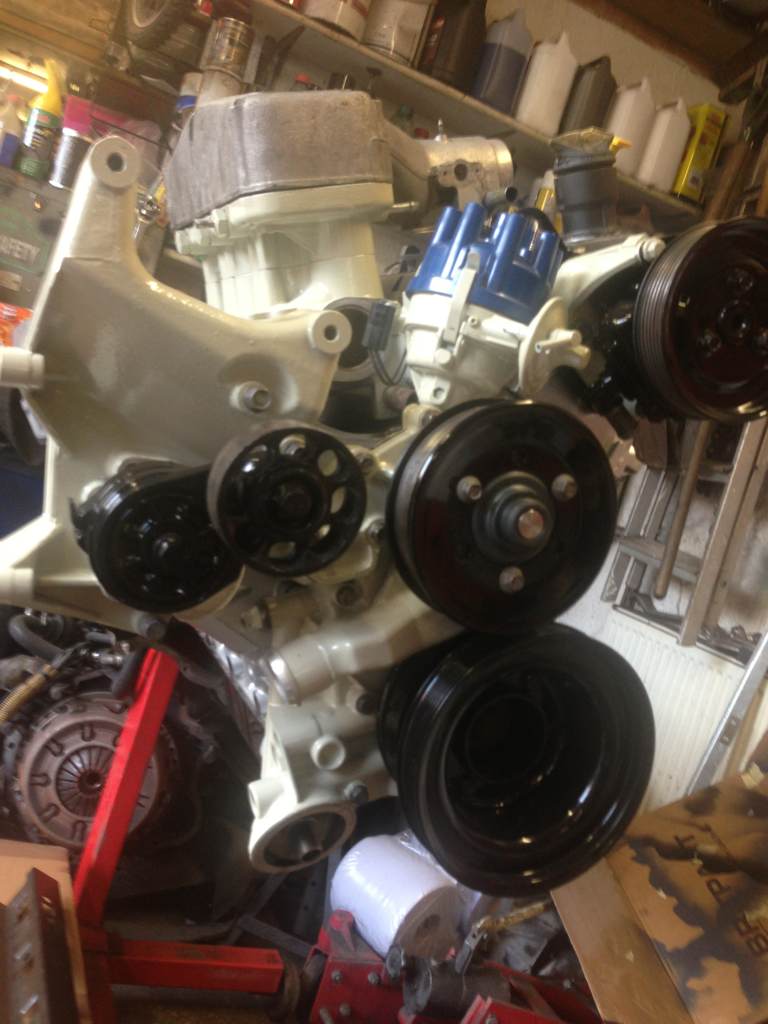
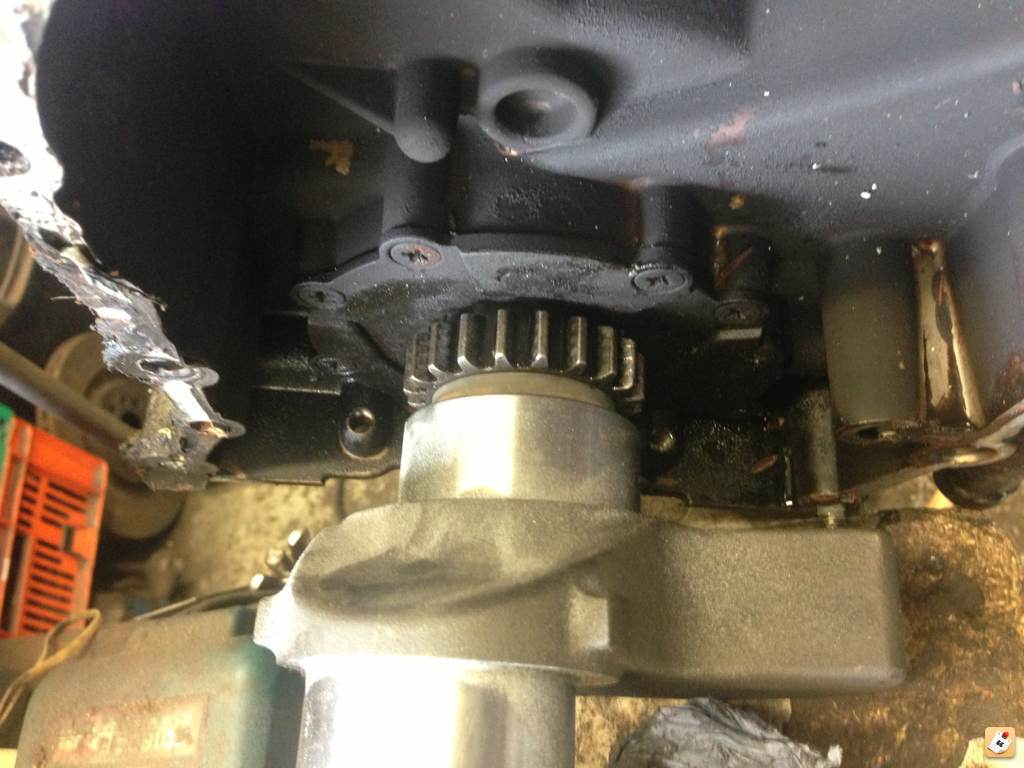
And a mock up of the crank timing gear, front cover and crank pulley to make sure everything is as it should be

y8yjazum.jpg

a6yratus.jpg


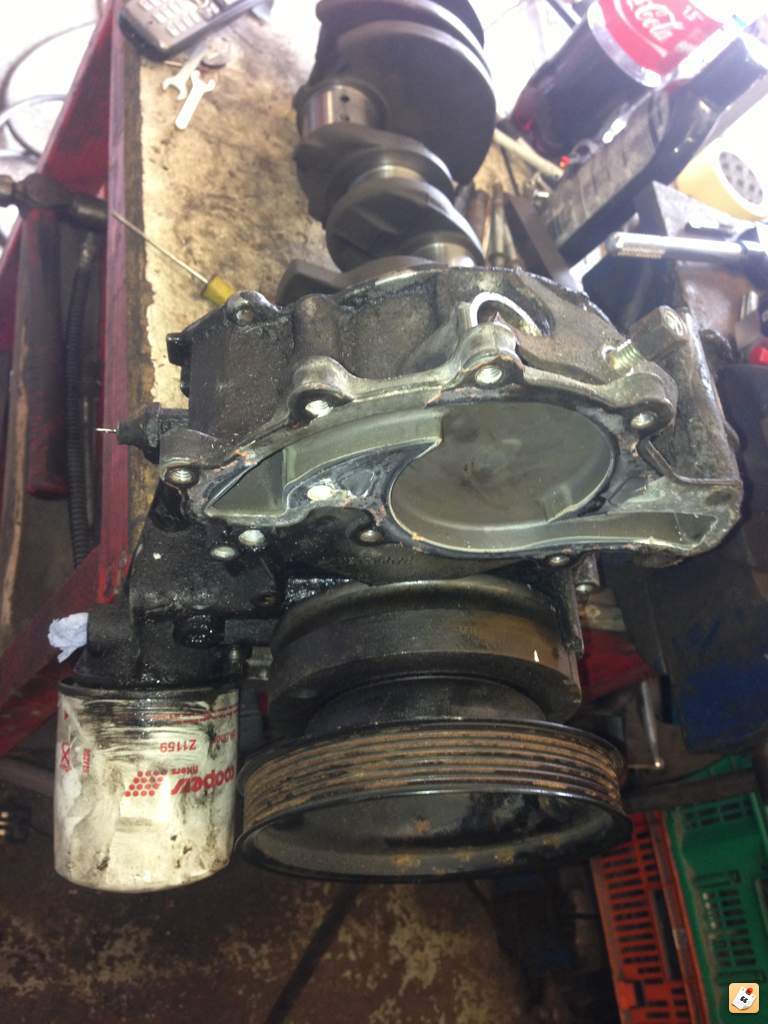
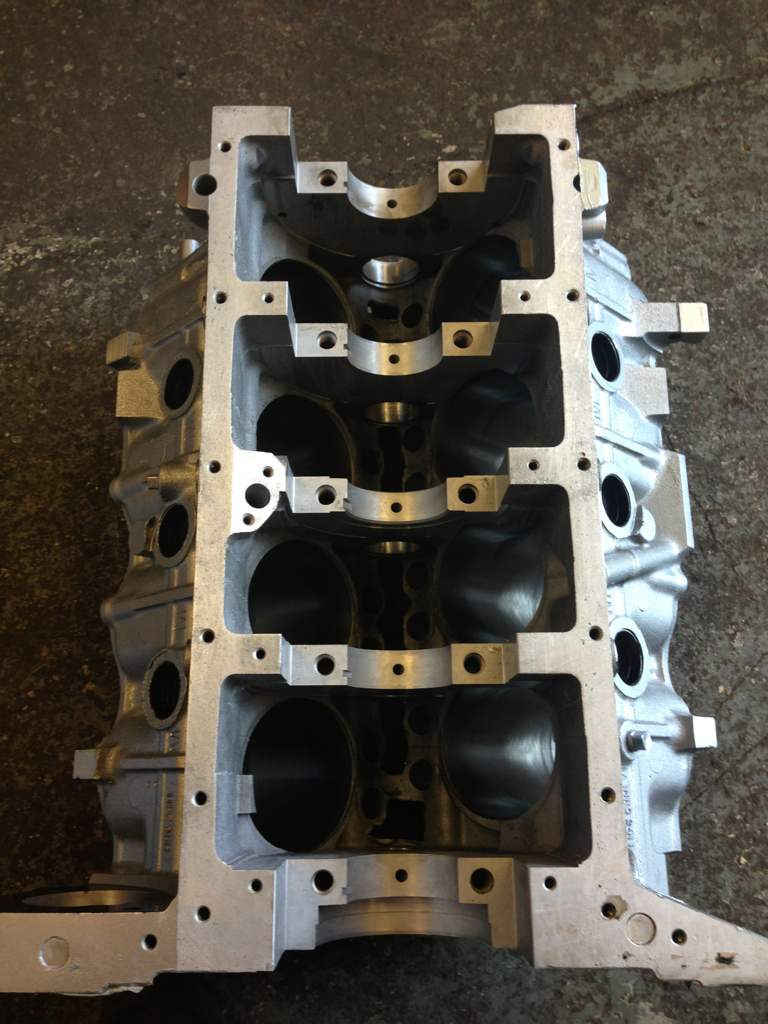
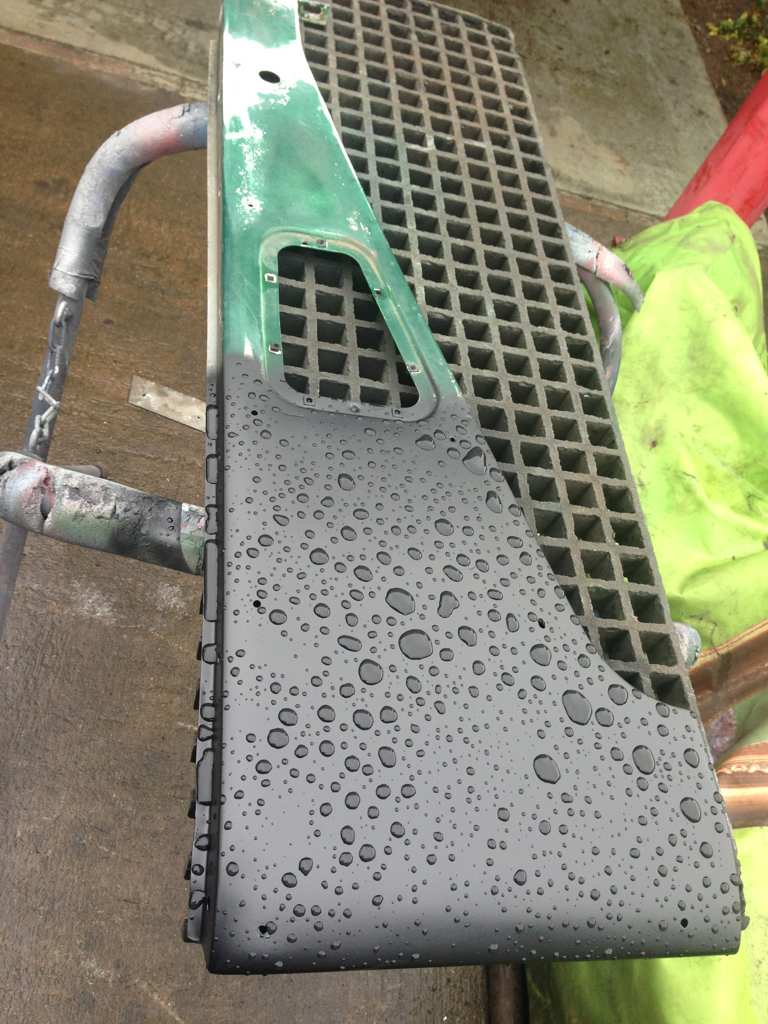
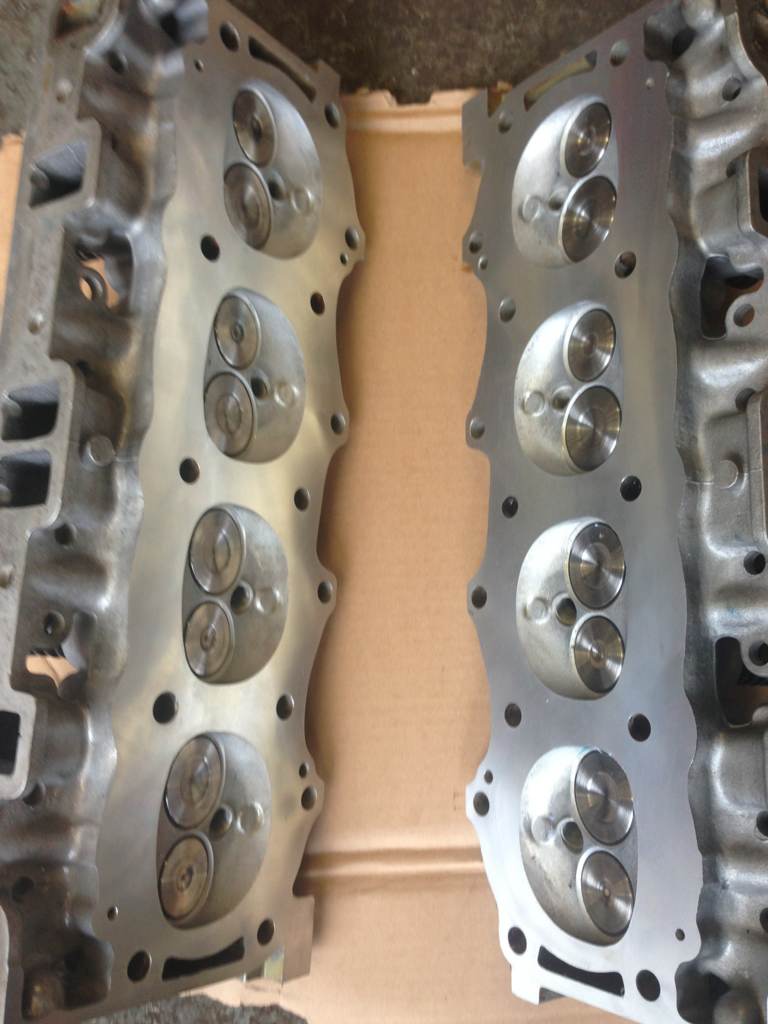
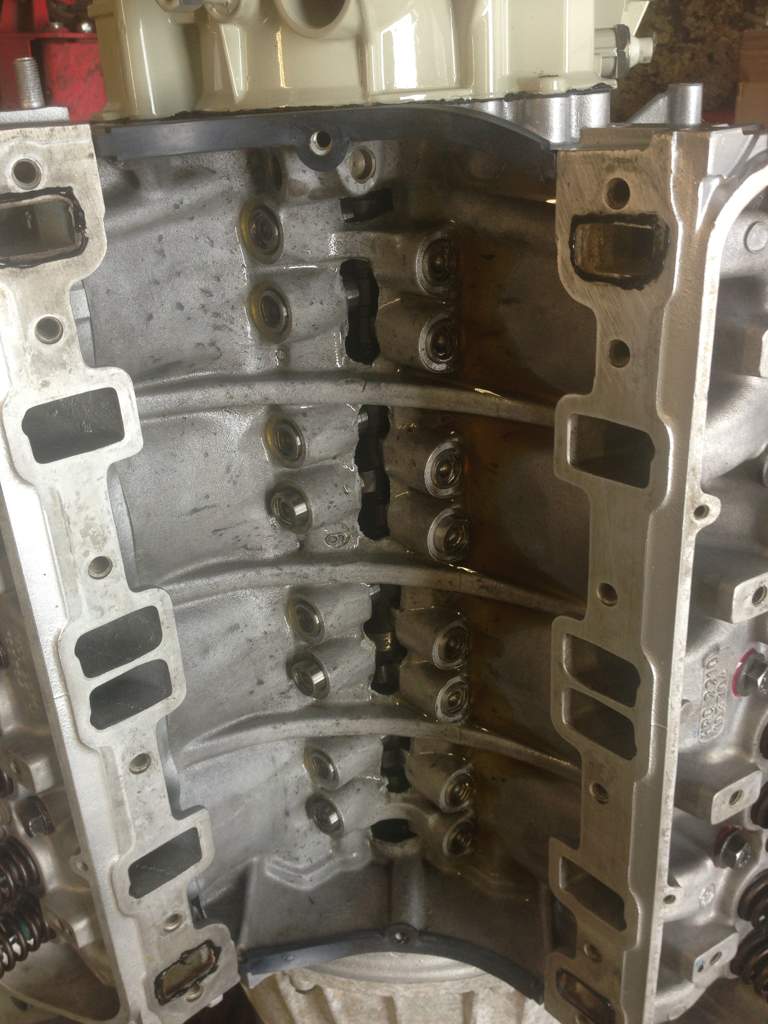
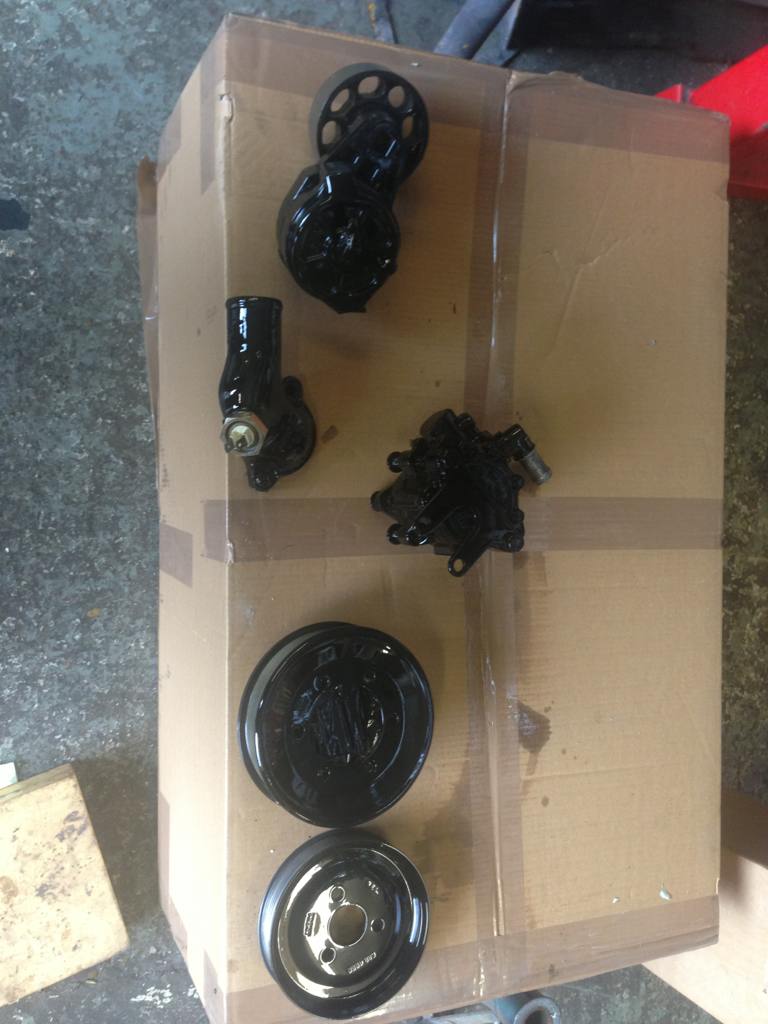
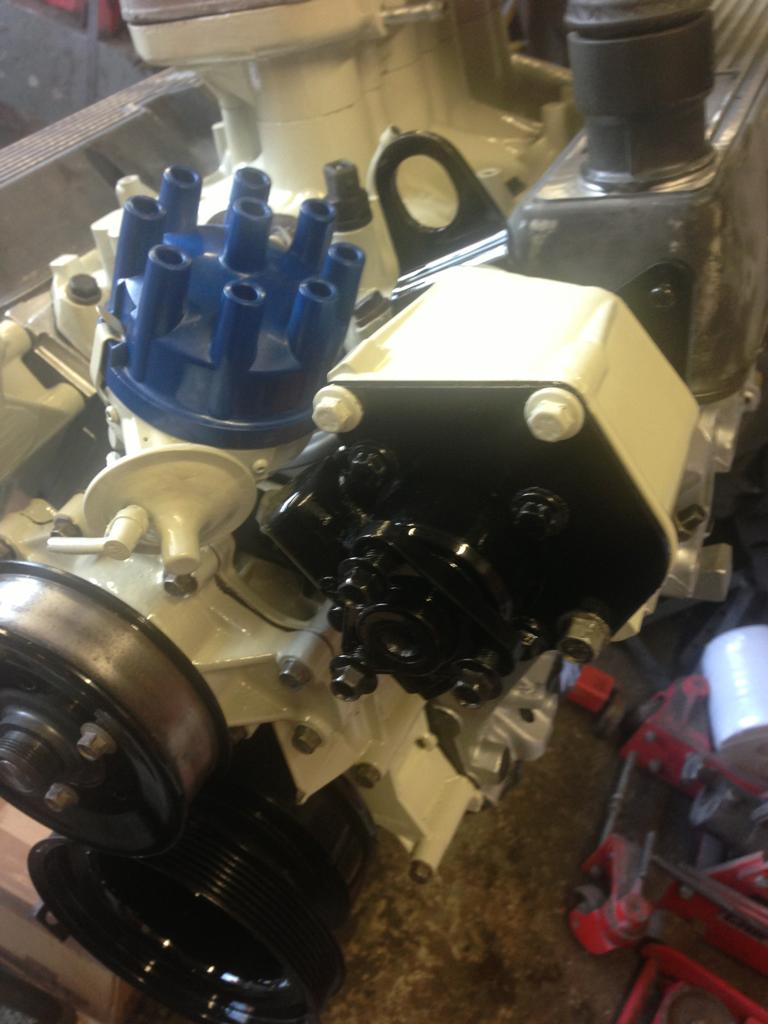
All the parts can now be meticulously cleaned and painted where required in preparation of having the block back.
And then I can get on to building it back up.

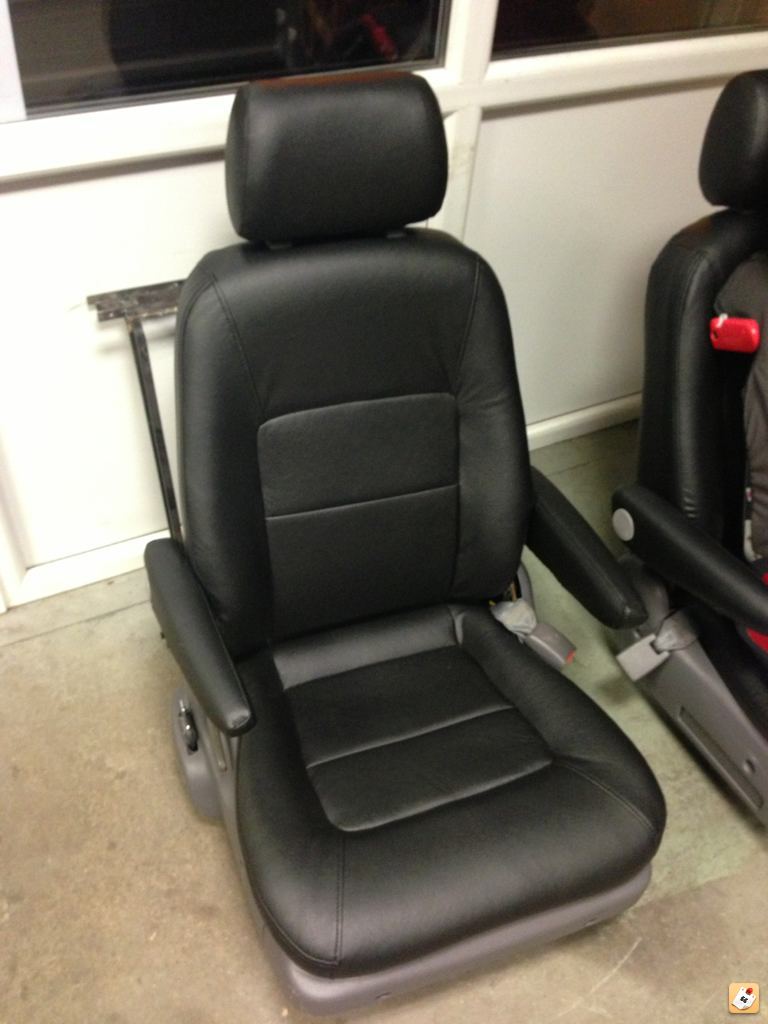
Also I have purchased a pair of leather captains seats with double armrests which I intend to fit...
ata7asa3.jpg
 
Had a little time to do a few bits.
Got a call from the engine centre to say the block is ready and the new cam bearings have been fitted.
So first of all etch prime the block, a few coats of silver paint, a little bit of detailing for some contrast and then lacquered.

7ygaseje.jpg


Once this was dry, it was flipped upside down and I have fitted the crank and new bearings etc.

edujyset.jpg


equmy8yg.jpg


zaruqa7a.jpg


Also the front wings of the original body have been painted in what appears to be house paint or something as equally as horrid.

So they have been broken down into sections and have been working with the dolly to get them as flat as possible so there is as little filler as possible.

etunetys.jpg


I hope to get the pistons cleaned cleaned, re ringed and installed tomorrow if I can get some time to myself...
 
Grabbed an hour or so today. So set to cleaning pistons.

5u7ytyze.jpg


zupyhy2a.jpg


At least you can read them now.

uva7egup.jpg


Then out with the old rings and clean the rig gap with rig gap cleaning tool

derydege.jpg


Then pistons can be fitted with the new big end bearings.

vyqu6edu.jpg


je9emagy.jpg
 
This looks great. I'm enjoying seeing the engine being built up, really interesting.
 
Looking really good :) Whats the timing gear made from? Doesn't look like metal (maybe its just me :) )

Your right it's a standard aluminium one with Nylon ring gear.

Full steel ones are available from the likes of real steel etc but as this engine is not for competition nor am I increasing the rev limit. The standard one should suffice.
 
The steel one would be slightly noisier too if imagine and assume the quieter the engine other than a nice exhaust note is was you want on something that'll be crossing continents :)
 
Well took a while to clean everything before painting but most stuff is etched ready for final flatting and coating tomorrow

my6ezasy.jpg


The only other item that was cleaned and fitted was the oil strainer...

7ega4eve.jpg
 
Epiiiiiccccccccccc! I soooo want one wonder what the resale value would be on this can imagine it being thousandddssss!
 
Not a deal to report managed to get front cover painted.... Gone for a dove grey which am hoping it will tie in with the camper theme once built.

a9yhapud.jpg


Also the heads have been finished so picked them up from the engine centre this morning

yzyseja2.jpg


So the heads have also now been painted and fitted.

byje4upu.jpg
:eek::eek::eek::eek: Is that a britpart box I see sitting at the base of the photo??
Dear Lord, say it isn't so:screaming_bug_eye_f... None of those in this awesome build.
 
The hydraulic lifters have been soaking in oil all night so they have gone in.

pyrajara.jpg


The inlet manifold has been painted along with some of the ancillary parts, so they have now been fitted.

edydy3eh.jpg


Steering pump, pulleys and thermostat housing all painted

ujezy3y9.jpg


I have ordered some more paint for doing the fuel rail, rockers and plenum chamber so will get that done next week as I'm off to Eastnor all weekend :)
But placed the rocker covers and plenum on to stop any foreign objects falling in etc

ge2aqupe.jpg


gabuvagy.jpg


a7u6unup.jpg
 
Been slack with taking photos.
Offered up the manual flywheel to check everything was as it should be.

utypy7a5.jpg


Then I gave it a very light skim in the lathe to clean the surface. It was then bolted up with a good quality clutch and heavy duty bearing.

Re visited the bulkhead fitting and had to re hit the drawing board!

I must have been half asleep last time I offered it into position as I mounted it on the front of the out riggers instead of the rear like some kind of idiot.

The stick clearance issues are now more apparent and along the lines of what I was expecting.....

bajesa2y.jpg


So I have removed the selector mechanism from the top of the LT85 gearbox and have started drawing up a new custom selector plate with an extension housing that I can make one up with the milling machine from a large block of Aluminium.

4ahe5u2a.jpg


Meanwhile most of the engine parts are now painted and re fitted.

pubyte7y.jpg

a8u7yrub.jpg
 
Back
Top