Discovery Sill Replacement

This site contains affiliate links for which LandyZone may be compensated if you make a purchase.
Yeah, it's what I read and re-read .. but thought I'd use it and show it for a Disco too .. ;)

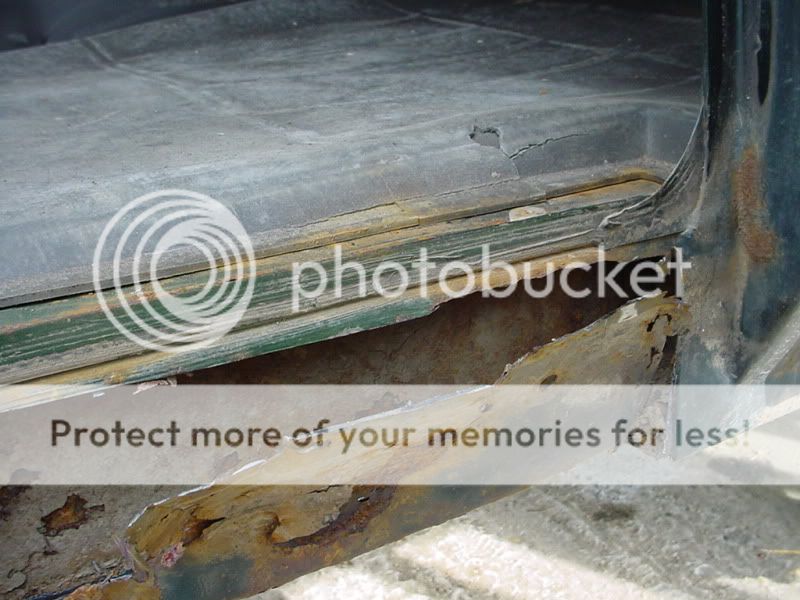
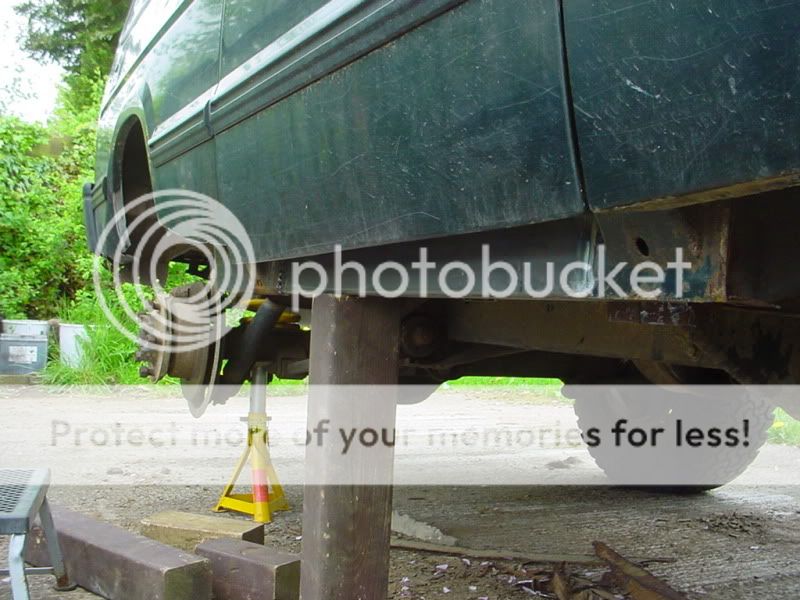
To which end, it seems some of the rot is a bit worse than I first thought ... All the body mounts and pillars look OK, but a quick brush with a wire brush and some pulling about has revealed the following ..

Drivers side looking forwards underneath..

Sills004.jpg


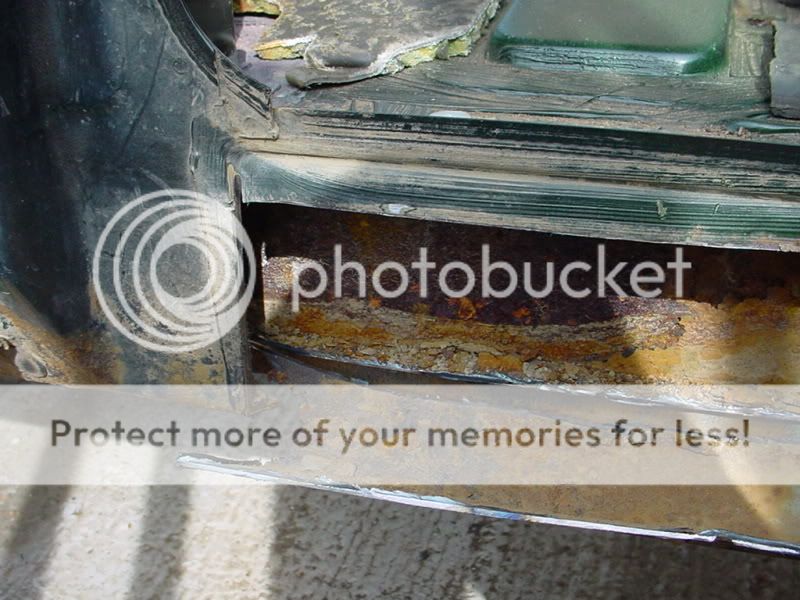
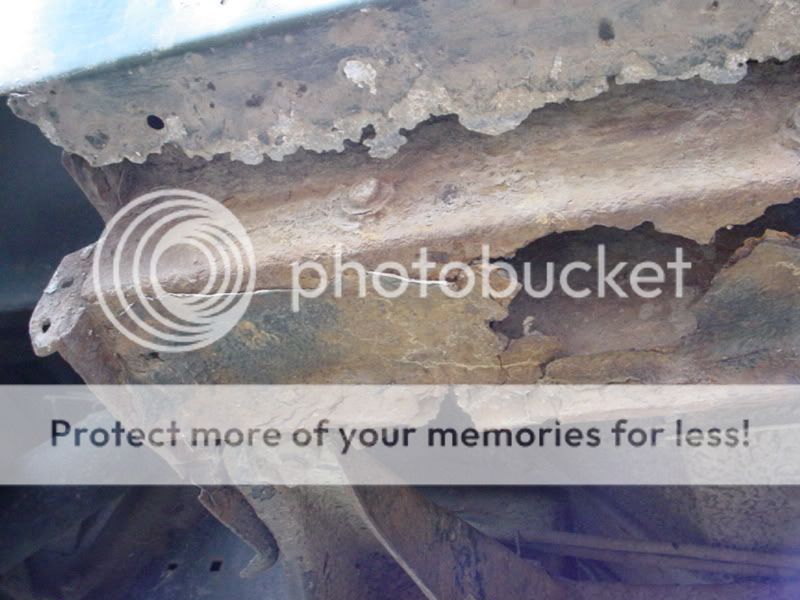
Drivers side rear underneath..

Sills003.jpg


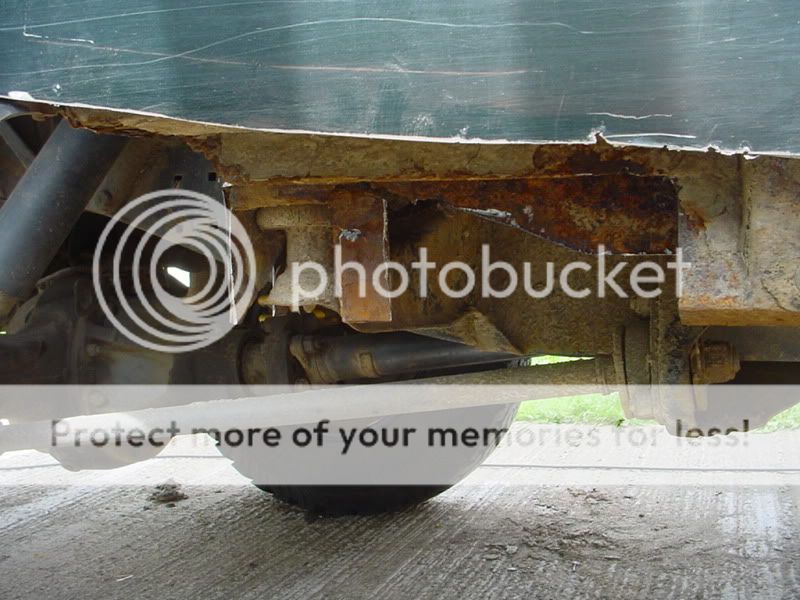
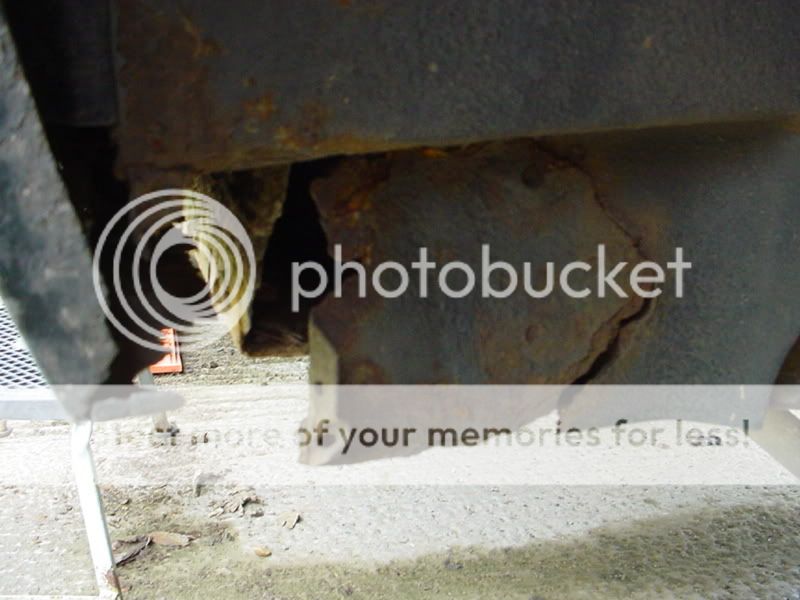
Nearside front underneath is fine, but nearside rear isn't ..

Sills002.jpg

Sills001.jpg
 
once you have fitted them paul,what will you be coating them in for protection,i was thinking about powder coating them but then not sure about welding with the coating in place as dont really want to grind off whats just been put on if you get my meaning
 
Dunno, not got that far yet ..;)

I have a load of Hammerite but don't think that's good enough so guess I'll have to buy some decent paint/underseal. OTOH, as they'll be working as rocksliders, and they will get used, Hammerite might do as I could just keep slapping it on afterwards!.
 
Blimey Paul you are going to be good at welderising once you repaired that lot! Hope it goes well - BTW What's puddle welding (it was mentioned in an earlier post on this fred) ?
 
Dunno, not got that far yet ..;)

I have a load of Hammerite but don't think that's good enough so guess I'll have to buy some decent paint/underseal. OTOH, as they'll be working as rocksliders, and they will get used, Hammerite might do as I could just keep slapping it on afterwards!.

get um galved sounds stupid and is pricey, but the sides and bottoms will get all the stick i guess when its time to weld um on sand the galv back where you want to weld then galv spray over your welds etc;) that is a pricey option though, and i no we landy owners dont like the pricey option:D
 
Blimey Paul you are going to be good at welderising once you repaired that lot! Hope it goes well - BTW What's puddle welding (it was mentioned in an earlier post on this fred) ?


It's where you drill a series of holes in the top layer of metal. The floor pan in this case. but not in the rockslider/sill. once the slider is in position you weld the edges of the holes to the top of the slider. In effect creating a puddle of weld. in each hole.Then grind flat and paint over This strengthens the floor and adds rigidity to the sliders. Without the puddle welds it will only be welded on the corners of the box section and subject to a lot of twisting and side stresses whilst off roading or jacking off them.
 
All I've done toady is try to fix my nearside hub, see my other thread in this section .. ;)

Other than ... had a quick measure up and think we might have been a bit hasty welding the extra strip onto the box section. Looks like the best option might be to cut the whole sills off, other than the tops and a couple of sound ares and slide the slimmer box into them so they're supported 'naturally'. We'll know better when we get round to it .. hub needs doing first as I can drive around with rotten sills, I can't with a nackered hub!
 
hi paul, have you gettin any further on then with your sills.as im curious about the sill improvement.anything has got to better than the orignal desgin,ive still not got any further doing mine as still looking for metal stockist good luck any way
 
Nope.

Wheel bearing went on the motorway so had to fix that .. but no money for parts so had to wait till Friday/yesterday to do that and as these things happen I simply got no time to do anything to the sills!

Hoping to get the sills done this week, but I think I might have to rush it towards the end due to work and family commitments.
 
Had a bit of time today, so just cut the drivers side sill out .. I know I could have drilled the spot welds, but I didn't have a spot weld drill, and the sill takes up part of the floor, so decided to just cut away ... ;)

Drivers_sill_001.jpg

Drivers_sill_002.jpg


In the next one I've also cut away the crap section of the body .. I'll fix this up somehow later .. ;) The rear end looks horrendously complicated until you cut it away, I just intend to plate up the bits and body mounts with 5mm plate .. :)

Drivers_sill_006.jpg


Next couple are the rockslider/sills offered up for fit ....

Drivers_sill_008.jpg

Drivers_sill_007.jpg

Drivers_sill_009.jpg


The gaps at the body mounts are ~10mm so I'll get some plate to fill them properly. At the moment it still needs a few tweaks to fit perfectly, and I'd change the design of the rockslider, nothing drastic, just use straight 60mm box and have the front end square, not tapered. The rear taper looks and fits fine .. ;)

Dunno when the next instalment will be, so stay tuned folks ... ;)))
 
5mm 50x100 box section 1400 long and added a strip of metal 10x25 to one side to make it fit the 60mm width of the sills.
Nearside floor ..

Lifting the carpet also surprised me .. that bloody foam, water retaining :)

How much did you have to pay for your box section? Mine want doing on my 200Tdi, but so far the cost of box section is nearly as much as buying the proper sill repair sections.

As for the carpet, most of the soundproofing used in cars aborbs water, its a side effect of it being good at absorbing noise. Thats why water leaks are very bad news, I end up drying mine out from time to time, using a fan heater.
 
Cost me nowt .. brother works for a fabrication company, and the boss was away for a week .. ;)

Can't do any cutting or welding today, spotting with rain and I don't like using electrickery in the rain ..

I'll be amending the drawing later and adding better sizes etc, with hindsight it should be helpful to someone .. :)
 
paul D you are some sort of legend mate :) whilst hacking around with a grinder on the back of mine i discovered lots of holes in my sill.and have been thing how to do them, i will be doing exactly as you have no with a few extra supports! keep up the good work mate!
 
New box section drawing ... way simpler and easier to make! I went with what we had available.. With hindsight the following is what I would make as this will fit exactly and look 'proper' .. I dislike the 1" strip we had to use as filler on mine, looks odd. Next year might take mine off again and re-fit using this drawing .. :)

Sillsamended.jpg


The front is the square section, the chamfer is at the rear and fits the contours already there so looks the part.

The biggest problem with using 60mm is that that's the size of the sills, so one side at least has to be cut away completely so they fit squarely and correctly. When test fitting I couldn't get the box to sit square 'cos I hadn't removed the sill part on the A and B pillars .. once that was done it sits very nicely. If I could weld properly it would look exactly like 'the real thing' but way stronger .. :)
 
Pleased you've shown this lot paul, I thought it'd be a bigger job than I fancied doing but may well go for it now - well, when the weather's better. Anyone found a price for the box section yet? the annoying thing is I used to work as a fabricator so would've tea-leafed some - doh!
 
Started the welding on the drivers side ...

Pretty crap, not welded in anger for 20+ years and never with a crap old mig welder. really need new welding wire, the stuff I have is old and slips on the rollers so it's not a consistent feed ... so please, don't laugh at the state ofthe welding, it's as it is, not cleaned up or ground off yet .. ;)

Weld.jpg


and the following is the sill/box section/slider in place. Still need to weld the A pillar, cap the end and finish it off nicely, but this shows what it'll look like when finished.

Weld2.jpg


The rear body panel I just hacked off as it got in the way and was badly corroded anyway. getting so aluminium plate to make a new panel .. might not be as good as new, but it'll (eventually) be better than if I'd left it alone!

I won't be replacing the plastic dummy sills, I suspect they're the real problem and would urge anyone with them to get rid ASAP .. the main rust was concentrated behind the 'pockets' in the plastic .. where water holds I guess ..;)

I am likely to be adding tree sliders/steps directly to these sills, I figure I can just drill through the box, weld two strengthener tubes in, the right size for a Hi-lift, and use these as two of the mounts for a tree slider. But that's for another weekend ... when I have some decent tubing for them ... ;)
 
Hi Paul D,
new to the forum, found this thread when searching for inspiration / encouragement about replacing my sills. Your post has made me much happier! thanks alot, I reckon I can do it without much bother.
Do you have any pictures of the inside face of the sill, to see how it mates up with the floor etc?
Thanks alot,
Andrew
 
Back
Top