You are using an out of date browser. It may not display this or other websites correctly.
You should upgrade or use an alternative browser.
You should upgrade or use an alternative browser.
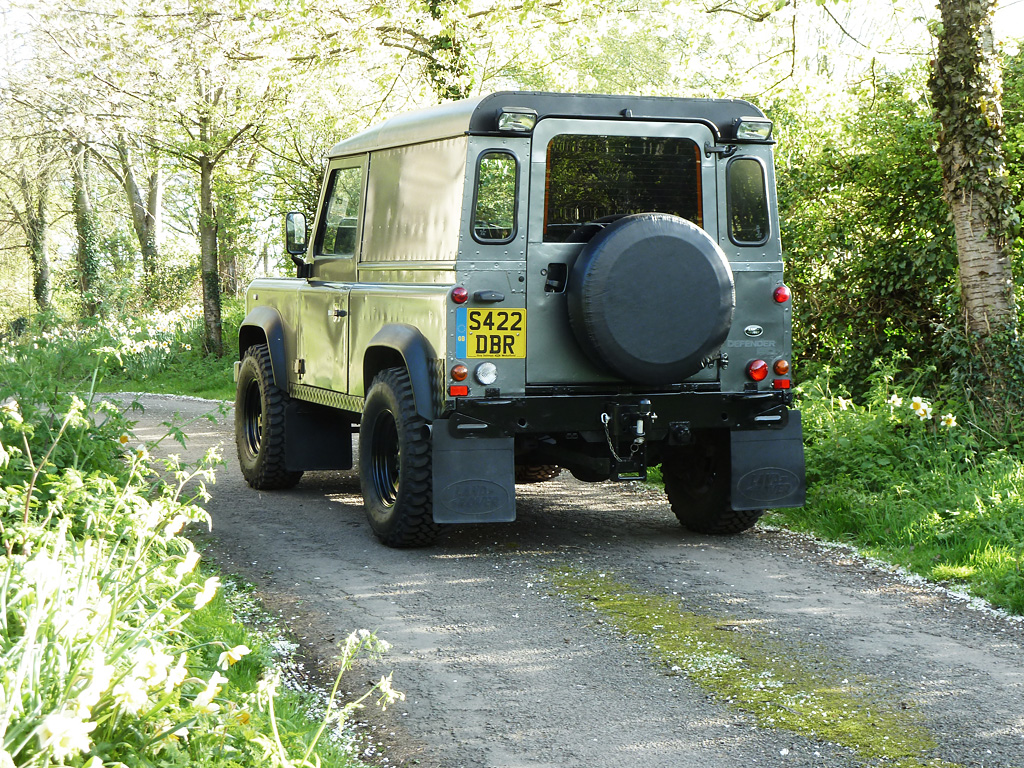
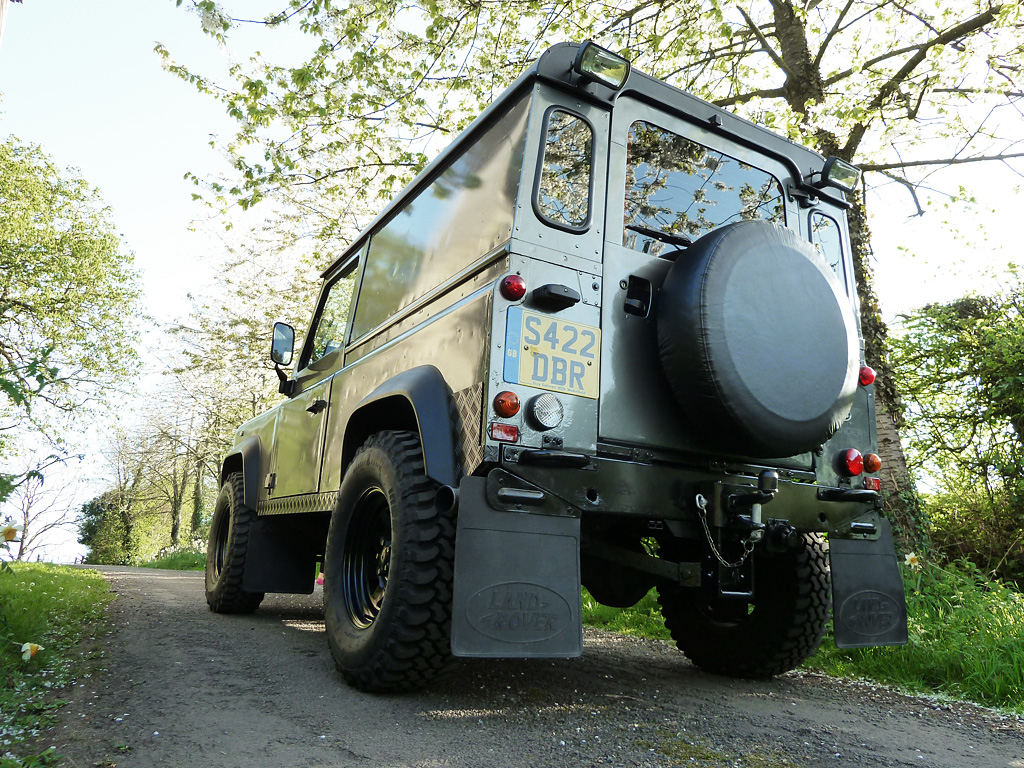
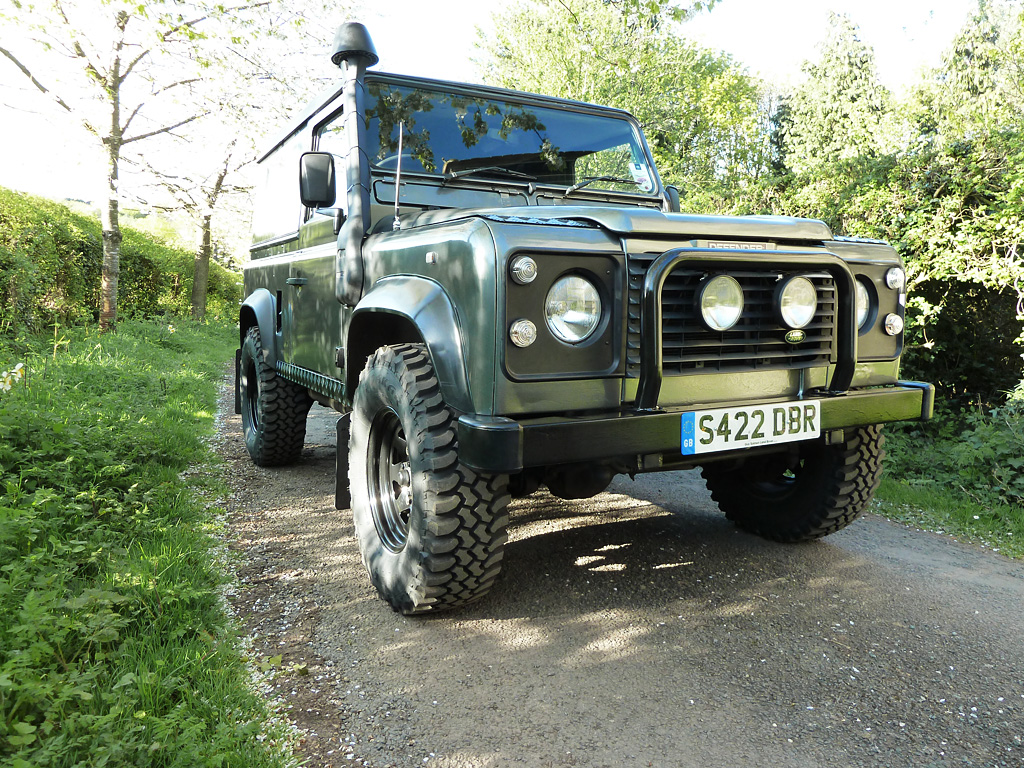
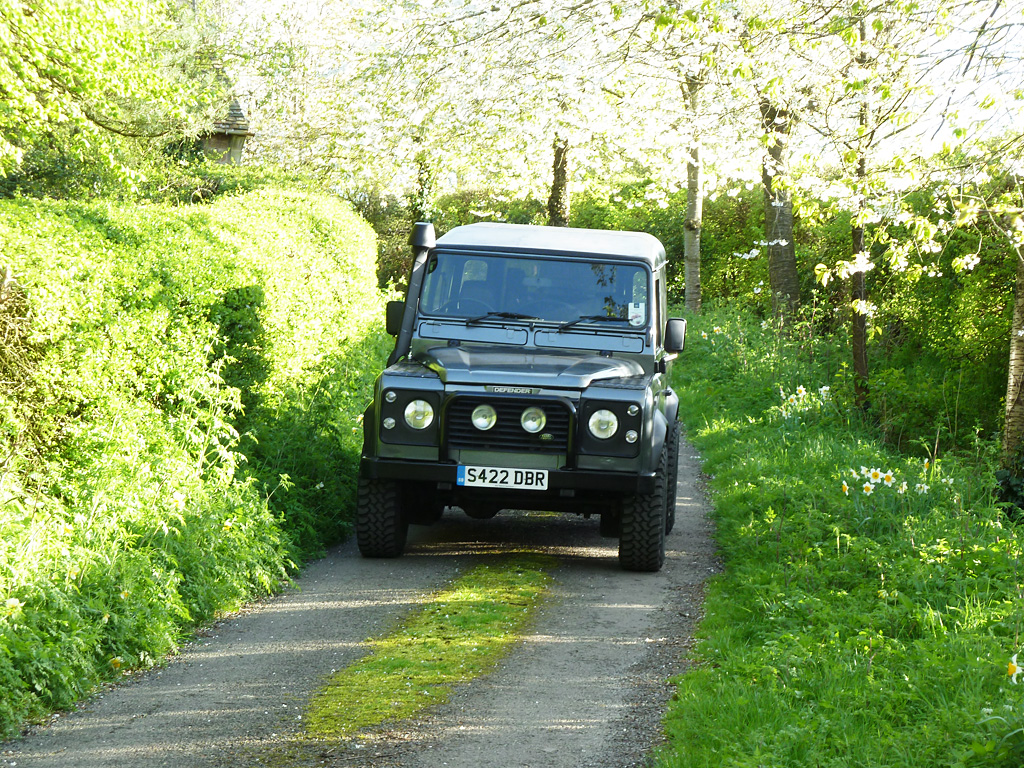
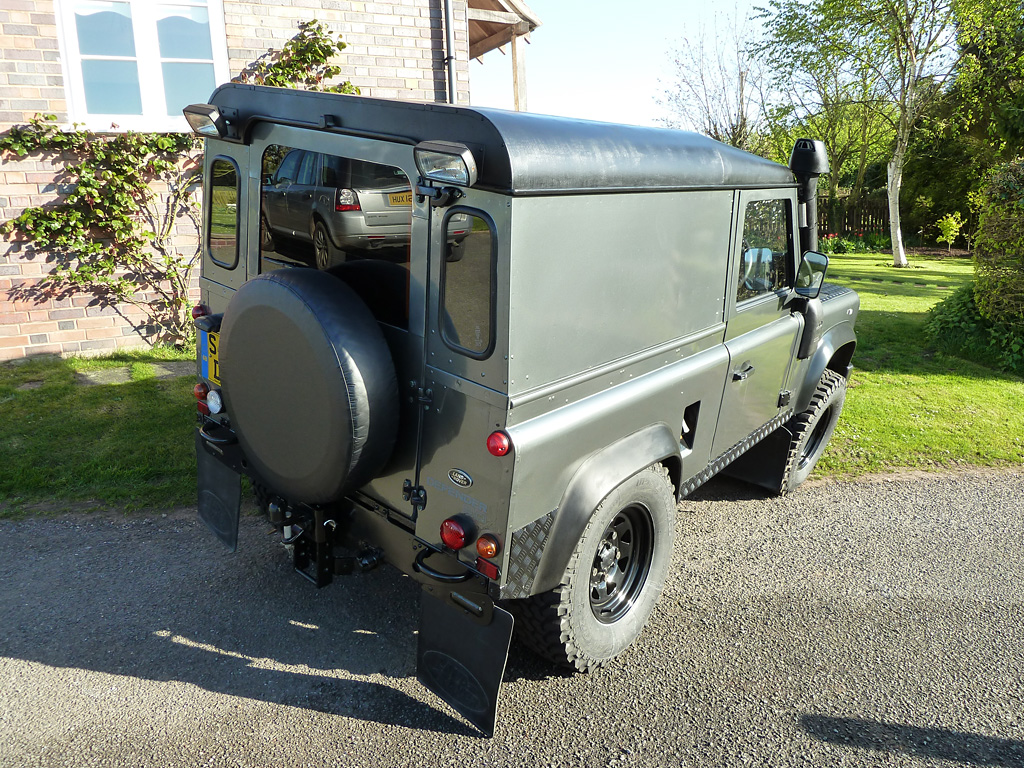
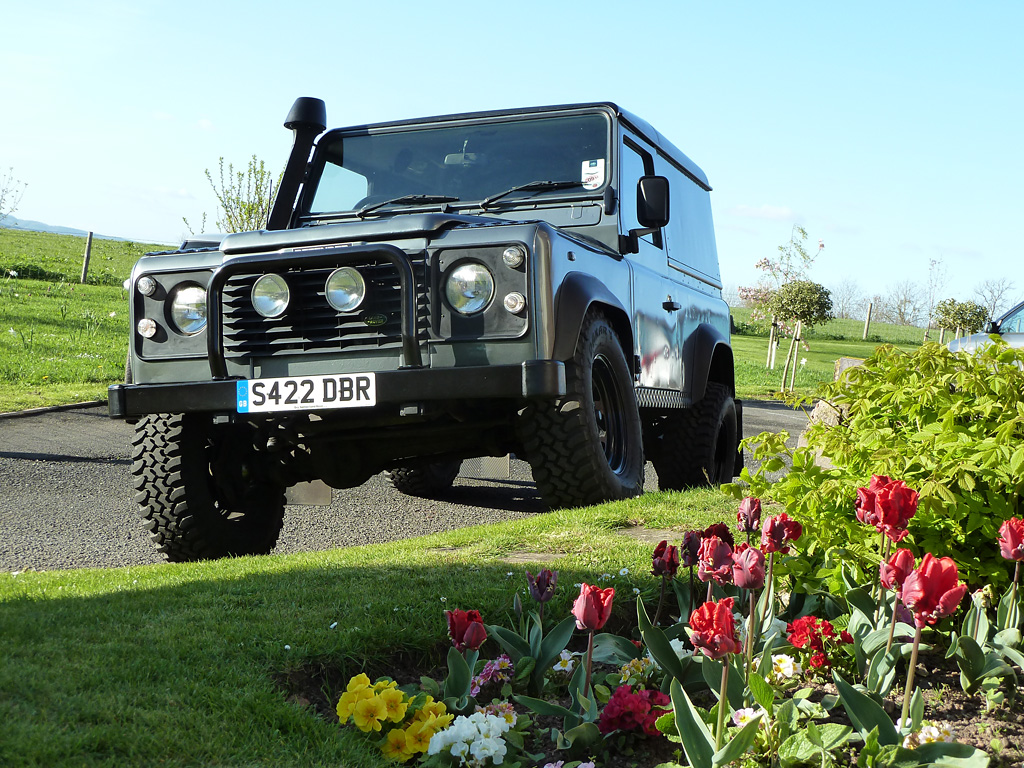
Defender 300 TDi Project!
- Thread starter SJW2511
- Start date
This site contains affiliate links for which LandyZone may be compensated if you make a purchase.
pants007
Active Member
- Posts
- 216
- Location
- isle of man
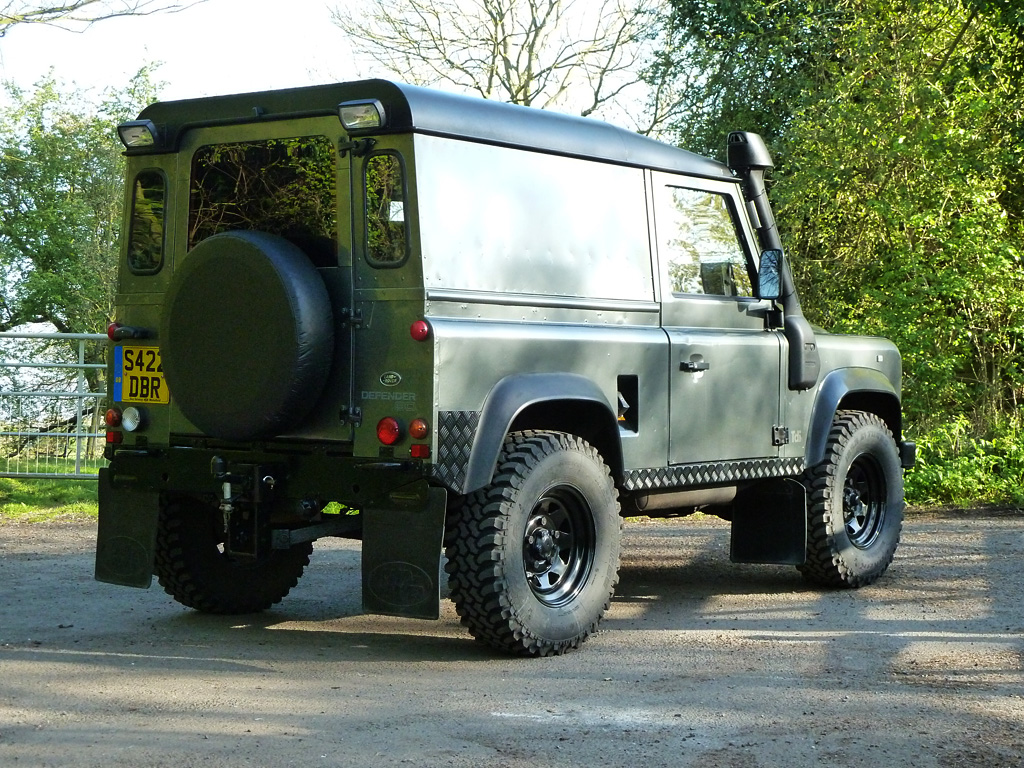
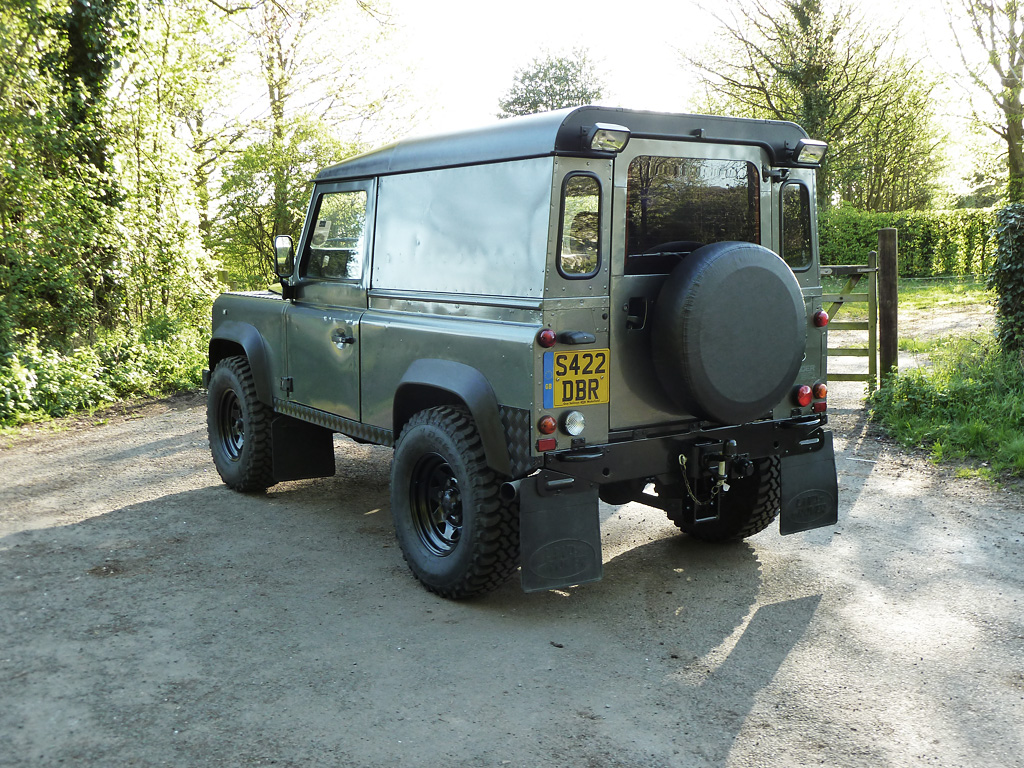
great looking 90! been following since i joined! Im looking to by one just like yours (colour) from a garage in aylesbury!http://www.exchangeandmart.co.uk/us...r-defender-90-200-tdi-16191168?dealerlist=yes
stupid question but how come i see snorkels on different sides of 90/110 do diff engines have airboxes on the left and right? be kind!
stupid question but how come i see snorkels on different sides of 90/110 do diff engines have airboxes on the left and right? be kind!
Last edited:
aaronmorris
Head's a shed
- Posts
- 6,369
- Location
- Doncaster
great looking 90! been following since i joined! Im looking to by one just like yours (colour) from a garage in aylesbury!Land Rover Defender 90 200 Tdi 4X4 1992, 86000 Miles, £4250 - 16191168 - ExchangeandMart.co.uk
stupid question but how come i see snorkels on different sides of 90/110 do diff engines have airboxes on the left and right? be kind!
Yes n/a td and 200tdi on n/s and 300tdi td5 and tdci on o/s
My zinc primer and fe-123, which is award winning rust converter, but expensive, arrived today.

These are to paint the front and rear bumpers/cross members
So today was the front bumper, heres some before shots, also showing the rusting areas


The fe123 applied on those rusty areas plus the ends of the chassis rails and inside the jacking point holes

Masked everything off

Zinc primer

Coat of black rustoleum

Where the rusty areas were

Some final pics


These are to paint the front and rear bumpers/cross members
So today was the front bumper, heres some before shots, also showing the rusting areas
The fe123 applied on those rusty areas plus the ends of the chassis rails and inside the jacking point holes
Masked everything off
Zinc primer
Coat of black rustoleum
Where the rusty areas were
Some final pics


bigvinnie
Active Member
- Posts
- 748
- Location
- Catterick North Yorkshire
Said before and i'll say it again, cracking looking wagon, the transformation is outstanding. You should be extremely pleased with yourself. ")

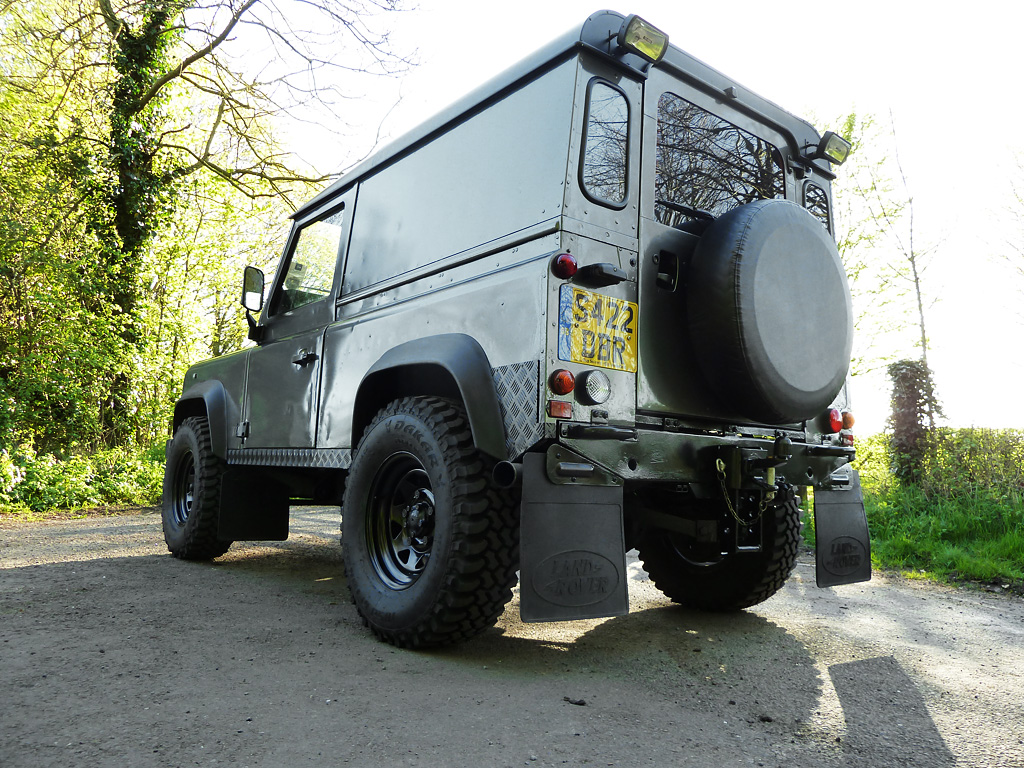
So I painted the rest of the wheels

Now for a bit of an unexpected update, I found these retrim kits for the seats, they only cost £54+vat so I was a bit sceptical so I only bought one to try. When it arrived I was amazed at what you get for the money

In the box is retrim pieces ready made for all three sections of the seat, full foam inserts to replace all the old stuff, various bits for attachment, spray glue and an instruction dvd

Ordered black to go with the black theme inside, first up the sort of wear on the existing seats


Removed the seat

Removed the squab

And the squab cover

Old foam,

Removed next to frame

New foam insert on

Then started on the headrest, removed cover

New cover on and stapled down to hold in place

Then screwed down the metal cover

Removed the foam and cover off the bottom cushion

New foam piece on

Cover on

Whole seat recovered

In the car

Quite impressed with this so ordered the other kits to do the rest of the seats
Now for a bit of an unexpected update, I found these retrim kits for the seats, they only cost £54+vat so I was a bit sceptical so I only bought one to try. When it arrived I was amazed at what you get for the money
In the box is retrim pieces ready made for all three sections of the seat, full foam inserts to replace all the old stuff, various bits for attachment, spray glue and an instruction dvd
Ordered black to go with the black theme inside, first up the sort of wear on the existing seats
Removed the seat
Removed the squab
And the squab cover
Old foam,
Removed next to frame
New foam insert on
Then started on the headrest, removed cover
New cover on and stapled down to hold in place
Then screwed down the metal cover
Removed the foam and cover off the bottom cushion
New foam piece on
Cover on
Whole seat recovered
In the car
Quite impressed with this so ordered the other kits to do the rest of the seats
ifloochies
Well-Known Member
- Posts
- 866
Hello mate,
Details on how you painted the wheels.
What sort of paint exactly and would it stand up to wear and tear of everday use and washing without peeling of?
Cheers.
Details on how you painted the wheels.
What sort of paint exactly and would it stand up to wear and tear of everday use and washing without peeling of?
Cheers.
http://www.amazon.co.uk/gp/product/B007IRC36W?ie=UTF8&at=&force-full-site=1&ref_=aw_bottom_links
That's what I have.
I guess il find out in time how durable it is, however I did get a small amount somewhere where I shouldn't on the tyre I tried rubbing it off right away and it didn't seem to budge, it almost stains it so hopefully should be fairly durable
That's what I have.
I guess il find out in time how durable it is, however I did get a small amount somewhere where I shouldn't on the tyre I tried rubbing it off right away and it didn't seem to budge, it almost stains it so hopefully should be fairly durable
Southernlandy
Active Member
- Posts
- 523
- Location
- Hampshire
Loving the seats. I did the same with mine and they make such a difference

Similar threads
- Replies
- 4
- Views
- 294
- Replies
- 18
- Views
- 593
- Replies
- 20
- Views
- 920
- Replies
- 11
- Views
- 557
- Replies
- 12
- Views
- 1K