bustersbus
Well-Known Member
- Posts
- 13,755
- Location
- Near Dumfries, Scotland
REAR STUB AXLE RENEWAL
Ah was renewing me rear brake cylinders and noticed that me stub axles werent that clever so ah decided to change them at the same time.
Heres how ah did it .
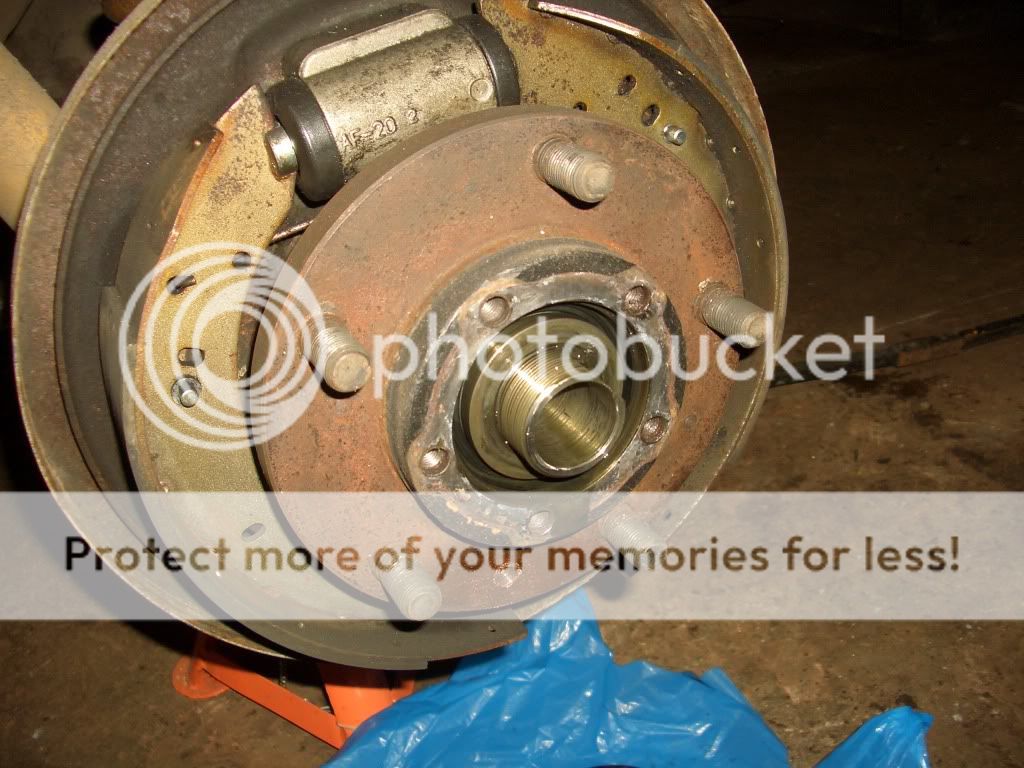
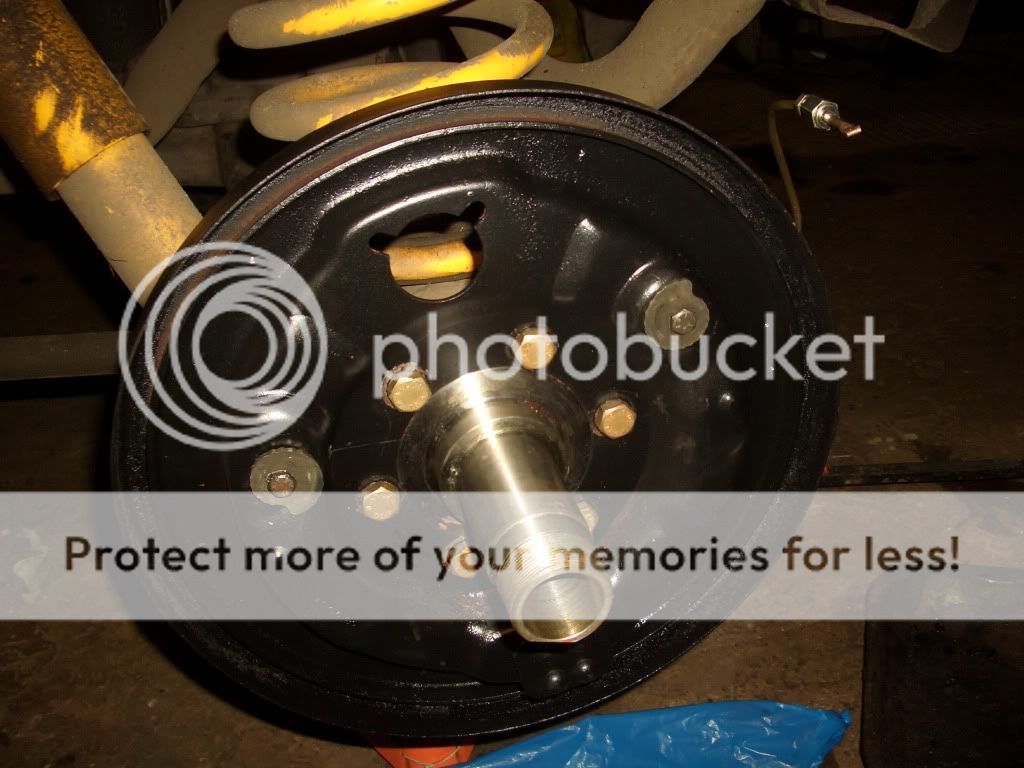
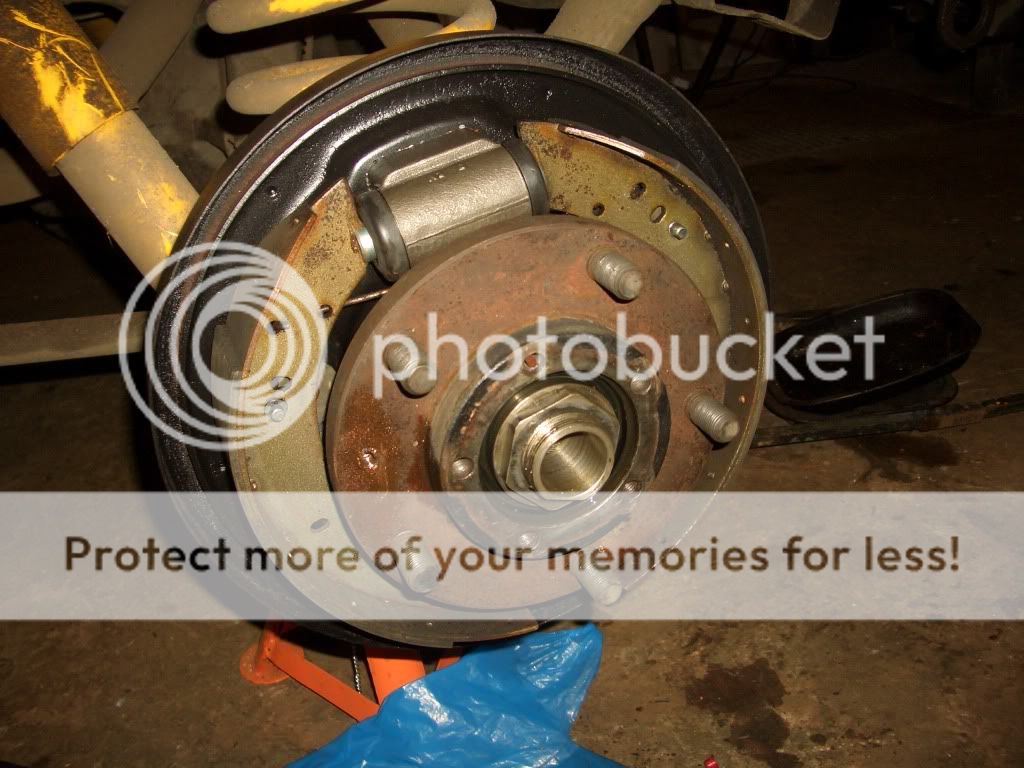
After slackenin the wheel nuts and drive flange nuts ah jacked the bus up and stuck it on axle stands. Then ah loosened the brake adjusters, undid the screw and removed the brake drum .
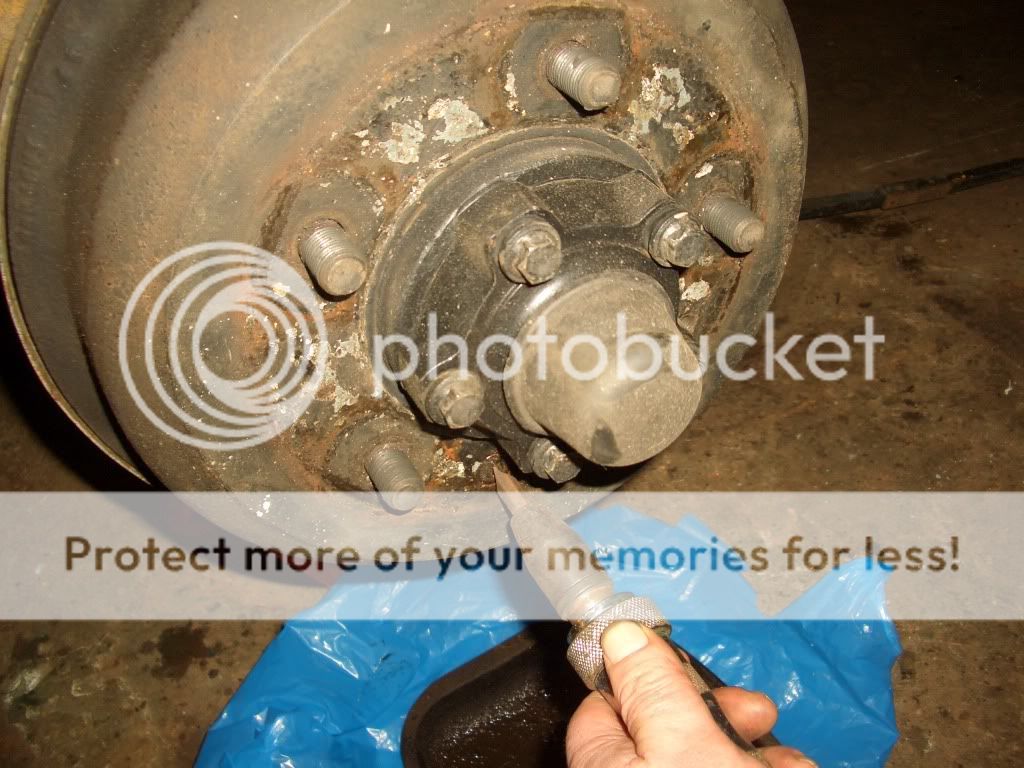
Then undid the bolts on the drive flange and removed it along with the half shaft ..
Then ah removed the two nuts and lockin washer (usin a proper hub nut spanner) that holds the hub on and removed the hub ..
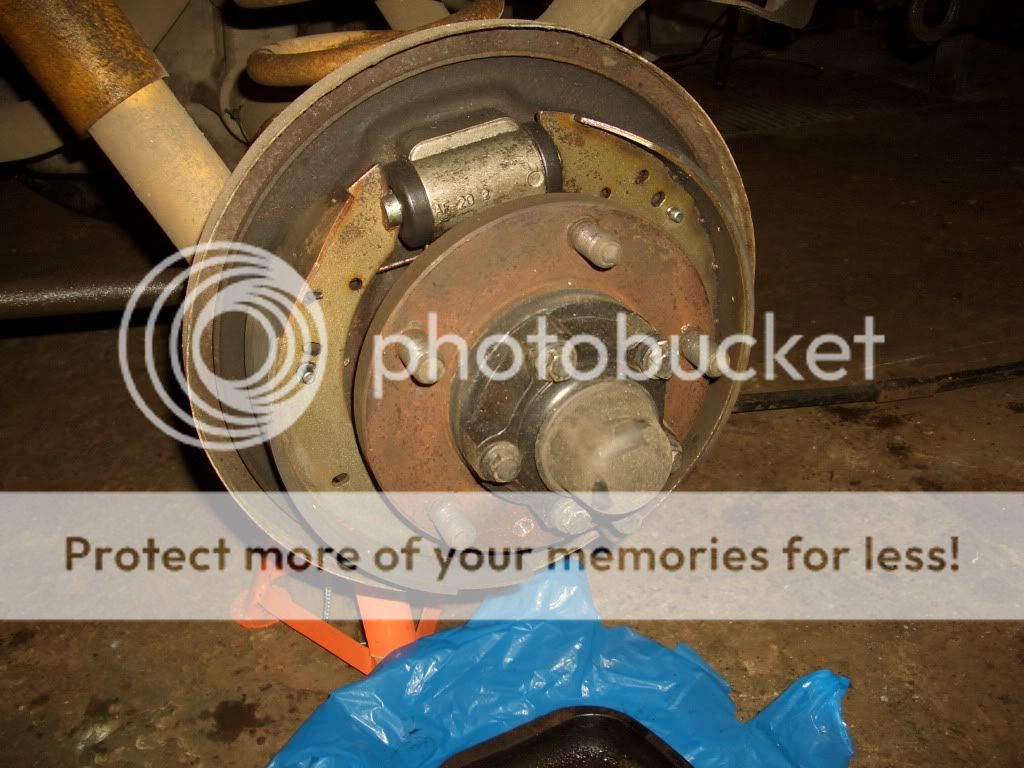
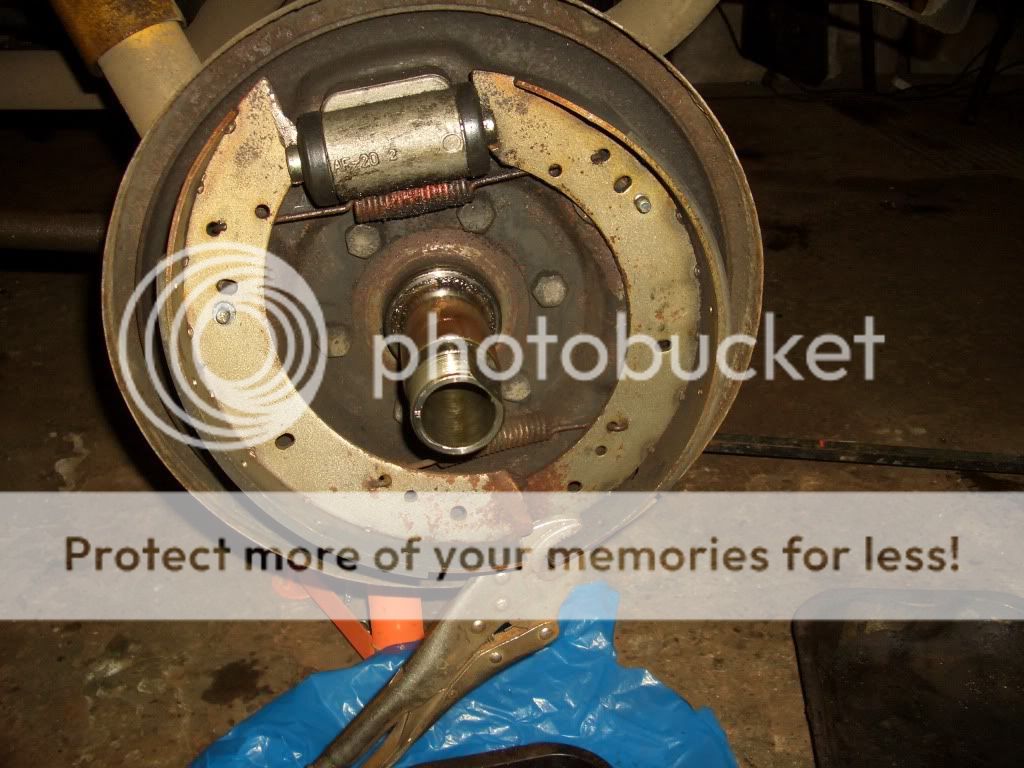
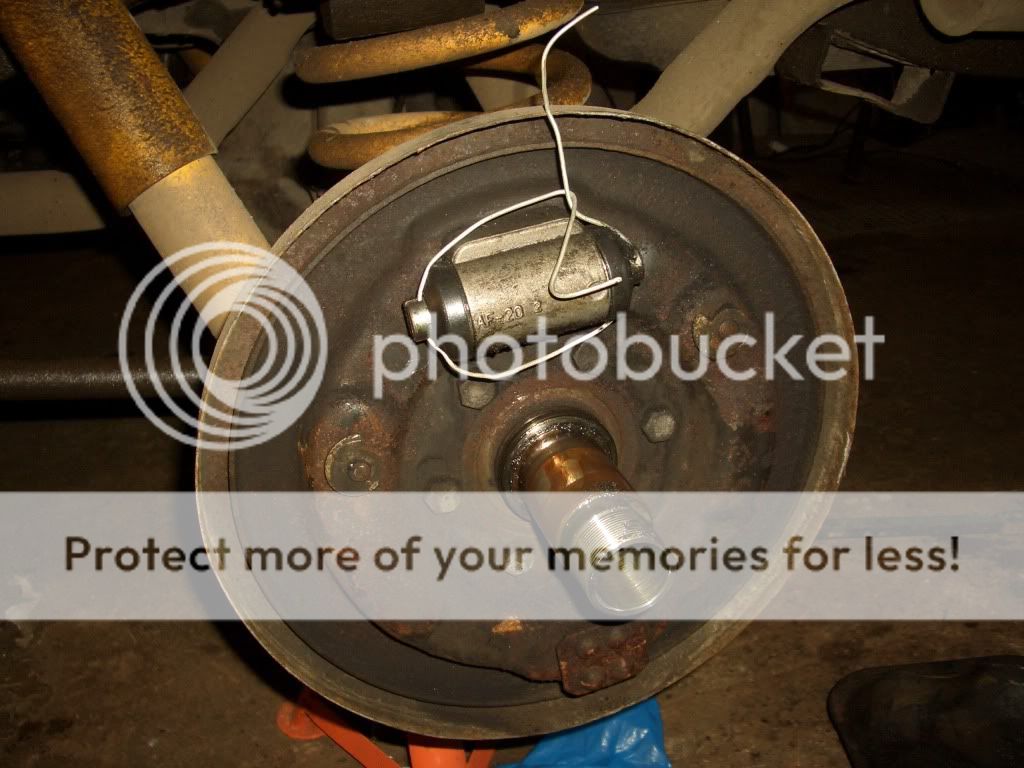
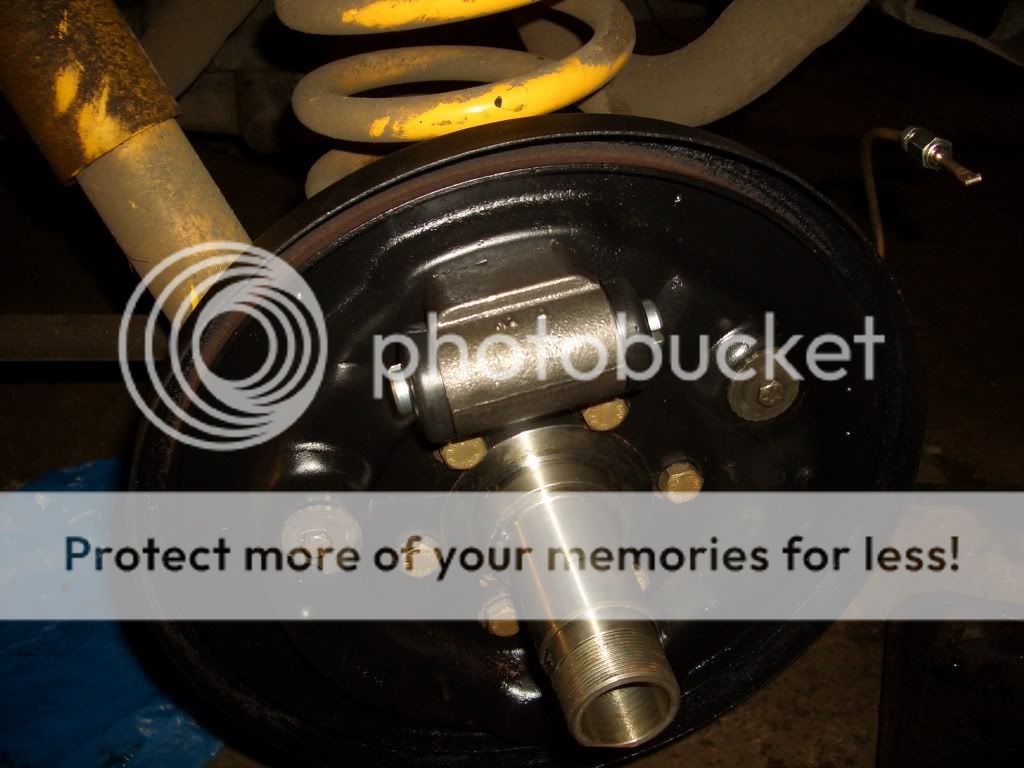
Once the hub was removed ah stuck a set of mole grips on one side of brake shoes and pushed it out of the bracket, did the same on the other shoe and removed them together with the springs still attached (take a note or mark where each spring fits and what spring goes where incase they come off) and stuck a bit of wire around the cylinder to stop the pistons poppin out ..

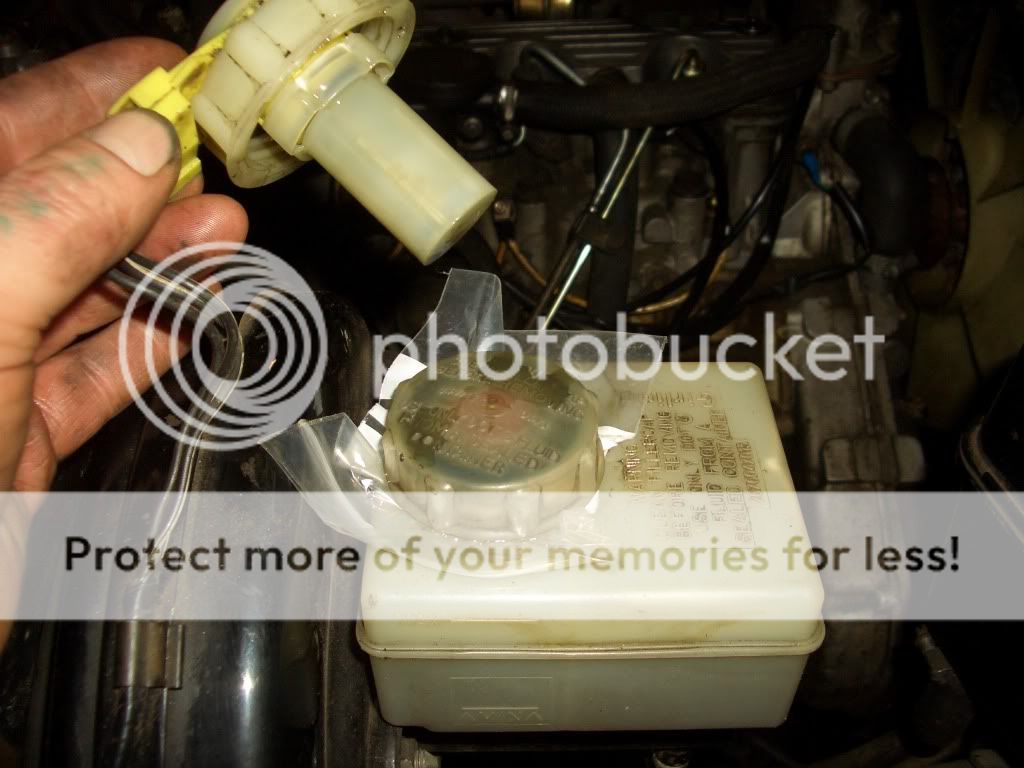
Ah couldnt clamp my brake hose as ahve got the braided ones on so ah took off the cap on the reservoir, stuck a piece of plastic bag over the hole and stuck a spare cap on to minimize the flow of brake fluid (works for rubber hoses too)
Then it was back to the cylinder.
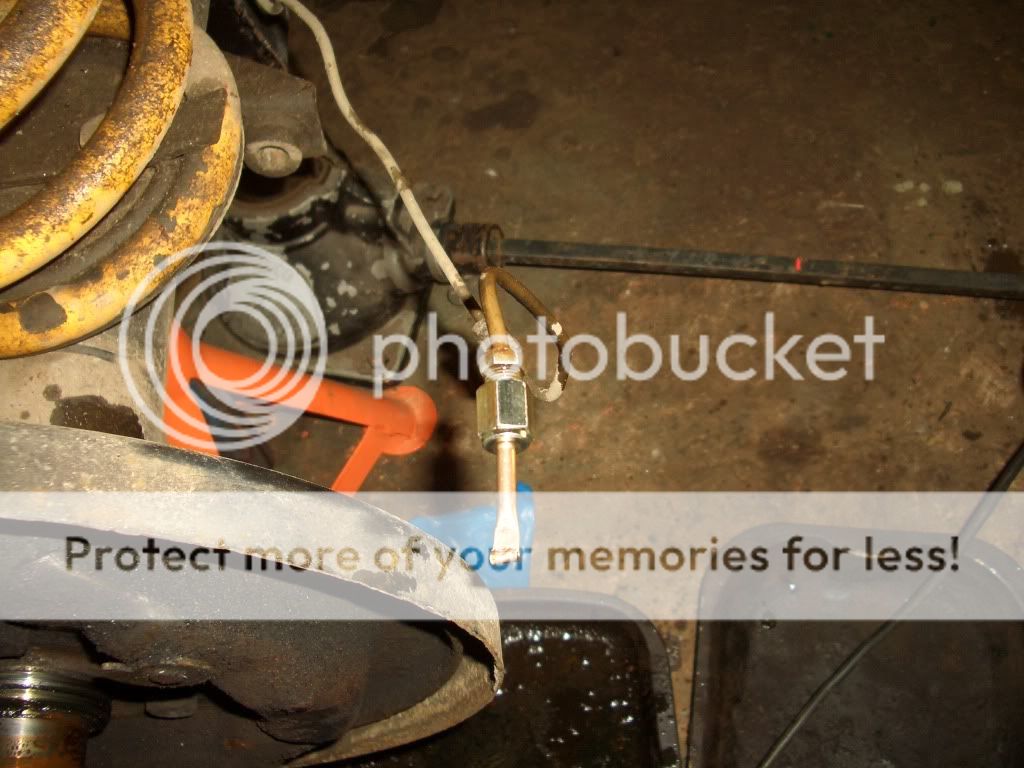
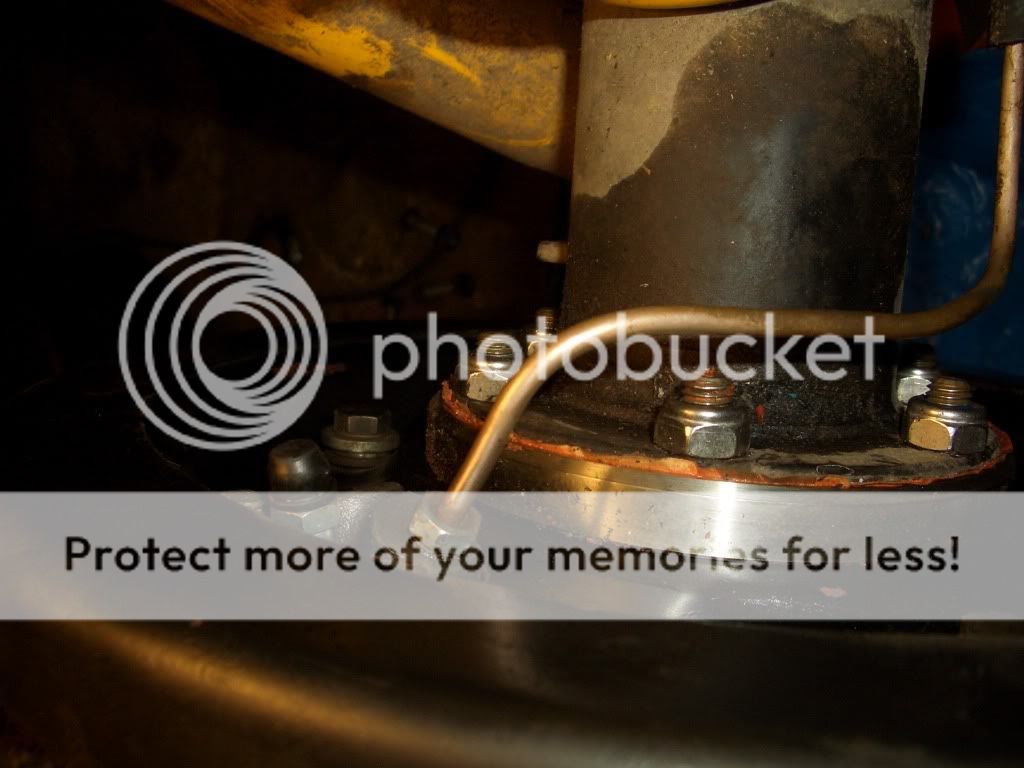
Ah undid the brake pipe to the cylinder .
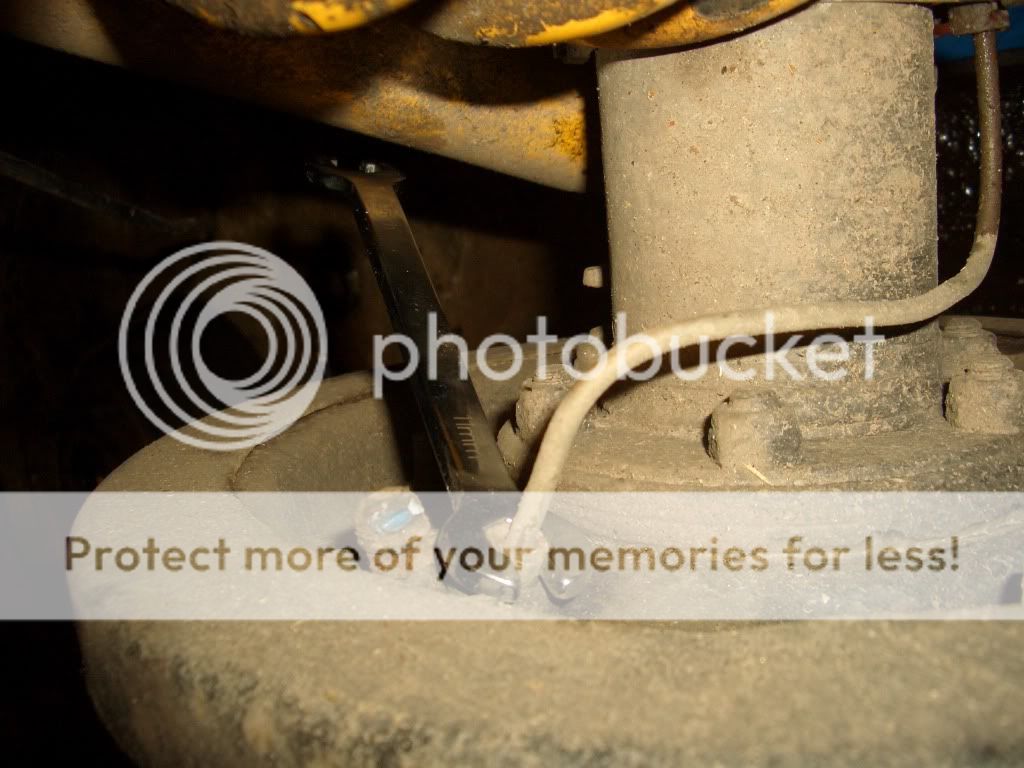
gently moved it out of the way sos ah didnt kink or damage it .
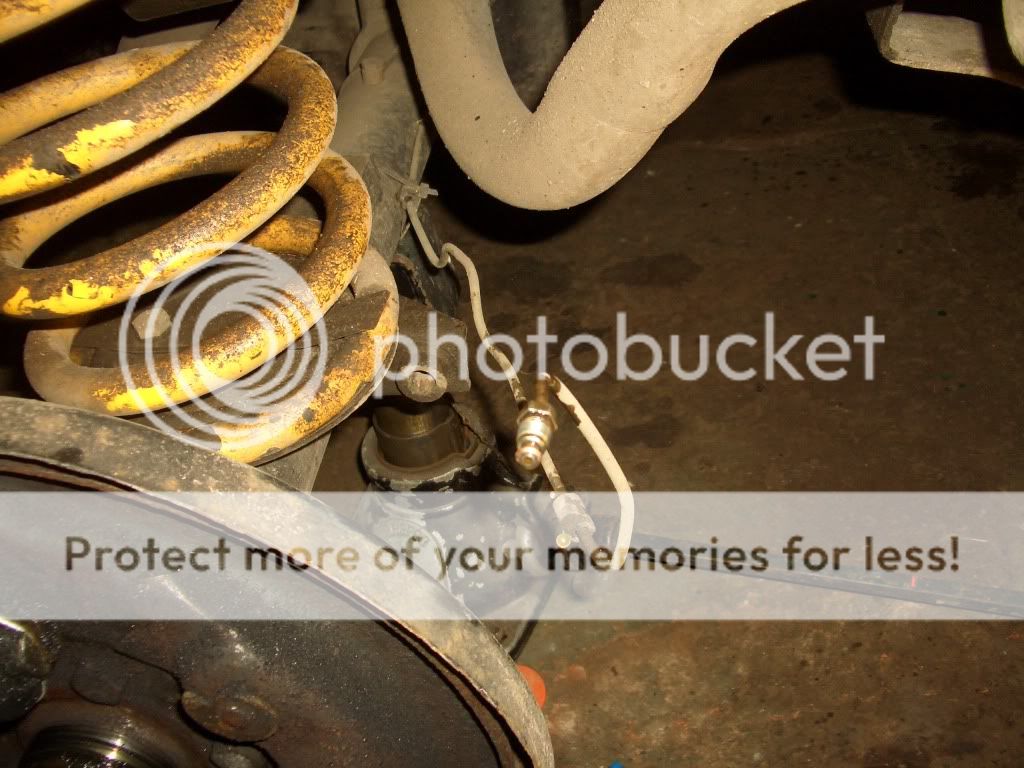
and capped it off with a female connector and piece of old flared brake pipe ( a wee plastic bag would do the same job) to keep any crap from gettin in .
It was at this point where ah removed the brake cylinder( see me rear brake cylinder renewal post), but it can be left on if its known to be good (might be an idea to check it sos ye dont strip it all back down and bleed it again).
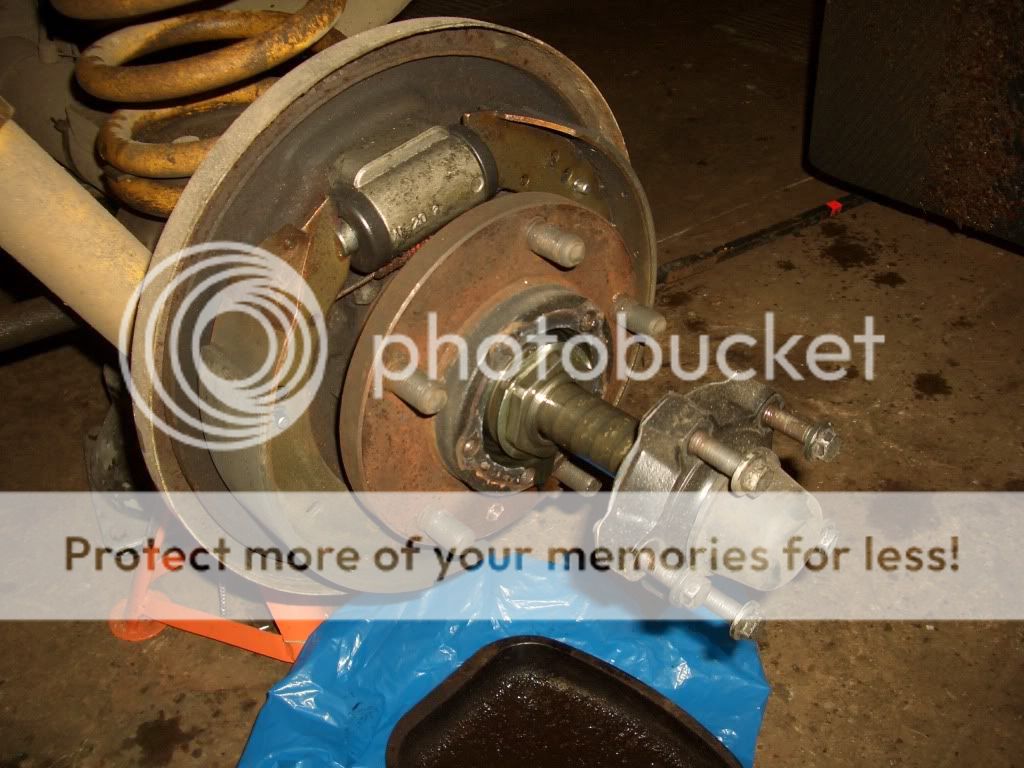
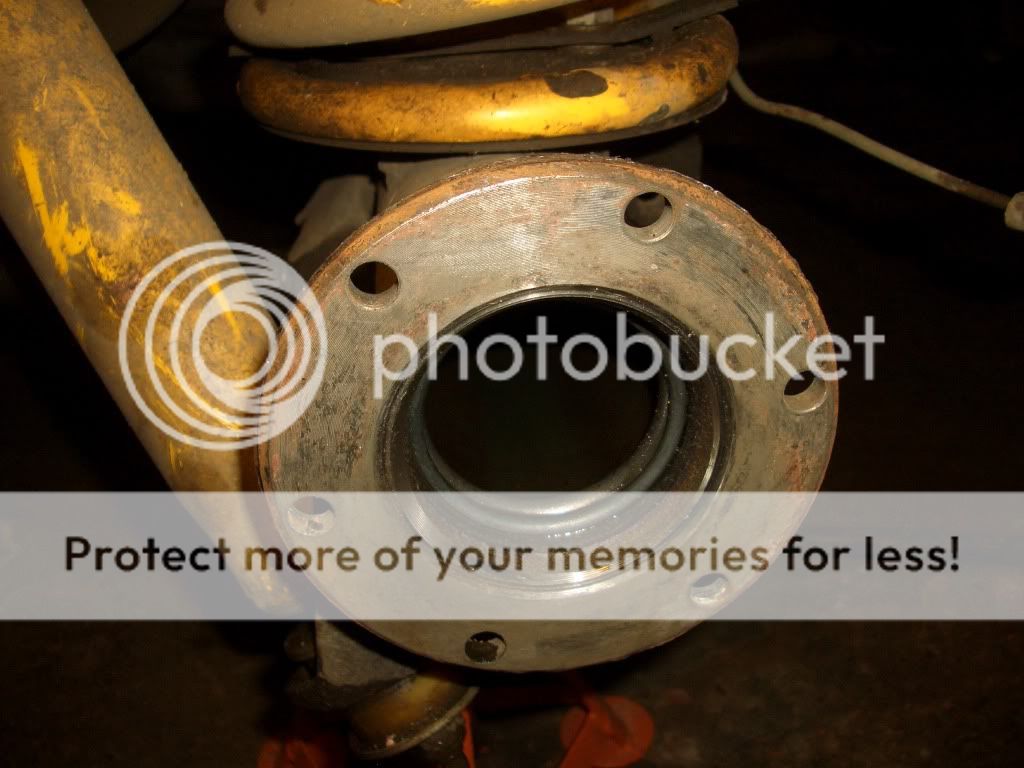
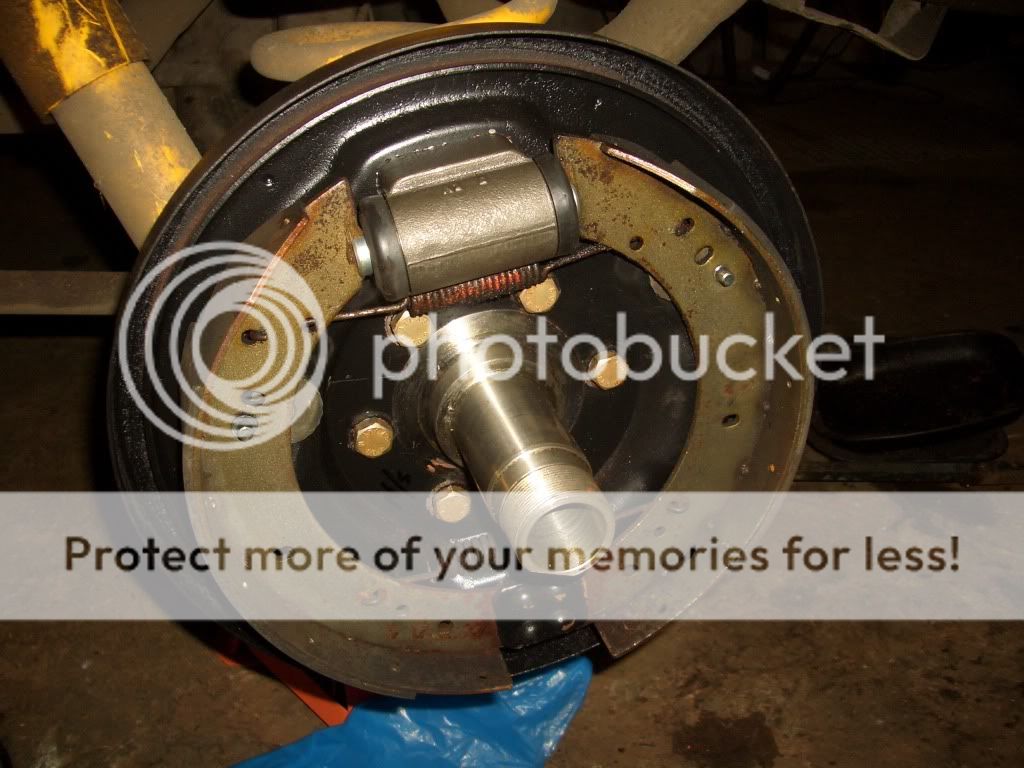
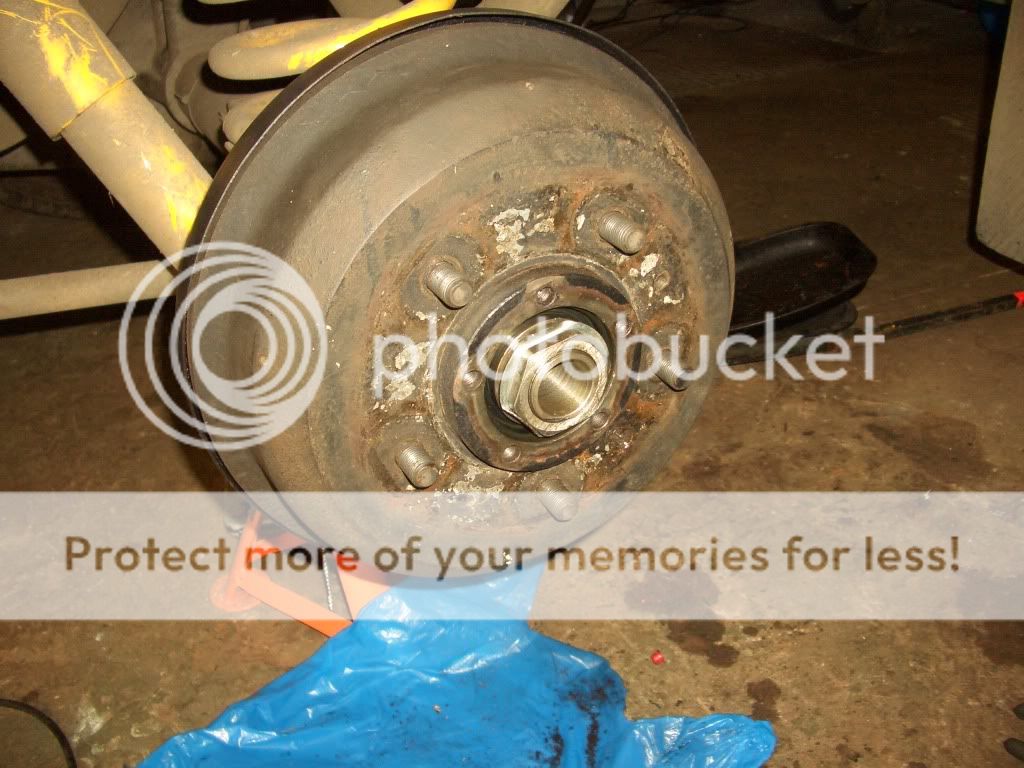
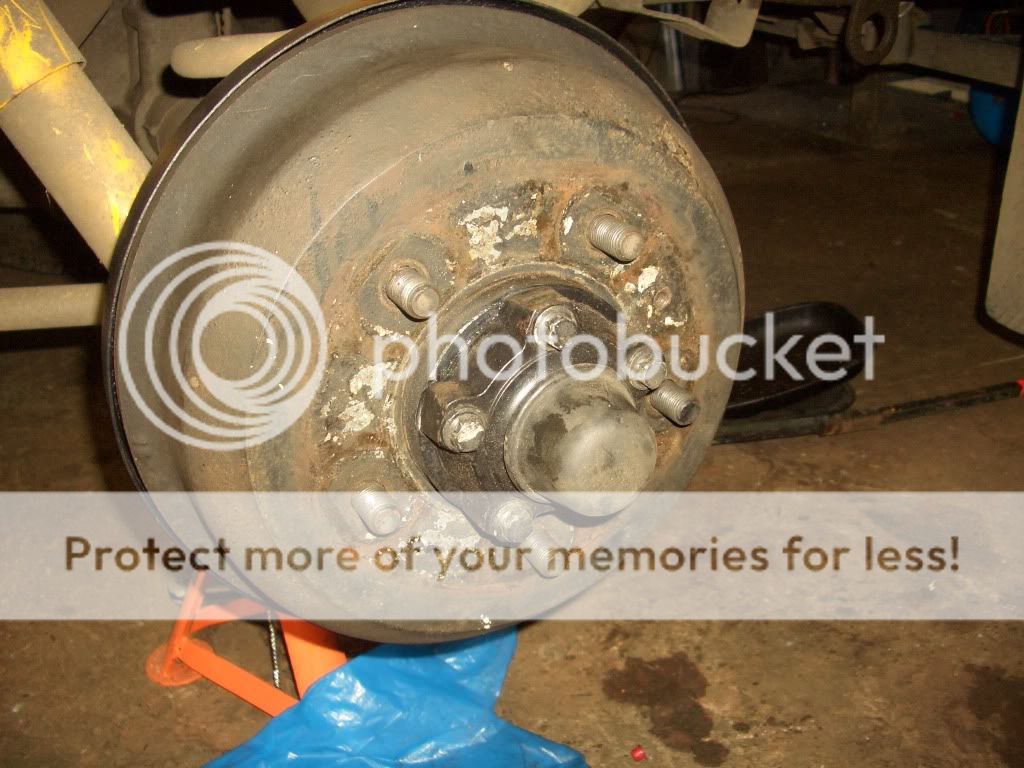
Next ah removed the six nuts and bolts on the back plate .
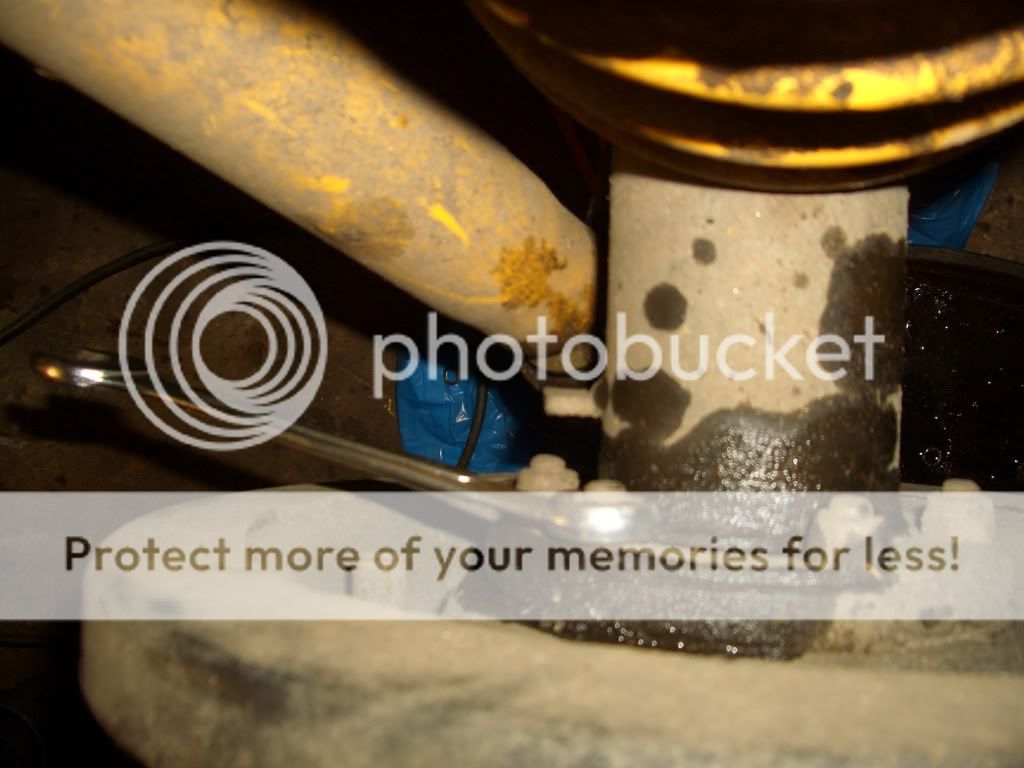
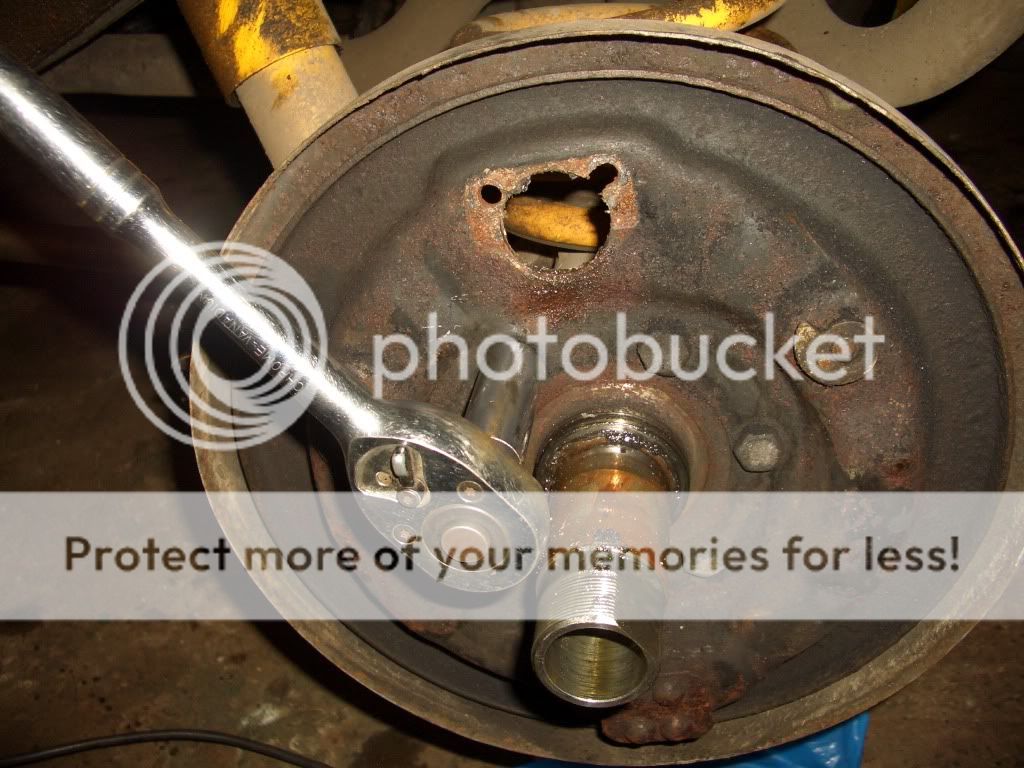
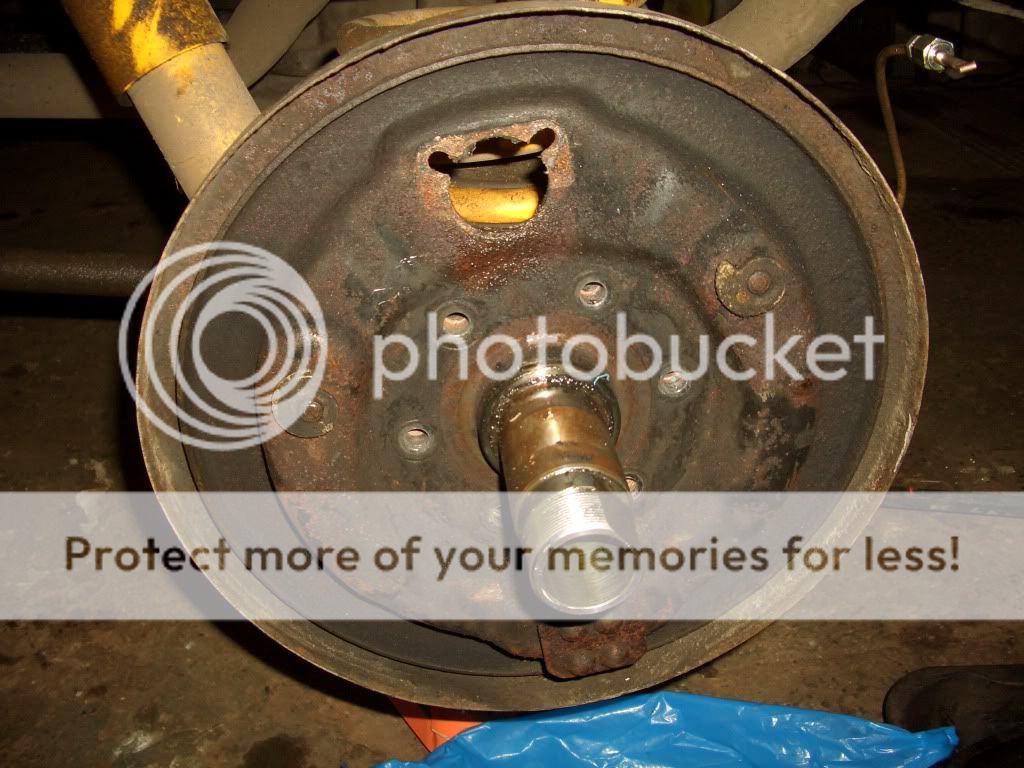
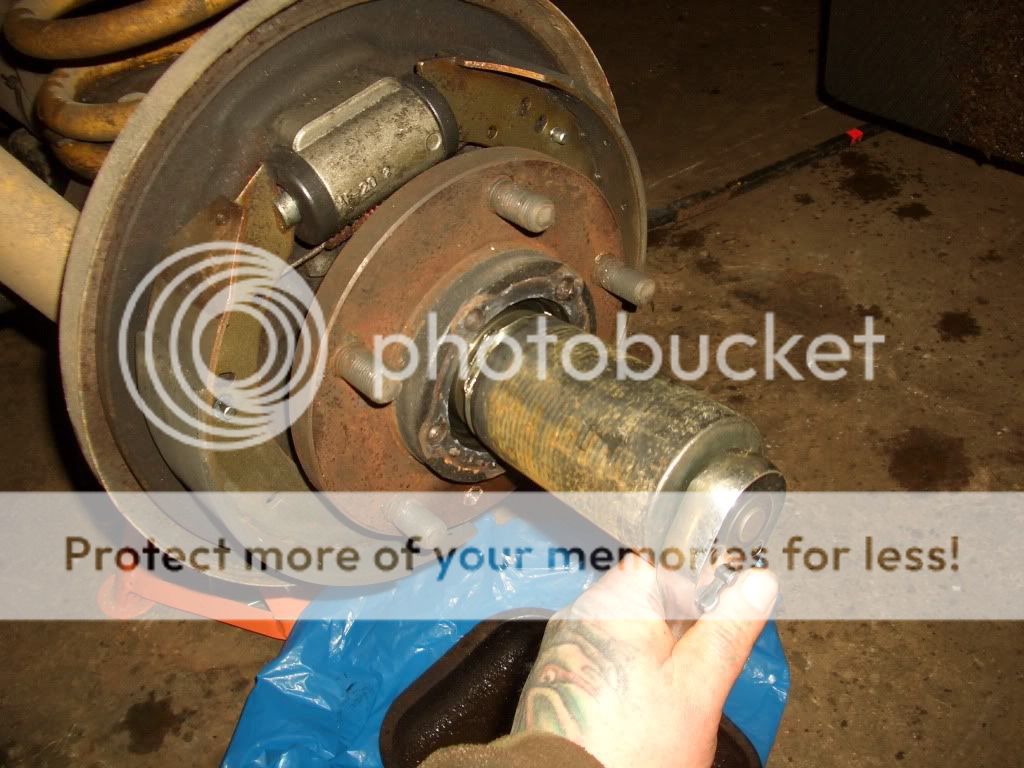
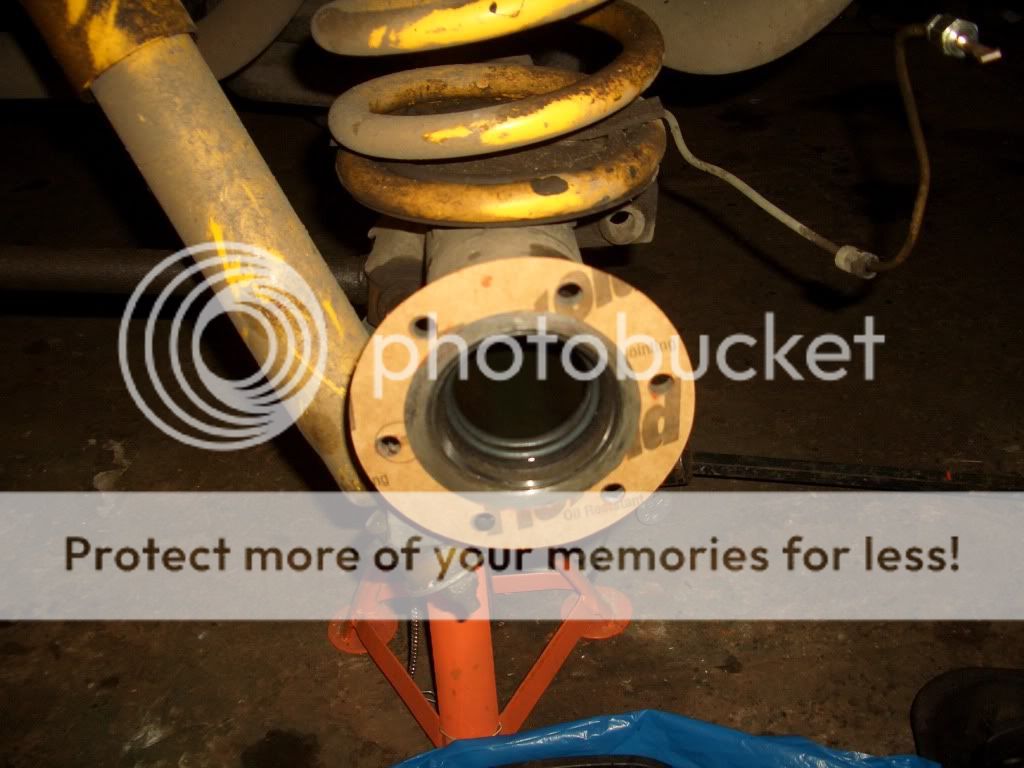
then with a bit of gruntin and swearin ah removed the back plate to reveal the stub axle ..
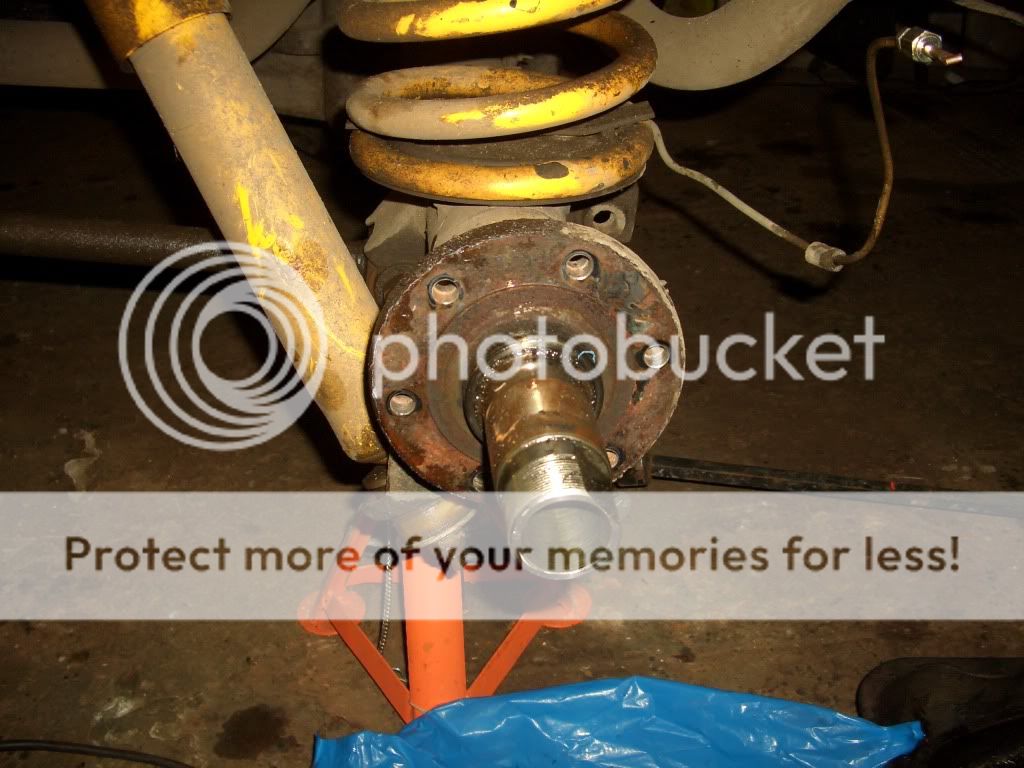
It felt like somebody had welded the thing on, but a couple of smacks with a lump of wood and a hammer soon got it off (just make sure that theres nothing on the floor below the stub axle at this point!!!)
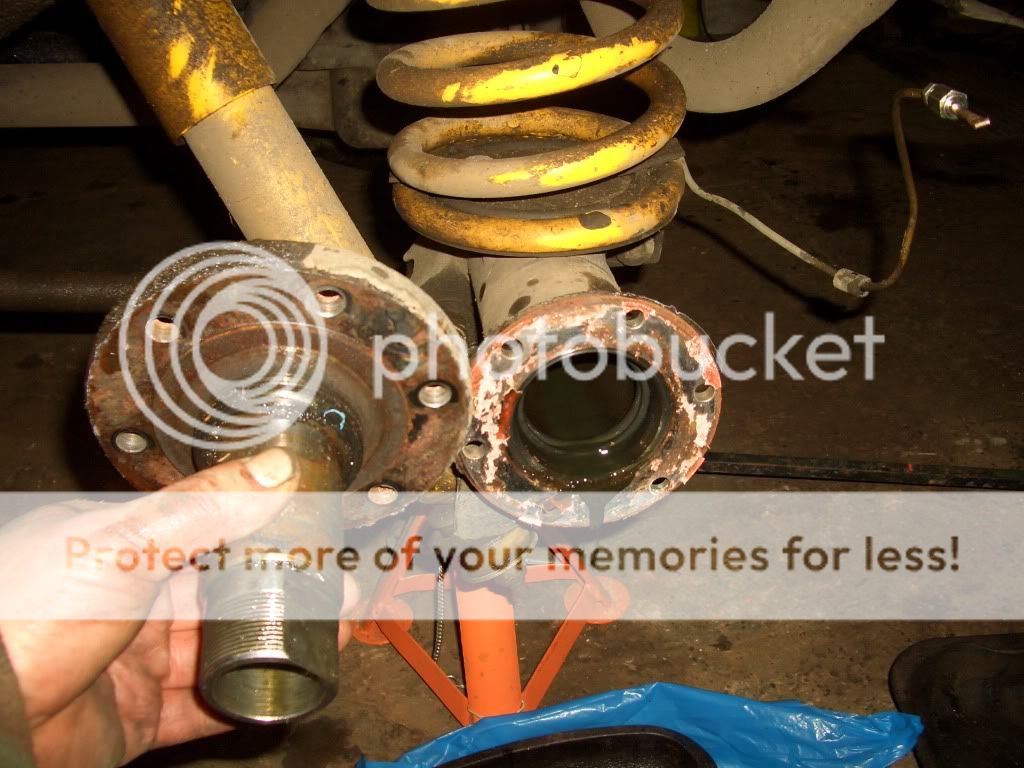
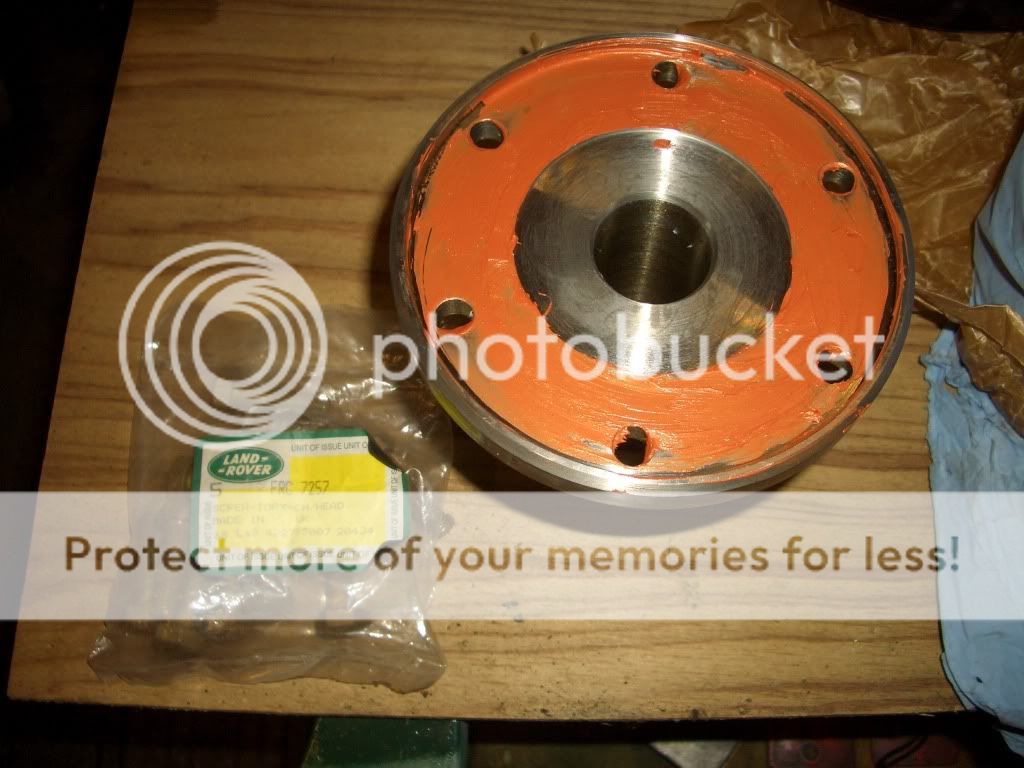
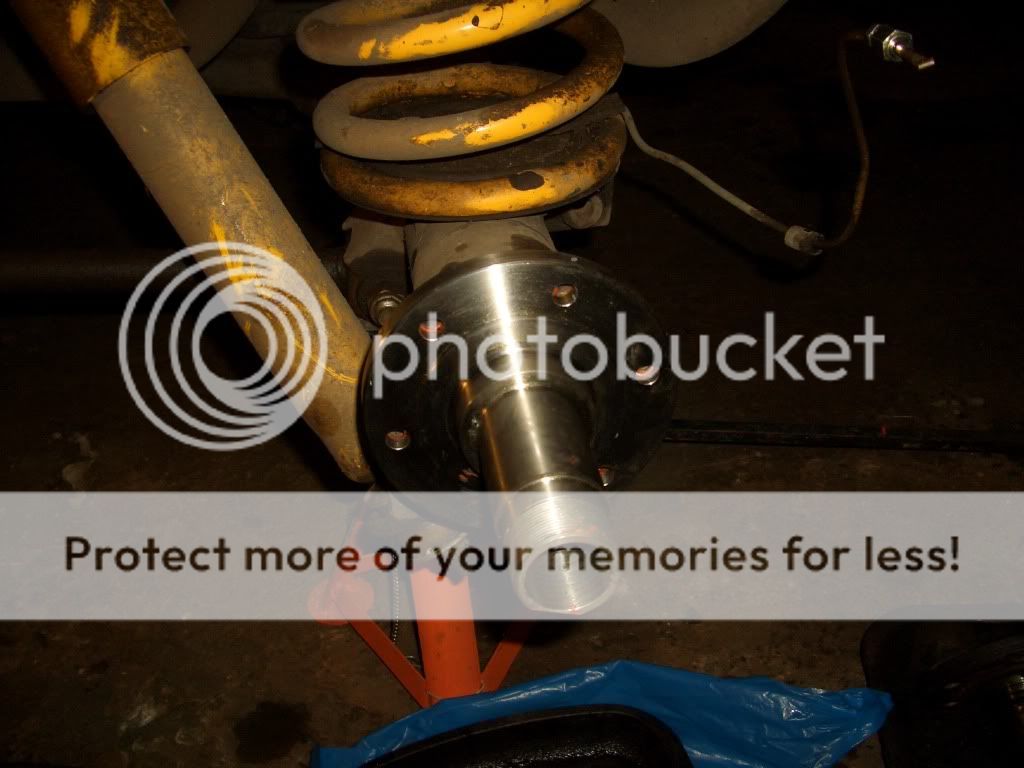
Then its just a case of cleanin the old gasket off the axle and stickin it all back together usin new stub axle, brake cylinder( if needed), gaskets, nuts and bolts .
All thats left to do is stick a pipe on the bleed nipple, slacken it off, remove plastic bag from reservoir and let gravity fill the brake cylinders before bleedin them through properly.
Thats it, job done")
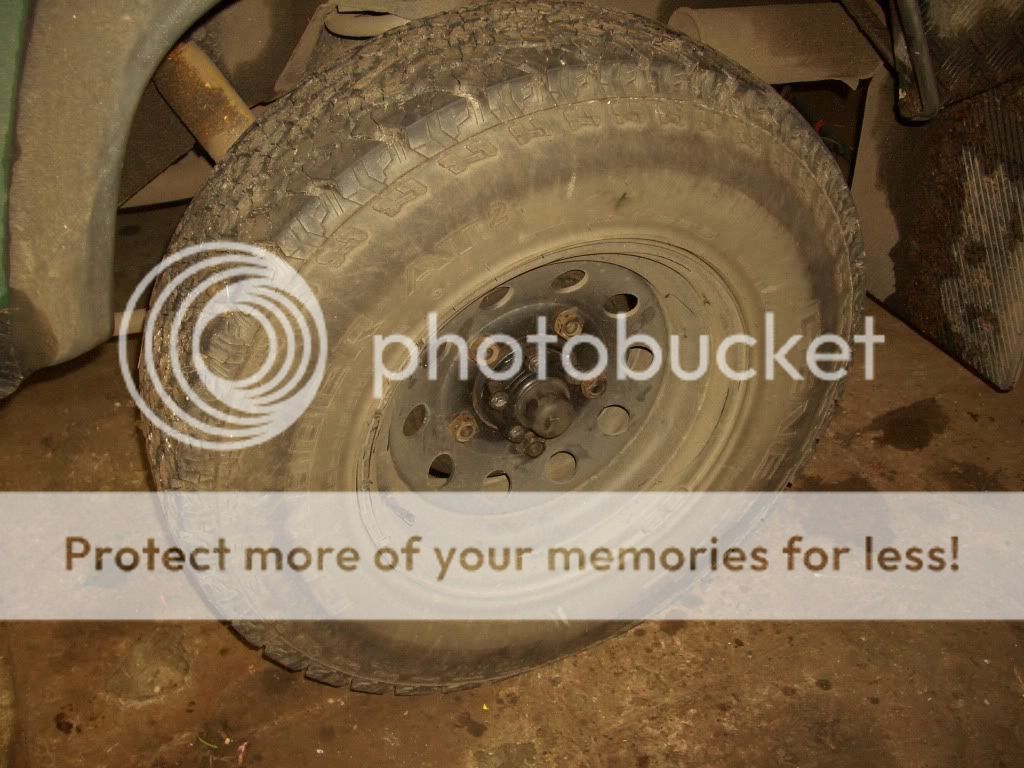
This is just a wee photie of me old stub axle, pretty knackered ah reckon!...

Ah was renewing me rear brake cylinders and noticed that me stub axles werent that clever so ah decided to change them at the same time.
Heres how ah did it .
After slackenin the wheel nuts and drive flange nuts ah jacked the bus up and stuck it on axle stands. Then ah loosened the brake adjusters, undid the screw and removed the brake drum .
Then undid the bolts on the drive flange and removed it along with the half shaft ..
Then ah removed the two nuts and lockin washer (usin a proper hub nut spanner) that holds the hub on and removed the hub ..
Once the hub was removed ah stuck a set of mole grips on one side of brake shoes and pushed it out of the bracket, did the same on the other shoe and removed them together with the springs still attached (take a note or mark where each spring fits and what spring goes where incase they come off) and stuck a bit of wire around the cylinder to stop the pistons poppin out ..
Ah couldnt clamp my brake hose as ahve got the braided ones on so ah took off the cap on the reservoir, stuck a piece of plastic bag over the hole and stuck a spare cap on to minimize the flow of brake fluid (works for rubber hoses too)
Then it was back to the cylinder.
Ah undid the brake pipe to the cylinder .
gently moved it out of the way sos ah didnt kink or damage it .
and capped it off with a female connector and piece of old flared brake pipe ( a wee plastic bag would do the same job) to keep any crap from gettin in .
It was at this point where ah removed the brake cylinder( see me rear brake cylinder renewal post), but it can be left on if its known to be good (might be an idea to check it sos ye dont strip it all back down and bleed it again).
Next ah removed the six nuts and bolts on the back plate .
then with a bit of gruntin and swearin ah removed the back plate to reveal the stub axle ..
It felt like somebody had welded the thing on, but a couple of smacks with a lump of wood and a hammer soon got it off (just make sure that theres nothing on the floor below the stub axle at this point!!!)
Then its just a case of cleanin the old gasket off the axle and stickin it all back together usin new stub axle, brake cylinder( if needed), gaskets, nuts and bolts .
All thats left to do is stick a pipe on the bleed nipple, slacken it off, remove plastic bag from reservoir and let gravity fill the brake cylinders before bleedin them through properly.
Thats it, job done
This is just a wee photie of me old stub axle, pretty knackered ah reckon!...