v8250
Well-Known Member
- Posts
- 6,872
- Location
- Deepest Darkest...
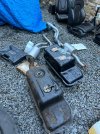
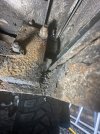
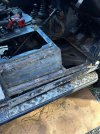
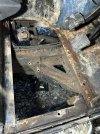
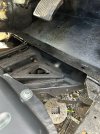
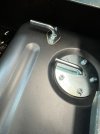
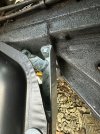
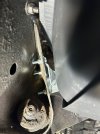
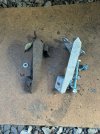
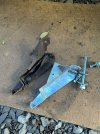
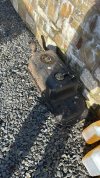
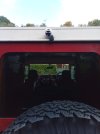
A bit of stripping.. and trying to remove the 90 fuel tank..
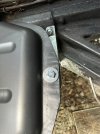
If struggling to remove fuel tank remove the sill cover and sill first as this will free up a mass of space/wiggle room. It's onlt a few bolts.
")