TheWoodsmane
Member
- Posts
- 72
- Location
- Guildford, England.
First, thanks to the great support from the forum on sorting out the rear window wiper motor, it's incredibly valuable advice and insight that makes these jobs a lot less daunting.
I pulled apart the rear door to work out if the motor was seized or if it was a power problem and discovered that the motor was fine. But, the wiper spindle had seized. So, I ordered up a replacement from HLR Spares and it arrived today. It was a great price and was complete - all I needed to transfer over was the exterior plastic washer.
I tested the motor first and yelped like a kid opening the best Christmas present ever when I saw the spindle turn! Then I set about installing the motor and reassembling the rear door.
I'd already ordered and received a new wiper arm, blade and some trim clips. So, everything was in place to go. I started this at about 4:30 and am all done by about 6:15.
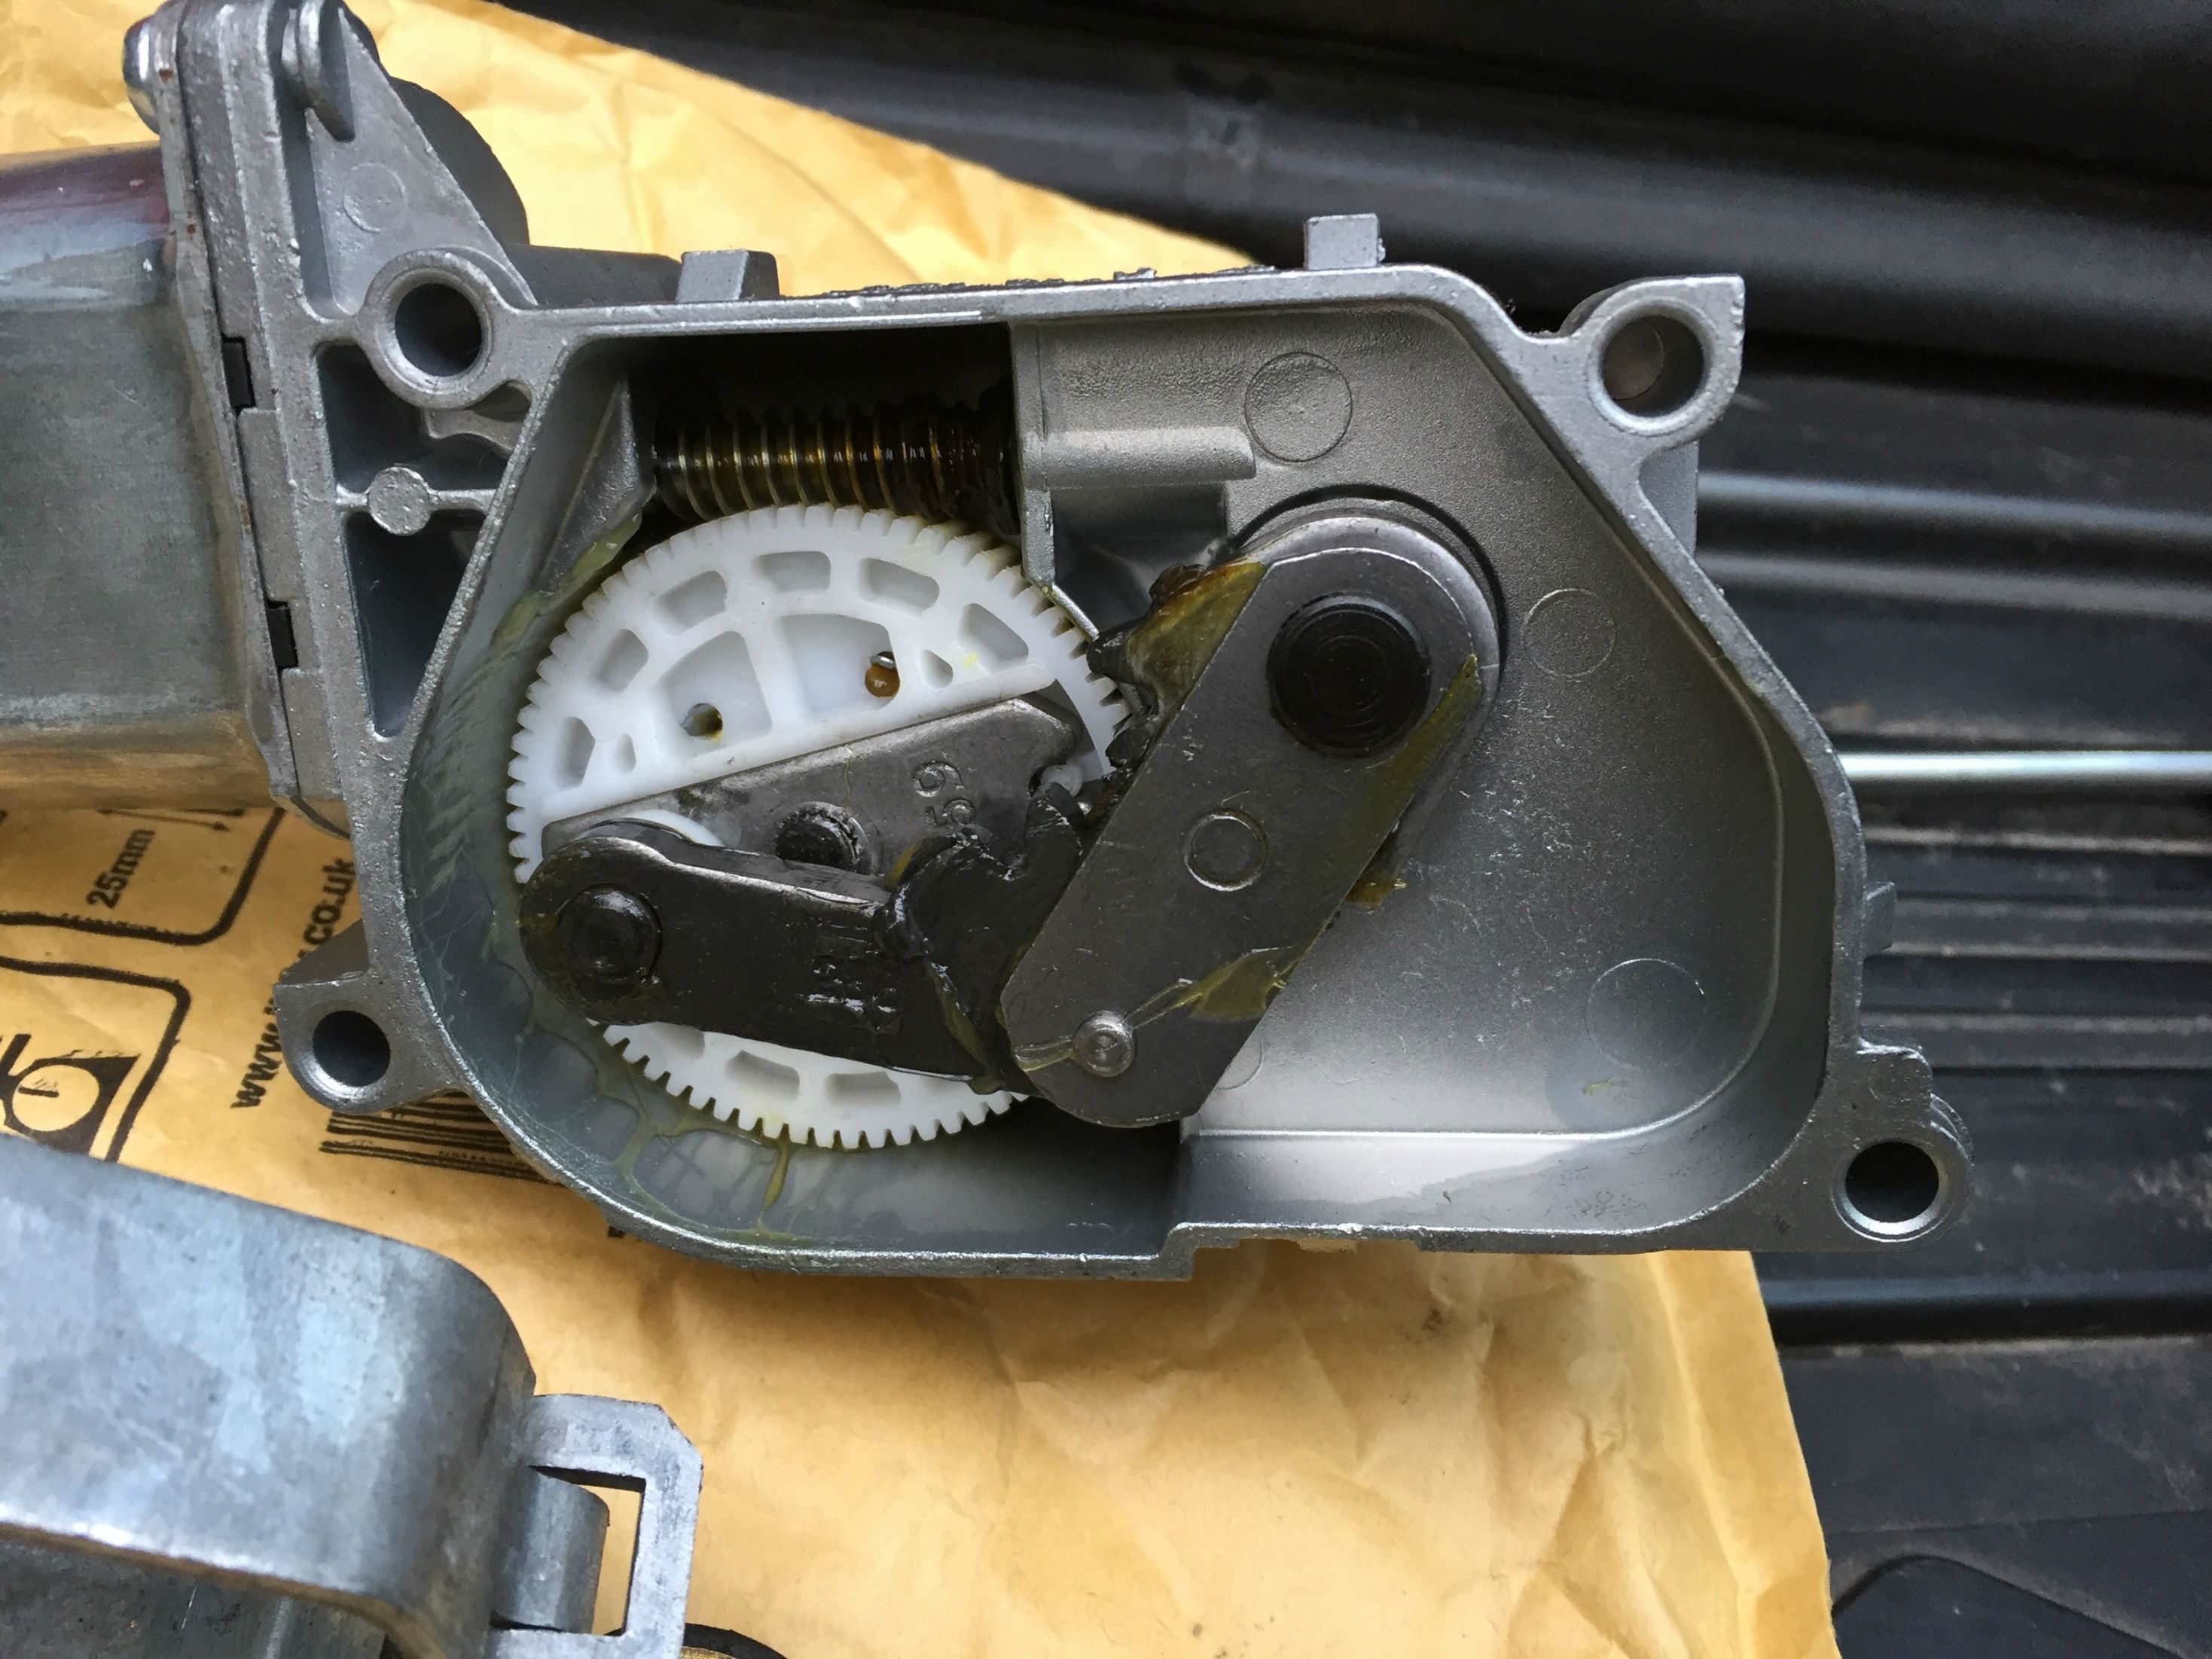
The new motor got a good glob of grease on the gears and looks a lot cleaner inside than my old unit.
Fitting the motor back is a little fiddly as you need to go spindle first up inside the door and jiggle it around to get it in the hole. I left the bracket off the first time to practice getting it in. Then put the bracket on but loose, figuring I'd tighten up the bolt that locks it onto the motor when it was in to allow adjustment. This was a good decision.
I secured the brackets to the mounting points first to give the motor some support whilst I put the washer and plastic nut on the thread to hold it against the panel. Then I tightened up the bracket bolt. This was a little awkward as its on the door skin side and quite close to the skin. But, a small 10mm ring spanner did the trick, even if it did take 5 mins to do.
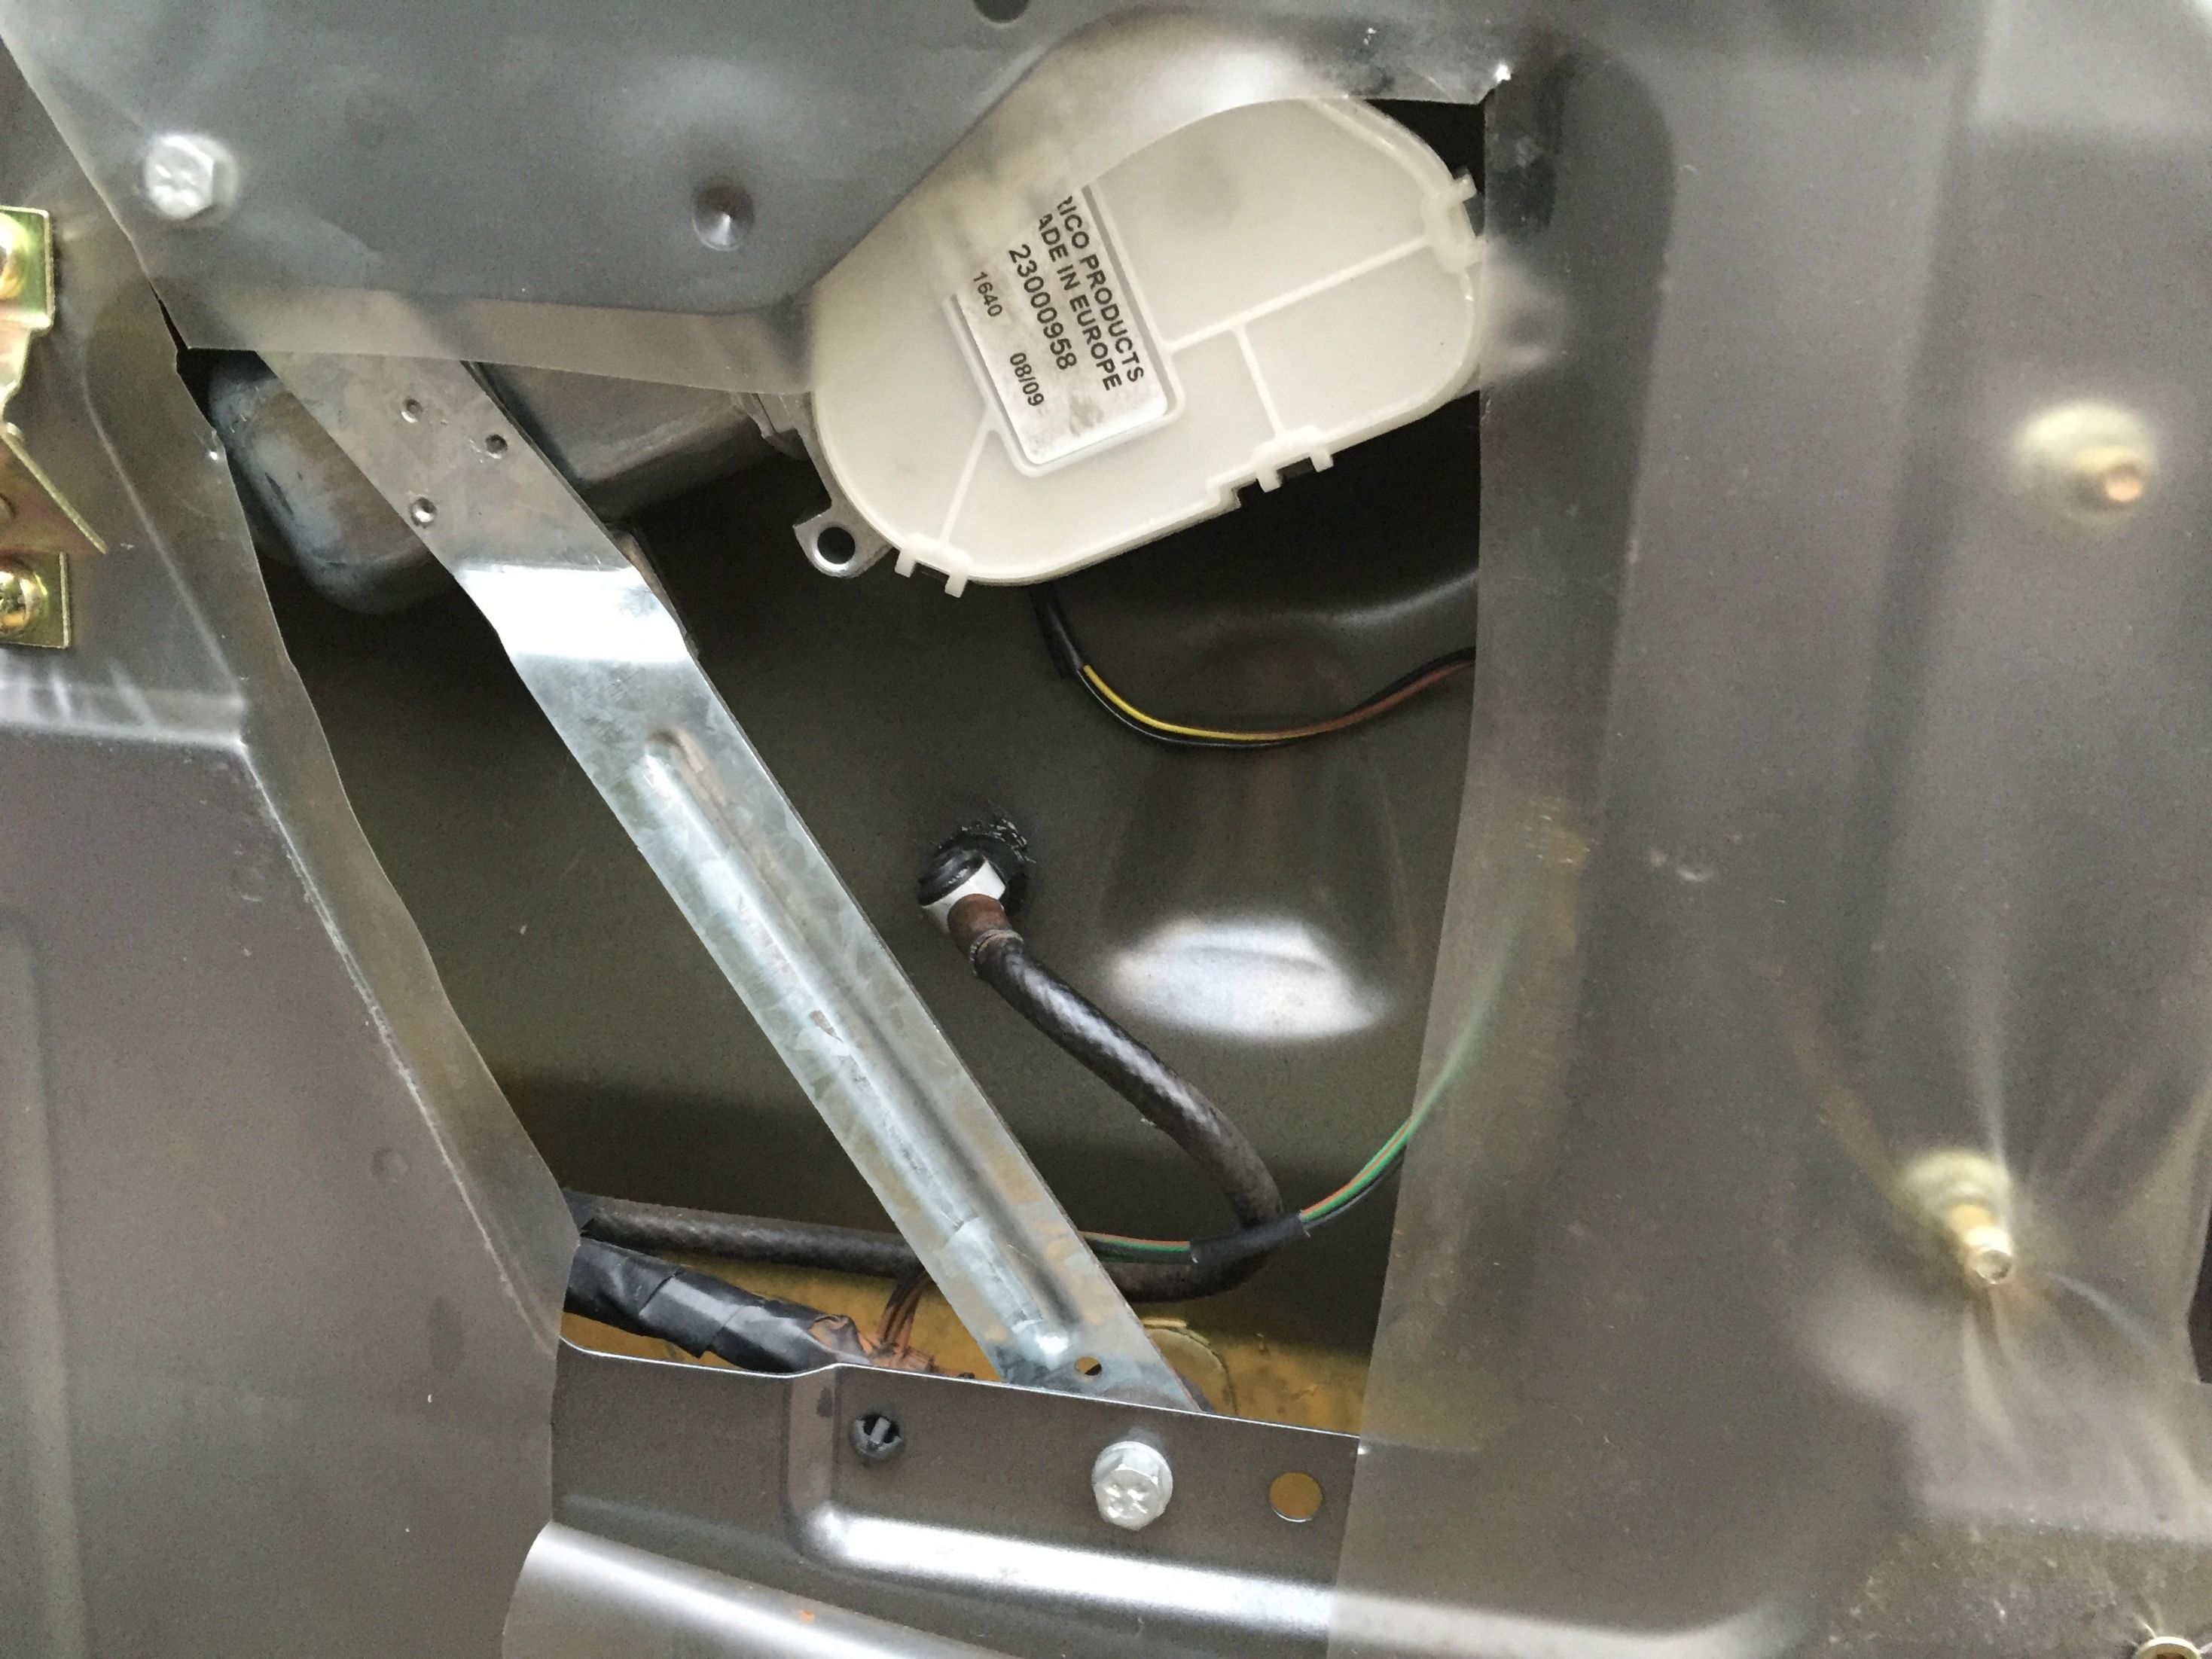
This is the motor installed. The bolts on the top left and middle bottom are the mounting points for the bracket.
It is at this point that I realised I hadn't attached the wiring loom. DOH! So, out it came again.
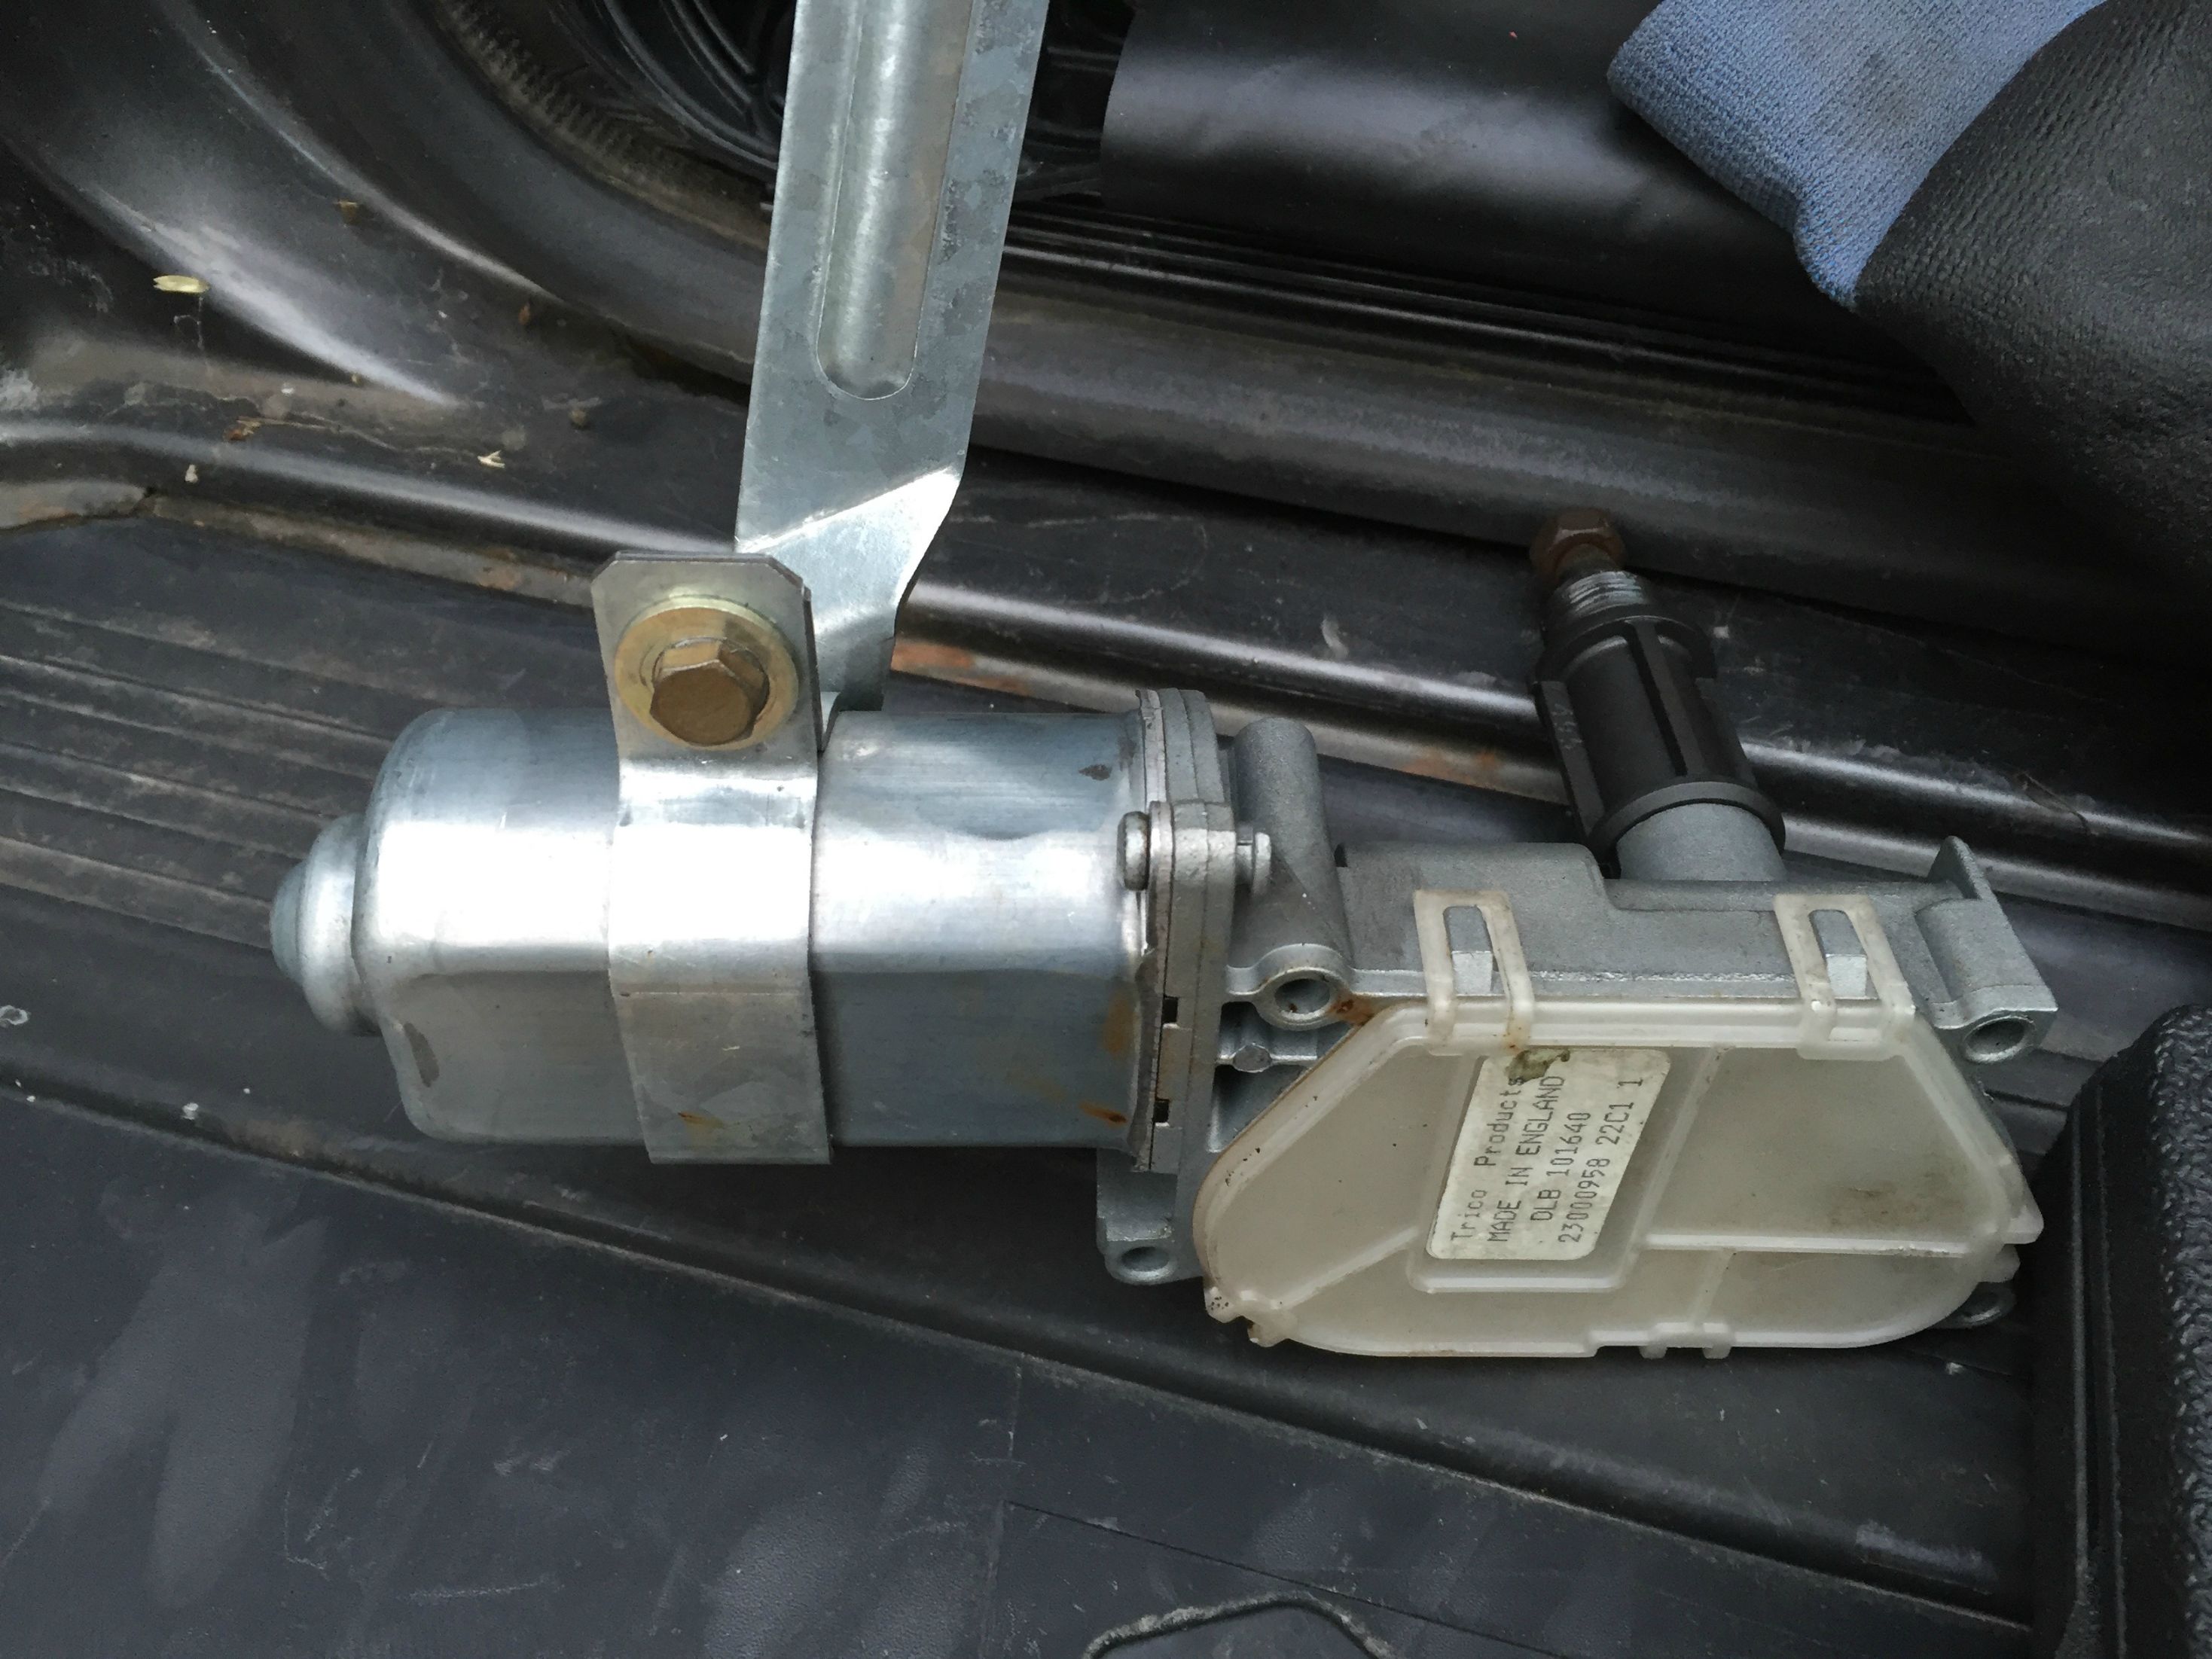
The picture below is of the old motor, but it shows the bracket bolt that secures the motor to the bracket. I still think leaving it loose until everything else is tight is the right call. But, I did manage to get the whole assembly out without undoing it the first time.
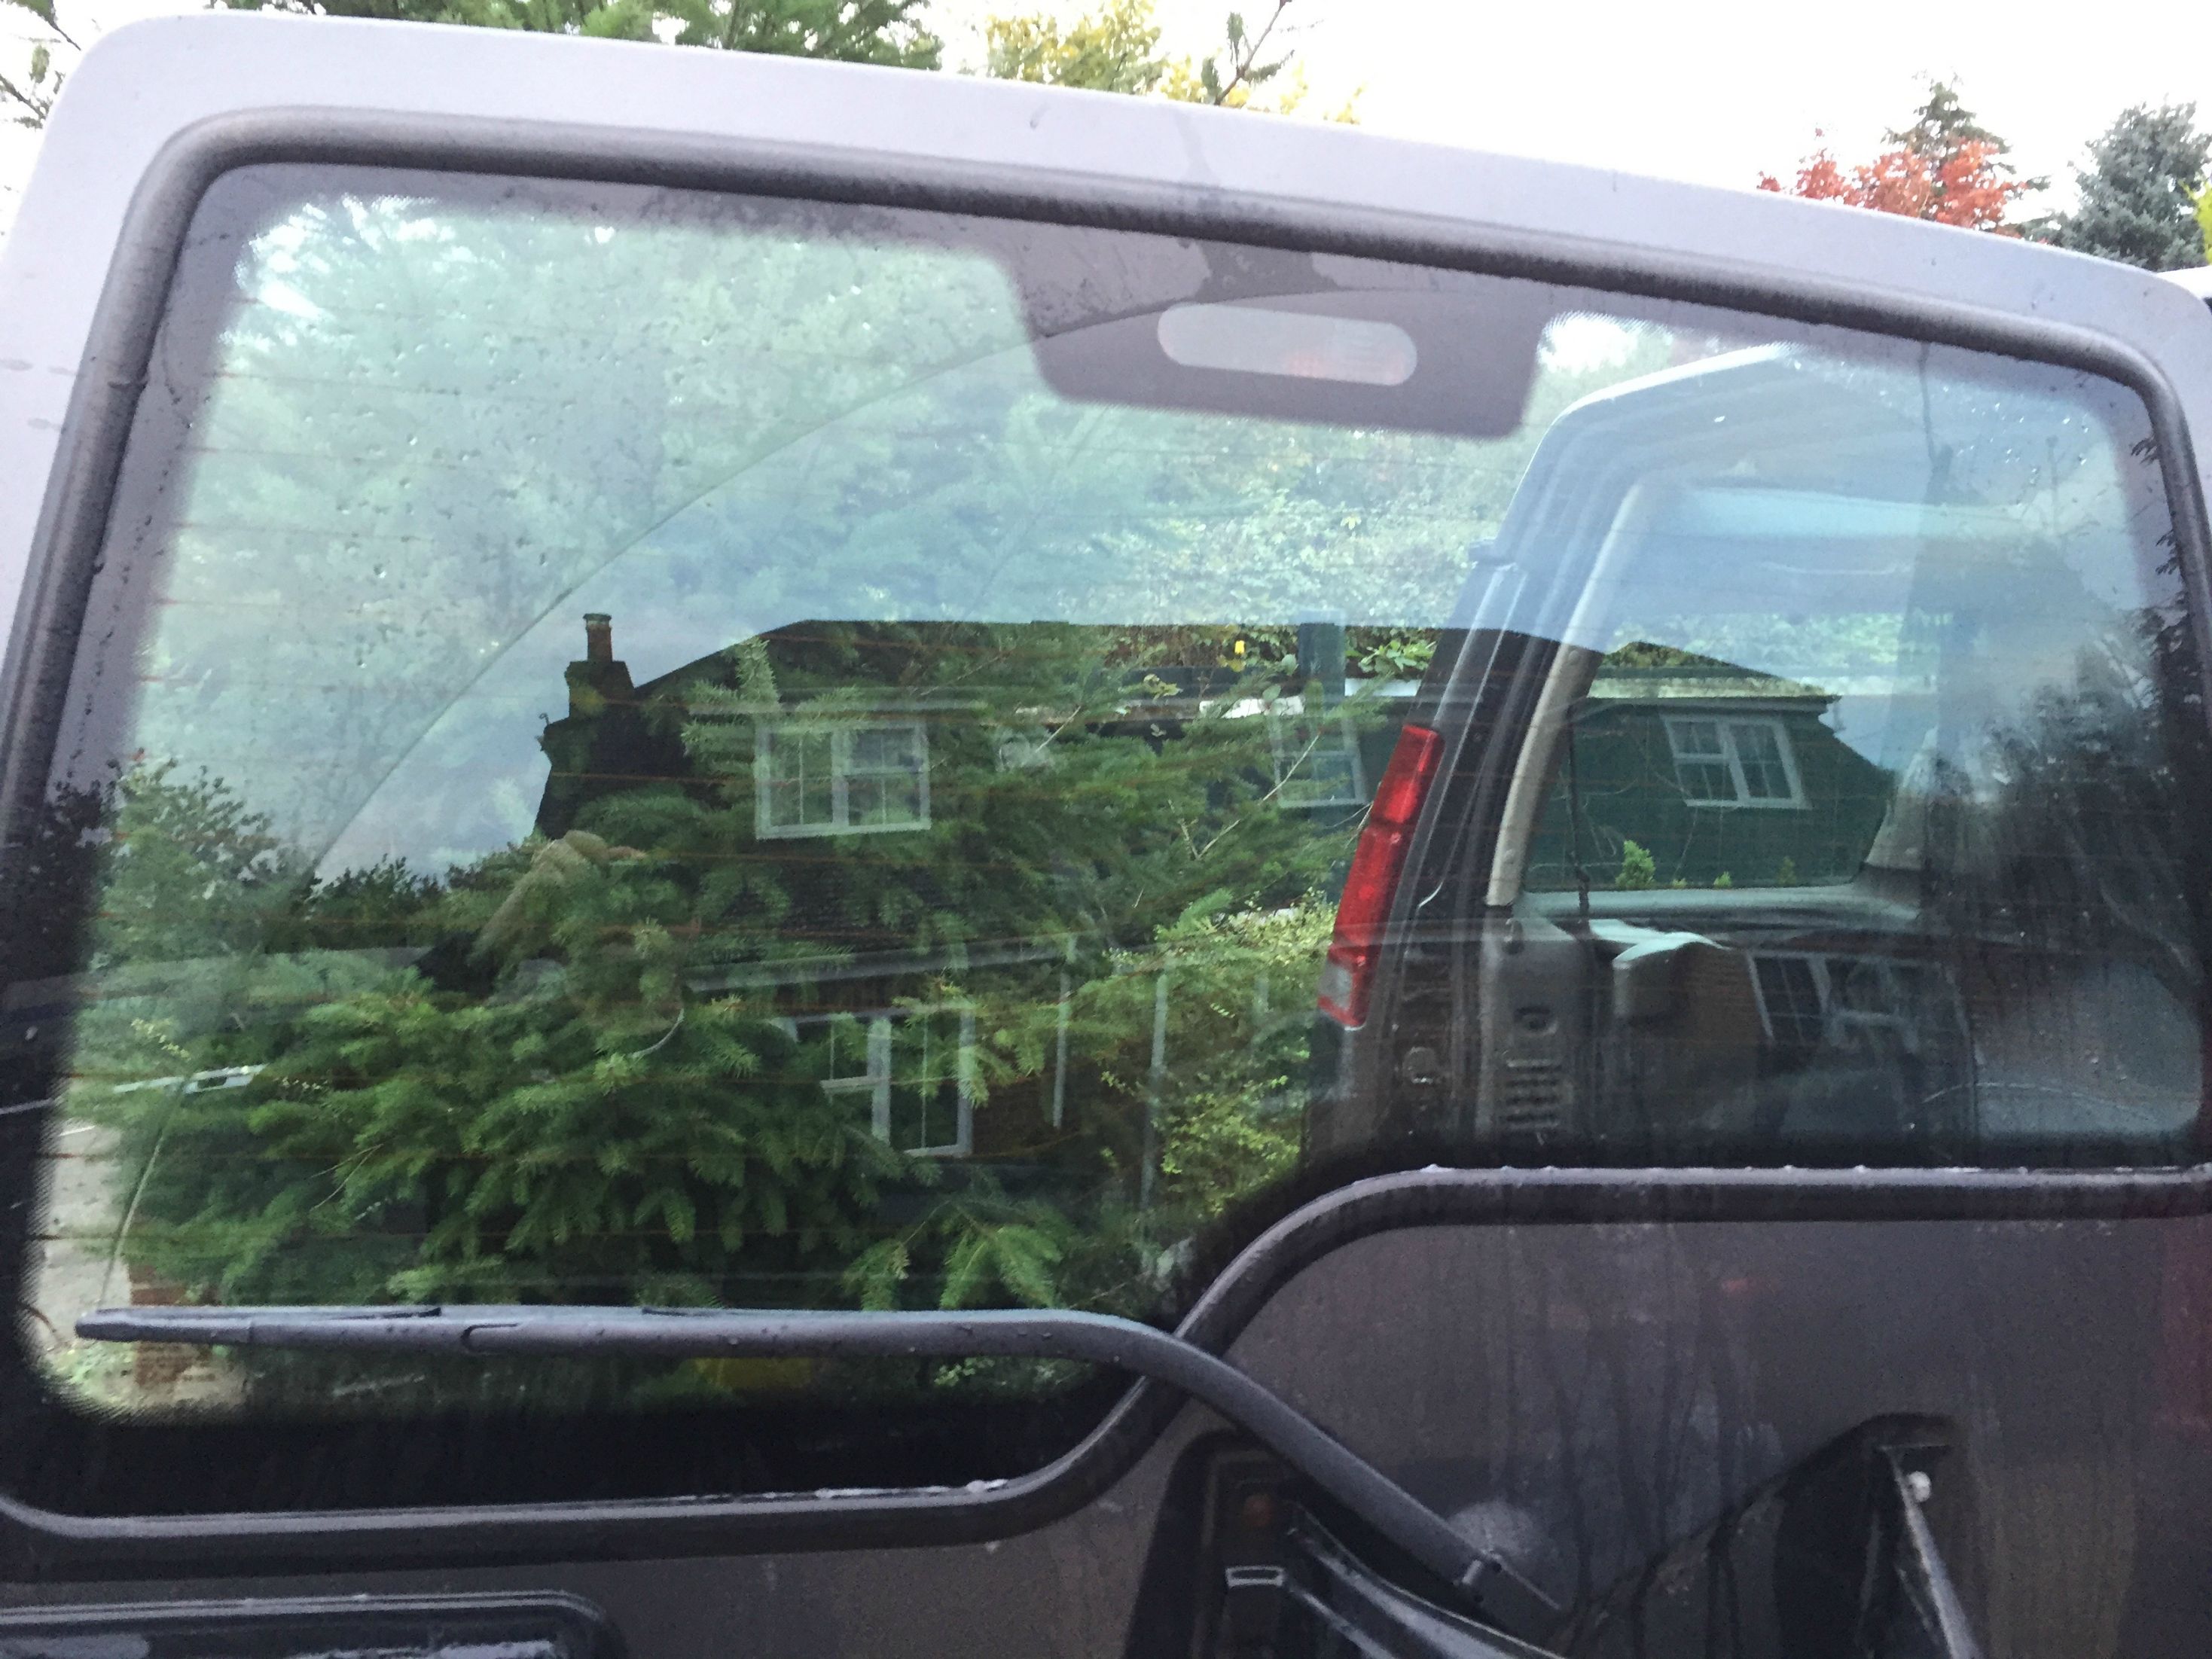
With the motor now fitted, I put the new arm and blade on, then threw some water on to test it. Voila!
One fully working wiper and washer.
All that was left to do was refit the trim and job done!
That is a most gratifying bit of automotive DIY!
I pulled apart the rear door to work out if the motor was seized or if it was a power problem and discovered that the motor was fine. But, the wiper spindle had seized. So, I ordered up a replacement from HLR Spares and it arrived today. It was a great price and was complete - all I needed to transfer over was the exterior plastic washer.
I tested the motor first and yelped like a kid opening the best Christmas present ever when I saw the spindle turn! Then I set about installing the motor and reassembling the rear door.
I'd already ordered and received a new wiper arm, blade and some trim clips. So, everything was in place to go. I started this at about 4:30 and am all done by about 6:15.
The new motor got a good glob of grease on the gears and looks a lot cleaner inside than my old unit.
Fitting the motor back is a little fiddly as you need to go spindle first up inside the door and jiggle it around to get it in the hole. I left the bracket off the first time to practice getting it in. Then put the bracket on but loose, figuring I'd tighten up the bolt that locks it onto the motor when it was in to allow adjustment. This was a good decision.
I secured the brackets to the mounting points first to give the motor some support whilst I put the washer and plastic nut on the thread to hold it against the panel. Then I tightened up the bracket bolt. This was a little awkward as its on the door skin side and quite close to the skin. But, a small 10mm ring spanner did the trick, even if it did take 5 mins to do.
This is the motor installed. The bolts on the top left and middle bottom are the mounting points for the bracket.
It is at this point that I realised I hadn't attached the wiring loom. DOH! So, out it came again.
The picture below is of the old motor, but it shows the bracket bolt that secures the motor to the bracket. I still think leaving it loose until everything else is tight is the right call. But, I did manage to get the whole assembly out without undoing it the first time.
With the motor now fitted, I put the new arm and blade on, then threw some water on to test it. Voila!
One fully working wiper and washer.
All that was left to do was refit the trim and job done!
That is a most gratifying bit of automotive DIY!
")