Freelander 1 HTR - hacked off :(

This site contains affiliate links for which LandyZone may be compensated if you make a purchase.
You strongly suspect a liner has moved. I've taken the precaution of ordering some shims from Rimmers. They are 0.003". They should be here next week. When I take the head off I'll carefully measure the liners' protrusion. If I have to remove the liner/s I'll add a shim to the lowest ones to lift them back towards factory spec, but only if they are 0.001 or less, flush or below the block face. When shimmed and resealed would I then be best to fit a MLS HG instead of the Payen BW750?

I don't think a liner had dropped. That is very rare and is normally connected with overheating. I suspect a liner shifted very slightly when the head was off last time. This could weaken the Hylomar seal, making it fail some time later.
 
The fastest bolt removing method is to hammer a smaller socket onto to the round stump. Try a 12mm hex first. I think that's the size I used when i had the same problem.
 
The fastest bolt removing method is to hammer a smaller socket onto to the round stump. Try a 12mm hex first. I think that's the size I used when i had the same problem.

I'll give that a go, you can guess at my reluctance to put a hammer anywhere near the head!:eek: I know how I managed to strip those splines off, a combination of haste, not bothering to put the spec's on and check the socket size, E14 will undo the head bolts, but an E12 is the one to use. Sigh, chalk another stuff up to experience.

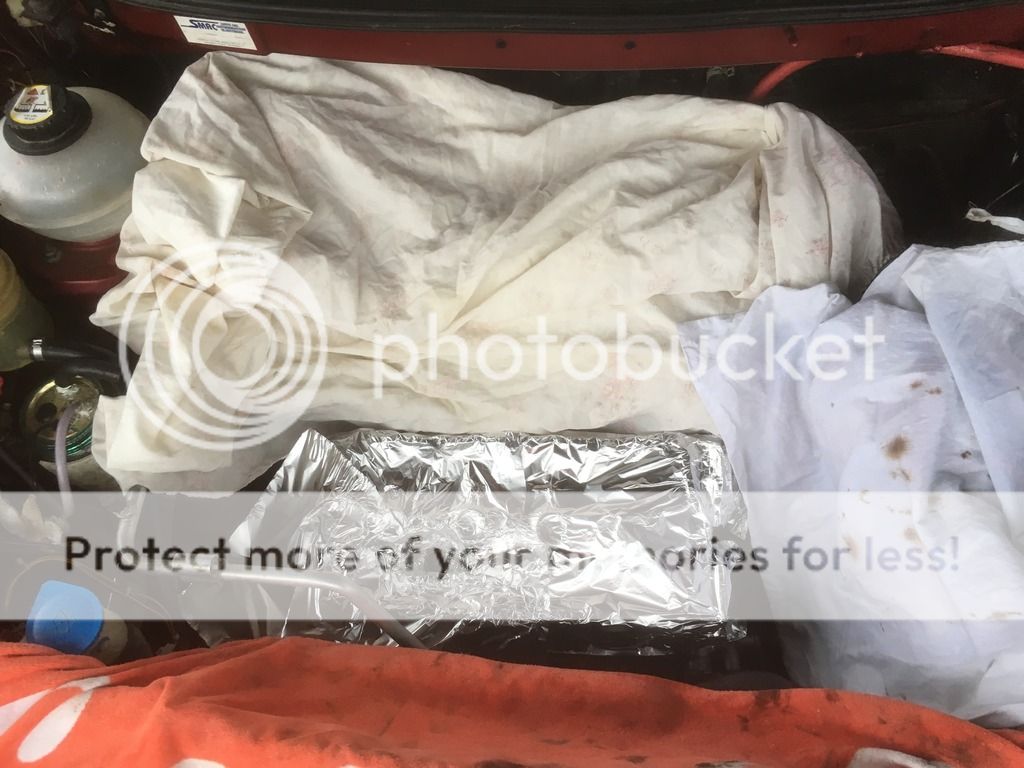
I think I've worked out on why / how the HG failed too. I've refilled the cooling system twice in the past month swapping the radiator out. I may have had an air lock in the system even though I had clear coolant at both bleed points. Ming suggested a method of filling the cooling system from 2005.

Hi hermano. . .have been down this road[not on a freelander] however ,this is a off the record Ming method,get yourself a length of plastic pipe that will fit in ya reservoir think 11/4 inch will fit ,get a large funnel or drinking bottle with bottom cut off using duck tape ,make yourself a header tank,place in reservoir tank with tape and fill it up run engine as normal till correct temp and keep that res topped up and watch all the bubbles come out,of course when you've finished,squeeze ya thick hose fast[make sure engine is cooler] to bring level of reservoir to bout correct place,this is the sure fire way to getting rid of dreaded air locks,best of luck. . .Ming :cool:

In essence you make a team raised header tank and get a greater effect of gravity to force the coolant through. Interesting,

Jasco Kovacevic demo's the more orthodox method. here
 
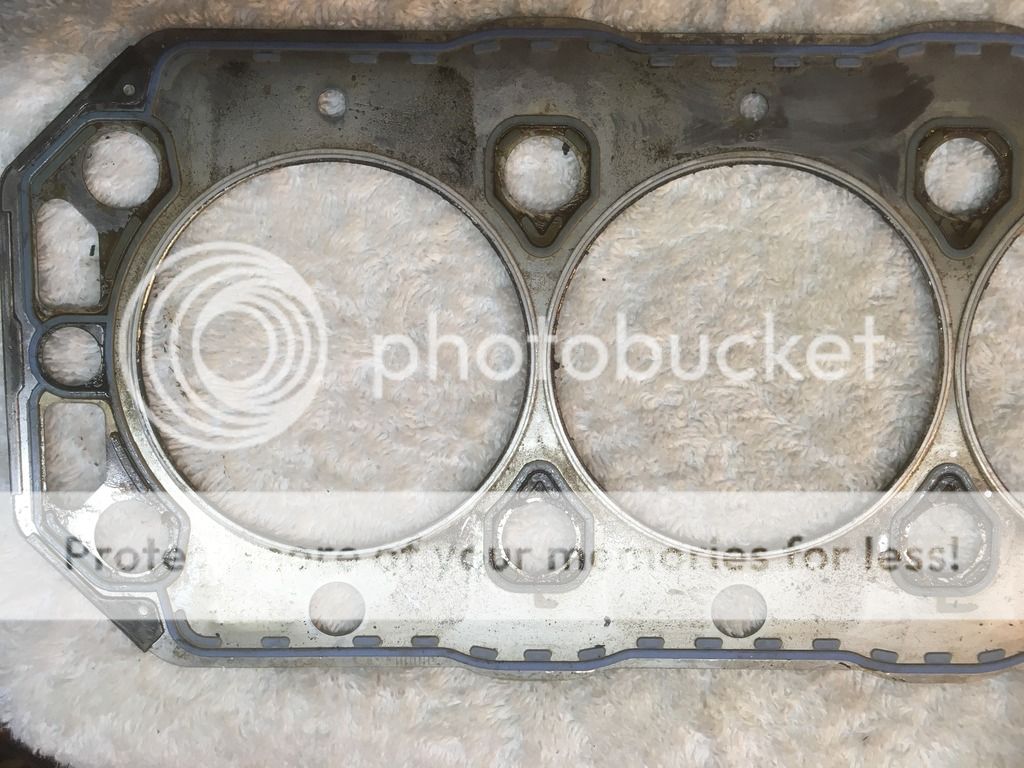
Okay, head's off. I've had a careful look at the HG and it seems ok. All the blue seals are secure and in place, there's no holes and the fire rings are intact, undamaged... the fire ring faces show the liner top machining marks and the surface of the head were machining has left lines.


There's some greasy deposits on the under side especially near the two cylinders closest to the distributer [3 & 4??] There's more faintly visible where the coolant goes up through a whole on the inlet side and a larger black smudge above the where the coolant pump pushes coolant to the head. Now I mention that because a few months ago I noticed greasy black stuff in the coolant tank which I cleaned out. I put this down to grease / oil residue from previous motor work when I first got the FL. However, it could possibly be: the left over OXO cube type cooling system sealer that you crumble into the cooling system to seal a leak, put in by an earlier owner. OR possibly could it be 'globs' of liner sealant?


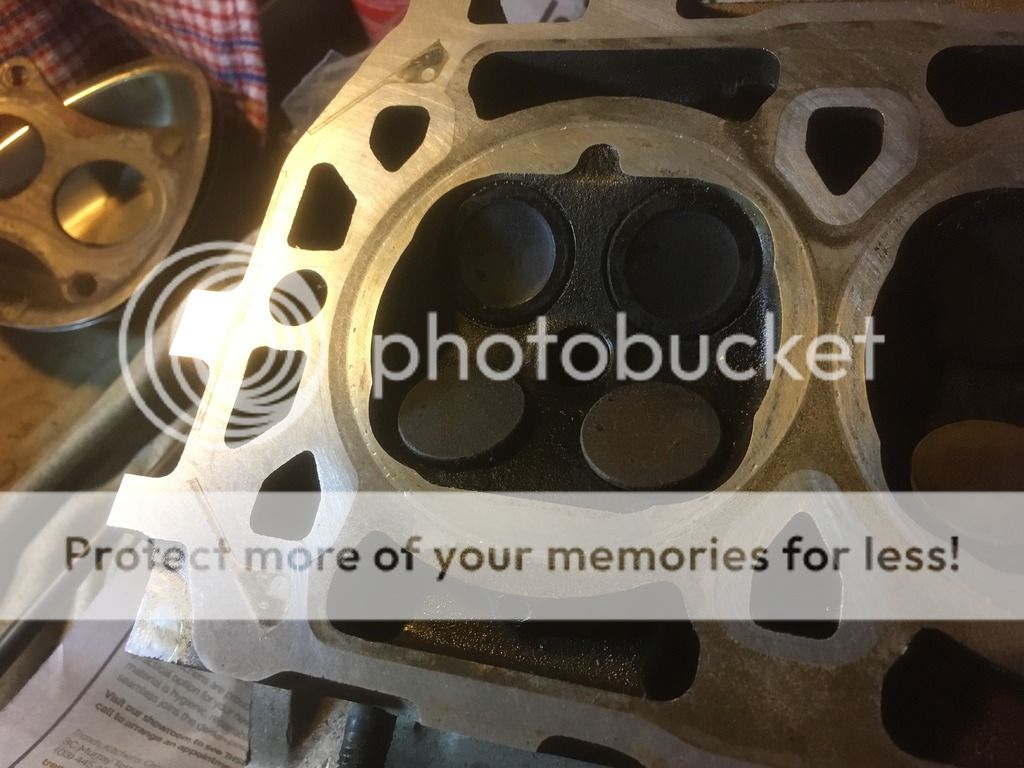
I've carefully measured and remeasured the liner heights. They are all proud but not by much. My 0.0015" feeler gauge is to fat to push under.

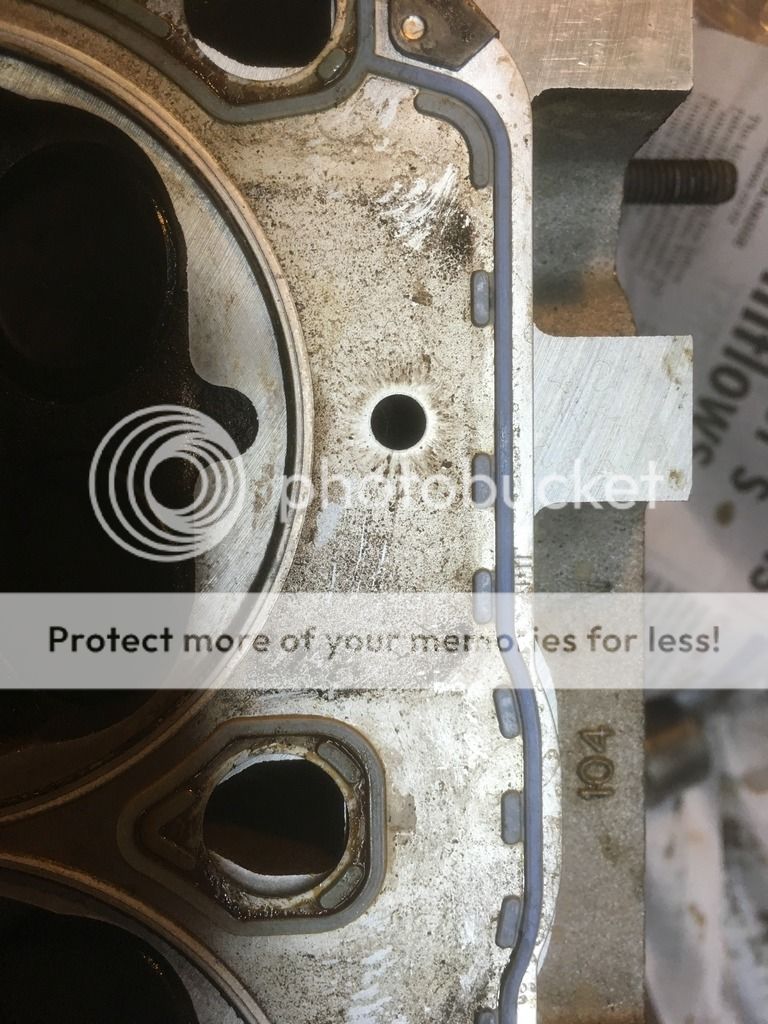
Head: It appears to be straight. Again my 0.0015" feeler gauge drags the straight edge over except in the very centre between pots 2 & 3 where it's a snug but sliding fit. There is no fire ring indentation. However, there are pits in the fire ring area. I used my jeweller's eyeglass and had a very close look at the HG fire rings. The surface that is on the liner tops looks fine. The surface on the head area has corresponding marks on it. I can't tell if they protrude from the fire ring as if something is under the crushable rim or if the pits are minute voids below the surface of the head and these 'filled' them. It would have to be unlikely for foreign material to be under the HG rim.


So should I:
  1. do nothing and reassemble as it stands?
  2. have the head skimmed? and reassemble?
  3. do I need to consider peening the fire ring area and skimming then reassemble?
  4. do I pull the sump off and remove liners, fit a 0.003" shim to each and reseal?
  5. do 4 & 2?
  6. do 4 & 3?
Advice please.
 
Did you find any coolant in the void between the elastomer, where it shouldn't be?

Have you carefully checked the elastomer bond over the entire gasket.?
 
Last edited:
Did you find any coolant in the void between the elastomer, where it shouldn't be?

Having contacted you checked the elastomer bond over the entire gasket.?

No coolant between oil and coolant areas. Elastomer looked to be intact over the entire HG both faces too.
What would you advise on the visible imperfections around the fire ring?
 
Having contacted you checked the elastomer bond over the entire gasket.?
Not quite sure what you mean here.
Change "Having contacted" to "Have you carefully checked" ;).
My phone auto filled what it thought I wanted to say and I didn't spot it.:oops:
Now corrected. ;)
 
No coolant between oil and coolant areas. Elastomer looked to be intact over the entire HG both faces too.
What would you advise on the visible imperfections around the fire ring?

If you can feel the imperfections with a finger nail, then get a light skim. If you can't feel them with a finger nail, I'd put it back together and not worry.

Can you post some close up pictures of the areas of concern.
 
I/m away from home at the moment until Sunday. If you 'zoom' in you can see these imperfections. I will post better pics later. What are your thoughts re the liner heights, less than 0.0015"? Shim or reassemble?
 
I/m away from home at the moment until Sunday. If you 'zoom' in you can see these imperfections. I will post better pics later. What are your thoughts re the liner heights, less than 0.0015"? Shim or reassemble?
If you are using the elastomer gasket, then 0.0015" should be fine.
I don't believe that your coolant loss was fire ring related. I'm not convinced it was elastomer related either.
I personally think it's better to have liners low and even, over high and uneven.
You still haven't identified the cause of the coolant loss. So that needs to be proved, before reassembling the engine.
 
Last edited:
That black gibbons I had a month or two ago, it looks and felt similar to the black marks on the HG face and the whole above where the coolant pump send coolant upwards. Could it be liner sealant. I've no idea on how it could break down and I don't think liner has moved at all. Coolant was definitely in the sump but not a large quantity. I'll have another pair of experience eyes look at the HD early next week.
 
An update re my HGF
I've attached some more pic's. I think I may have found the point/s where coolant and oil mixed. See the 4th & 5th pic's below. The blue elastopolymer seems to have lost its adhesion on the exhaust side where head bolts 2 & 3 pass through the HG. The material is a lot darker than any other points where head bolts pass through. I initially used my finger to check the material while having a very close look at the HG. These two places are on the block face too.

The first three pics are of the head itself. I hope yo can see the fire ring areas clearly and their small indentations. I checked the head again - it's pretty straight, a 0.0015" feeler gauge drags the engineer's straight edge off except between pots 2 & 3 where a 0.002" drags it off. The rust-like staining is on the exhaust side, I think you can even see some stain marks which correlate to where I think the failure points are. Forgive my ignorance but could this be localised overheating due to an airlock in the cooling system due to insufficient bleeding / incorrect refilling method?

close-up of head surface cylinders 1 & 2
https://photos.app.goo.gl/PFROXp2TMniJBEoF3

close-up of head surface cylinders 2 & 3
https://photos.app.goo.gl/Mv6HLNEGUEoe5Qsz2

close-up of head surface cylinders 3 & 4
https://photos.app.goo.gl/DLzKJS1kTdiF08al2

possible failure site#1
https://photos.app.goo.gl/r0EwHWPfYpdySCJk1

possible failure site#2
https://photos.app.goo.gl/DaOMed5tB6csDVjP2

the colour of a good seal
https://photos.app.goo.gl/VK6aCu8KfBnfGxZl1

whole HG
https://photos.app.goo.gl/vtyqHUSG1rRJgsAe2

PS - what a pain about photo bucket. Does anyone use another site that allows free third party hosting?
 
Last edited:
Looks like you found the fault Htr. That's the place where coolant can enter the sump, but oil not enter the coolant.

It does look like a local heating problem too me. It would interesting to discover the cause of that. Cylinders 2 and 3 are the most likely to suffer localised heating. So this can't be ruled out imho.

Oh and why not host the images straight on here. It's much easier than messing with 3rd party hosting sites.
 
I didn't know that was possible. How do I go about that?

Every post gives the option to upload a file. You simply click on the upload a file box and select the file from a folder on your device. The file then uploads straight here to be hosted locally.
Your file can be displayed as a thumbnail or full image, depending on how you set it.
 
Back
Top