Hi,
My lovely girl -2001 4.0 P38 just sailed through the MOT at a mere 160k. However we had one advisory that I knew was coming on the offside front lower control arm balljoint. Having a quick look on the internet pressing kits to remove/install the ball joints made specifically to the P38, they seem outrageously expensive and way more than asking my local indie to do both sides. Can anyone recommend a generic product that has the right size cups etc??
Cheers
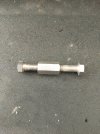
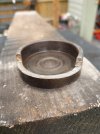
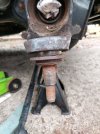
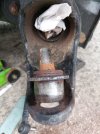
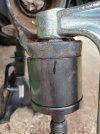
 Don't Touch the collar on the bottom ball joint fitting as this Is the alignment for the drives haft oil seal just undo the nut while holding the collar on place!!!
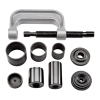
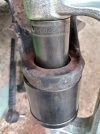
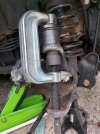
") (although I used the kit to fit radius bushes on the D2 yesterday). I think it was easier putting the top one back in 1st as you can put the tool through the lower joint hole, see pics & best of luck as I wouldn't fancy doing it again !
(although I used the kit to fit radius bushes on the D2 yesterday). I think it was easier putting the top one back in 1st as you can put the tool through the lower joint hole, see pics & best of luck as I wouldn't fancy doing it again !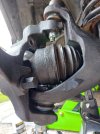

 )
)