nathanglasgow
Active Member
- Posts
- 361
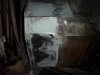
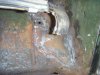
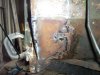
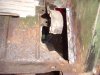
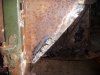
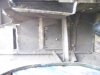
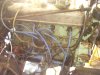
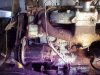
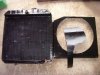
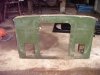
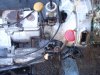
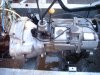
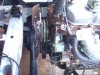
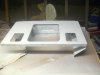
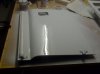
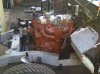
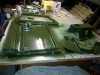
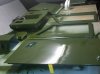
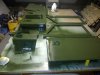
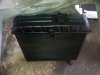
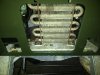
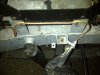
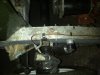
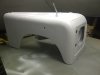
Been getting on with the paint work.Got the rad panel,seatbox and lids and both doors done.Doors all reassembled with new window channels after the new doors tops had been painted.Got the original radiator back from a company called East End Radiators after they recored and rebuilt it for me.I thought it quite pricey but at £198 but apparently that's a very good price so im happy.
")
Welcome To LandyZone, the Land Rover Forums!
Here at LandyZone we have plenty of very knowledgable members so if you have any questions about your Land Rover or just want to connect with other Landy owners, you're in the right place.
Registering is free and easy just click here, we hope to see you on the forums soon!