Hi guys,
I hope you enjoyed it cabbie, its brill part of the world, I consider myself very fortunate being able to live slap bang in the middle of it.
I use the back road through stape, newton on rawcliffe to new bridge at pickering a lot, fun in my llittle rover will be much more fun in the big rover

.
got a fair bit done yesterday,
Ive removed one half of the roof bolts, cleaned them up, greased and put them back in to make it easy when the time comes.
Ive also so removed the front panel and radiator, I started to tidy up the panel, most of the paint was scraped off with a stanley knife blade in 10 mins, it jst came off in great sheets, which shouts of not been prepaired properly
The bumper is off now, so Ive got access to the front legs which are rotten but salvagable.
Now the fun part.... ......picces

Front panel partly cleaned off.

All front bodywork removed

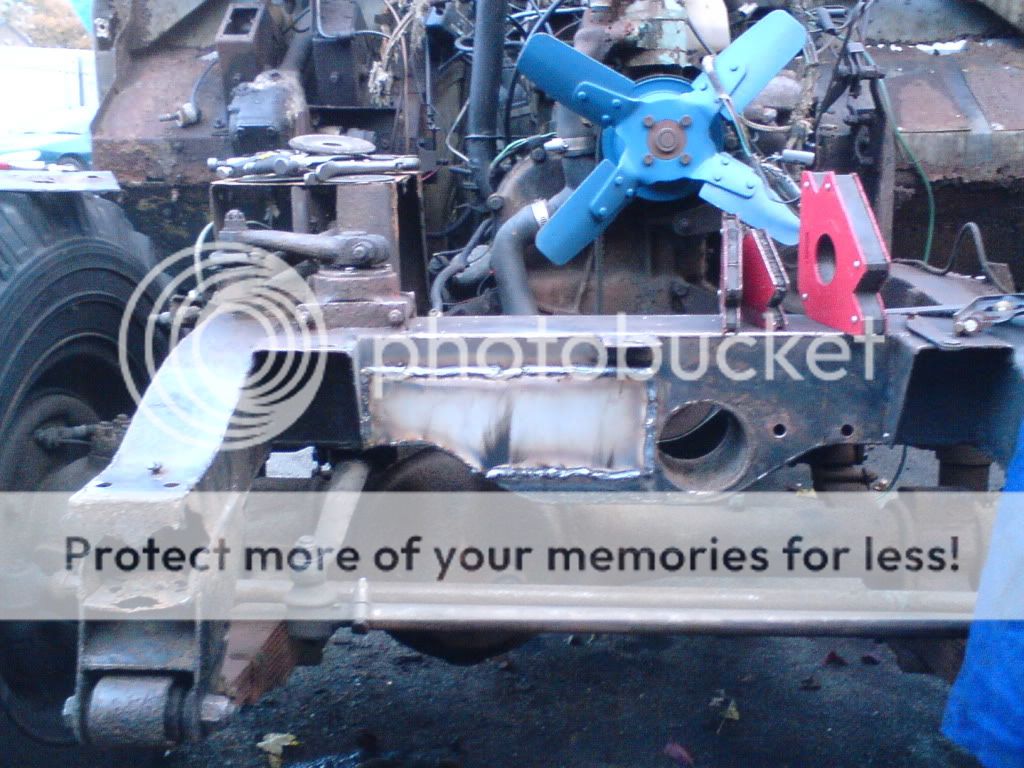
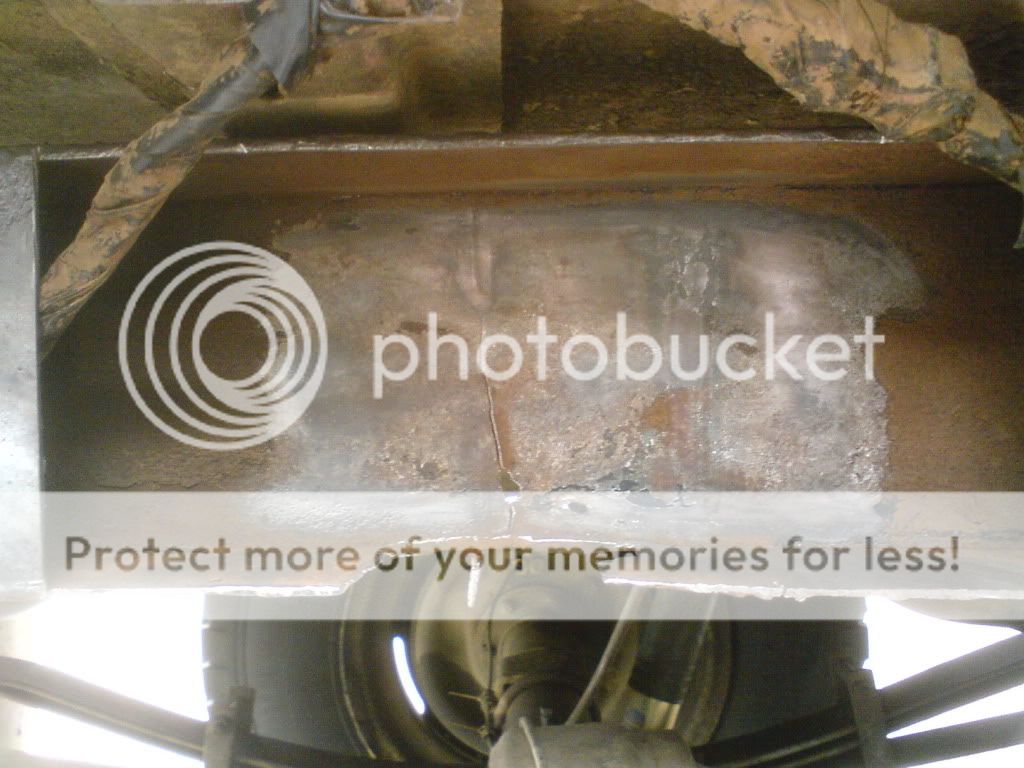
Rot ...

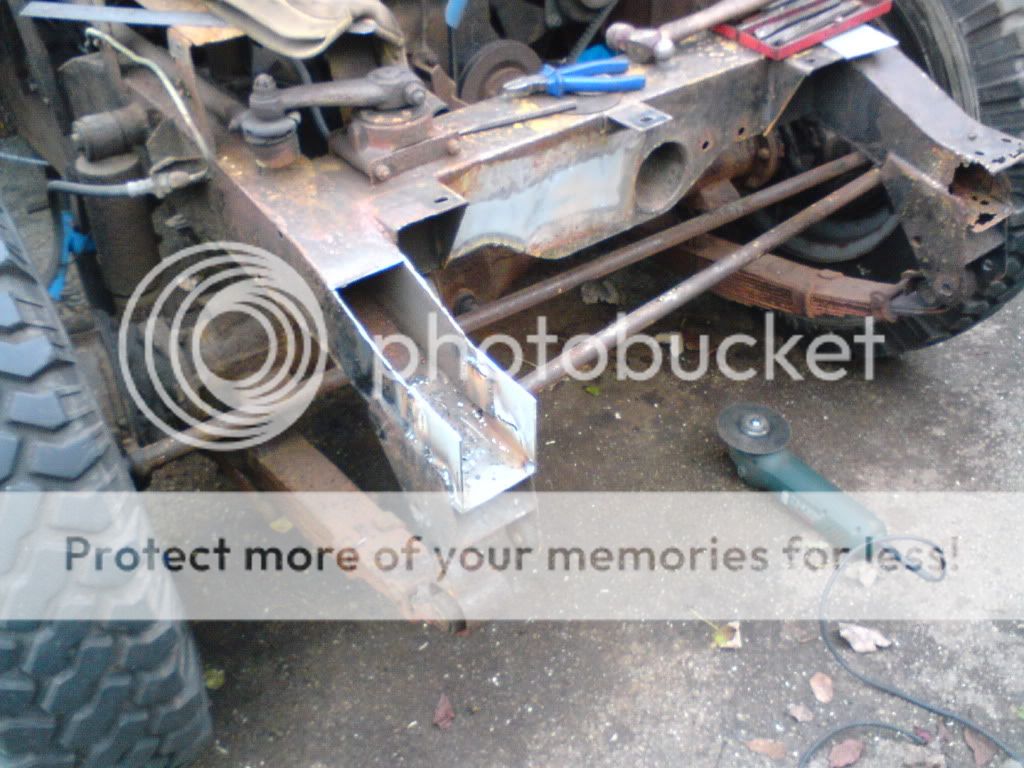
... Rot ...

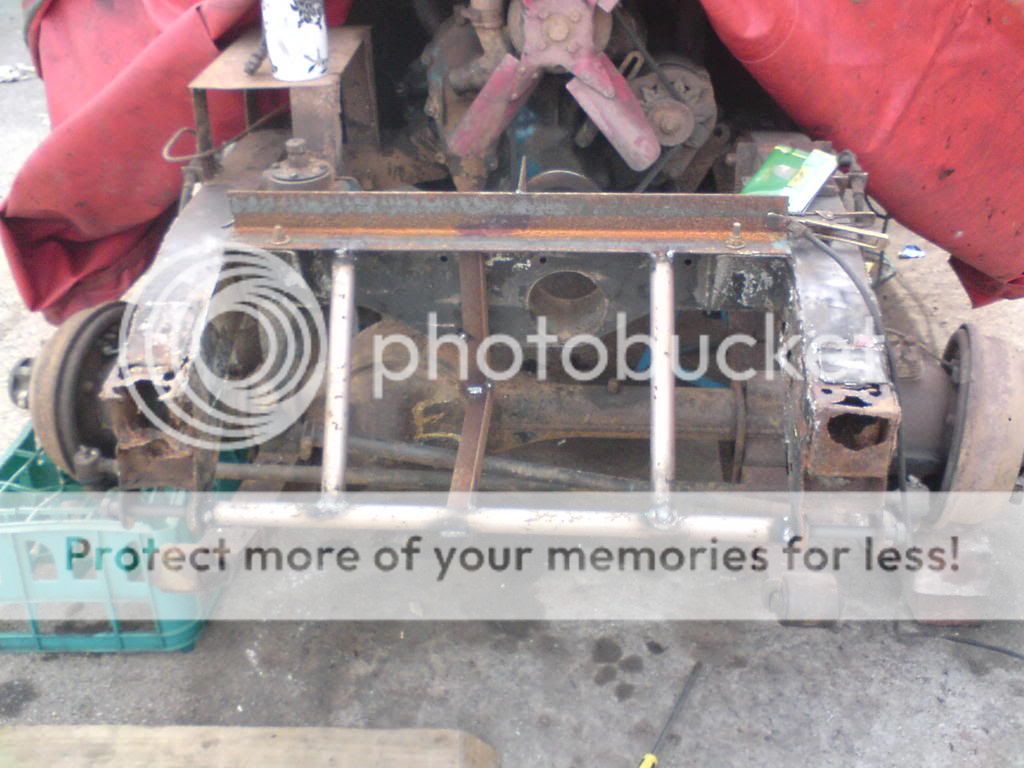
... and yet more Rot.

a Question for you great people, what side should the rear number plate be on?