storage solutions

This site contains affiliate links for which LandyZone may be compensated if you make a purchase.
Hi everyone,

Well despite still having a stinking cold and feeling like I want to stay in bed, I have made an effort today.

I started at 7 this morning and have just come in at 5:30.
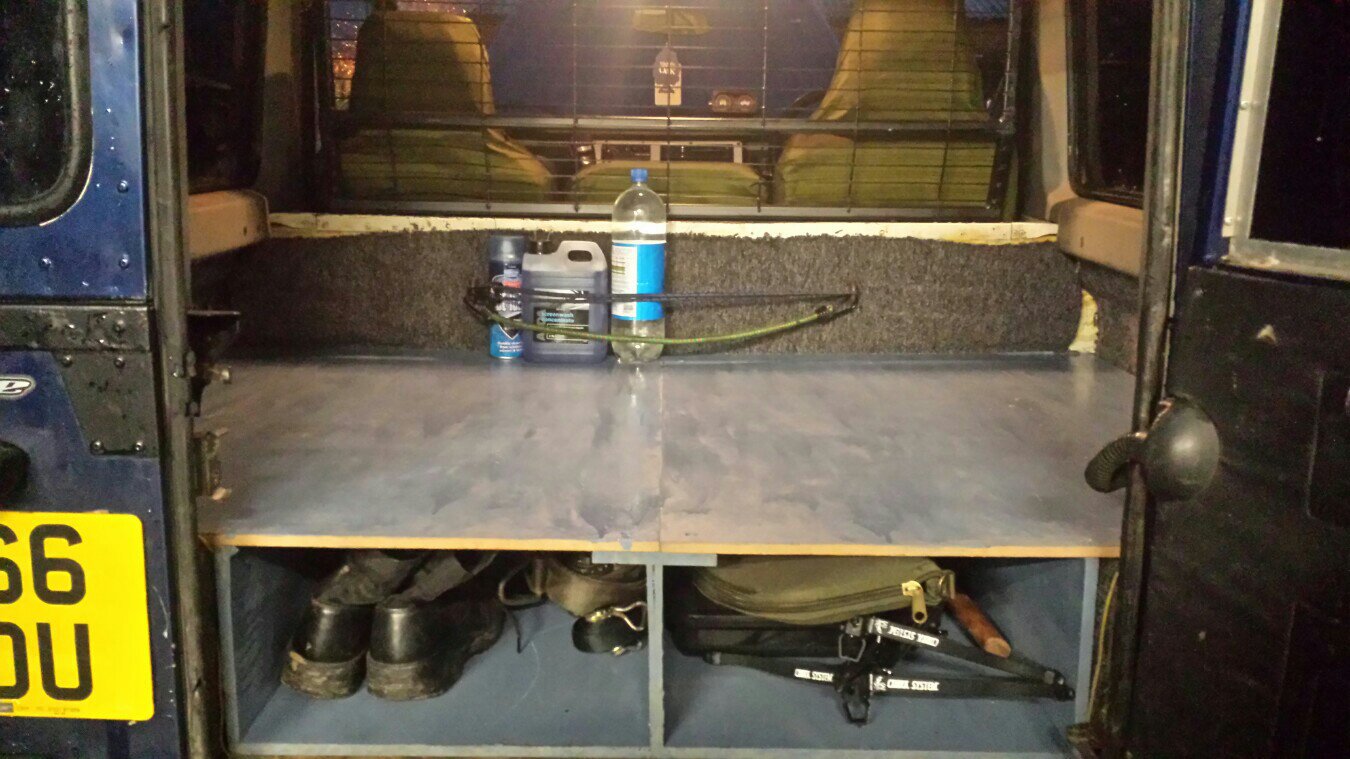
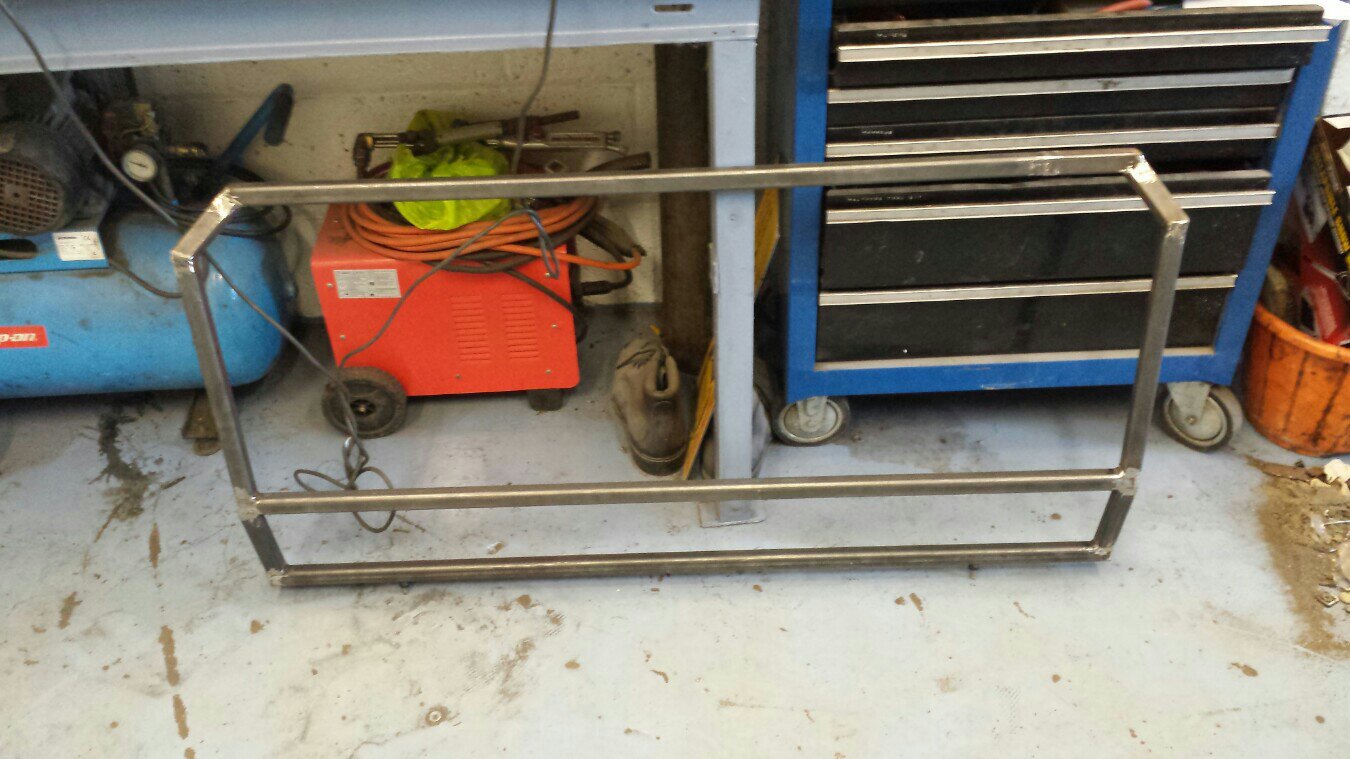
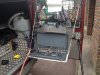
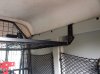
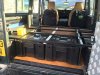
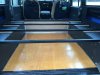
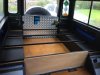
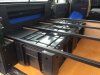
Iv fitted a snorkel and actuary did some more on the storage.

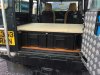
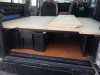
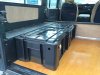
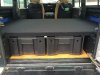
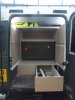
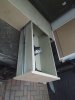
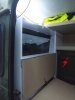
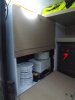
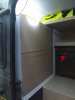
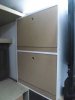
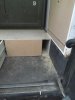
I have made the draws and made the door fronts for the cabinets. I couldn't decided on door handles so I just cut 25mm holes to open them with for now.

I also increased the number of main area shelves from one to two.

Apart from the new bulk head, all the sections are easily and quickly removable. The lot can be removed i under fifteen minutes.

I will post pics again tomorrow.
 
hi everyone,

Time for the picture update.

You will see the draws done and the door fronts made. I just cut holes in the door fronts to pull them open. I looked long and hard but could not find door handles I liked. The draws have been longer than I had planed but as you can see, when open I can still get to the back of them.

I fitted the top roof shelf for my wet weather gear and then decided to fit a second shelf just above the laycorn box.

The shelves hold the two side cabinets apart stopping any movement, but all of this can be removed quickly and easily in under 15 minutes, so I can still use the back for large storage.

I have a bit more painting to now do.

I will now start fitting all the LED lighting and when the side doors arrive they will go in too.

If no one has any objections I will show those photos too to show how it all links together.
Iv kept all the templates for each step so if any one wants one of these made, I am happy to help.
 

Attachments

  • DSCF2032.JPG
    DSCF2032.JPG
    173.6 KB · Views: 759
  • DSCF2033.JPG
    DSCF2033.JPG
    217.4 KB · Views: 688
  • DSCF2039.JPG
    DSCF2039.JPG
    198.2 KB · Views: 639
  • DSCF2036.JPG
    DSCF2036.JPG
    157.3 KB · Views: 574
  • DSCF2035.JPG
    DSCF2035.JPG
    160.8 KB · Views: 645
  • DSCF2034.JPG
    DSCF2034.JPG
    151.2 KB · Views: 642
  • DSCF2037.JPG
    DSCF2037.JPG
    151 KB · Views: 597
  • DSCF2040.JPG
    DSCF2040.JPG
    195.3 KB · Views: 576
Last edited:
hi everyone,


Time for the picture update.


You will see the draws done and the door fronts made. I just cut holes in the door fronts to pull them open. I looked long and hard but could not find door handles I liked. The draws have been longer than I had planed but as you can see, when open I can still get to the back of them.


I fitted the top roof shelf for my wet weather gear and then decided to fit a second shelf just above the laycorn box.


The shelves hold the two side cabinets apart stopping any movement, but all of this can be removed quickly and easily in under 15 minutes, so I can still use the back for large storage.


I have a bit more painting to now do.


I will now start fitting all the LED lighting and when the side doors arrive they will go in too.


If no one has any objections I will show those photos too to show how it all links together.

Iv kept all the templates for each step so if any one wants one of these made, I am happy to help.


My only concern would be that you have used mdf. When damp it blows badly. Land rovers are notorious for damp.
 
Very good point chunkymunky,

This is made out of a MDF but not the normal stuff from B&Q and a like.
I got this stuff from an old supplier, it's triple layered MDF that is sold as waterproof via the two outer skins.

You can tell the sufferance when I painted it as normal MDF soaks up loads of paint, but this was so much smoother it was harder to paint with all four coats.

I will be keeping an eye in it as we move on, even I have some concerns for when I fit the gull wing doors.

I wonder if I can still add anything to prelong this.
 
Sorry, I am not building a time machine, although on the body work I am trying to turn back time and get her looking closer to the day she was made.

I am taking the fixed side windows (normally sliding) out and replacing them with upward opening doors. I did start another thread asking for advice where to get them as the only ones I could find at the tie had a price tag of over £270 per side.

I now have a horse box manufacturer making them for me at a cost of £210 for both sides and delivery.
 
Ahhhh now i get you.

I had thought on extruded plastic panels to fit the standard landrover window aperture for same purpose.

I went a different way and sold it ;)
 
So I did go to B&Q but the longest draw runners they had where 550mm long and cost over £15 a pair. I have enough room to go to 700mm long but they are over £15 a pair plus postage on eBay. As I need two pairs I found a company who sold me two pairs of 600mm long runners for £18 including delivery.

They arrived at the beginning of this week but I have been too ruff to make the draws and fit them. Not wanting to sit and do noting I took the shelving units back out and gave them two coats of undercoat and two coats of high white gloss, my thoughts have been that it will reflect the LED lights making the units easier to work with in the dark.

You should be able to see this was done in my kitchen and took three days, (wife not impressed) but I think it works. Now they are back in and I'm going to get the draws done this weekend, no matter how ruff I might feel. I am hopping to get the cabinet door fronts done too, but I still have not settled on what type of handles to have.


Hi mate,

I'm in the process of doing something similar with my 90 and i was wondering how deep your drawers are and where you managed to get your drawer runners from?

I'll upload pics once I think I'm done.

Cheers
Alex
 
Hi everyone, sorry its been so long since my last update.

First to answer the question from alexr, the eBay seller I got my draw runners from has put his price up a little and he is still selling, if you look up item 121254982892 via ebay it will take you to him and just select the size you want. My draws are 39cm wide, 20cm deep and 70cm long. Because they extend fully, the draw comes all the way out the back door.
I think the draw runners I got are brilliant, I did look in B&Q, they didn't stock the size I wanted, they are more expensive size for size and they didn't seem as good a quality of those I got in the end.

As for my little project, I finally got a call today to say the side doors are ready to be dispatched. I didn't order them until after Xmas as I assumed the manufacturer would be on a closed down. I am expecting them to be delivered early next week, as soon as they arrive I will let you have some photos, I will then do a photo step by step guide to fitting them (my birthday next weekend so hopefully my wife will let be play & fit them).

Iv got solid side windows in at the moment, any suggestion what the resale value for them would be? and what section to ask in for a valuation, got to sell the windows, need a few more project bits.

Talking of bits, on page 4 of this thread bluehaze has a really nice cover for cooking under, made by his clearly talented wife, would it be at all possible to get her to make one for me?
 
Hi everyone, sorry its been so long since my last update.

First to answer the question from alexr, the eBay seller I got my draw runners from has put his price up a little and he is still selling, if you look up item 121254982892 via ebay it will take you to him and just select the size you want. My draws are 39cm wide, 20cm deep and 70cm long. Because they extend fully, the draw comes all the way out the back door.
I think the draw runners I got are brilliant, I did look in B&Q, they didn't stock the size I wanted, they are more expensive size for size and they didn't seem as good a quality of those I got in the end.

Excellent thanks for your reply, I think I may need longer runners as my drawers are looking at being 110cm long at the moment but I may change that depending on how feasible it's going to be.

8esesy2u.jpg


You can see where my drawers are going to go. But still working out the best length for them.

Also made my own dog guard last week.

qejuru7e.jpg

a4ydysus.jpg

anenedy8.jpg


I made it from 1 inch mild steel box section welded together with the caging tac welded on then a lick of black spray paint.
 
Last edited:
Seriously nice dog guard, I like it a lot.

110 is a really long draw, I'm guessing your not planning on them opening all the way. I set mine back away from the back door a little so I can stand dirty work boots etc just inside the back.

I see your location is Cleveland, is that Cleveland Bristol? Either way if your handy with a welder would you like to help me with the next stage if my project?

I'd like to take all the current seats out and fit just four bucket seats. I'd like to fix the fronts to be fixed on the back but clipped at the front and hinged so I can still get to the seat boxes. I also need a frame made for the rear bucket seats to be mounted. Iv got ideas but no welding skills.

I'm sure many like me are interested so keep us posted.

Thanks mate, and no unfortunately it's Cleveland in the north east near Middlesbrough. I used to work near Yeovil in Somerset so could of arranged something then but unfortunately I'm no longer working there now.

The idea sounds great it will allow you to get easy access to your battery. I hope you find somebody to weld it for you.
 
So my doors arrived yesterday.

Not exactly what I was expectign but will do the job perfectly. We strong and well made.

I will post some pictures later as they are and then step by step ones as I fit them. I had hoped to fit them sunday (birthday so should be allowed to do what I want), but I have to go and get a replacement roof saturday and I will have to struggle either changing that or finding a place for it to stay until I find someone to help me swap them over.

So more pictures to follow.
 
where to put the cooker has been a concern for some time. When it is just the wife and me it doesn't really matter. However on our last trip we had both teenage daughters and the kitchen sink in the back;getting the cooker out became a real pain in the arse! so I decided that it must go on the back door and there must be a shelf to use it on, albeit for minor use (brewing up).

The solution wasn't that complicated. Using the original chequer door card as a template I cut (poorly) a new one using 2.5mm ally (I rescued it from a skip). I bought two hinges and a piece of ally that were in the bargain bin in b&q - not necessarily exactly what I wanted but they were cheap.

I cut the shelf out of an old piece (60x40mm based on the size of the cooker). I fixed the angle to the door card (note there is two pieces joined together for additional strength).

Fixed the hinges to the shelf and then to the angle - this gives extra strength when the shelf is down and a rigid piece to put the cooker on when travelling.

Picked up a few tie downs on fleabay and used some old guy ropes as supports.

Once I'm content I'll replace the shelf with a piece of chequer and the guy ropes with wire.

If required I'll do a proper write up with dimensions.
 

Attachments

  • pics 004.jpg
    pics 004.jpg
    360.4 KB · Views: 534
  • pics 003.jpg
    pics 003.jpg
    302.1 KB · Views: 531
I'm currently looking at making some storage for my ninety. Looking at something like this. Might be useful for other people :) ImageUploadedByTapatalk1416988490.018156.jpgImageUploadedByTapatalk1416988558.698144.jpg
Mine just for storing spare wheels, jerry cans and recovery equipment for when out off the beaten track :)
 

Attachments

  • ImageUploadedByTapatalk1416988529.209812.jpg
    ImageUploadedByTapatalk1416988529.209812.jpg
    77.1 KB · Views: 430
This was my take on it. I built this so I could carry 4 x Wolf boxes securely but also use it for bags etc keeping it nice and open if needed. The wooden end where the 2nd row seats go slides out if I need to carry anything long. I've just got back from 3 weeks in Morocco and it has stood up really well. The boxes are a very snug fit and did't budge an inch, even after hours of corrugations and rocky desert tracks.
 

Attachments

  • 10.jpg
    10.jpg
    319.4 KB · Views: 530
  • 08.jpg
    08.jpg
    254.2 KB · Views: 528
  • 07.jpg
    07.jpg
    301.9 KB · Views: 603
  • 06.jpg
    06.jpg
    272.4 KB · Views: 530
  • 05.jpg
    05.jpg
    208.3 KB · Views: 518
  • 04.jpg
    04.jpg
    244.7 KB · Views: 539
  • 03.jpg
    03.jpg
    236.2 KB · Views: 530
  • 02.jpg
    02.jpg
    259.6 KB · Views: 557
  • 01.jpg
    01.jpg
    259.5 KB · Views: 553
  • 11.jpg
    11.jpg
    257.6 KB · Views: 554
Has anyone made any boxes that fit under the rear seats in a double cab or station wagon. I'm toying with the idea of getting a carpet bag made that I can just fold the seats forward and just drop in be full width of the seat. But I've no idea on how or where to start.
 
Back
Top