which rails you mean?
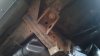
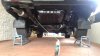
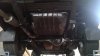
the chassis rails. The longitudunal ladder of structural metal that your prop and exhaust are sat within. Its hard to tell from pics if its just general muck or actually flakey.
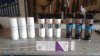
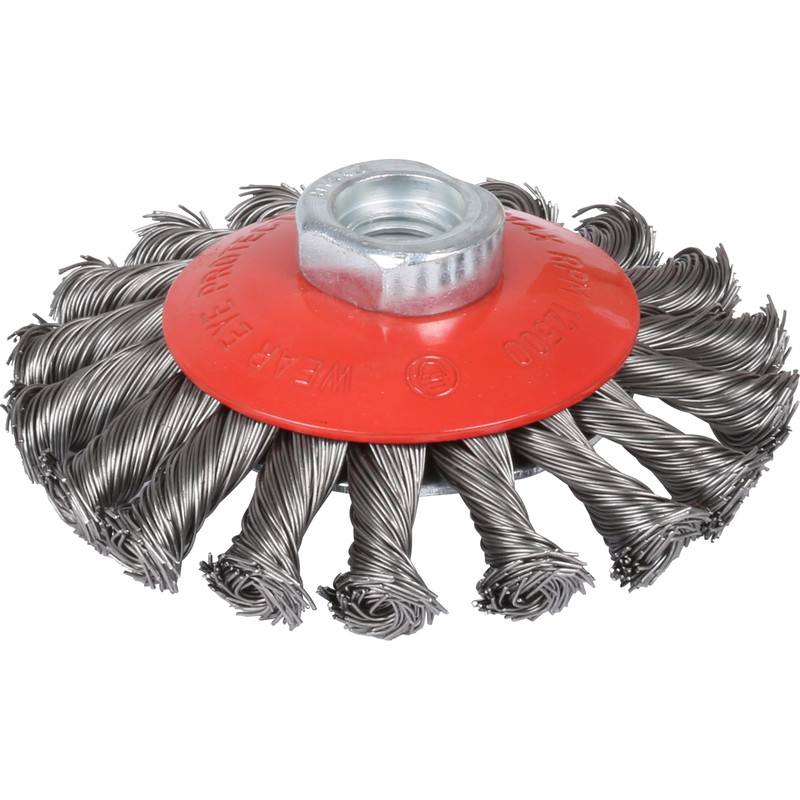
I use these
Last edited:
which rails you mean?

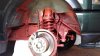
Yes I did and they are very solid. Only surface rust, no holes.Did you prod those rails with a screwdriver?
Yes it's a relief - the rest of the car is so good it would have been a shame. Plan is to now go through the chassis and make sure it is all as well protected as possible.Glad you didn't find any holes! Enjoy your new car")
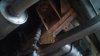
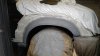
Ok, understood. First I have removed the loose parts by using a chisel (see this video) after I have used wire bruss similar to yours.
Mine was not as bad as on this video but slight hammering with chisel removes the layers which are corroded (if any) and after you can finish with brushing.
I was planning on getting a needle scaling gun which seems to be perfect for the job if you have a compressor line.
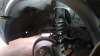
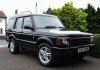
That's looking very good underneath. What was the process in terms of tools used and products etc. In preparation I have acquired a few things such as a needle scaling gun to add to my angle grinder with various brushes, the Bilt Hamber rusts treatments. Planning to go through it section by section as I haven't the time to do it in one hit.Nice example that is well worth taking to the next level as the OP intends. Being a recent new D2 TD5 Auto owner myself this thread has been of interest. Attached my before n after images, DIY by myself along with hours and hours of other enjoyable jobs since buying a few months ago. Images maybe of interest to the new owner OP.
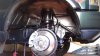
to getting on with the rust work. Did you take out the fuel tank? My concern is the rust I can't see.Fantastic buy, well done on your d2. I'm looking for a 2004 hse or es premium with similar mileage right now. I'm in southern Ireland, but happy to travel for the right disco.Just picked up a Discovery 2 after a lot of searching. Its a Sept 03 so I assume 2004 MY. 51,000 with two owners. Adriatic Blue, black leather. Not sure which model this is. ES? ES Premium?
Welcome To LandyZone, the Land Rover Forums!
Here at LandyZone we have plenty of very knowledgable members so if you have any questions about your Land Rover or just want to connect with other Landy owners, you're in the right place.
Registering is free and easy just click here, we hope to see you on the forums soon!