I did the patch on engine side first (below the brake servo) but welded it from below as access was easier - partly from the pedals side but mostly from in the wheelarch.
Then I welded the patch below it, mainly from the wheel side but also a few tacks from inside the footwell.
I made (but ended up not using) a patch for the carpet side, but after I'd painted the first two patches, and seam-sealed them, then painted again, and undersealed on the wheel side, it looked such a good fit I decided the carpet-side didn't a patch so I seam-sealed and painted that, so anyone looking would be able to see it had been done properly, rather than bodged with fibre-glass or something.
I just tried to get some photos with my phone; not the best, sorry...
Couldn't get a carpet-side picture, I need both hands to take the picture then would also need another two to pull the carpet back; my old arthritic fingers can't move that beast very easily....
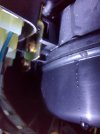
close-up of new ledge / patch under the servo
View attachment 313140
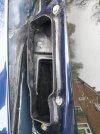
rubbish access from above...
View attachment 313141
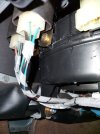
looking Up at that new ledge
View attachment 313142
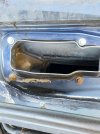
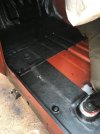
and the view of the 2nd patch, from above the wheel
View attachment 313143
I was hoping the ribs might have been a better fit, but looks OK / good enough and the MoT tester said it was neat (and did I want a side job...)