Giving an old S3 army girl a new lease of life

This site contains affiliate links for which LandyZone may be compensated if you make a purchase.
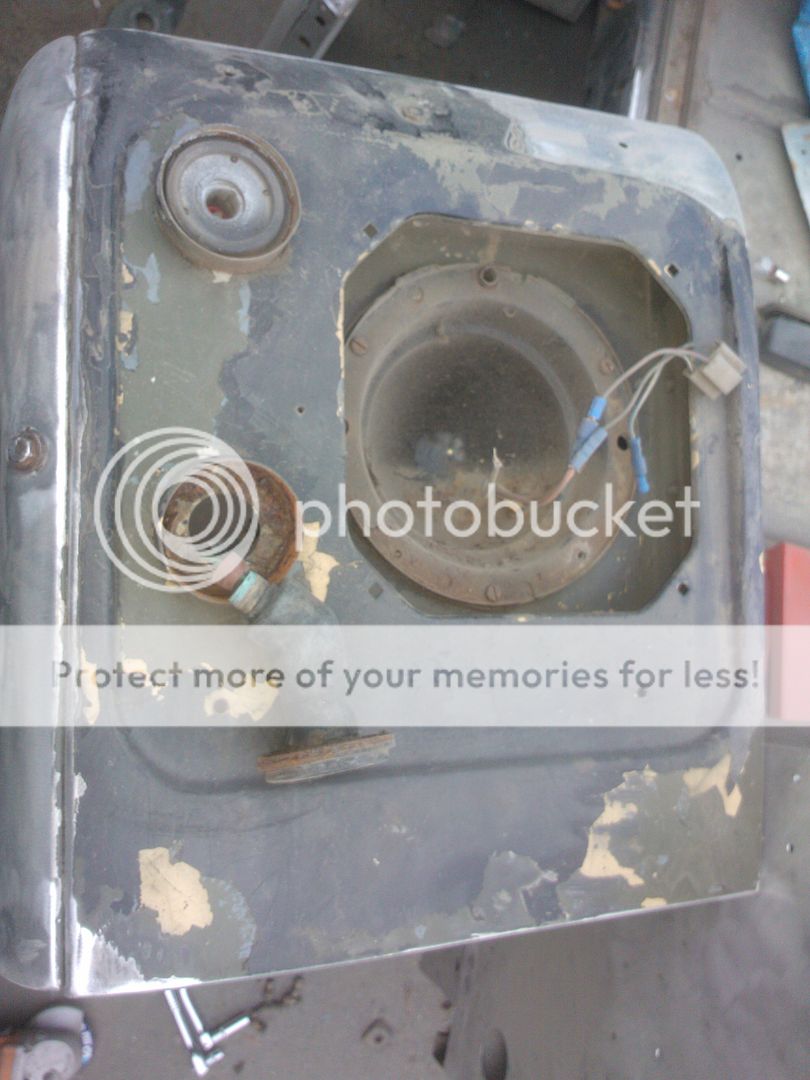
Too much work to do recently so finding time to tinker very limited. But I have managed to have a go at one of the wings:

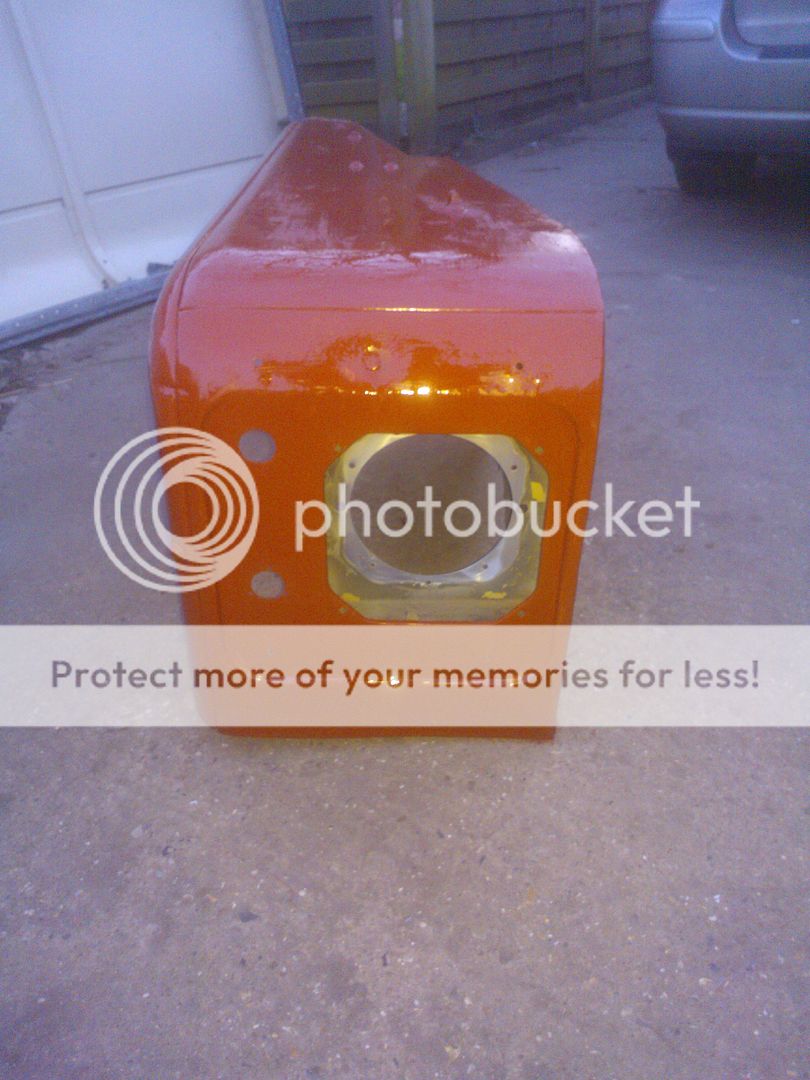
And after much fiddling, grinding and removing of paint got to this:

I've also had a go at the catflap, stripped it back as best I could.
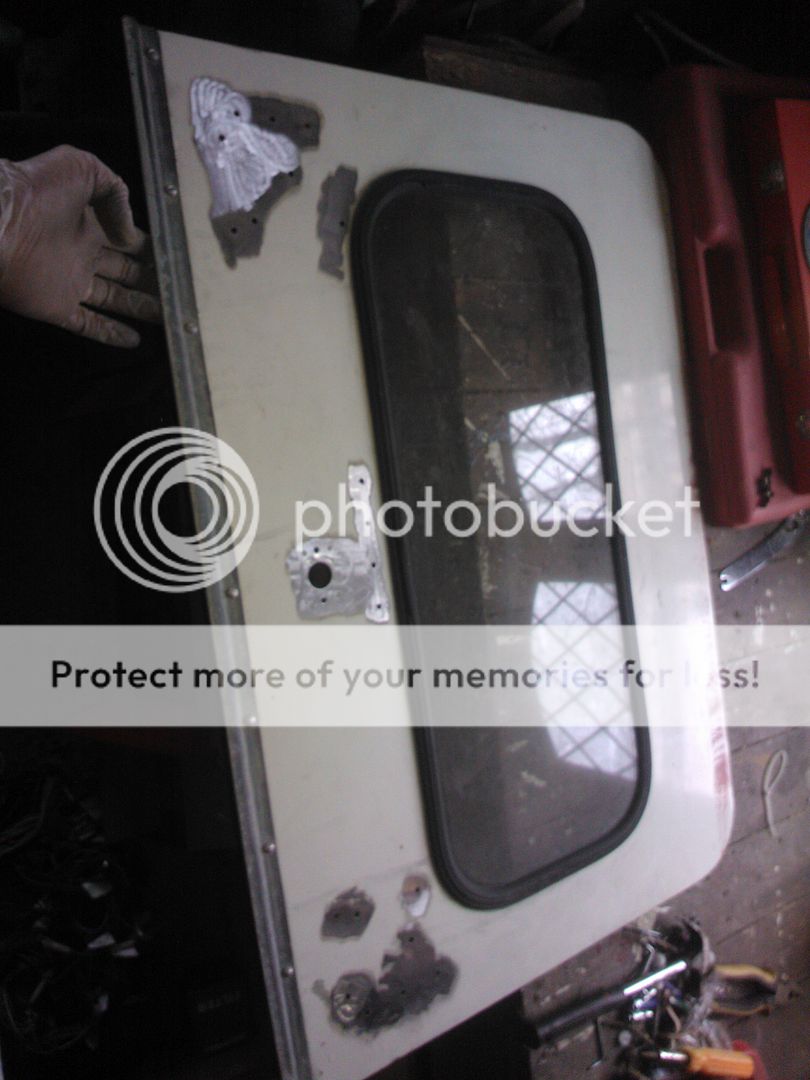
Took the glass out

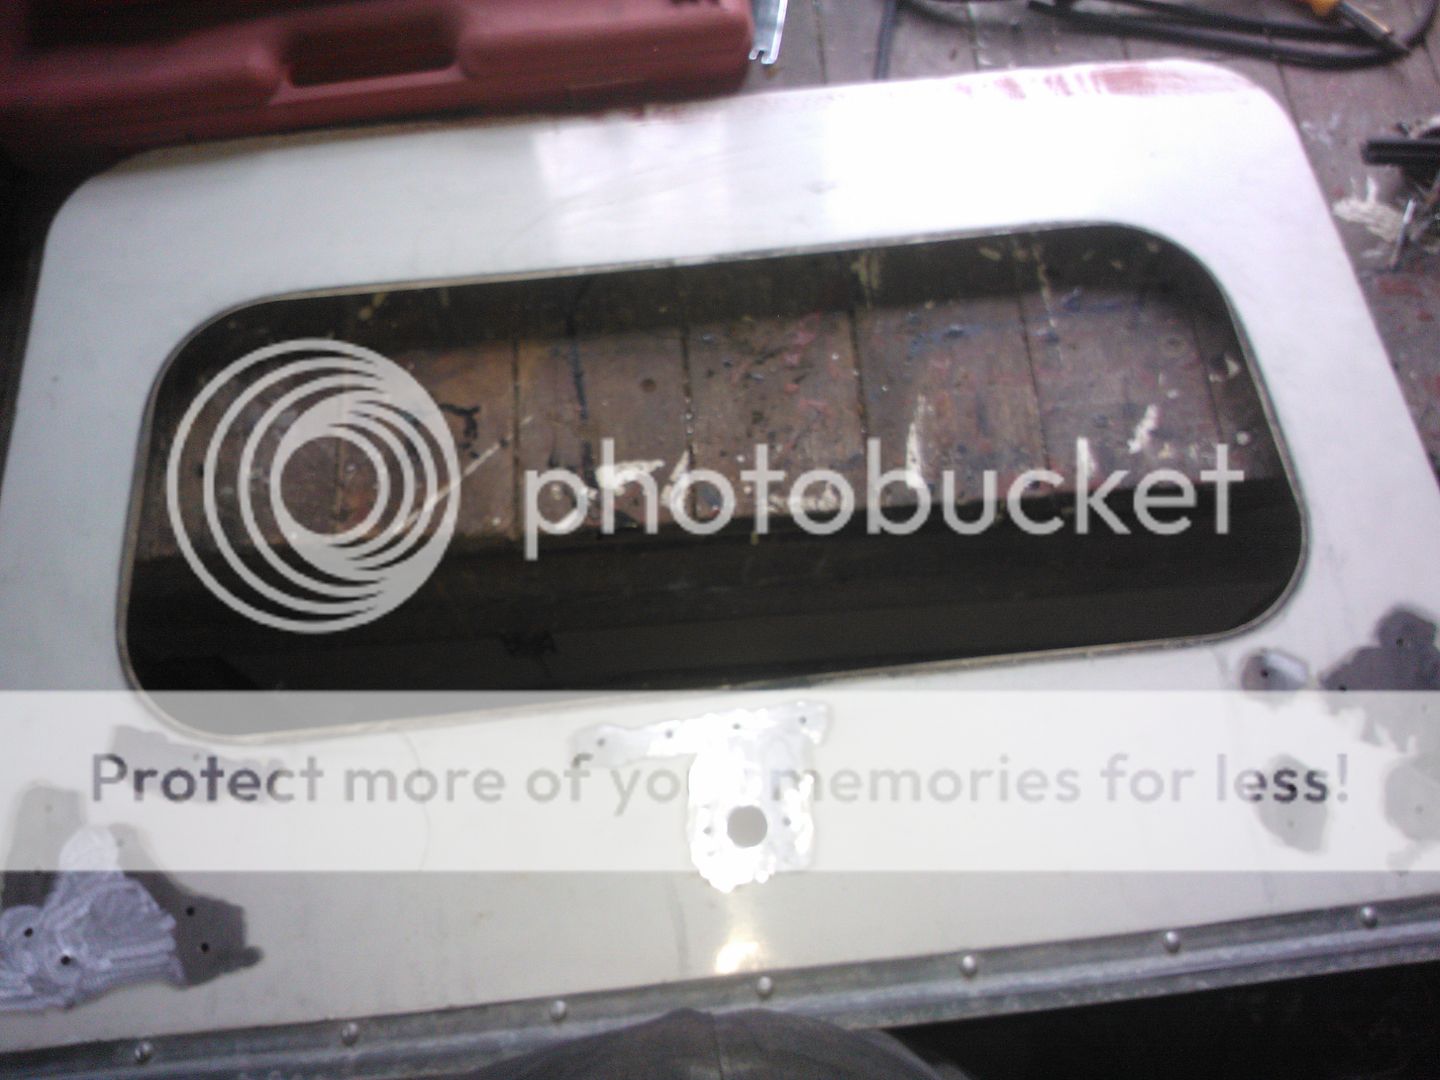
Took the lock and fixings off

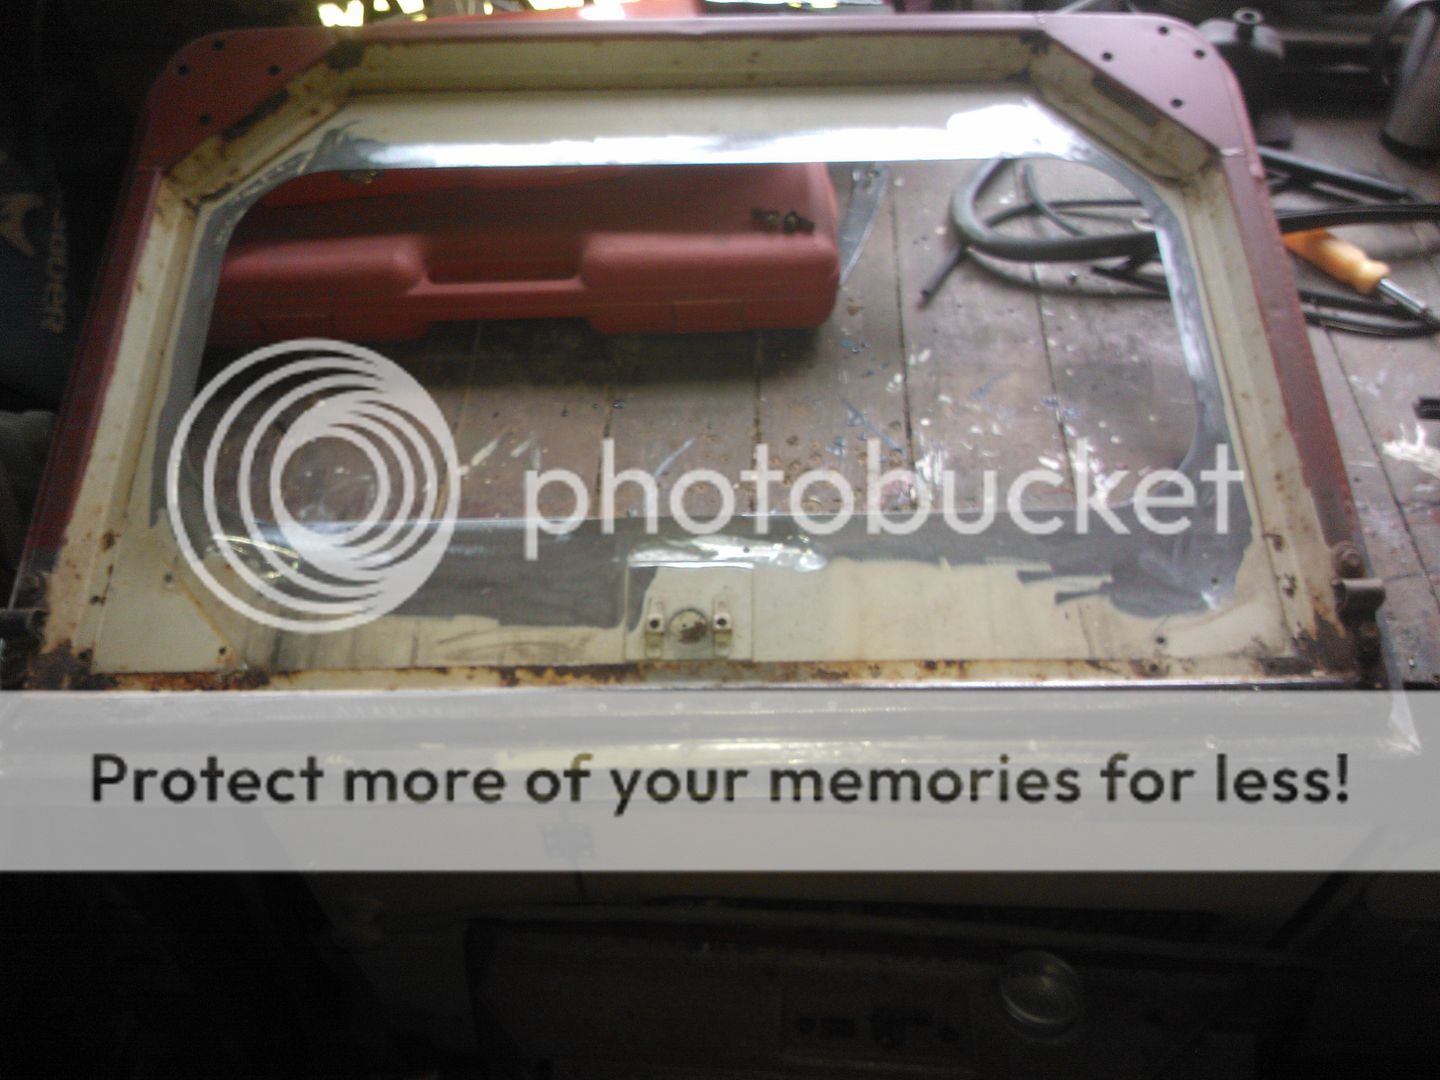
And gave it a good rub down before three coats of primer

That's about all I've managed in 3 weeks!!
However, I really want to get the tub off next weekend. Has anyone got any good advice about the process? Pictures? Where are the bolts holding it on?
 
Maybe a bit of inspiration for you ..

Had this come to our house this weekend. Only collecting a bumper off me, but a lovely bit of kit!!
 

Attachments

  • 22603_502906263061790_1722242281_n.jpg
    22603_502906263061790_1722242281_n.jpg
    43.1 KB · Views: 319
  • 401482_366978333321251_1807960411_n.jpg
    401482_366978333321251_1807960411_n.jpg
    62.6 KB · Views: 269
are you using the red oxide primer straight onto the bare ali?

might not work so well

No, I do two coats of the white stuff which is for ali and then a top coat of red ox. The bronze green I've got seems to take better to the red than it does to the white. I only do this cos it seems to work. Please tell me if I'm being dim, before I go any further!!!!!! :confused:
 
Another big gap between posts. Life dunt arf get in the way of fixing stuff! Will post a proper series of pictures next week when I get the time but have had a good day sorting out my tailgate. It was bent twisted, multi-coloured and covered in 3 cm of concrete. Loads of hydrochloric acid got it to this point

Then some straightening, re riveting and sanding got me to this point

Until eventually it ended up like this

Great sense of achievement when it all comes together.
 
This bloody tub has got to move!!


At least the seat box is off now.


The strange switch for the two petrol tanks: don't know if I'll keep them when I rebuild but they do amuse me!


Found some more bolts between the chassis and tub. Excitement.....


Must keep these bits, I'm sure that they are important.


The tub is now moving. Two more bolts on the other side and I may be in business. Then I'll probably expose more of the dreaded brown stuff like this.....

 
The wait is over! The tub is off!


I've now got loads more stuff to do!


Not too many rust problems underneath so far.


Could clean up nicely.


Then as usual it started to rain.....:mad:

On the "seats" of my tub I have one tool space with a hinged lid and one blanked gap on each side. Can anyone tell me if this is the norm (whatever the norm is on these alien vehicles!!!)
 
Update time. After getting the tub off it exposed other stuff to do and motivated me to do some of the bits that have been hanging around for weeks.
Stripped the bonnet back to metal, new rivets and three coats of primer


Then two coats of bronze green


Coming up OK so far.

Then I had to remind myself what I was trying to recreate!


Then had a go at the fixings for the cat flap. I never realised how sought after these bits are.......


Got them all off in one piece

 
Looking at the seat box. I'm not sure what fittings I should have for the seats. I have one removable frame which sits on sliders and another fixed frame but nothing in the middle. I have two fuel tanks which need to be accessible under the seats and a tool box in the middle. What seat fittings should I have?


Great thread , which has answered my question about bolts or plate/strips holding on offside wing. haven't got time or facilities to do full refurb like yourself, but just tidying up my ex mod series 3 109.......where to stop is question!
 
Back
Top