frostythor
Well-Known Member
- Posts
- 583
- Location
- NEW FOREST
Hi All
Well after completing the repair to my rear chassis I turn the car around and started on the Front!!
after completing all the work on the back including new brake pipes from the front to both the rear discs, new rear drop links,
I also replace the original drag link on the steering and set it up temporary with a string line, so my front tyres are toe out about 1 mm
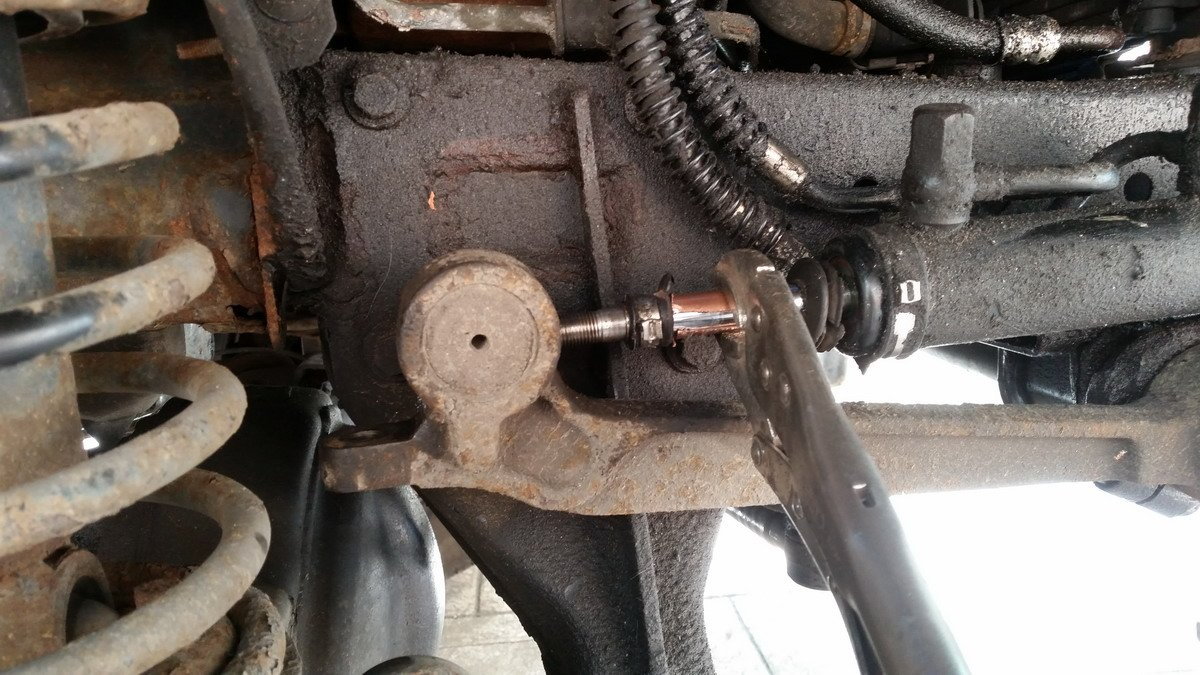
I had noticed the ACE ram mount was shot as was the dust boot, and there was a lot of oil in roughly the same place, I was suspecting a leak on the ACE system, but I have not lost any oil from the ACE or steering system so was strugling to find the leak, I made up a tool to remove the Ace rod end nut, I have an external drive socket set, and I was able to slack off the nut but had to clamp the rod, to fully take the nut off, using a set of grips with 2 pieces of copper pipe on the rod to prevent any damage to the rod
Next
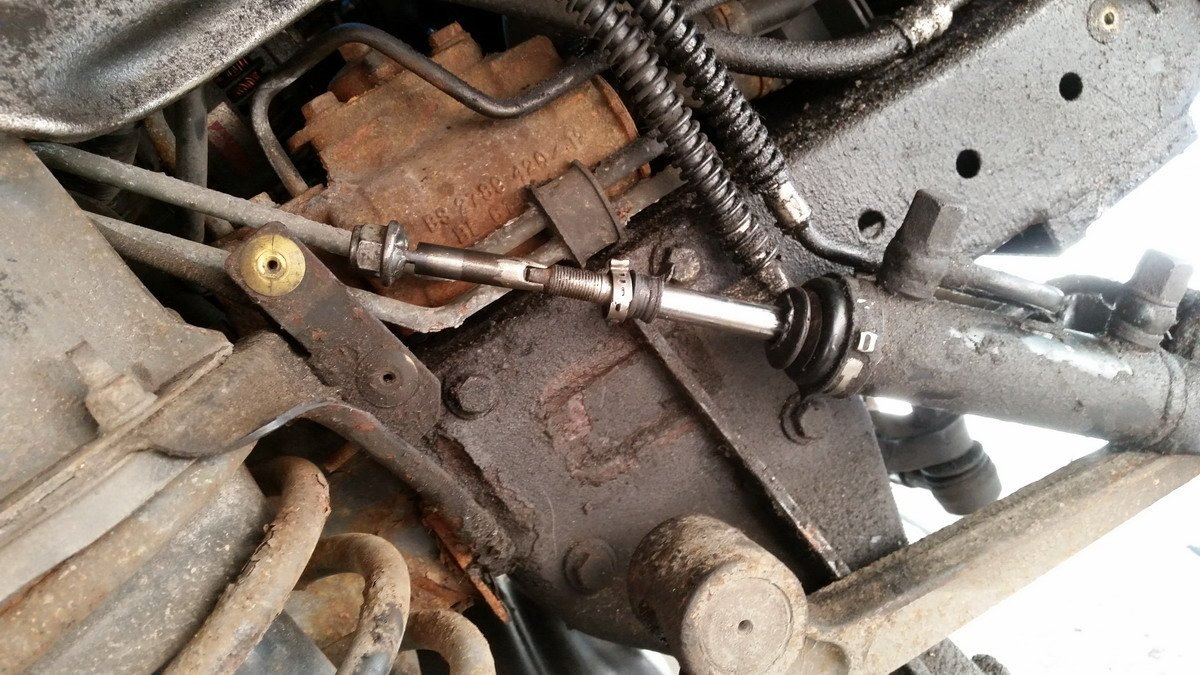
as you can see a lot of oil, still the tool I made did the job, you need to remove the drop link on the ACE side as the top bolt on the drop link prevents you getting good access to the Ace rod end bolt
next is to remove the roll bar, undo the rubber mount and let the roll bare drop on the Ace side once it below the cahssis you cn pull the Ace bush bolt out
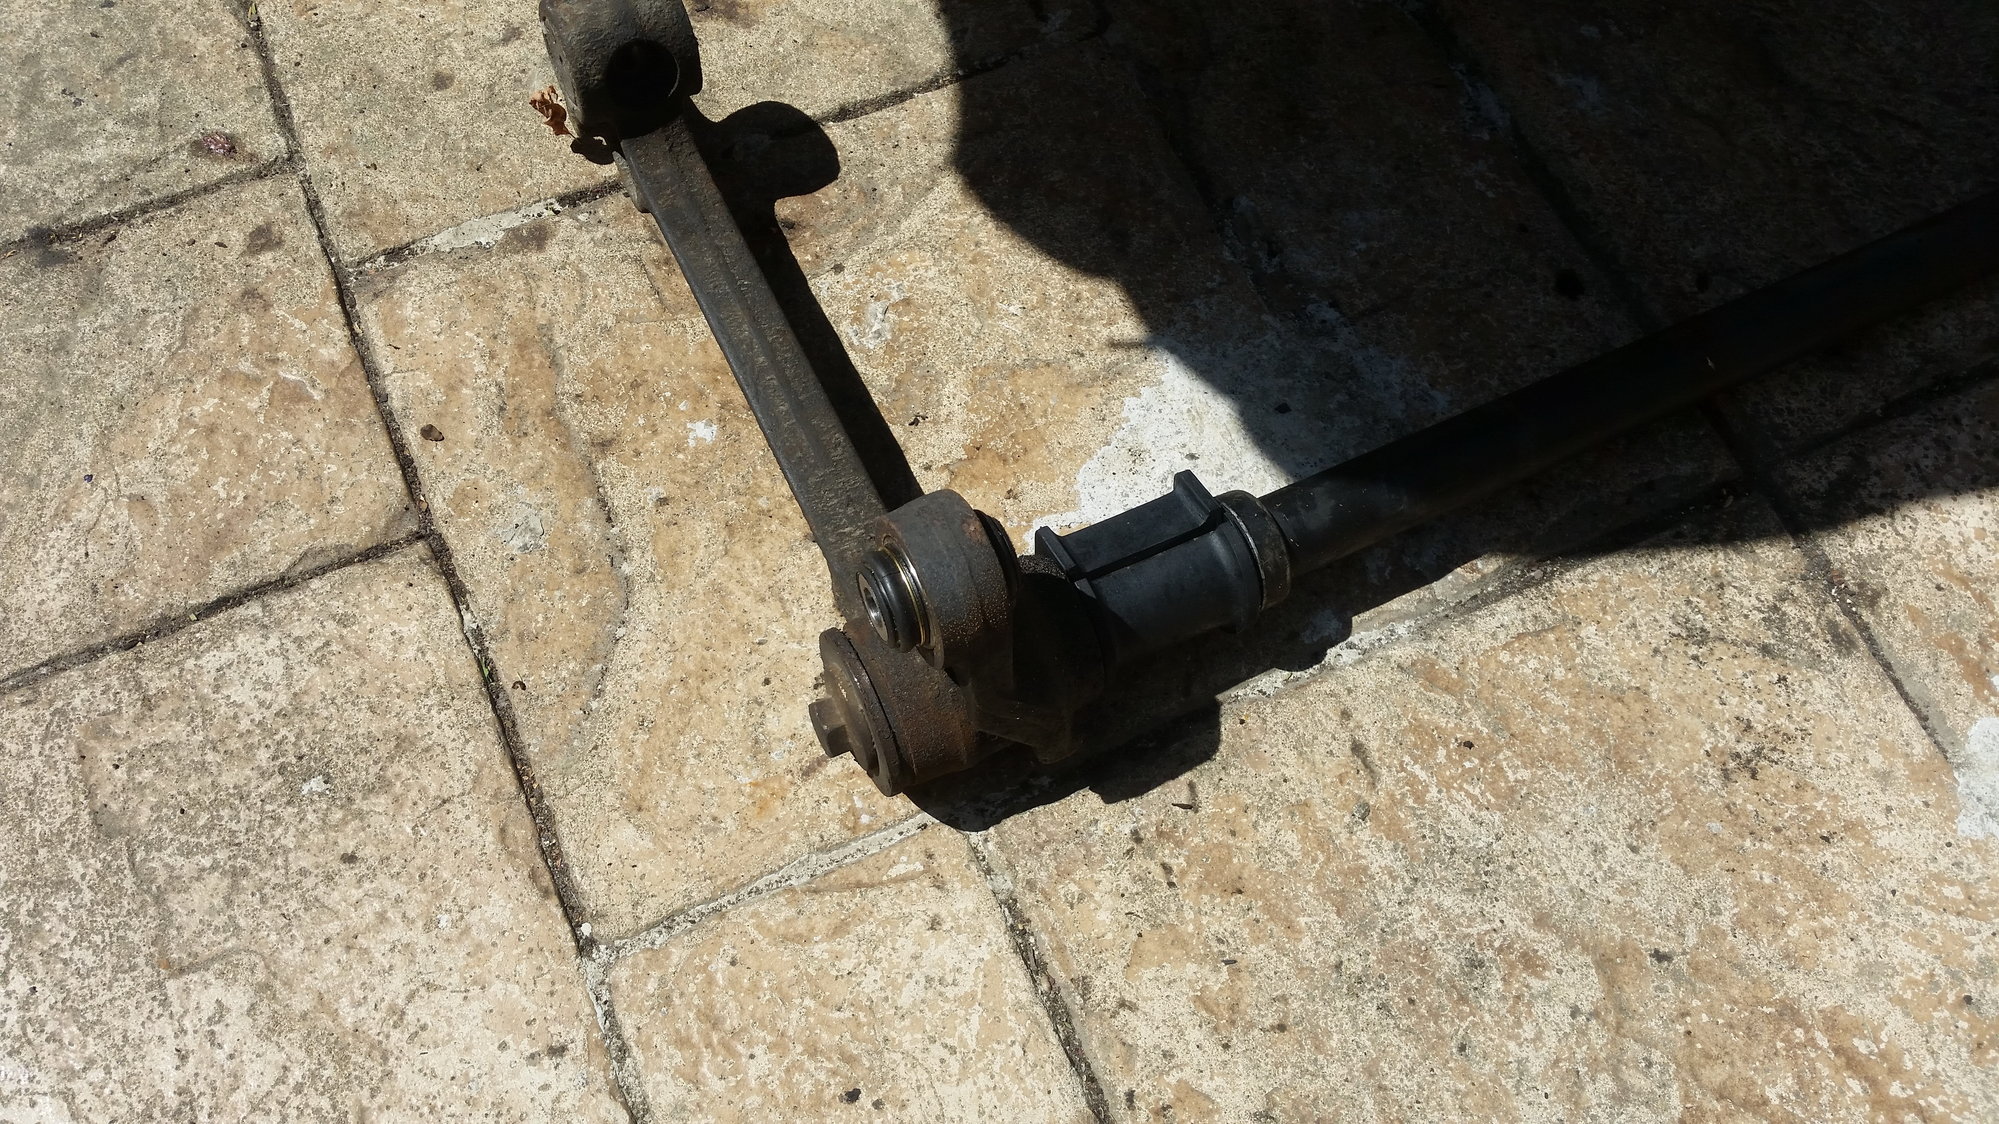
you also need to release the other drop link then you can push up the roll bar and pull the actuator out and secure it safely out of the way
now remove the roll bar totally, I used a big bolt and a couple of big sockets to push out the bush, but only the centre section came out I ended uf threading a hacksaw blade through the bush carefully sawing through the outer steel jacket before punching the now split ring out it did take me hours but I got there in the end with out and damage
the next day I installed the new bush I had left the bush all night in the freezer, so I set up to pull it in I warmed up the casting ring gently with a plumber blow torch, I had it in it 10 min a big surprise and so relived
I also needed to do a small welding job so as I went to remove my ECU, I noticed that I has oil in the battery box, and infact the oil leak that was causing me trouble was in fact the cars jack leaking in its stowage place , then into the battery box then down onto the inner wing to the front of the chassis, well I took it all out and cleaned it all out
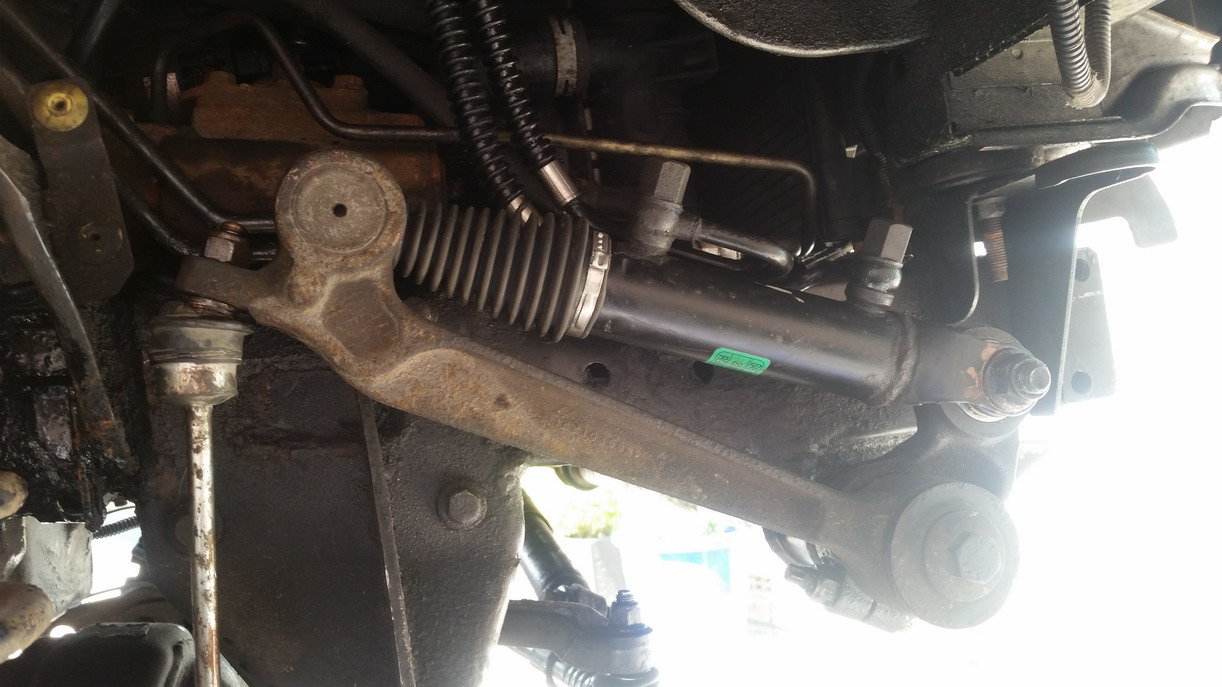
so new bush and new roll bar rubber mounts, complete with the new dust boot, I has it all back in a few hours
so that leaves me with just one more job my new steel bumper, off cam the old scrap one and i did a first fit,
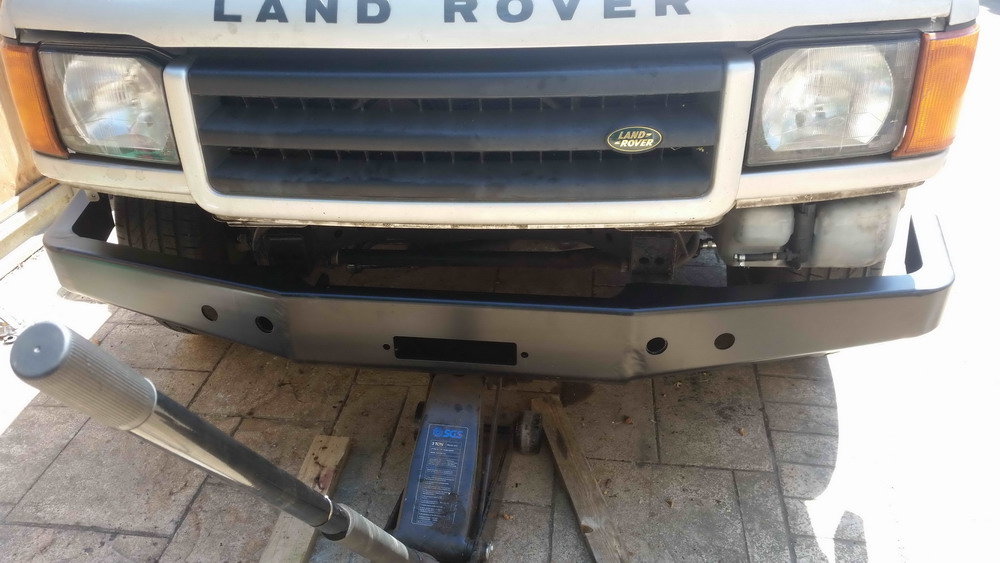
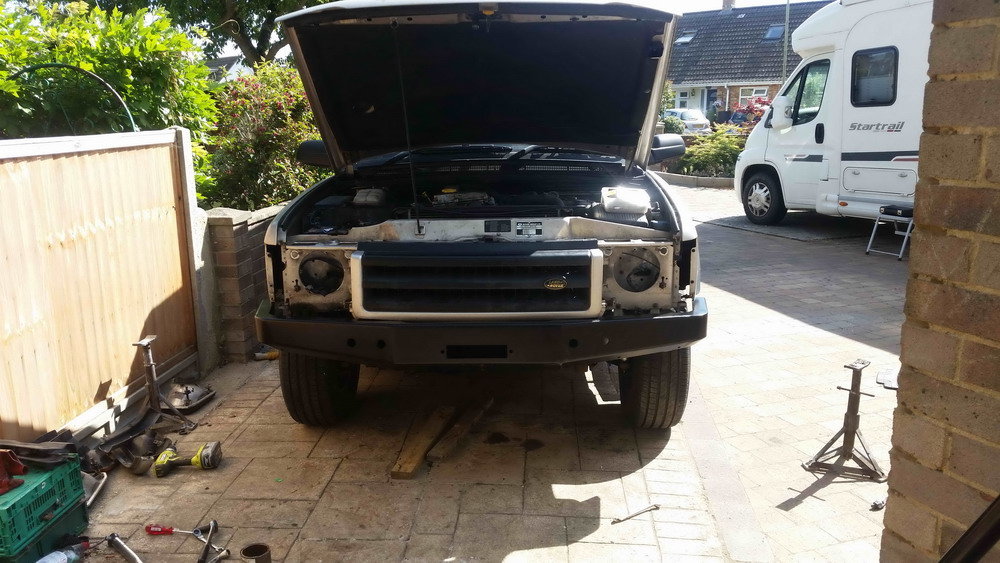
from this I could see I needed to do a bit of triming, I decided the best option was to totally remove all the front grill and lights
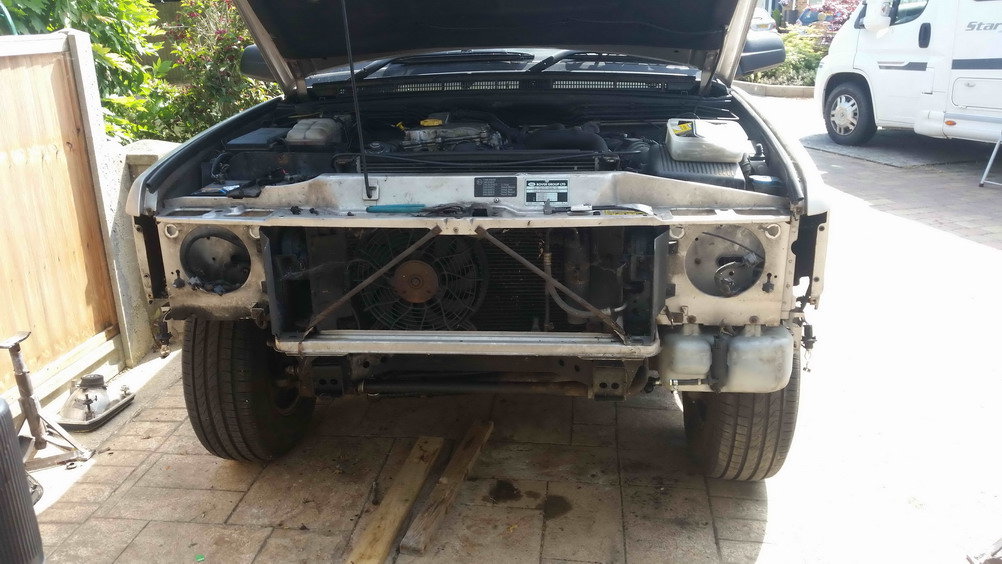
now to trial fit the new bumper
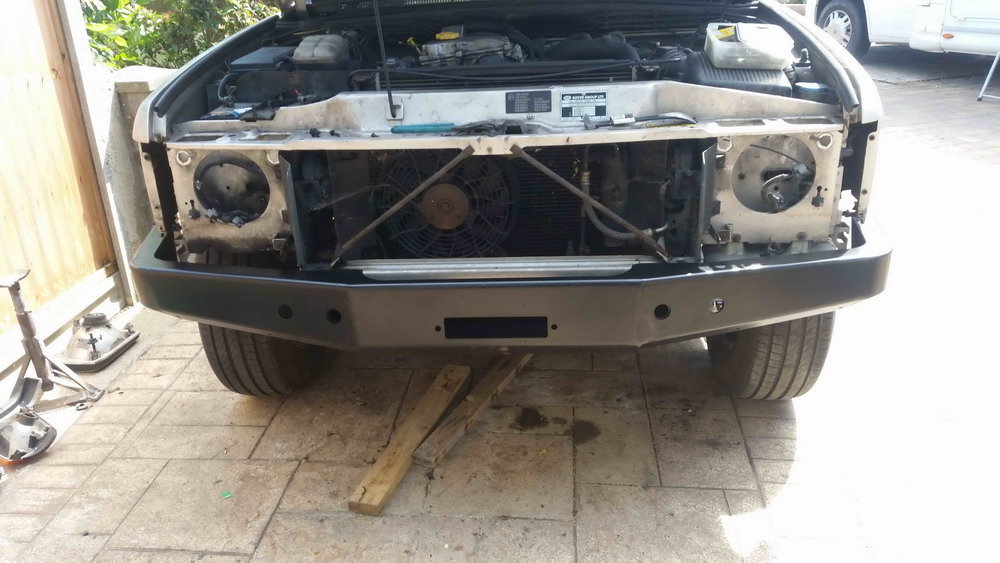
it fitted first time a very good fit, so next I wanted to fit the grill back this needed trimming but not to badly, so to get betted access I removed the two plastic w'grey deflectors from the front of the rad, I marked out the grill and cut it a bit at atime this photo showing the end result
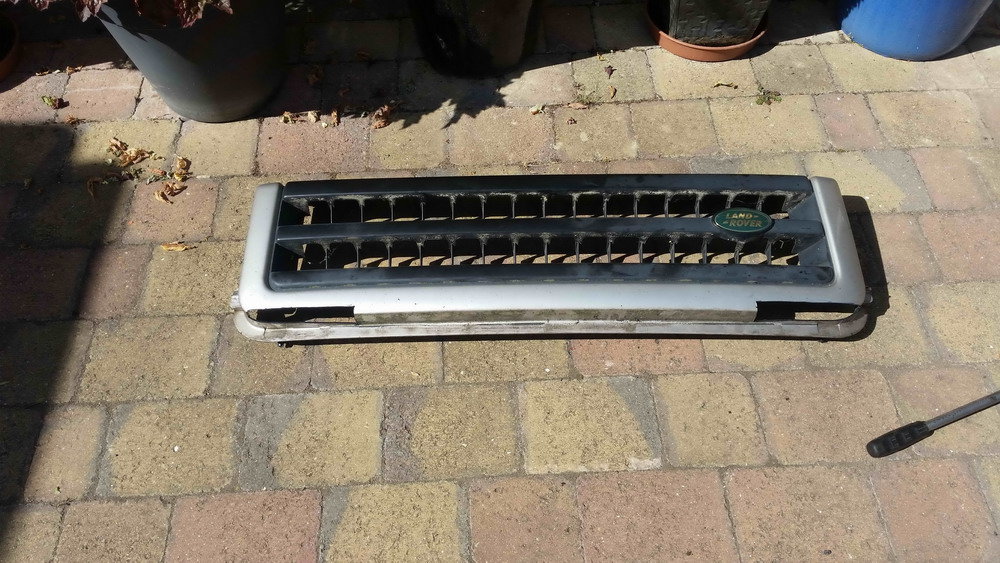
not far to go now just replace the gray plastic pieced with pop rivets , the under light trim fitted fine no trimming needed then the lights
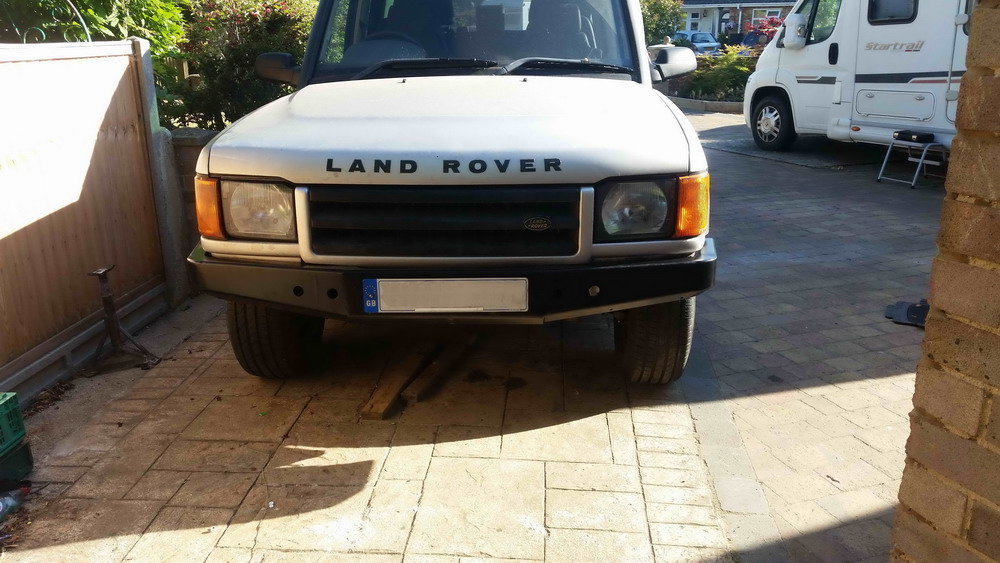
all done, just need to get my tracking checked properly at the local garage
Well after completing the repair to my rear chassis I turn the car around and started on the Front!!
after completing all the work on the back including new brake pipes from the front to both the rear discs, new rear drop links,
I also replace the original drag link on the steering and set it up temporary with a string line, so my front tyres are toe out about 1 mm
I had noticed the ACE ram mount was shot as was the dust boot, and there was a lot of oil in roughly the same place, I was suspecting a leak on the ACE system, but I have not lost any oil from the ACE or steering system so was strugling to find the leak, I made up a tool to remove the Ace rod end nut, I have an external drive socket set, and I was able to slack off the nut but had to clamp the rod, to fully take the nut off, using a set of grips with 2 pieces of copper pipe on the rod to prevent any damage to the rod
Next
as you can see a lot of oil, still the tool I made did the job, you need to remove the drop link on the ACE side as the top bolt on the drop link prevents you getting good access to the Ace rod end bolt
next is to remove the roll bar, undo the rubber mount and let the roll bare drop on the Ace side once it below the cahssis you cn pull the Ace bush bolt out
you also need to release the other drop link then you can push up the roll bar and pull the actuator out and secure it safely out of the way
now remove the roll bar totally, I used a big bolt and a couple of big sockets to push out the bush, but only the centre section came out I ended uf threading a hacksaw blade through the bush carefully sawing through the outer steel jacket before punching the now split ring out it did take me hours but I got there in the end with out and damage
the next day I installed the new bush I had left the bush all night in the freezer, so I set up to pull it in I warmed up the casting ring gently with a plumber blow torch, I had it in it 10 min a big surprise and so relived
I also needed to do a small welding job so as I went to remove my ECU, I noticed that I has oil in the battery box, and infact the oil leak that was causing me trouble was in fact the cars jack leaking in its stowage place , then into the battery box then down onto the inner wing to the front of the chassis, well I took it all out and cleaned it all out
so new bush and new roll bar rubber mounts, complete with the new dust boot, I has it all back in a few hours
so that leaves me with just one more job my new steel bumper, off cam the old scrap one and i did a first fit,
from this I could see I needed to do a bit of triming, I decided the best option was to totally remove all the front grill and lights
now to trial fit the new bumper
it fitted first time a very good fit, so next I wanted to fit the grill back this needed trimming but not to badly, so to get betted access I removed the two plastic w'grey deflectors from the front of the rad, I marked out the grill and cut it a bit at atime this photo showing the end result
not far to go now just replace the gray plastic pieced with pop rivets , the under light trim fitted fine no trimming needed then the lights
all done, just need to get my tracking checked properly at the local garage