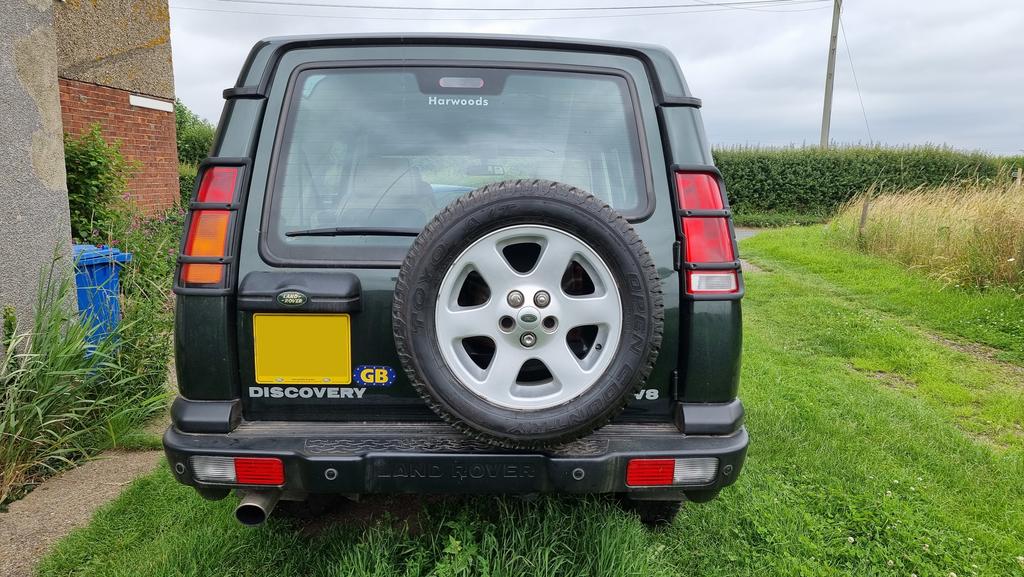
I've only had it since October but I love it so much already, I'll keep it for many many years! Cheers mate.I had a Disco2 V8 for 11 years same colour as yours. I absolutely loved it. Love the tail pipe and the NOISE
You are using an out of date browser. It may not display this or other websites correctly.
You should upgrade or use an alternative browser.
You should upgrade or use an alternative browser.
Bone's V8 Disco 2 Build Log
- Thread starter Bone9
- Start date
This site contains affiliate links for which LandyZone may be compensated if you make a purchase.
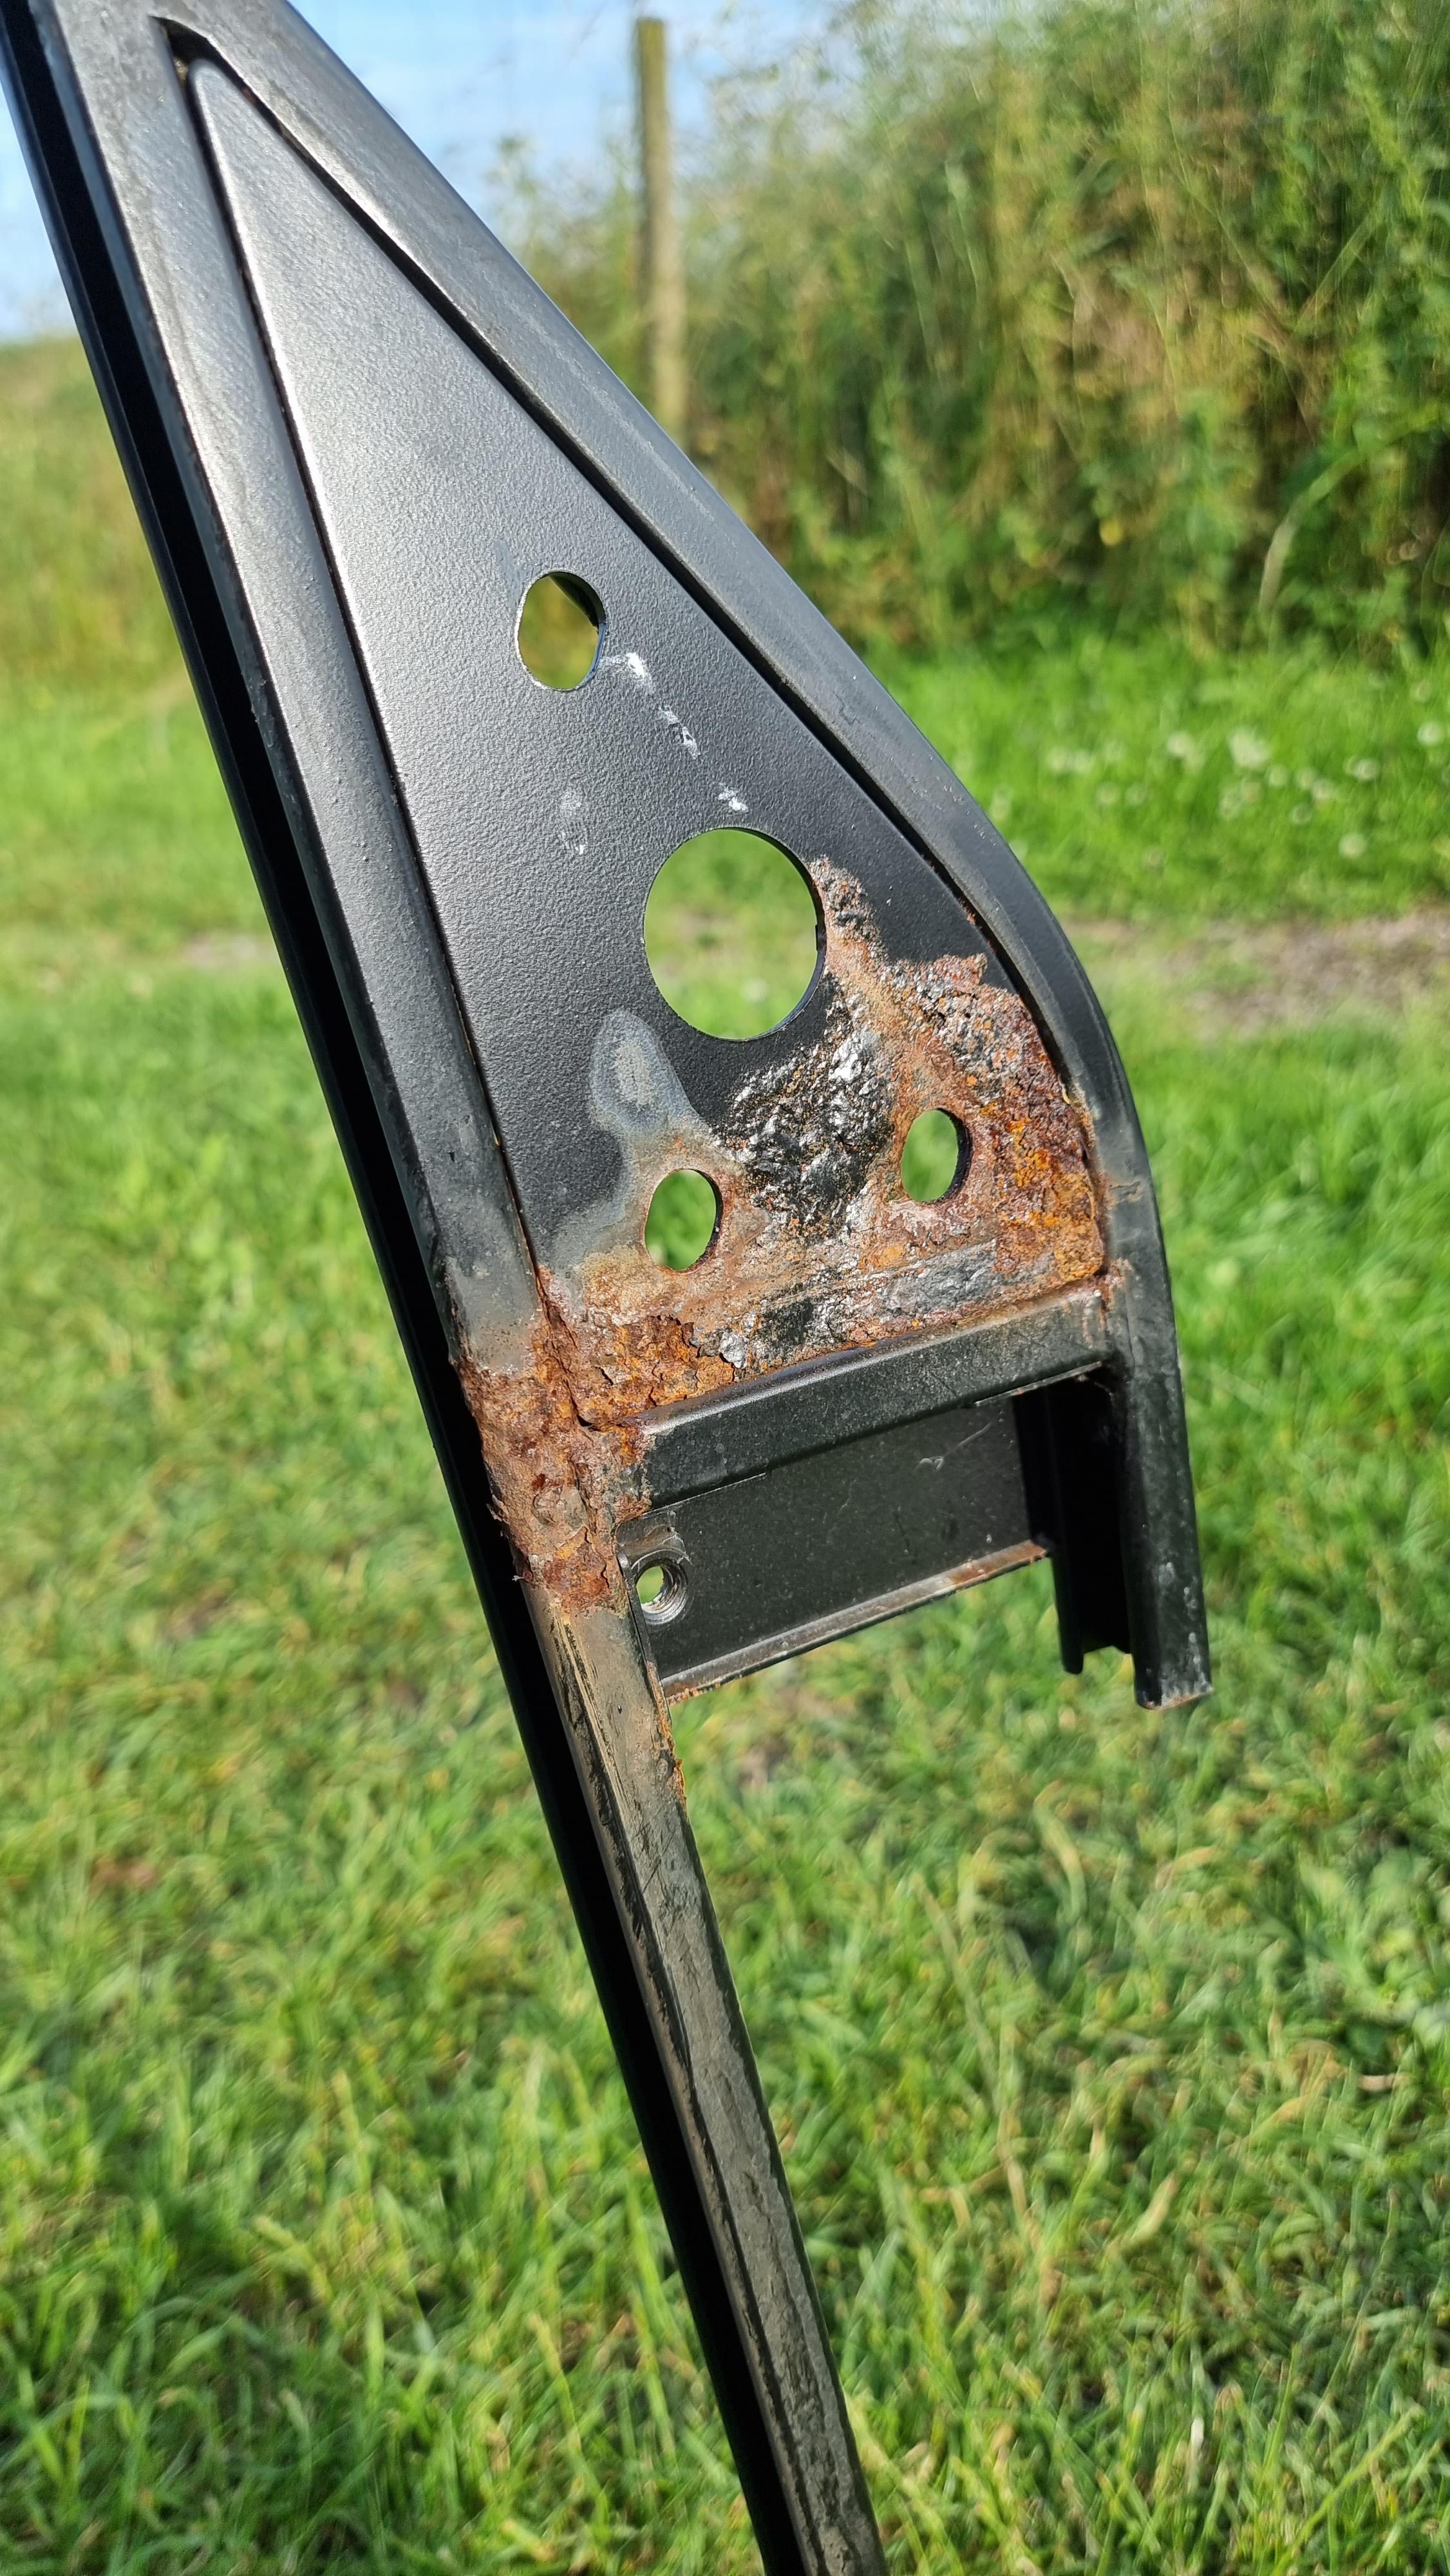
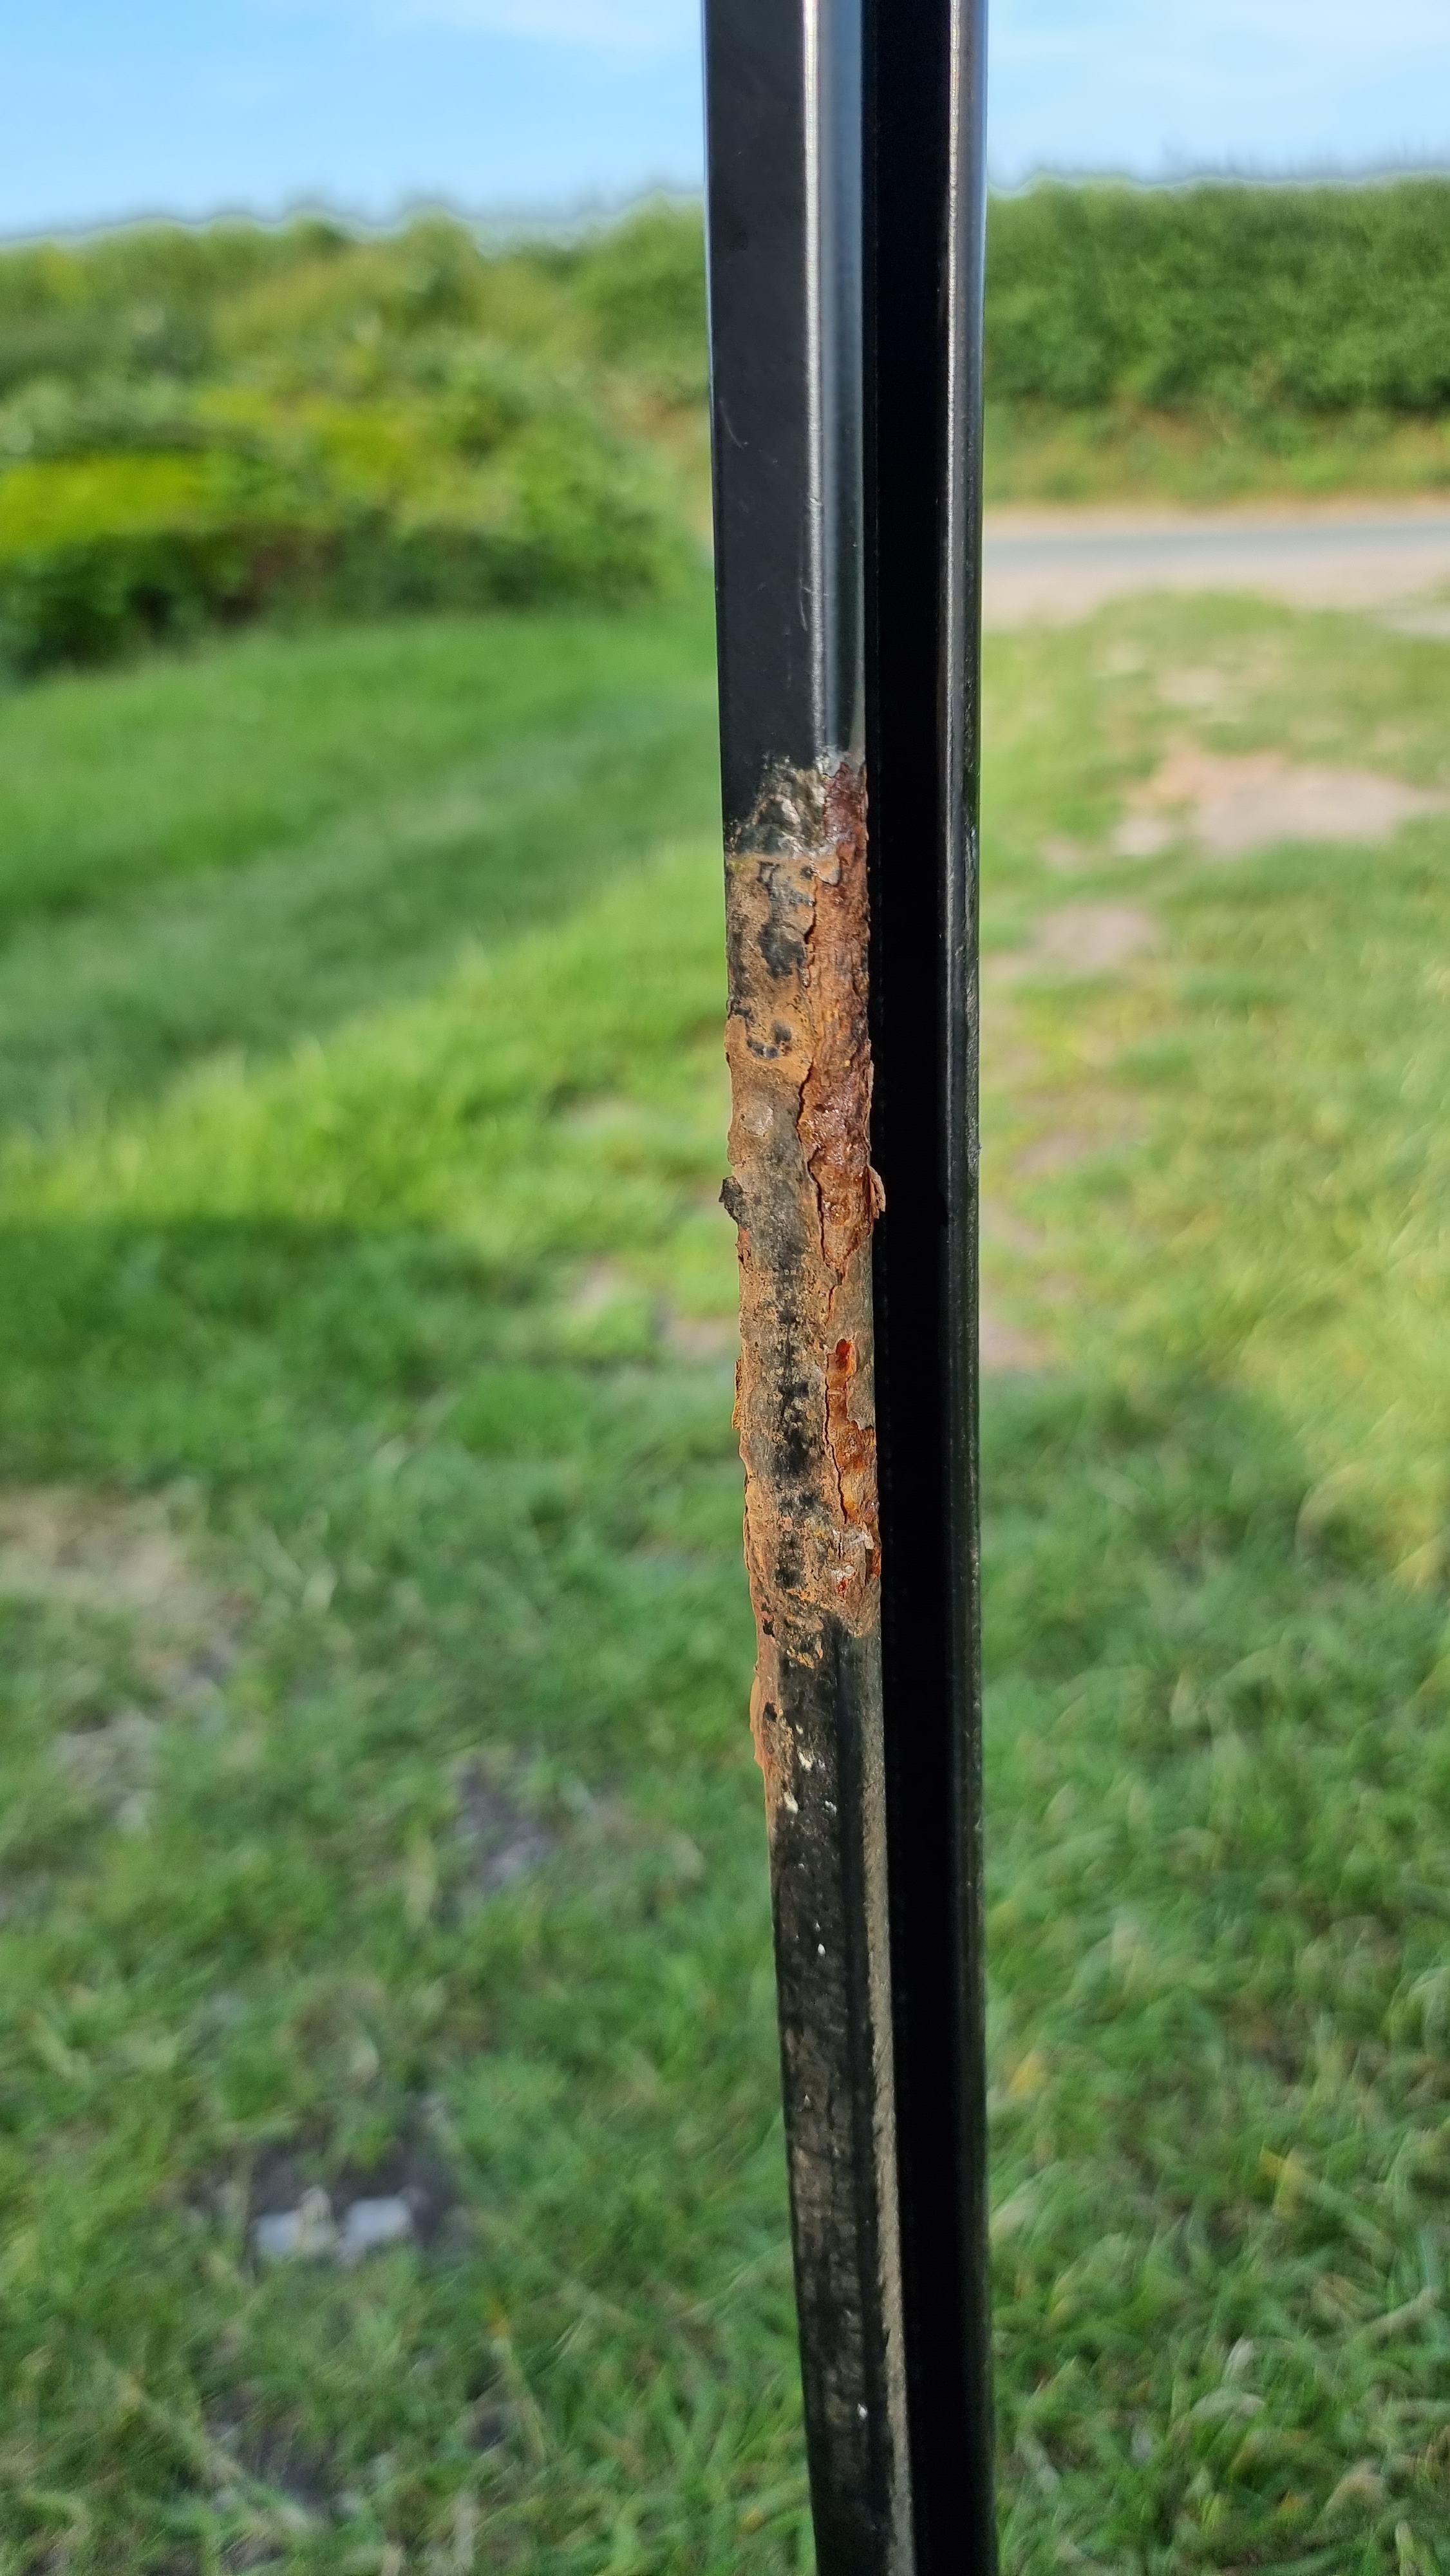
I've managed to source a really good condition OSR door frame with the very slightest bit of rust in one spot. This is now with the powder coaters getting dipped to remove all old paint then zinc under coat with satin black topcoat. That should last many years.
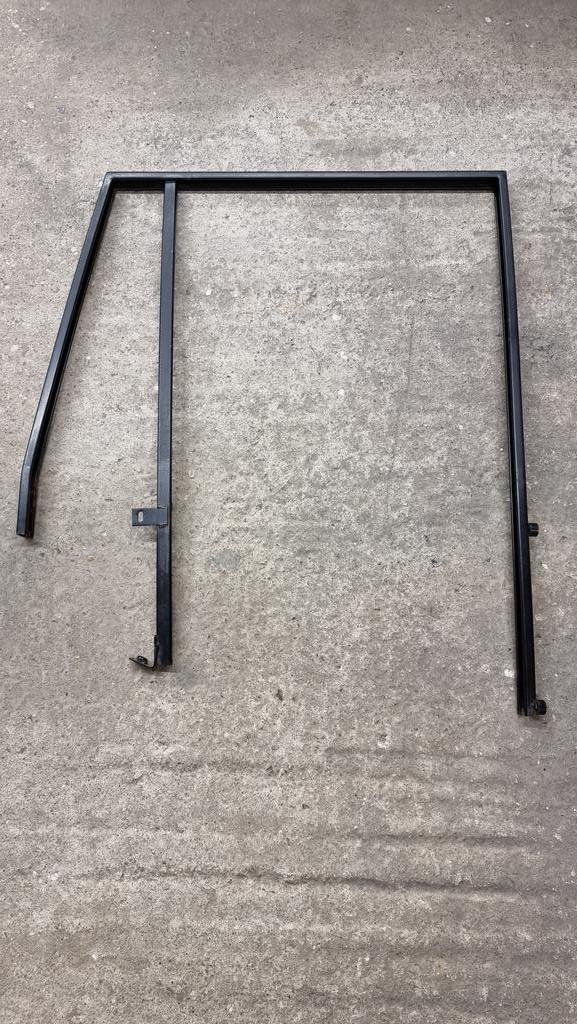
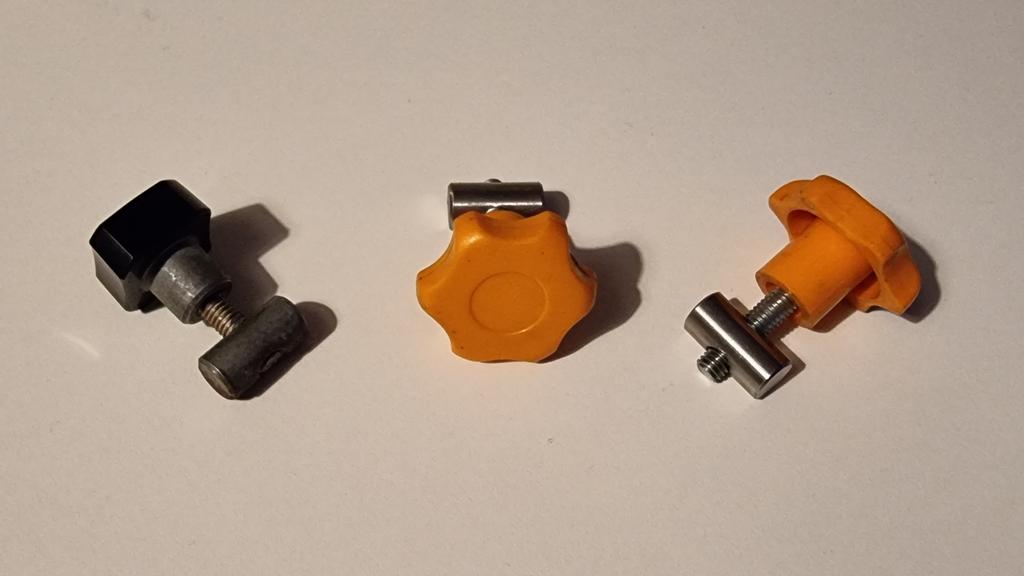
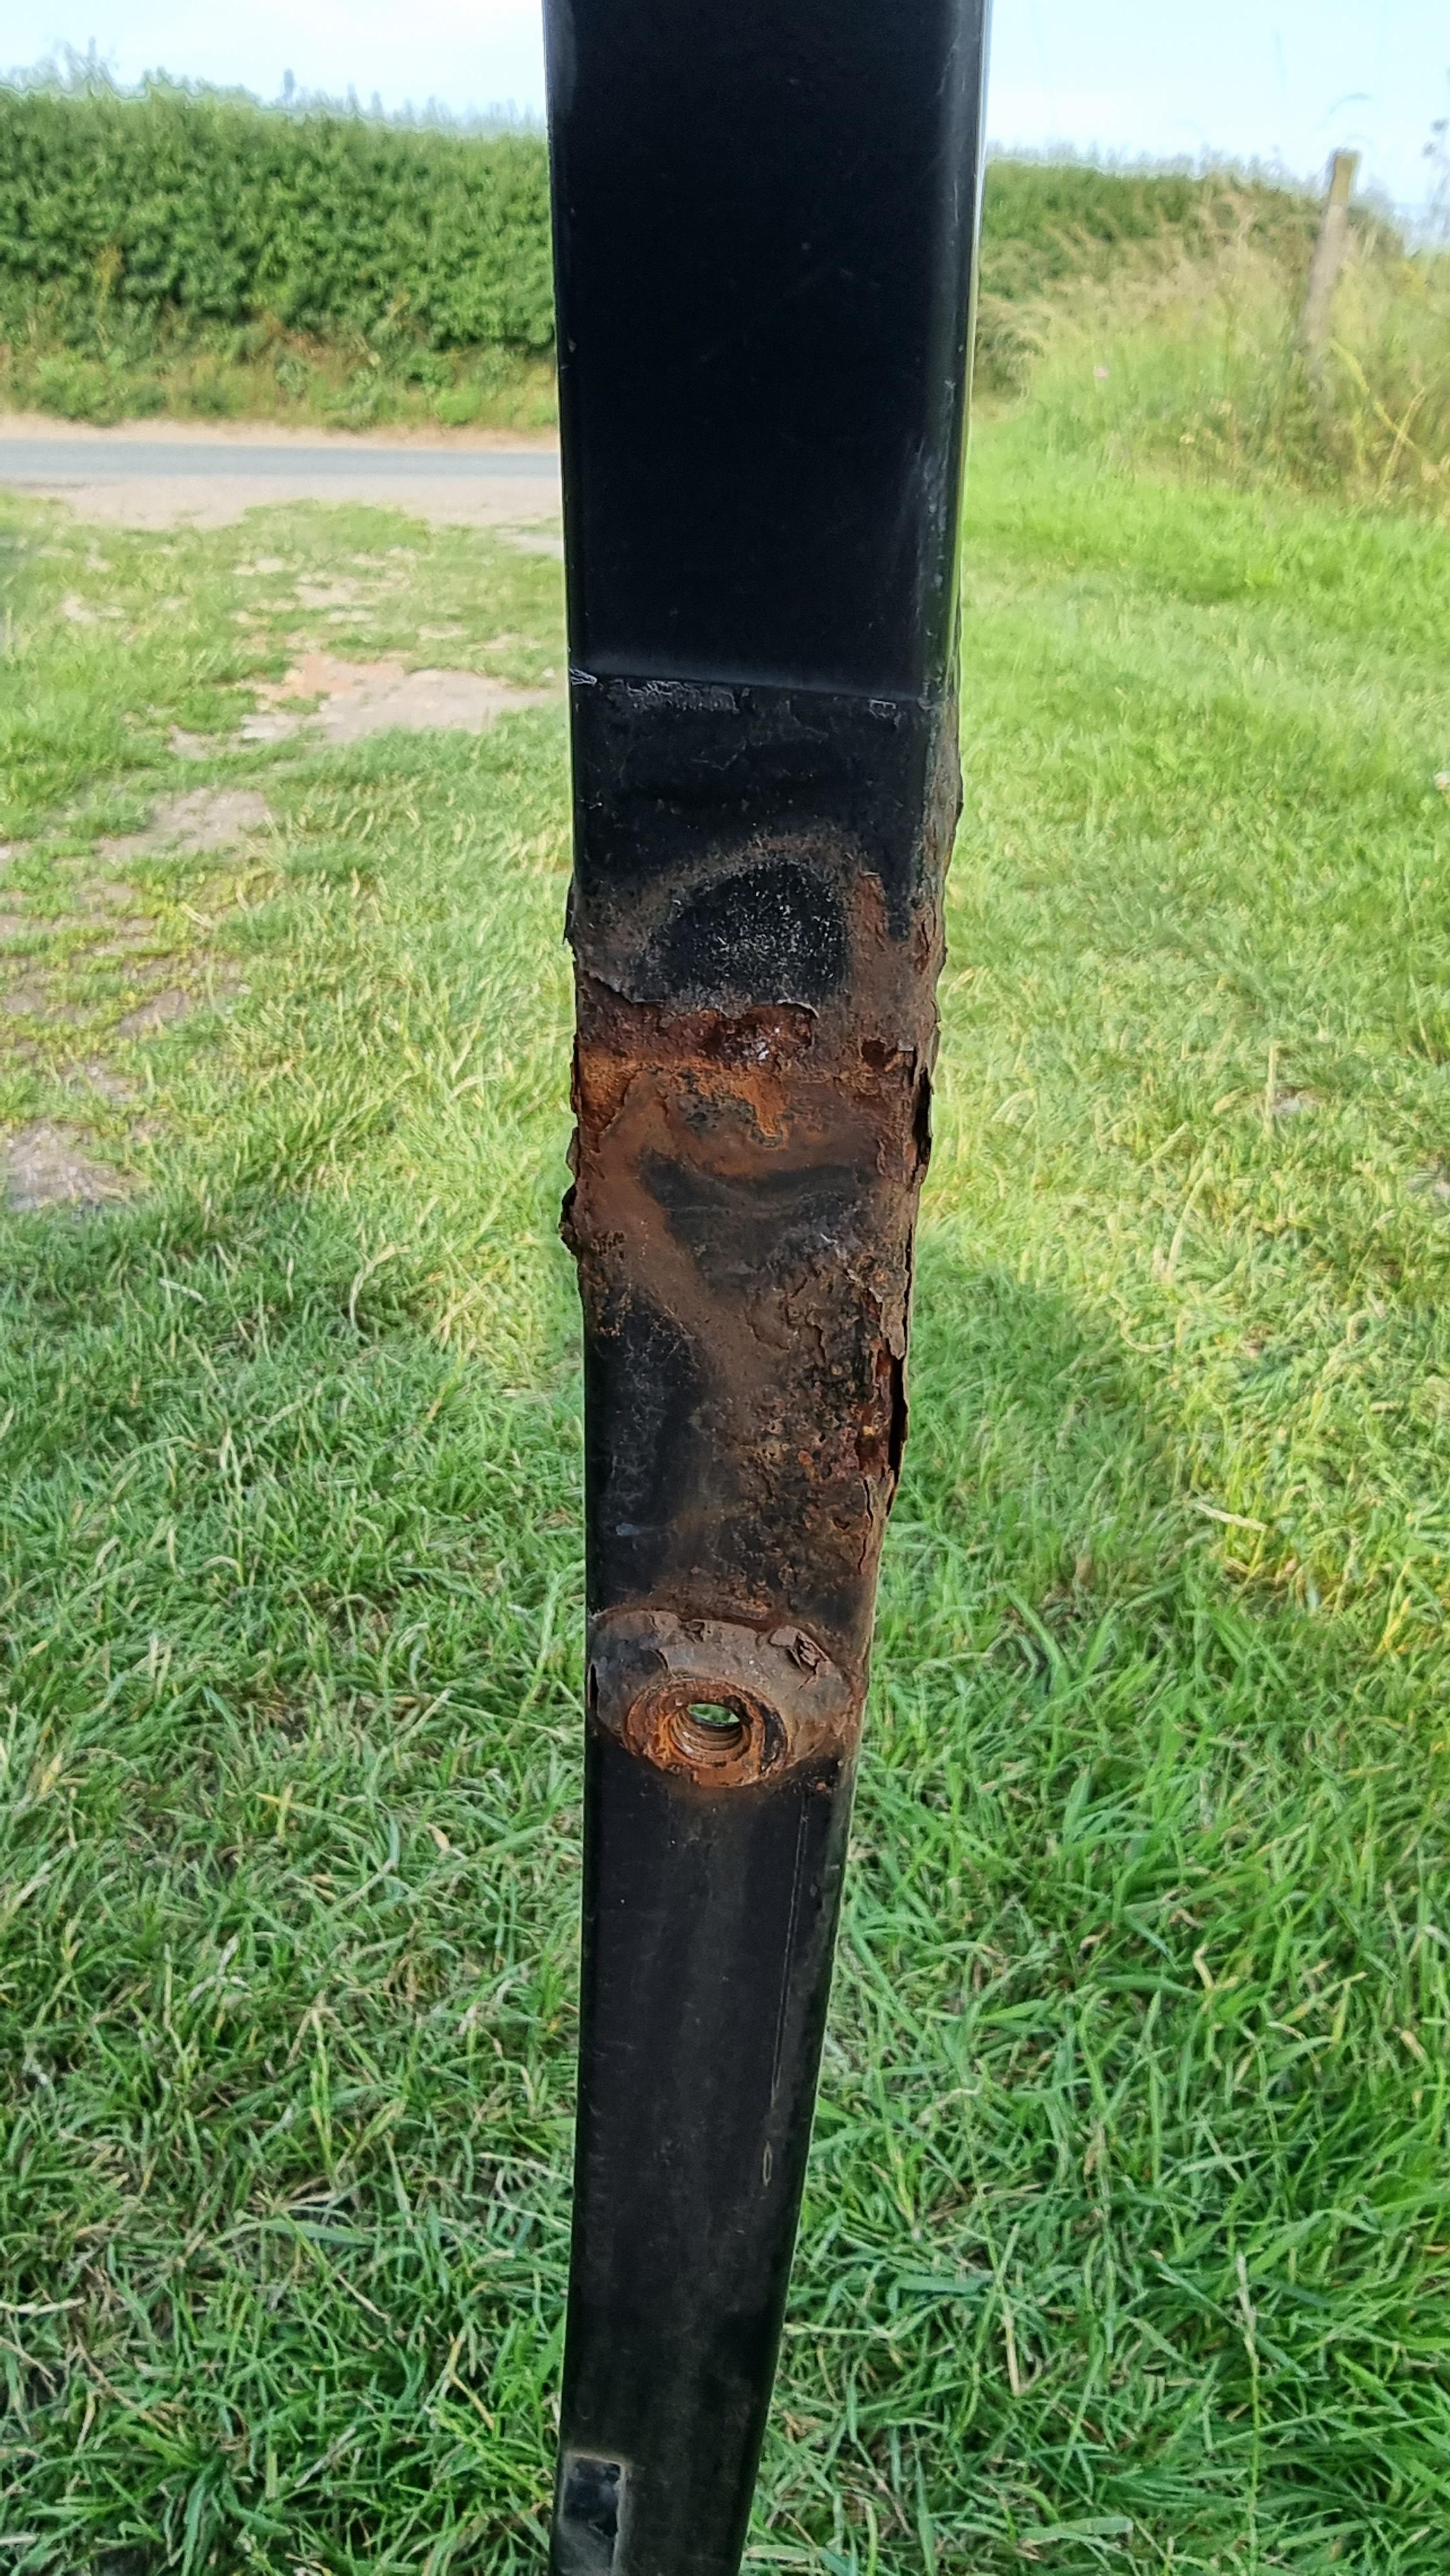
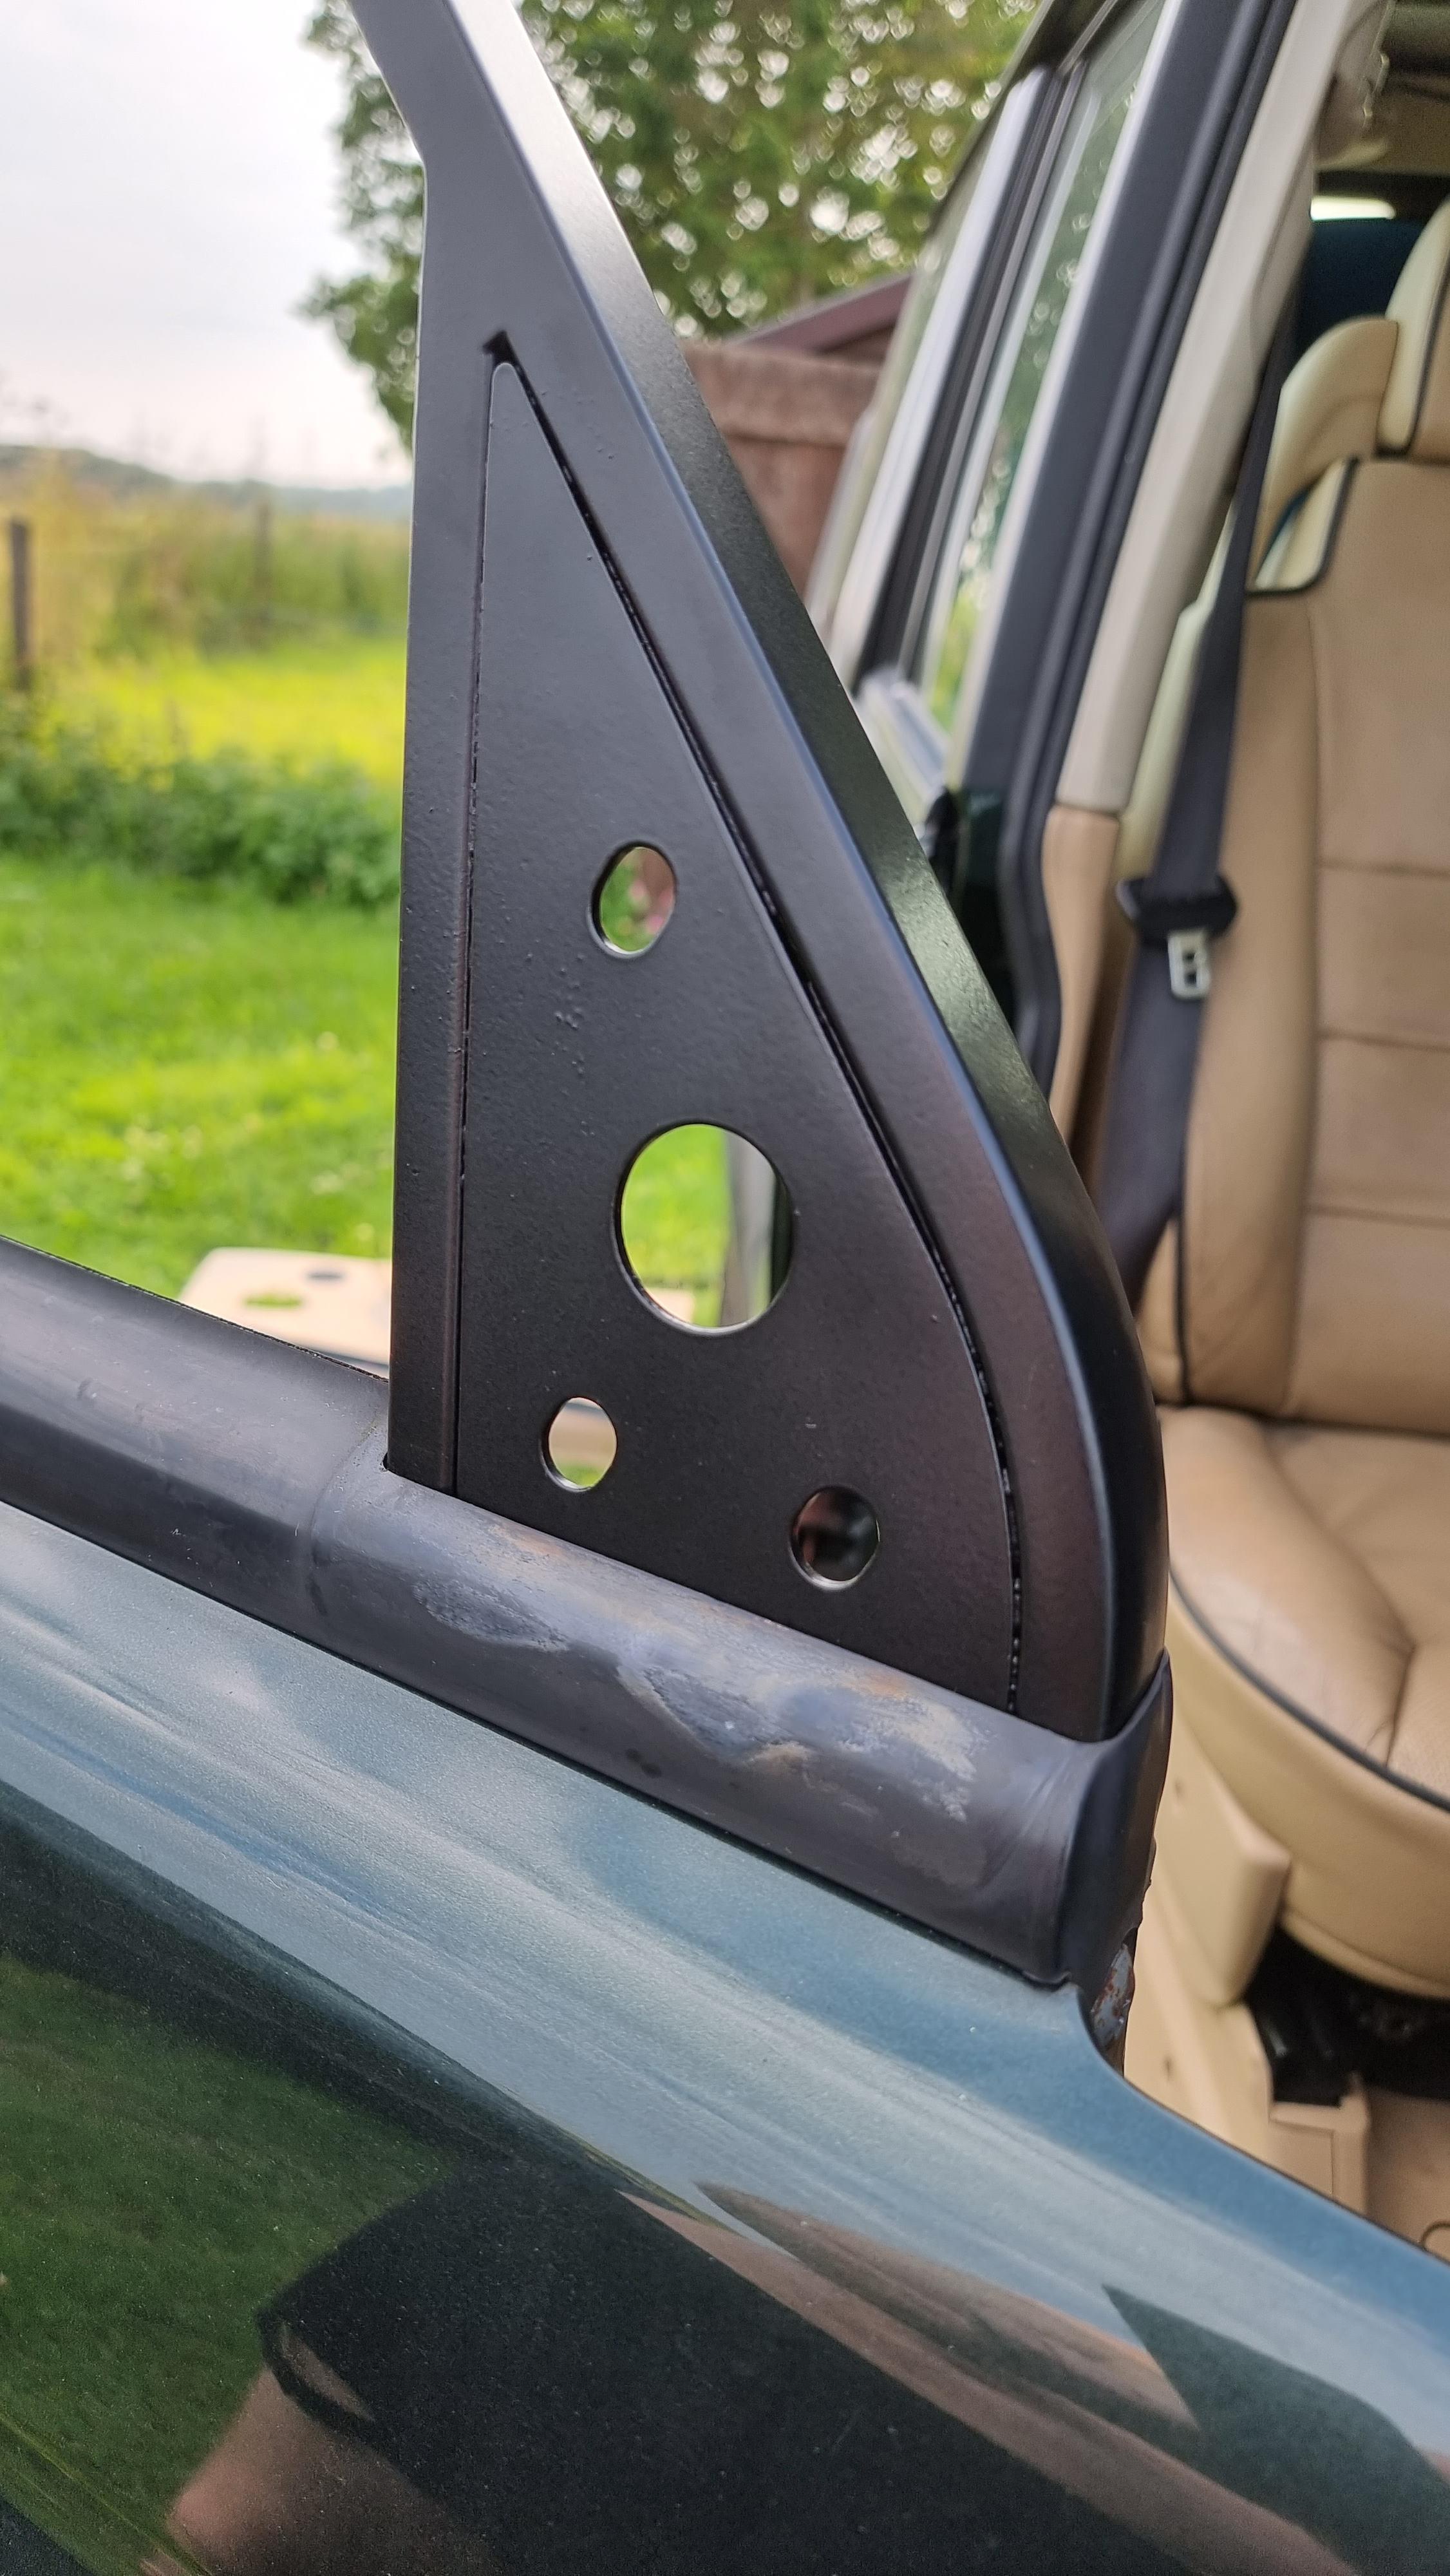
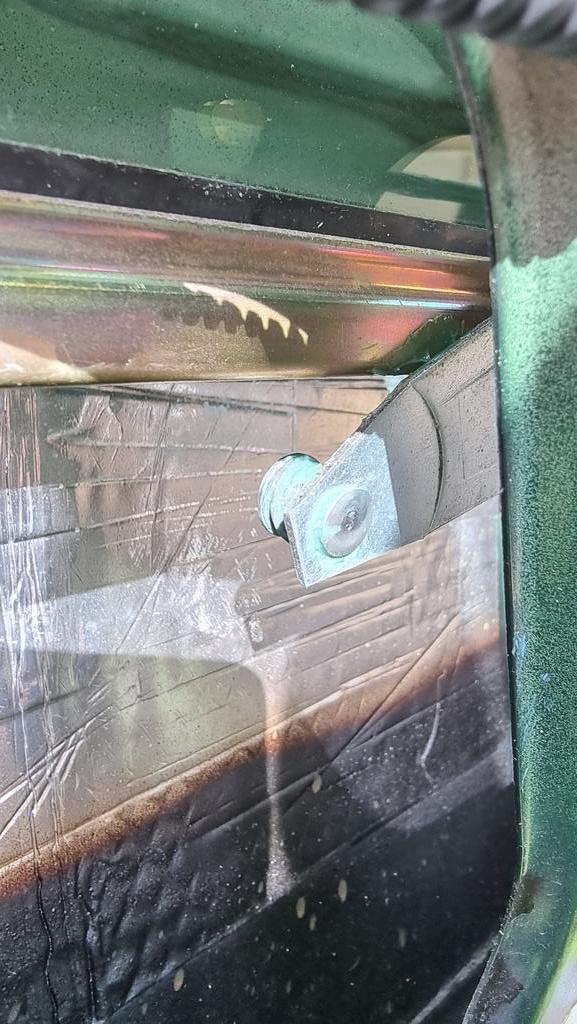
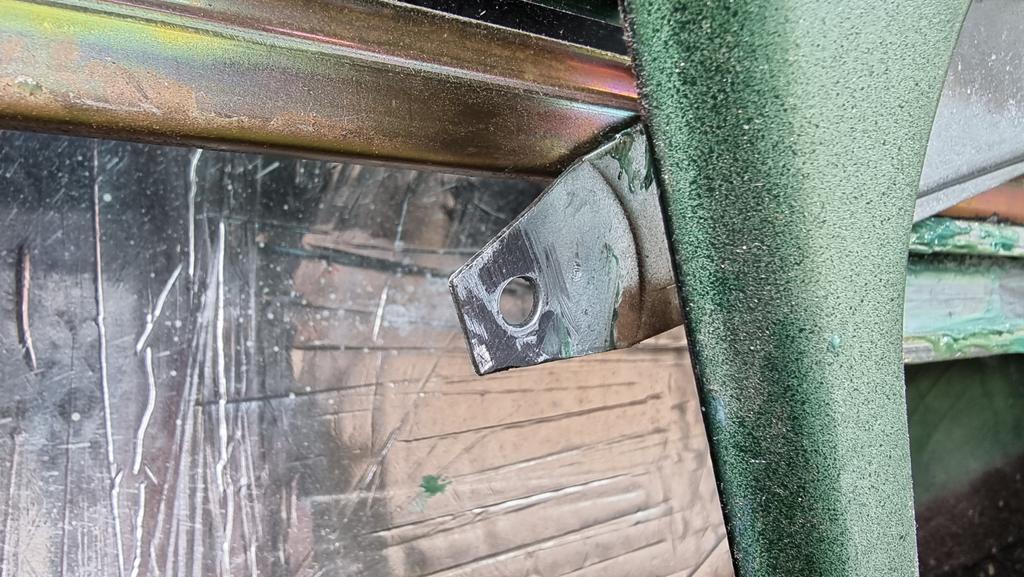
As I found out when doing a previous repair the small bracket that supports the small glass panel has completely rotted away and nothing is left. I've made my own out of stainless steel so this won't be causing me any problems ever again!
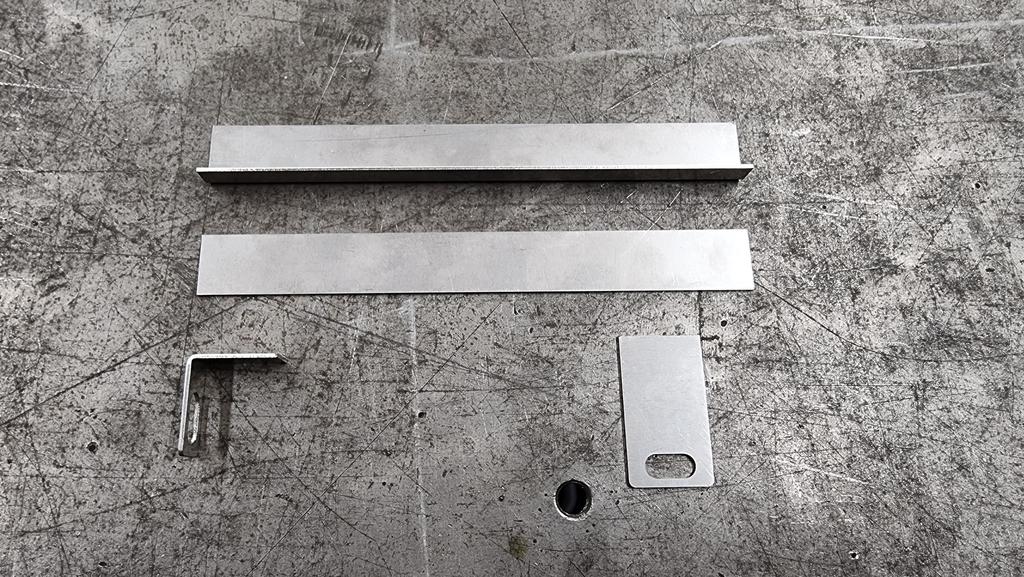
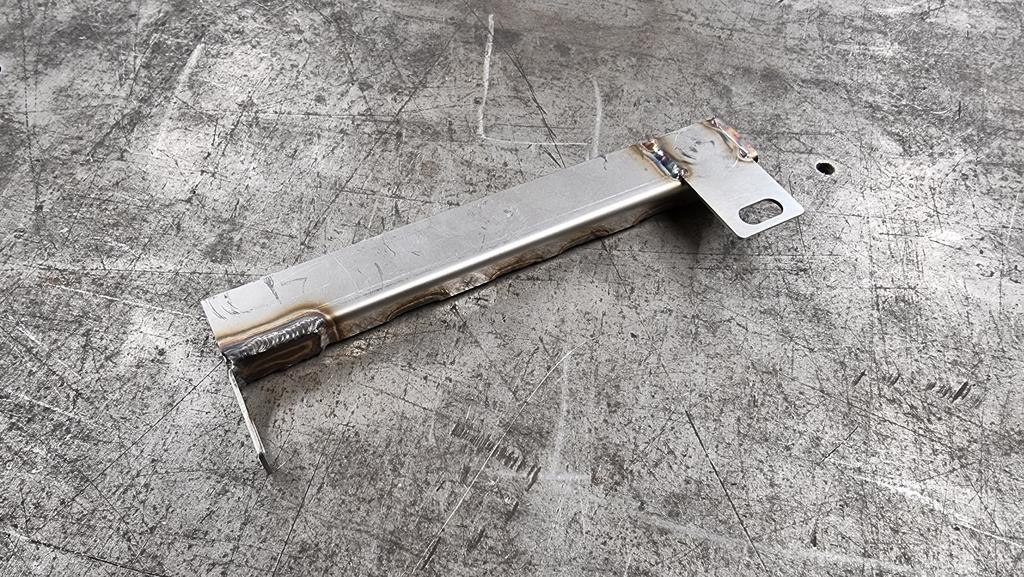
If anyone knows the glass thickness for the small panel in the rear doors that would be great as I need to buy some rubber to insert into my new bracket to hold the glass. Thanks")
As I found out when doing a previous repair the small bracket that supports the small glass panel has completely rotted away and nothing is left. I've made my own out of stainless steel so this won't be causing me any problems ever again!
If anyone knows the glass thickness for the small panel in the rear doors that would be great as I need to buy some rubber to insert into my new bracket to hold the glass. Thanks
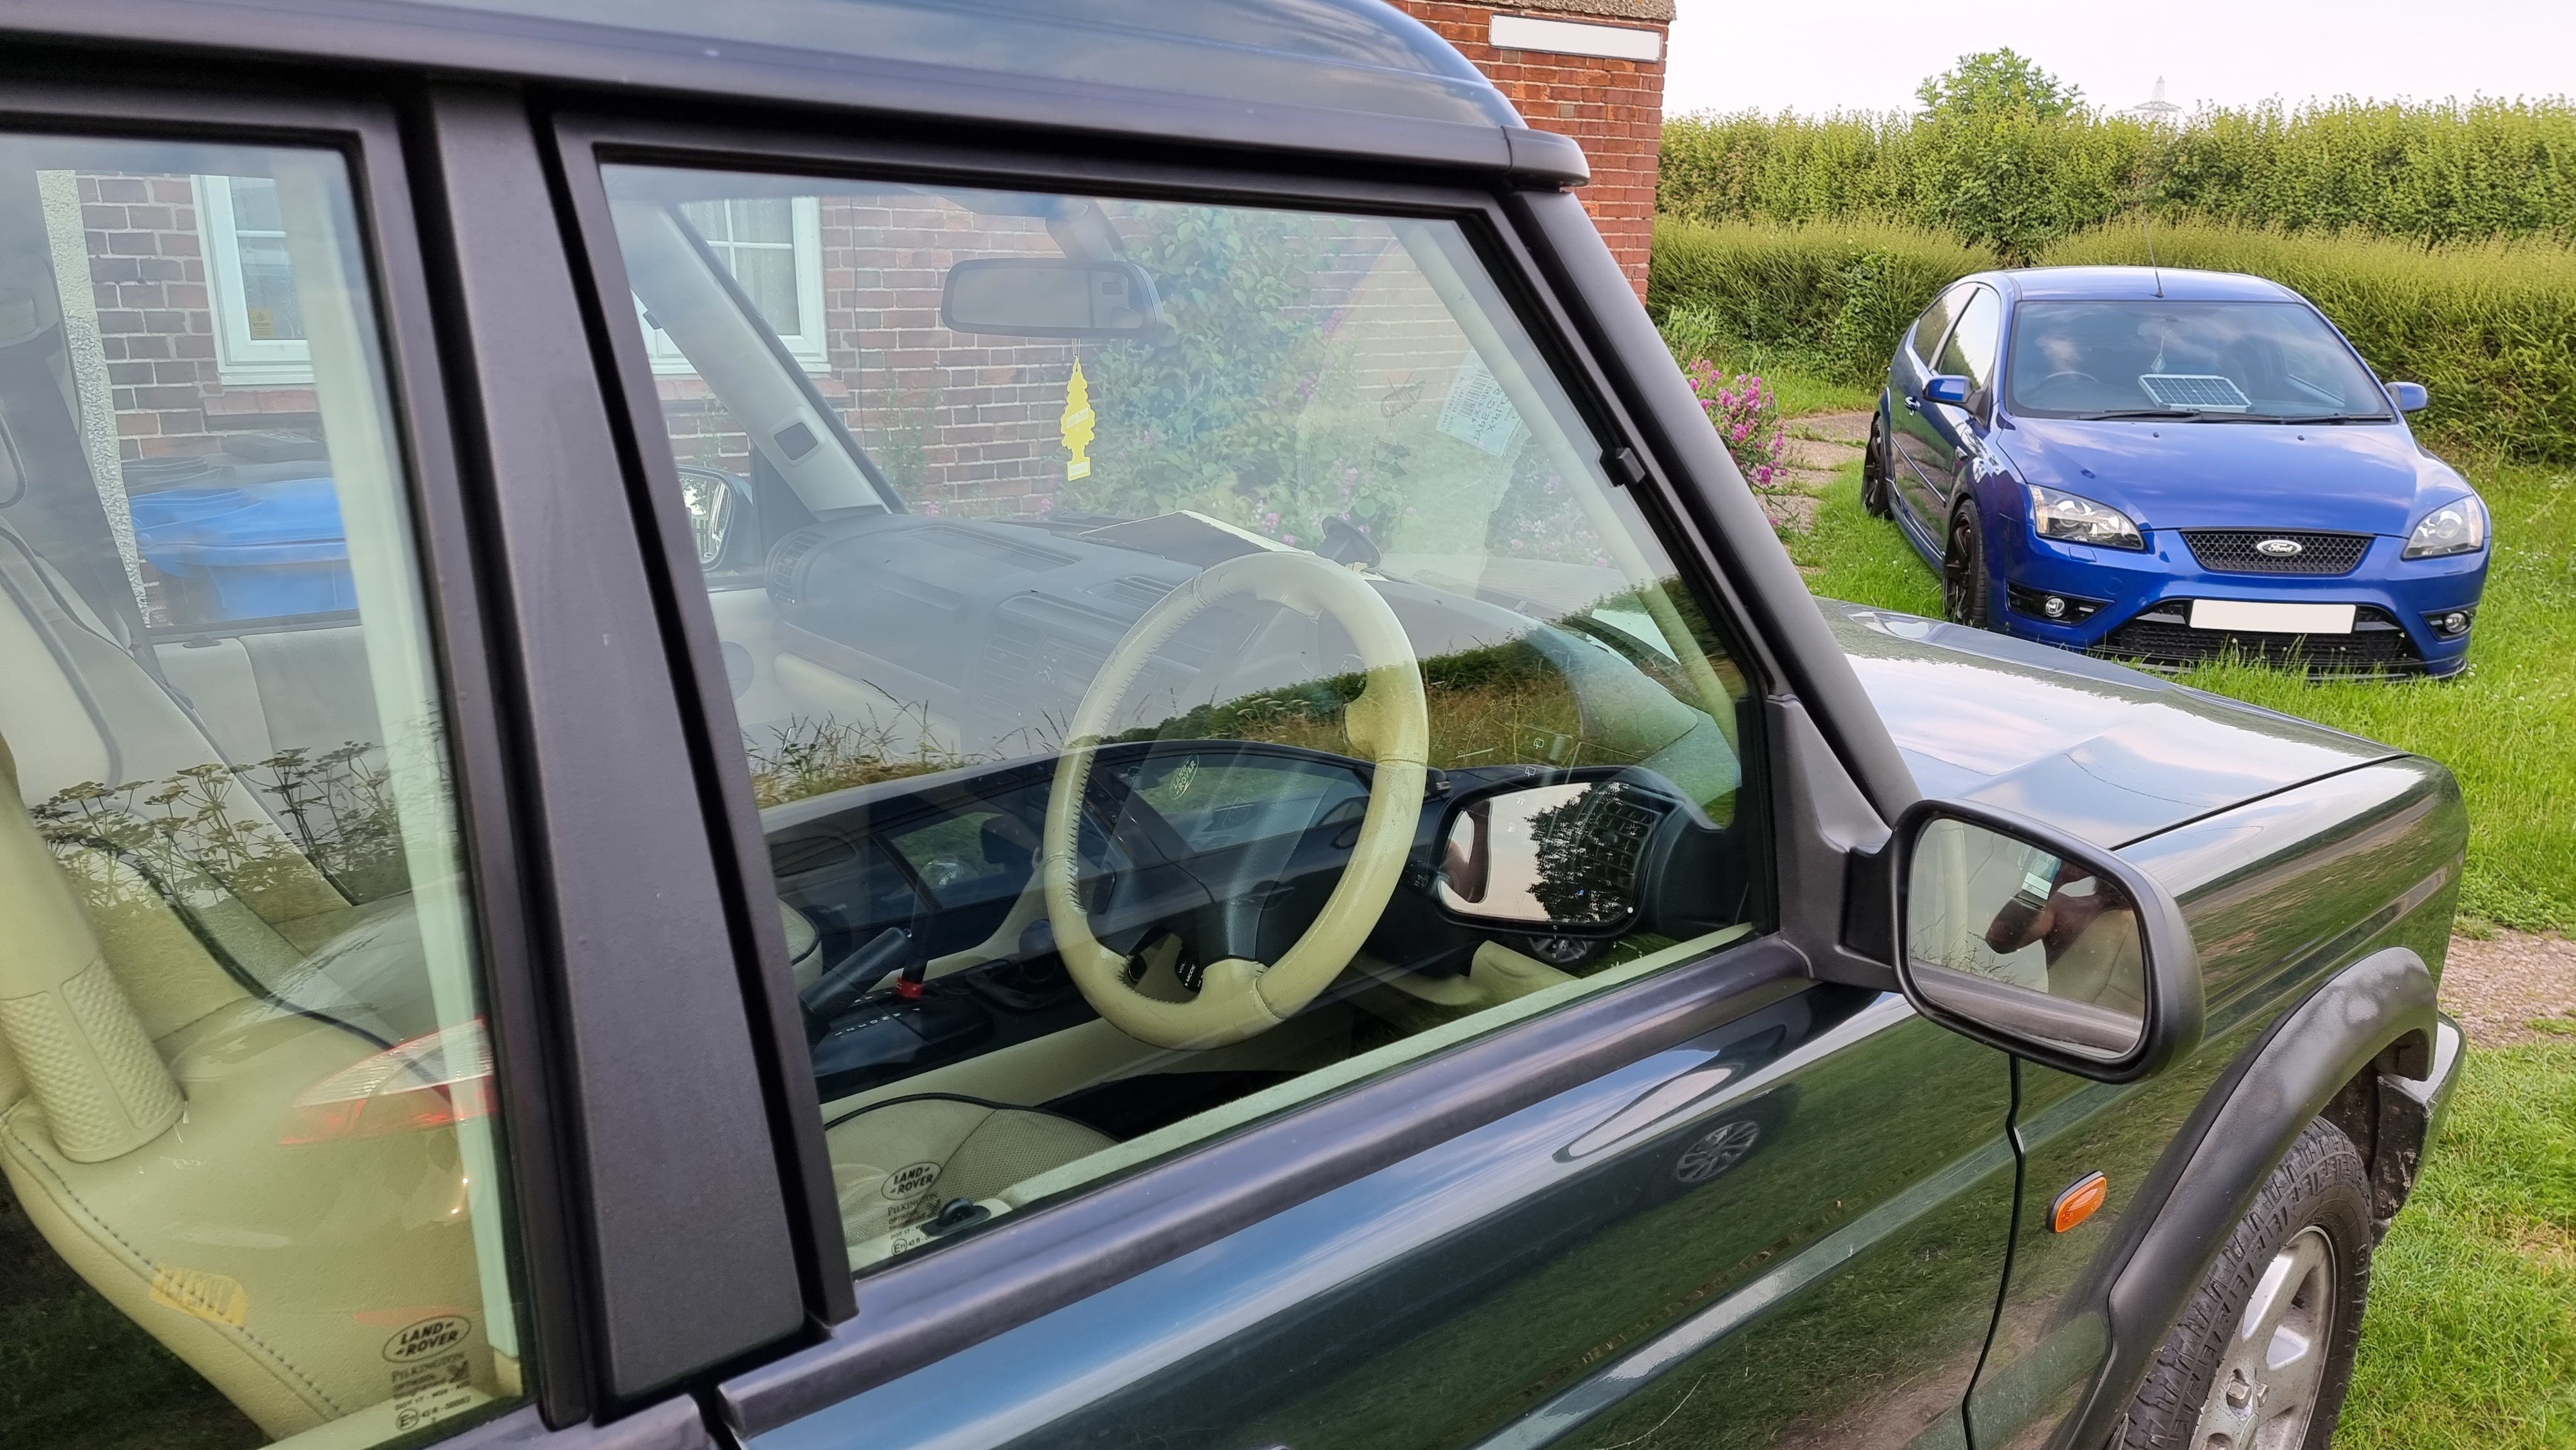
Well my rear door frame is back from the powder coaters and looking great. I cleaned up all the rubbers so its ready to install at the weekend, weather permitting.

Also managed to source a very good condition NSF window frame ready for the same treatment. Just need to find the other 2 in good condition.
My dog guard had one screw fitting missing so I made a couple new ones out of stainless and found 2 matching knobs at work.
Also managed to source a very good condition NSF window frame ready for the same treatment. Just need to find the other 2 in good condition.
My dog guard had one screw fitting missing so I made a couple new ones out of stainless and found 2 matching knobs at work.
Right another update guys. Done a few jobs today!
First off was to replace the snapped handbrake cable. Sorry only remembered to photo once it was back together. But now its perfect, 3 clicks.
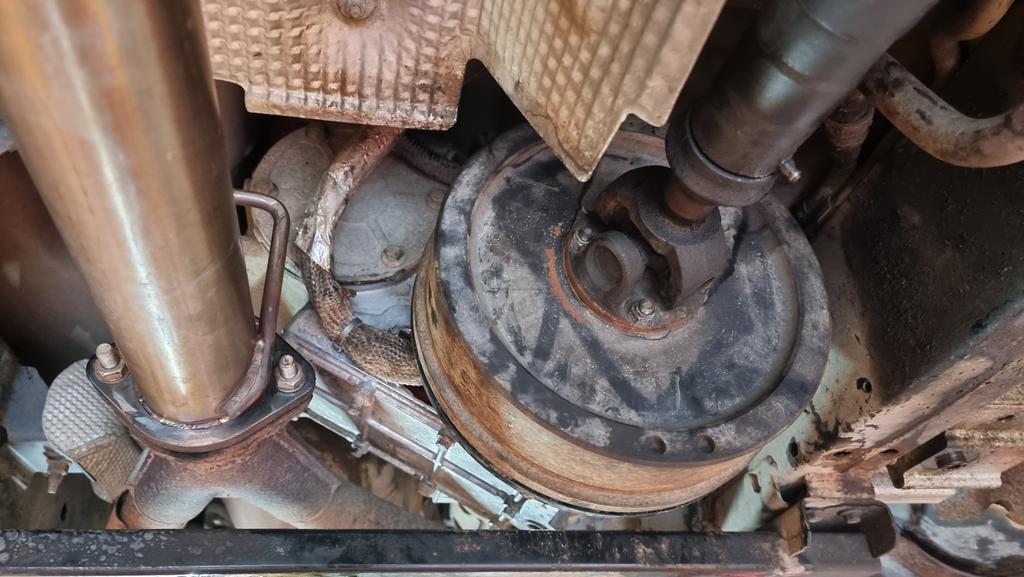
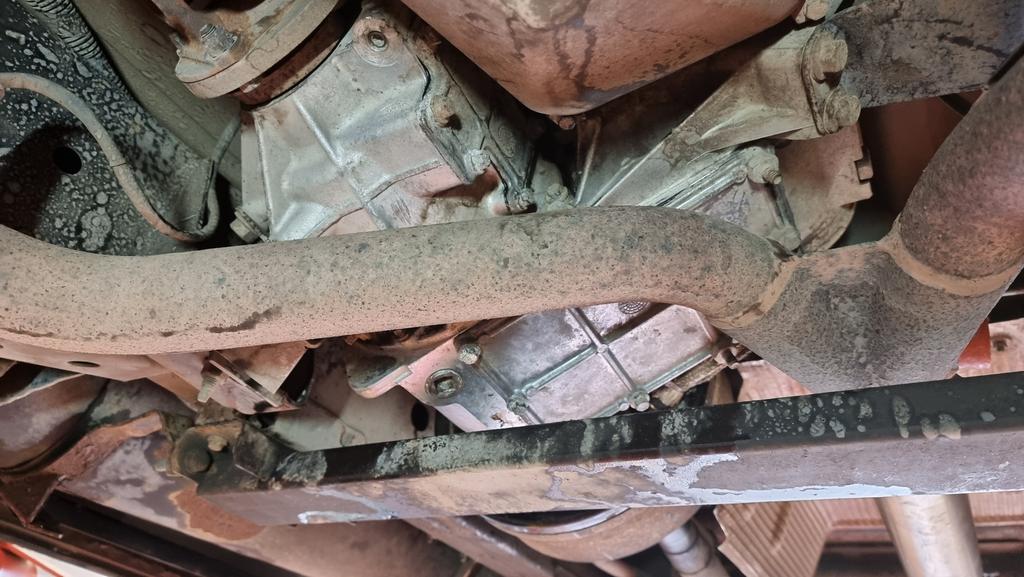
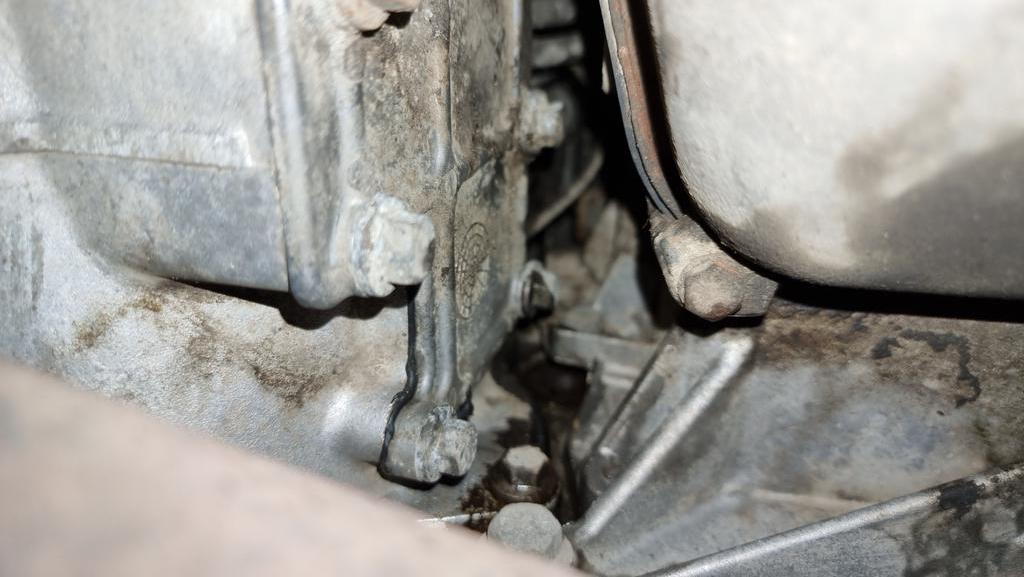
Next up the transfer box was slighly damp from oil but not dripping so could be a build up from years of use. So i've cleaned it all up so I can inspect it in 2 weeks to see if I can see a leak anywhere.
Then I changed both axles oil and replaced the plastic filler plugs with nice brass ones. Oil looked great coming out but I have no idea when it was last changed.

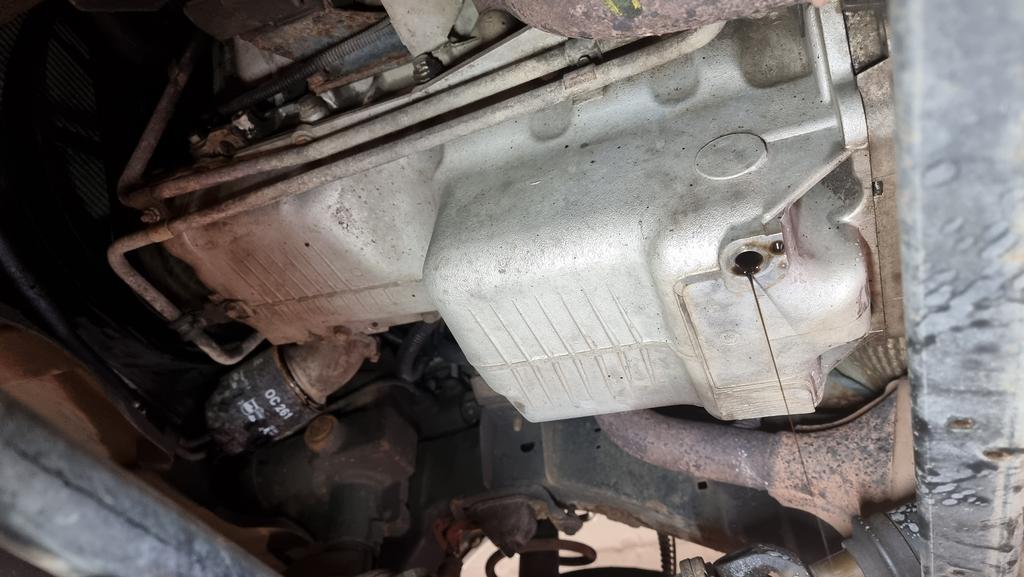
Next up was the automatic gearbox oil change. Today was just a drain and a refill of new oil. The old oil looked and smelled very good which is a good sign. Changed because I have no record of it being changed. As you cant get all 9.7l out in one go I got about 4.75l out today so will let the new oil mix with the old oil for 2 weeks then I'll change the strainer and oil again to make it all good. No pics of this but here's one showing the gearbox, axle oil and filter used.

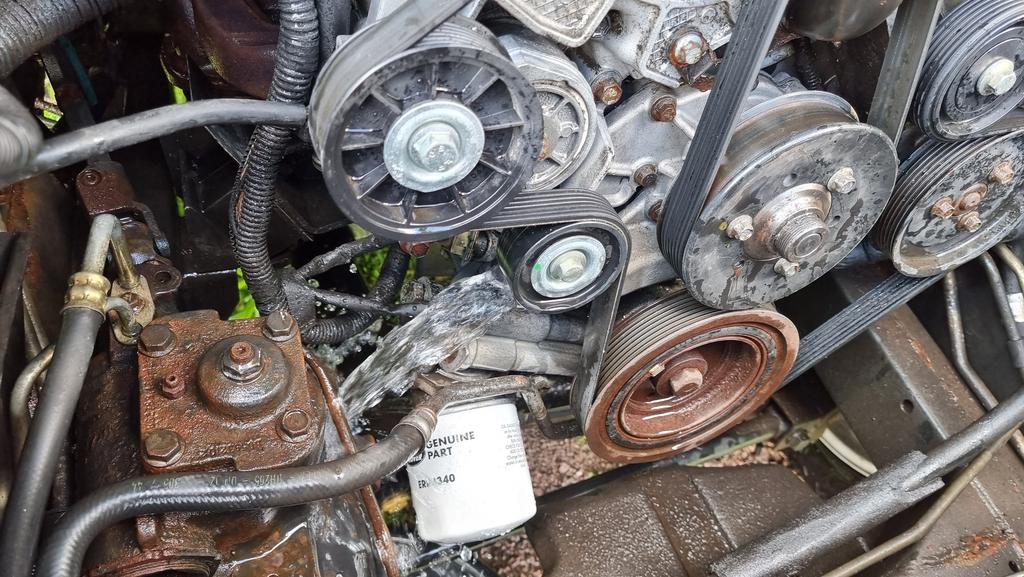
Lastly was a engine oil and filter change with a genuine Land Rover oil filter and Valvoline VR1 20W50 oil. This was to give it fresh oil and filter after the break in has been completed 1000 miles ago. Oil looked great coming out :smile2:
First off was to replace the snapped handbrake cable. Sorry only remembered to photo once it was back together. But now its perfect, 3 clicks.
Next up the transfer box was slighly damp from oil but not dripping so could be a build up from years of use. So i've cleaned it all up so I can inspect it in 2 weeks to see if I can see a leak anywhere.
Then I changed both axles oil and replaced the plastic filler plugs with nice brass ones. Oil looked great coming out but I have no idea when it was last changed.
Next up was the automatic gearbox oil change. Today was just a drain and a refill of new oil. The old oil looked and smelled very good which is a good sign. Changed because I have no record of it being changed. As you cant get all 9.7l out in one go I got about 4.75l out today so will let the new oil mix with the old oil for 2 weeks then I'll change the strainer and oil again to make it all good. No pics of this but here's one showing the gearbox, axle oil and filter used.
Lastly was a engine oil and filter change with a genuine Land Rover oil filter and Valvoline VR1 20W50 oil. This was to give it fresh oil and filter after the break in has been completed 1000 miles ago. Oil looked great coming out :smile2:
Cheers matey.Looking good! The window frames look the dog’s doodahs!

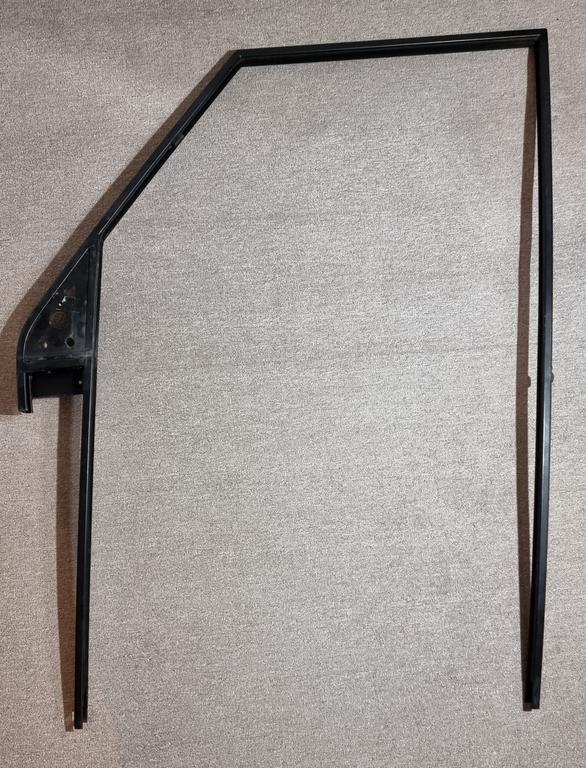
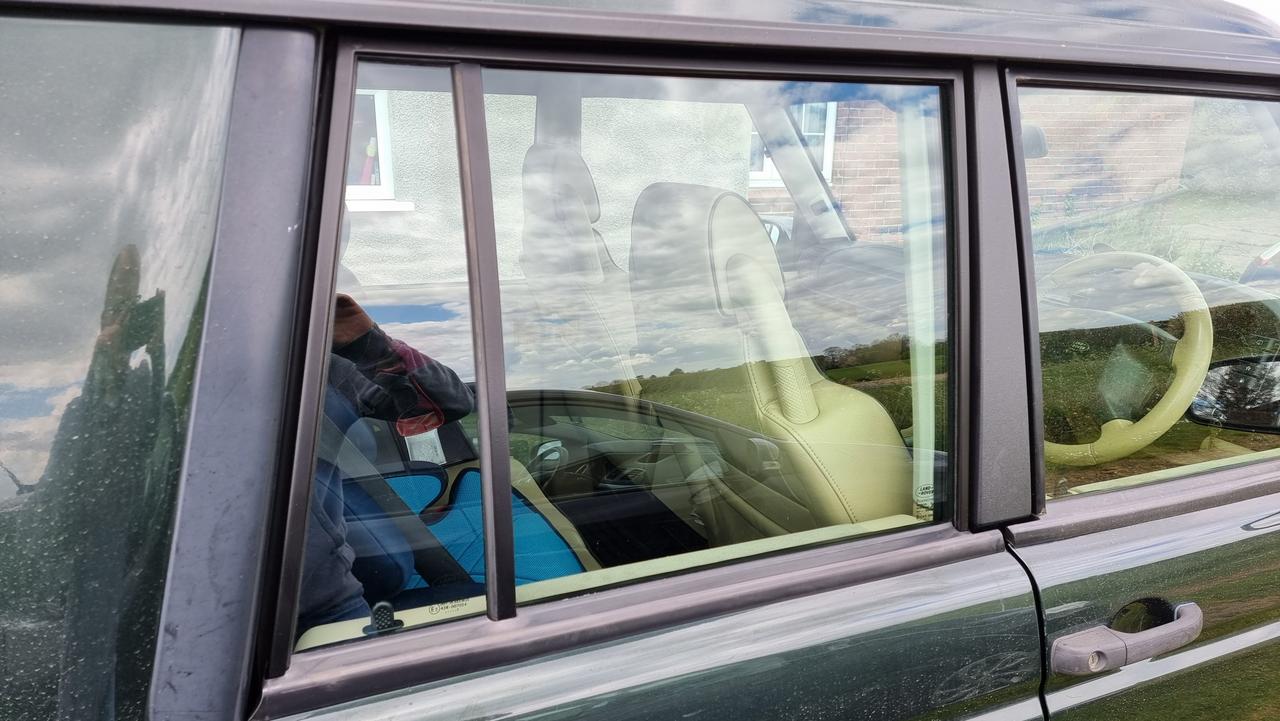
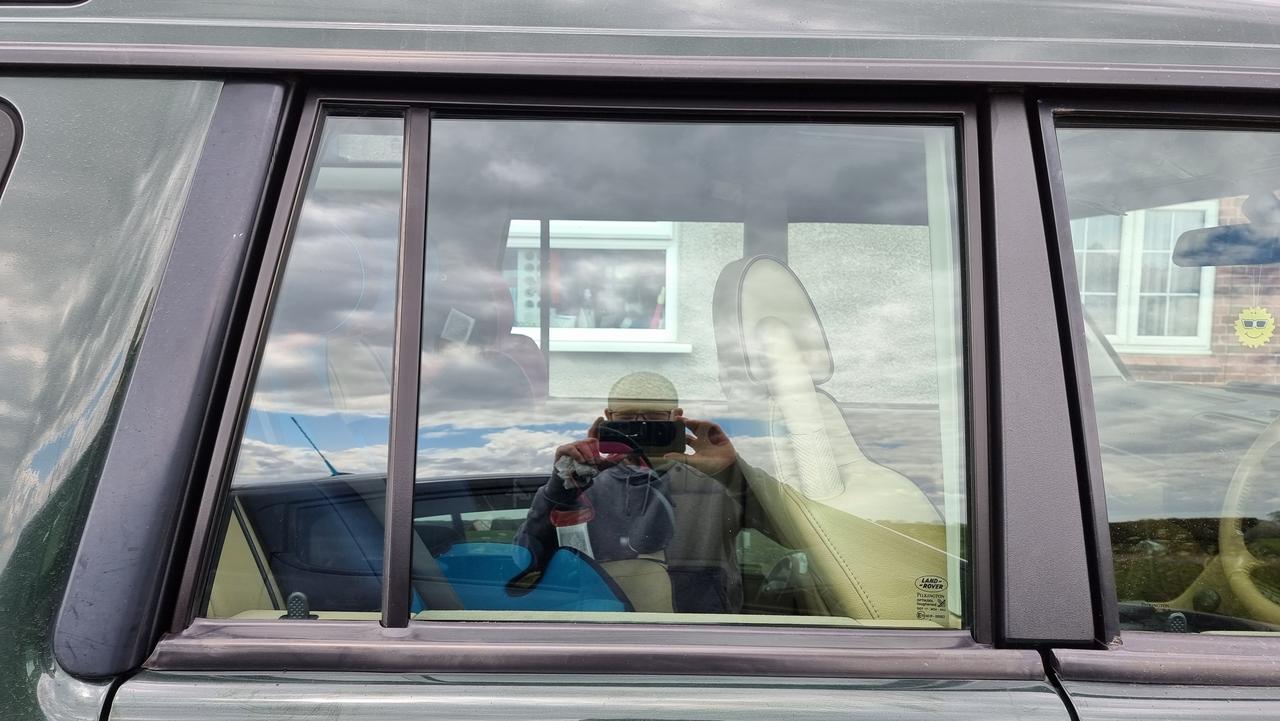
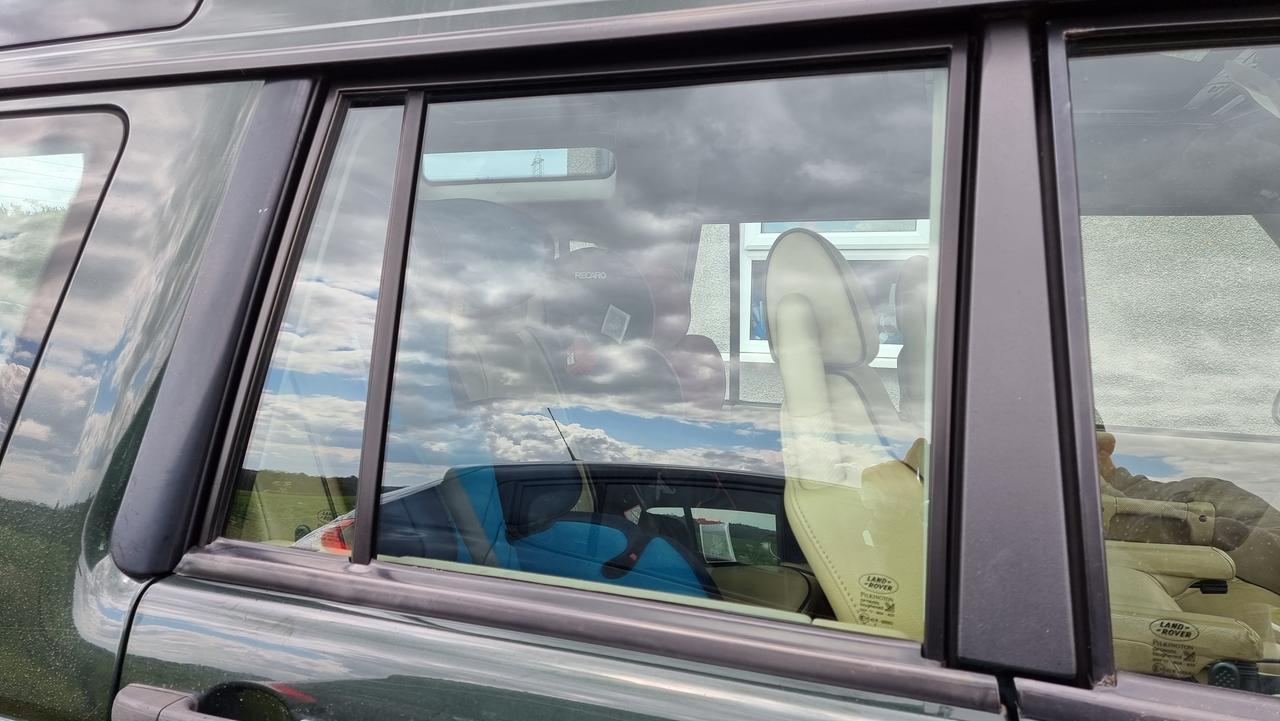
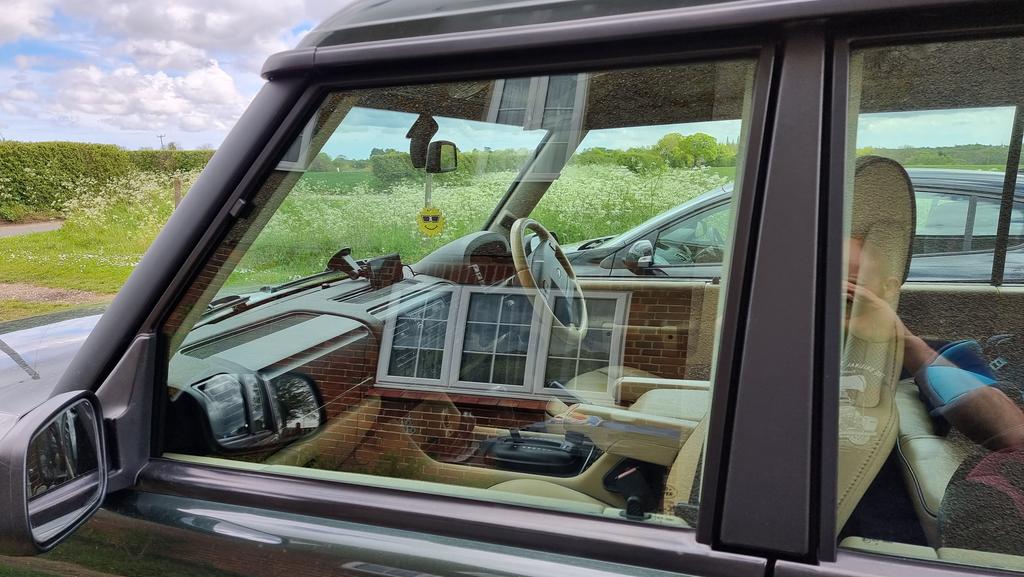
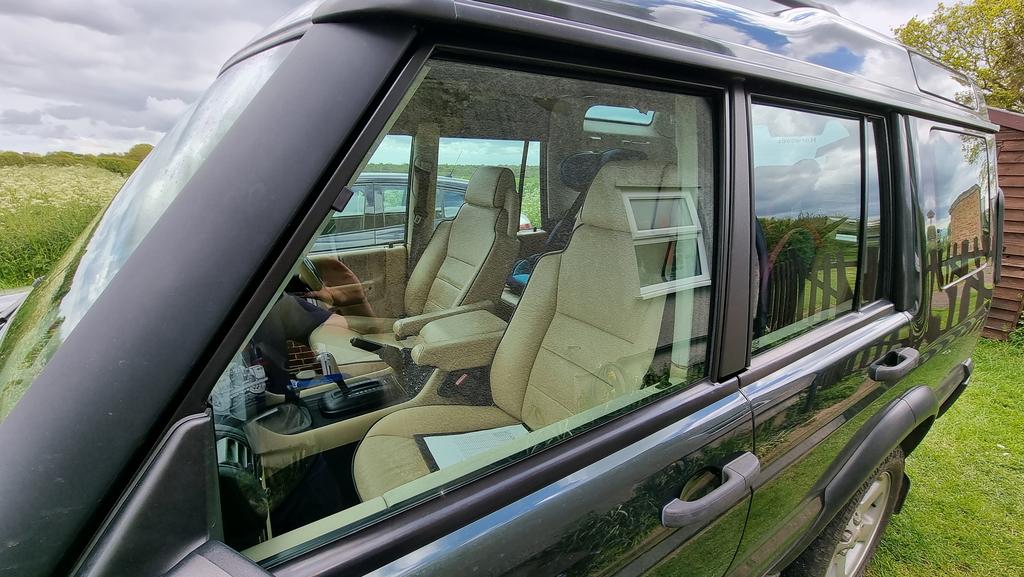
So managed to get the NSF window frame installed today (between the rain!!)
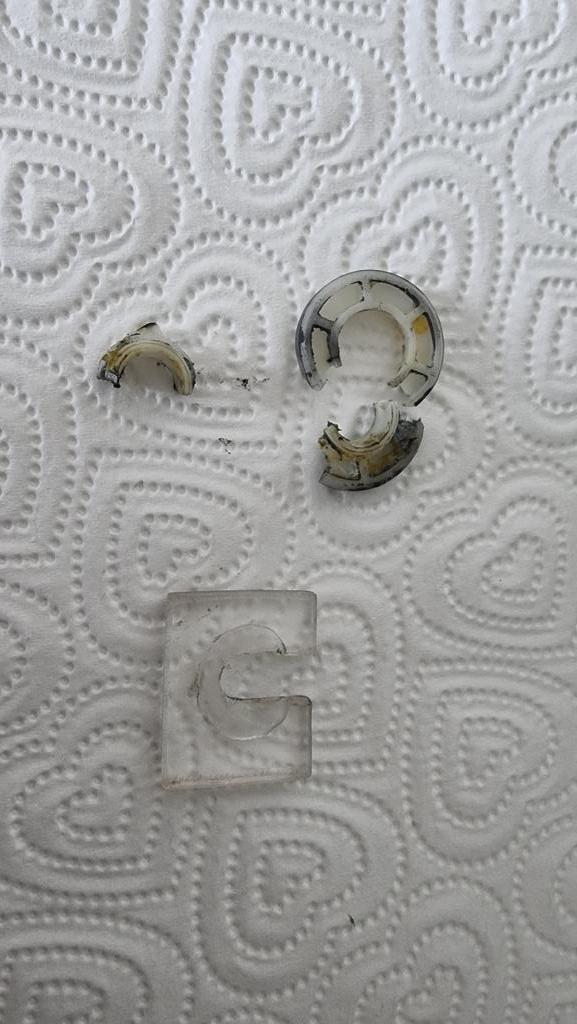
When it was apart I found another problem, the plastic wheel on the window regulator. I couldn't put it back together knowing that 1 of the wheels has broken in 2 and its only a matter of time before it fails completely. So I made a new temporary slider to fit in its place.
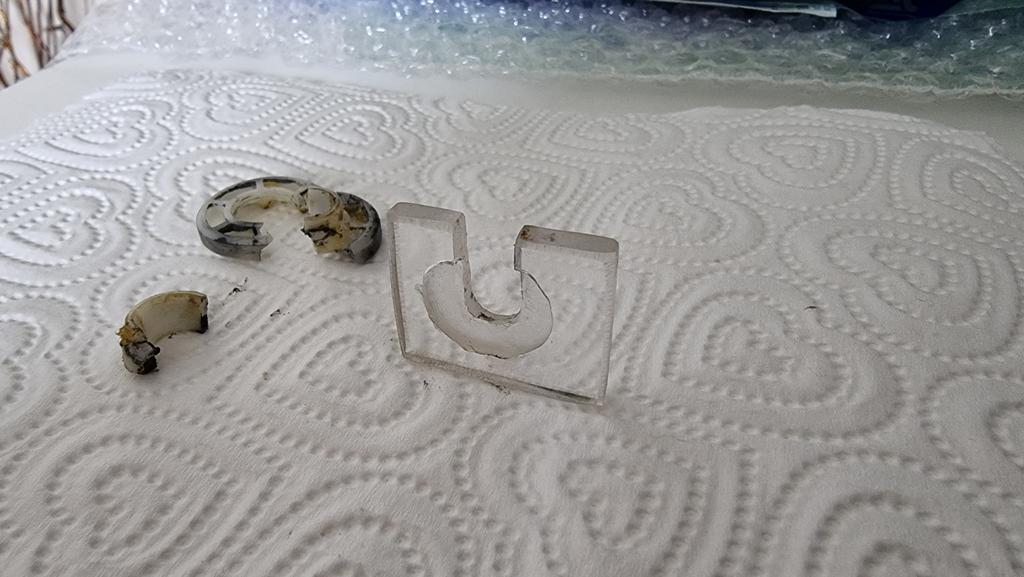
Installed and working great.
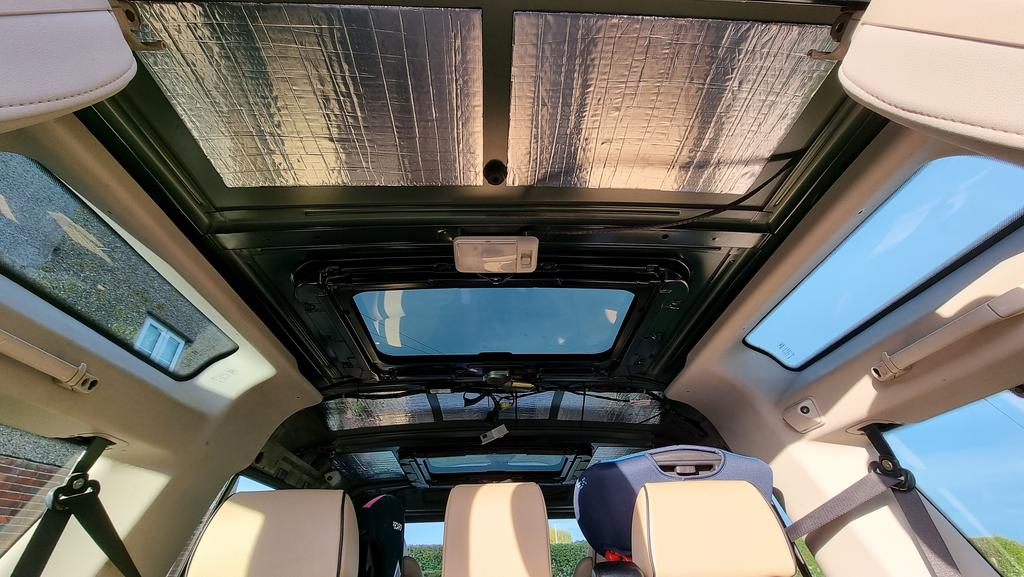
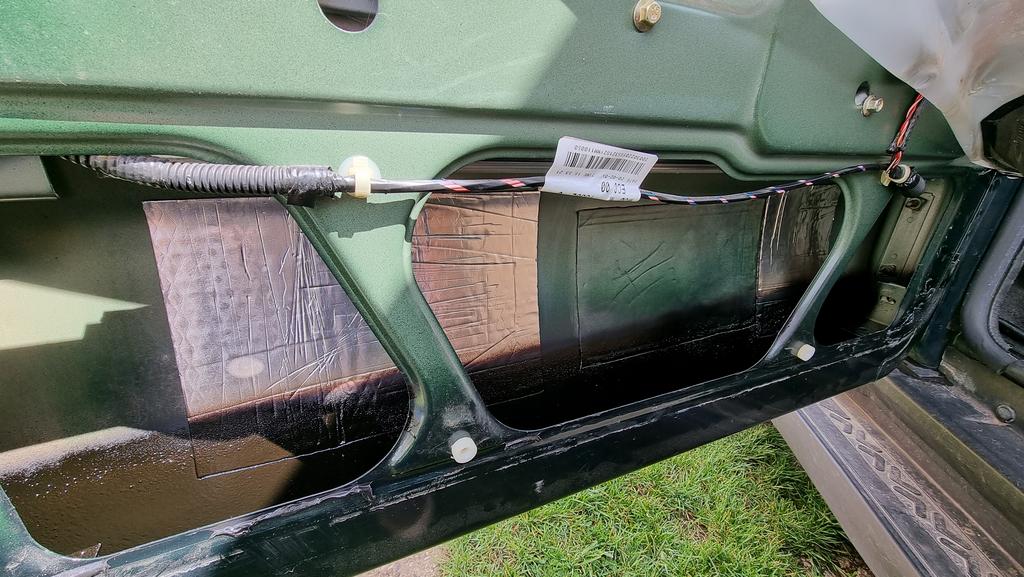
Added some sound deadening in 4 more places in the door and cleaned and applied waxoyl in the lower inside of the door skin.
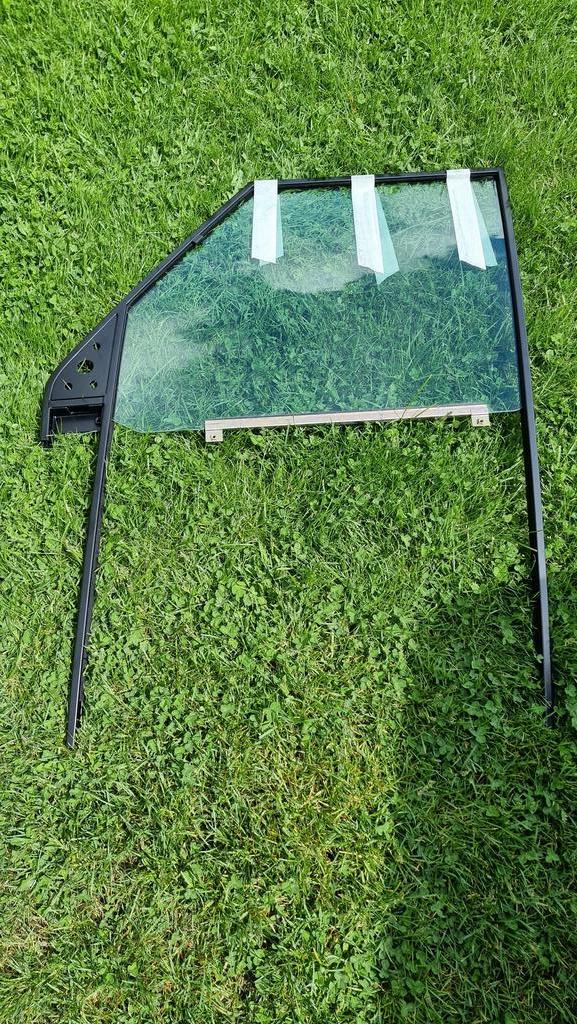
The finished window frame. 2 more to go now.
When it was apart I found another problem, the plastic wheel on the window regulator. I couldn't put it back together knowing that 1 of the wheels has broken in 2 and its only a matter of time before it fails completely. So I made a new temporary slider to fit in its place.
Installed and working great.
Added some sound deadening in 4 more places in the door and cleaned and applied waxoyl in the lower inside of the door skin.
The finished window frame. 2 more to go now.
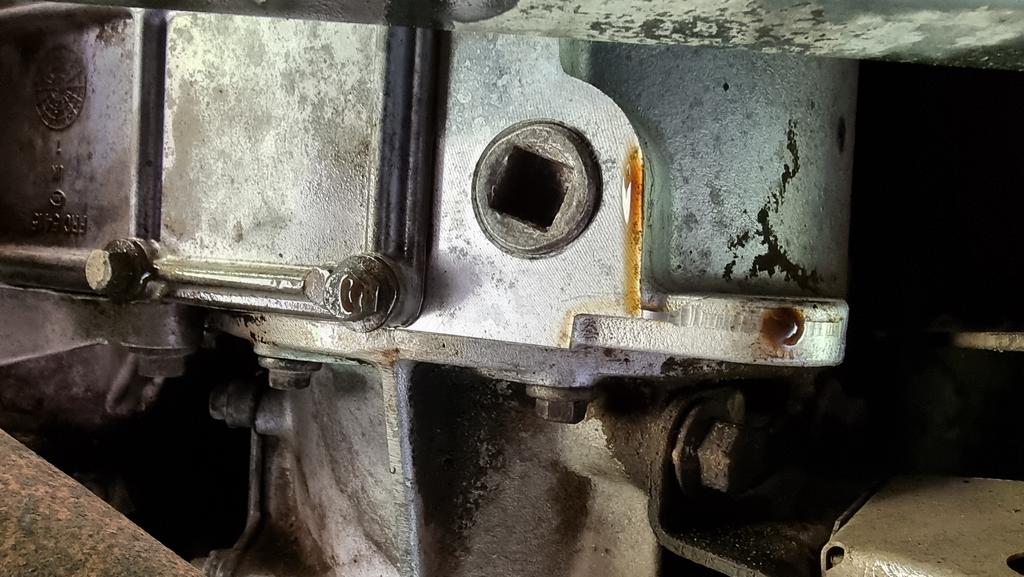
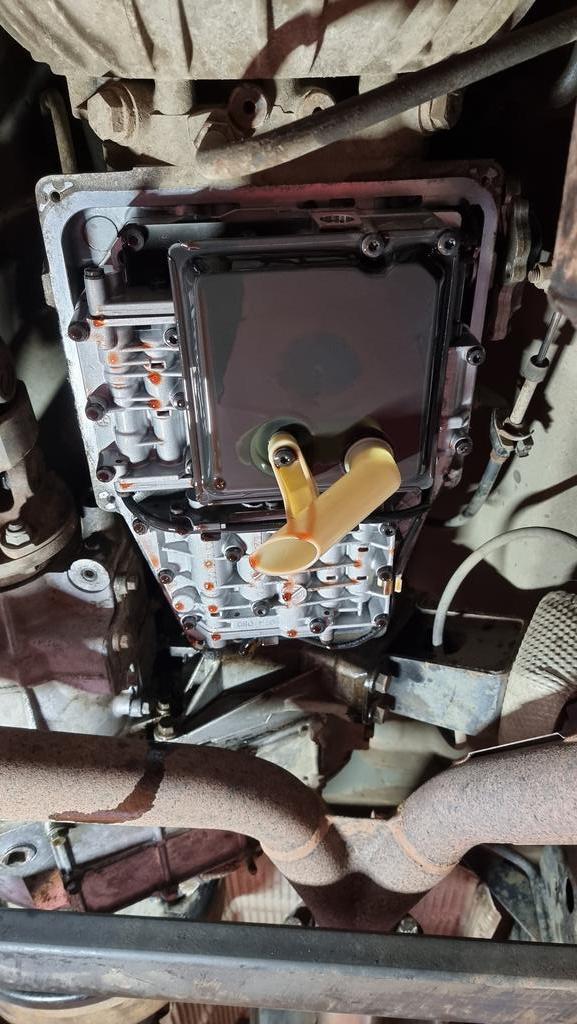
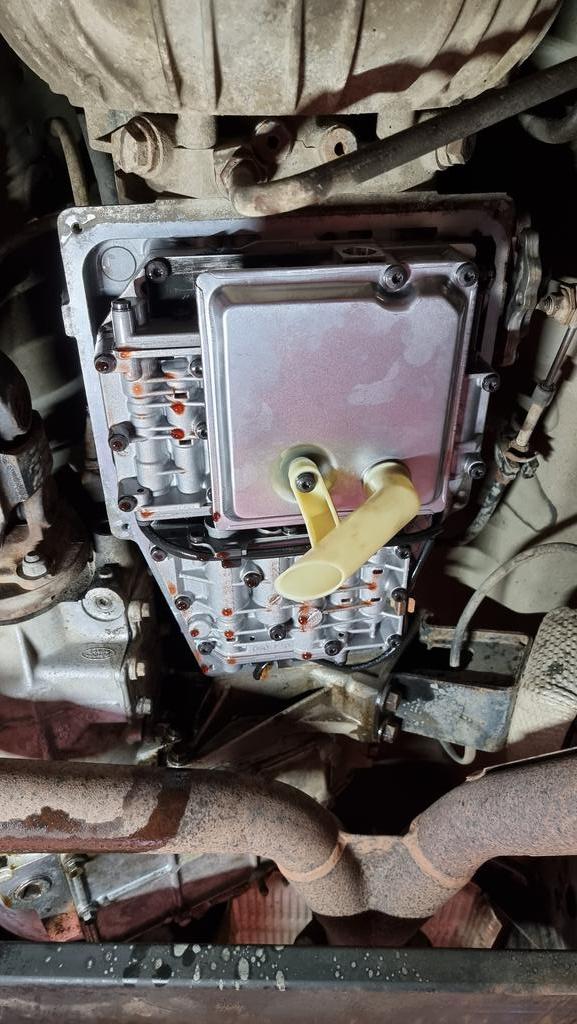
Finished off my automatic gearbox oil and strainer change.
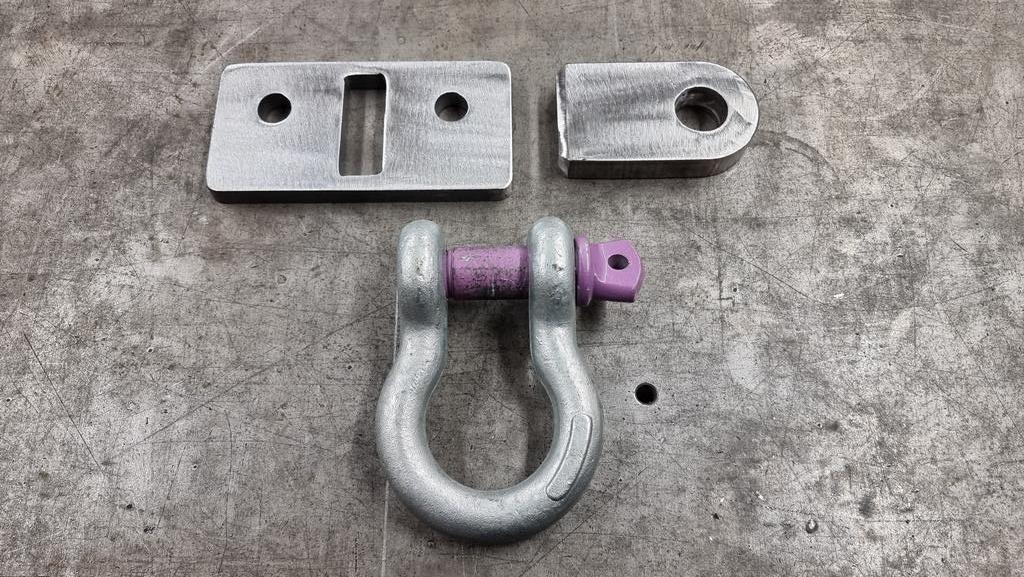
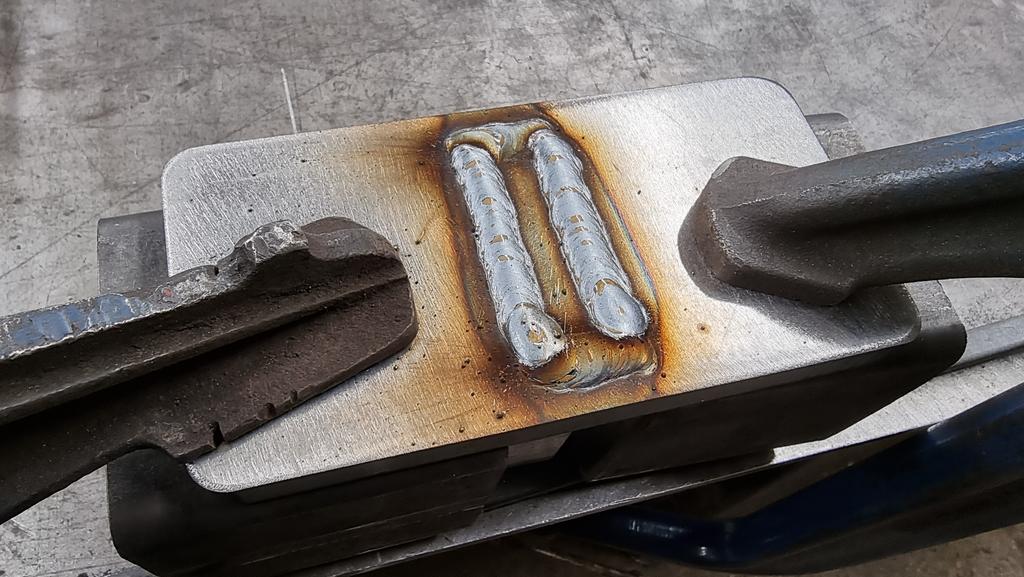
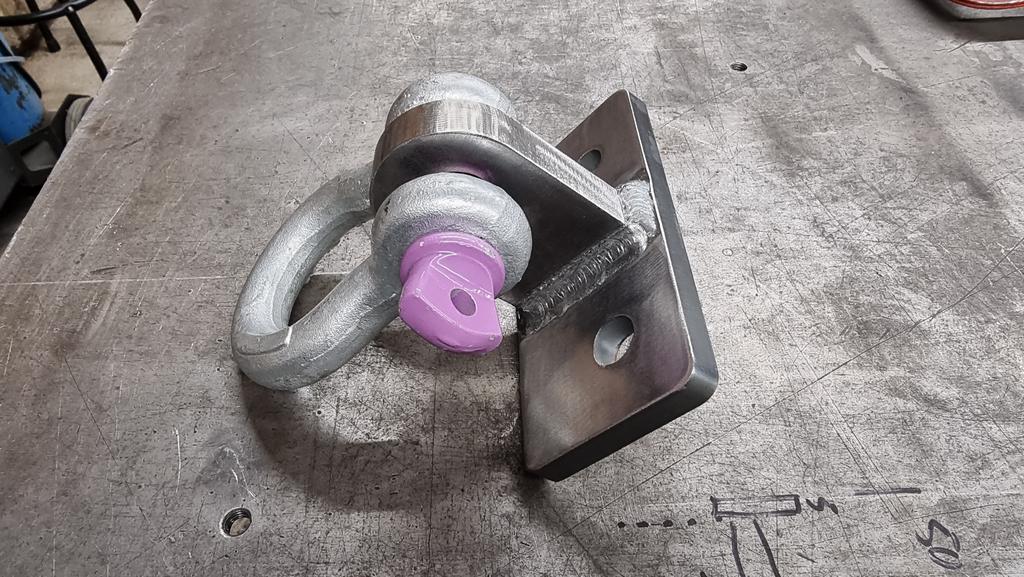
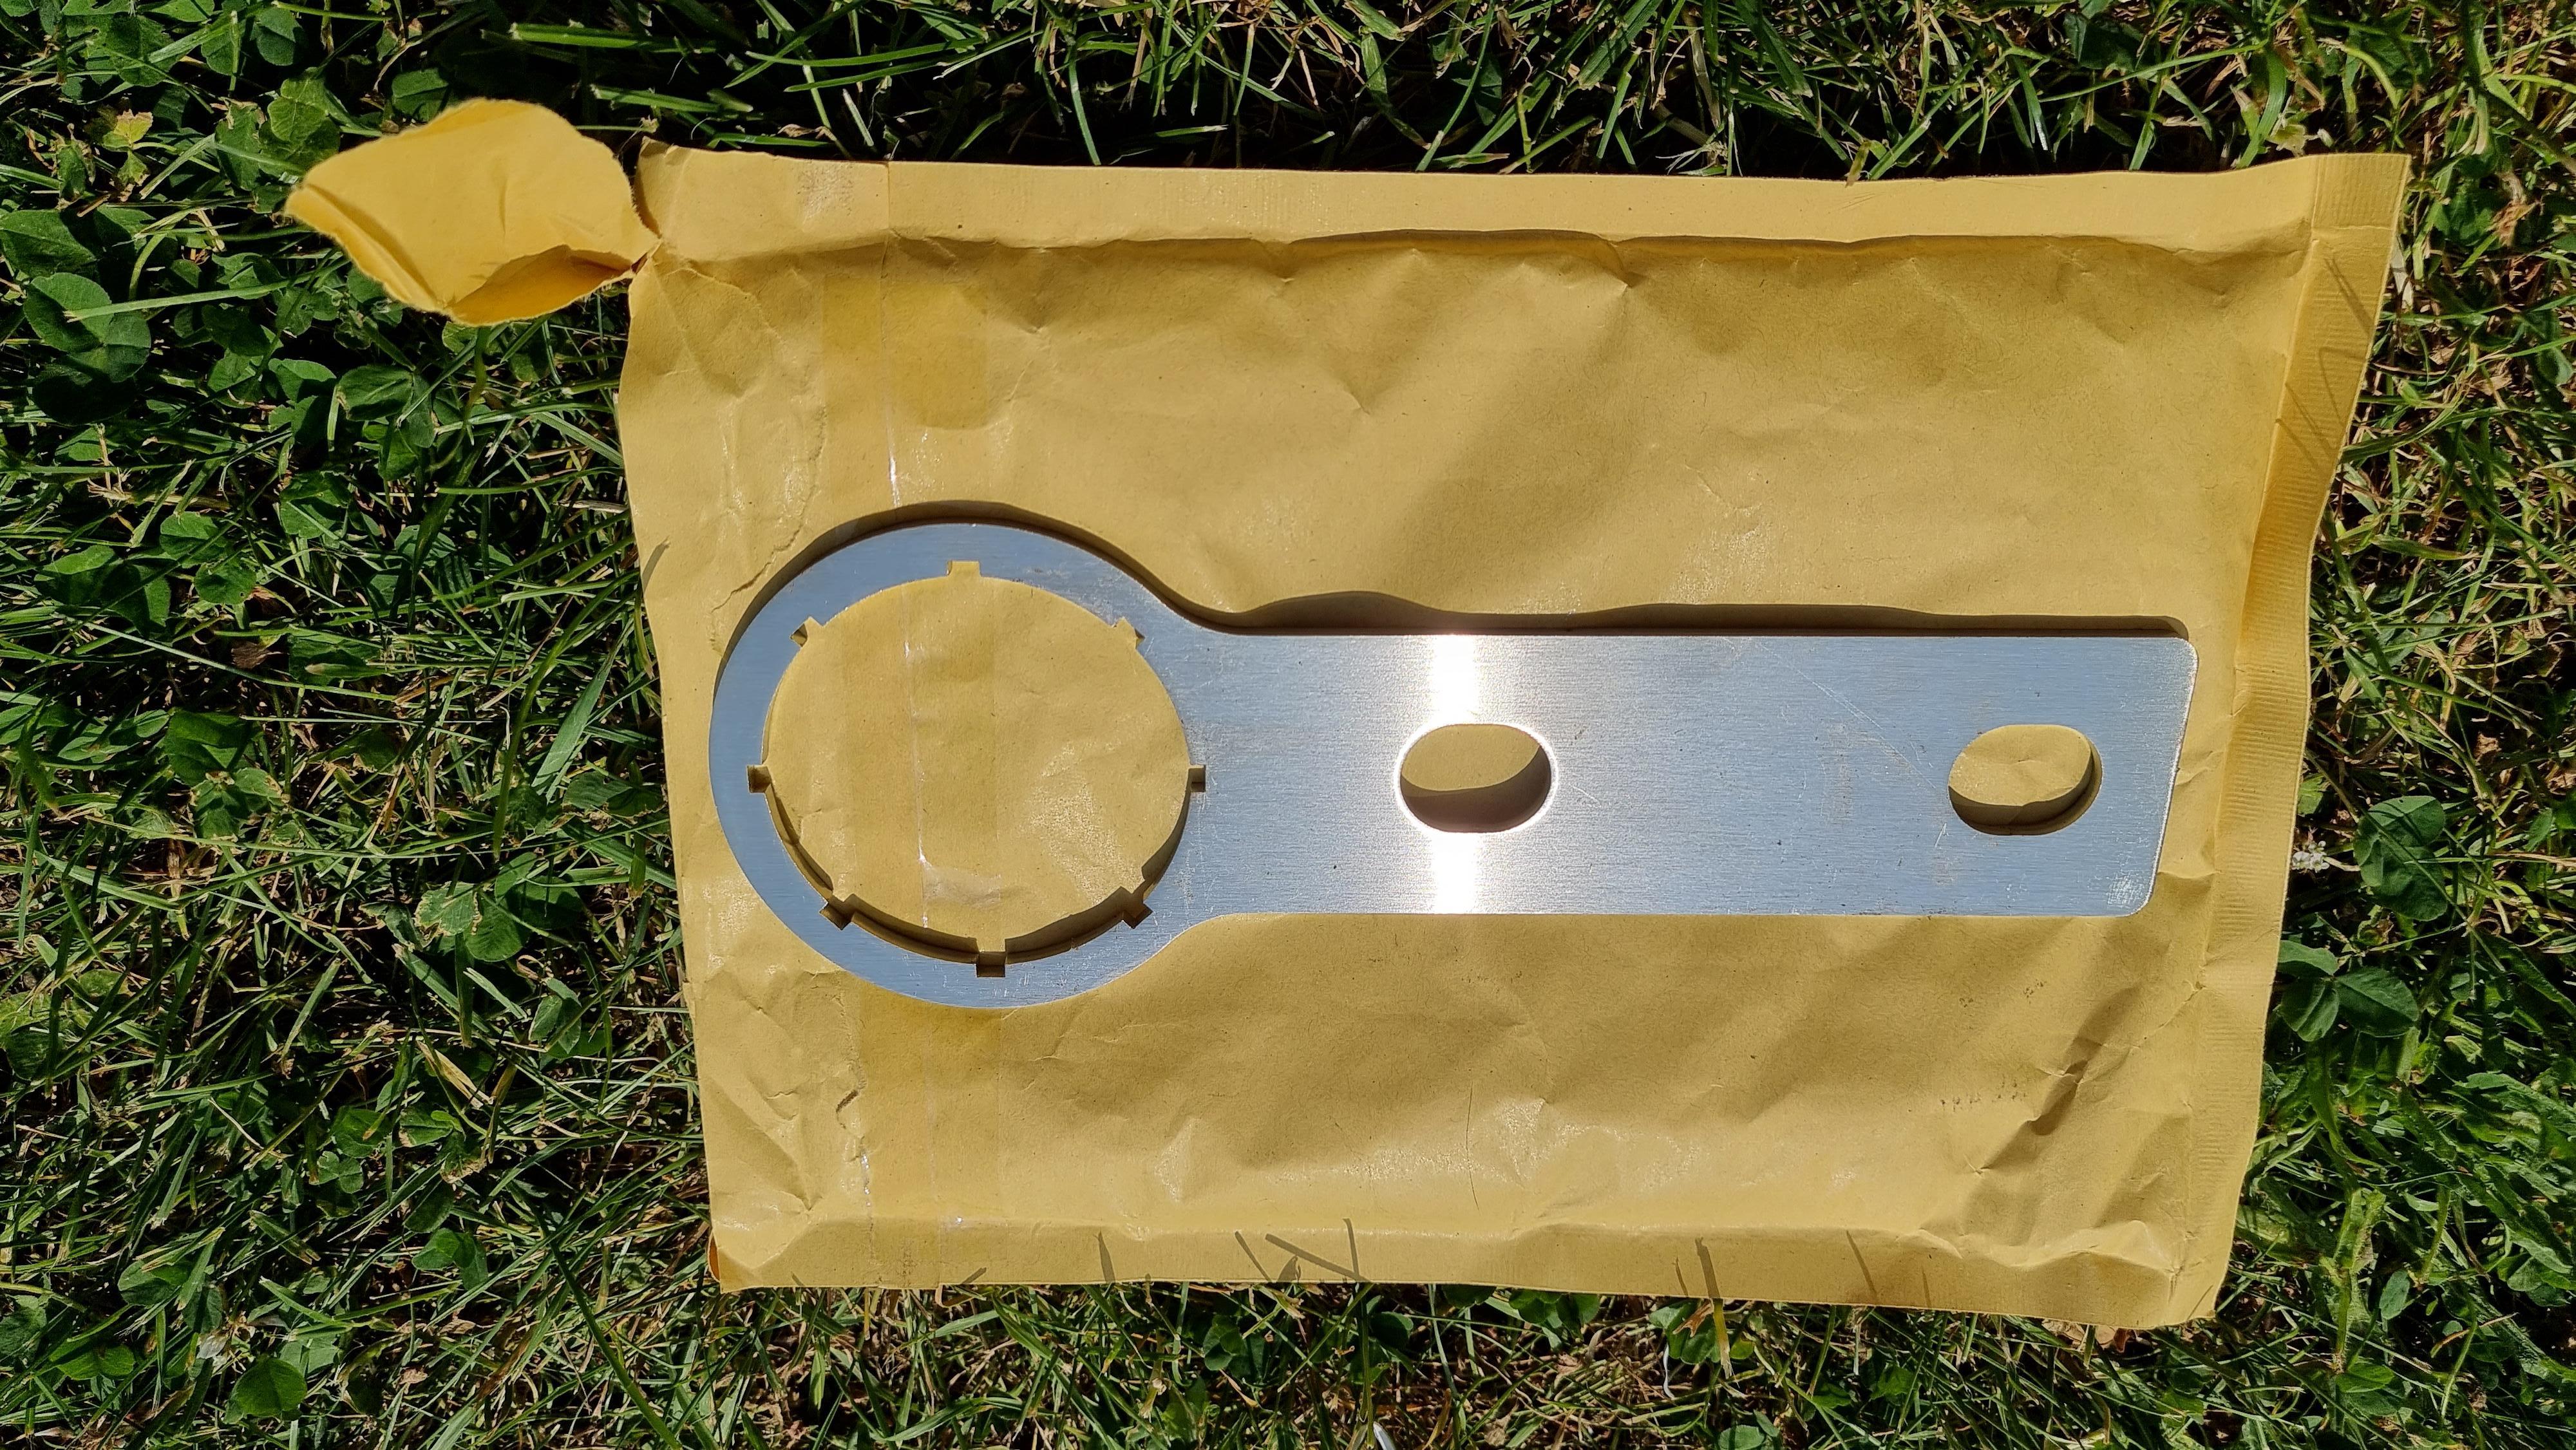
Got a friend to plasma cut this out for me from 12mm plate. This is part of my new rear recovery point i'm making. The whole tow bar and brackets have been removed ready for mods and powder coat.

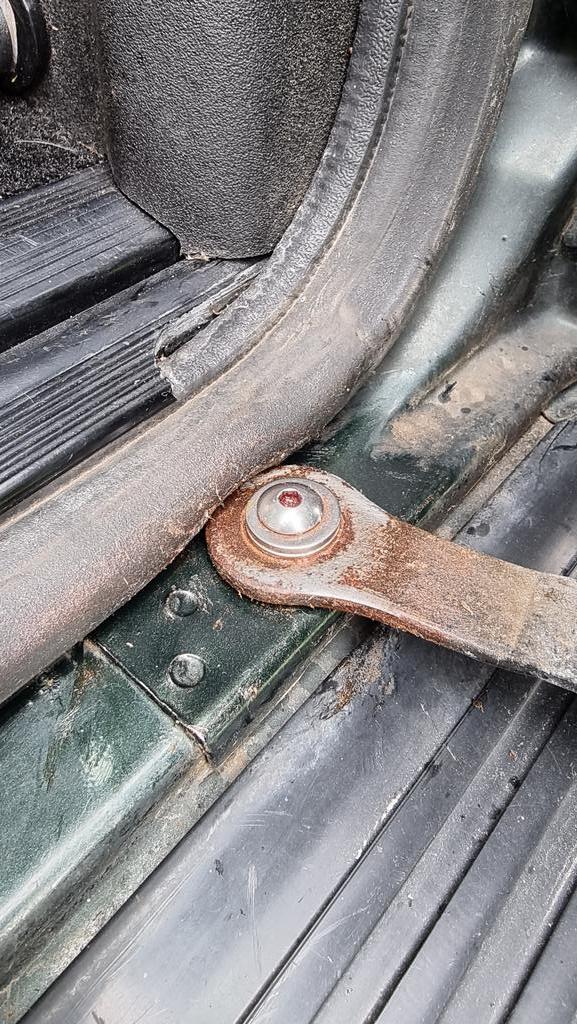
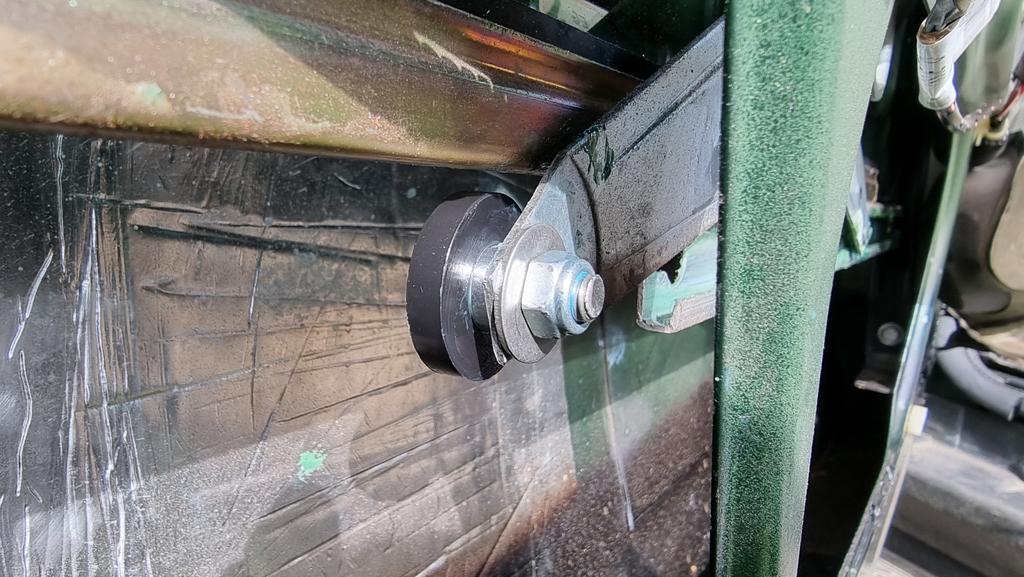
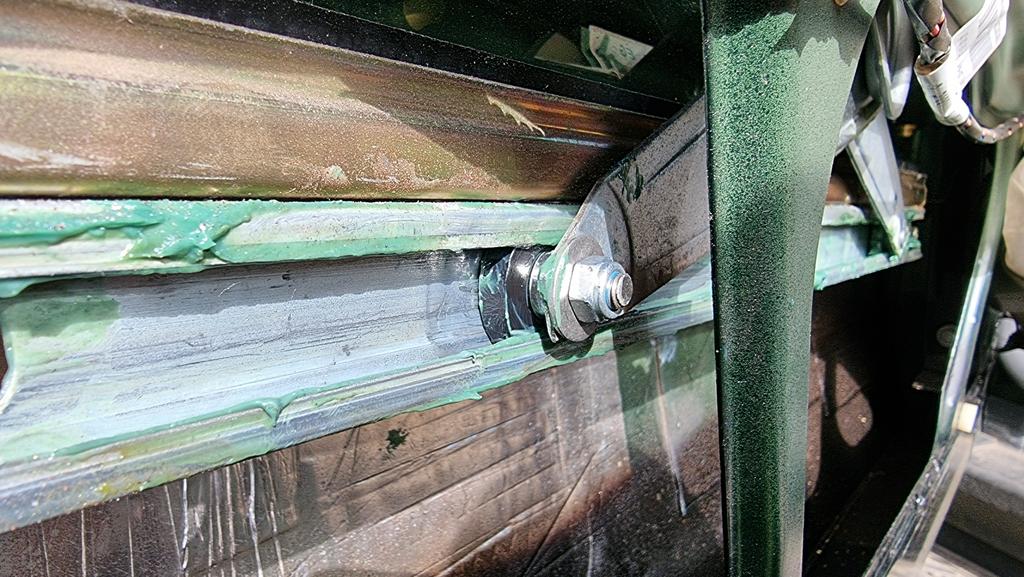
I've also drilled and tapped the rear door stay pin and have now fitted a bolt to sort that for good.
I removed the rear step too. :tup:
Got a friend to plasma cut this out for me from 12mm plate. This is part of my new rear recovery point i'm making. The whole tow bar and brackets have been removed ready for mods and powder coat.
I've also drilled and tapped the rear door stay pin and have now fitted a bolt to sort that for good.
I removed the rear step too. :tup:
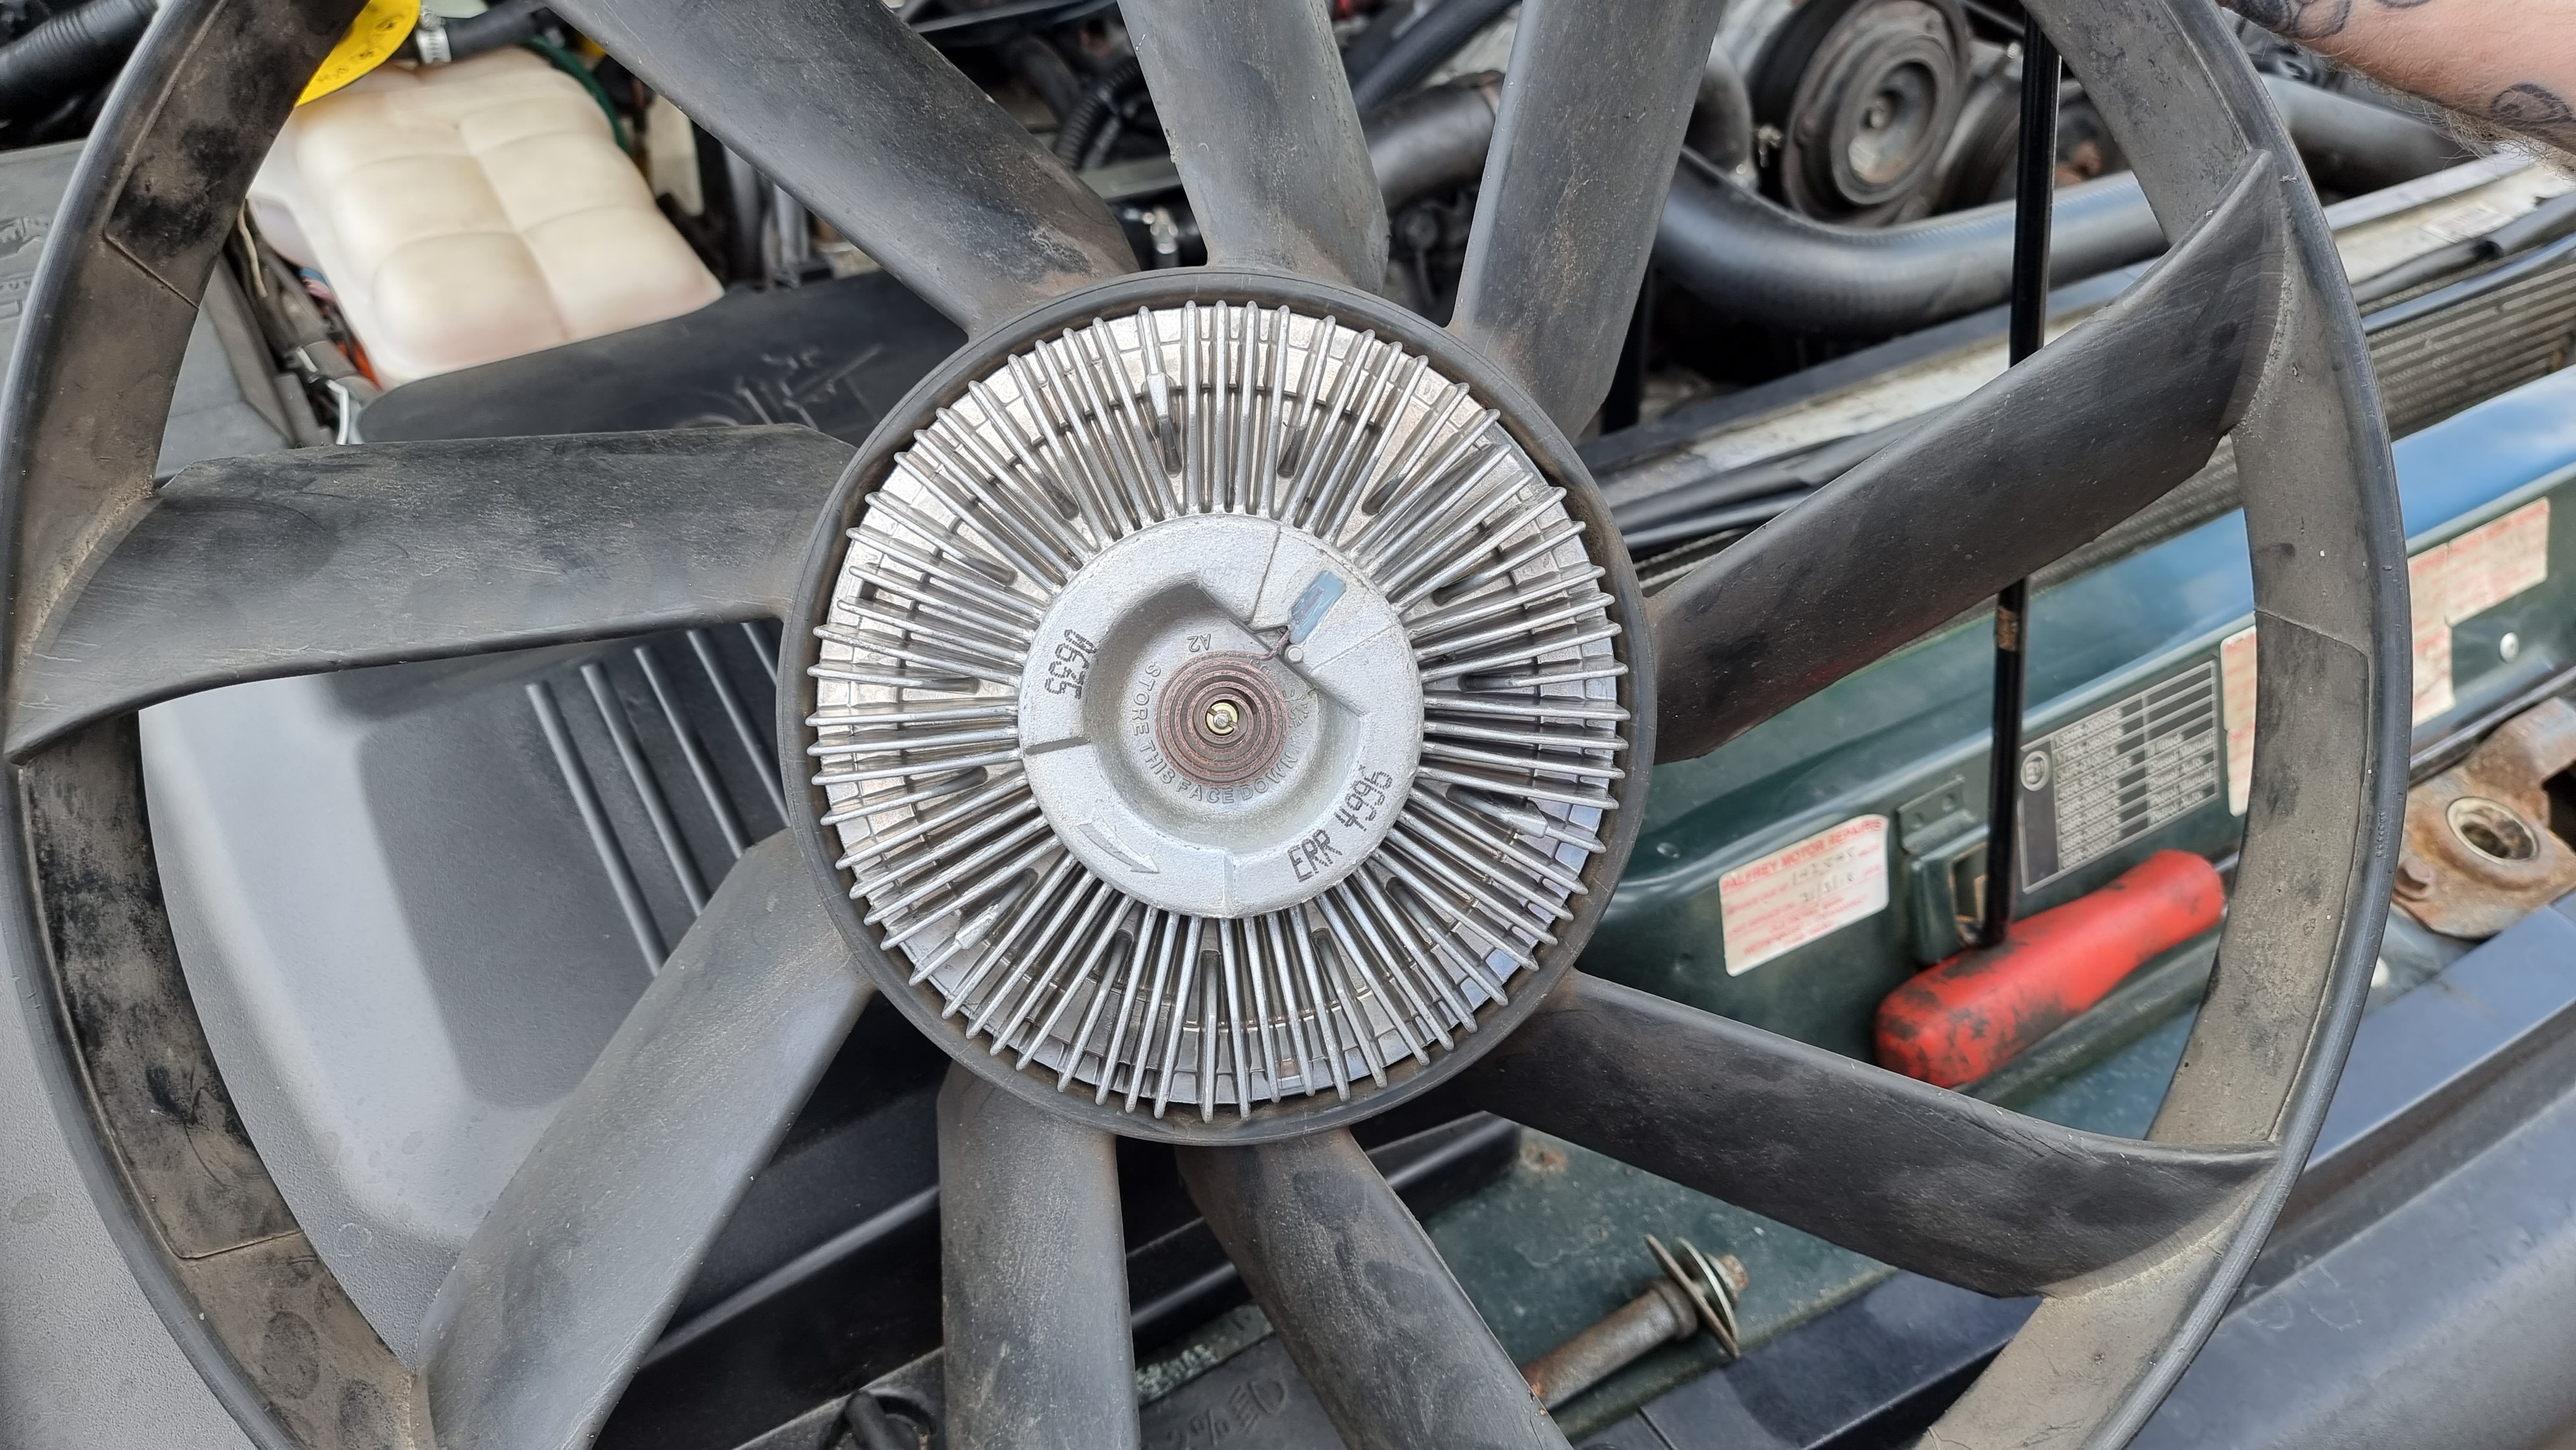
Last Saturday I fitted a new genuine Land Rover viscous fan clutch as giving the cooling system a refresh.
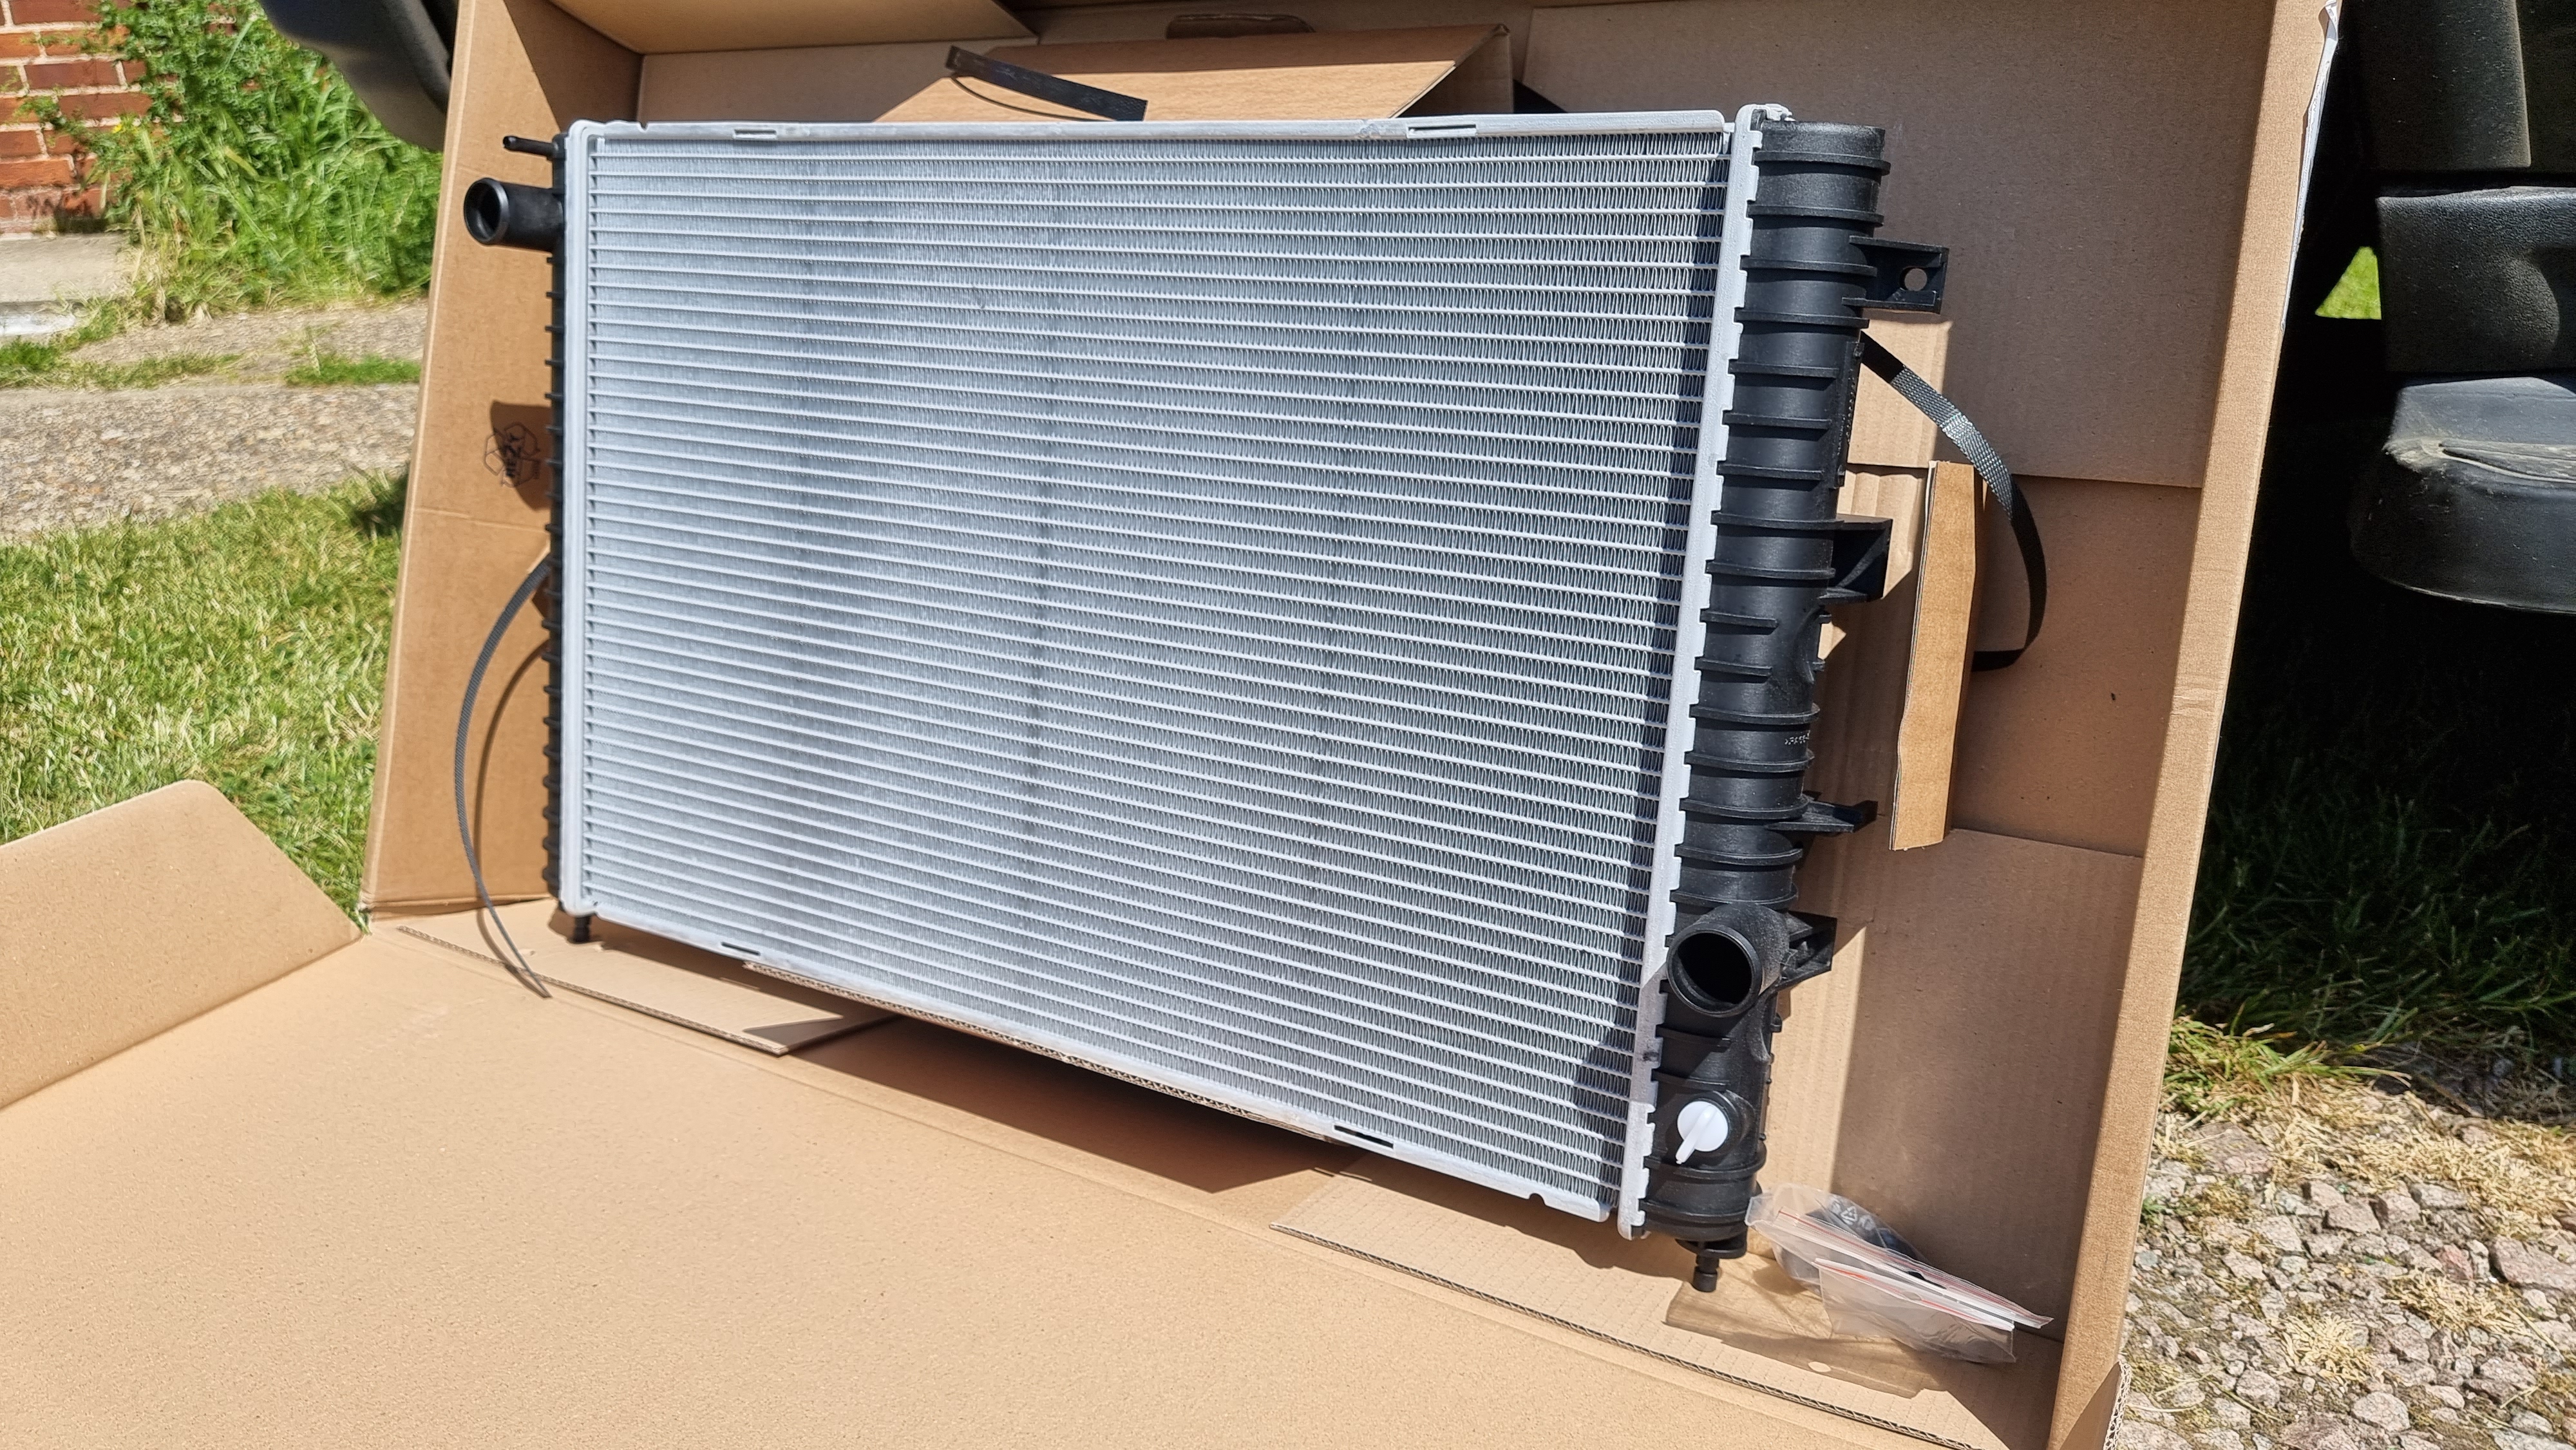
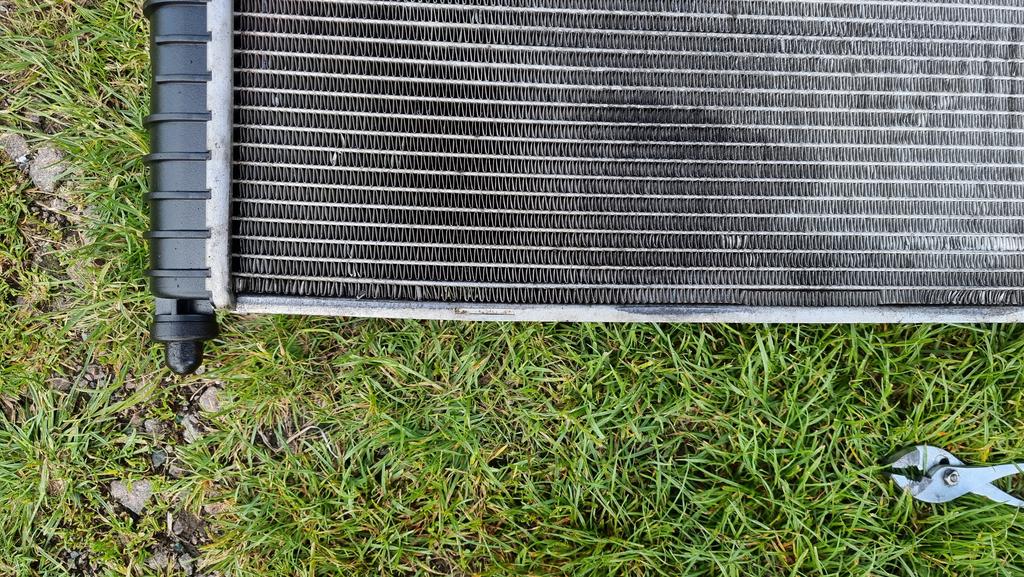
Also my new radiator arrived.
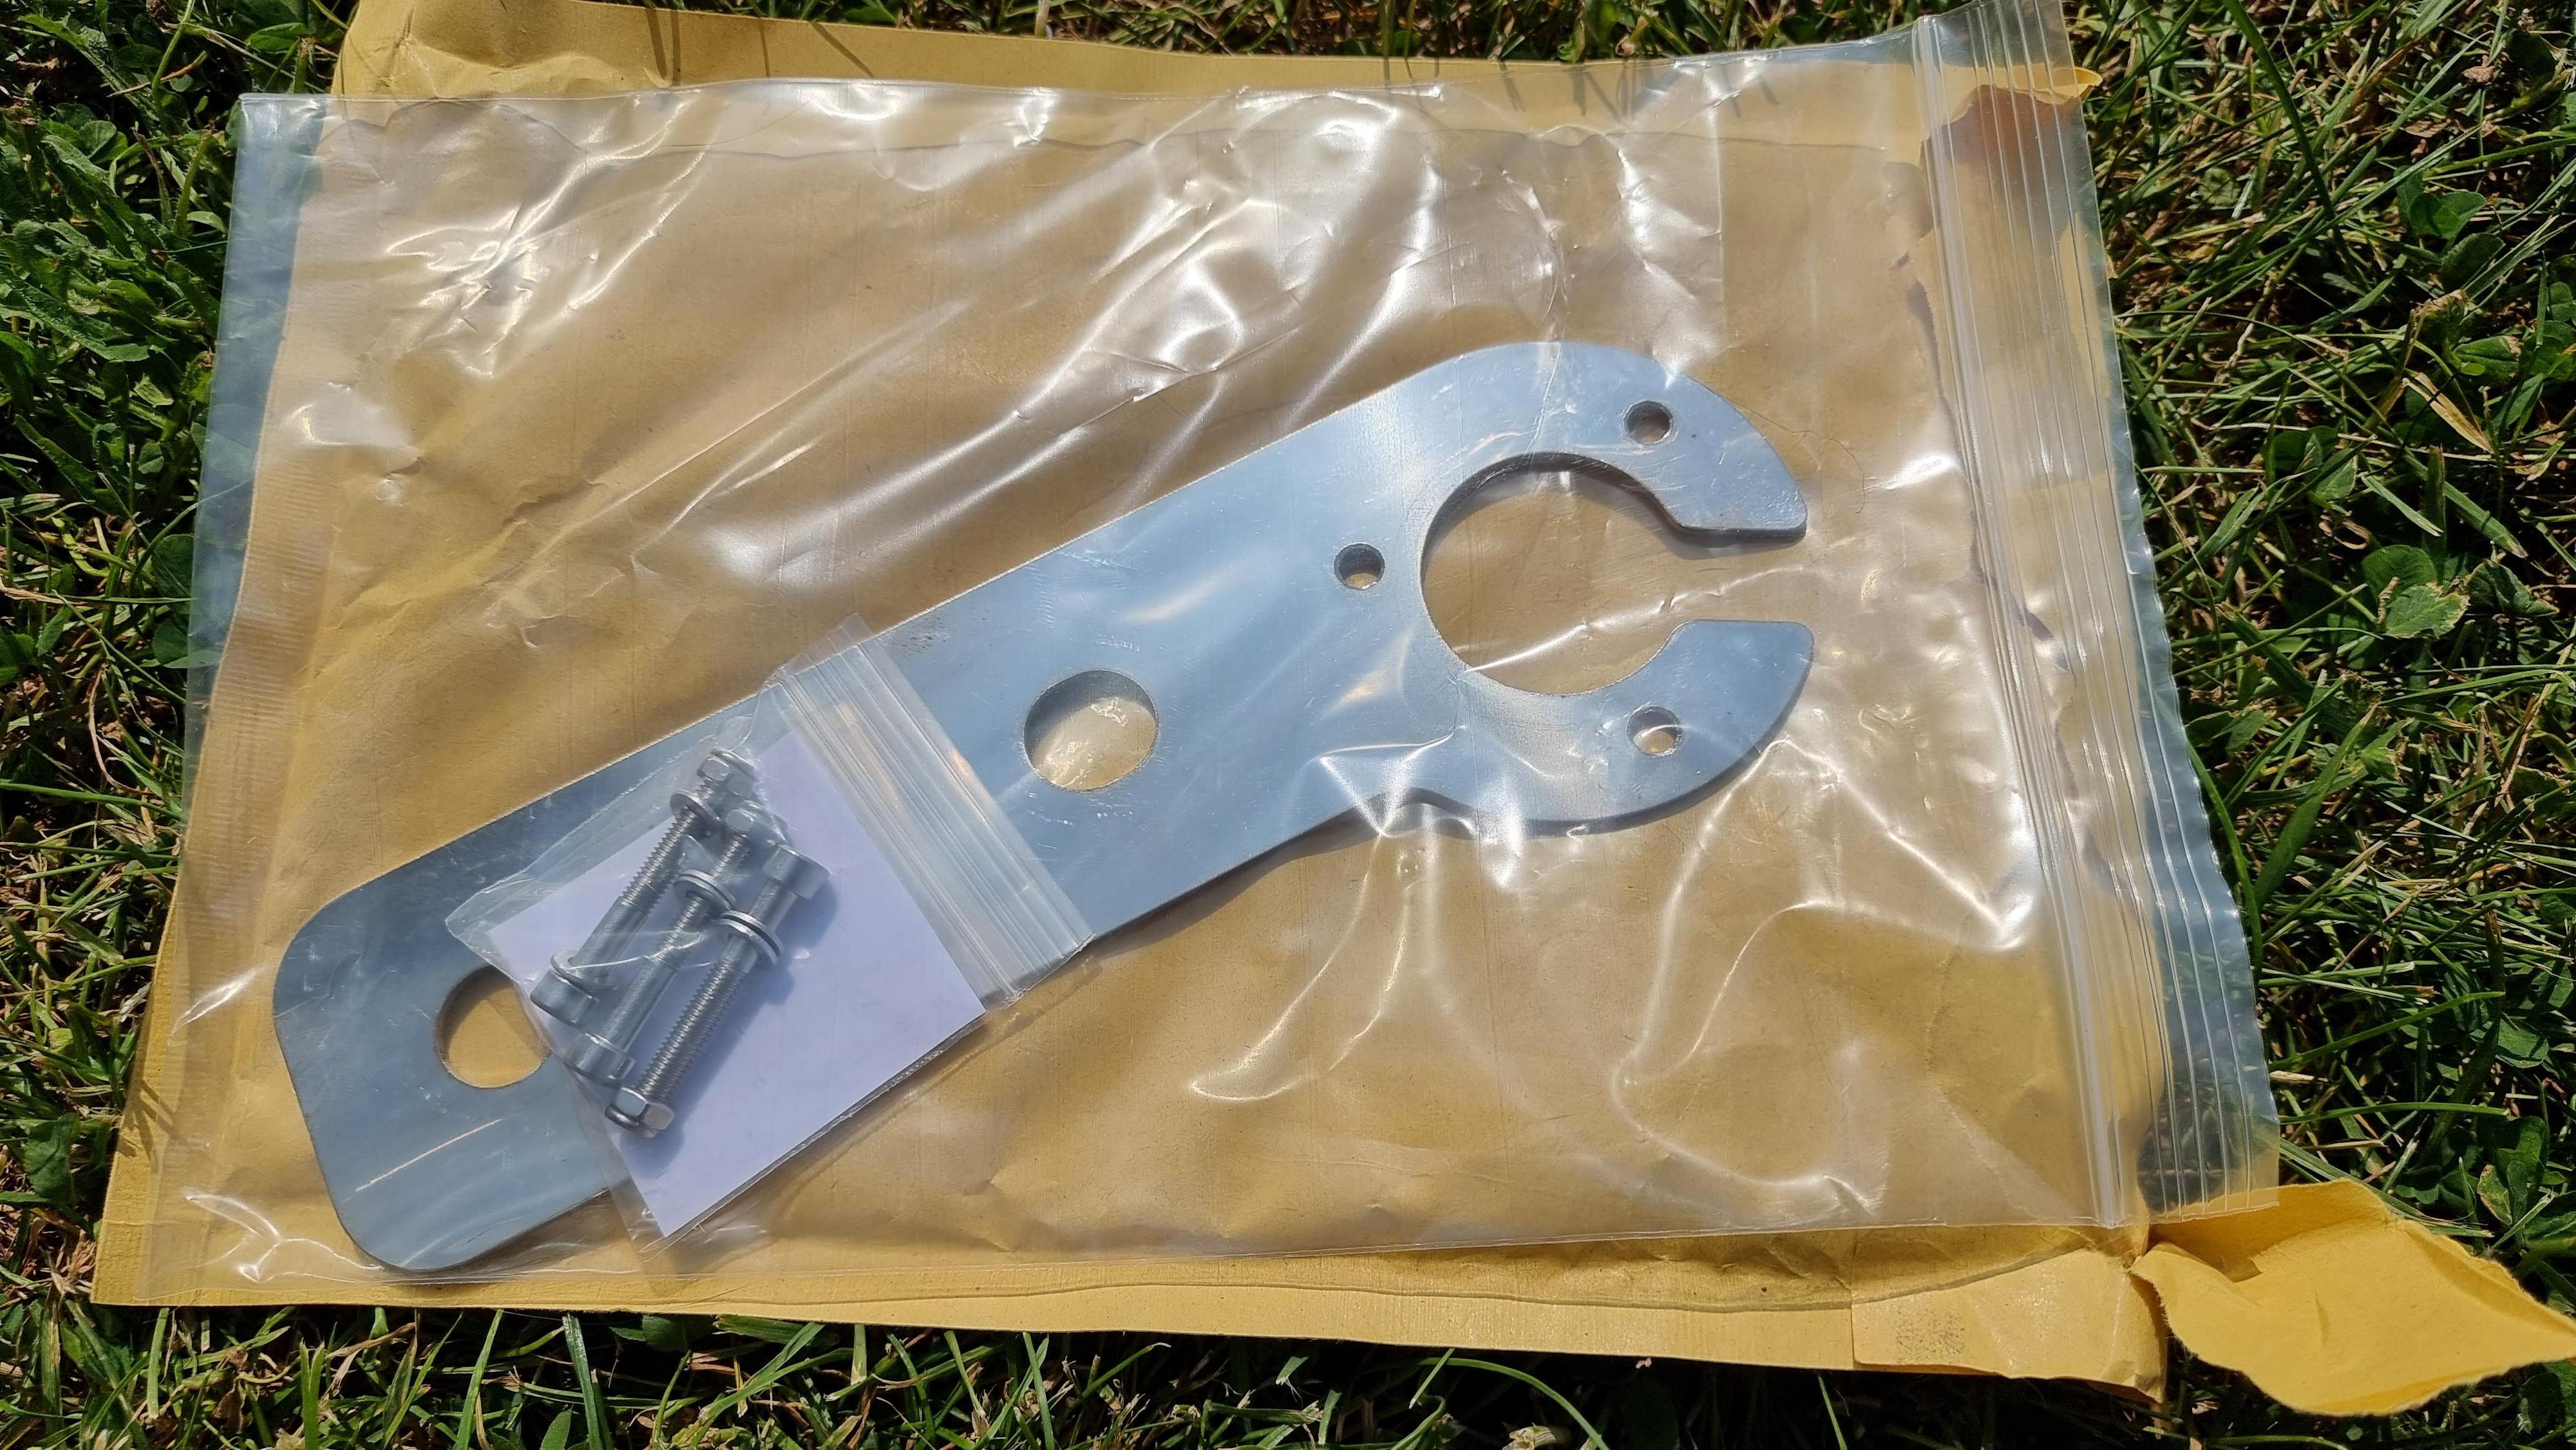
Picked up an LPG filler bracket and a trailer plug bracket in stainless ready for when I complete the tow bar project.
Also got new LPG tanks, valves, pipe and brass fittings to refresh the back end of the system. No photos of this until I start the work.
Also my new radiator arrived.
Picked up an LPG filler bracket and a trailer plug bracket in stainless ready for when I complete the tow bar project.
Also got new LPG tanks, valves, pipe and brass fittings to refresh the back end of the system. No photos of this until I start the work.
So got the cooling system refreshed on Wednesday. Good job really as the rad was showing signs of leaking. I've replaced all the coolant hoses including the lpg and replaced my gates thermostat with a genuine land rover one. So first off I used a can and a half of this...
Liqui Moly Radiator Cleaner - https://www.ebay.co.uk/itm/303835361674
Cleaned the whole system and flushed it all out.
Stripped the rad off and saw this...
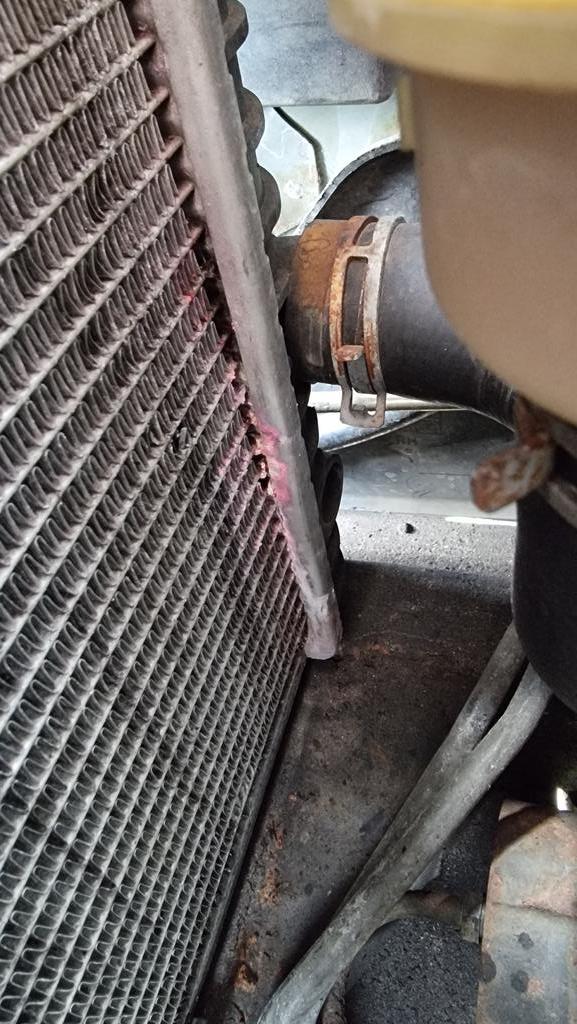
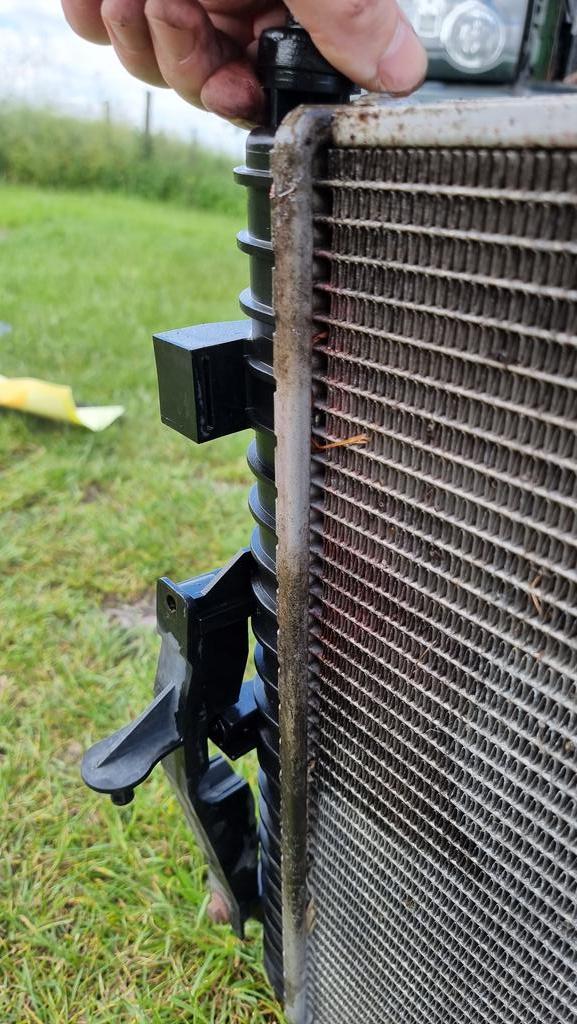
Leaking and warped at the bottom, so glad I've replaced it!!
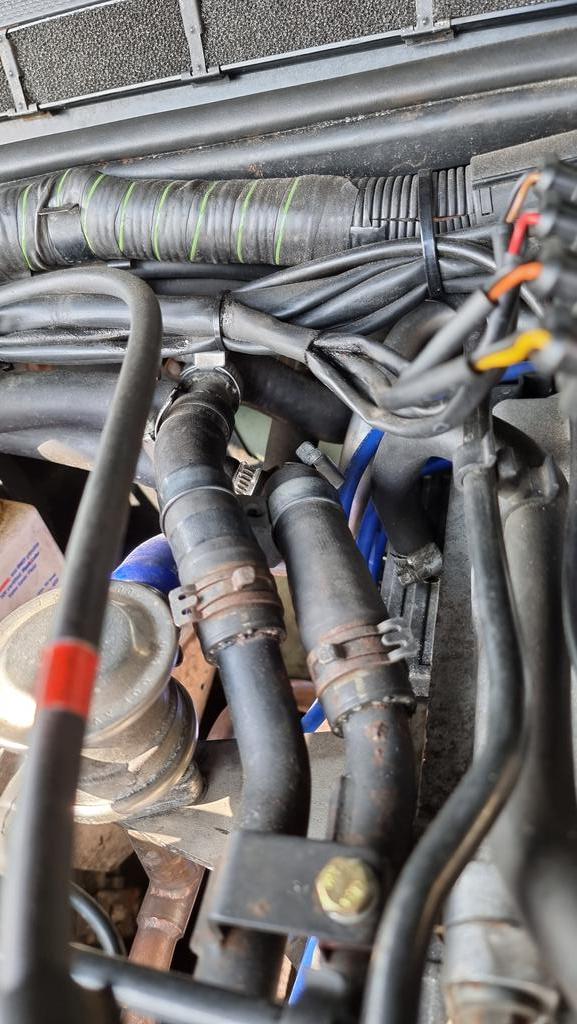
Old lpg hoses, were hard and easy to rip etc

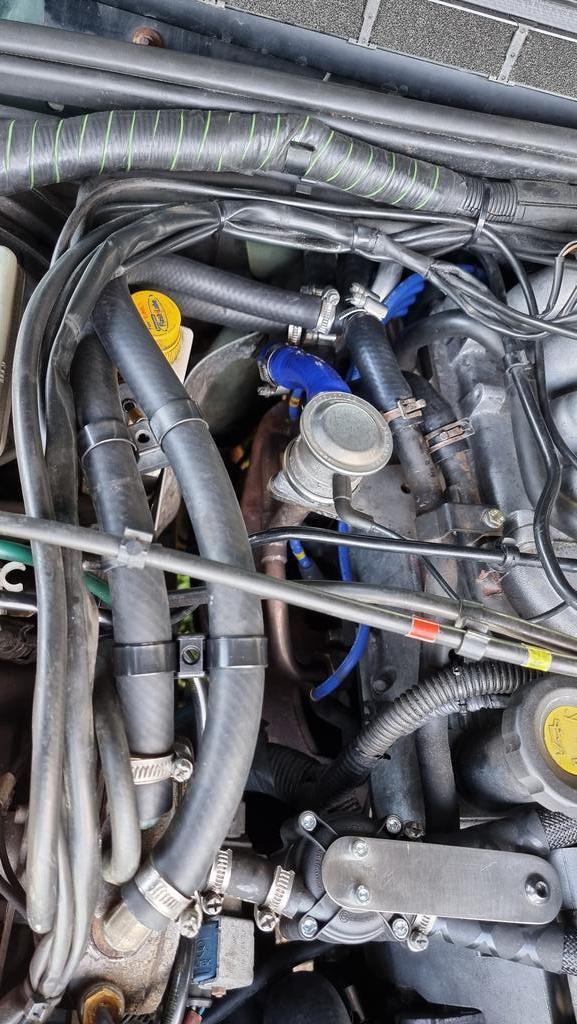
New ones fitted. What a mission getting them off the heater matrix!! Welded on and left rubber stuck behind!
Done...
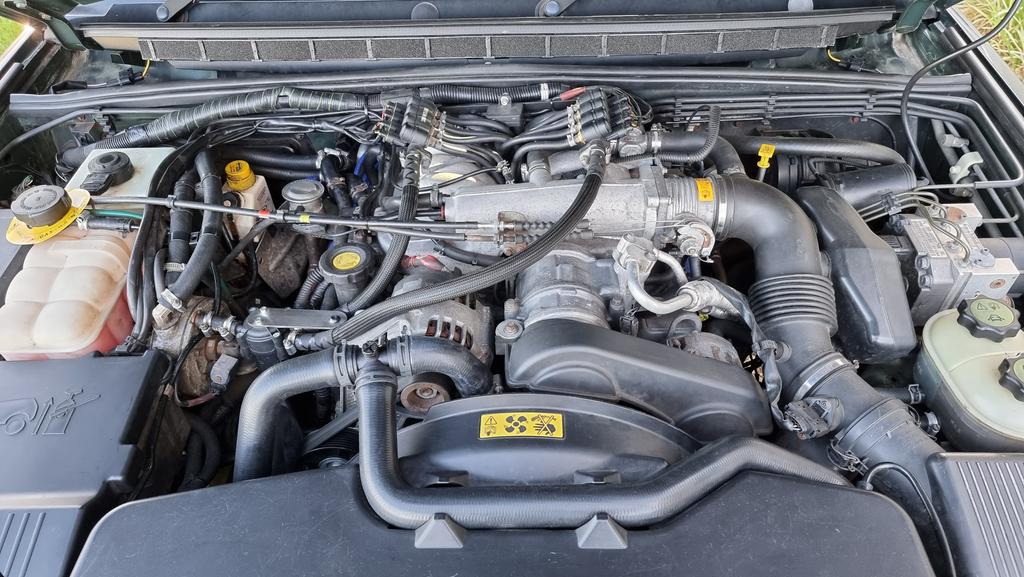
Only been for short drives so far but there's a big difference in the cooling, happy days.
Liqui Moly Radiator Cleaner - https://www.ebay.co.uk/itm/303835361674
Cleaned the whole system and flushed it all out.
Stripped the rad off and saw this...
Leaking and warped at the bottom, so glad I've replaced it!!
Old lpg hoses, were hard and easy to rip etc
New ones fitted. What a mission getting them off the heater matrix!! Welded on and left rubber stuck behind!
Done...
Only been for short drives so far but there's a big difference in the cooling, happy days.
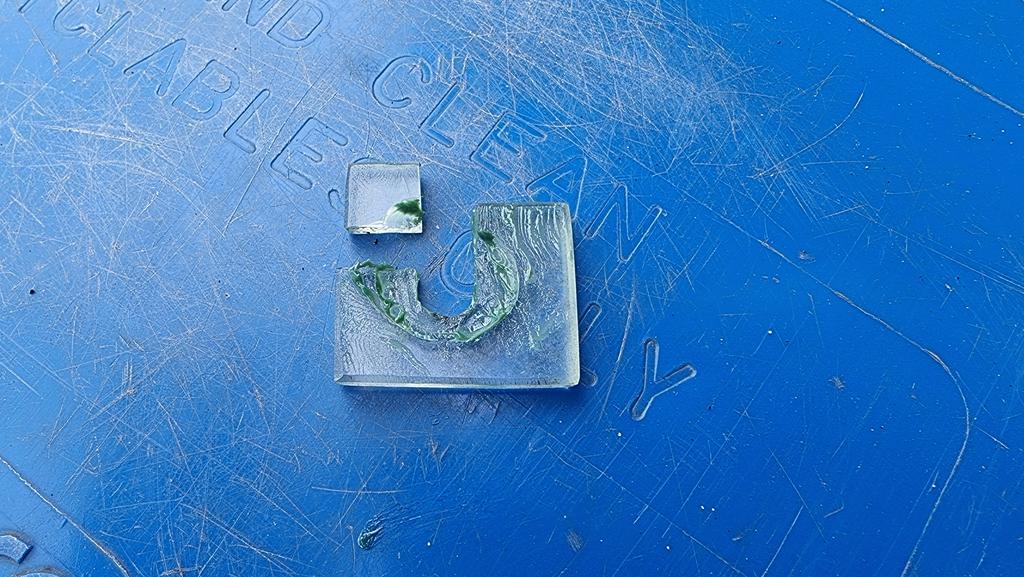
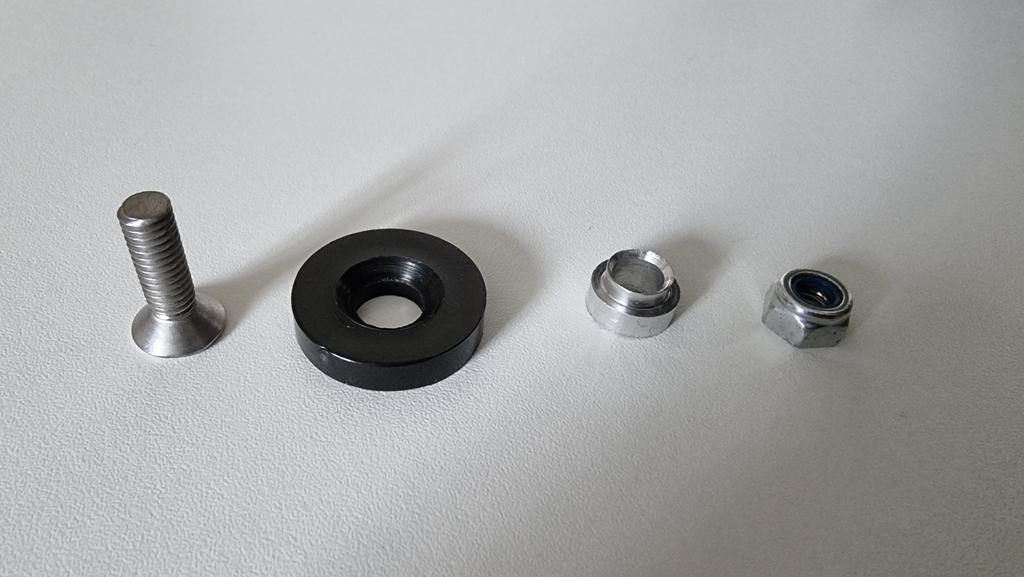
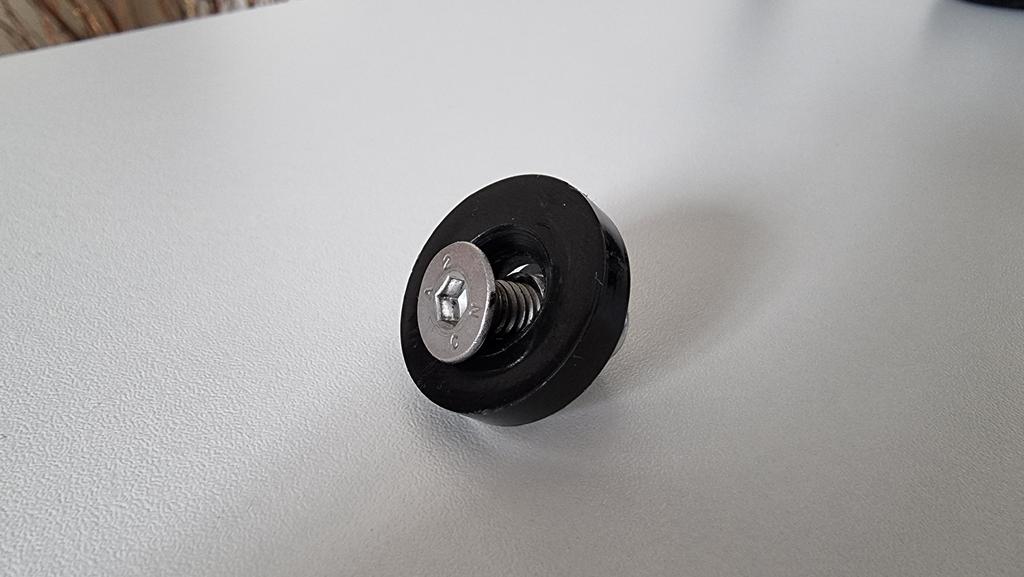
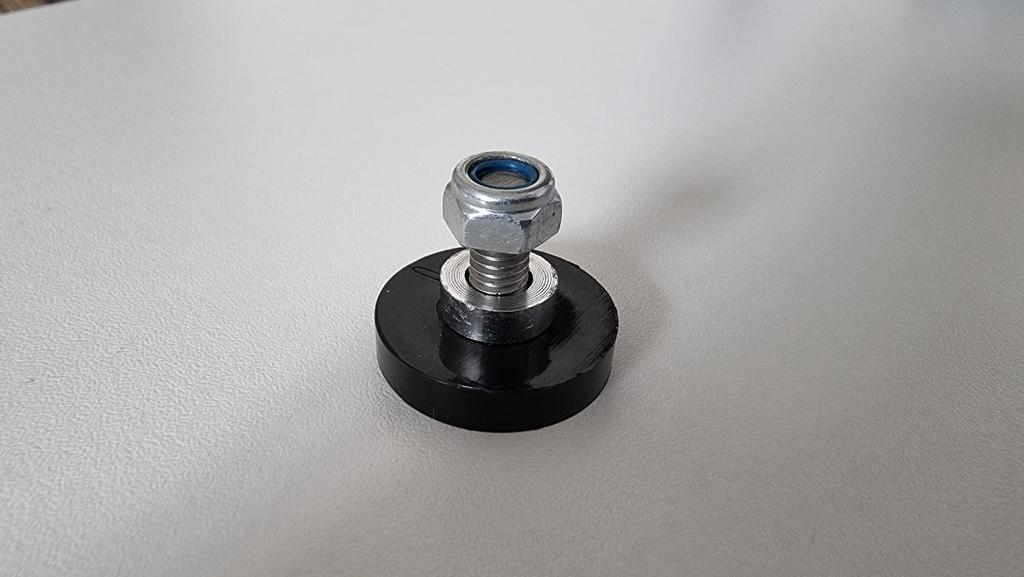
So when fitting the NSF door frame I noticed my temporary regulator fix had snapped. Luckily I've been working on a permanent fix. I ordered a nylon disc which I countersunk on one side to clear the stainless cut down countersunk bolt. I then found the perfect aluminium spacer in the shed which I cut down and countersunk on the side of the bolt head. This then does up tight but leaving the nylon disc to rotate. I cut off the back of the old pin on the regulator and fitted this with a stainless washer and a nyloc nut. Works perfectly and should be much stronger than the original wheel.
I've had a couple of pending lean codes pop up so done a smoke test to see if there's a vac leak. Watch this vid....
Bugger, new throttle body required :cry:
I've had a couple of pending lean codes pop up so done a smoke test to see if there's a vac leak. Watch this vid....
Bugger, new throttle body required :cry:
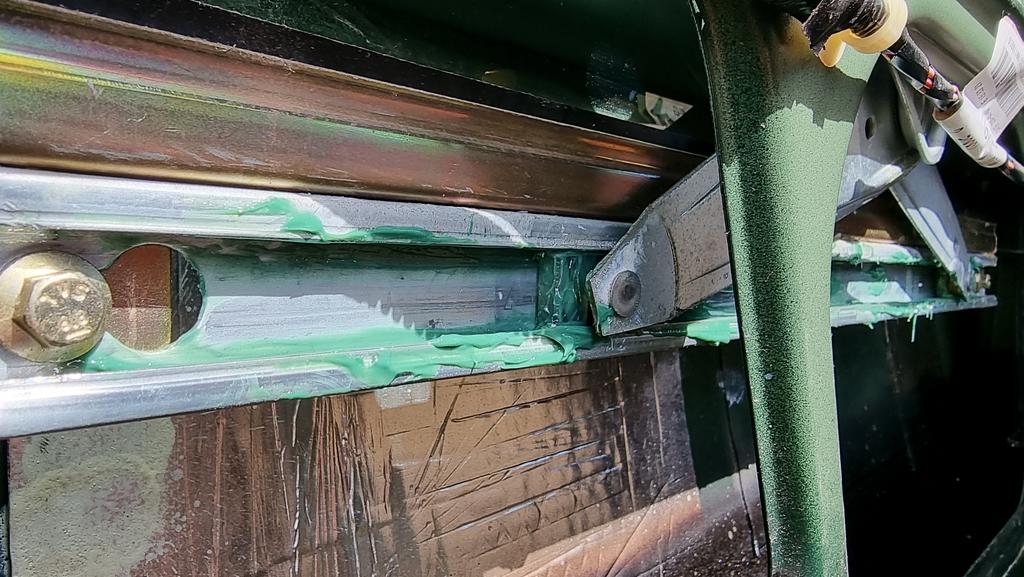
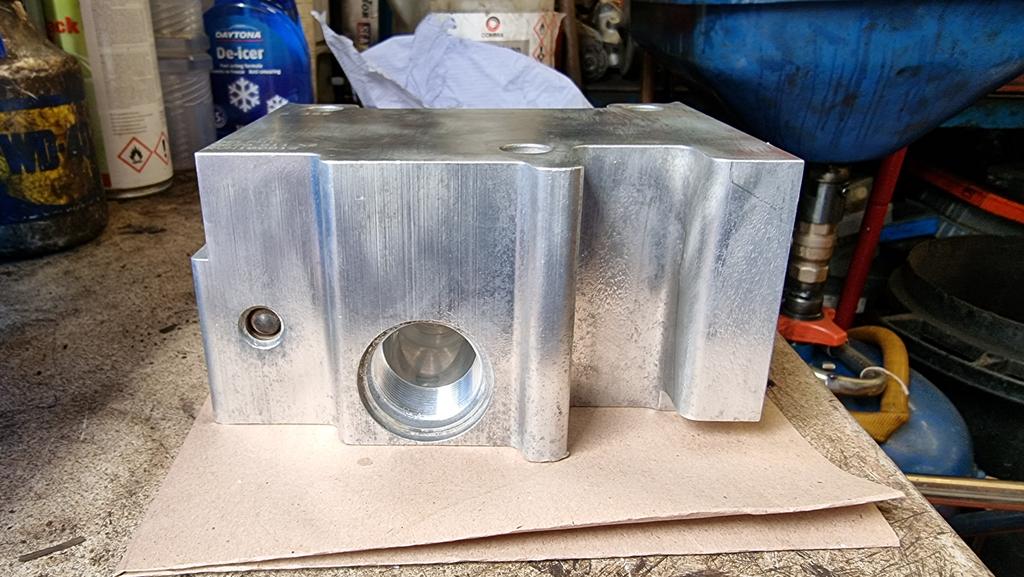
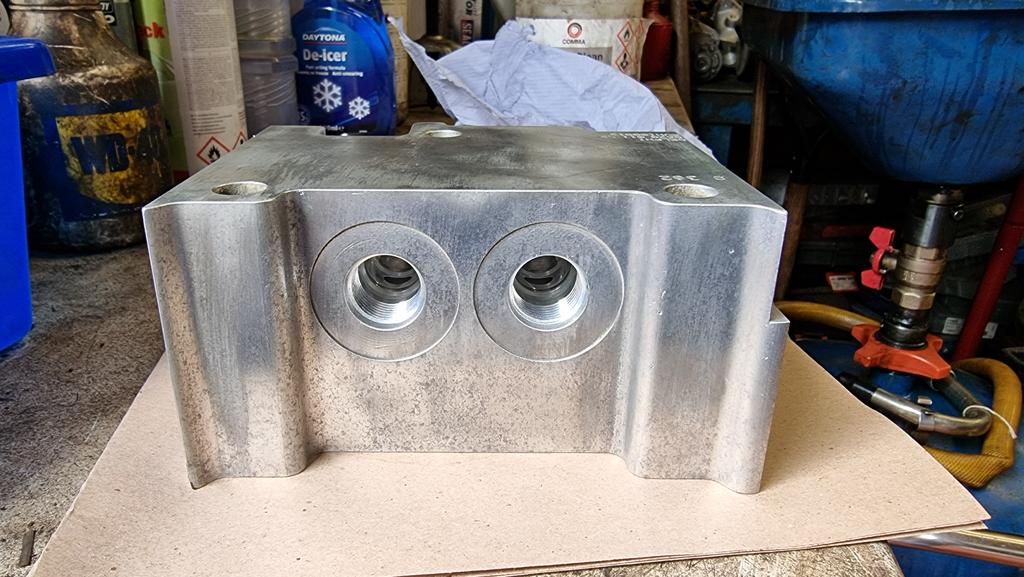
So as you know my ace block sprung a leak on the rear pipes. I've set to work! Good condition secondhand block acquired.
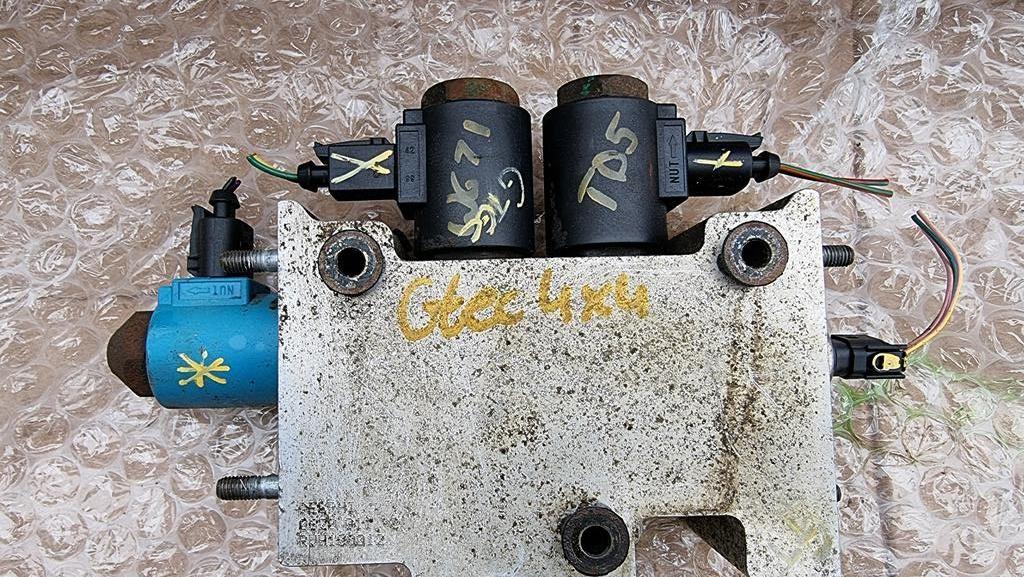
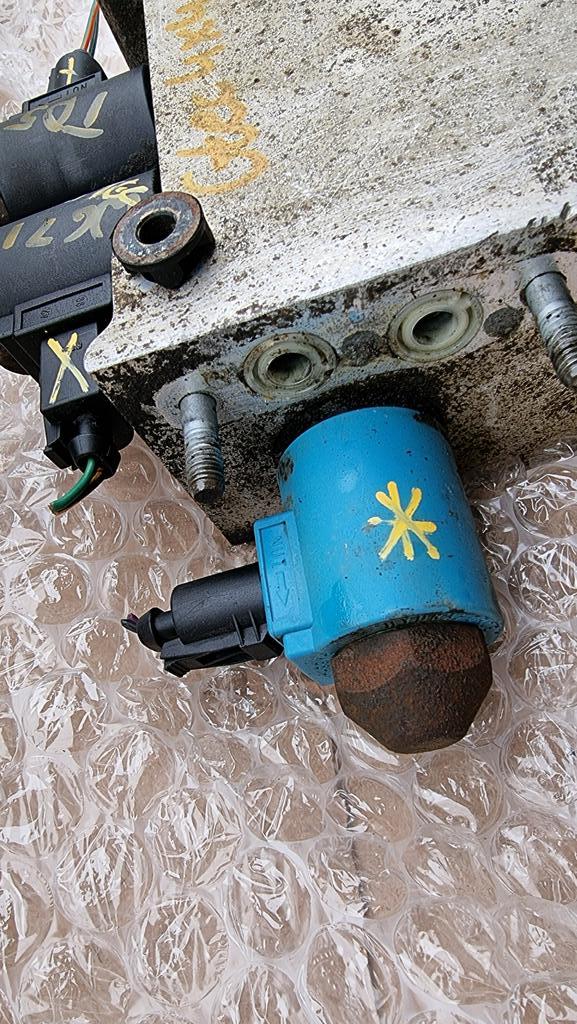
I removed all the bits ready for the work.
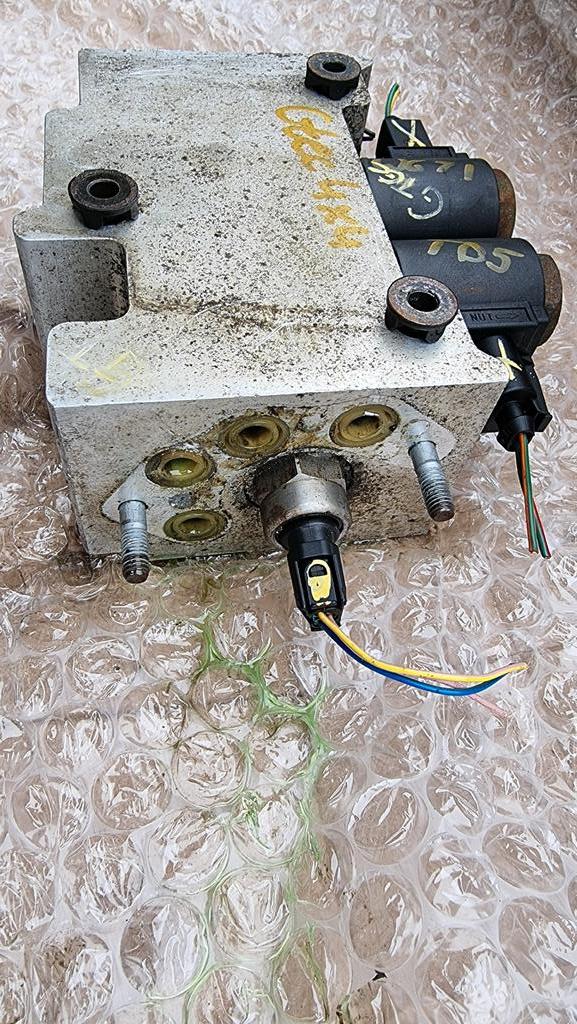
Popped to Pirtek and picked up 6 3/8 BSP parallel male to parallel male fittings and 6 dowty washers. When to see my mate about what I wanted to do. Discussed what I wanted and left it with him. This is the final result...
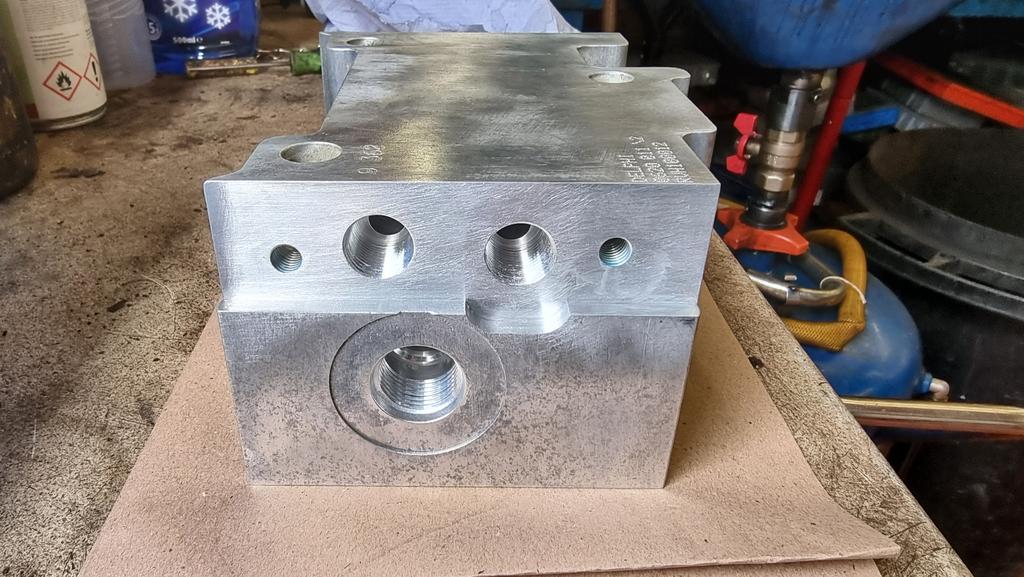
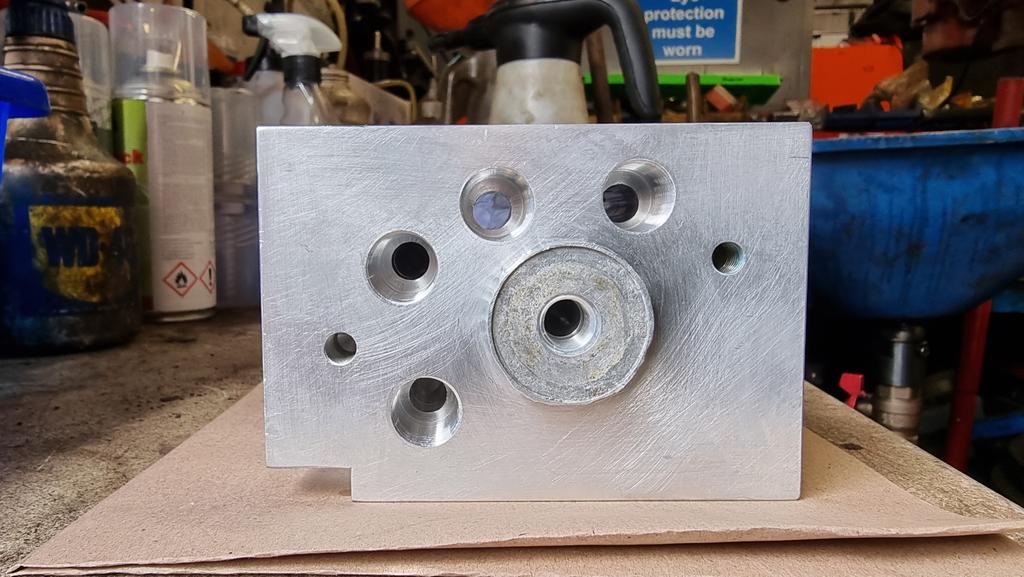
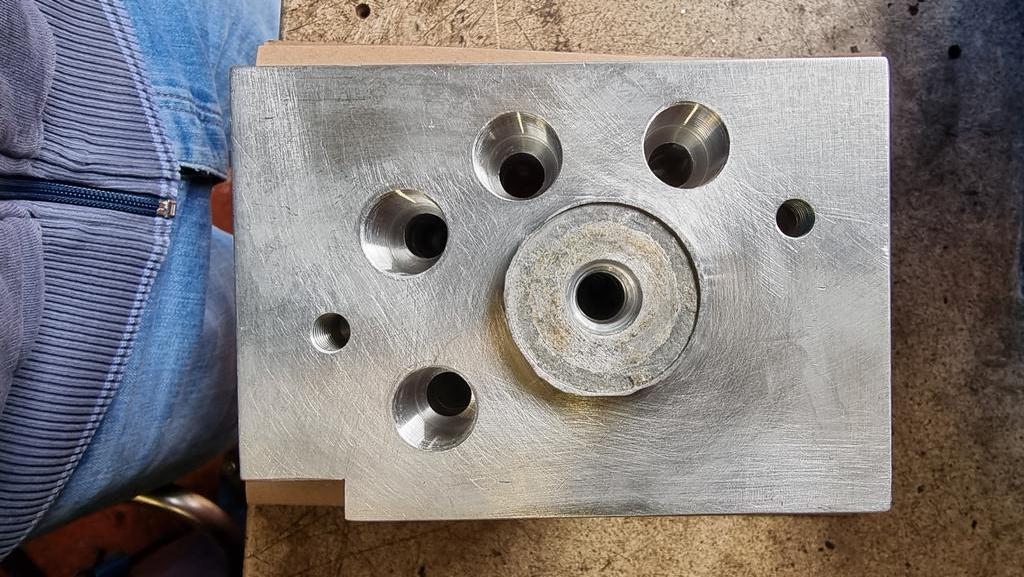
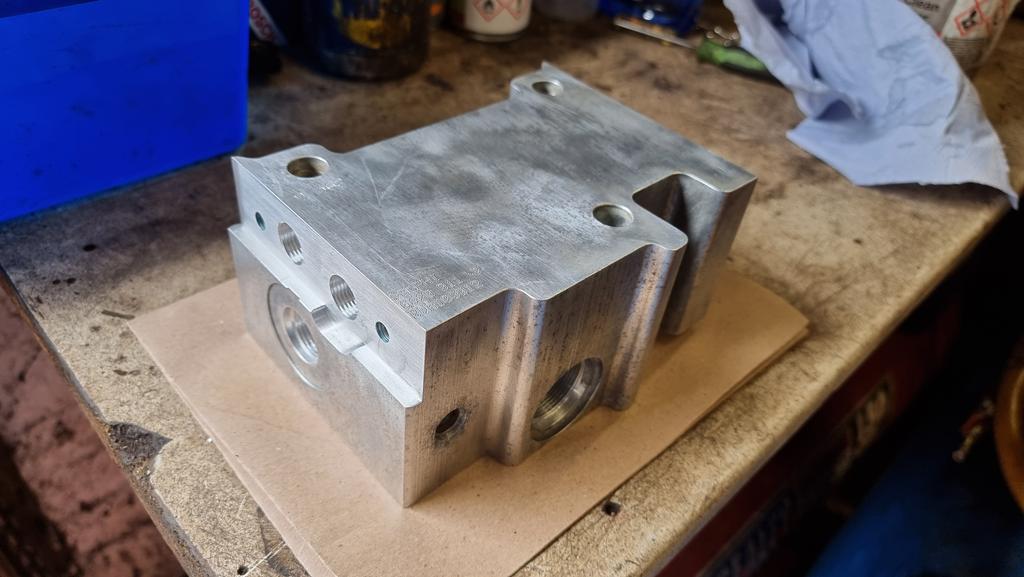
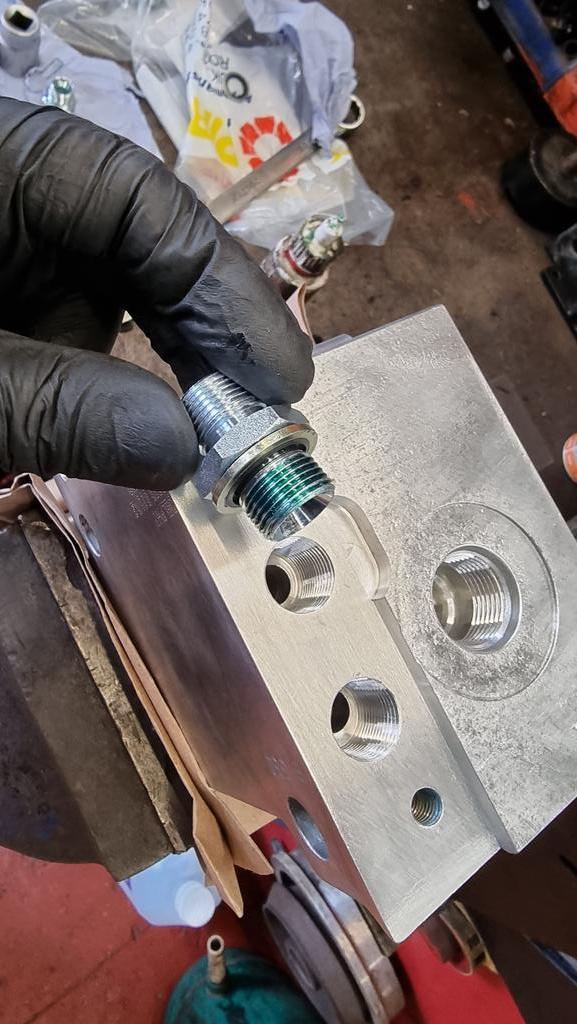
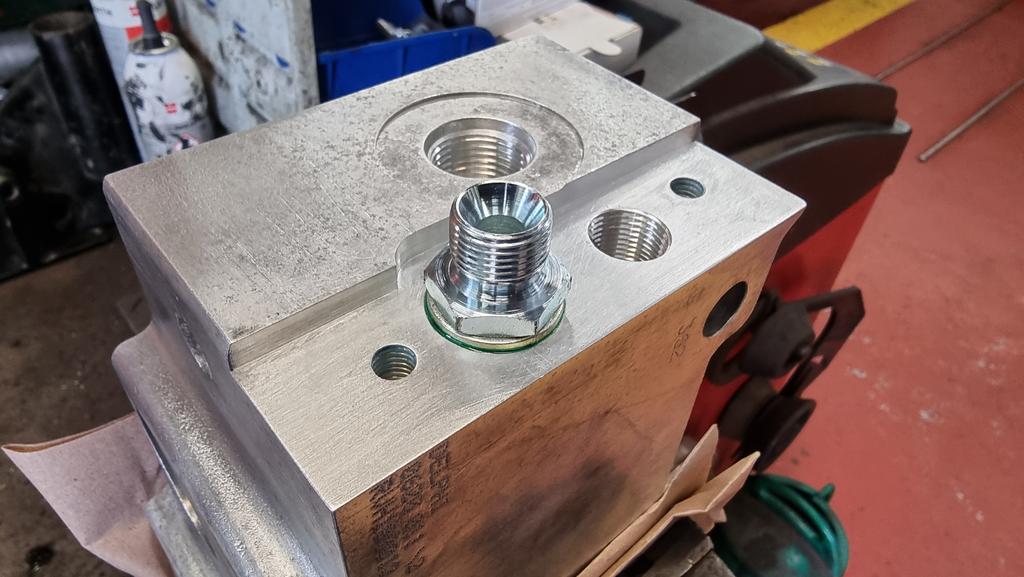

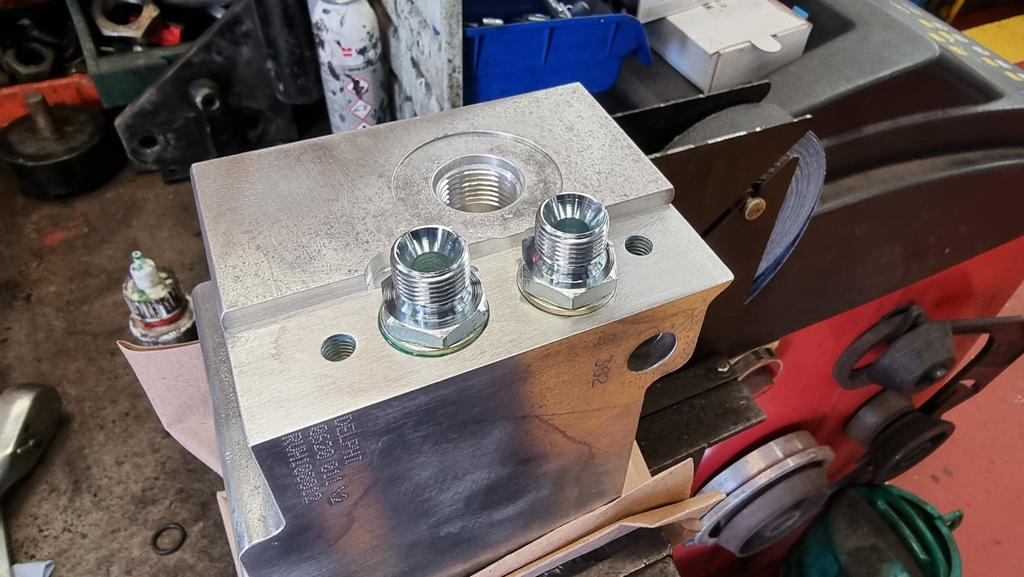
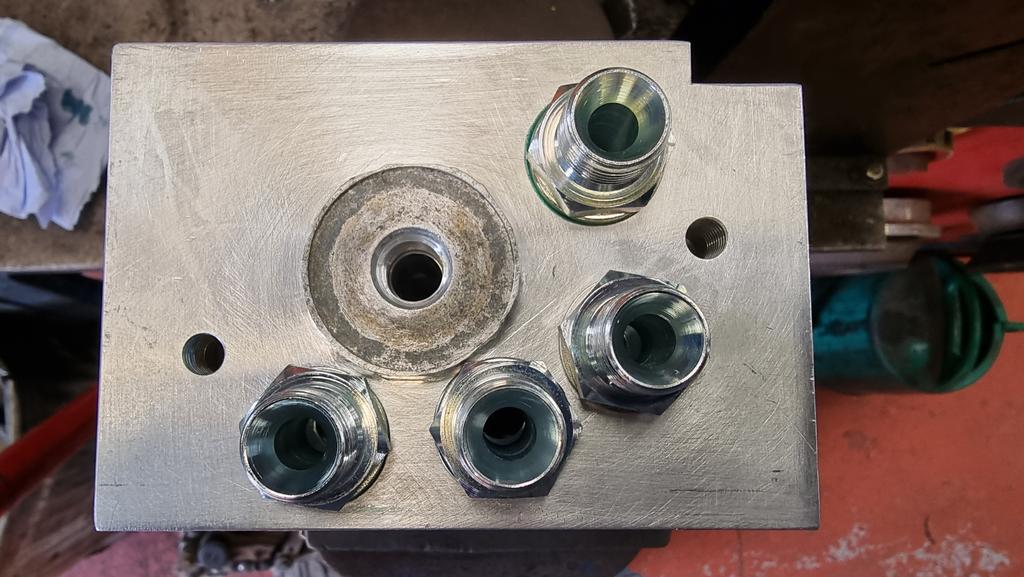
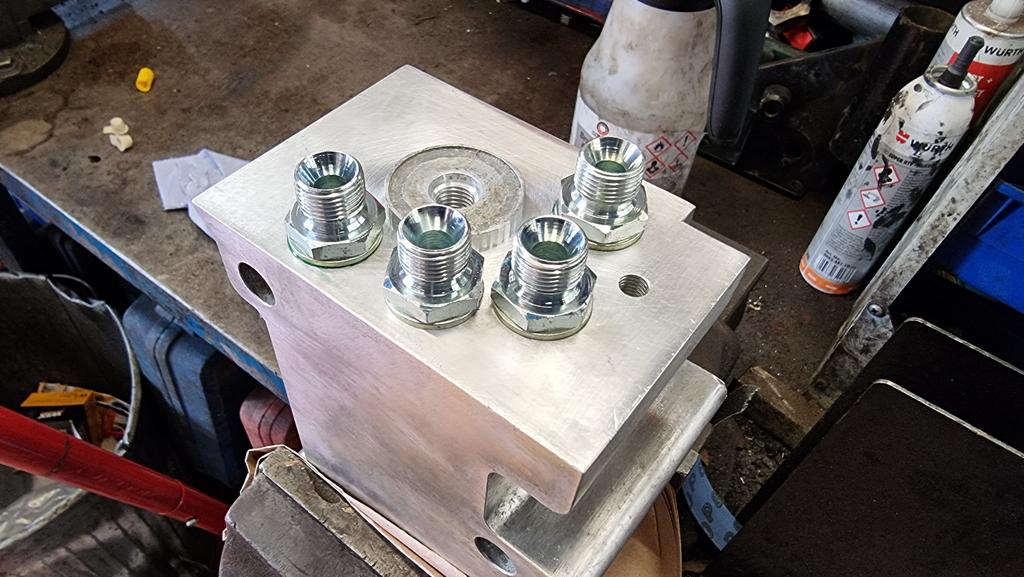
I then used loctite and fitted the fittings ready for the hoses. The holes were offset to the maximum due to the original holes. This just allows the fittings to clear each other when tightening. I decided to machine the whole face of the block rather that counterbore as this gives more room and the option to do the fittings up with a spanner.
I removed all the bits ready for the work.
Popped to Pirtek and picked up 6 3/8 BSP parallel male to parallel male fittings and 6 dowty washers. When to see my mate about what I wanted to do. Discussed what I wanted and left it with him. This is the final result...
I then used loctite and fitted the fittings ready for the hoses. The holes were offset to the maximum due to the original holes. This just allows the fittings to clear each other when tightening. I decided to machine the whole face of the block rather that counterbore as this gives more room and the option to do the fittings up with a spanner.
Similar threads
- Replies
- 6
- Views
- 617