Henry_b
Think outside, no box required.
- Posts
- 15,351
- Location
- somewhere else
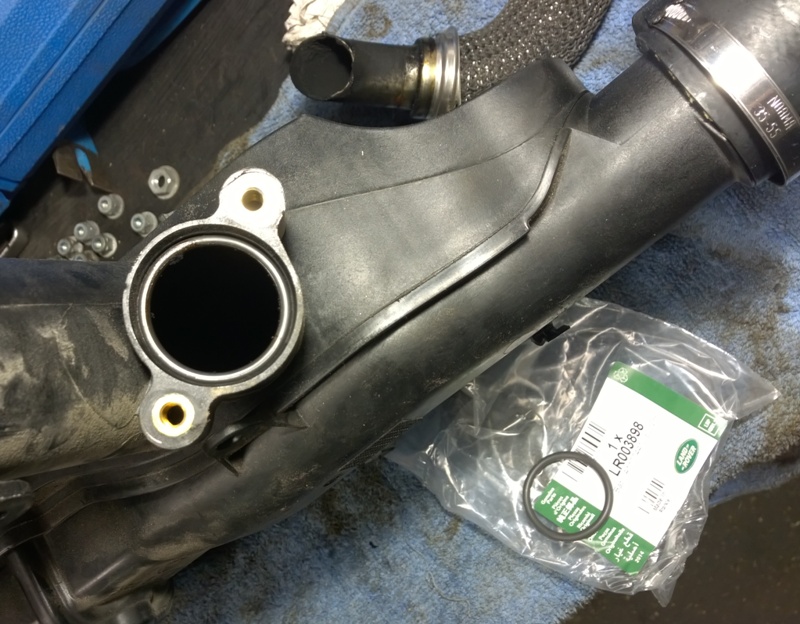
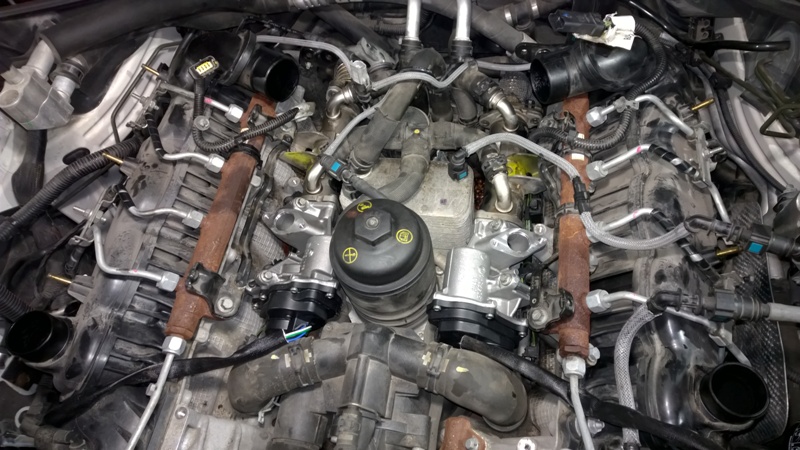
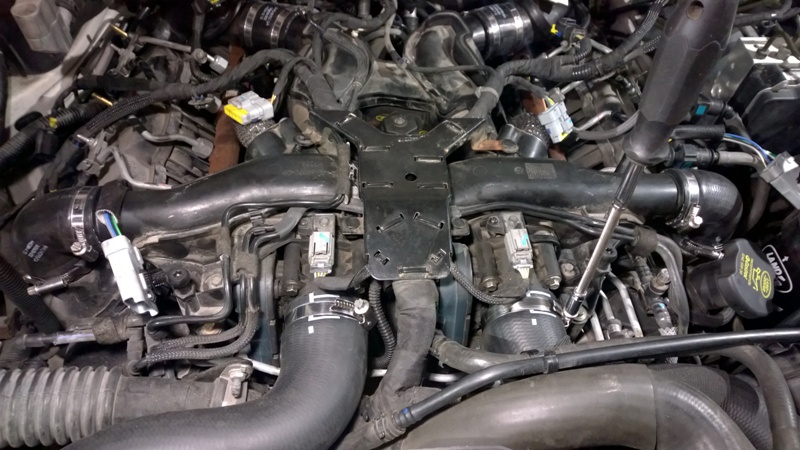
Beware this is a very image post, quite a few pictures and procedure to replace both EGR valves on the TDV8. I've also replaced a few inlet hoses and a couple of O-rings, I think this is worthwhile when you already have to release these for access to the EGRs
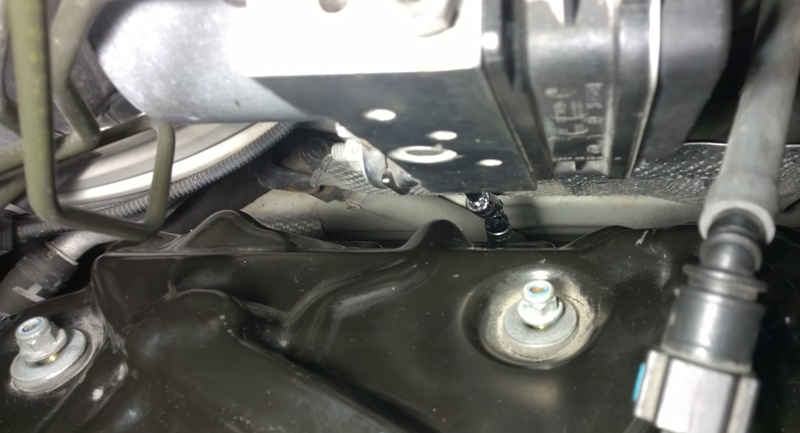
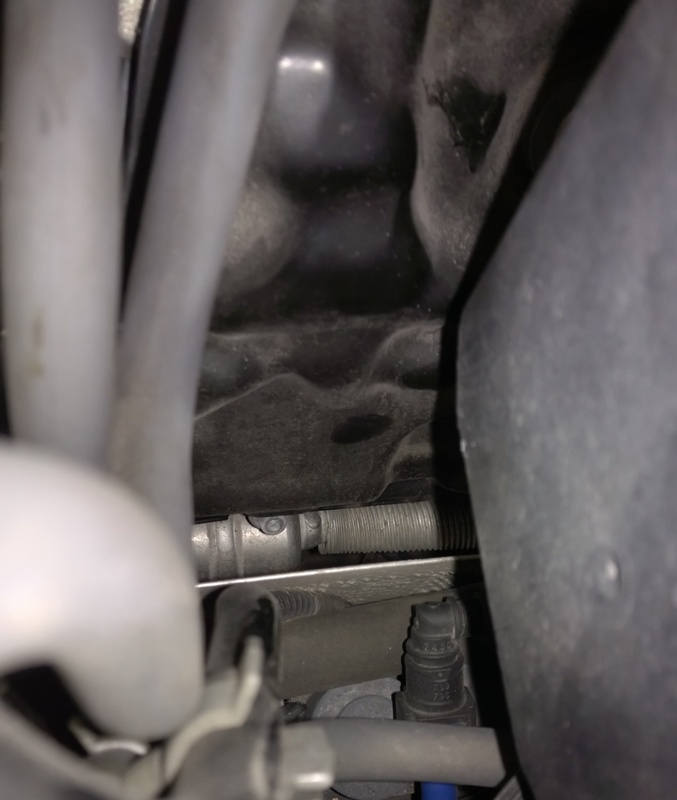
There is no ****ing breathing room available, thanls LR you will lose nuts/bolts/tools downwards, so removing the under tray first will be a good idea I have lost a 10mm socket and a femex ratchet and a 13mm r ring spanner, which was caught on the under tray thank christ. There is also a metric shyte tonne of electrical connectors to release and re connect
To complete the following job you need these parts:
EGR Valve Left Hand 3.6l V8 L322 Range Rover + Sport
EGR Valve Right Hand 3.6l V8 L322 Range Rover + Sport
EGR Tube>EGR Gasket 3.6 V8 - L322 Range Rover + Sport
EGR Valve>Tube Gasket 3.6 Dsl
LR003831, EGR Valve Gasket 3.6l V8 Diesel
Part numbers escape me at the moment
not really needed parts:
Duct - Air Inlet Manifold 3.6l V8 Lion Diesel - Range Rover Sport + L322, Intake Manifold Air Duct Hose - 3.6l V8 Diesel - Range Rover L322 + Sport
Rad Hose Upper + Clips LH 3.6 G-CAT
Rad Hose Upper + Clips RH 3.6 G-CAT
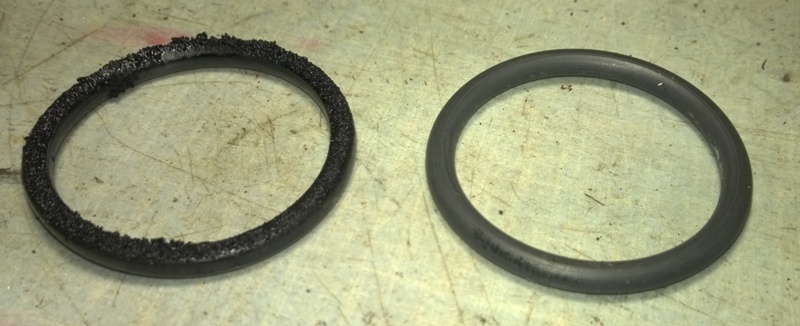
O Ring EGR Valve Tube 3.6L DSL G-CAT
Tools used:
13 mm ring spanner
10 mm ring spanner and sockets
8 mm ring spanner and sockets
Torx 30
1/4 extensions of different lengths
1/4" universal joint
1/4" ratchet handle
3/8" extension
3/8" ratchet handle
3/8 Teng Torque wrench
Hose clamp
Pliers
A plastic pry tool for connector studs and to loosen stuck hoses.
A couple of tie clips for tie up the coolant pipes out of the way.
First off open the bonnet and put it into service mode aka straight up, remove the gas struts and once at 90 degrees lock the latches in place.
Open the hood in service mode, open the small spring clips on the dampers with a small, thin flat screw driver.
Remove the battery negative cable and put it aside
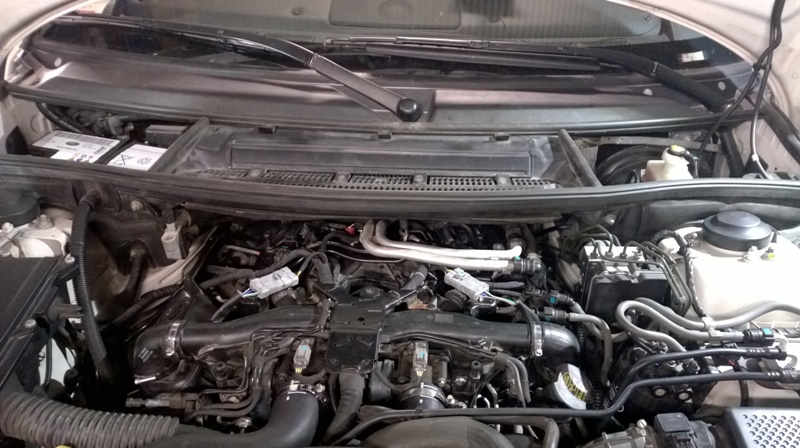
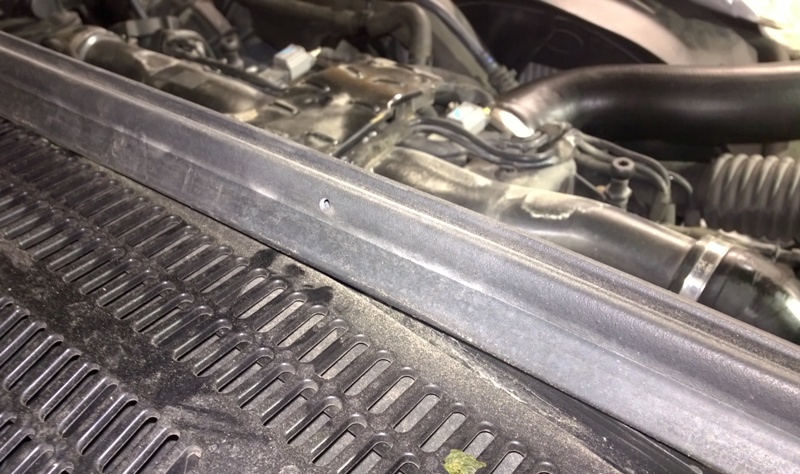
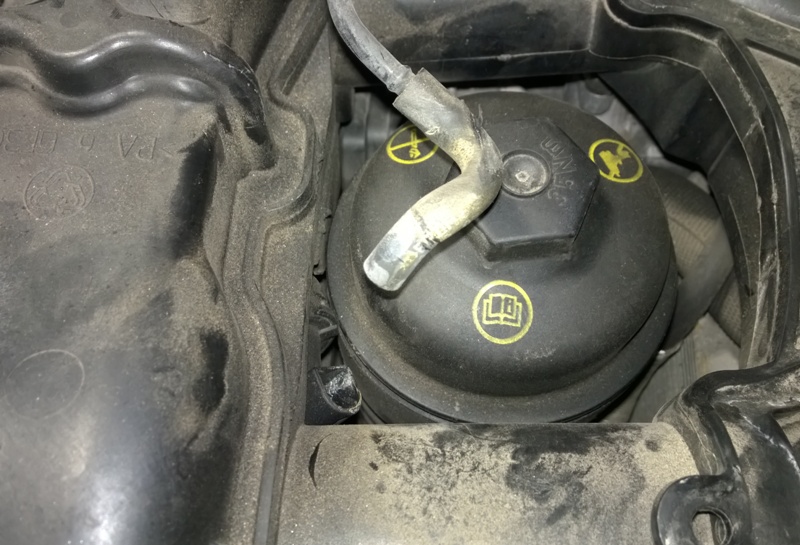
Lift off the hood seal.
Undo the A/C support bracket.
also the A/C pipes
Then the plenum chamber is loose and can be pulled straight out.
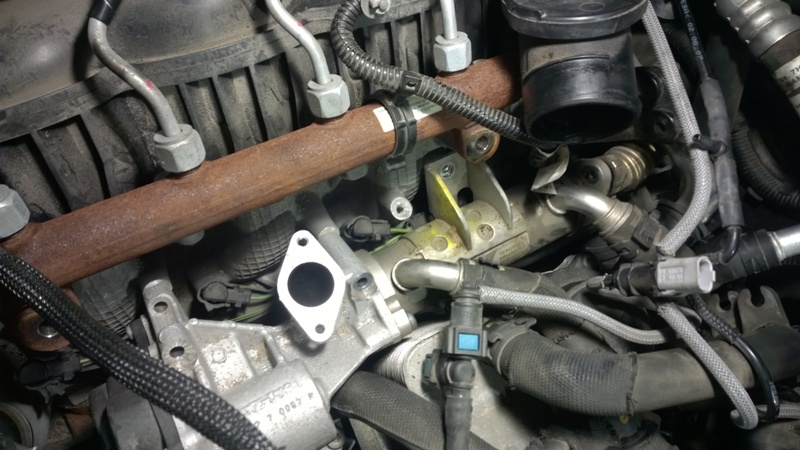
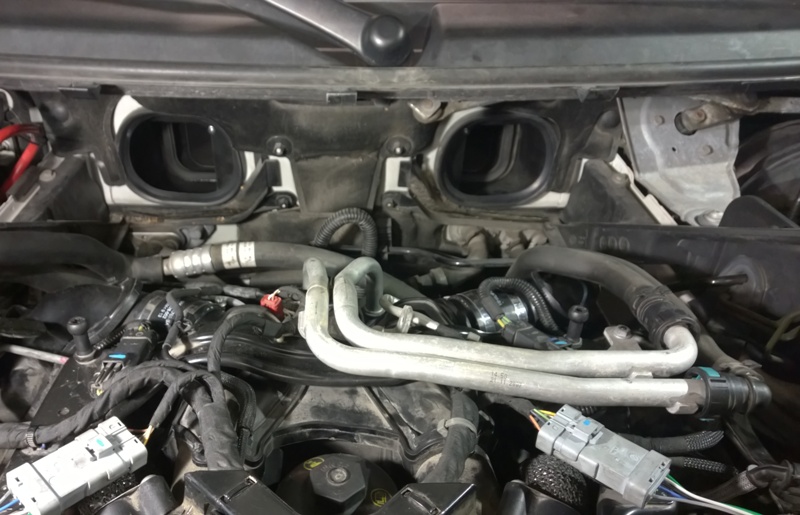
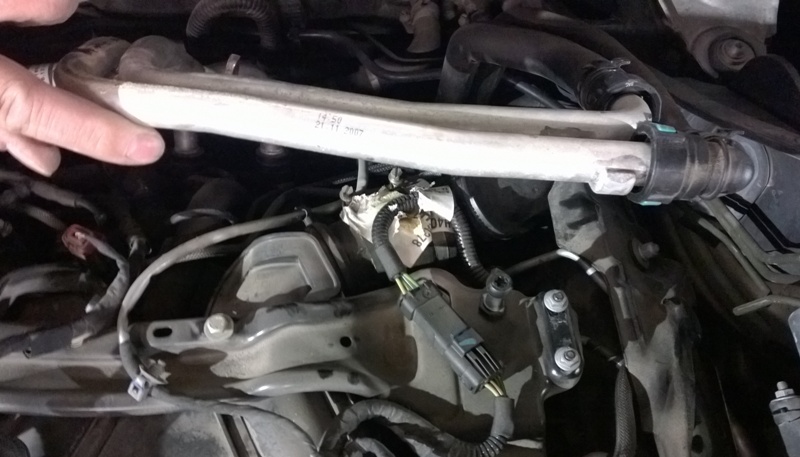
You see the twin cooland pipes to release next.
With two nuts and one bolt you can lift and bend the pipes up and I tied them up with a strips to be out of the way.
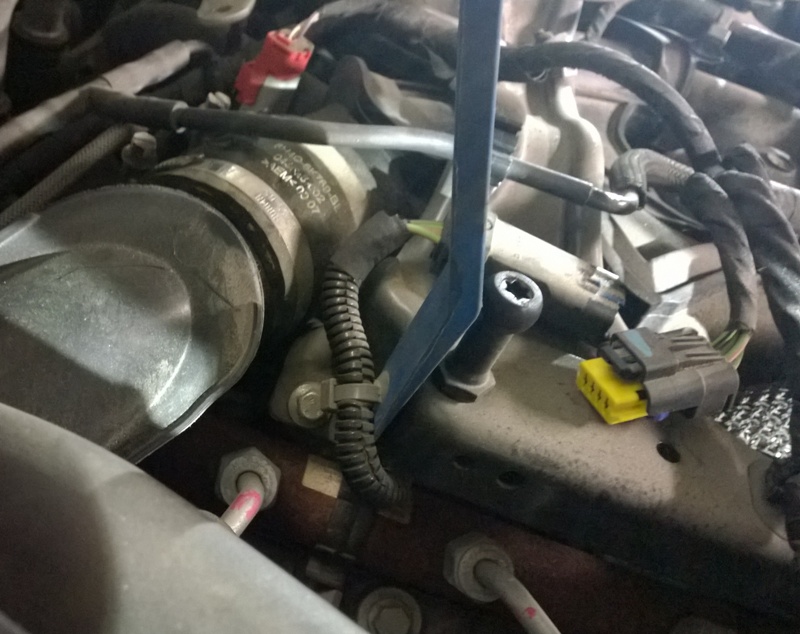
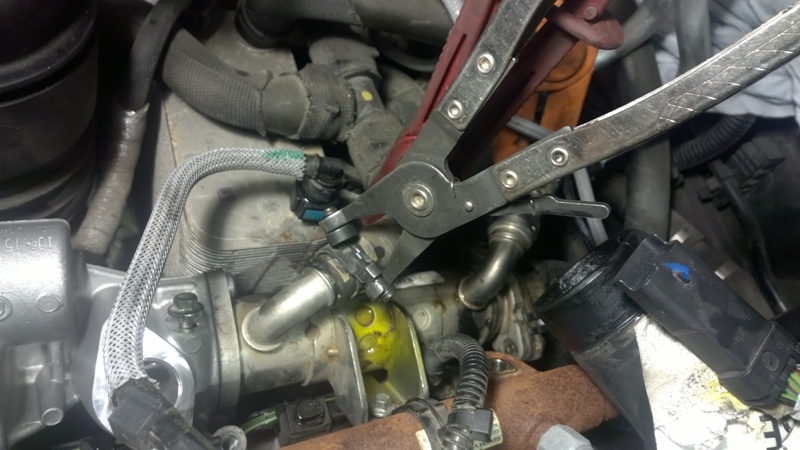
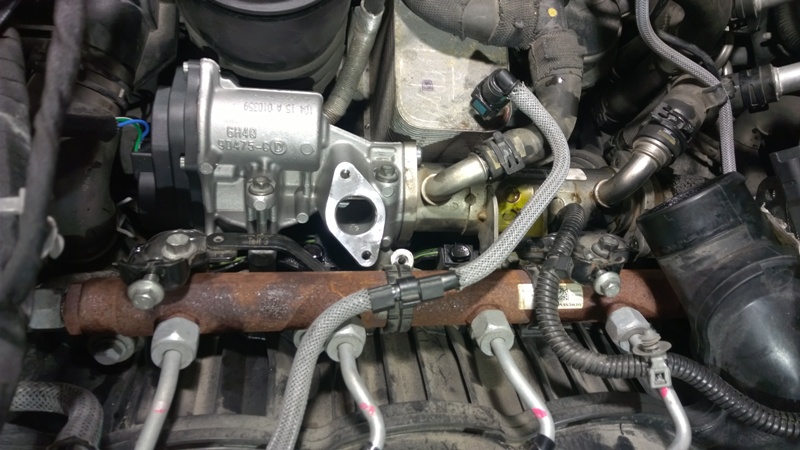
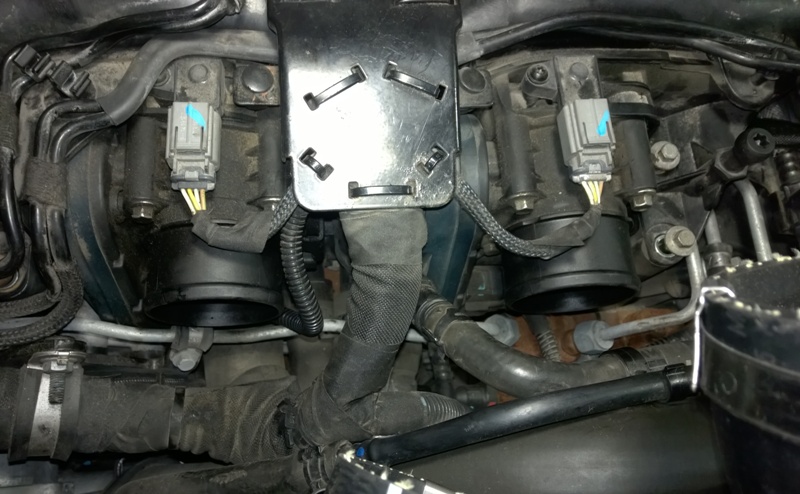
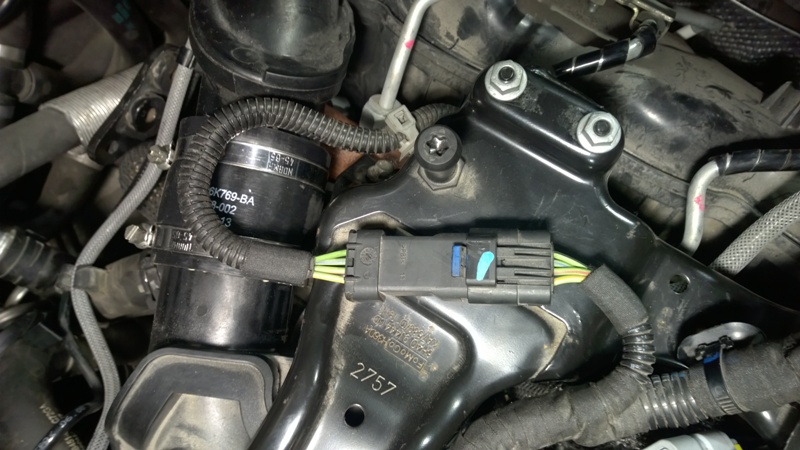
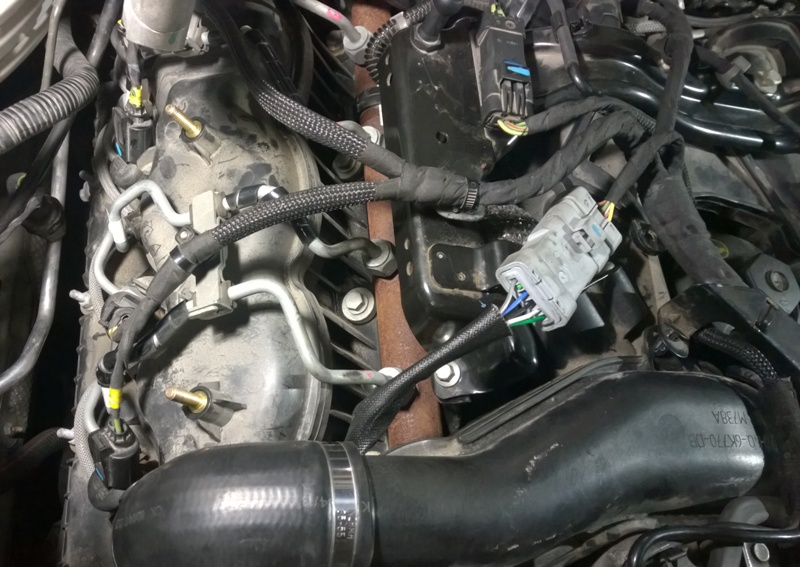
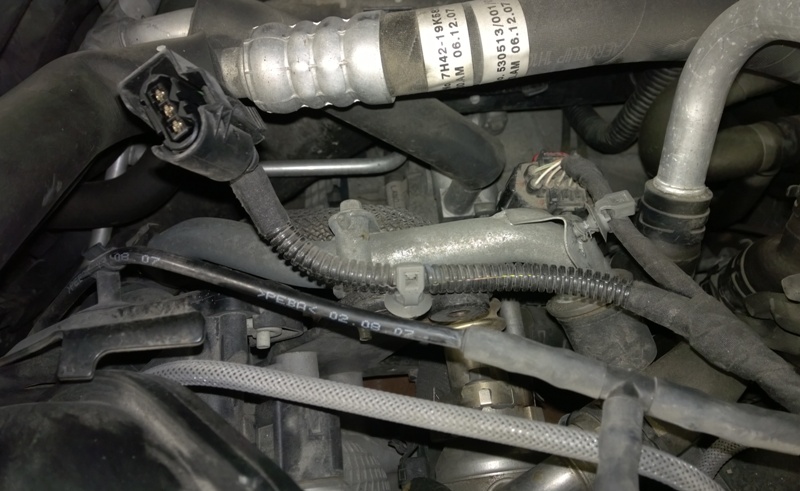
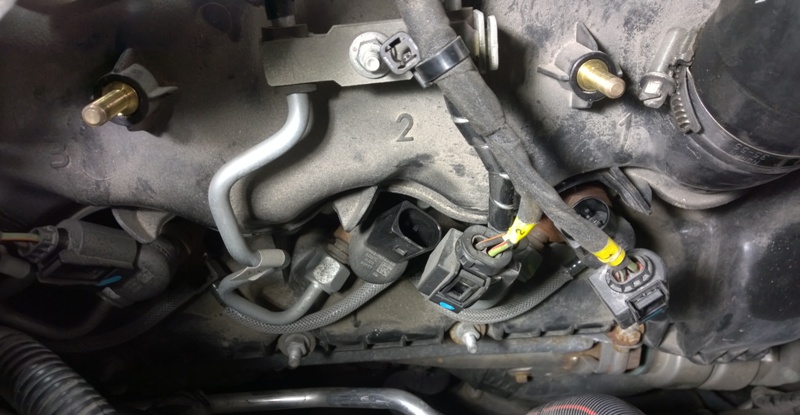
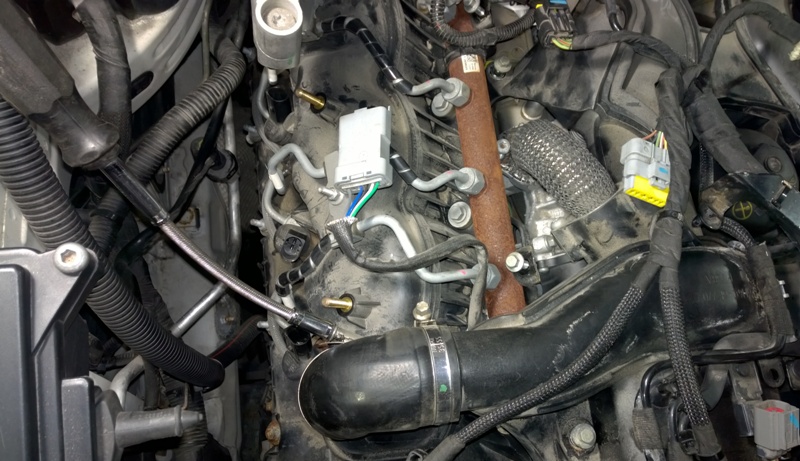
Disconnect and release the wiring to EGR valves. Both sides.
 EGR connector to be opened and released.
 Follow the engine harness and remove where its tied down.
 Theres alot of wiring and a big bracket in the centre.
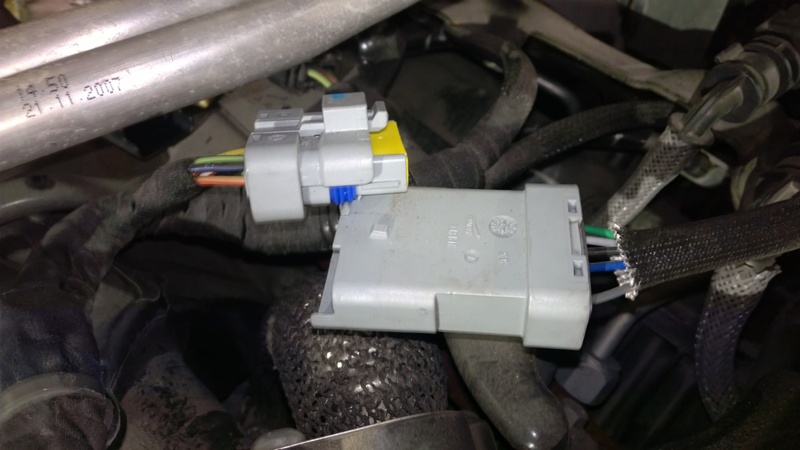
 Follow the branches of the wiring and release all clips and connectors.
 A plastic trim removal pry tool is good help releasing the tie downs.
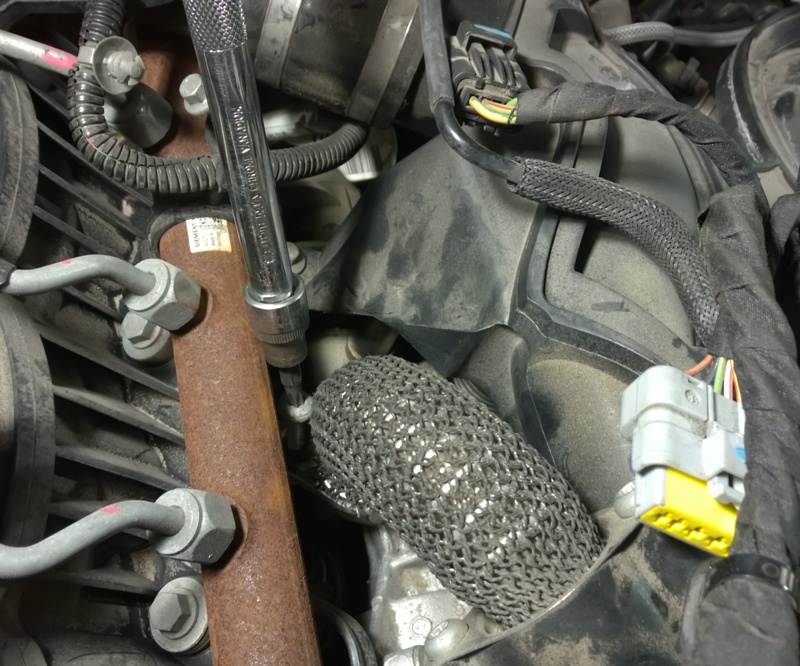
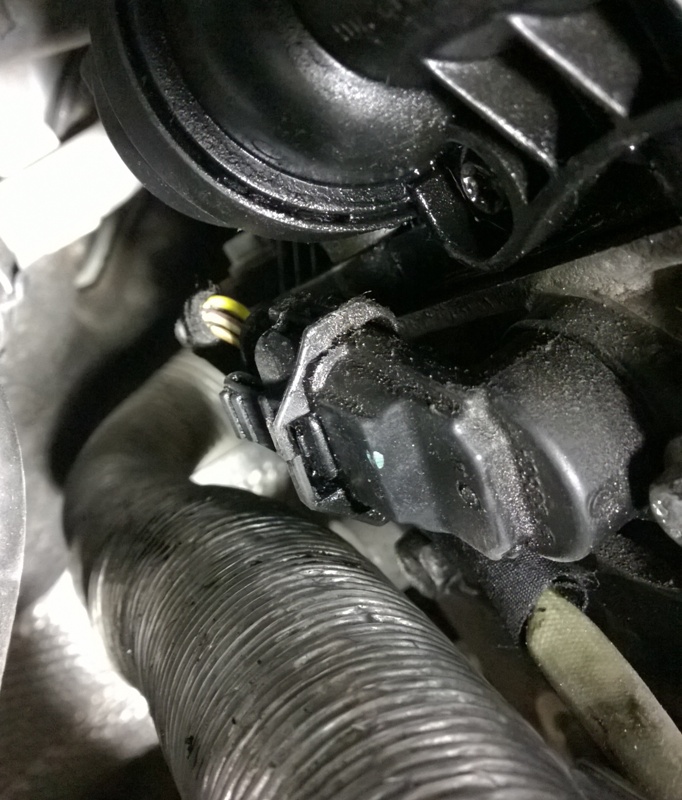 The CPS in the back of the engine is in a very tight spot. Let it take it's time to figure out how to release them all.
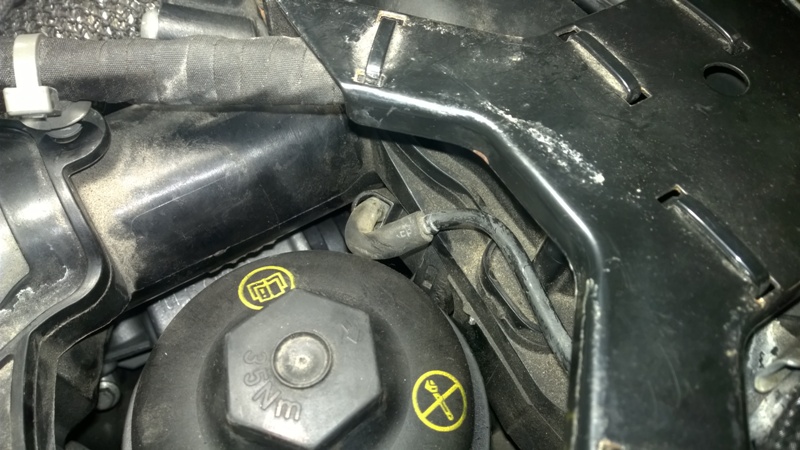
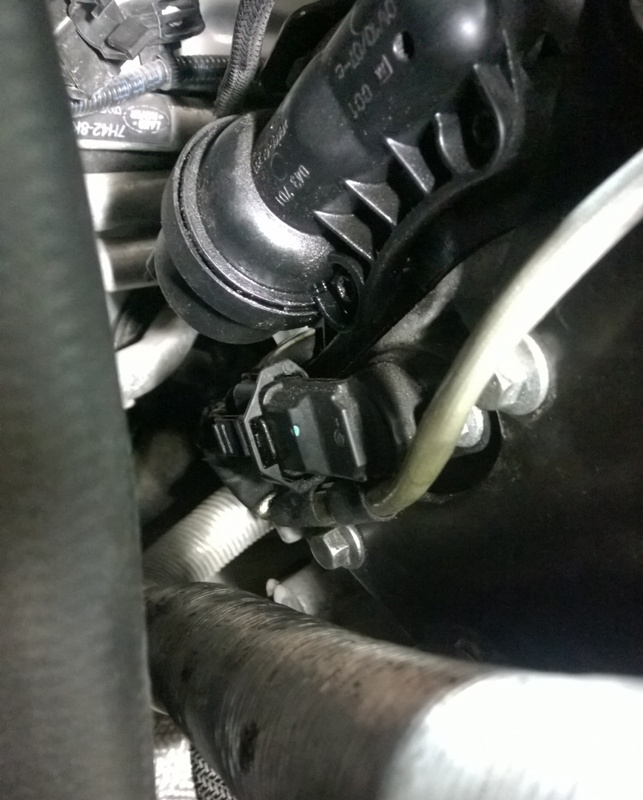
The CPS connector released bu putting a flat screwdriver behind the hatch and giving it a pull.
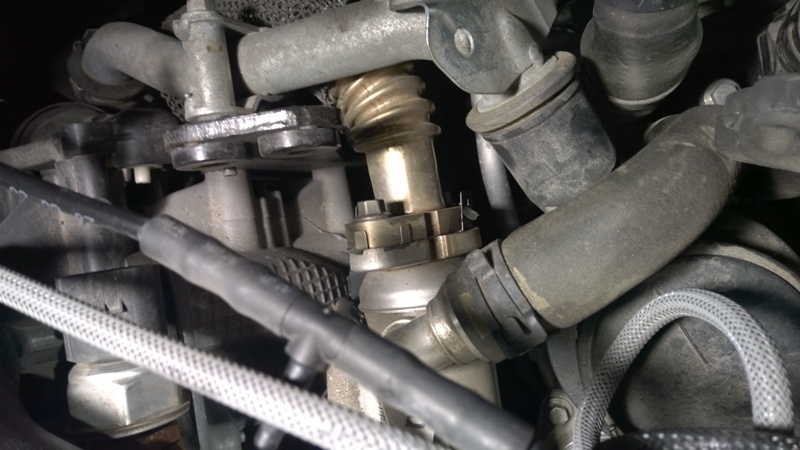
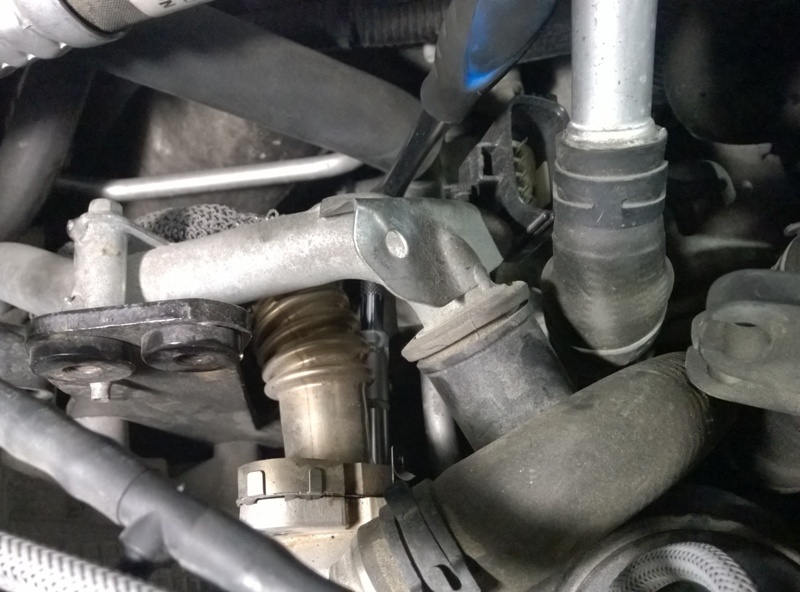
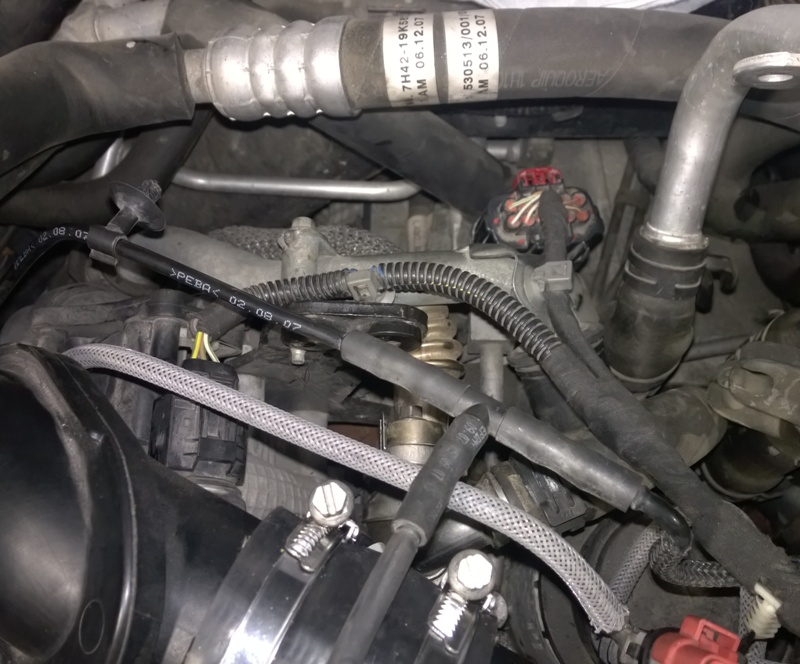
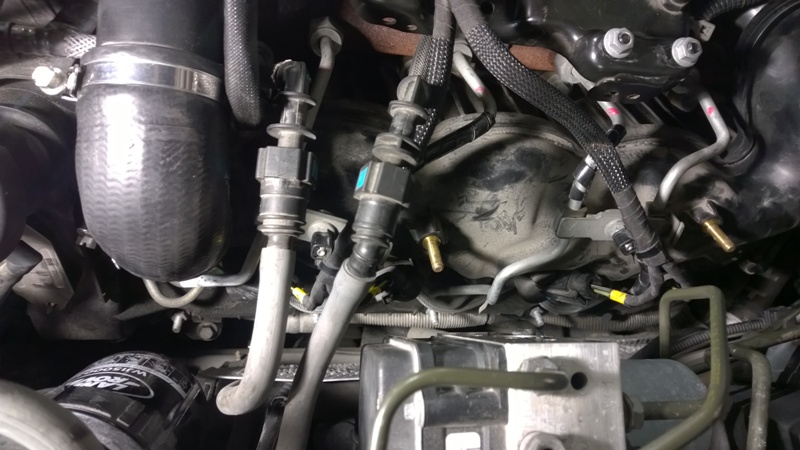
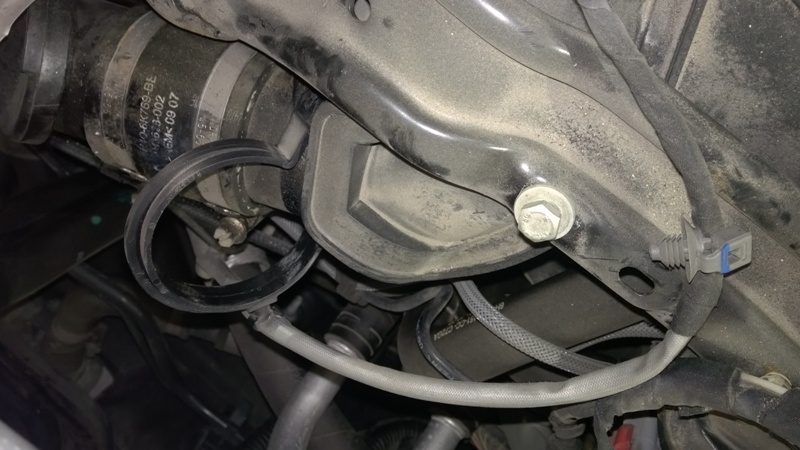
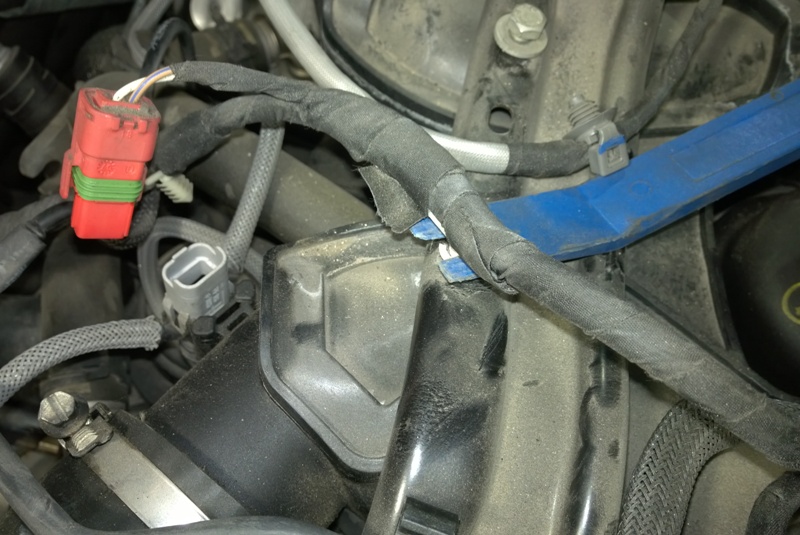
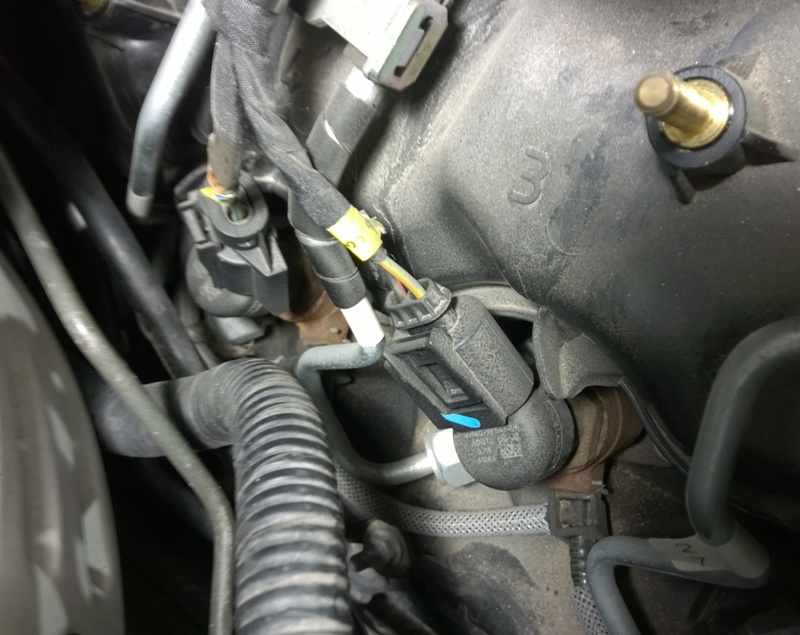
Then you can access and release the vacuum hoses.
Just give them a good pull and the vacuum hoses will release.
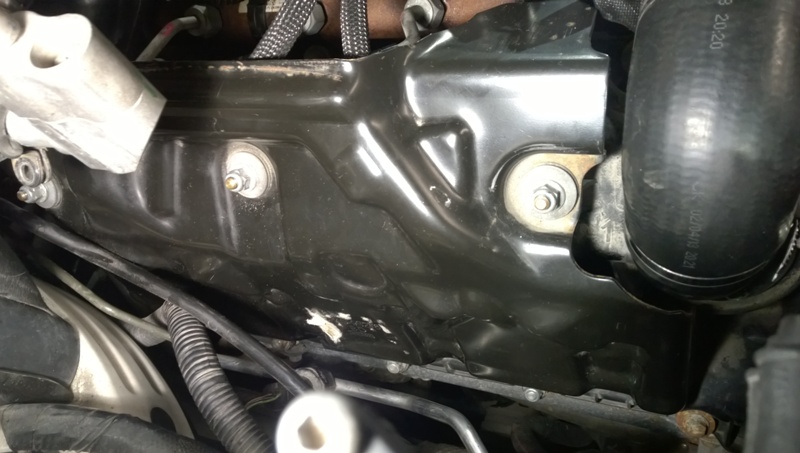
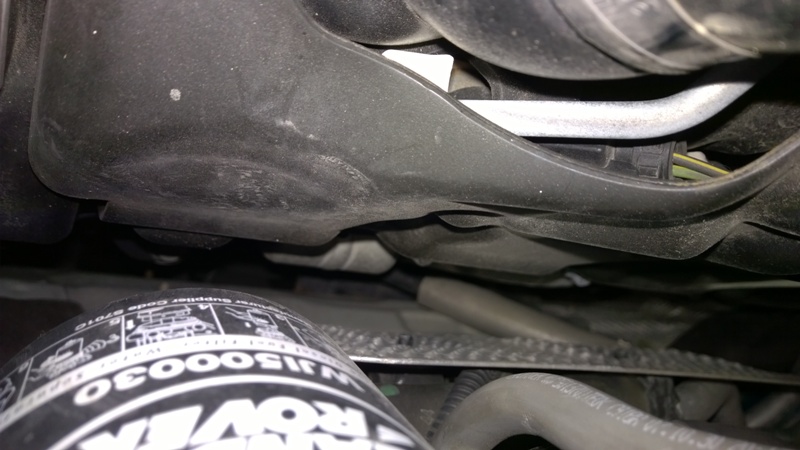
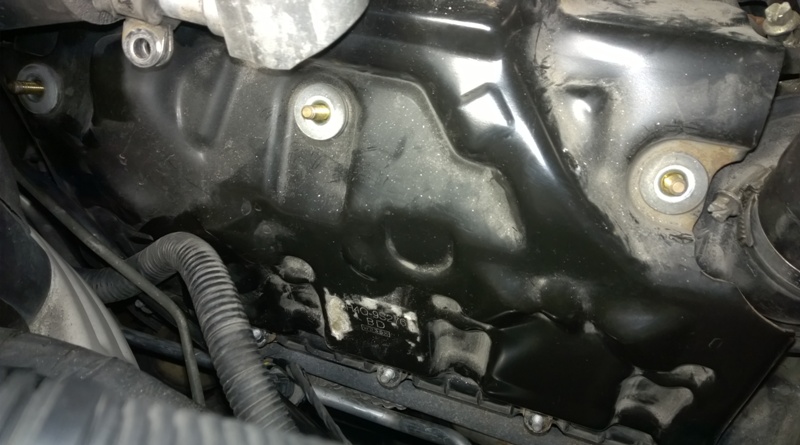 On the outer side of each head there is a protective plate, held on with some hard to reach nuts.
 This is with the metal plate off.
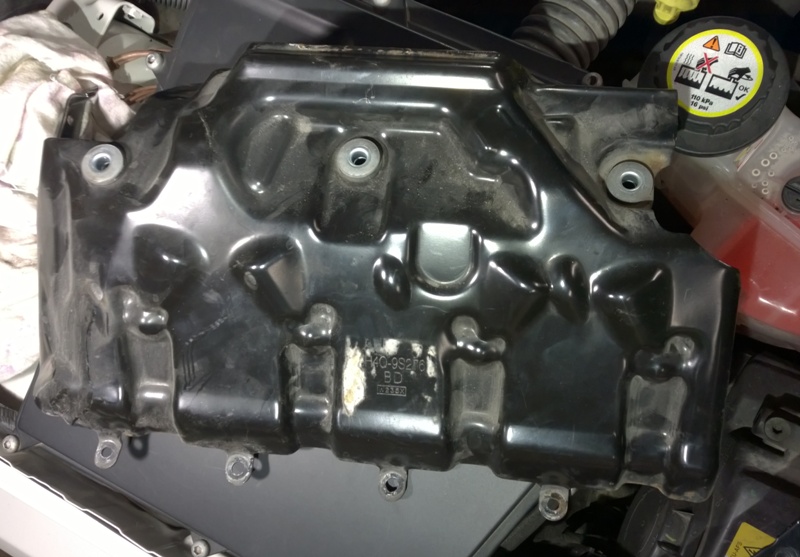 One of the plates removed.
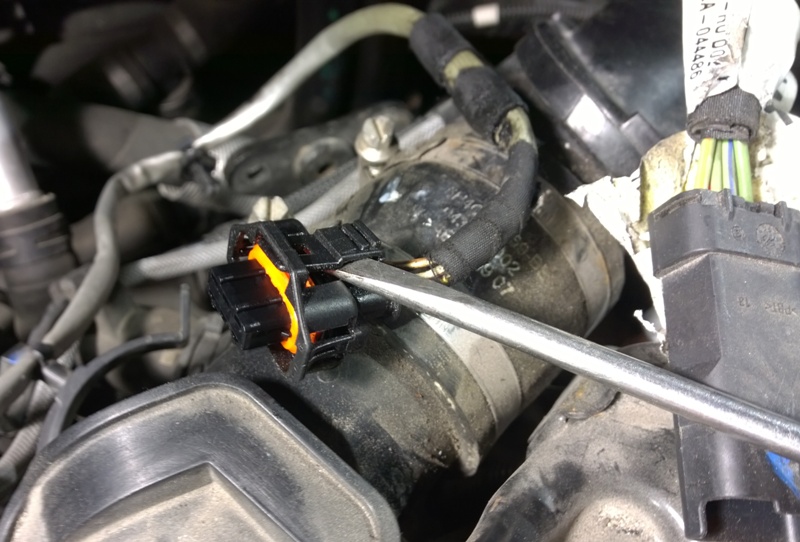
 With the metal plates off you can reach the injector connetors, be careful with these.
 Which all has to come off to be able to release the harness.
 Its very tight on the left side and on the right tbh even hard to see the small nuts deep down in there with all the crap in the way.
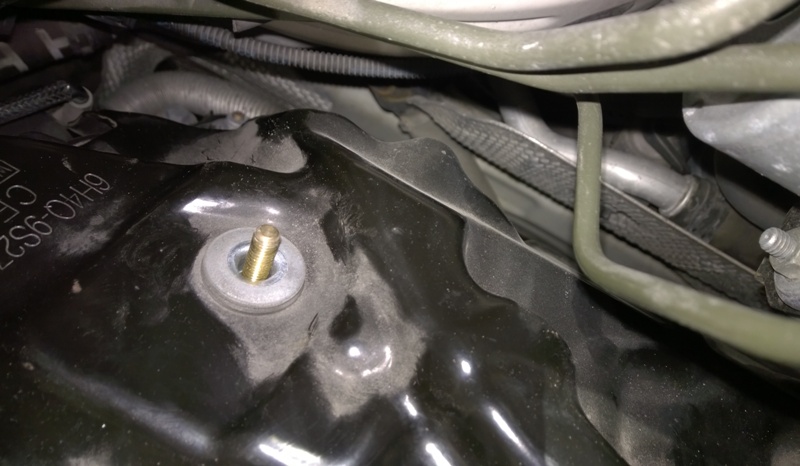 One of the top nuts removed and another down in the corner just visible.
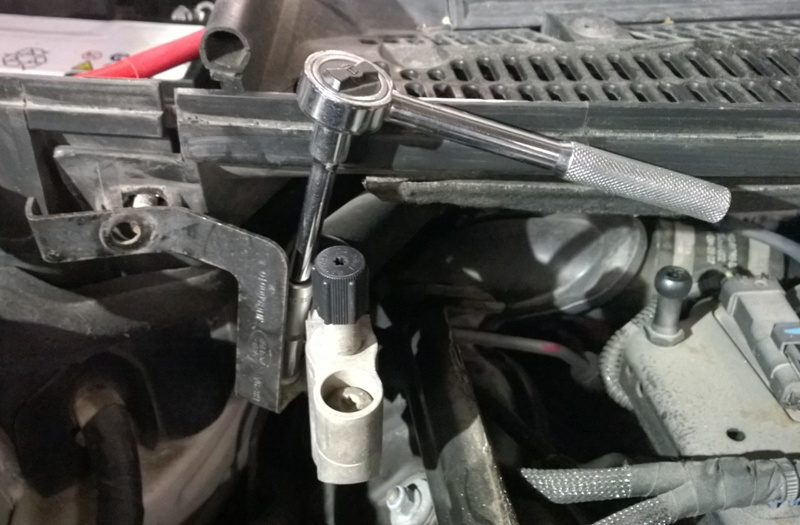
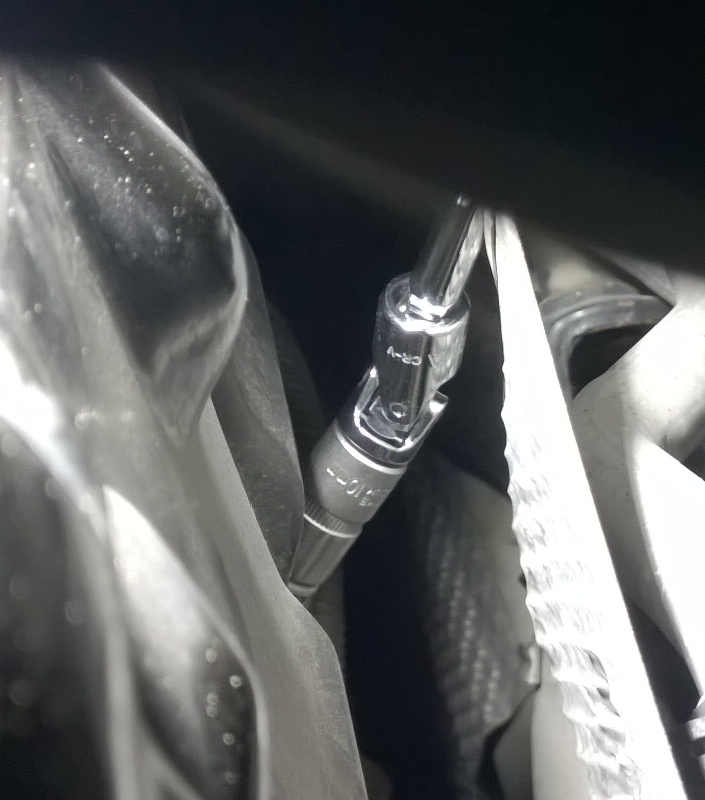
 Another just about visible deep down, i actually used 3 extensions and my 3/8's torque wrench to remove this, the only 3/8 bit i own lol
 Another bolt/nut.
 Be careful they will all come off, and with a good pull you get the protective plates off.
 Follow the wiring back and release all tie downs.
there was quite some **** in here, I put some protective cloth in the air openings and cleaned it up with compressed air. Thought this was the time, before opening any of the manifold or exhaust pipes.
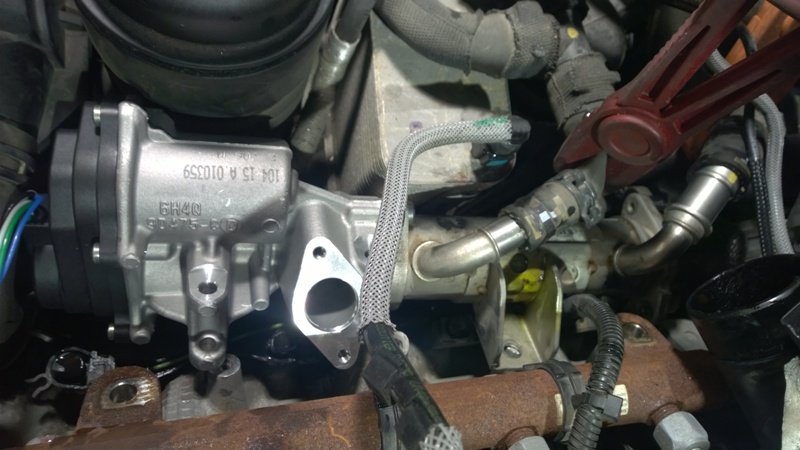
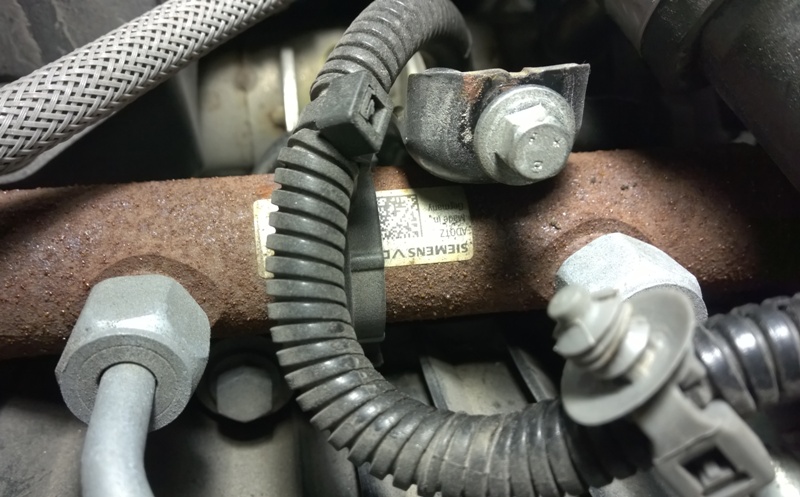
 Next I unscrewed the EGR outlet tubes, 4 torx bolts.
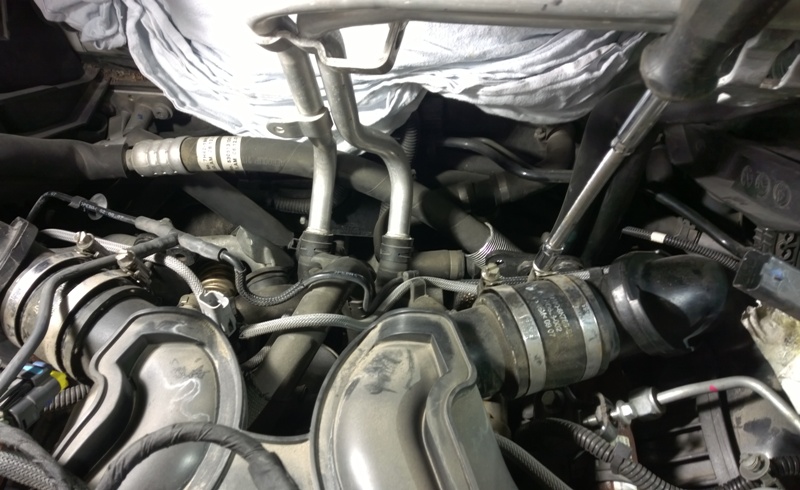 Loosen the clips of the rear manifold hoses, 4 clips.
 Repositioned the hoses towards the manifold.
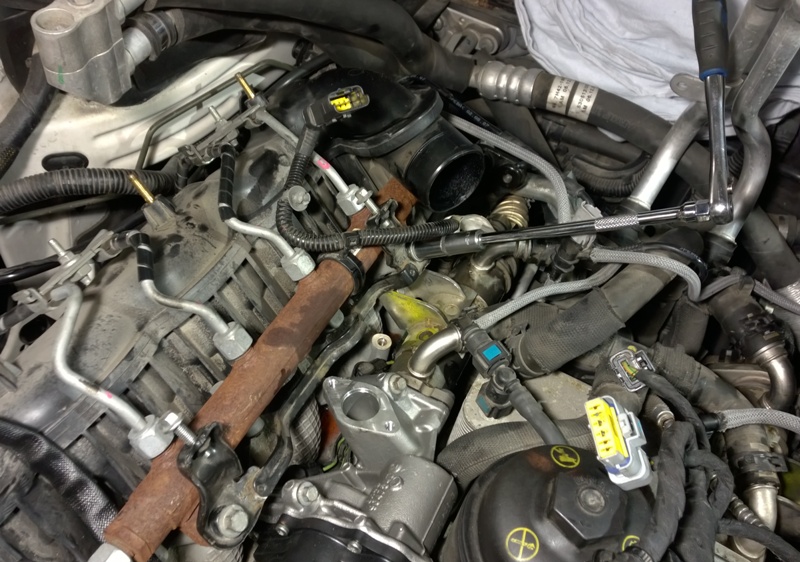
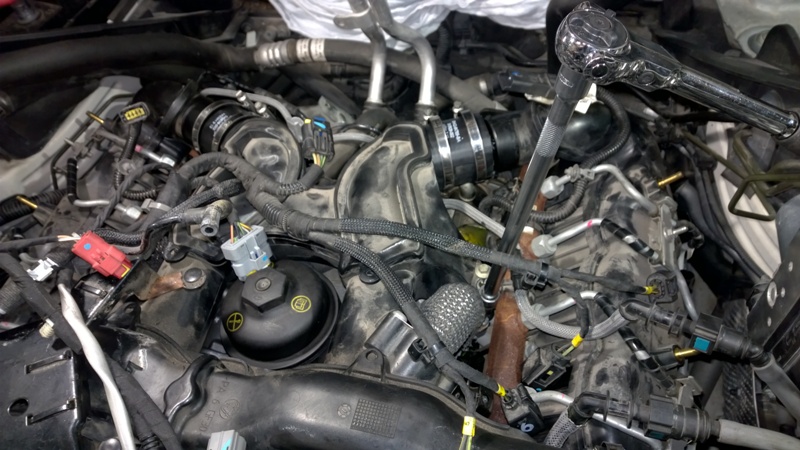
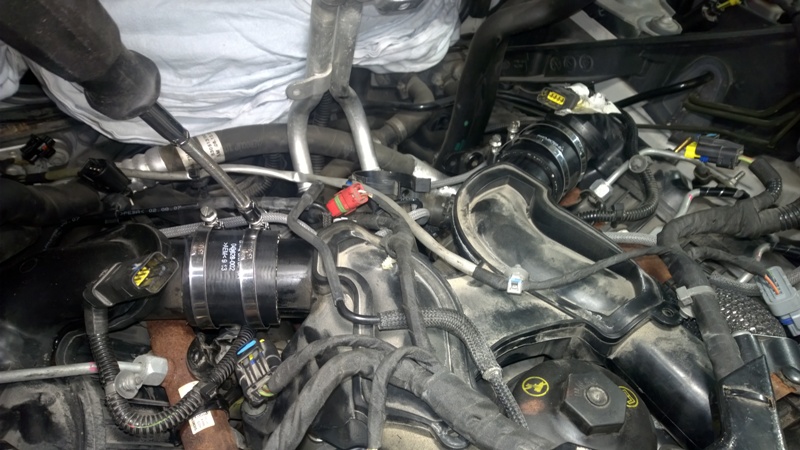
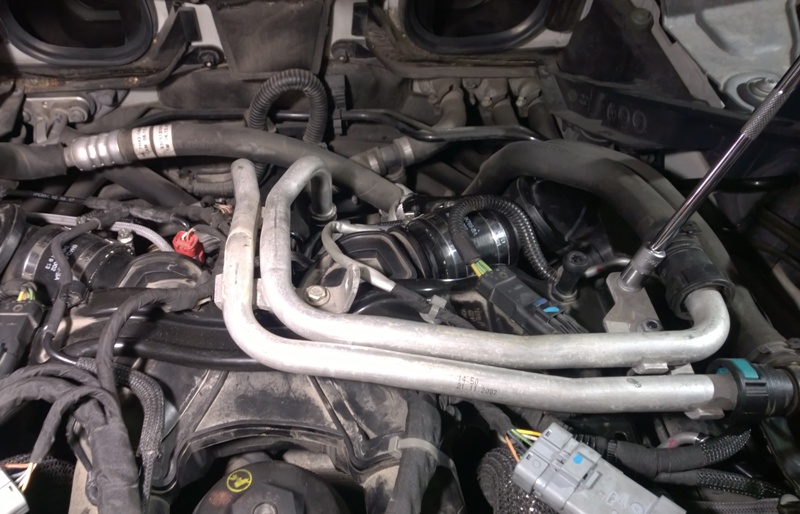
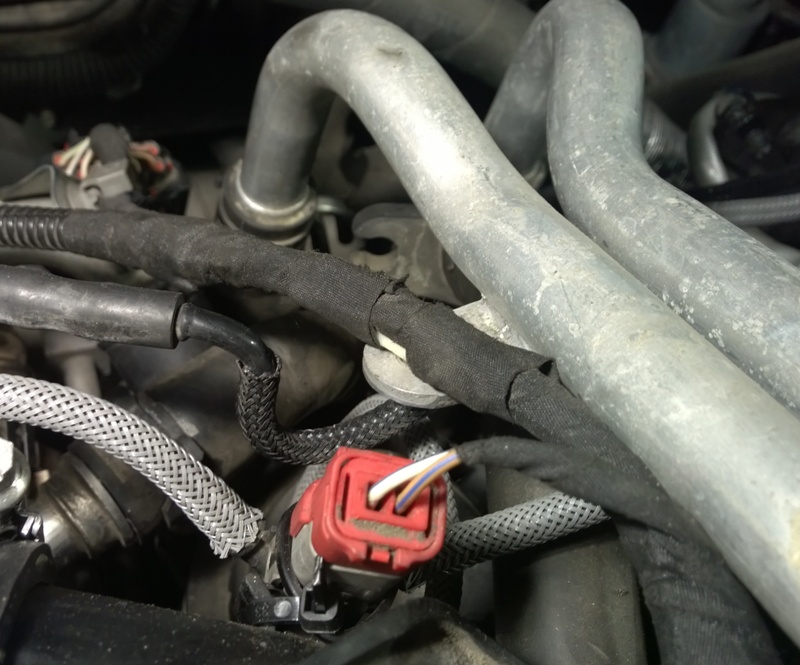
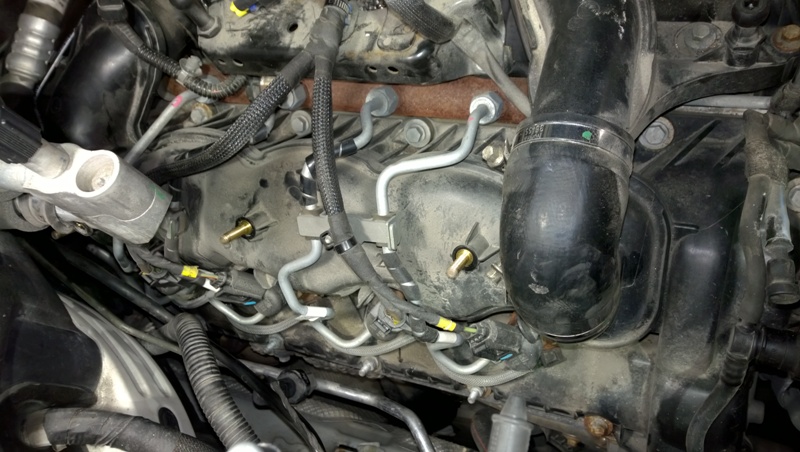
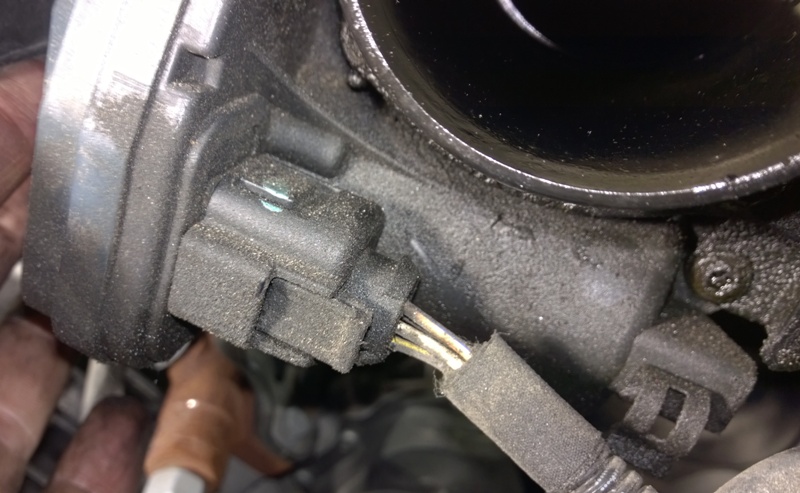
Then i Unscrewed and released the hoses to the air cooler as well as the MAP connectors.
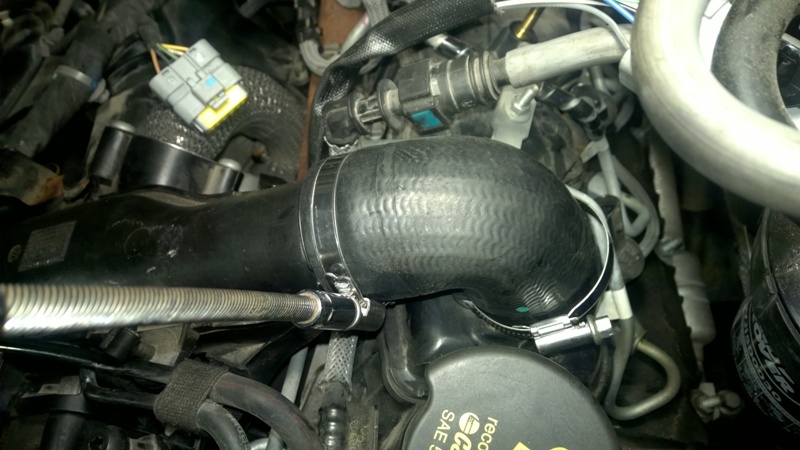
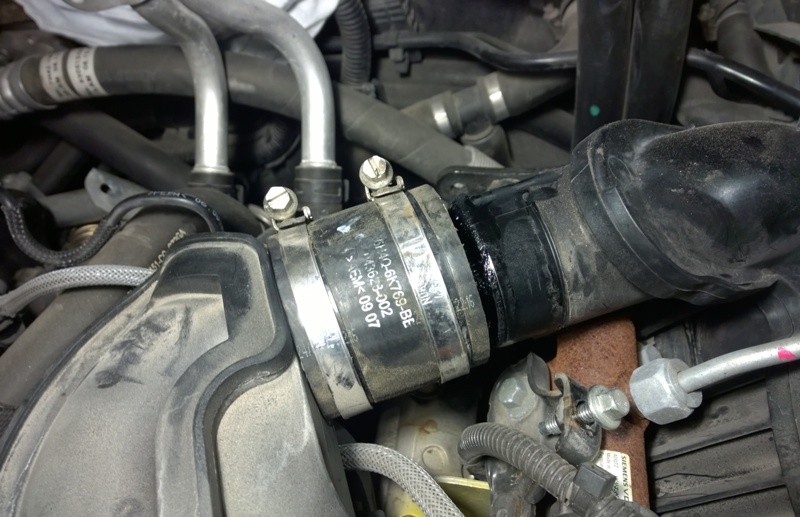
Release the clips on the 90 degree hoses.

Unscrew the 6 bolts fastening the manifold.
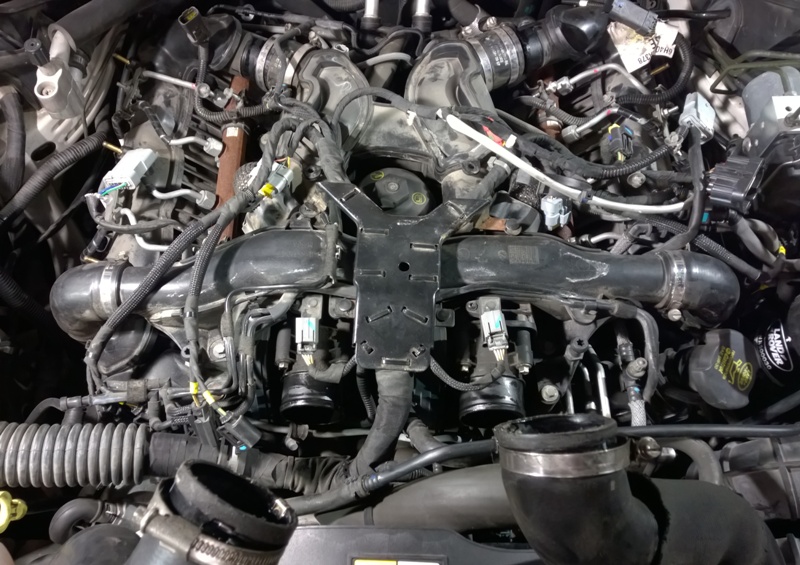
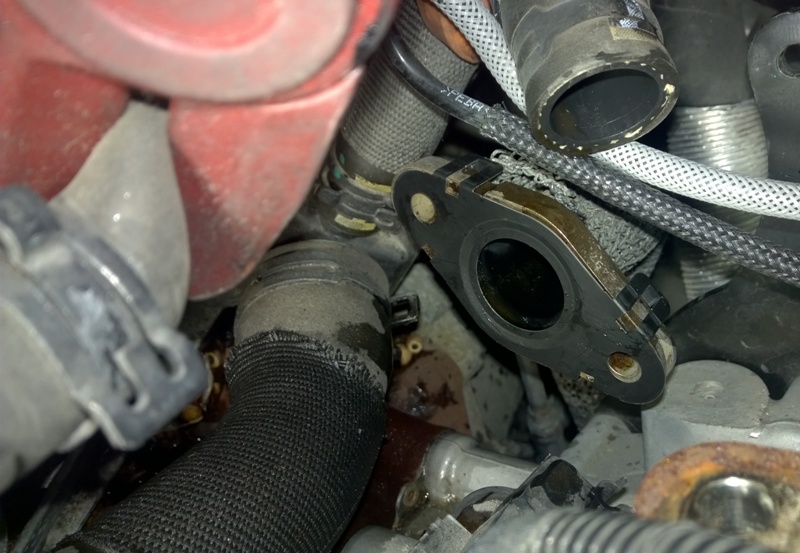
The manifold should now be loose and ready to be lifted off.
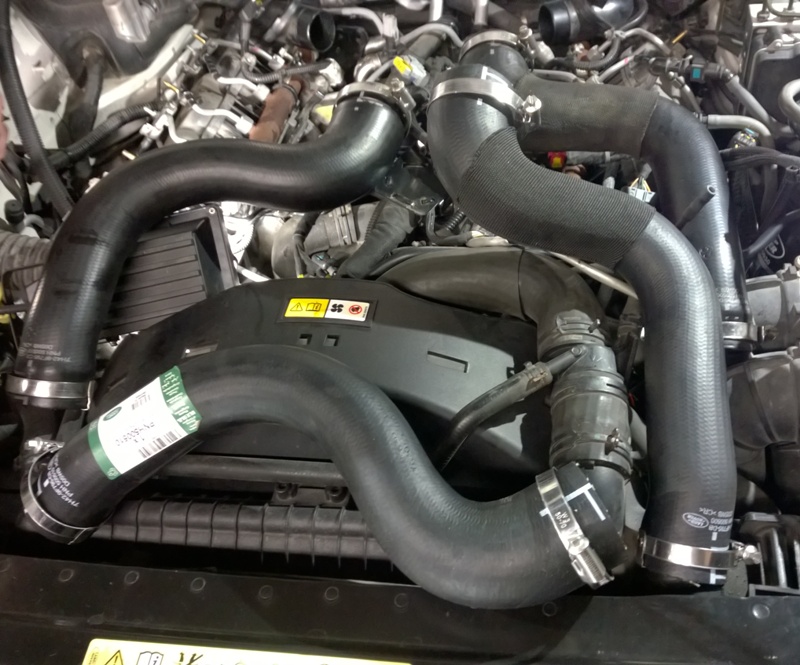
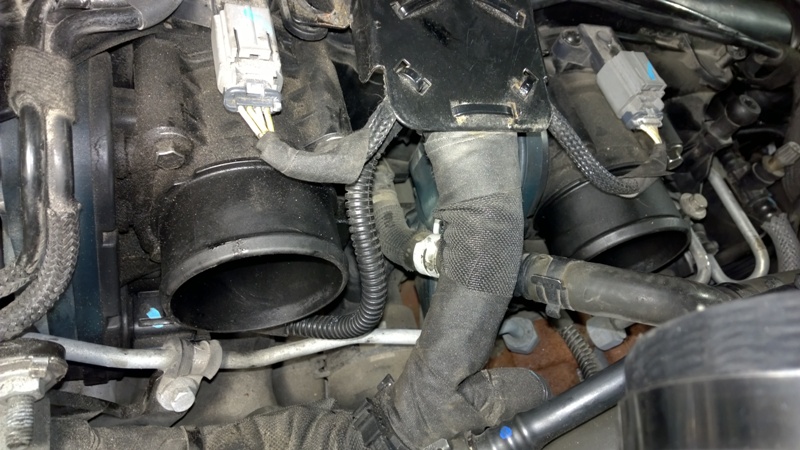
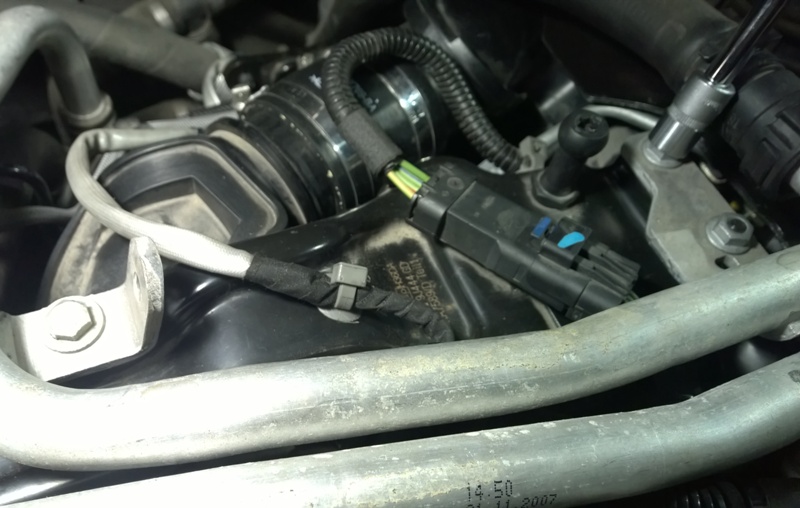
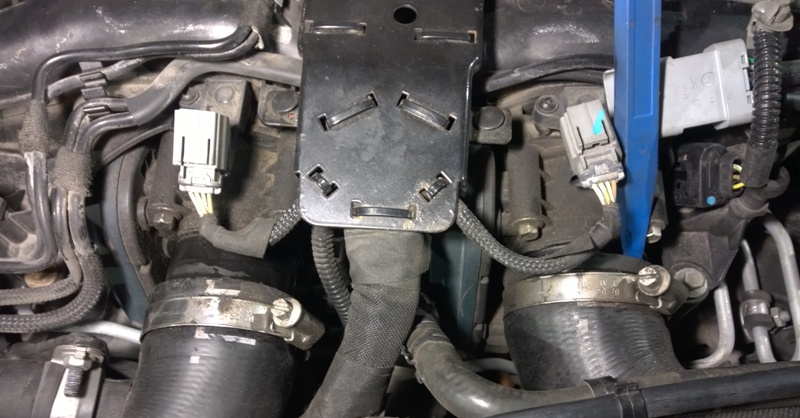
There are 2 extra connectors/clips which are connected to throttle body and can be released when it's lifted up a little bit.
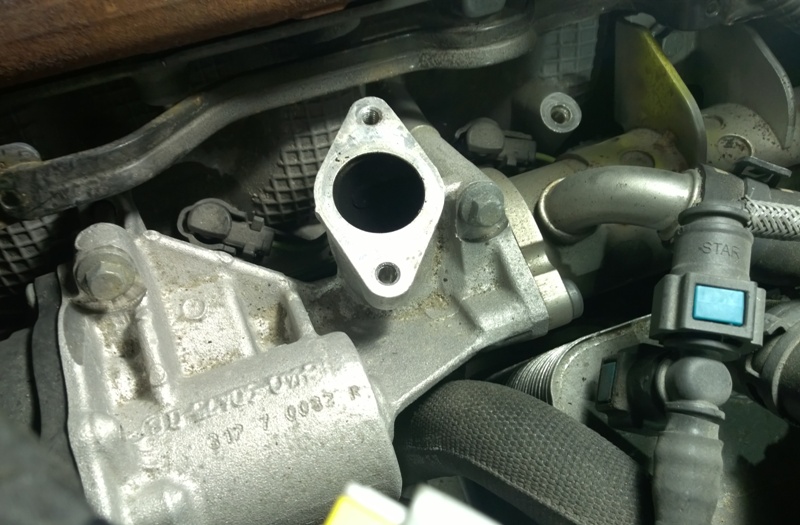
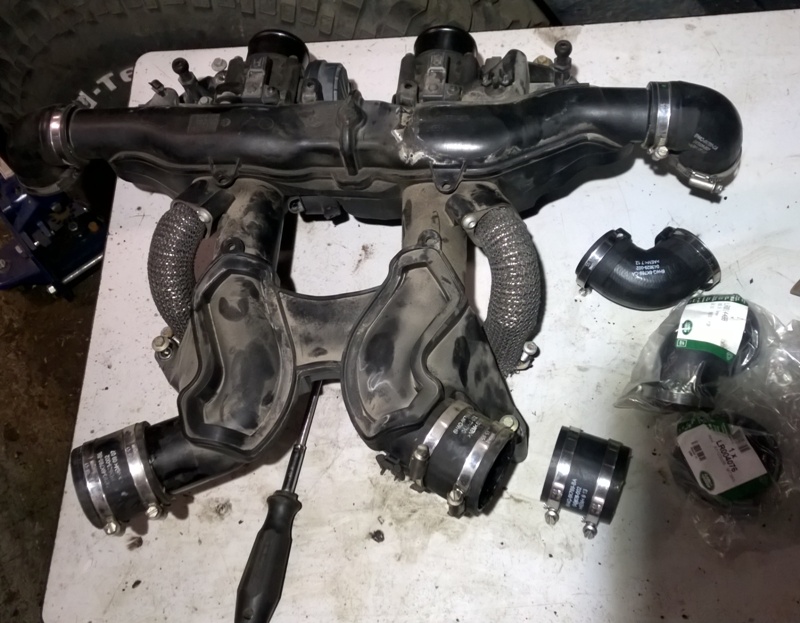
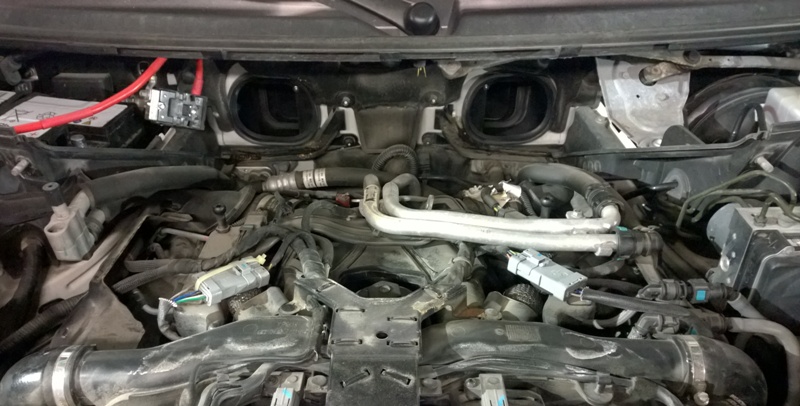
next the intake manifold can be lifted off and put aside.

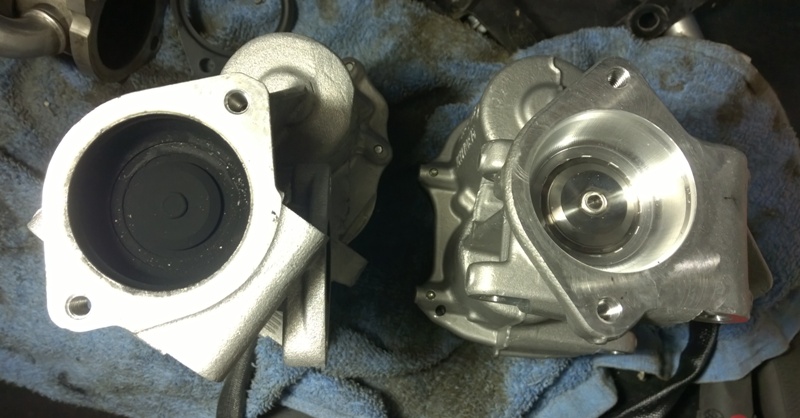
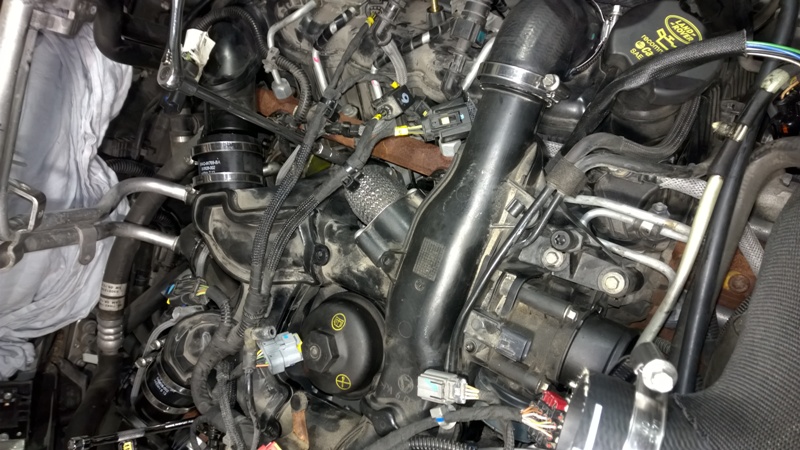
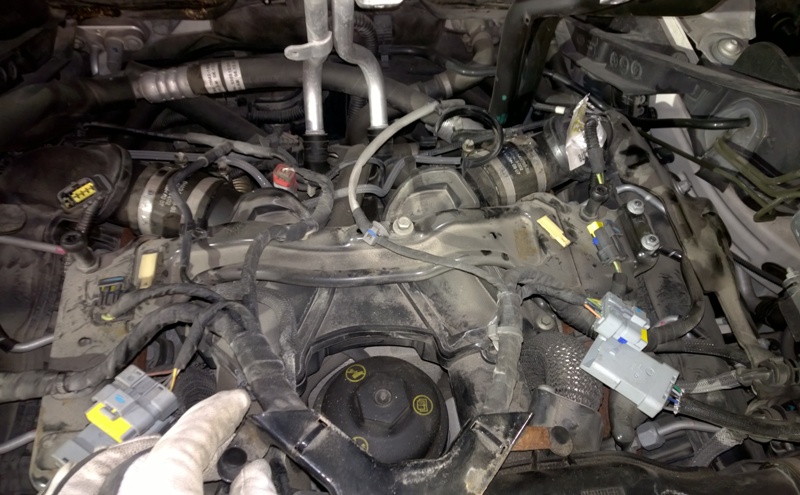
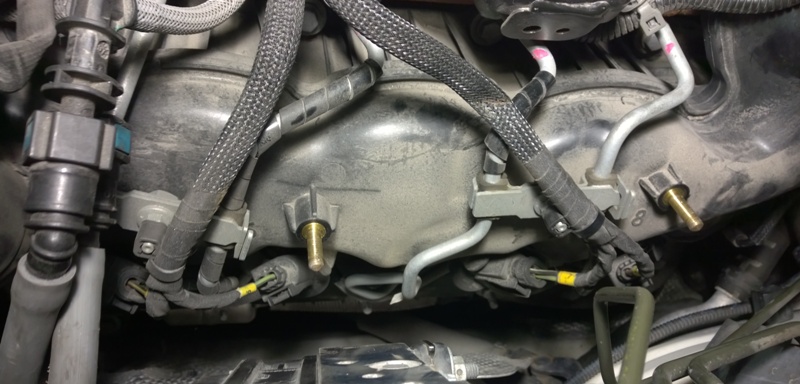
I'm almost half way through and finally you can see the EGR valves.
Time for a full fat coke and copious amounts of Whiskey and i'll be back at it, this is quite a long winded affair bear with i'll have a "part 2" done..
There is no ****ing breathing room available, thanls LR
you will lose nuts/bolts/tools downwards, so removing the under tray first will be a good idea I have lost a 10mm socket and a femex ratchet and a 13mm r ring spanner, which was caught on the under tray thank christ. There is also a metric shyte tonne of electrical connectors to release and re connectTo complete the following job you need these parts:
EGR Valve Left Hand 3.6l V8 L322 Range Rover + Sport
EGR Valve Right Hand 3.6l V8 L322 Range Rover + Sport
EGR Tube>EGR Gasket 3.6 V8 - L322 Range Rover + Sport
EGR Valve>Tube Gasket 3.6 Dsl
LR003831, EGR Valve Gasket 3.6l V8 Diesel
Part numbers escape me at the moment
not really needed parts:
Duct - Air Inlet Manifold 3.6l V8 Lion Diesel - Range Rover Sport + L322, Intake Manifold Air Duct Hose - 3.6l V8 Diesel - Range Rover L322 + Sport
Rad Hose Upper + Clips LH 3.6 G-CAT
Rad Hose Upper + Clips RH 3.6 G-CAT
O Ring EGR Valve Tube 3.6L DSL G-CAT
Tools used:
13 mm ring spanner
10 mm ring spanner and sockets
8 mm ring spanner and sockets
Torx 30
1/4 extensions of different lengths
1/4" universal joint
1/4" ratchet handle
3/8" extension
3/8" ratchet handle
3/8 Teng Torque wrench
Hose clamp
Pliers
A plastic pry tool for connector studs and to loosen stuck hoses.
A couple of tie clips for tie up the coolant pipes out of the way.
First off open the bonnet and put it into service mode aka straight up, remove the gas struts and once at 90 degrees lock the latches in place.
Open the hood in service mode, open the small spring clips on the dampers with a small, thin flat screw driver.
Do both sides while you support the bonnet with one hand, or use a assistent supporting this Move it straight up and fold out the locking bars over the small pegs each side.
Remove the battery negative cable and put it aside
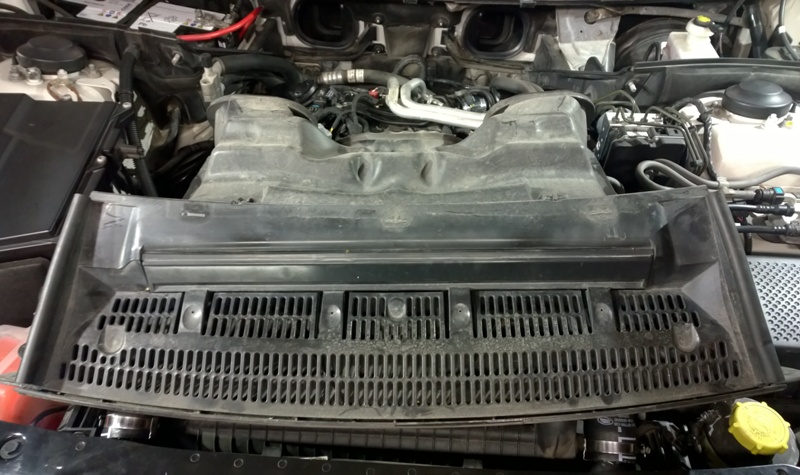
Remove the engine cover by pulling it upwards.
Lift off the hood seal.
Undo the A/C support bracket.
also the A/C pipes
Then the plenum chamber is loose and can be pulled straight out.
You see the twin cooland pipes to release next.
With two nuts and one bolt you can lift and bend the pipes up and I tied them up with a strips to be out of the way.
Disconnect and release the wiring to EGR valves. Both sides.
The CPS connector released bu putting a flat screwdriver behind the hatch and giving it a pull.
WIth all wires and connectors loose you can undo the engine cover mounting bracket.
Then you can access and release the vacuum hoses.
Just give them a good pull and the vacuum hoses will release.
there was quite some **** in here, I put some protective cloth in the air openings and cleaned it up with compressed air. Thought this was the time, before opening any of the manifold or exhaust pipes.
Then i Unscrewed and released the hoses to the air cooler as well as the MAP connectors.
Release the clips on the 90 degree hoses.
Unscrew the 6 bolts fastening the manifold.
The manifold should now be loose and ready to be lifted off.
There are 2 extra connectors/clips which are connected to throttle body and can be released when it's lifted up a little bit.
next the intake manifold can be lifted off and put aside.
I'm almost half way through and finally you can see the EGR valves.
Time for a full fat coke and copious amounts of Whiskey and i'll be back at it, this is quite a long winded affair bear with i'll have a "part 2" done..
Last edited: