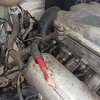
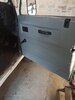
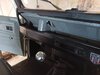
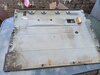
What a product Friday afternoon/evening. Enamel painted the new YRM laser cut floors...whilst doing this, a delivery man appeared with the Dinitrol chassis and underbody kit! So pressed on and Dinitrol'ed the whole underside with two coats [had steam cleaned the underside some weeks ago...] Impressed with ease of application. Only one slight problem...in my enthusiasm I forgot to put on a set of hooded coveralls...my favourite overalls are now Dinitrol mullered and I have Dinitrol'ed my forehead and hair, above the oversized goggle area. Have no idea how I'm going to wash out the Dinitrol...
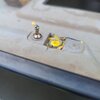
In other news and as a share, I use Gerson 2K twin filter masks...they're superb at both particle gas/odour filtration and especially good with naughty chemicals like isocyantes. Here's what's left after underbody spraying...
View attachment 209238
eta: the inside of the outer filters are still spotlessly clean

")