Raptor72
Member
- Posts
- 14
- Location
- Colchester
Wish I had a modicum of ability with cars ! But still following the thread avidly
Can see why people have affection for Landrovers
Can see why people have affection for Landrovers
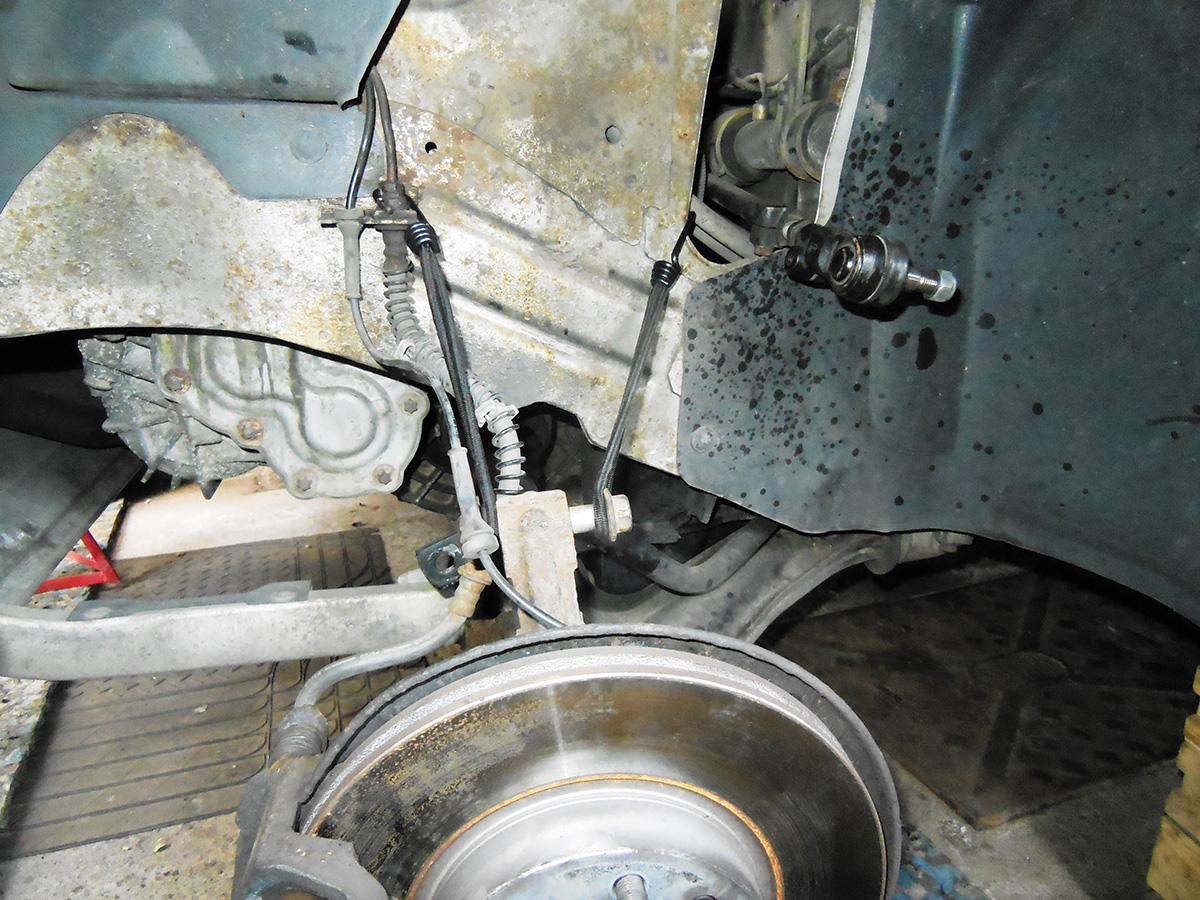
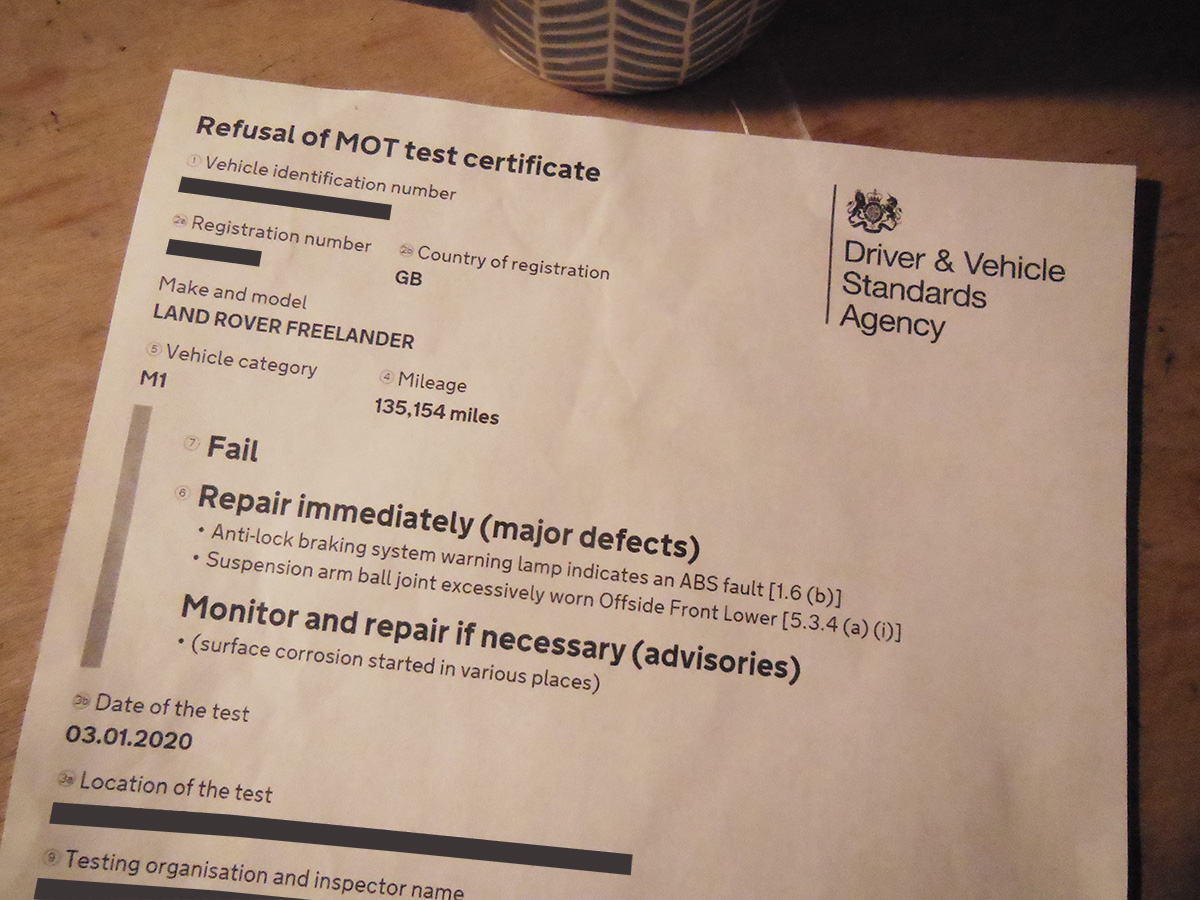
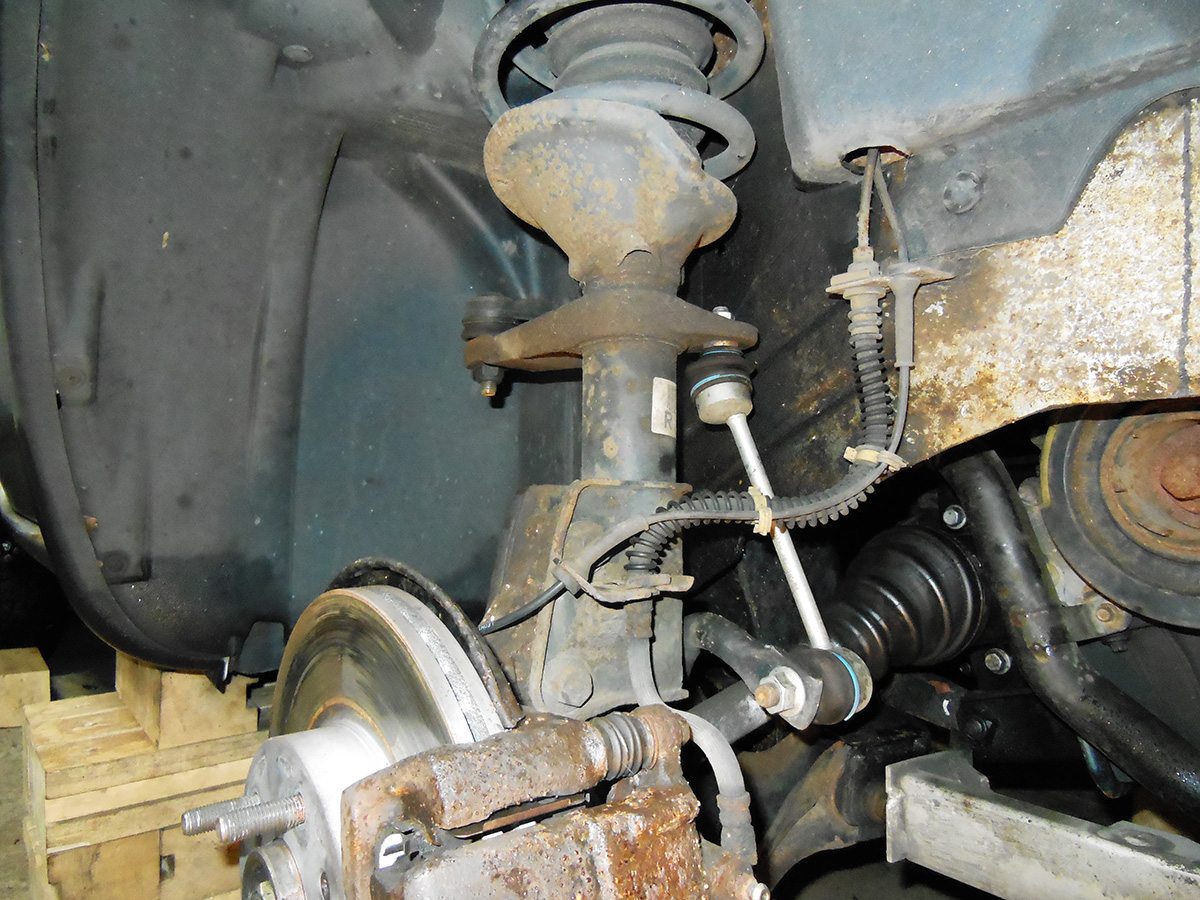
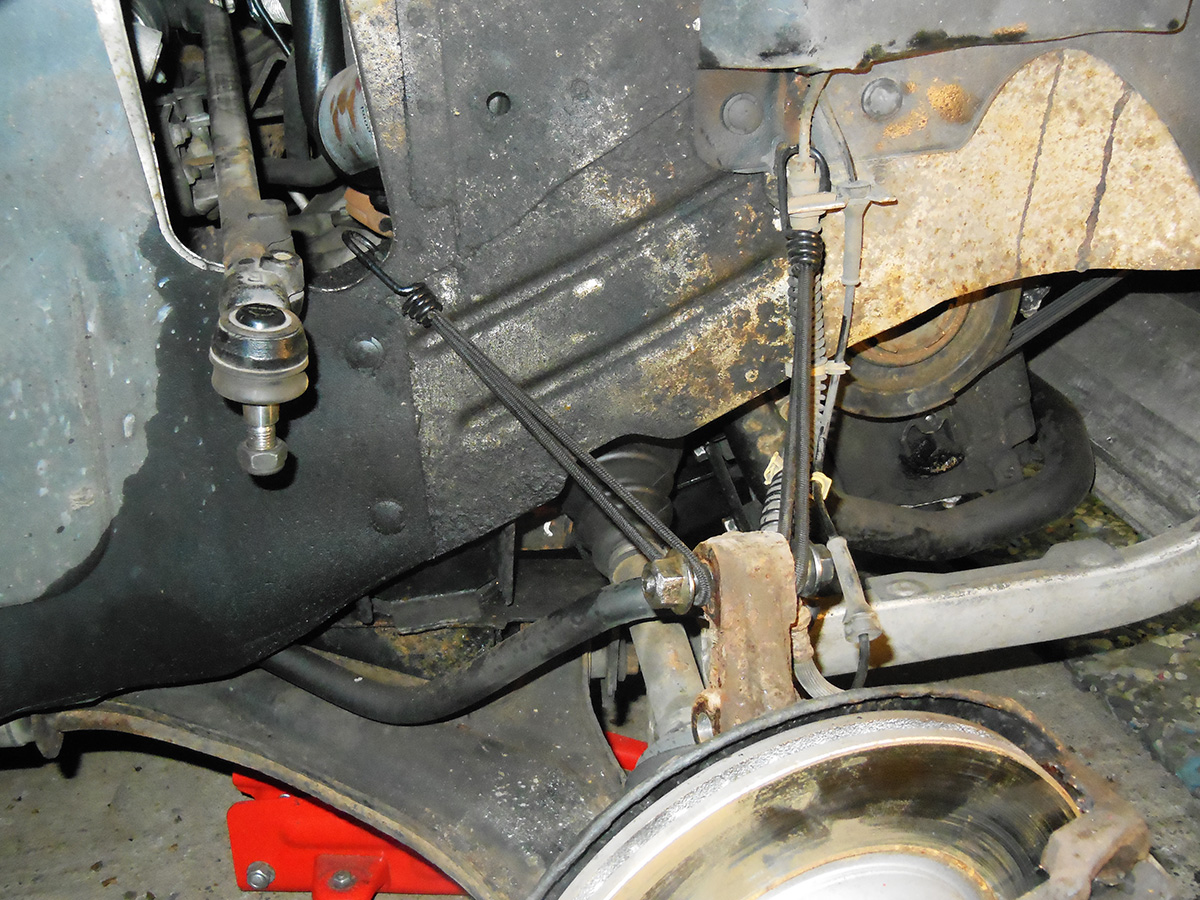
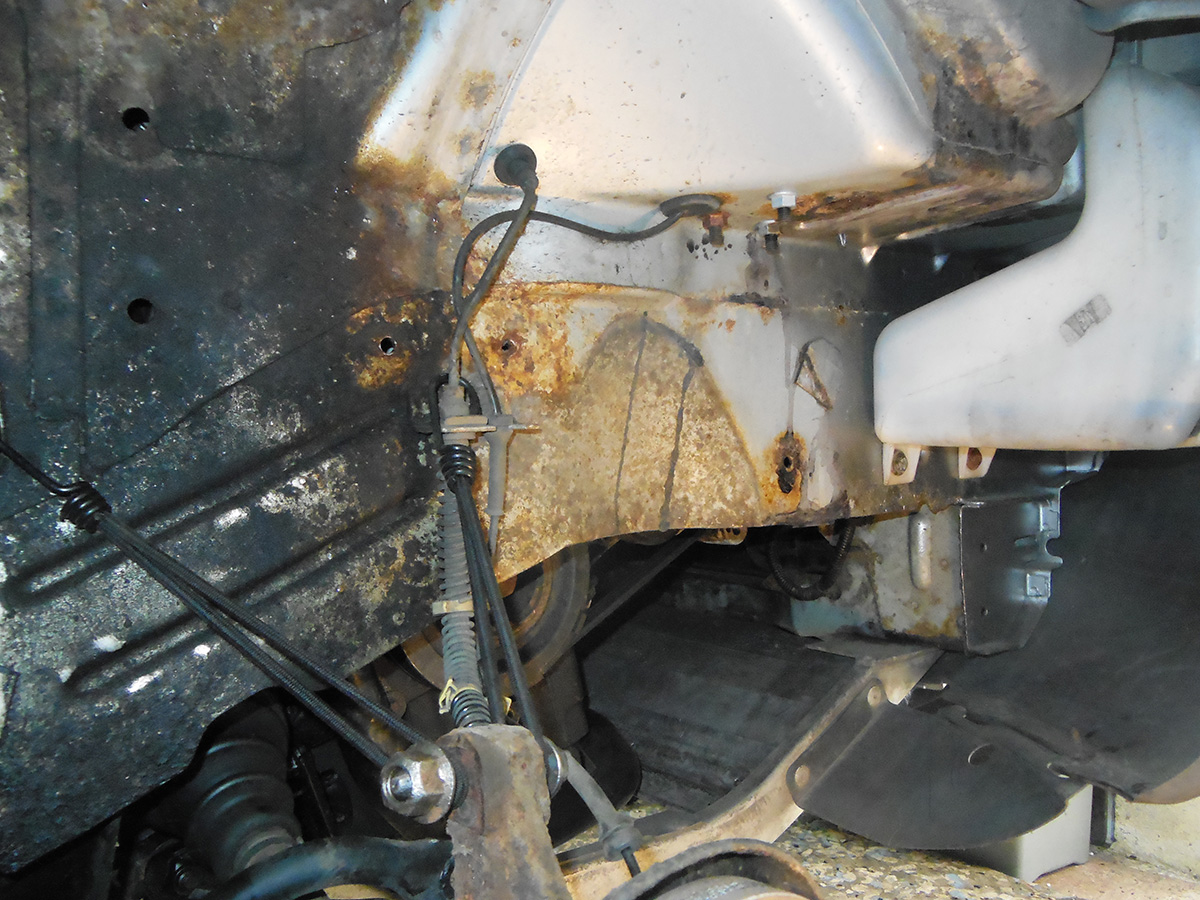
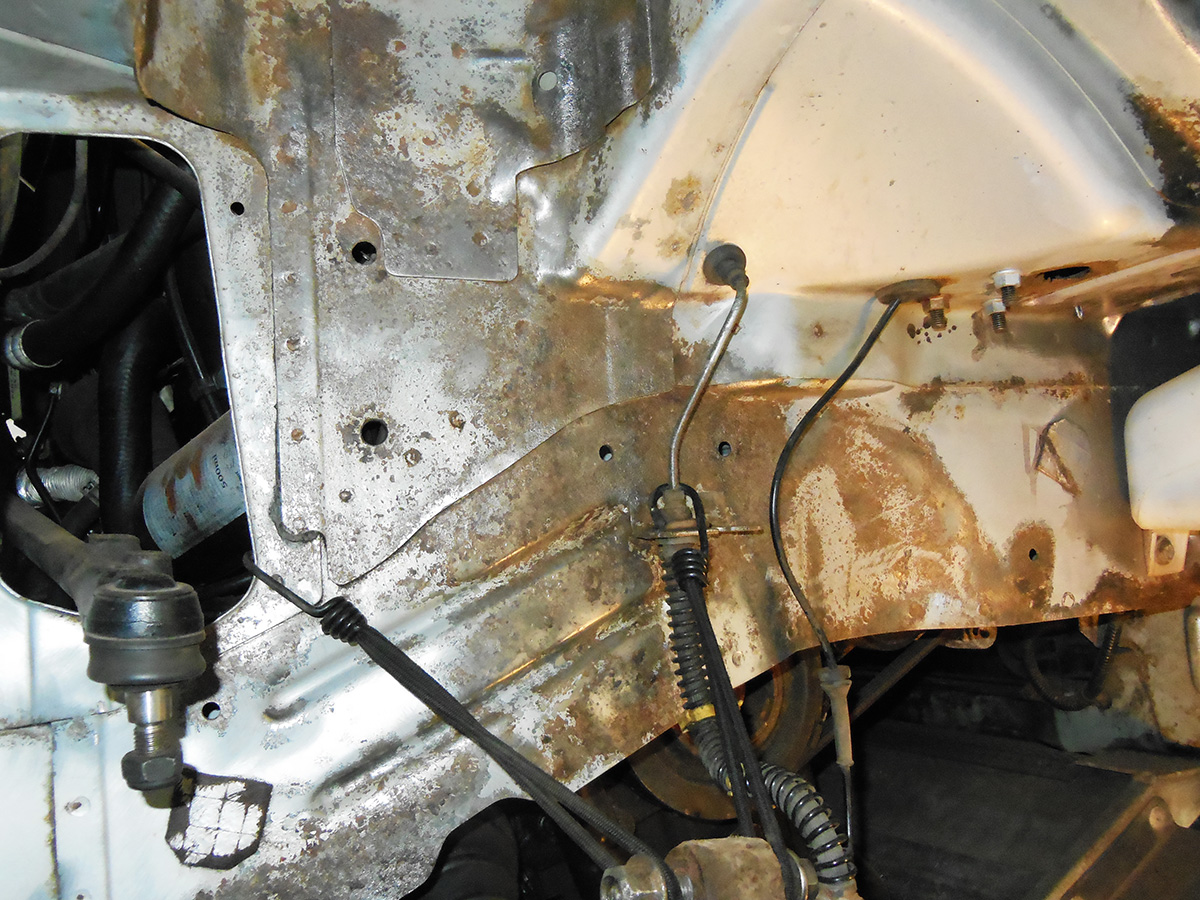
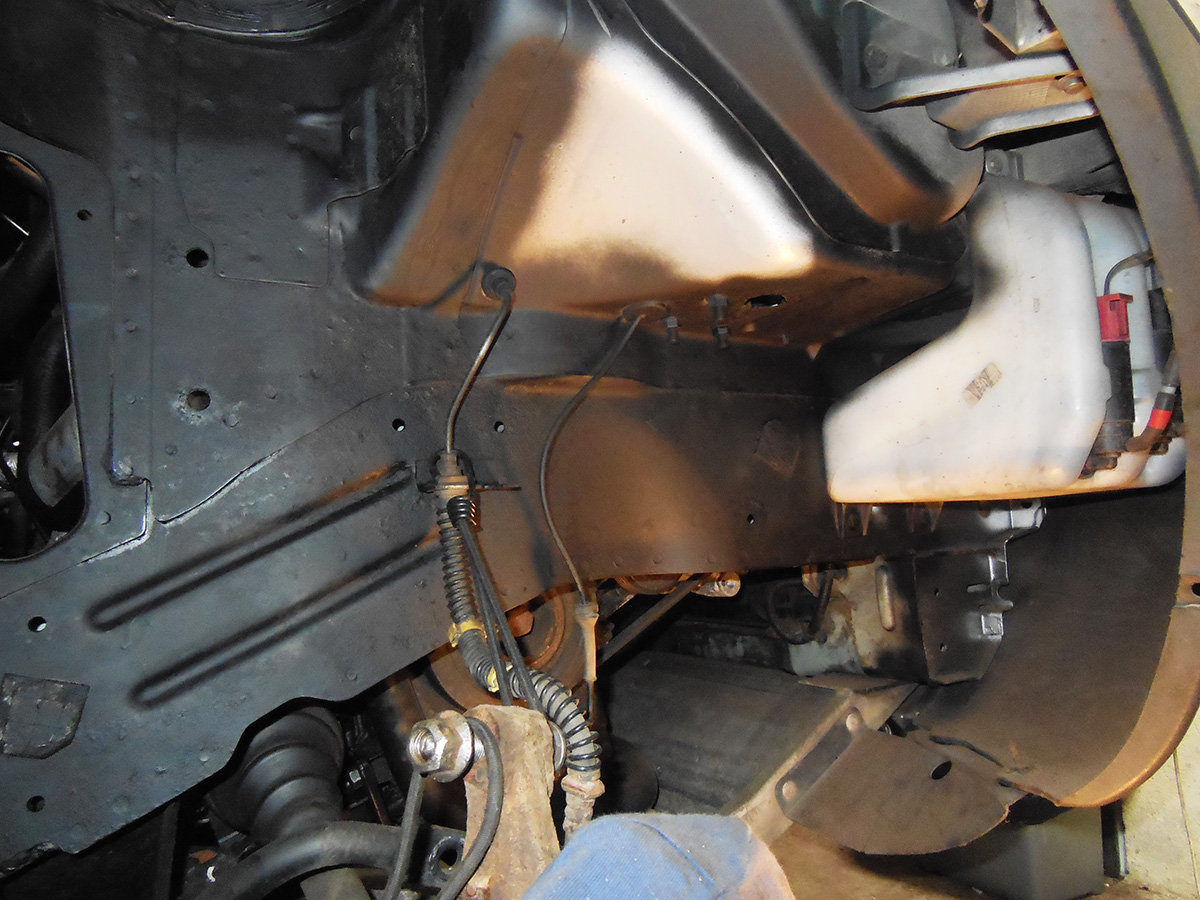
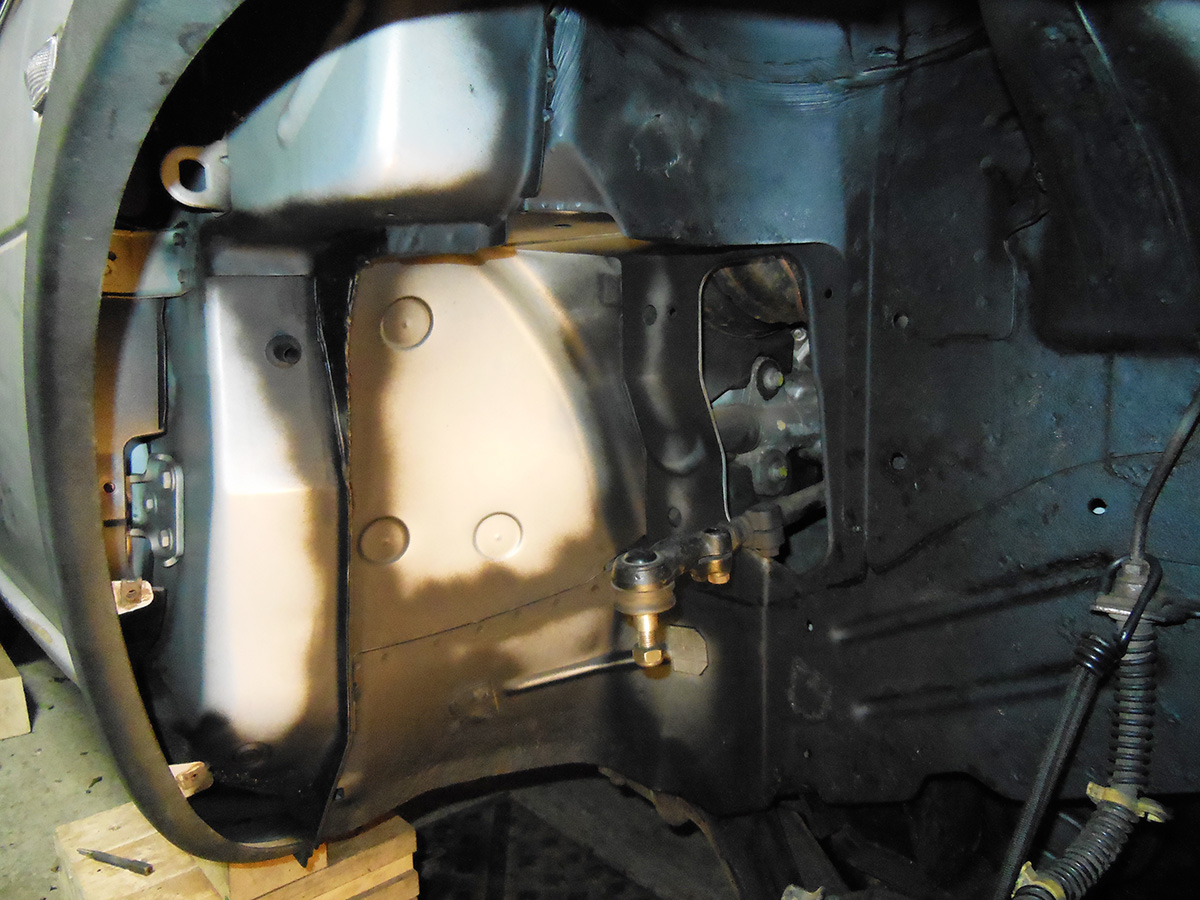
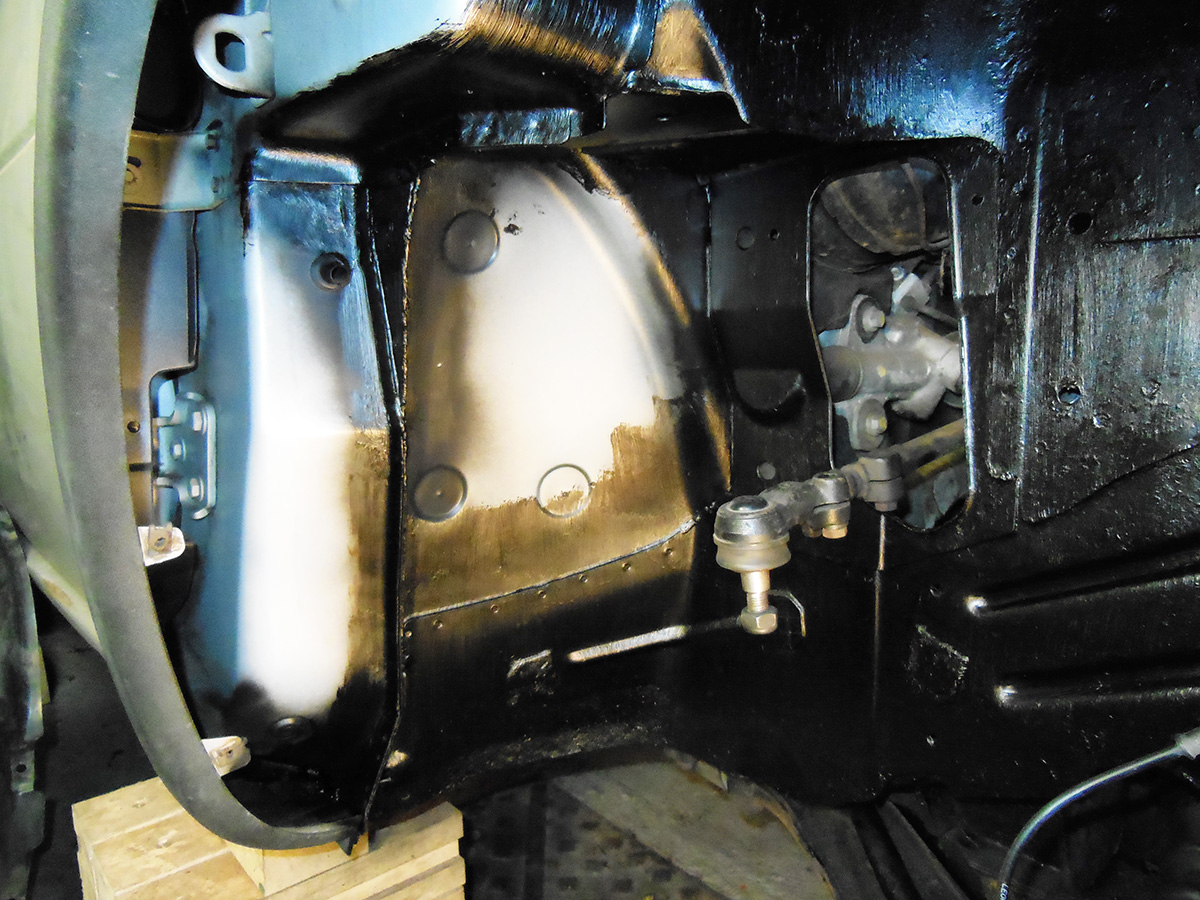
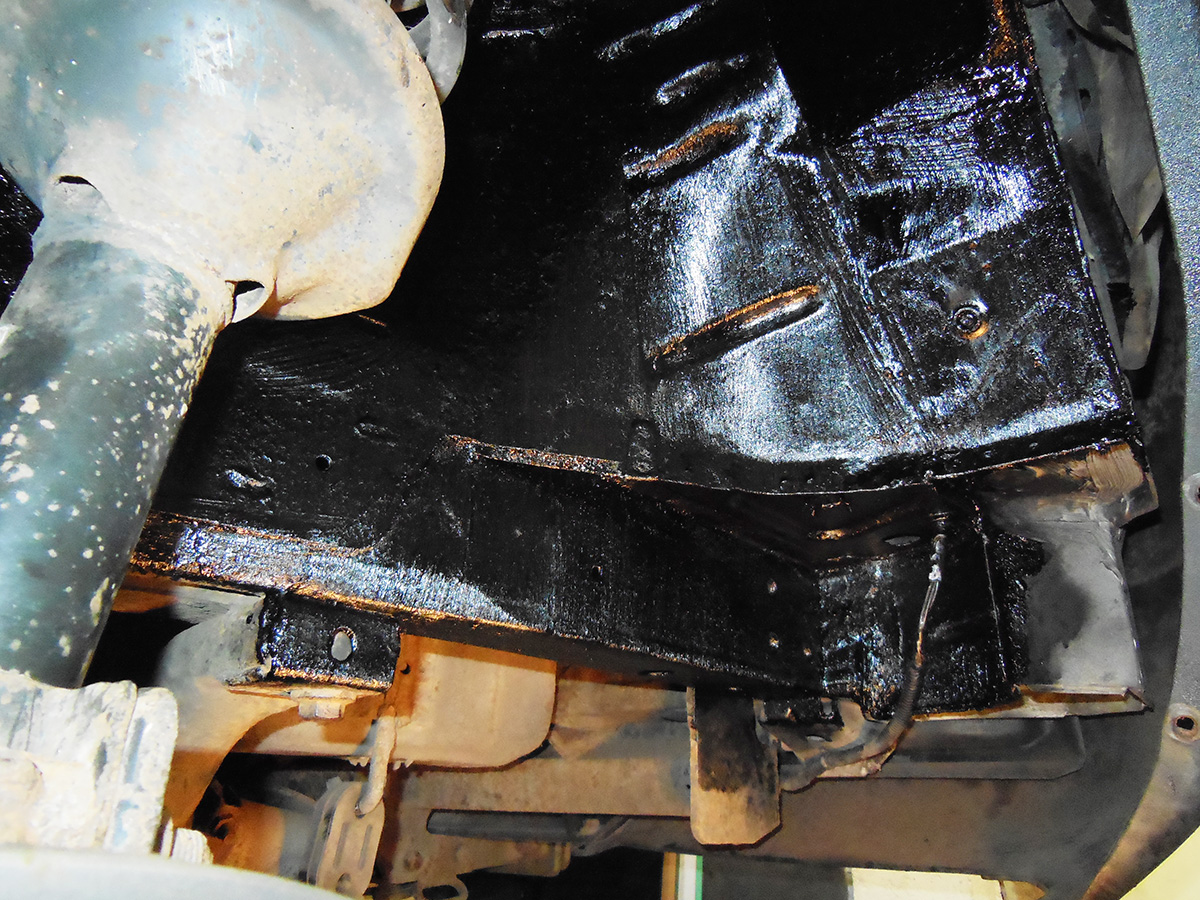
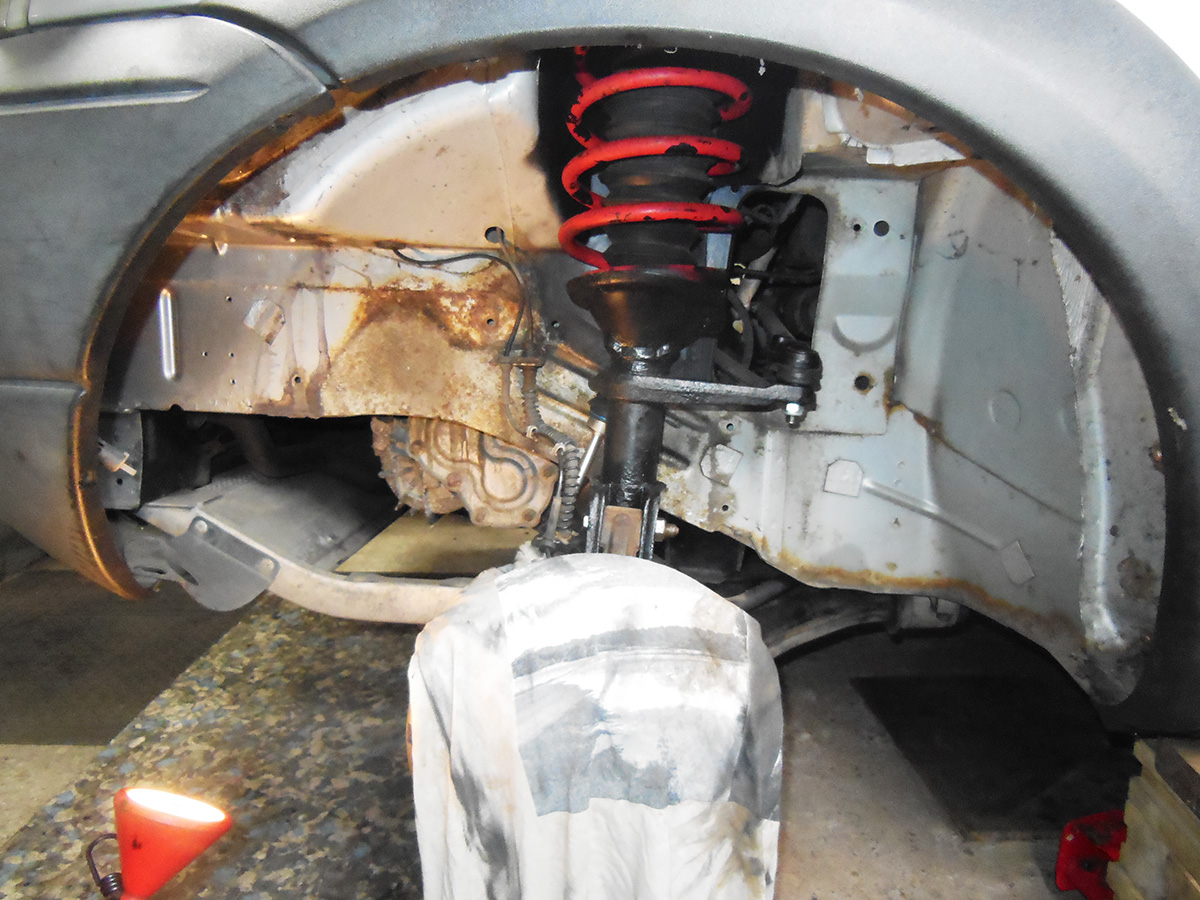
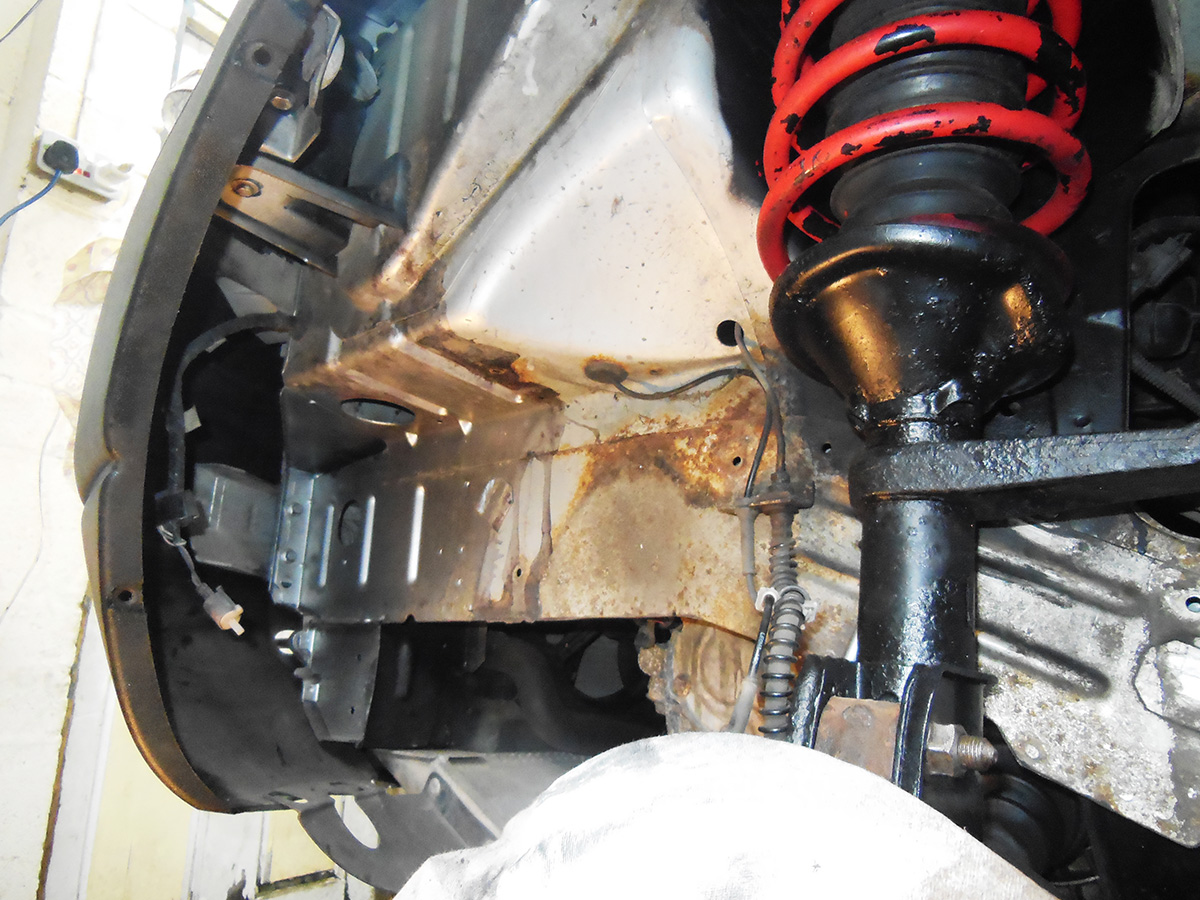
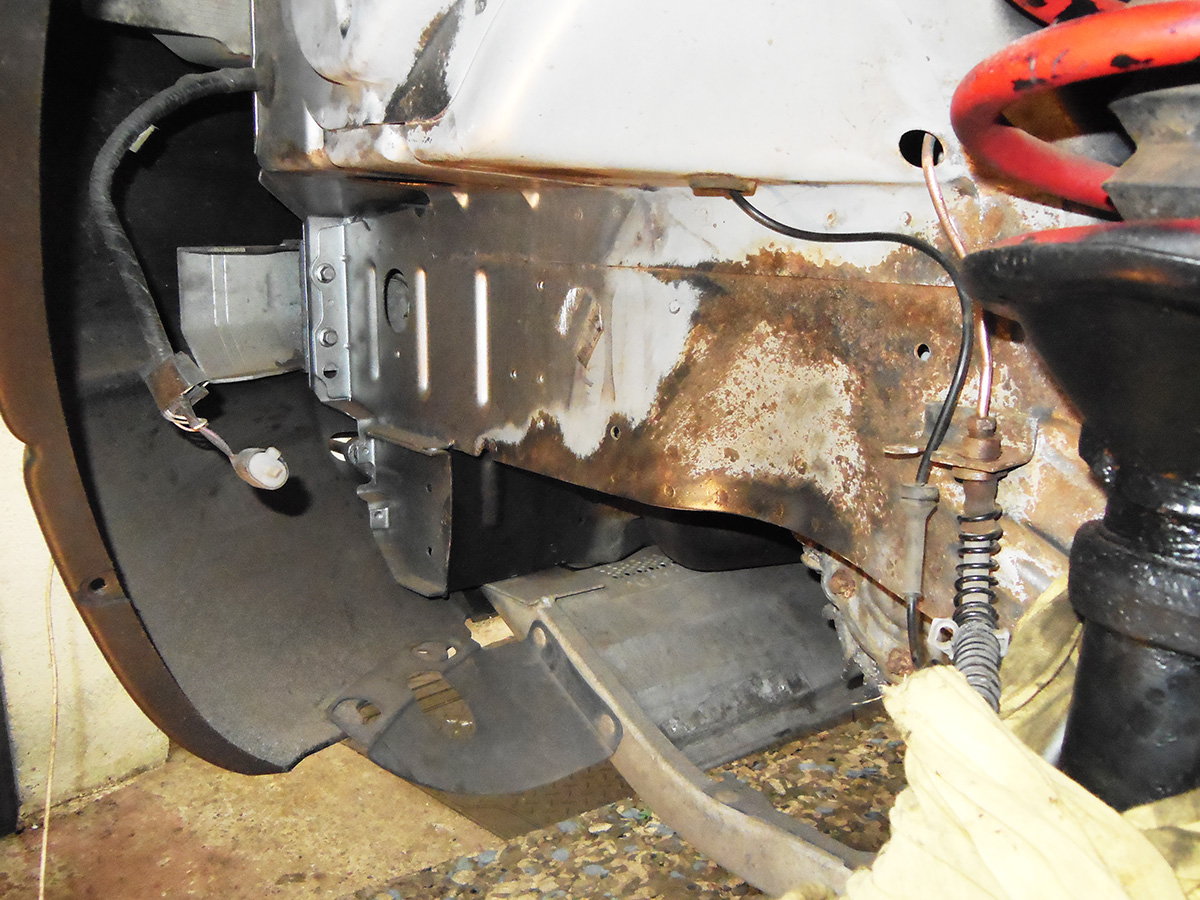
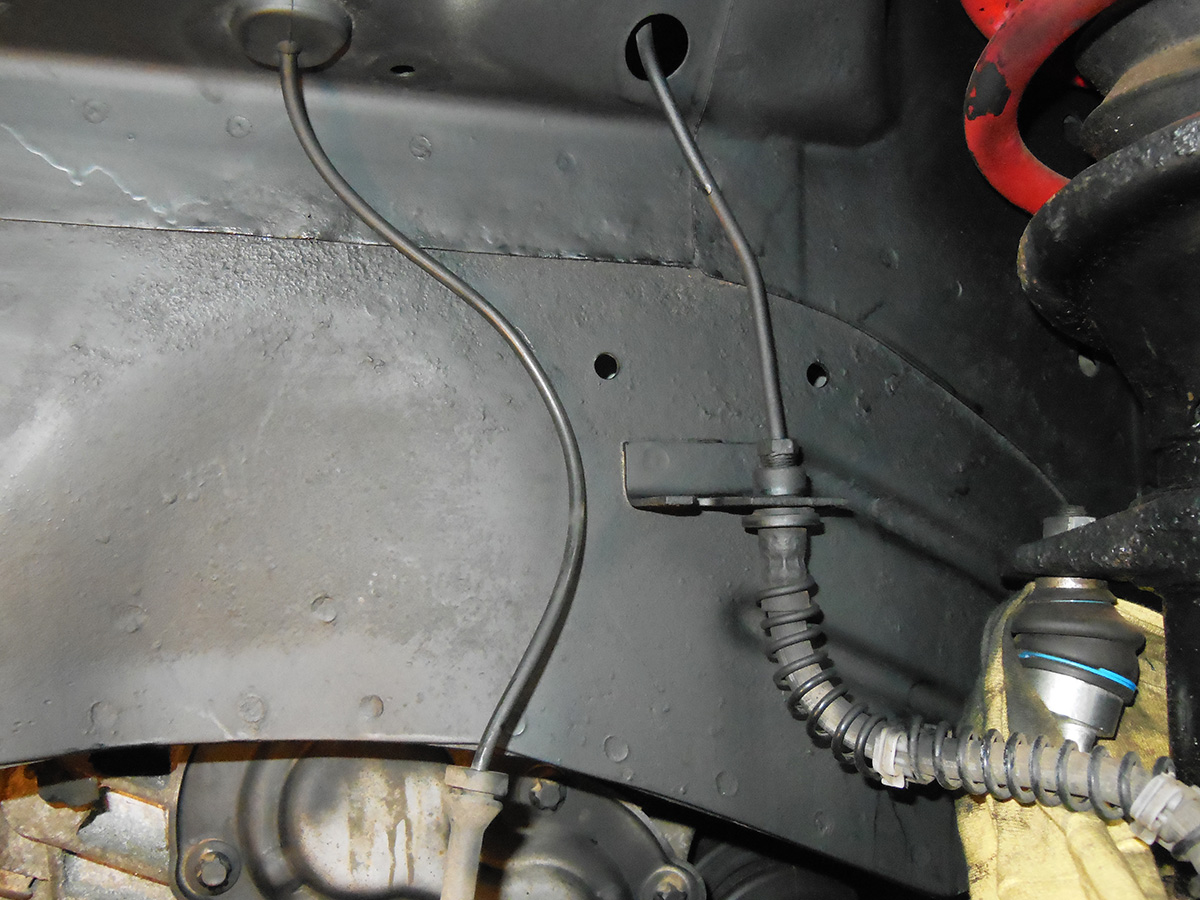
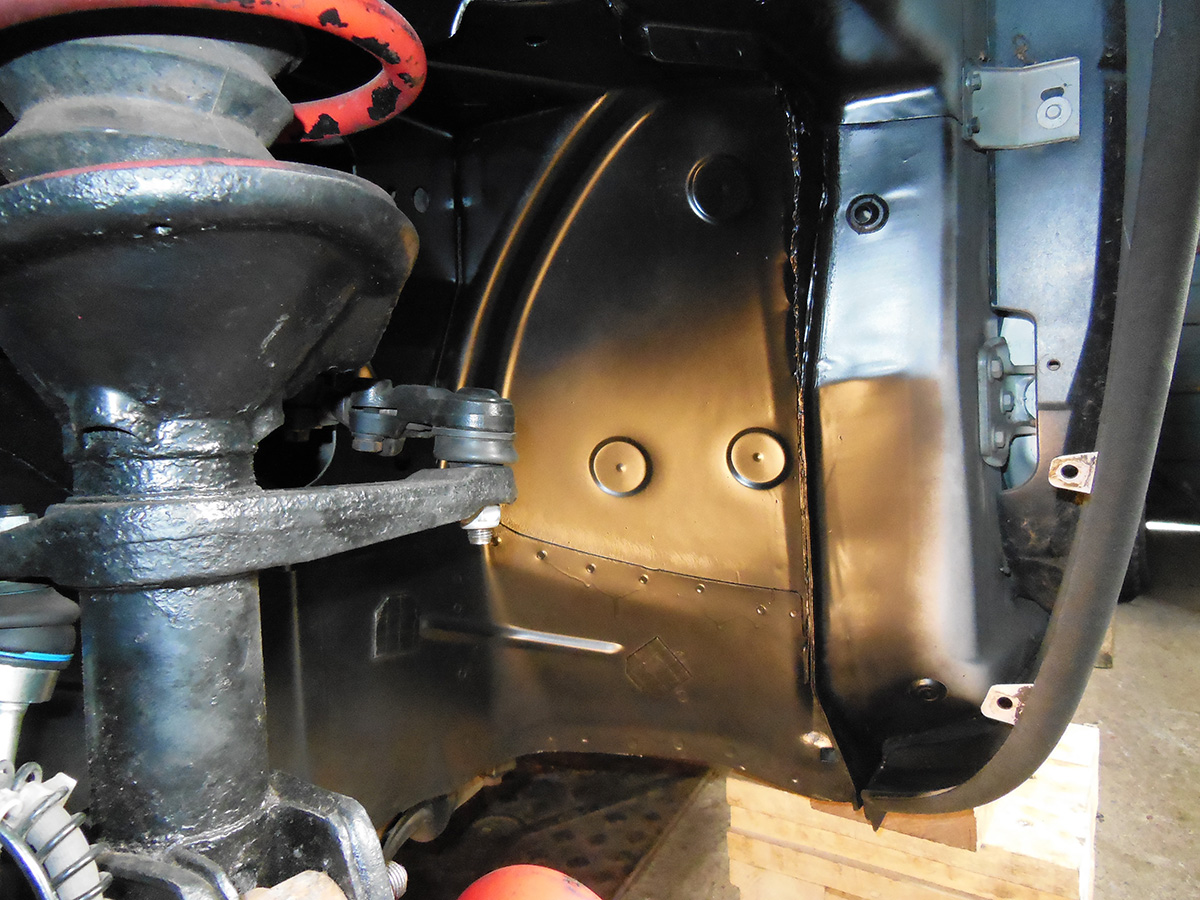
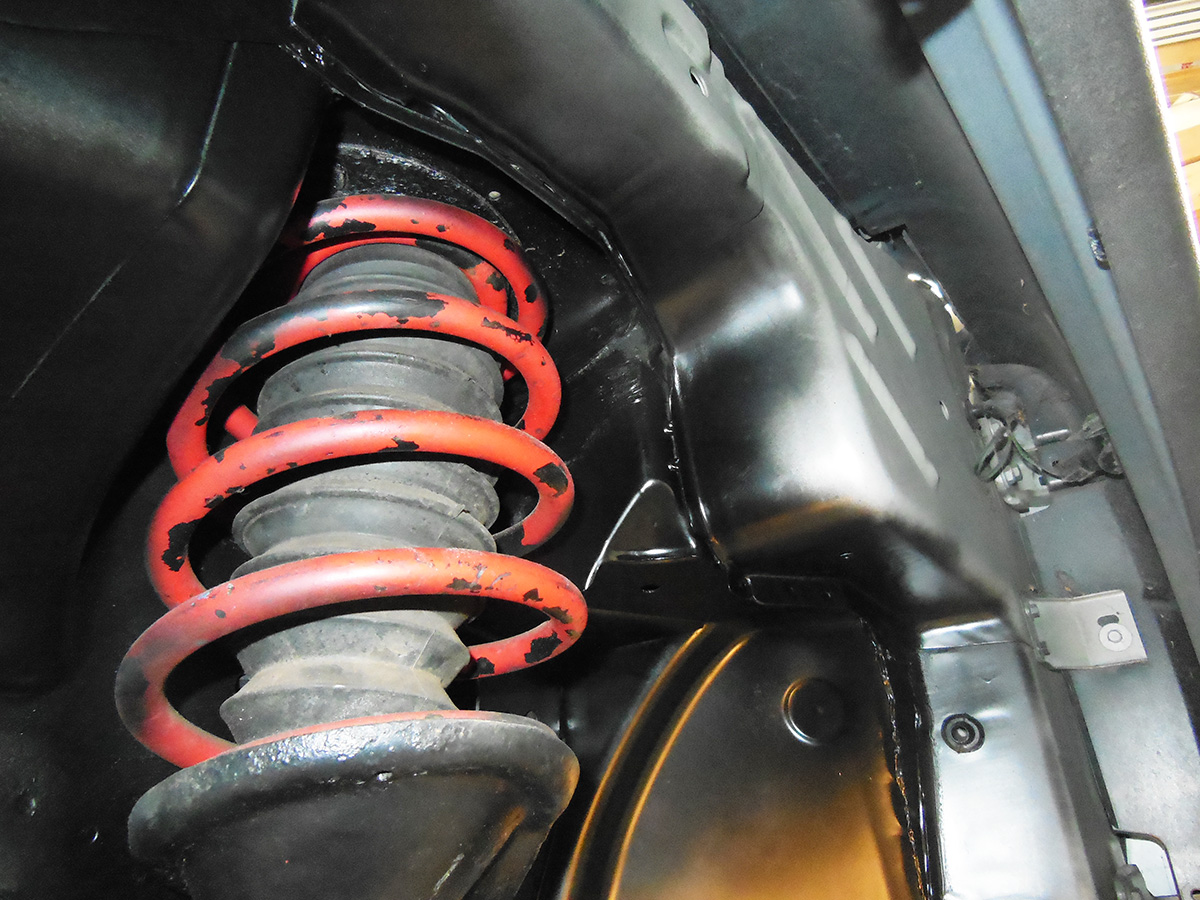
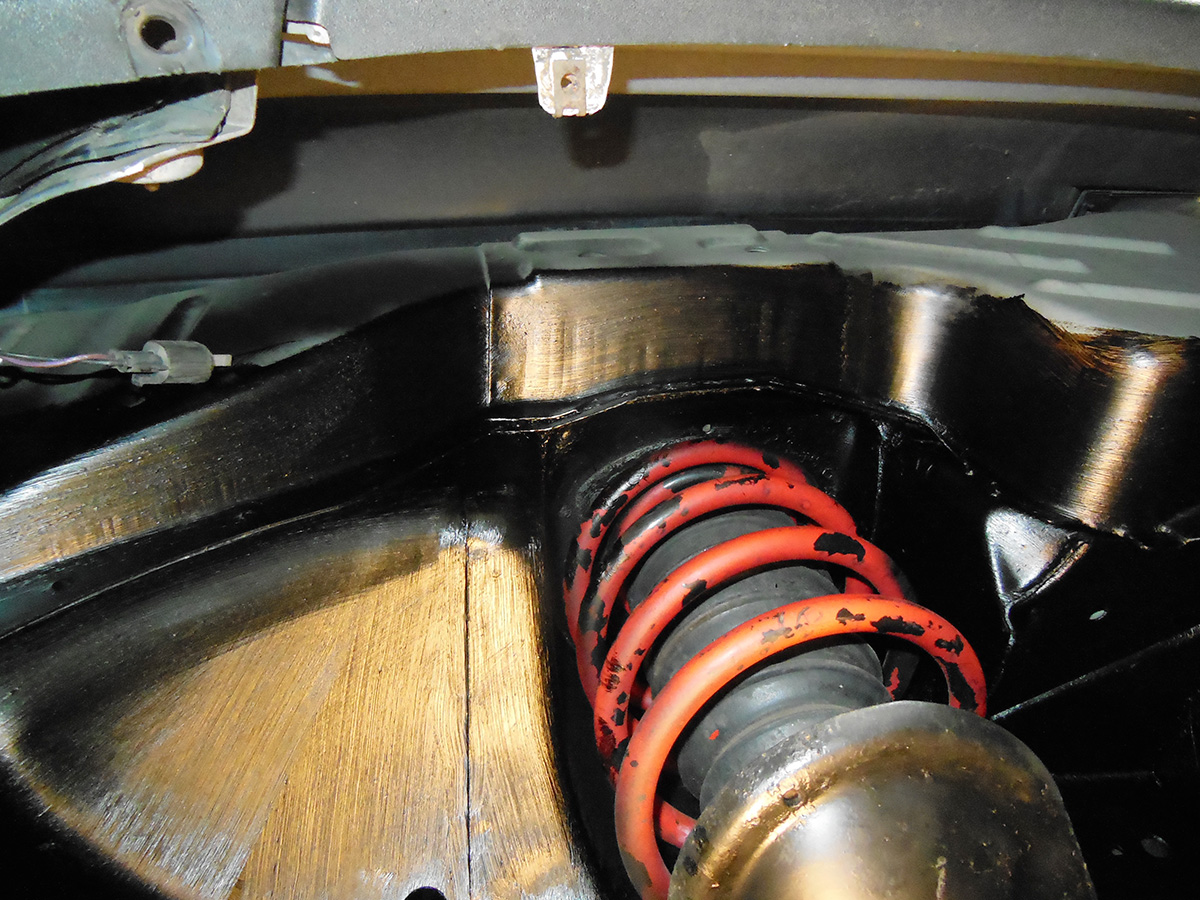
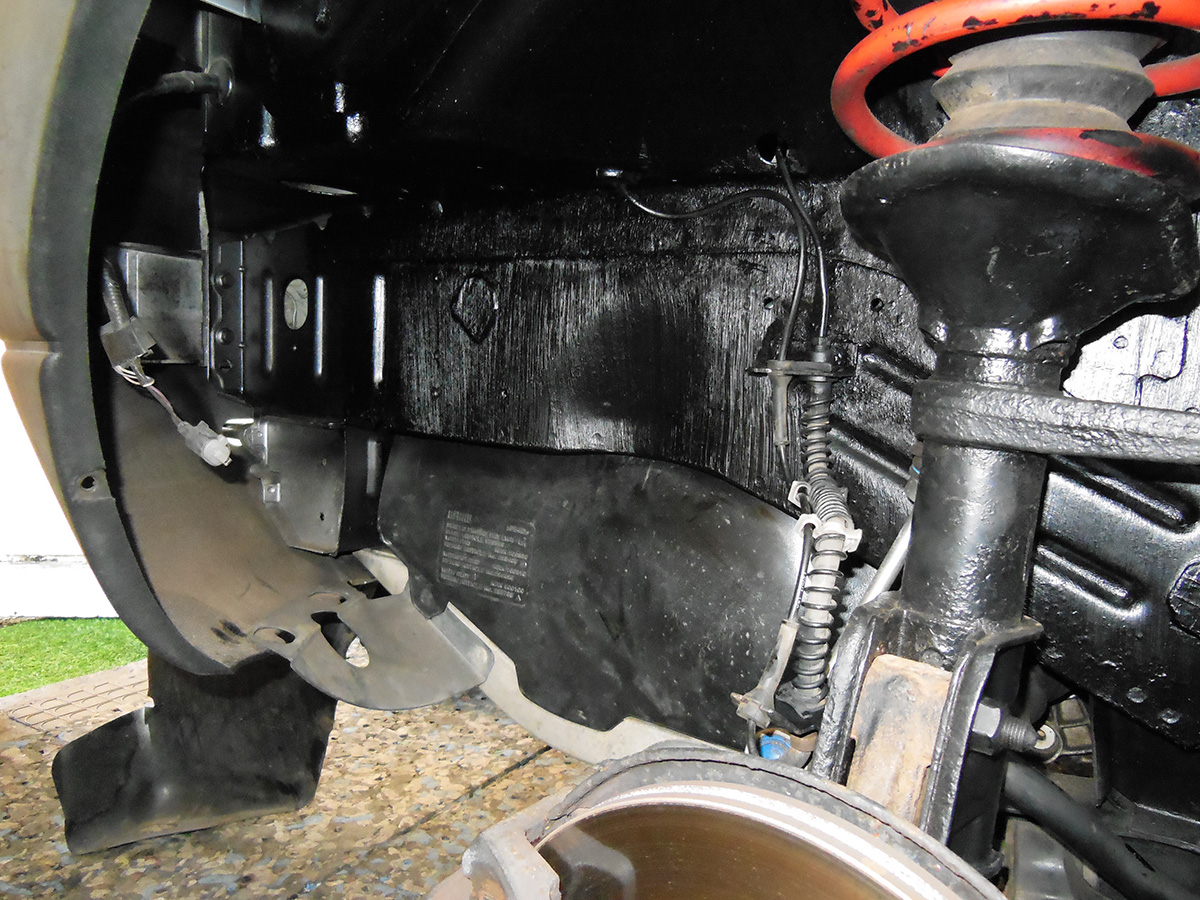
You can undo the two rear bolts and drop the cradle down enough to replace the support plates, it's easier to hold the fuel tank up if it's near empty.
I used cable ties a couple of times and home made saddles once to secure them.
Wish I had a modicum of ability with cars ! But still following the thread avidly
Can see why people have affection for Landrovers
Thanks! yes your right regarding the breaking then fixingDon't be so hard on yourself. You're human, same as me. Humans can achieve great things.
I've found it isn't so much down to skills but courage and perceverance. You have to be willing to break the thing and do what it takes to fix it again.
Welcome to the forum by the way.
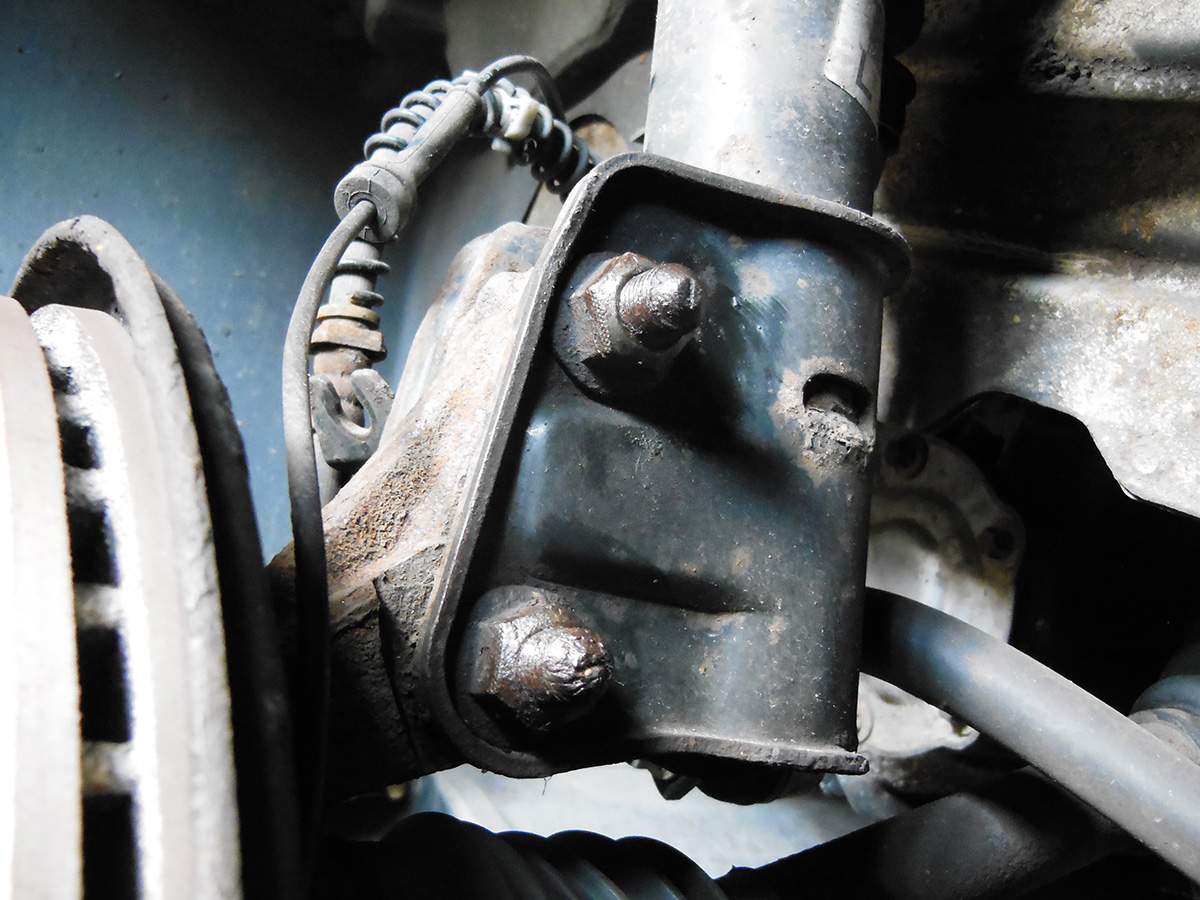
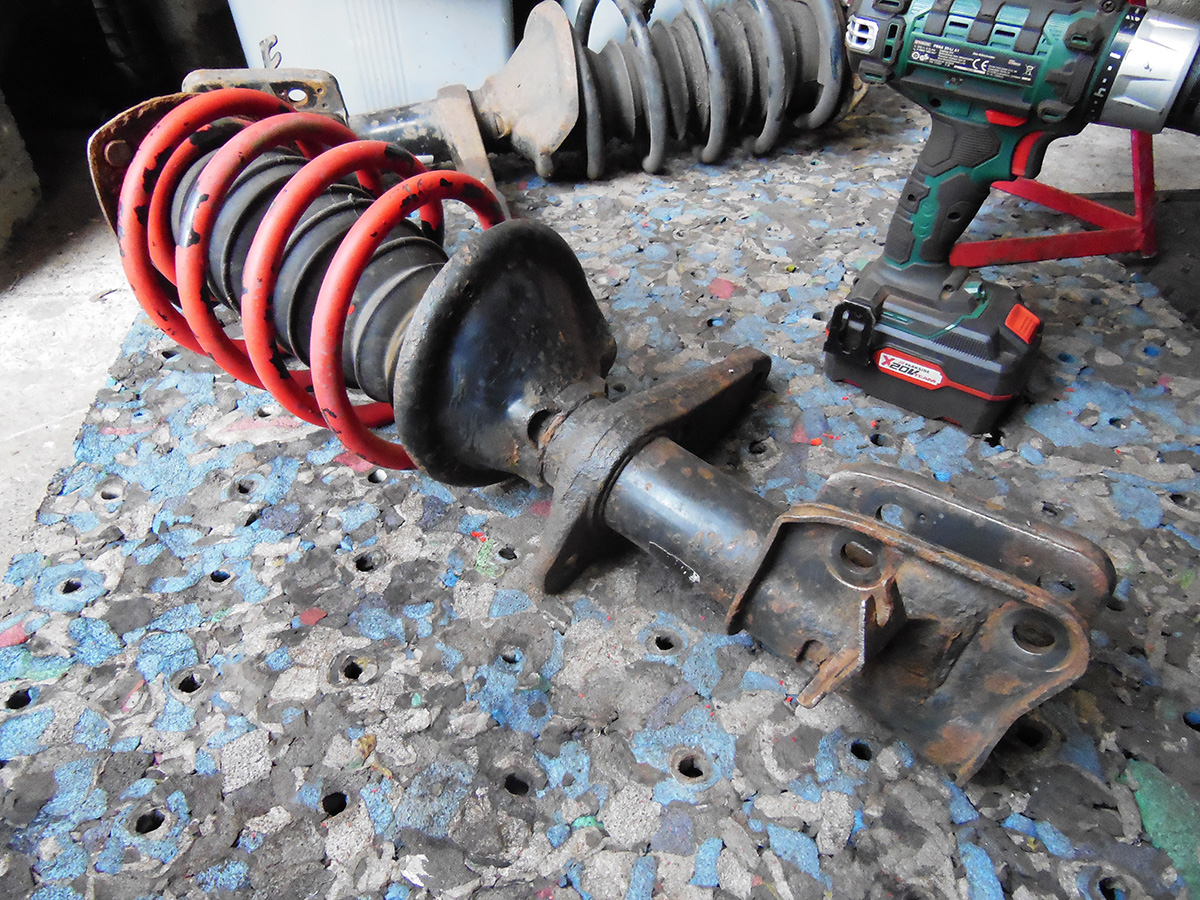
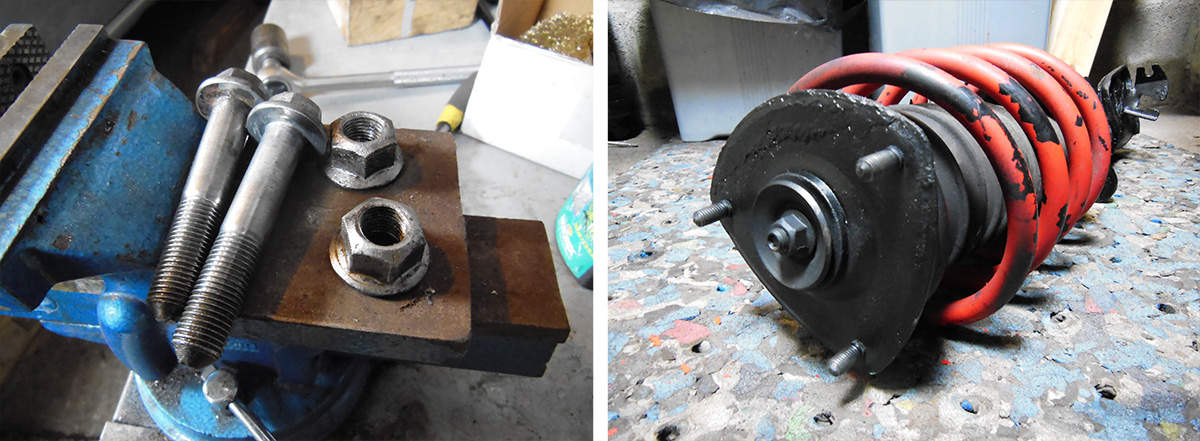
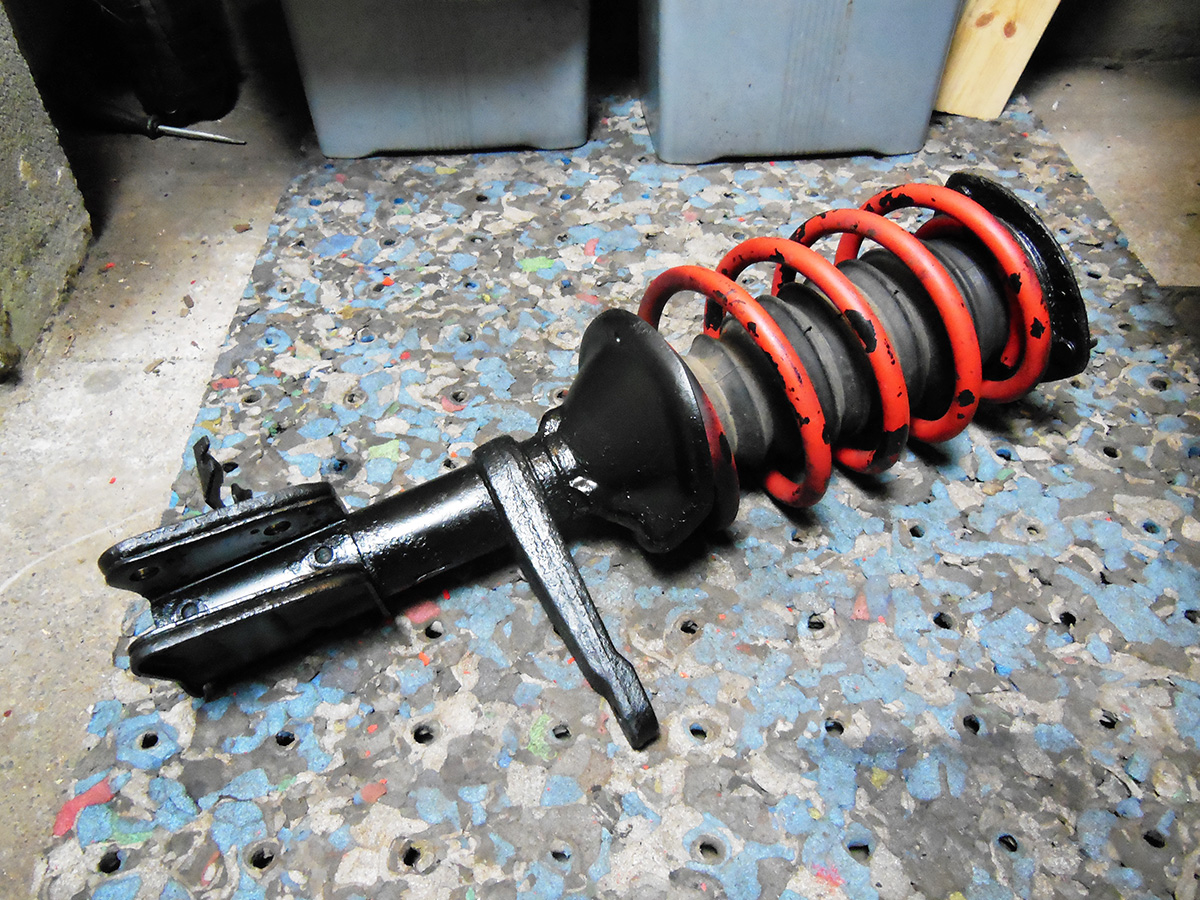
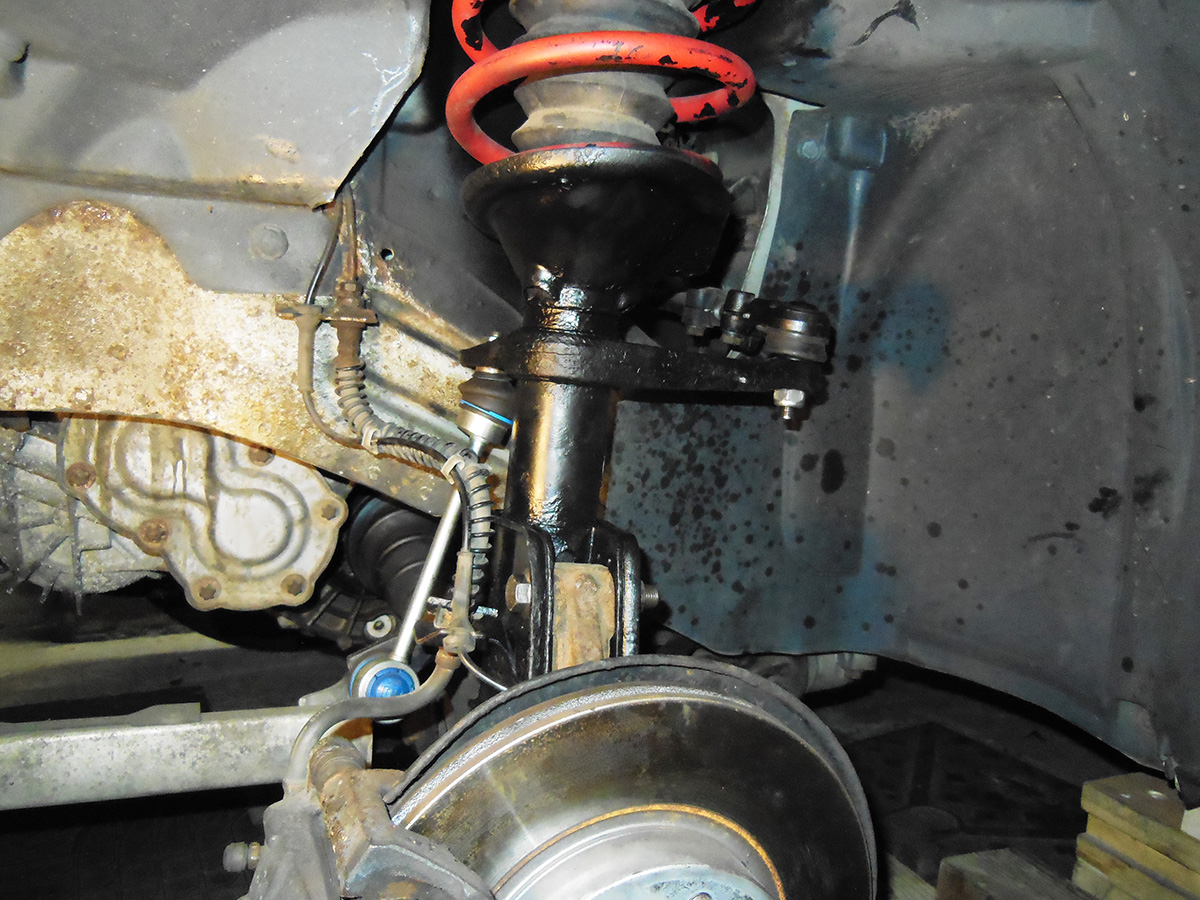


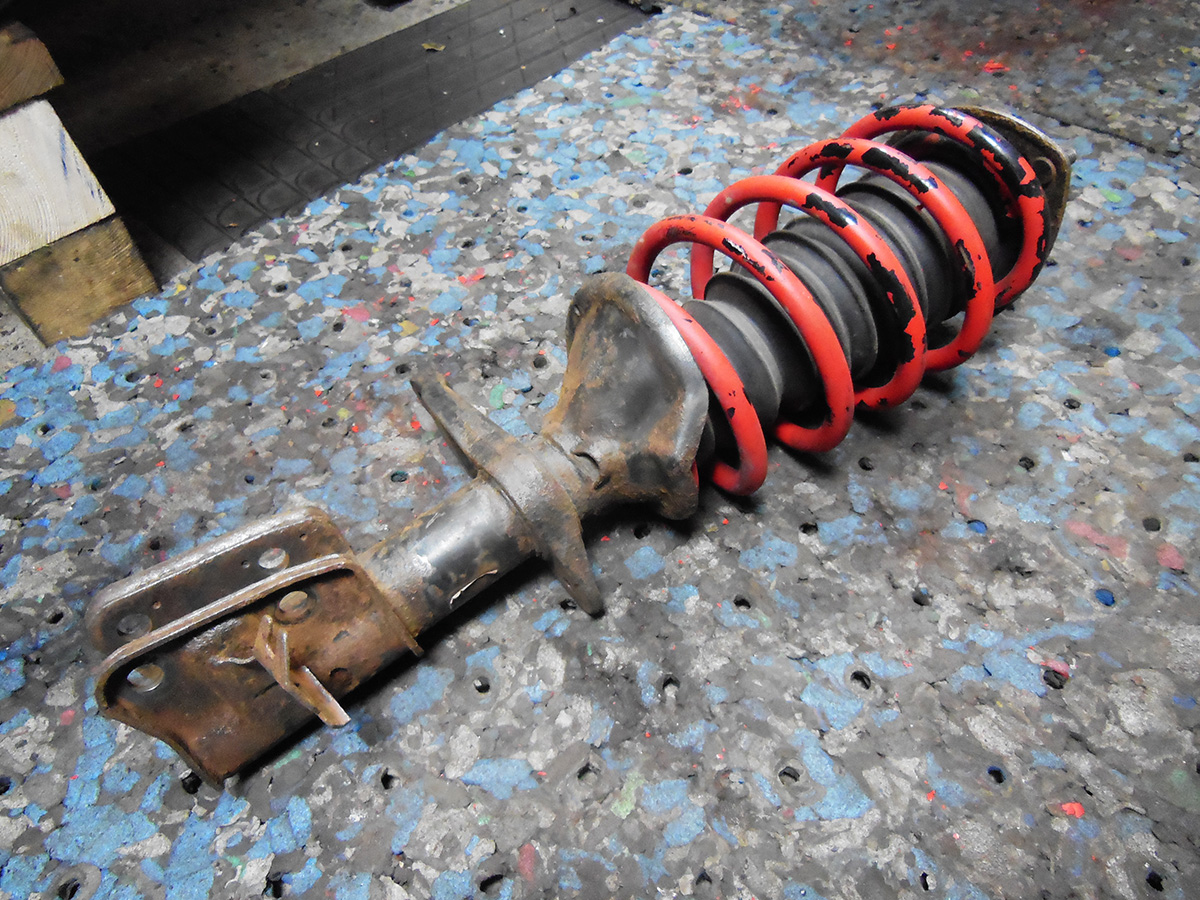
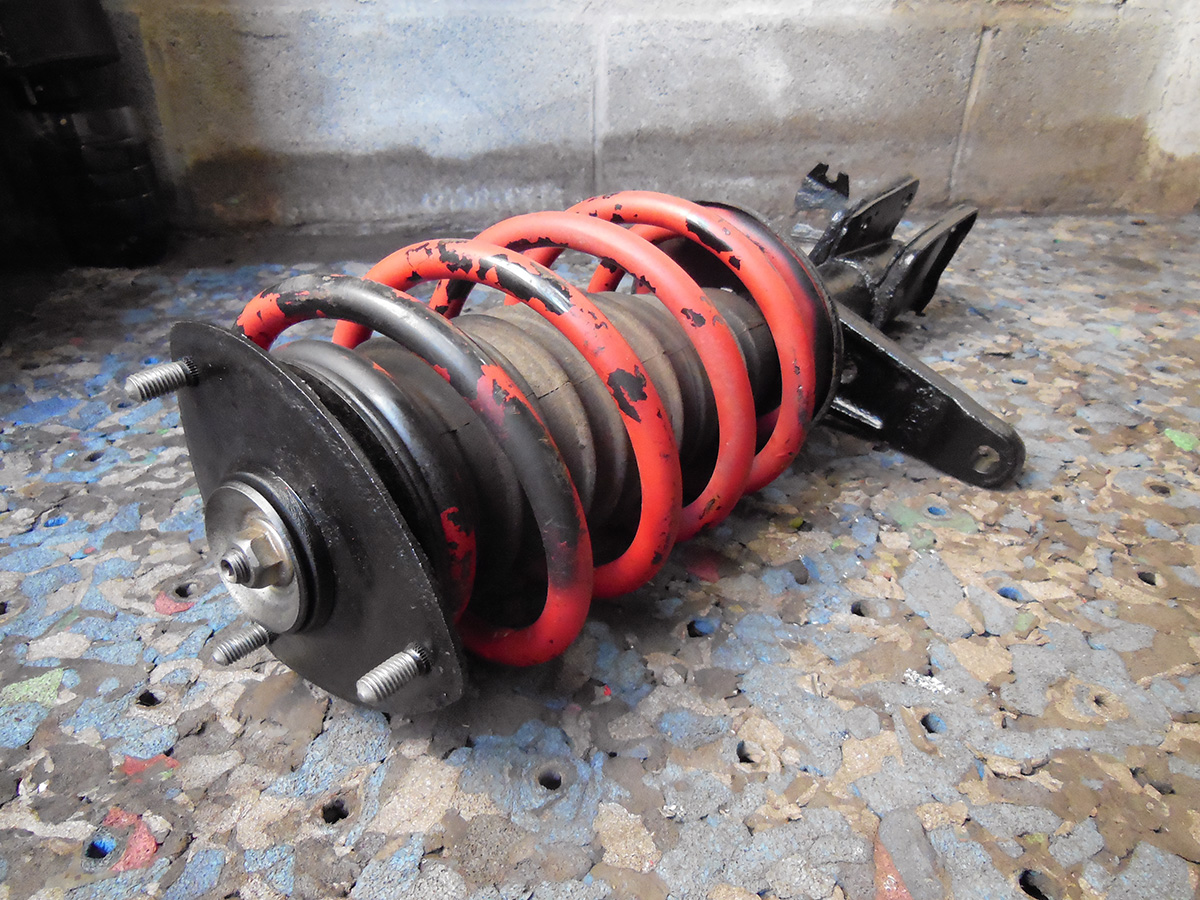
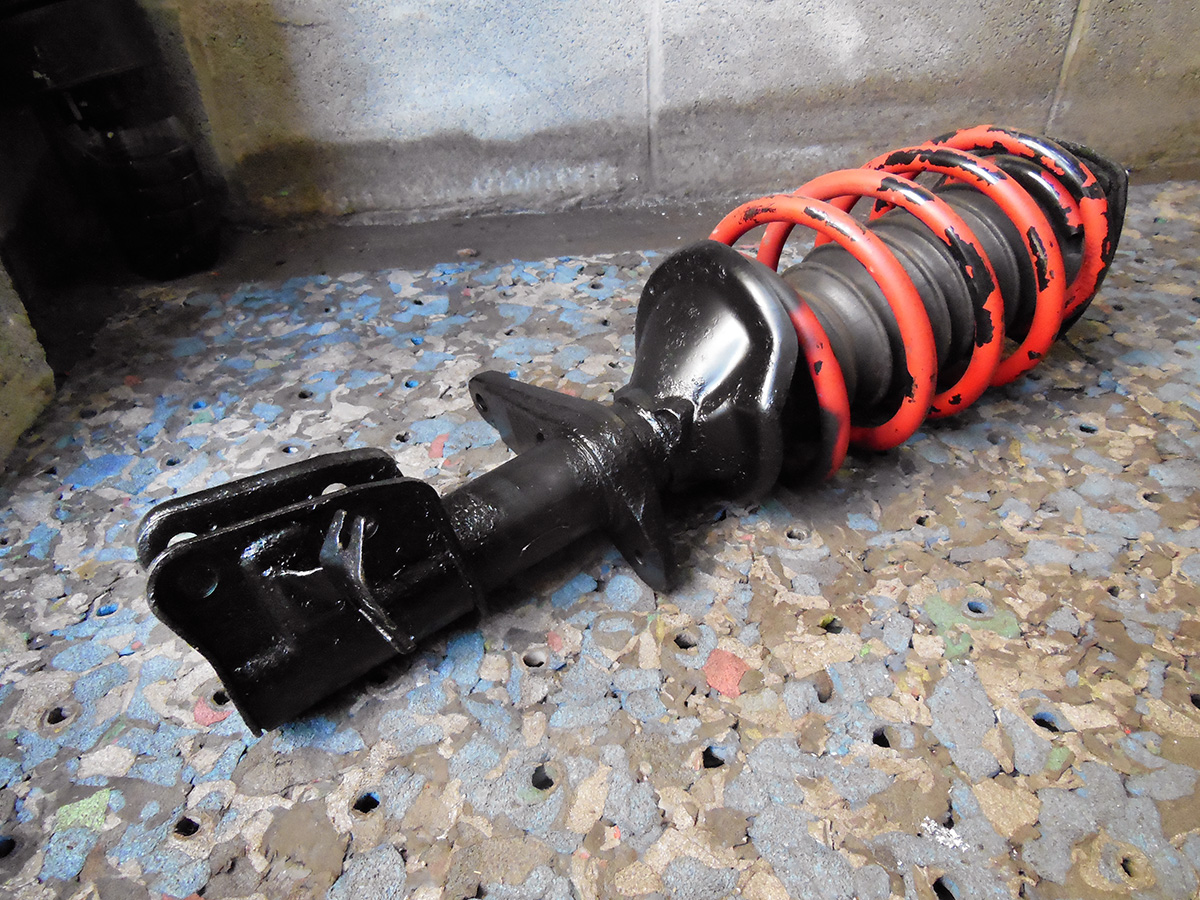
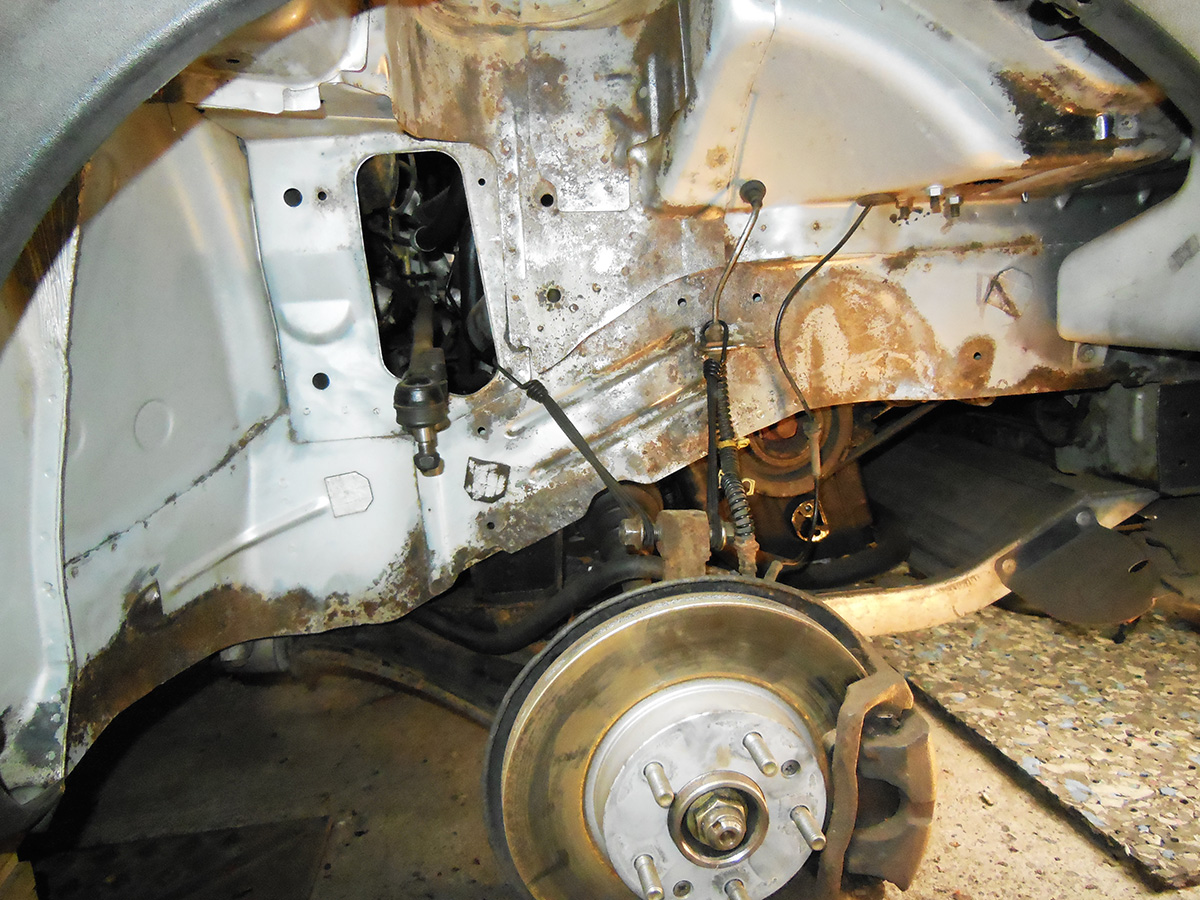

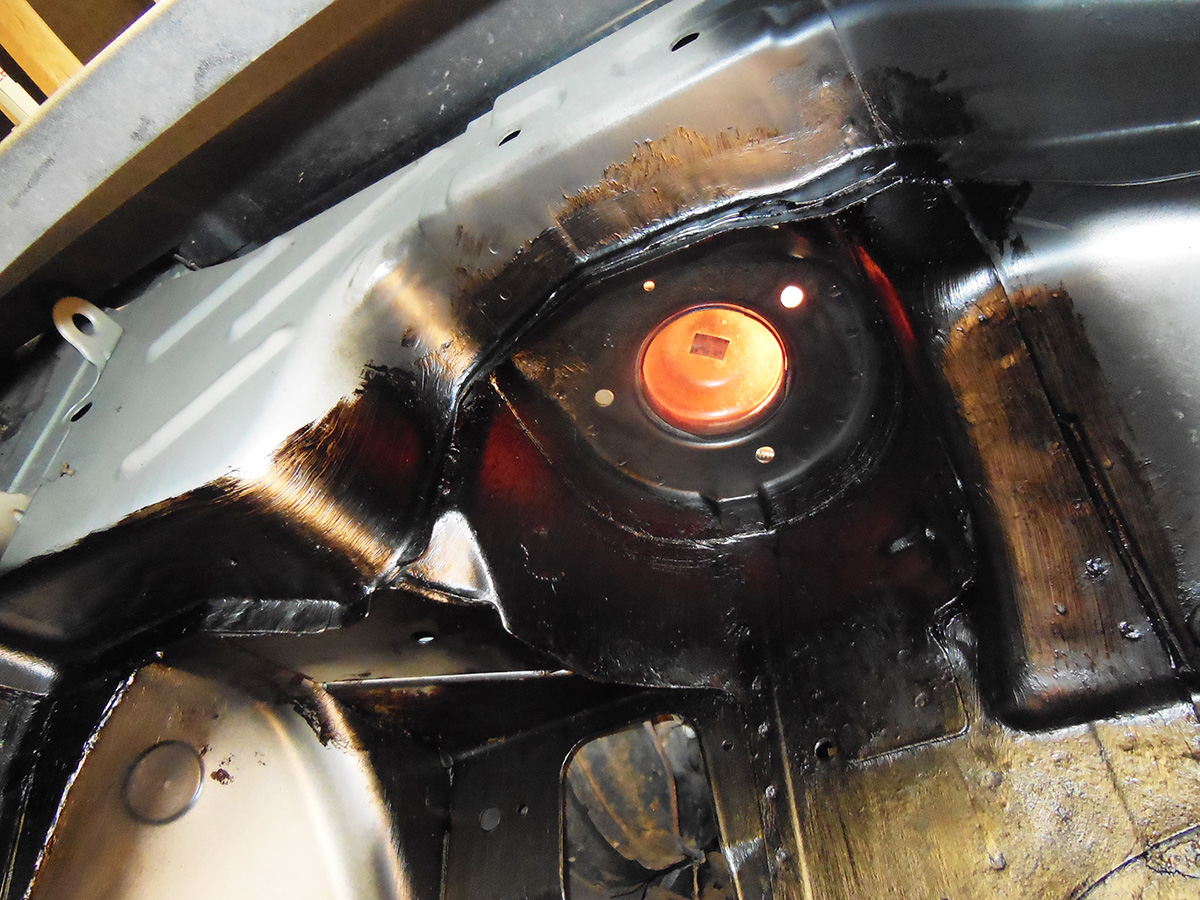
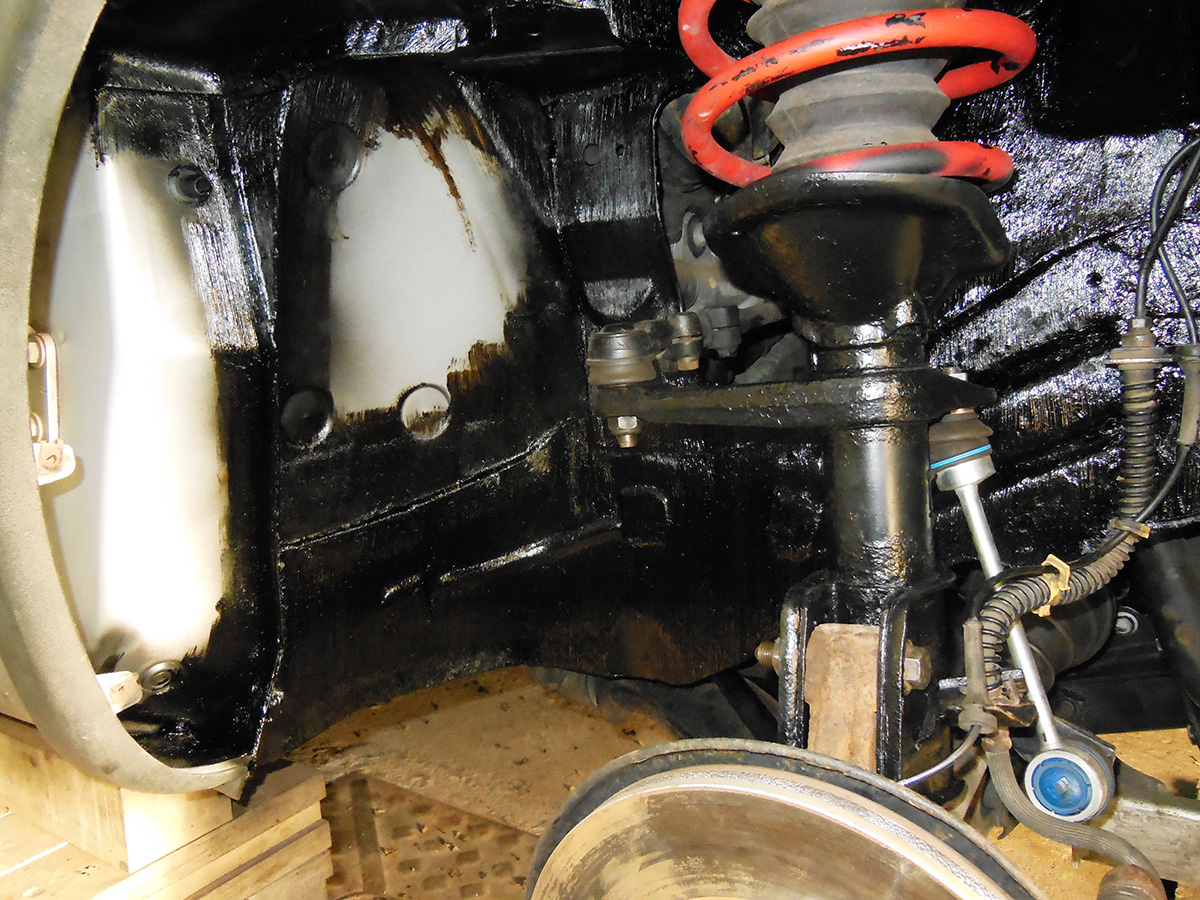
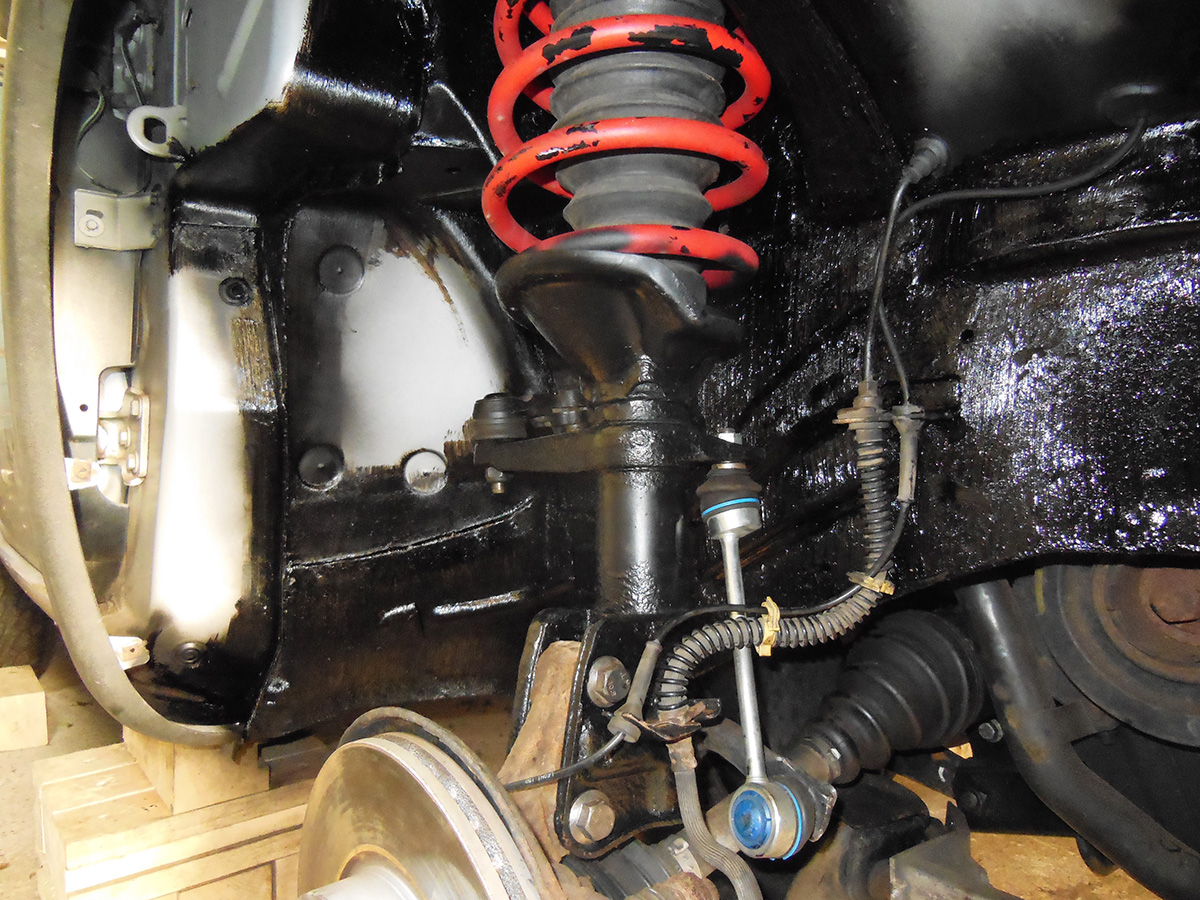
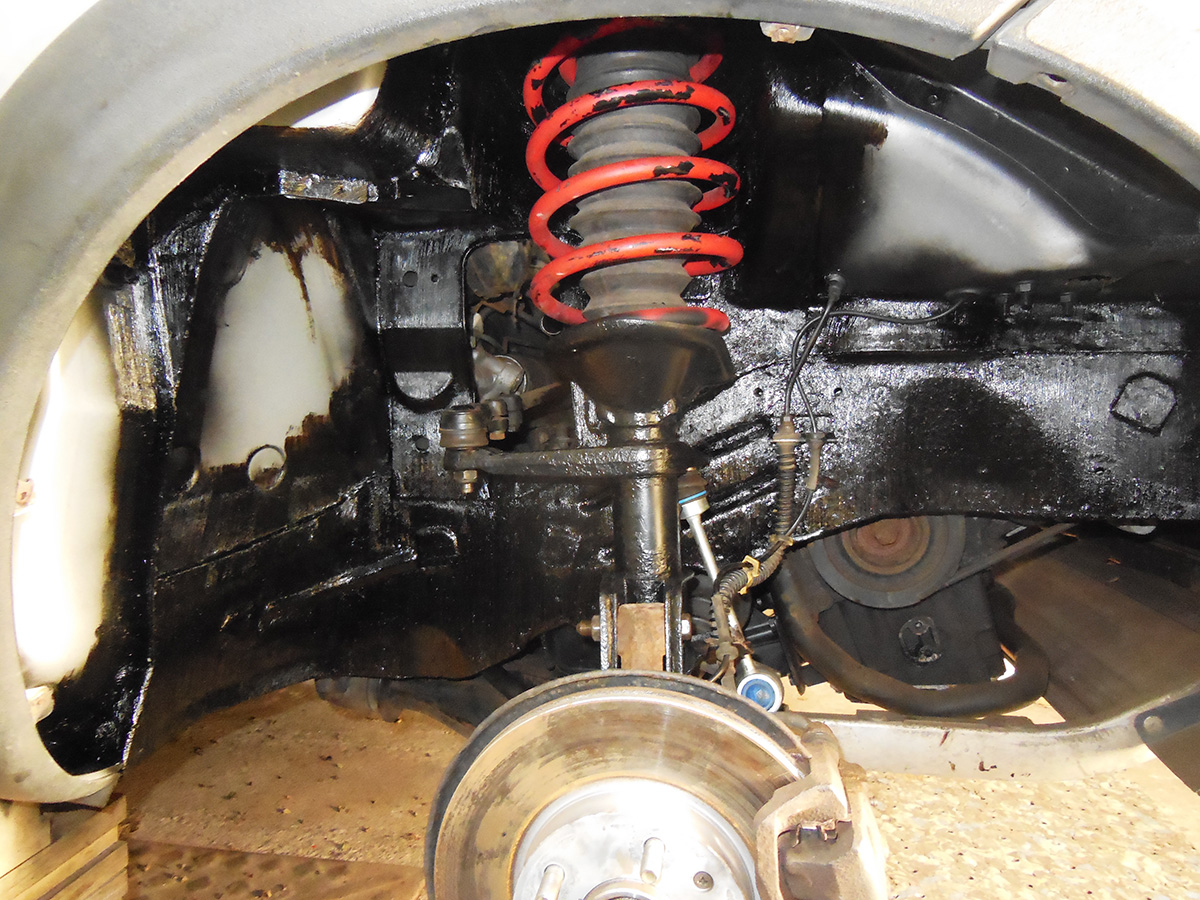
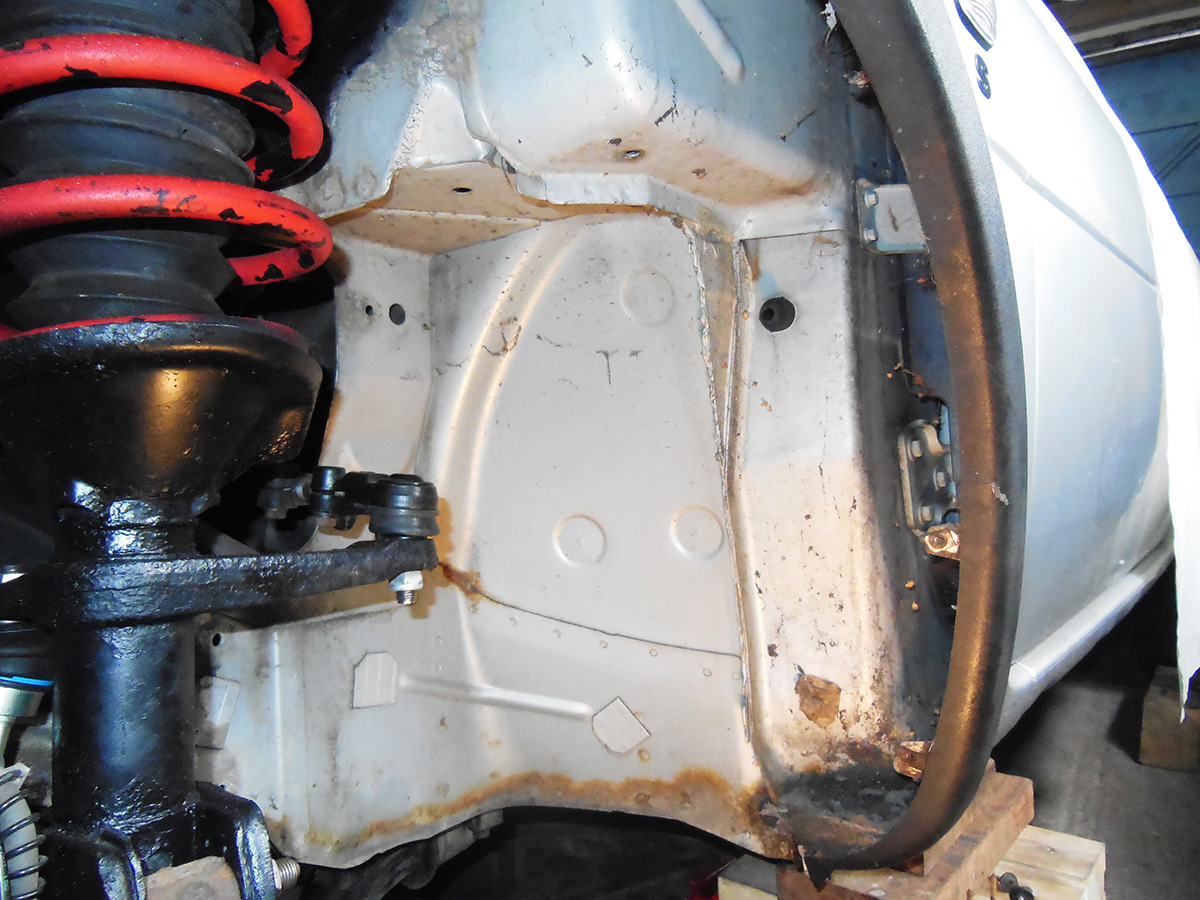

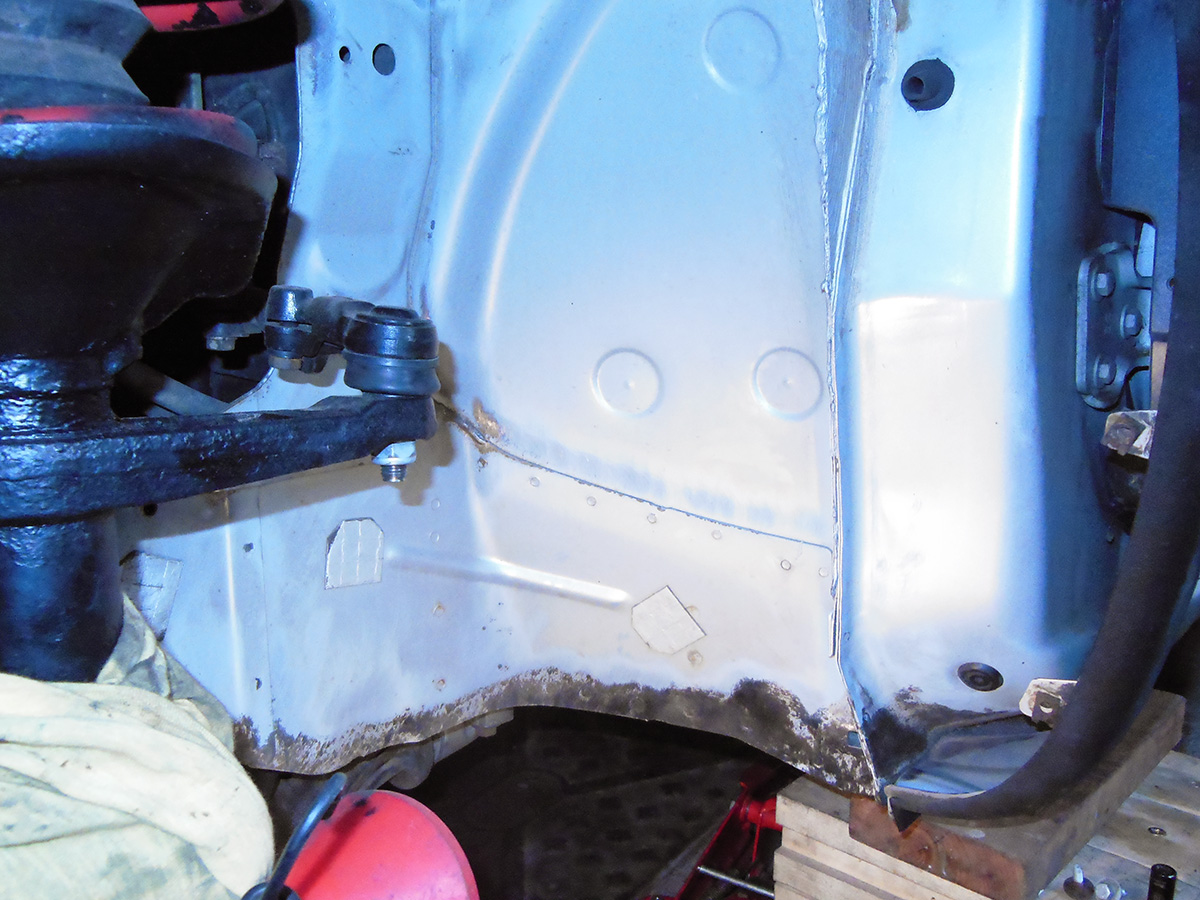
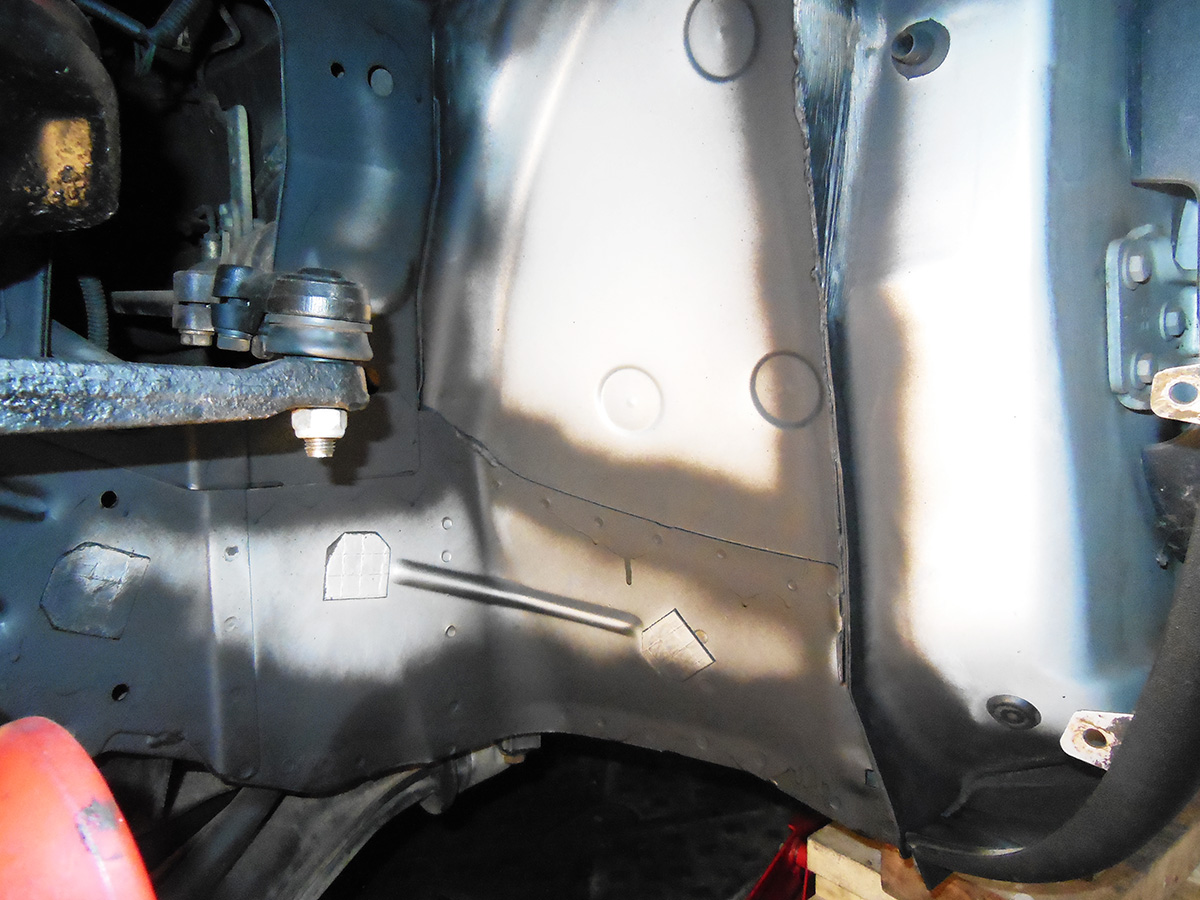
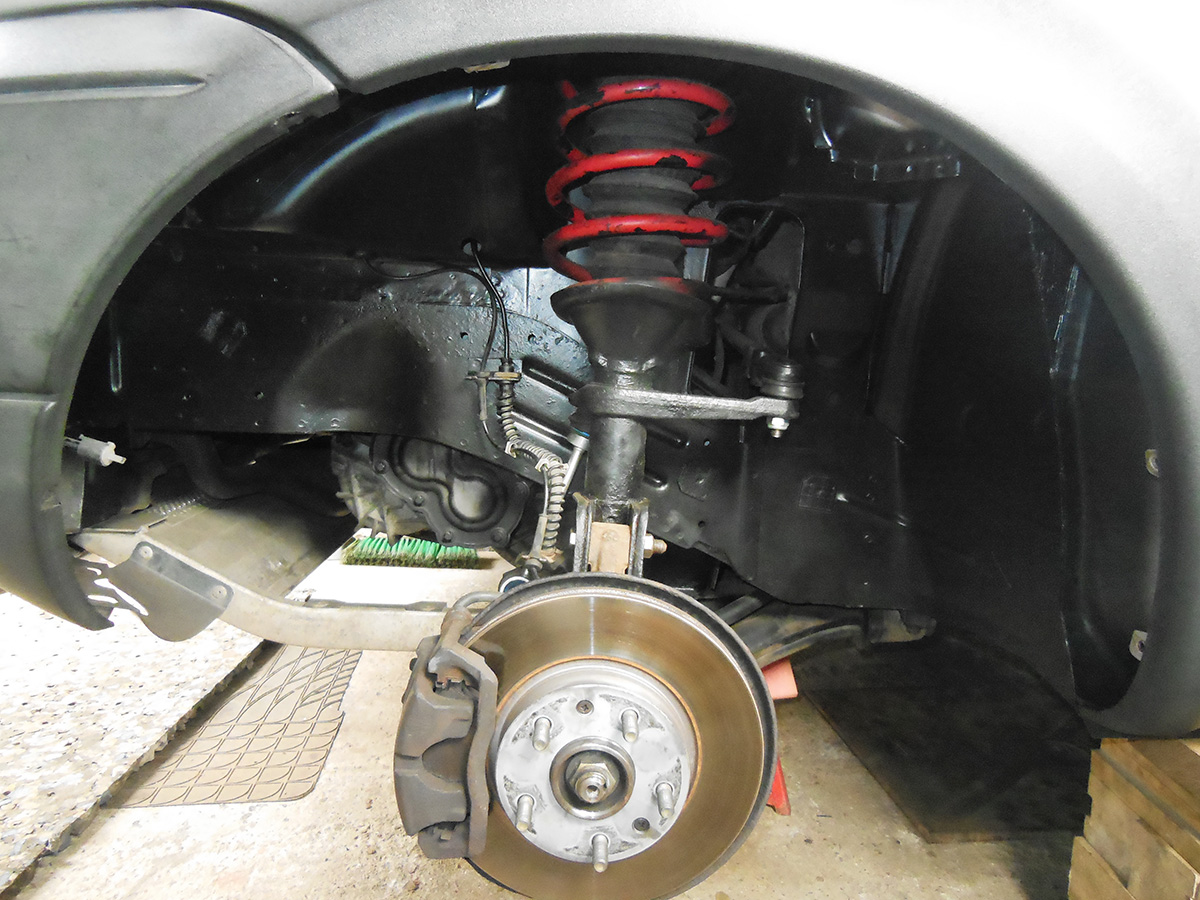

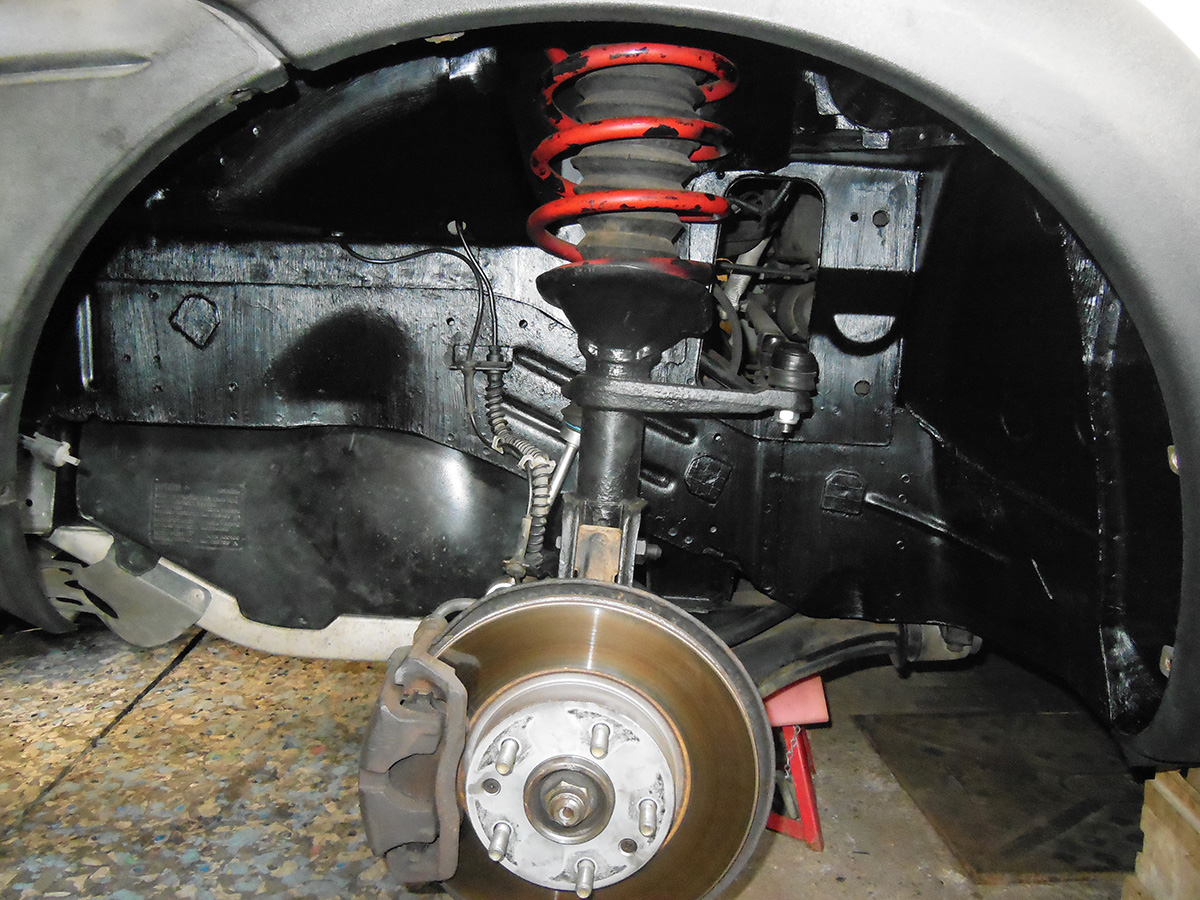
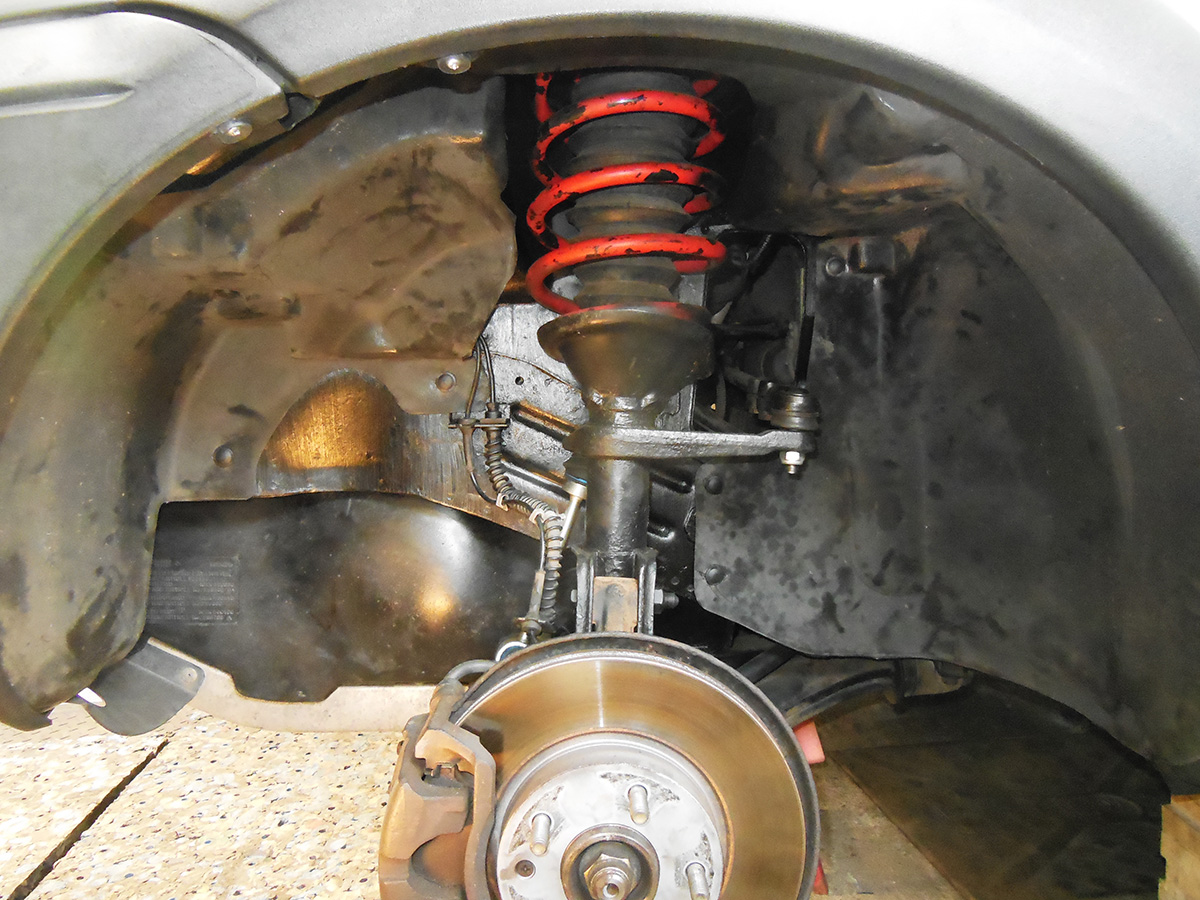
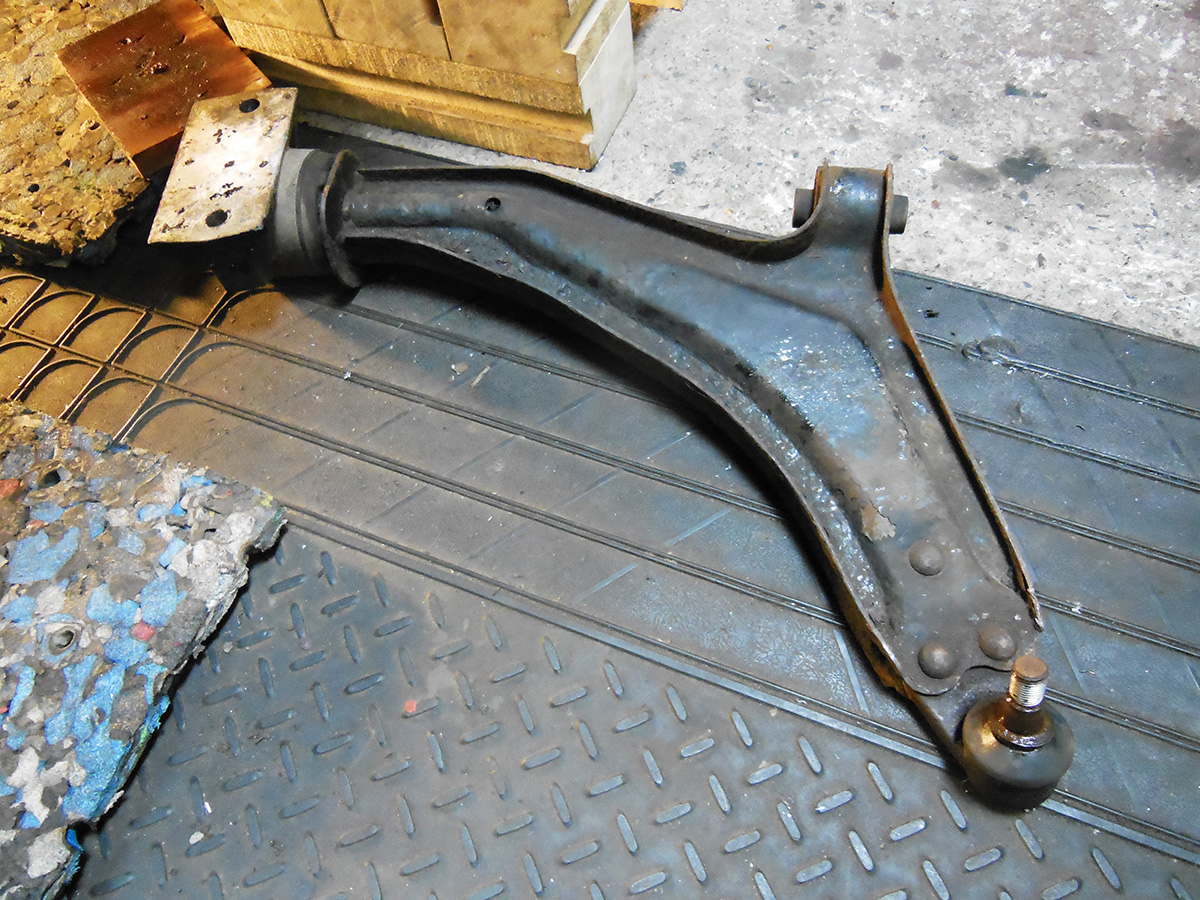
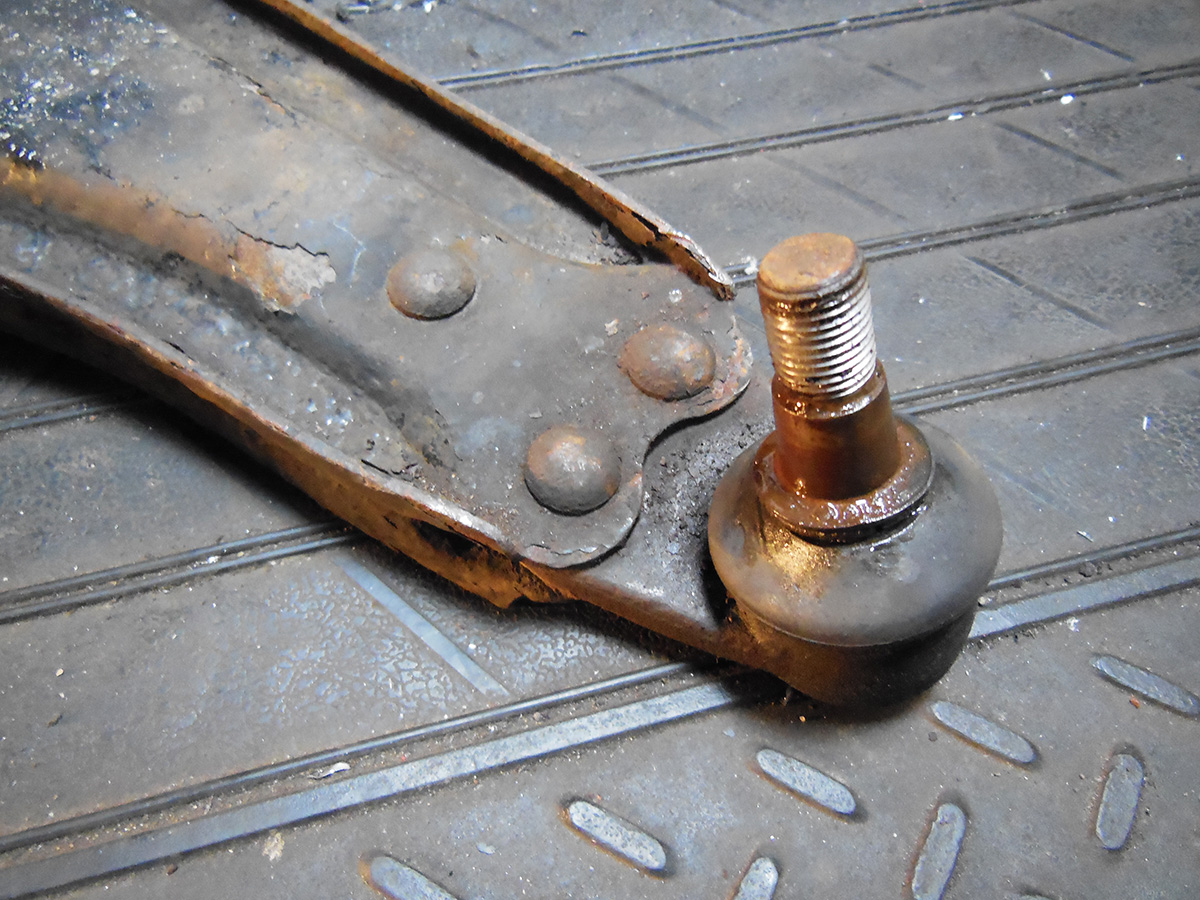
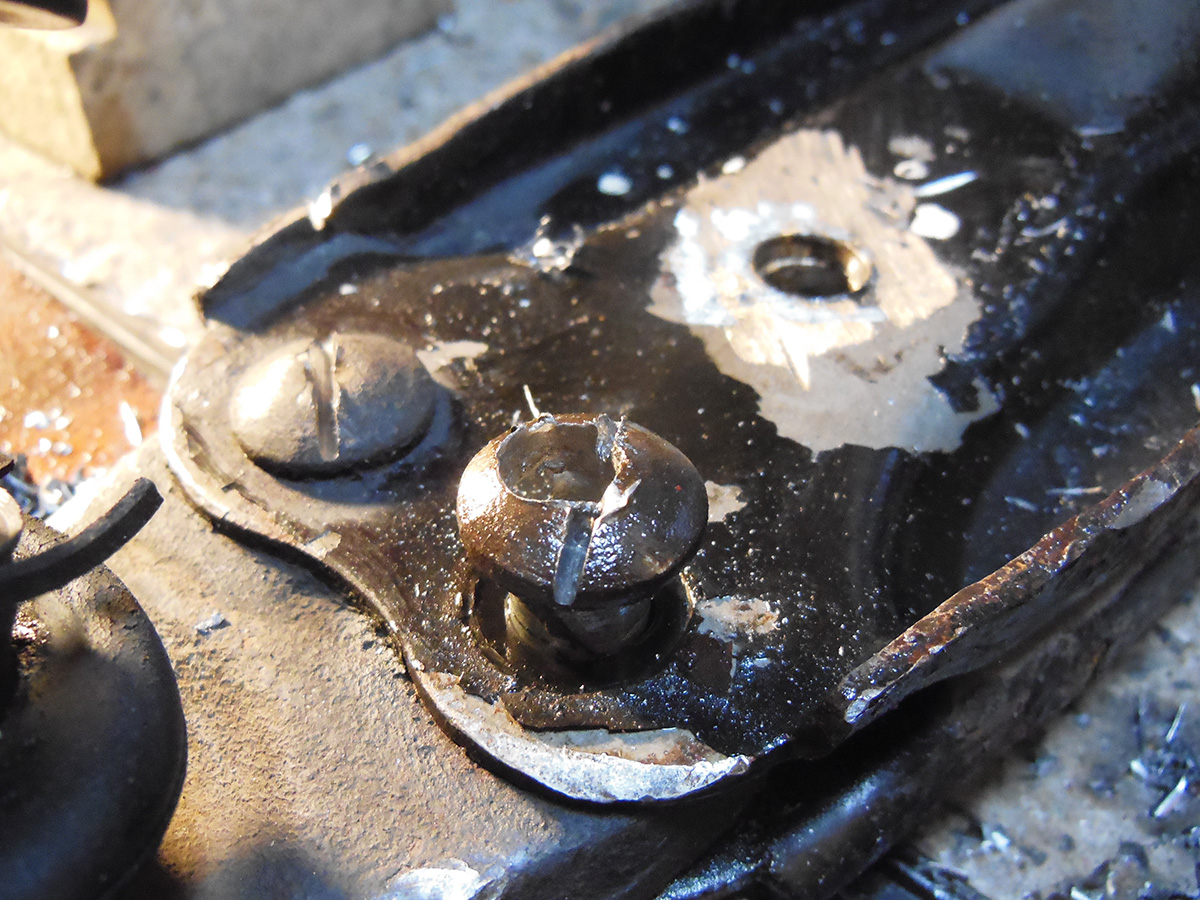
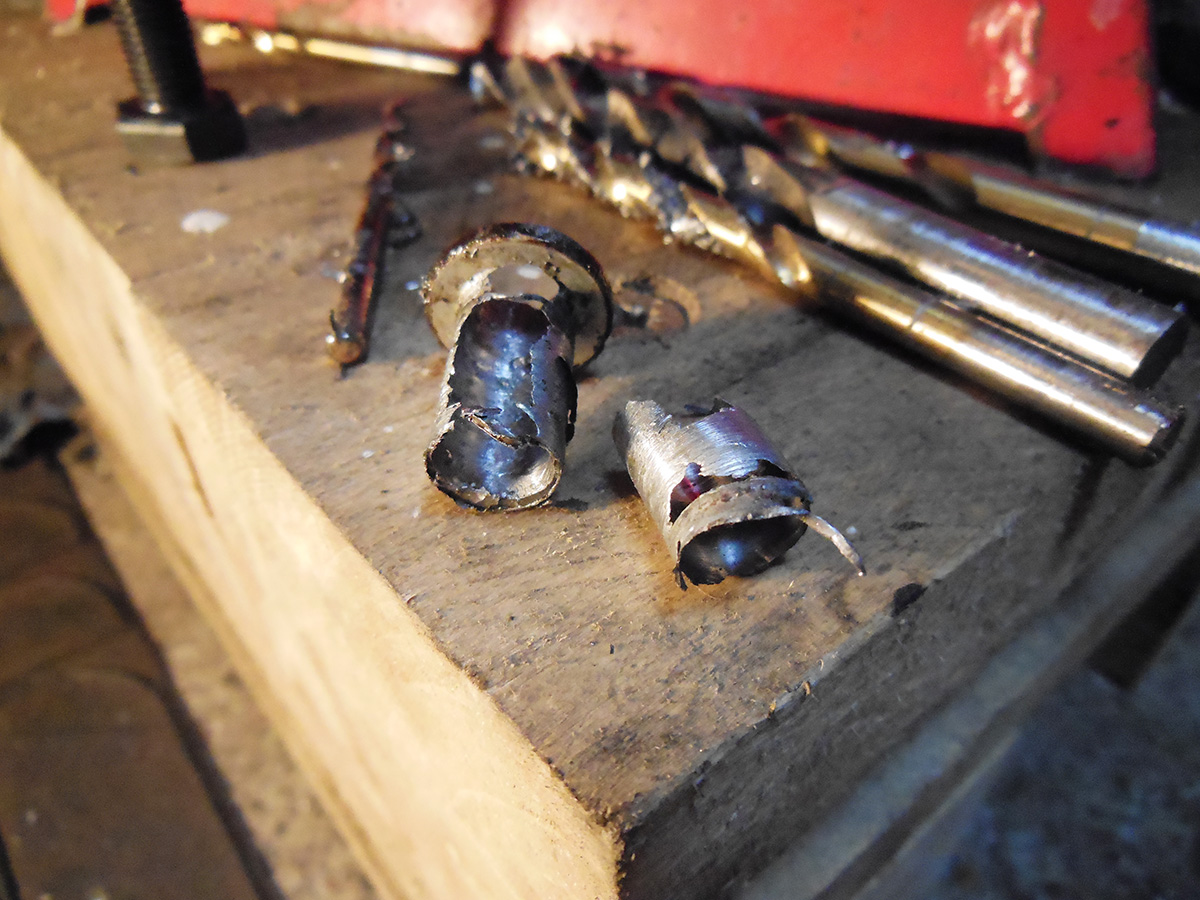
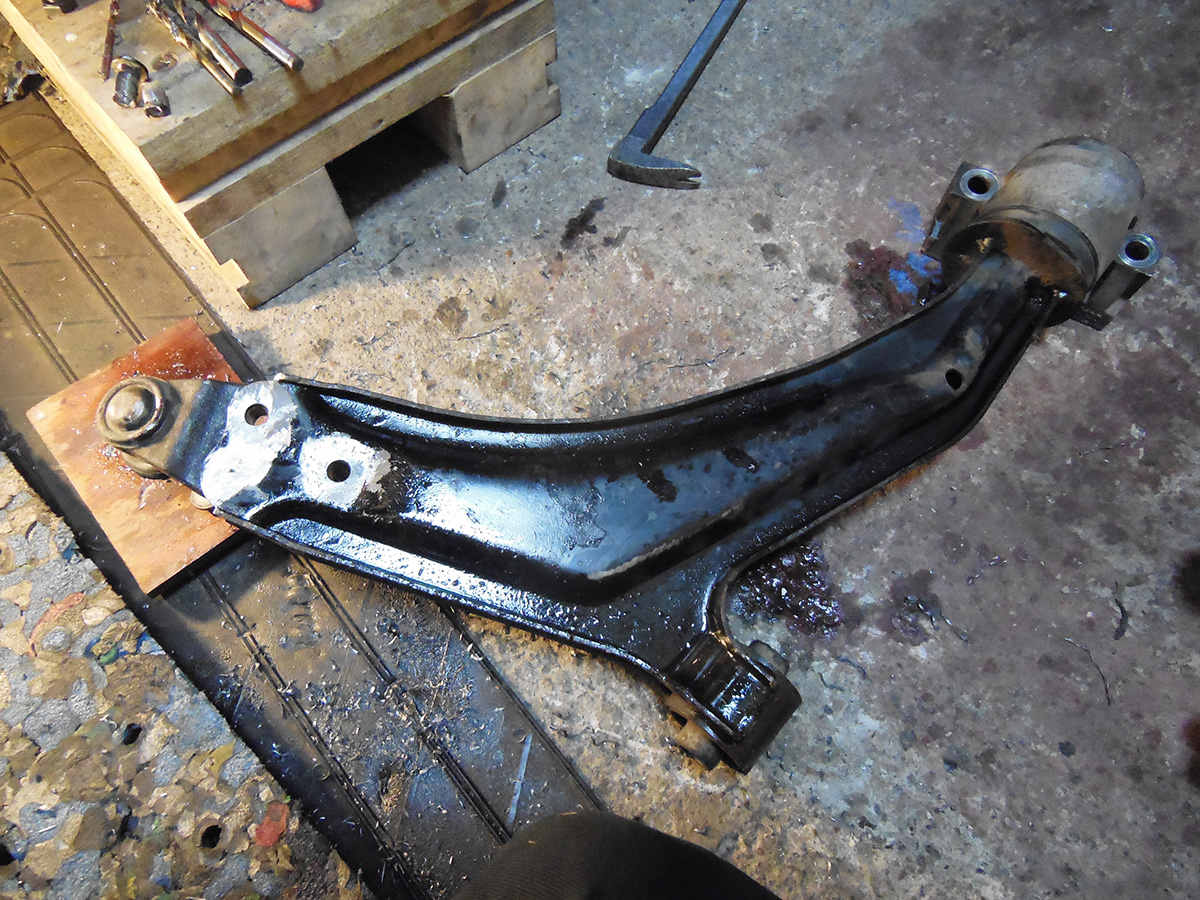
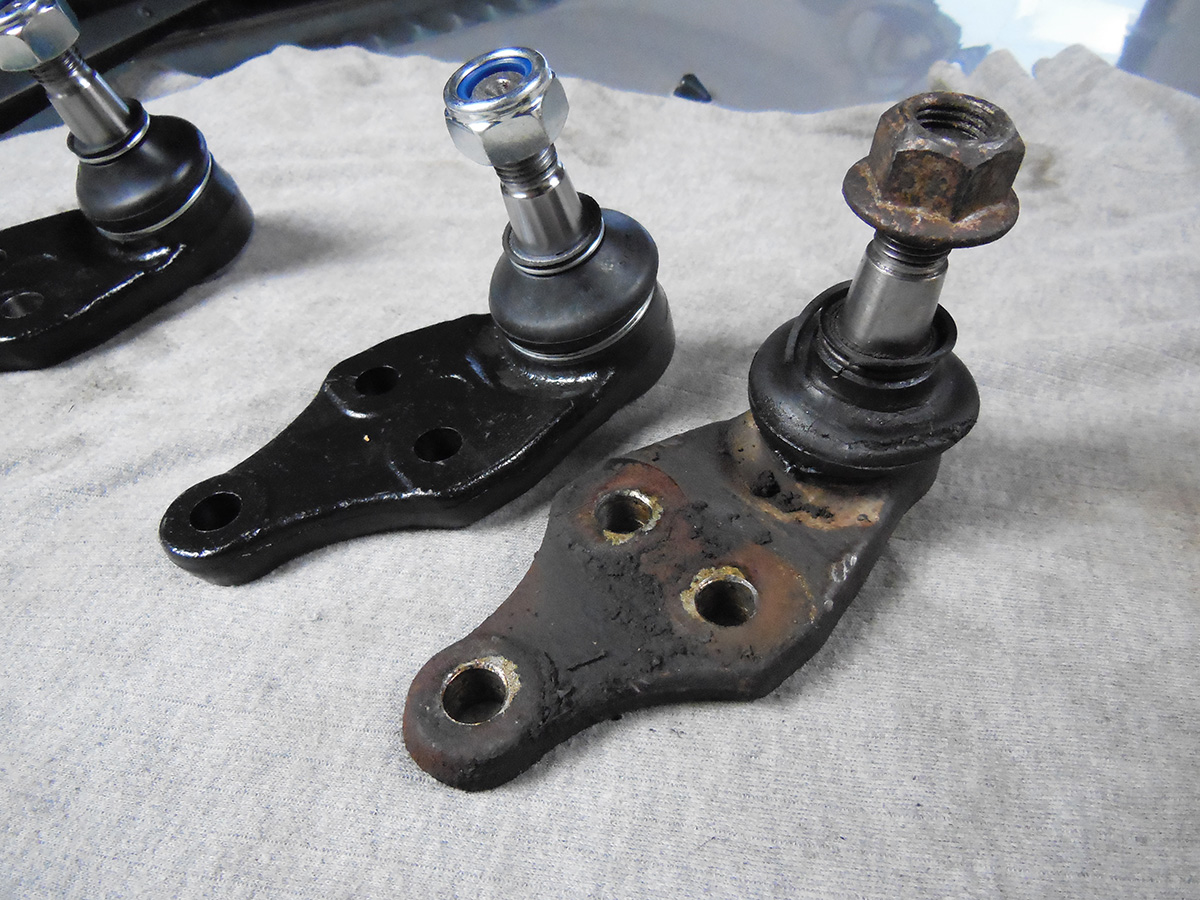
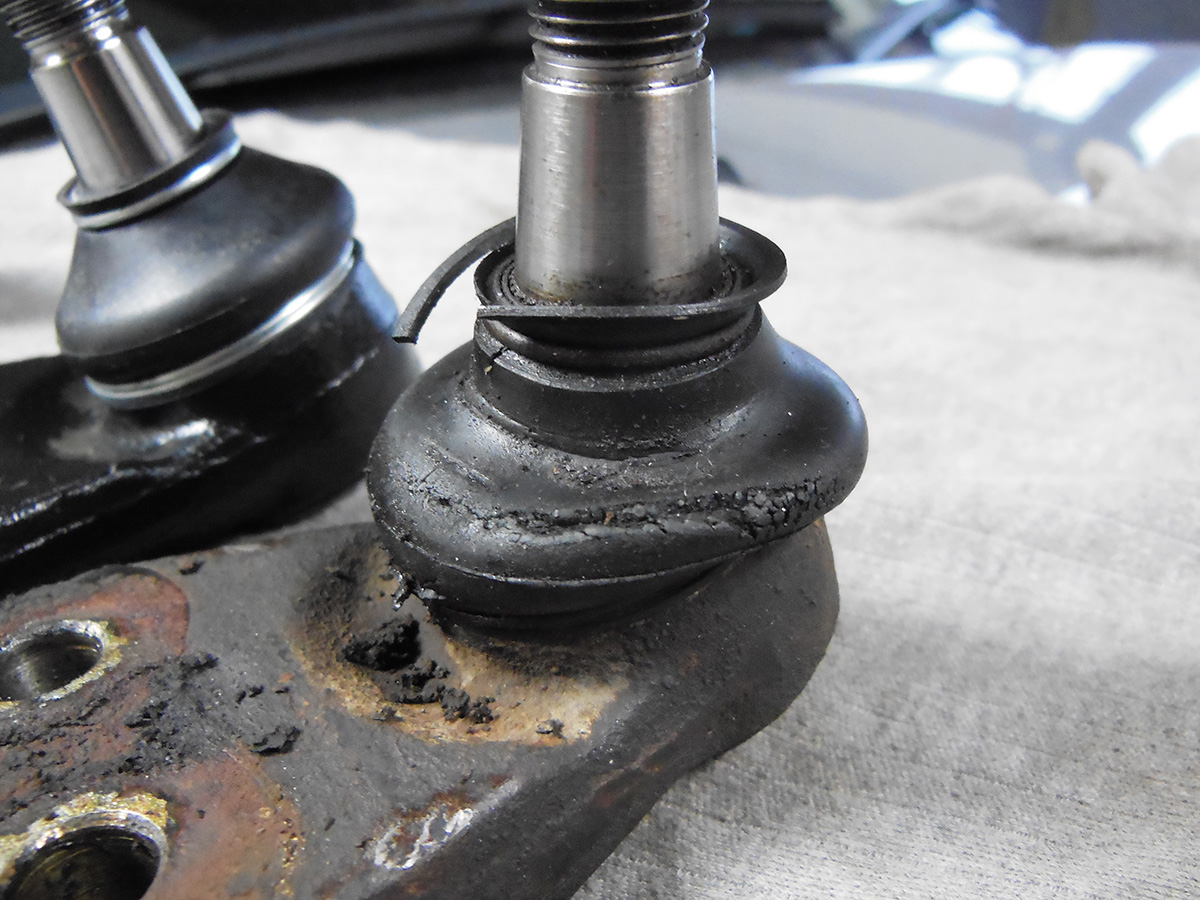
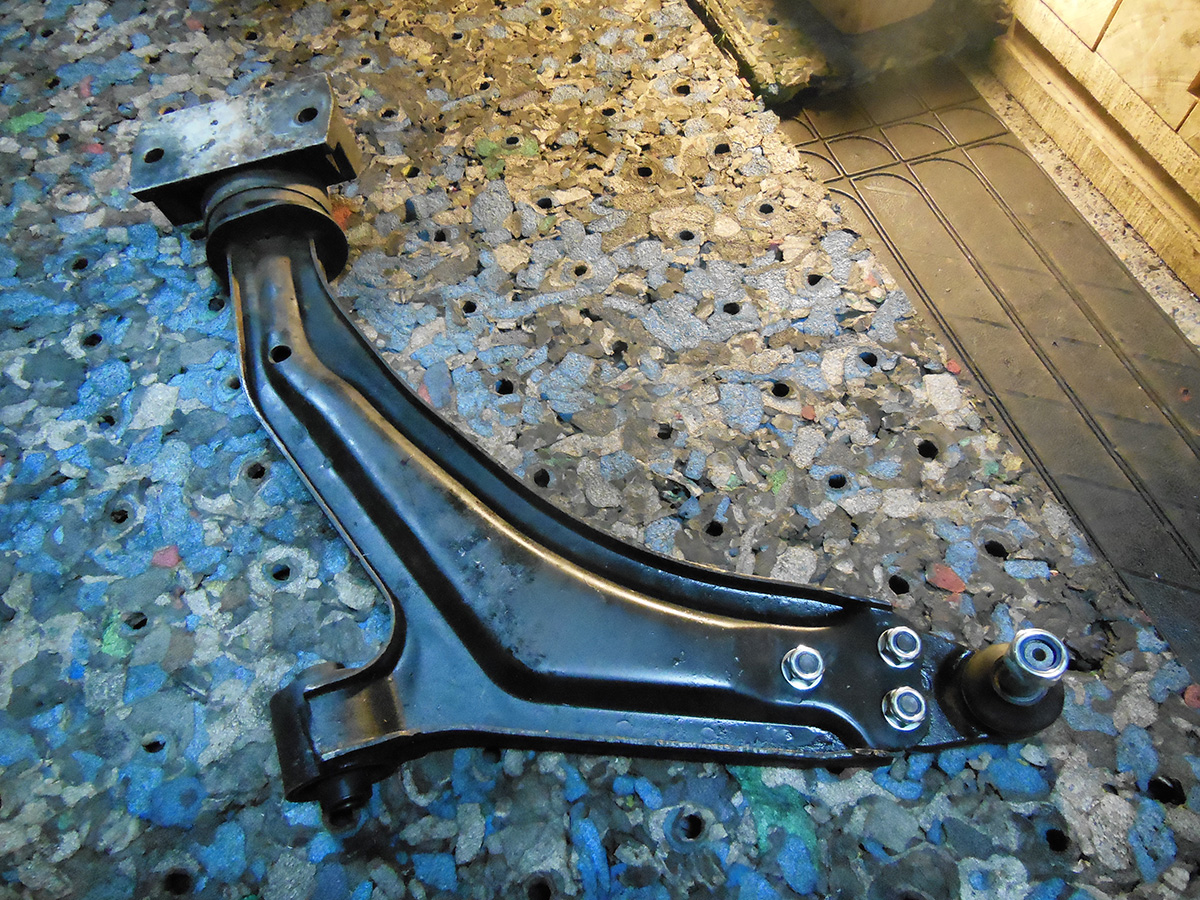
Nice work there, I wouldn't have faffed about with the riveted ball joint, I'd have saved the ballache and bought a wishbone assembly meaning I got the new bushes as well, but props to you for doing it.
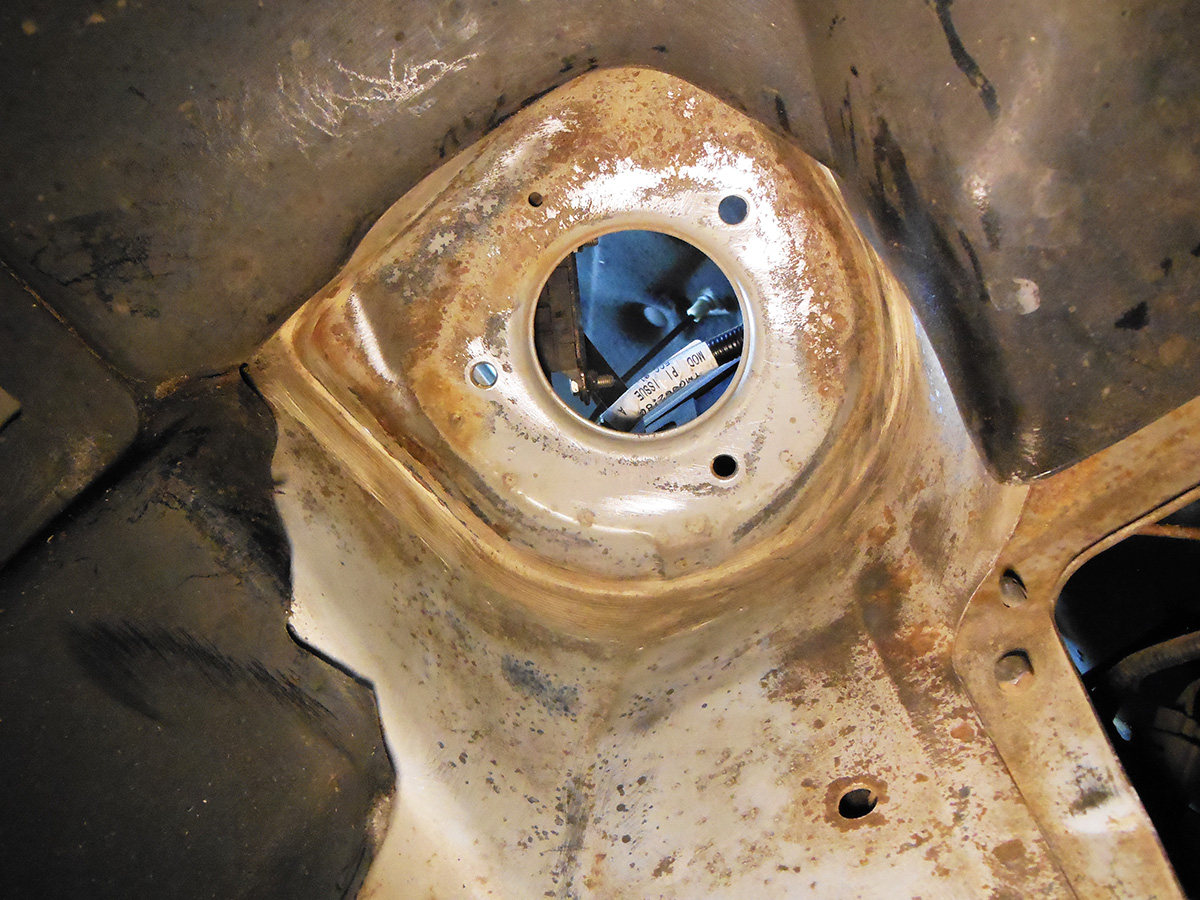
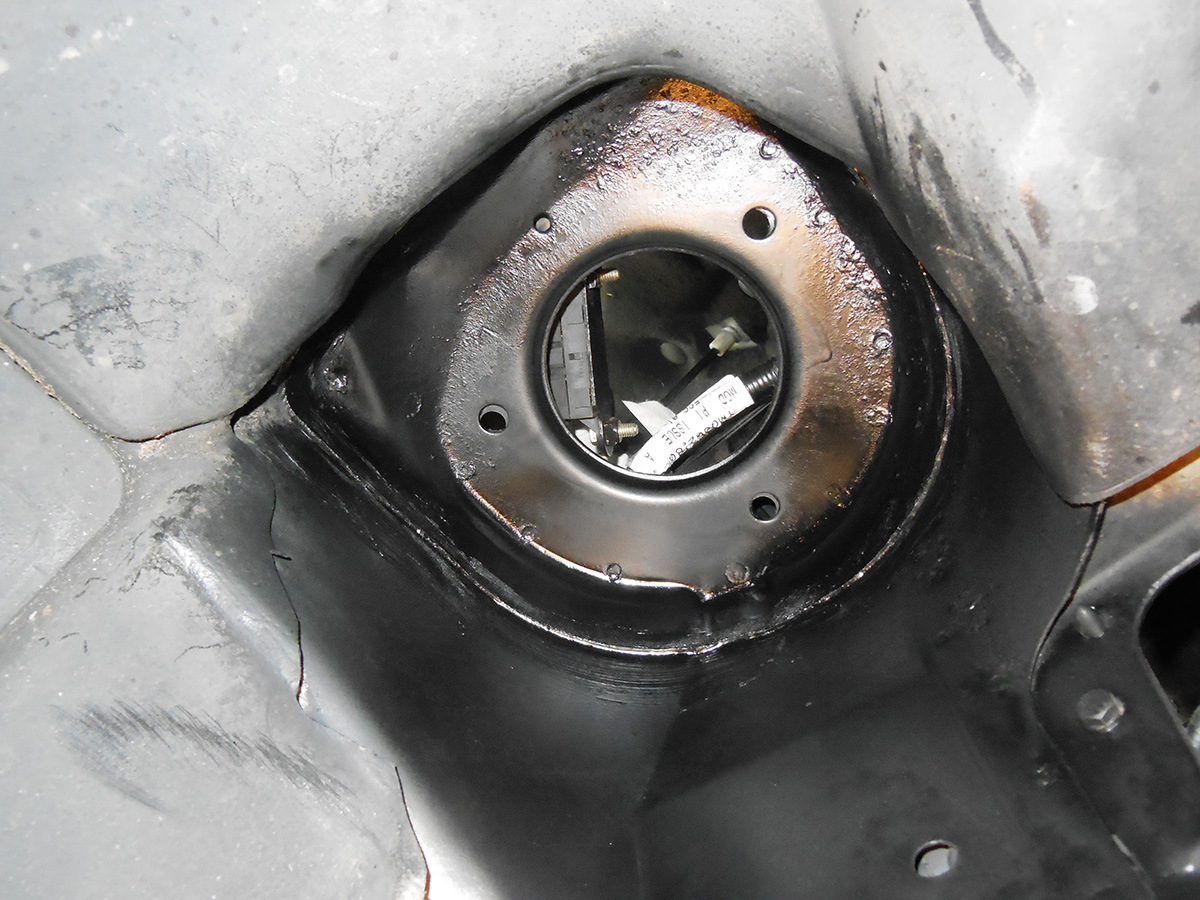
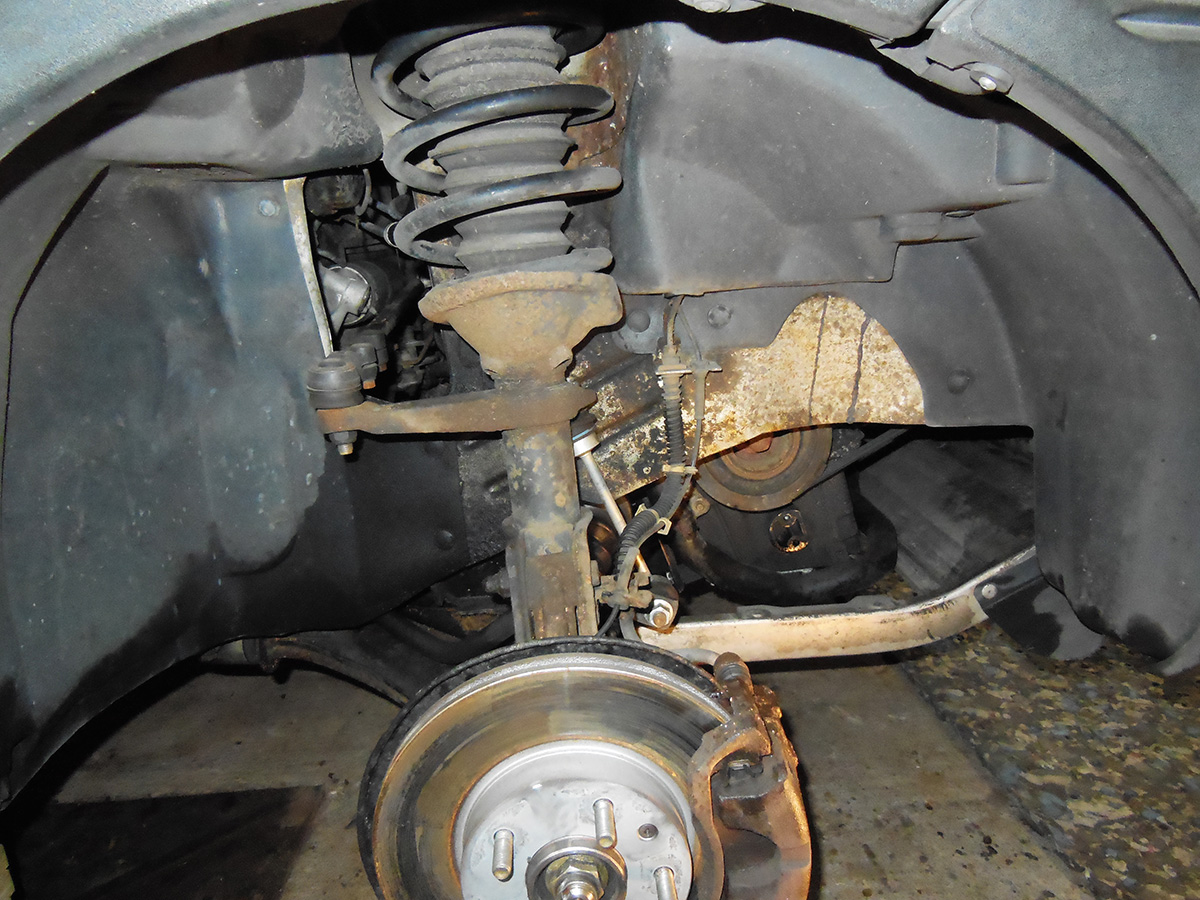
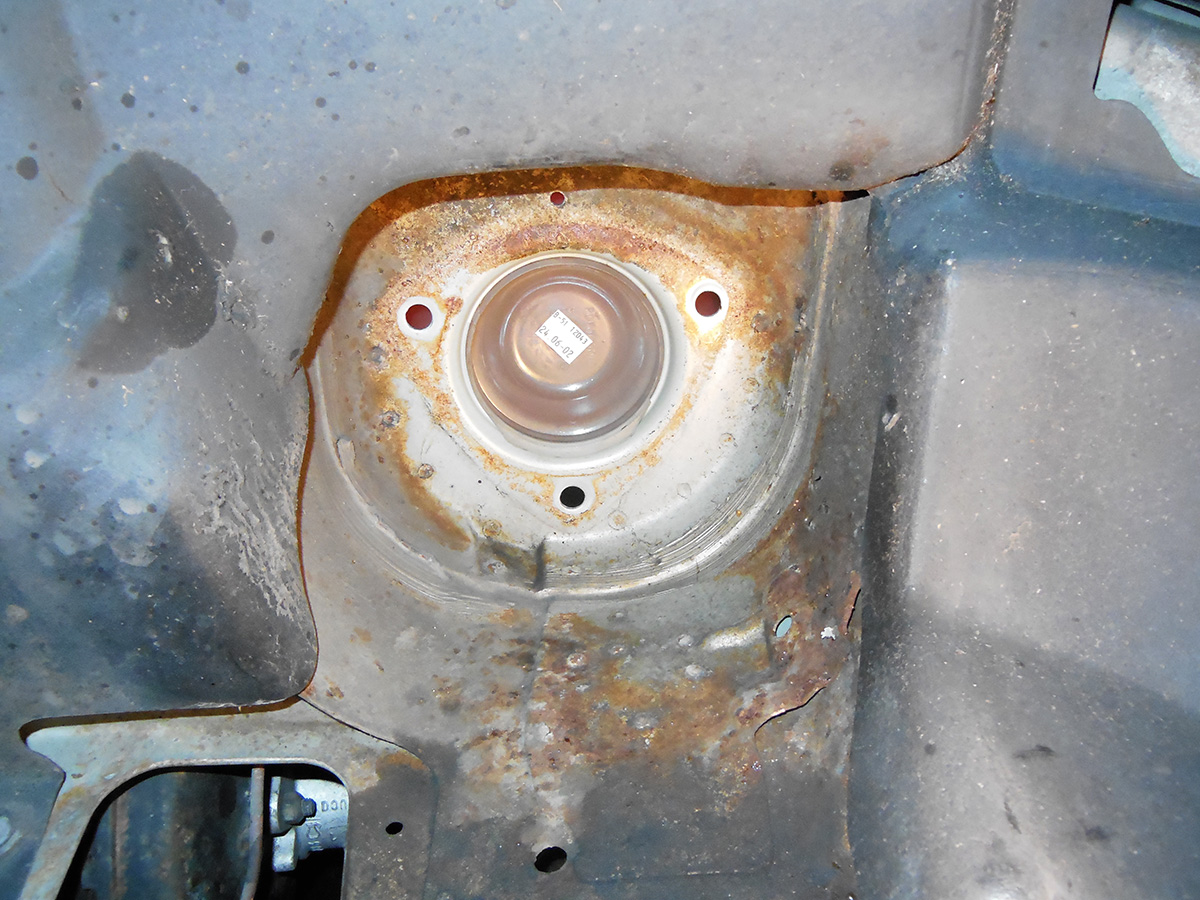
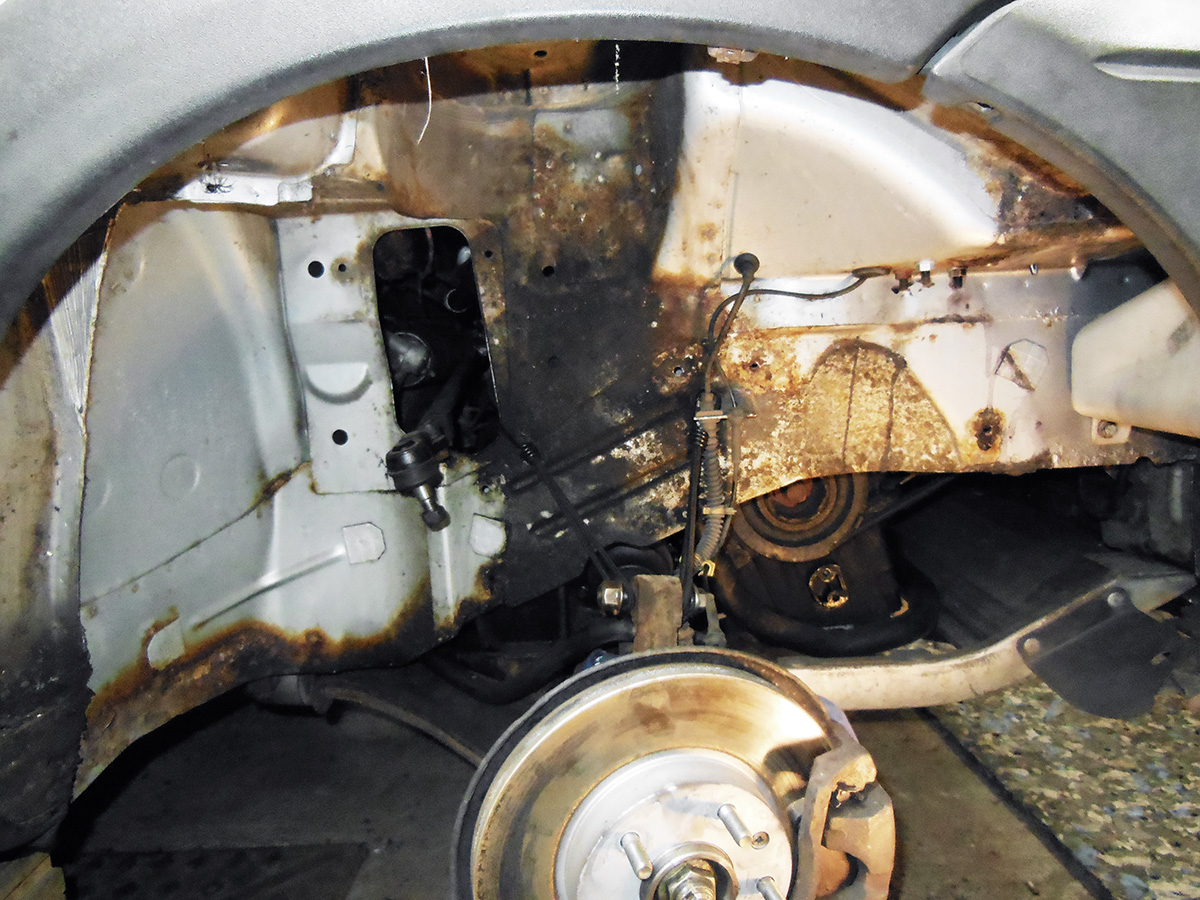
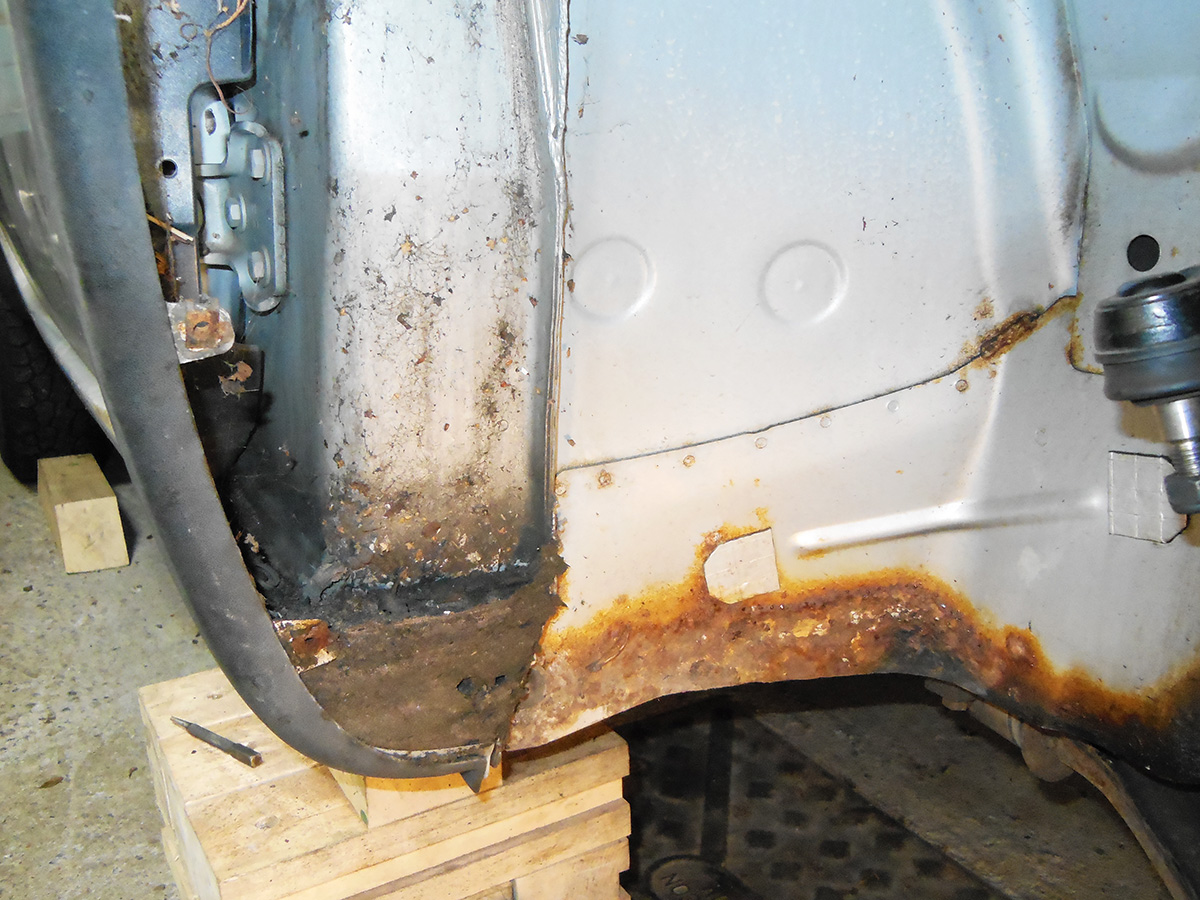
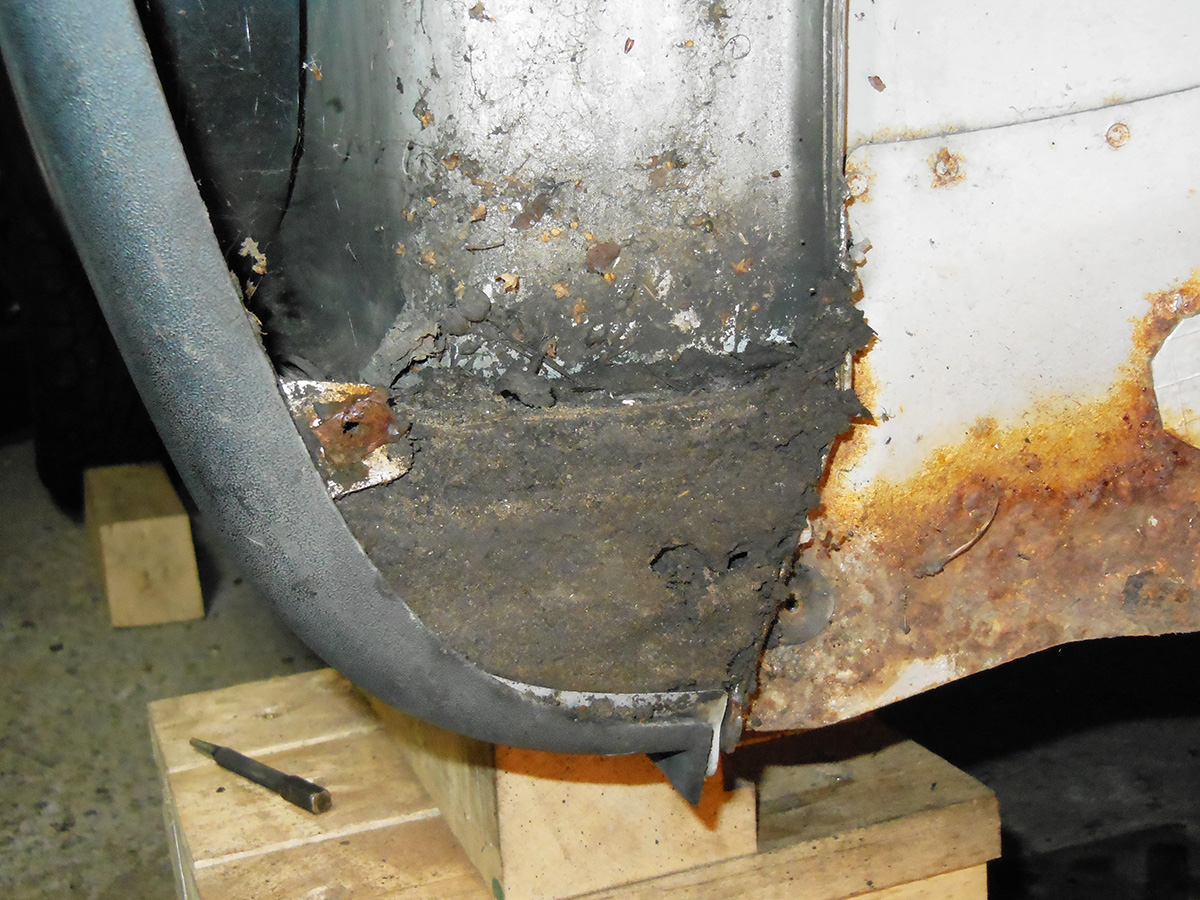
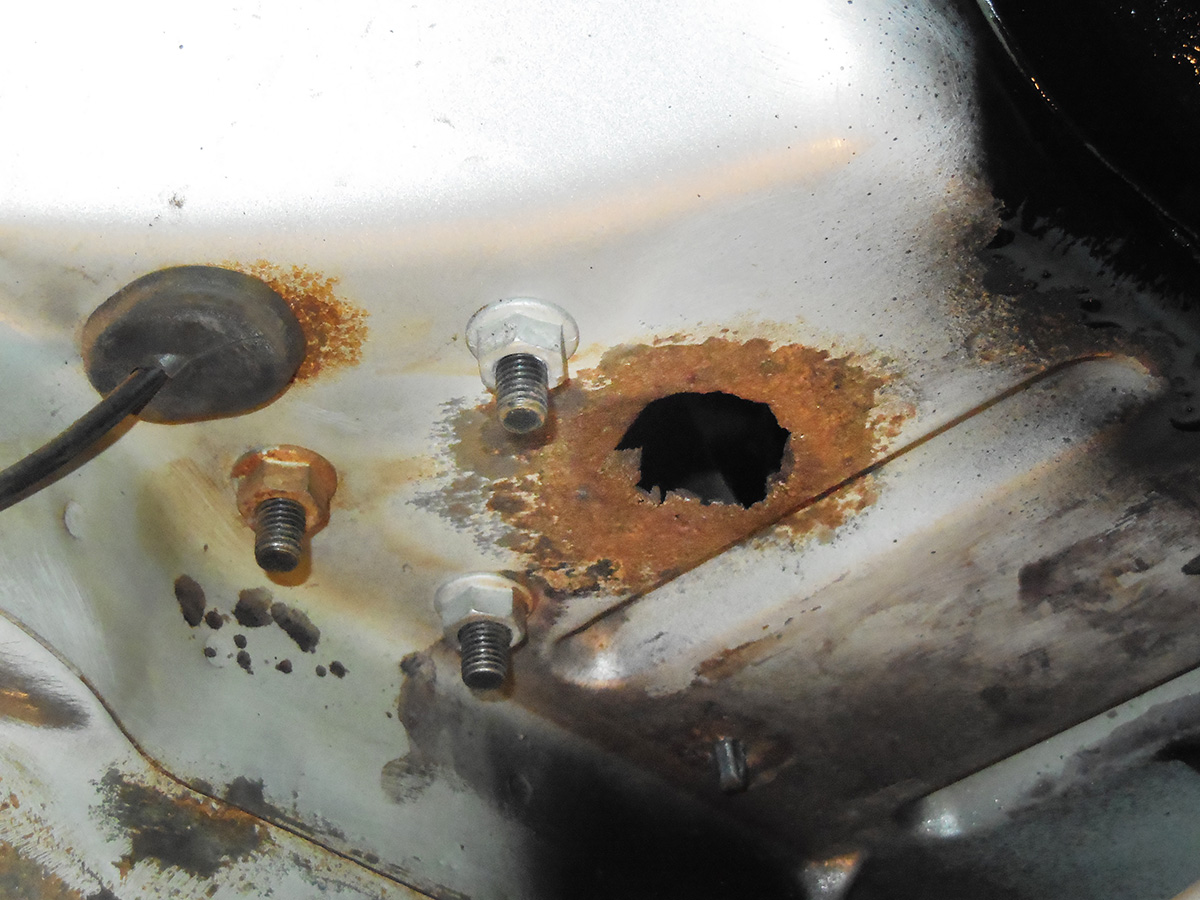
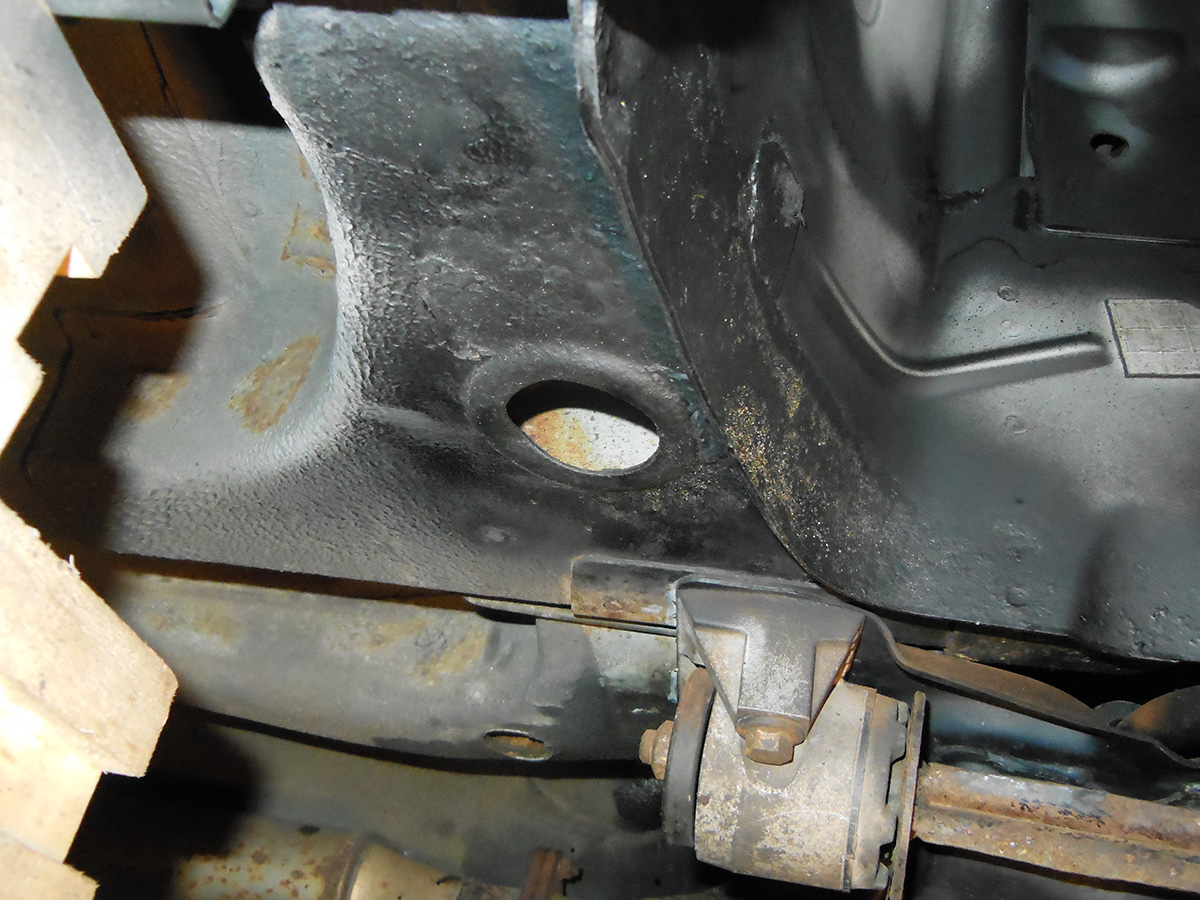
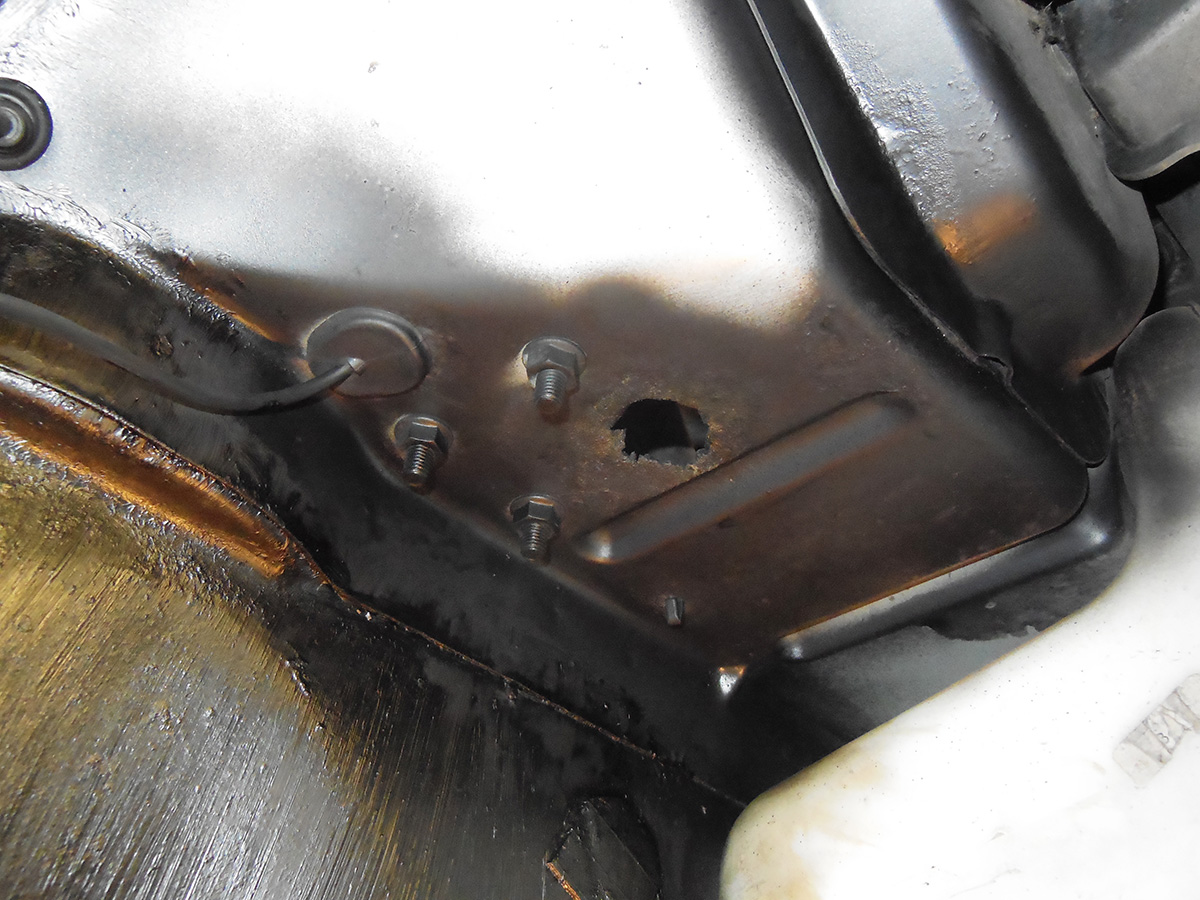
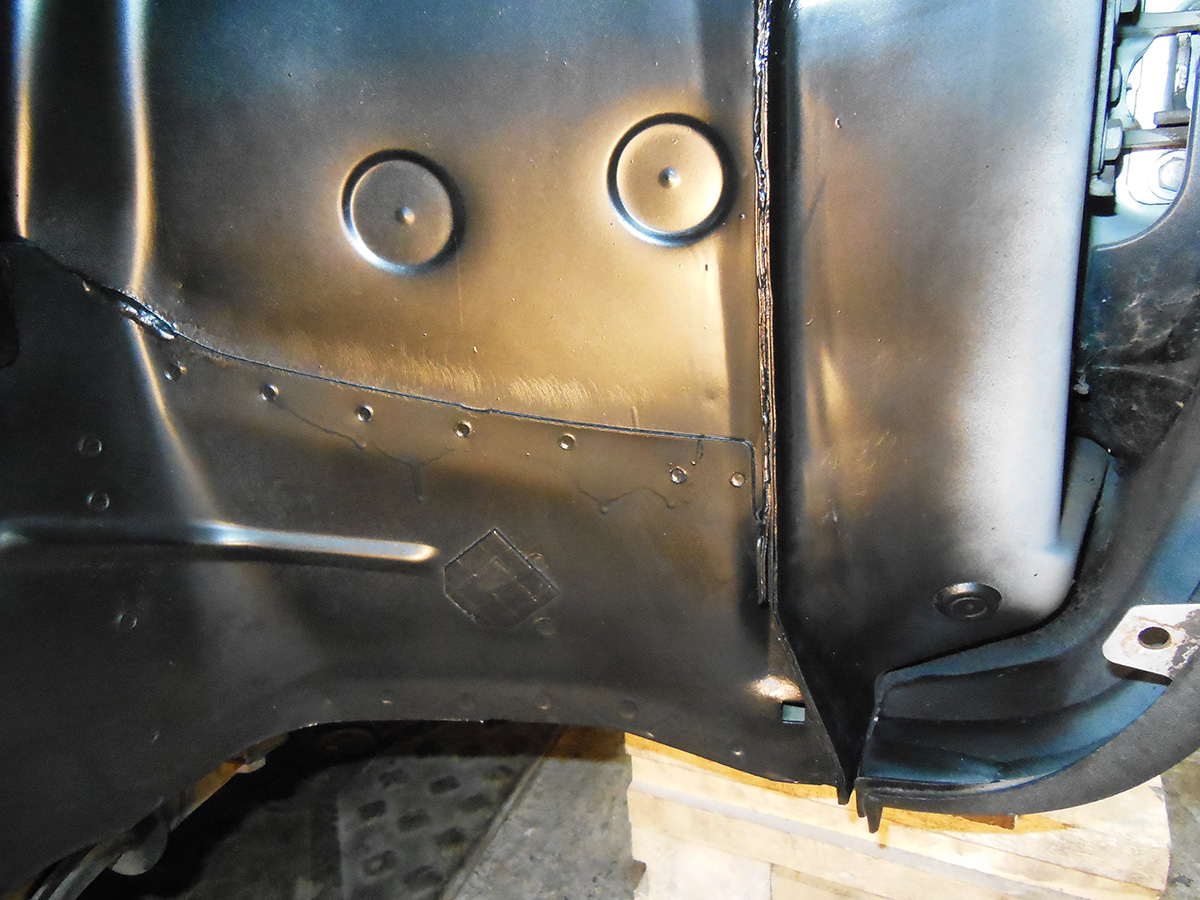
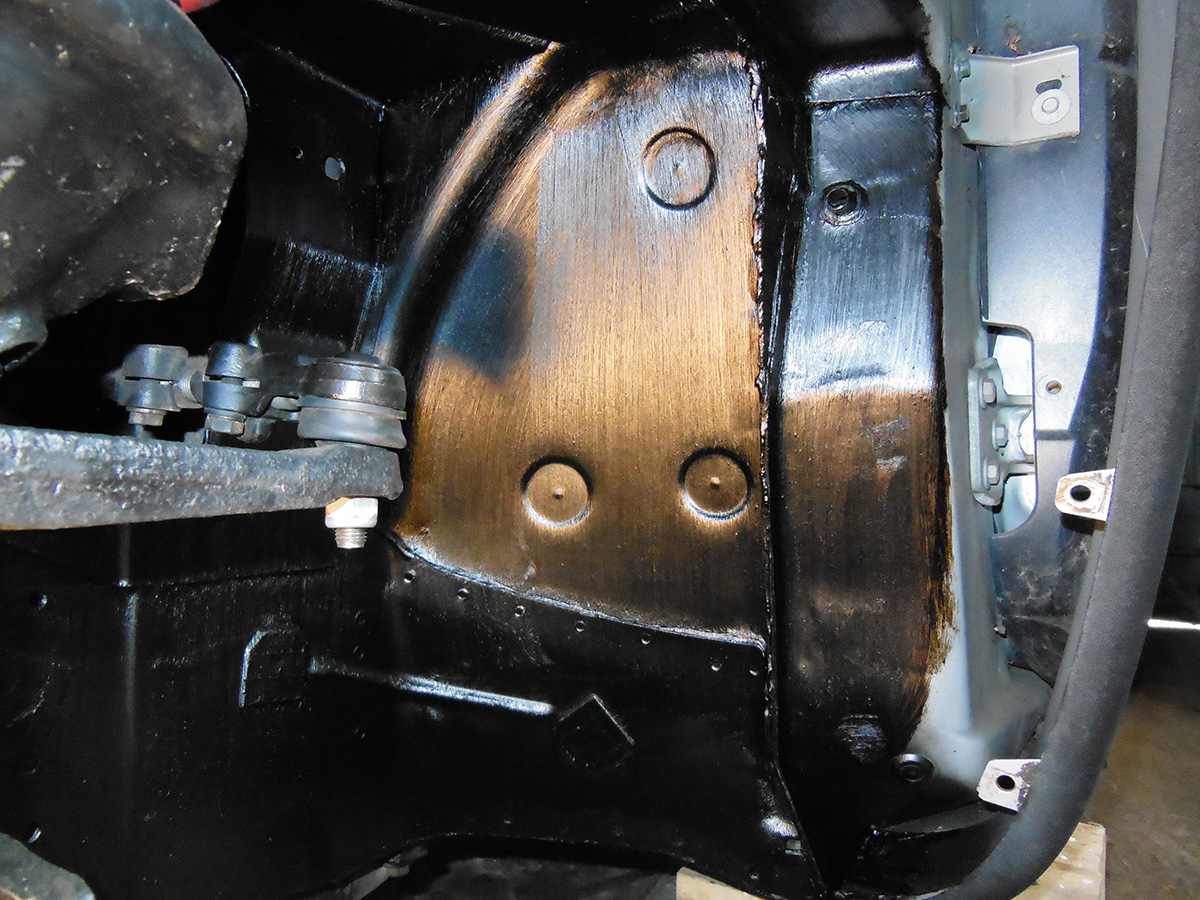
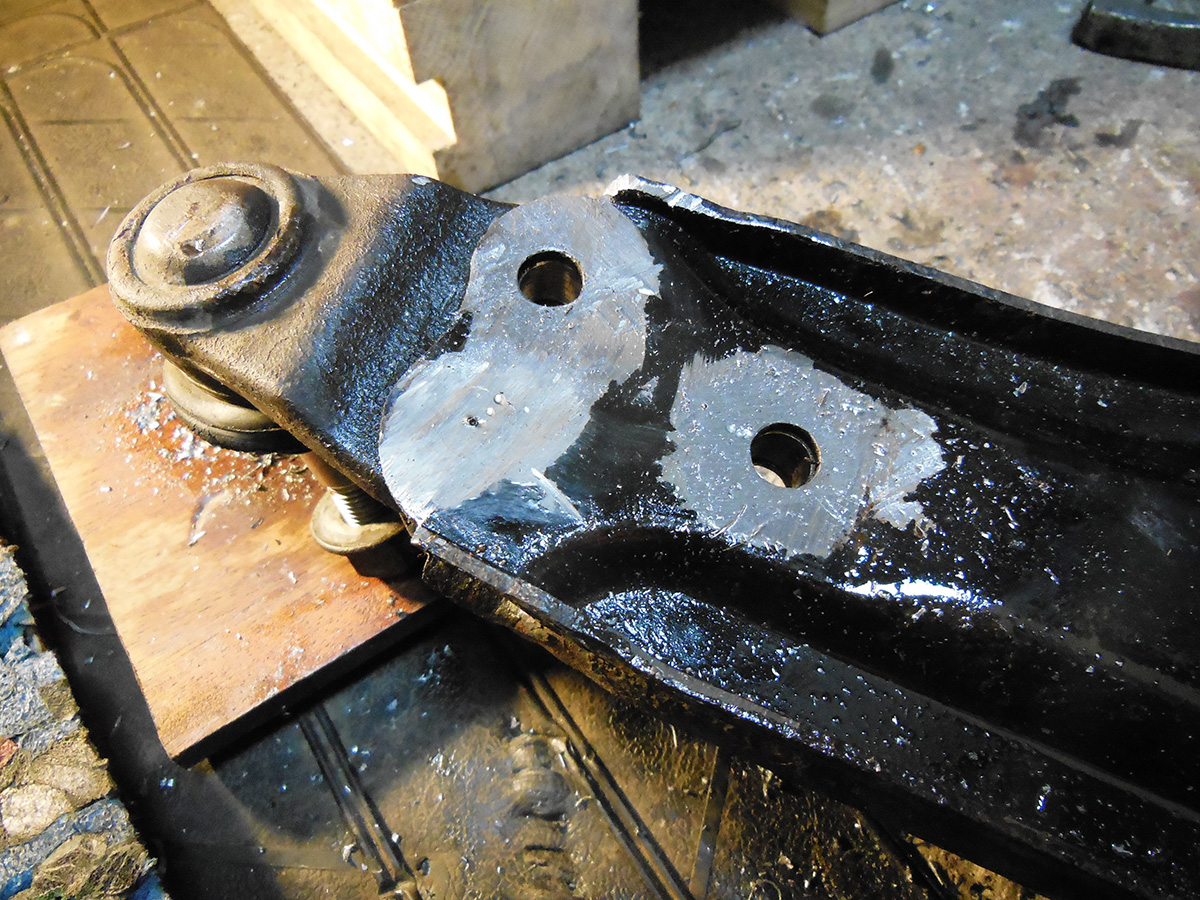
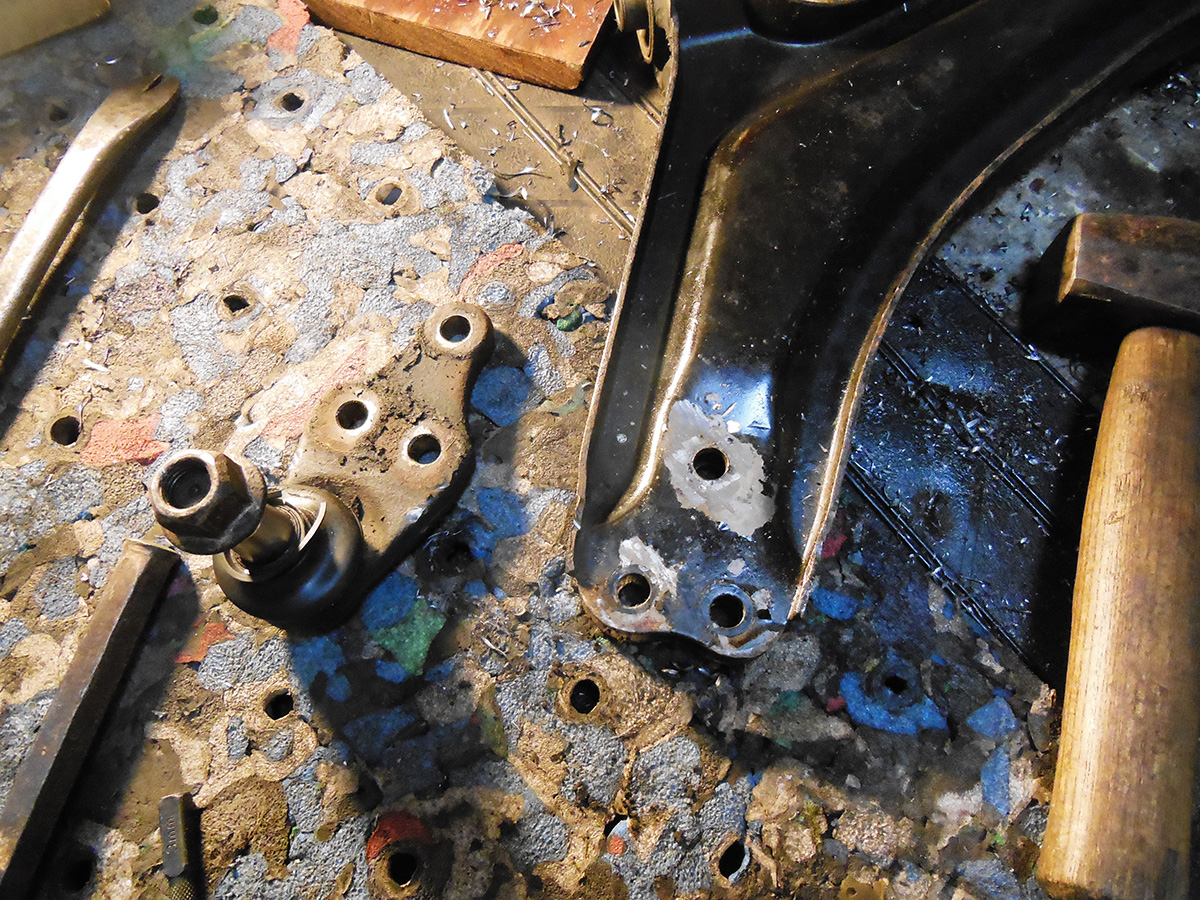
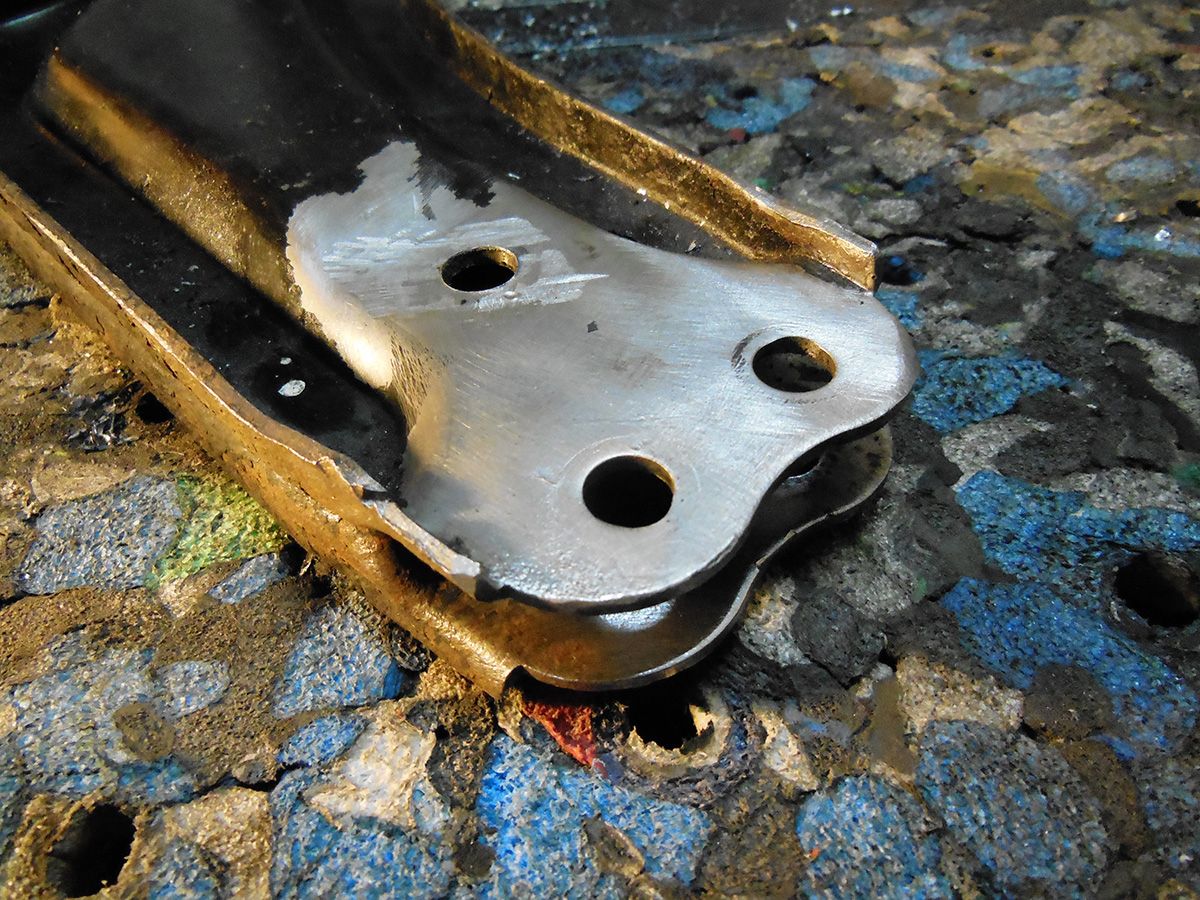
re the hole that's developed run a round file round it to take off he crusty rubbish back to bare metal then trat it and you wont have to worry if it looks factory
Welcome To LandyZone, the Land Rover Forums!
Here at LandyZone we have plenty of very knowledgable members so if you have any questions about your Land Rover or just want to connect with other Landy owners, you're in the right place.
Registering is free and easy just click here, we hope to see you on the forums soon!