Henry_b's Range Rover P38 Project'ish

This site contains affiliate links for which LandyZone may be compensated if you make a purchase.
True that Henry that seems steep for electric conversion I heard a bloke on radio last week had his Ferrari done
 
True that Henry that seems steep for electric conversion I heard a bloke on radio last week had his Ferrari done
Yep it is steep the only trouble is after a certain year it just can't be done IE it has to be manual and pre 1989.

Old classics can have it done but anything in the "future classic" category will not..

What is the point of a ferarri if you don't have the legendary engine?

Beats me..

But its all for the image i guess!

You won't find me spending 30k plus to devalue a car lol
 
Bought a Gallon of this stuff off of Bbay.

mannol-dexron-iii-automatic-plus.jpg


Hopefully do the Transfer box, i've done it before, a week after i bought the car IIRC, will have to check the paperwork.

It looked ok the last time I checked.

JI6ovyul.jpg


But always worth doing!! ;)
 
Ha Memories.

When the old bus got it's first "glimmer" of bad behaviour!

C8BodQgl.jpg


She's sat there warming up before i went to work, because of this.!!

eK9lODPl.jpg


Fun times.

3HaLJRYl.jpg
 
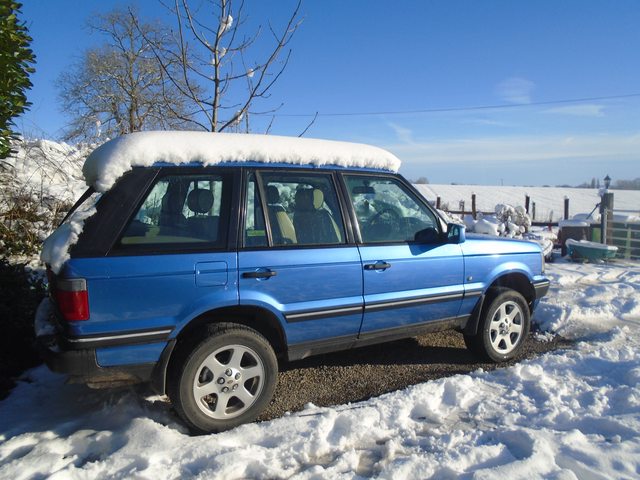
Gearbox Oil done as posted a few weeks ago in the WDYDTYRRT.. thread ;)

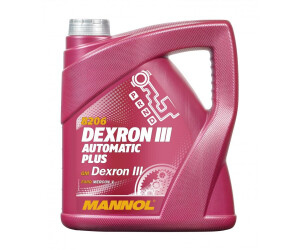
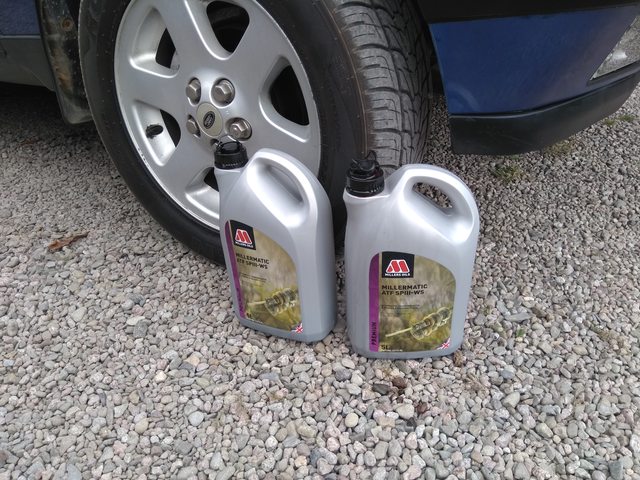
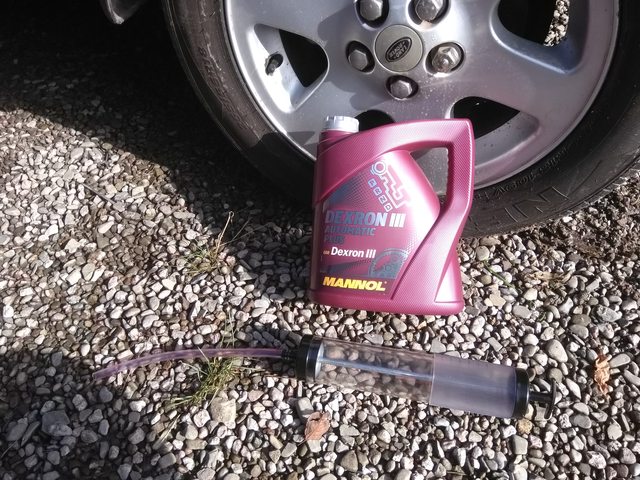
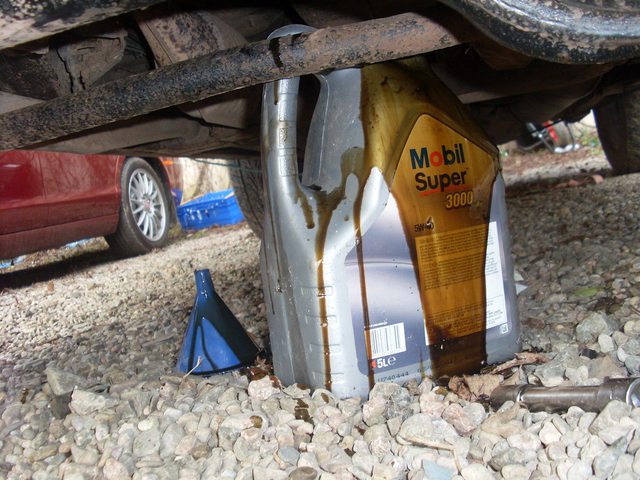
Millers ATF Dex III only the best eh!!
1HTqMlTl.jpg


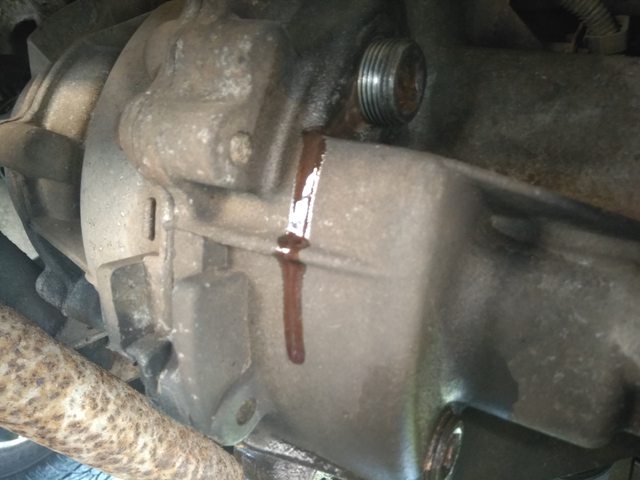
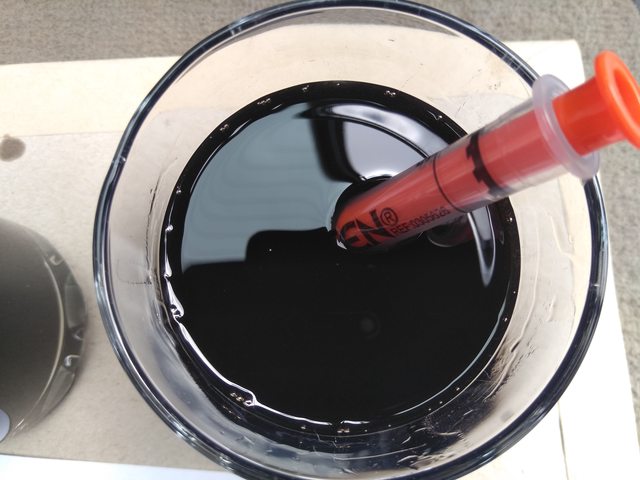
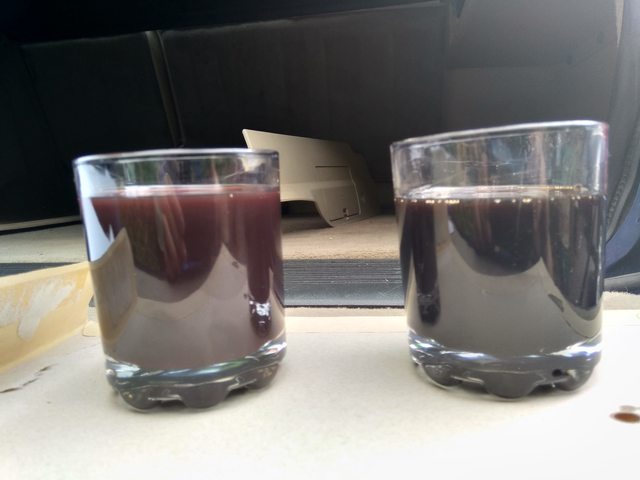
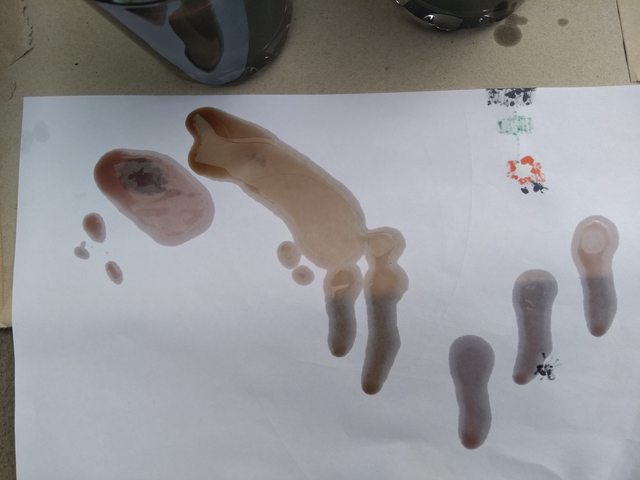
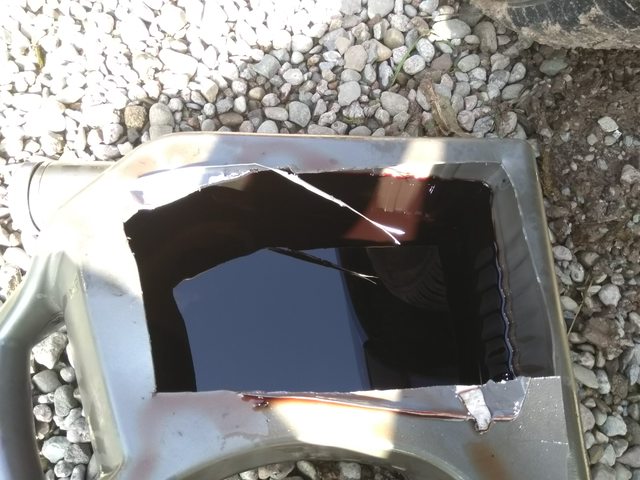
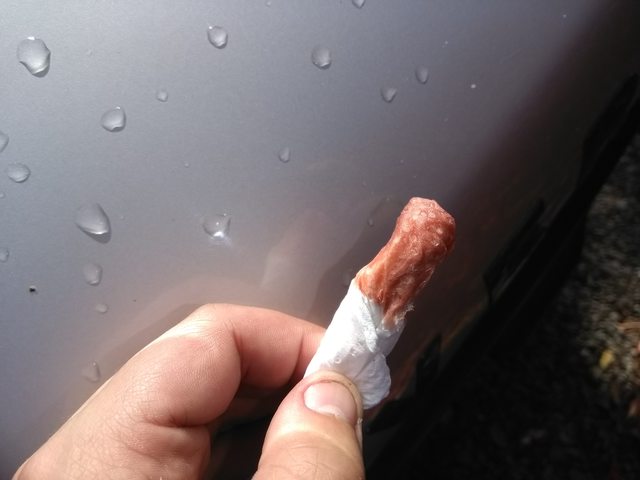
The stuff that came out!
csDr57rl.jpg

PTBMSEzl.jpg


Tits brown not black when smeared! ;)


g7aSTekl.jpg


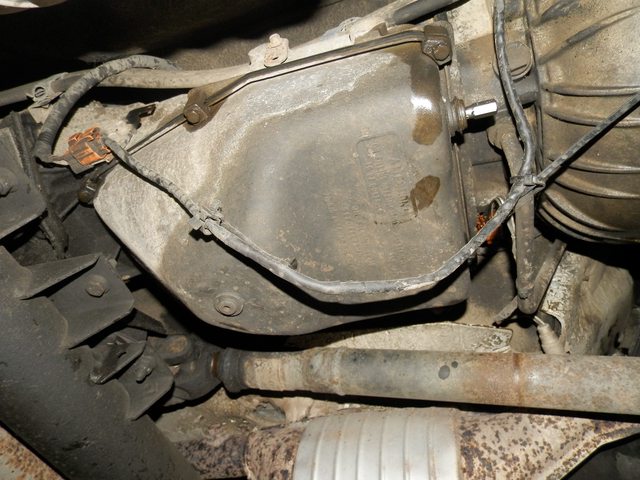
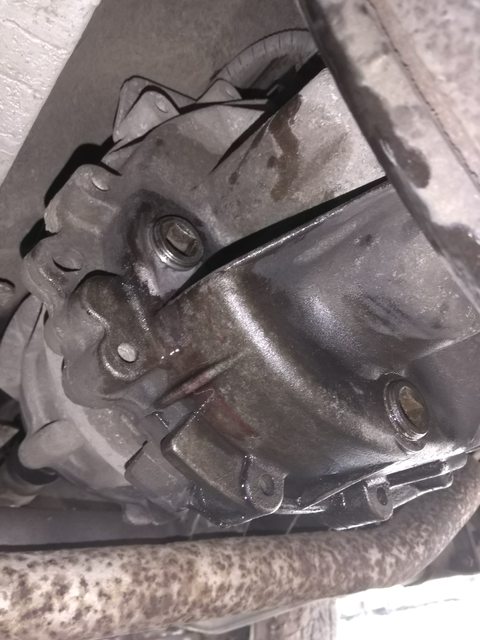
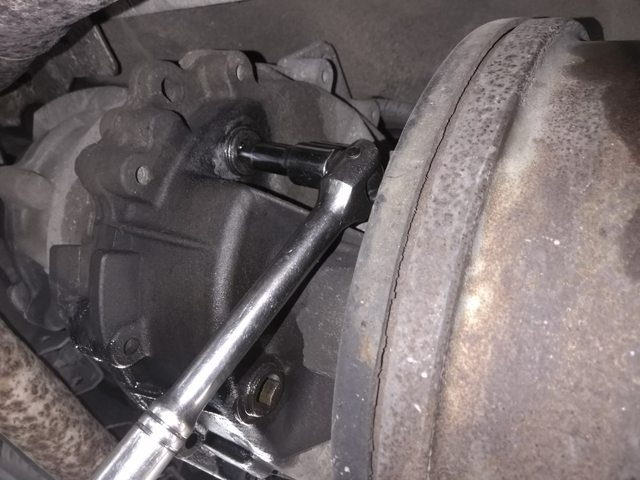
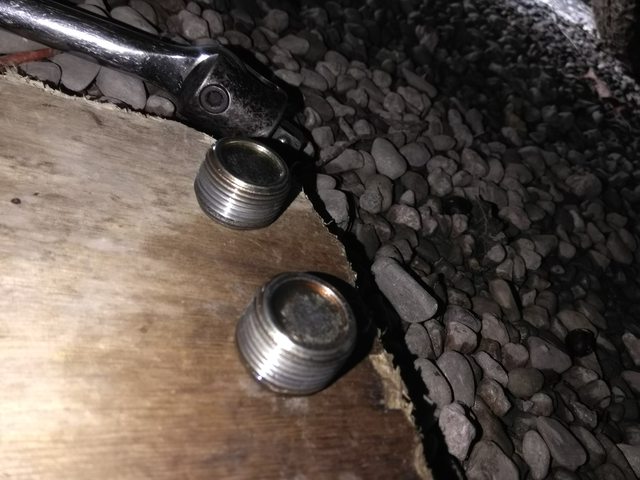
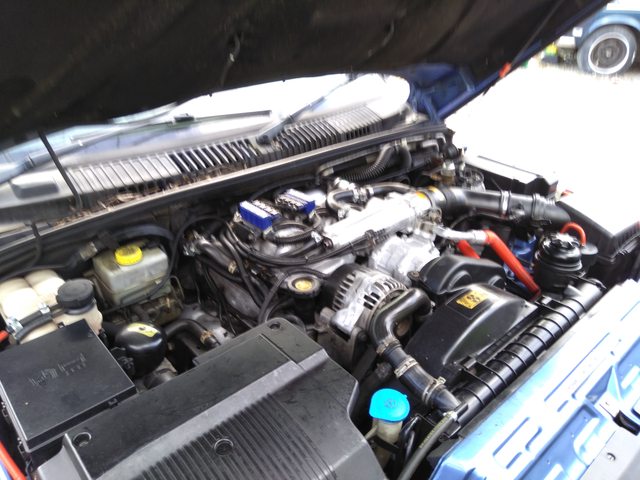
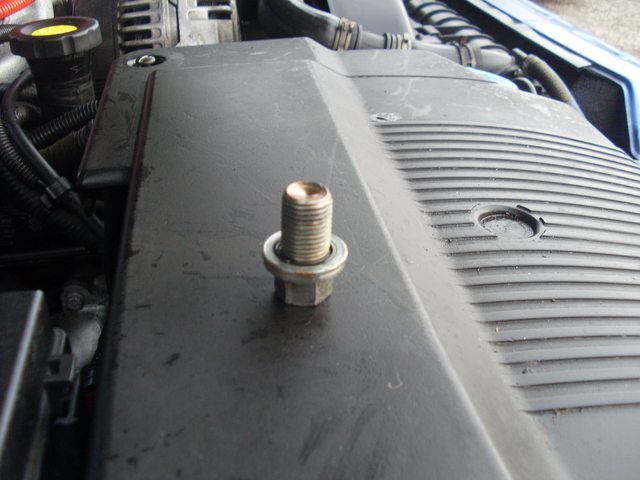
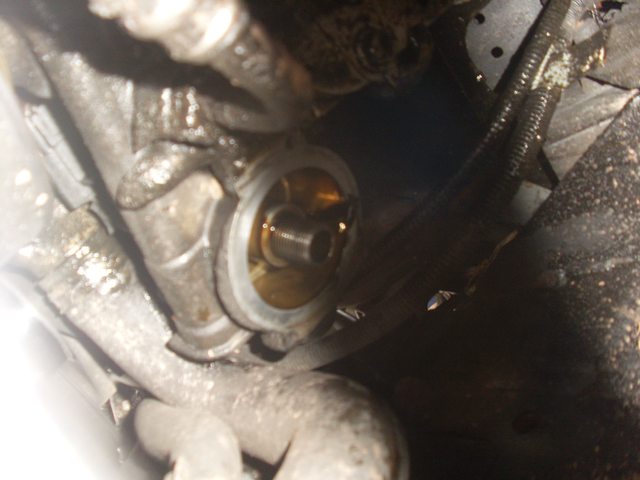
The Fill and drain plugs are shown here.
ttZG49Ol.jpg


The fill procedure is relatively straight foward.

1 Alan key any 8mm for the Filler and a 5mm for the Drain IIRC, memory is vague. ;)

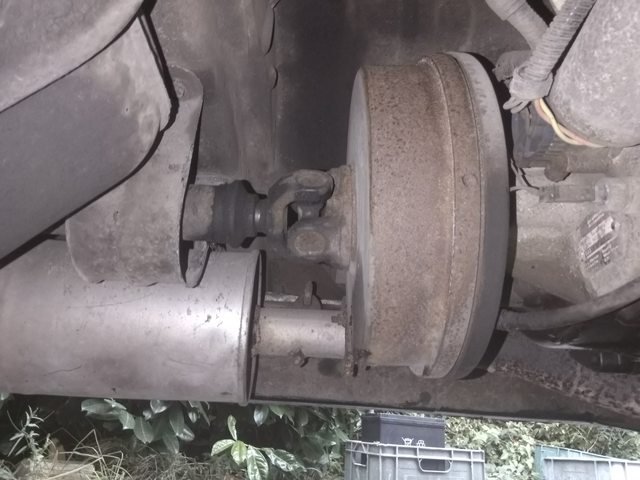
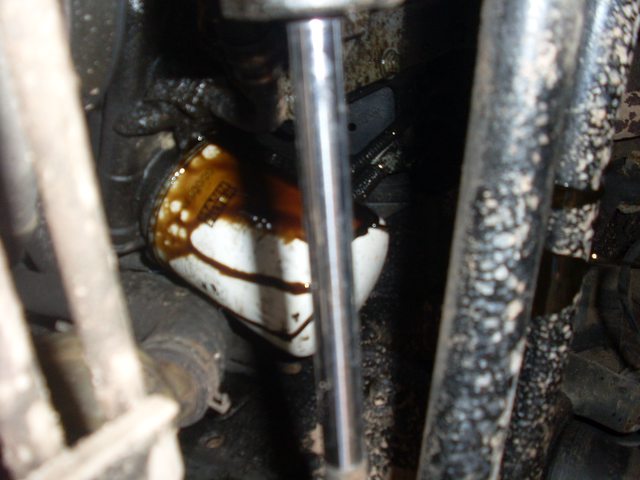
2 Crack them both loose!

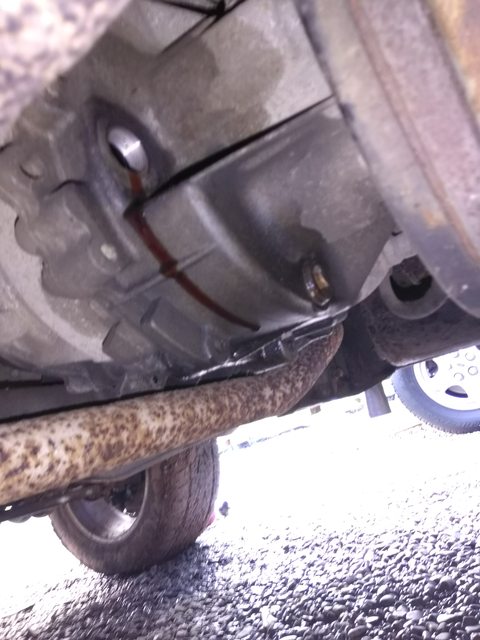
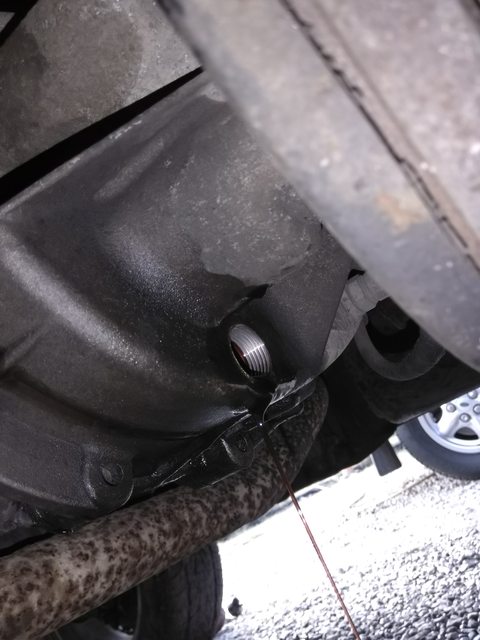
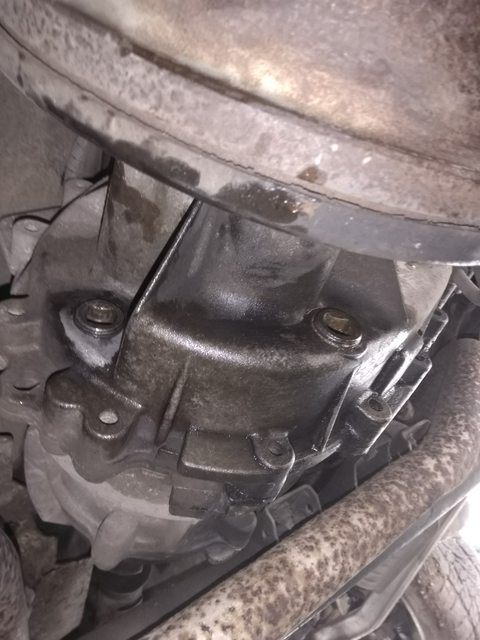
3 Drain the evel crap out, taking note of how much comes out, and the colour!

4 Drop the pan removing the 8mm bolts around the pan, be sure to pre soak them as they have a habit of snapping off in the gearbox which ain't good.

5 Lower the pan and inspect the internals, at the bottom of the pan is a magnet, be sure it is not covered in large chunks! A load of "fur" isn't too good either, but it is inevitable as the gearbox wears.

upload_2019-10-2_19-10-26.jpeg


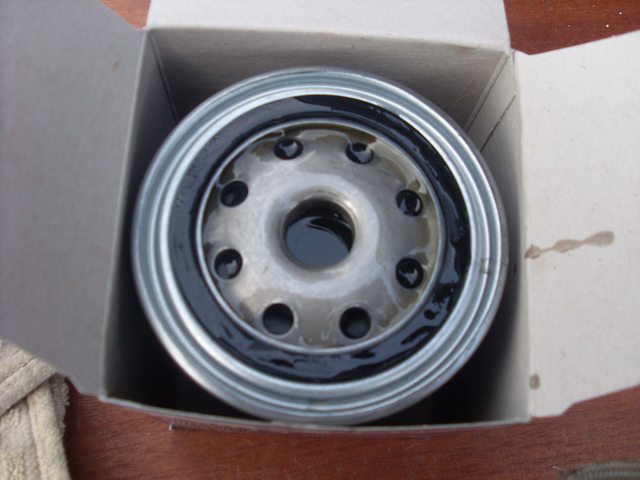
This is what your Kit will look like!

6 Clean both mating surfaces with a very fine emery cloth.

7 refit I like to add some silicone paste to the mating area on the sump to prevent the gasket shifting when manoeuvring the sump into position

8 Refit the bolts and brackets, making to to position them in the correct places.

9 Torque evenly to 10nm or if like me "good enough" ;)
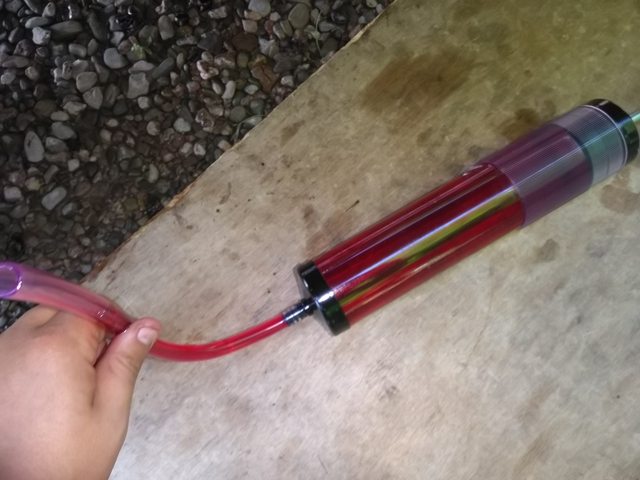
10 REFILL TIME

11 The cold fill is around 2.5 litres, i used a big syringe!
upload_2019-10-2_19-13-44.jpeg


12 Start the engine, and with your foot firmly on the brake, cycle the gearbox from P-1 stopping for 3-5 seconds in each!

13 While the engine is running climb back underneath and start filling, you should get altogether 4 to 4.5 litres in including the initial fill.

14 Repeat step 12 and recheck the level.

15 there should be a stream of fluid coming out the filler hole!

16 Button it back up and you're done..


Easy eh!! ;)
 
Next task was the Greasing of the Universal Joints.

Which sparked an odd debate among forum members lol about the various guns!

z0me42tl.jpg


The cat did come to help me do the rear one ;)

Say hello to Ringo ;)

2yWW76pl.jpg


These Joints i'm pretty sure are original so, ideally they need replacing, but there ain't no movement yet, so no rush ;)


Of course i took her out around the farm to see if the new fluid had helped the gearboxes changes!

skniFk2l.jpg


And i'm happy to report the Gearbox now changes real nice, no more slack gearchanges.

Reverse is immediate too! ;)

YBGfDwTl.jpg


VH4YjR4l.jpg


Front balljoints next ;)
 
Just needs MOT , big bore stainless steel exhaust to let the V8 burble a set of mondials and mot now :)
Oh and some new number plates flags on plates really show up the age of a car i think
 
This is a thread to document the Oil change procedure for the P38 Borg Warner Transfer Box.

Yes I know, this is simple to some!!

But we do have a " Door Card Removal " how to so eh ;) :p:D

#1 Locate the Drain and fill Plug(s) these are a 1/2 square drive, i used a my small 1/2 inch breaker bar.

JwxpyvFl.jpg


First 'orf make sure you can loosen the Filler plug!

YN2EMmKl.jpg


Ideally when you remove this filler plug, a nice stream of fluid should trickle out, in my case I changed it around 2 years ago so i knew the old oil only had around 4000 miles on it and TBH it wasn't in bad nick, but i used cheap crap and wanted to get some proper stuff in there ;)

qwKABXFl.jpg


Then using a 1/2 breaker bar or wrench drain the fluid out!

Dlliksil.jpg


Leave this for 5 minutes to drain...


Then there is the most important bits.
The Oil and Syringe, in this case i'm using Mannol Dex III, the manual specifies Dextron IID or III.
If you can find IID then i'd like to know where!!! ;)

But TBH Dex III is far superior, so use that!!

The syringe is needed for a clean fill ;)

ZmZr5xsl.jpg


Fill the thing up with Fresh fluid.

W0RxCaMl.jpg


And pump it in, this syringe is 500mil per fill so roughly 4 1/2 syringes needed for this case!!


Remember to put the drain plug back in!!

tzkDaOxl.jpg


And fill 'er up!

When it starts pishing out the fill hole you're done!!
qwKABXFl.jpg


Put the filler plug back in, don't torque the mothering fook out of it..

Just snug it up!!!

NNruxJhl.jpg


Clean the area and yer done!!


This is the old stuff!!

uPfURZLl.jpg


YzF7nKJl.jpg


Not too bad.

But the new stuff should last a good while yet..

but with it being so easy to do i'd do it every other engine service.

Literally a 10min Job ;)
 
Just needs MOT , big bore stainless steel exhaust to let the V8 burble a set of mondials and mot now :)
Oh and some new number plates flags on plates really show up the age of a car i think
Aye it needs all that ;)

Exhaust especially as mine it rotten!! ;)
 
Grey/crusty rocker covers..

Hmm who wants 'em.. ;)

NPukmjTl.jpg


So i rather haphazardly painted them with black VHT..

egn0JcVl.jpg


Still need to remove the covers to do the gaskets..

But 'eh its pleasing to the eye when the bonnet is initially opened. ;)
 
Also...

I do like to make life as hard as humanly possible, so with my mission to get a clean and "sound" car, I go and do this..

CUjWCkBl.jpg


KGOhZscl.jpg
]


Well not terrible I admit, when you're prepping a car, it can be a pain in the dick..

So..

With that in mind..

Ya'll think i have some kind of "condition" because i clean my car so often, and you're right, however my main reason is to cut through the **** and get to proper un scratched paint..

So here we go..

Not too bad.

MPbRaAQ.jpg


This is after a "do or rub the paint off die moment" ;)

A rather heavy compound, a bit like 3500grit sandpaper and polish was used to cut through the scratches and faded clear coat..
eoill0t.jpg

Cojj2aY.jpg

pAmtkUv.jpg


The roof was the primary "candidate" for this, i knew the paint was thin up there, no one i hazard has ever waxed up there due to the height, i'm well over 6ft and i still need a stool to comfortably reach the roof in standard and wade height!! ;)

before!
Guk4gTx.jpg


Note the slight bit of fading ahead of the sunroof,

Heavy compound etc used,

9759pck.jpg

dSEFxRs.jpg

XNuzT04.jpg


They ebay came to the rescue with an and i quote "XXL car cover" ;) lol

oFTcSSp.jpg


Not quite range rover size!!

It does protect the paintwork, also stops water ****ing inside!! ;)
 
The gearbox oil that came out of my LT77 looked worse than that above, it was awful, half filled it and had a blast around the yard and chopped that out for a full fresh load, could actually change gear after it was done lol

She is a beauty that's for sure.
 
Oil change.

Bought the old Bus some new Oil a few weeks ago, got round to changing it today.. ;)

The current stuff in her is a rather old 20w50 IIRC. with around 6k on it.

Leafing through the manual i decided on a 5w40 fully synthetic o_O i'll use my V8 as a guinea pig for different oils, some say thats too thin, if it blows up i know it was ;)

RynF5c3l.jpg


First off you have to crack off the sump plug, do make sure you make a massive mess ;)

XkQuPd9l.jpg

THW7qp7l.jpg


Oil filter next, being that i've done it before this wound off with my hand, make sure you get a litre down your armpit, helps to moisturise the skin ;)

CscXtJcl.jpg


Clean up the mating surface ;)

TzzpzBll.jpg


Prime up the new filter, i find this helps to negate low oil pressure on the first start.

9gl0cUll.jpg


Spin it on hand tight, this is a Bosch Filter BTW.

eUpSNwzl.jpg


and then fill her up ;)

SwhowFjl.jpg


She runs well on the stuff ;)


the idler and alt is now grumbling! ;)
 
Back
Top