Discovery 1 300tdi

This site contains affiliate links for which LandyZone may be compensated if you make a purchase.
Good work with getting the engine back together.

Have you got a link for where you got your GoPro mount from?
Tempted to put mine in the same place for the winter

Hi - it was from Amazon, the link is HERE.

The top is secured using a generic "gopro" mount for a handle bars - like THIS one, and at the bottom i've cabeled tied it.

Foz
 
After seaking advice on here regarding waterproofing a cable for a rear flood light, I fitted the light today.

I went for a stuffing gland.

XhKGCRL.jpg


Hole drilled through the body.

j6SvrNn.jpg


There is usually a grommet in this hole, I took this out and widened the hole for better access.

iIWjN2Z.jpg


The problem was there were 2 skins on the outside part of the body, and the stuffing gland thread wasn't long enough to bridge the gap.

So as recommended I bought some carbide dies, and used them to make the inner hole larger to allow the nut to fit so i could secure the stuffing gland.

Not the neatest, but it does the job.

mAqOaeS.jpg


I then used some black silicon to seal it and tightened the nut.

chAxYzU.jpg


Here is the light mounted.

KiQ8X51.jpg


wYIUgHq.jpg


UXkBDYh.jpg


Fy9RqCO.jpg


I'm yet to actually wire this up to a switch, as that will involve taking the dash out and I didn't fancy doing that tonight.

Foz
 
I fitted my wading kit today, and wired up the rear flood light to a switch.

Here is the old DIY breather kit that had been fitted before - t pieces and rubber pipe

f7aIn6B.jpg


Axle breather -

Fuwv2Dn.jpg


Timing belt case breather -

aqDKViK.jpg


Gearbox and transfer box breathers -

RHQaakI.jpg


Manifold for breathers to snorkel -

BzEz7zt.jpg


JaDqk40.jpg


Wired the rear flood light into my "work" light switch.

6NDpRXq.jpg


Foz
 
I needed to replace my fuel spill off as the one going to the pump had split and I had only bodged it back on.

It was very straight forward, but I did manage to break one of the bolts - so i had to use one of the old ones. It doesn't leak so all good.

New fuel spill off pipes

iHJiZcP.jpg


New olive and captive nut

gYLN16O.jpg


Bolt that snapped

fr8gLoj.jpg


ETI4qsh.jpg


Fitted (blurry pic)

1OqDqNO.jpg


I also ordered a pair of indicators, as I cracked one of mine on a tree last time i went offroading, and I thought i'd keep the other as a spare.

I cracked the o/s lens.

These turned up a couple of days ago, differnet colours and both n/s - annoying.

nsDdLIP.jpg


I replaced the "Land Rover" sticker on the front of the bonnet as it was worn.

Initially I used white stickers, which i didn't like. So i ordered black lettering instead.

ZtQjleV.jpg


3nFOtLs.jpg


aaYwj0j.jpg


All of the bits turned up to allow me to have a warning light for low coolant, too.

Float switch, 5 pin relay, indicator light (green/red) - the switch is for something else.

j9A3qFI.jpg


Foz
 
Took the Disco off-roading yesterday.

Loads of fun!

Until I lost drive to the rear axle...

Took it apart tonight and did some testing, appears to be the rear diff!

At 4:53 in this video you can hear it go BANG. I then struggle at the top of the hill and you can hear my revs go right up.


So next up will be a replacement rear diff, some half shafts (butchered mine getting them out), and possibly a 1.4 ratio transfer box to replace my 1.2 ratio. The transfer box was planned prior to the diff blowing up!

Foz
 
Last edited:
Great to see it getting used off road!

That steering squeal would do me head in though!

haha, it does my head in too - if i spray some WD40 on it, it goes away for about half an hour and then comes back.

Might just remove the rubber seal, can't squeak then!

Foz
 
After neglecting the Landy for a couple of weeks, I finally sourced a diff and half shafts - which was much more difficult than I thought it was going to be!

Today I set about replacing the diff and half shafts, as well as a leaky seal on the hub - which probably didn't help the diff expiring.

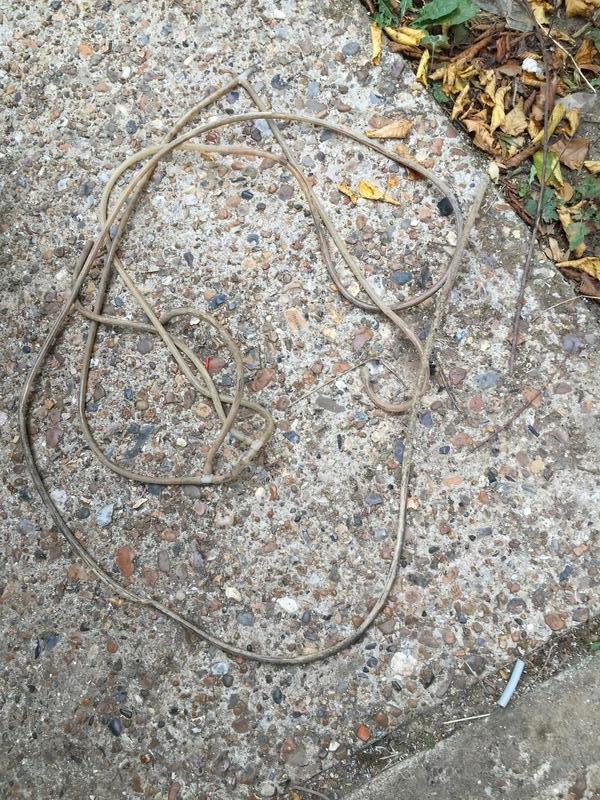
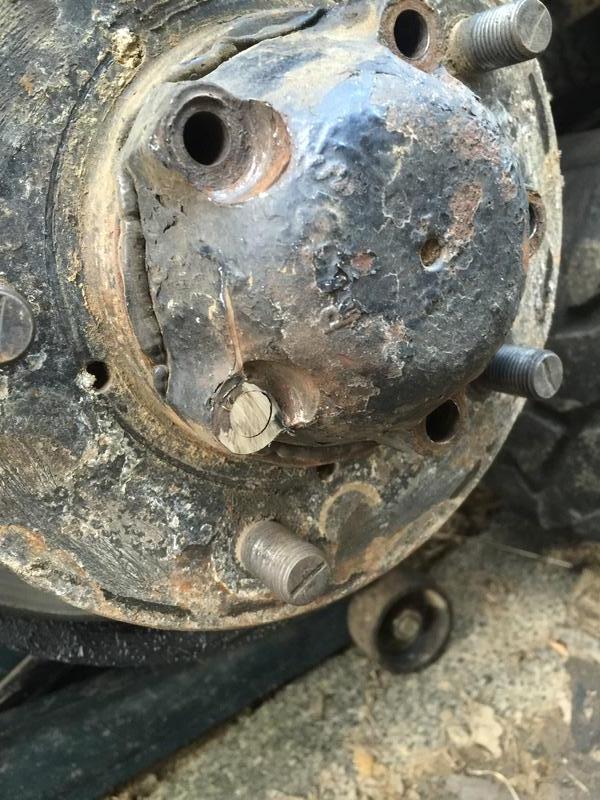
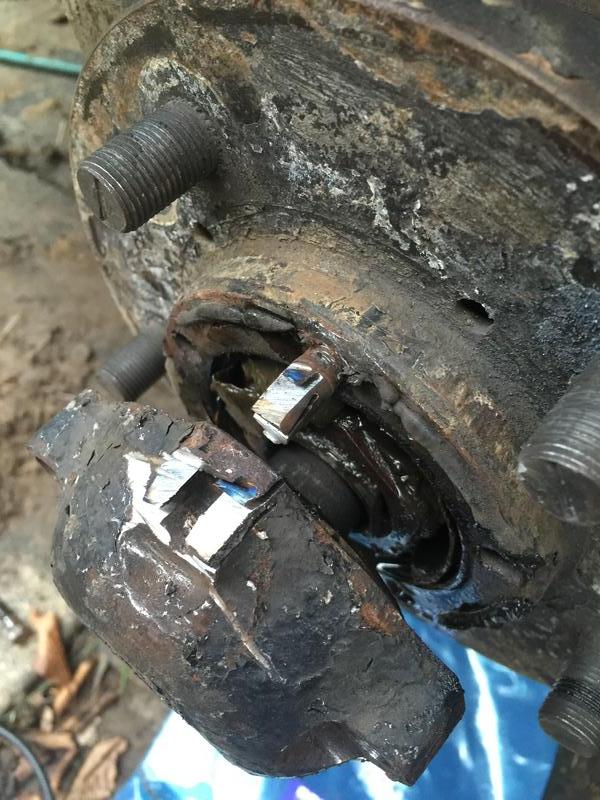
So going back a couple of weeks, this is when I removed the half shafts - i had to butcher them because the buggers wouldn't come off.

1MWNnBI.jpg


N1cGJlC.jpg


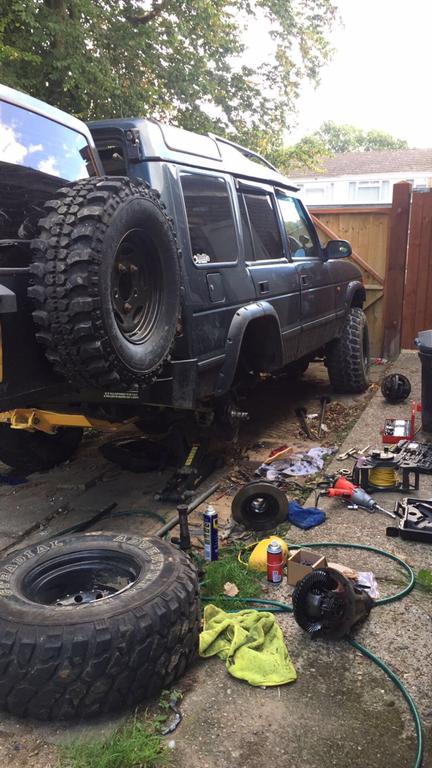
Fast forward to today.

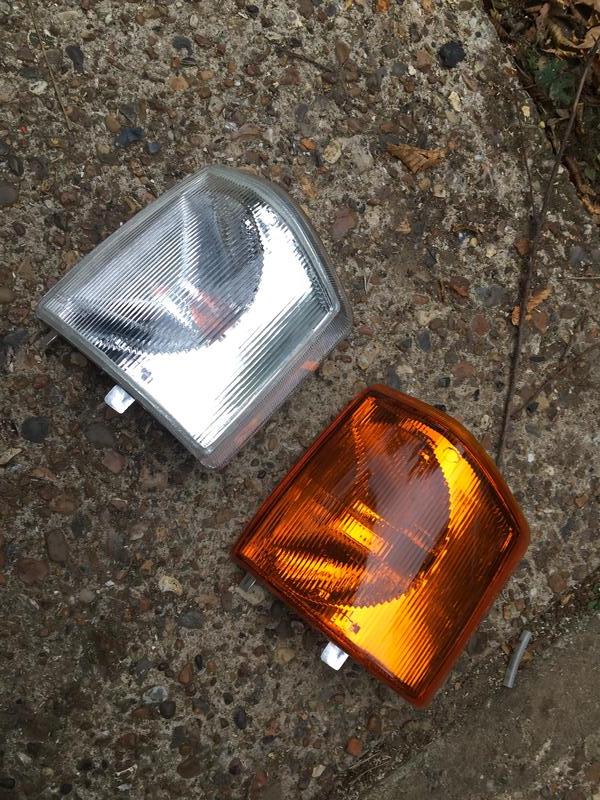
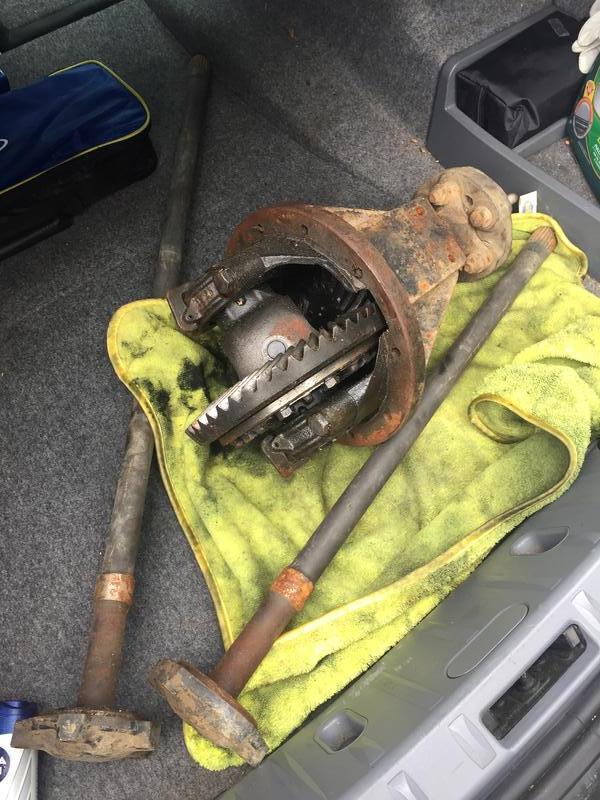
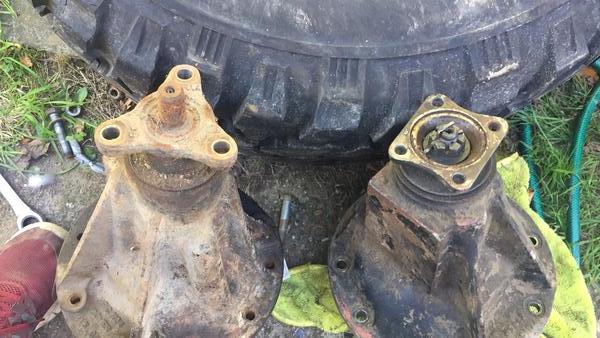
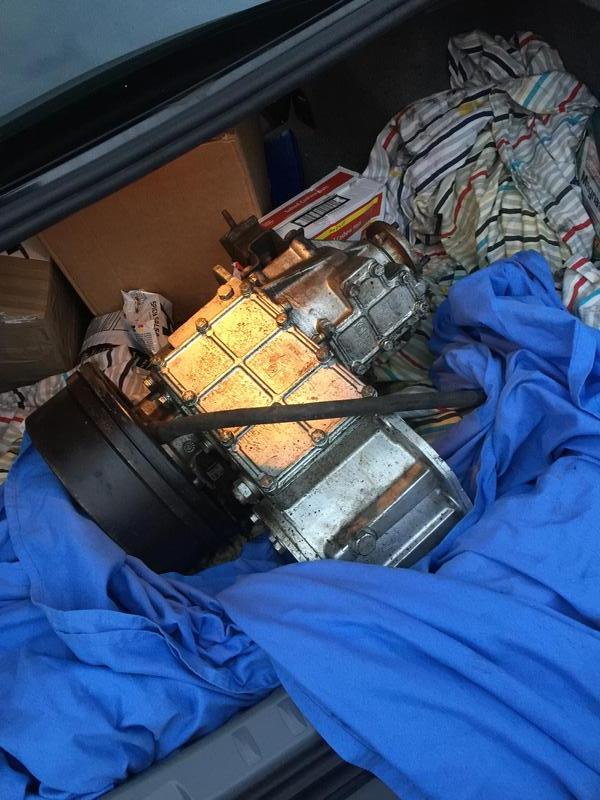
Here is the replacement diff and half shafts

lg77fR6.jpg


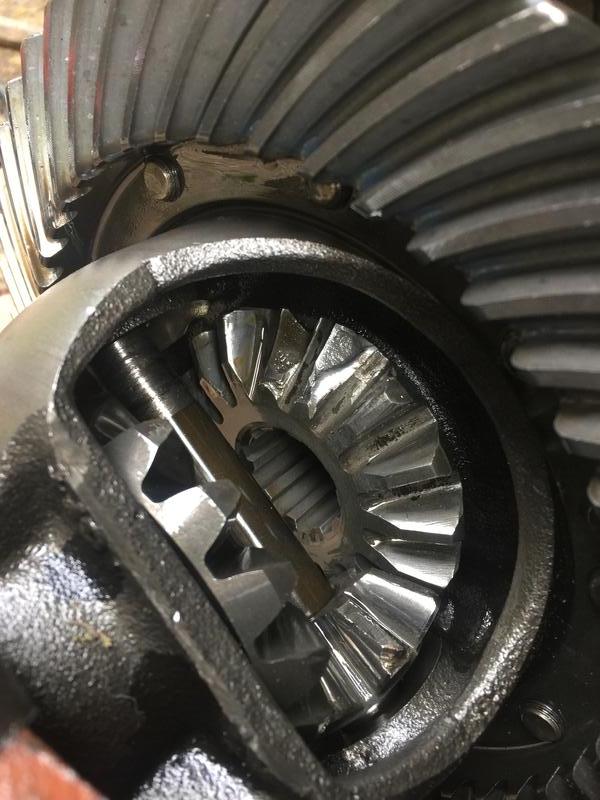
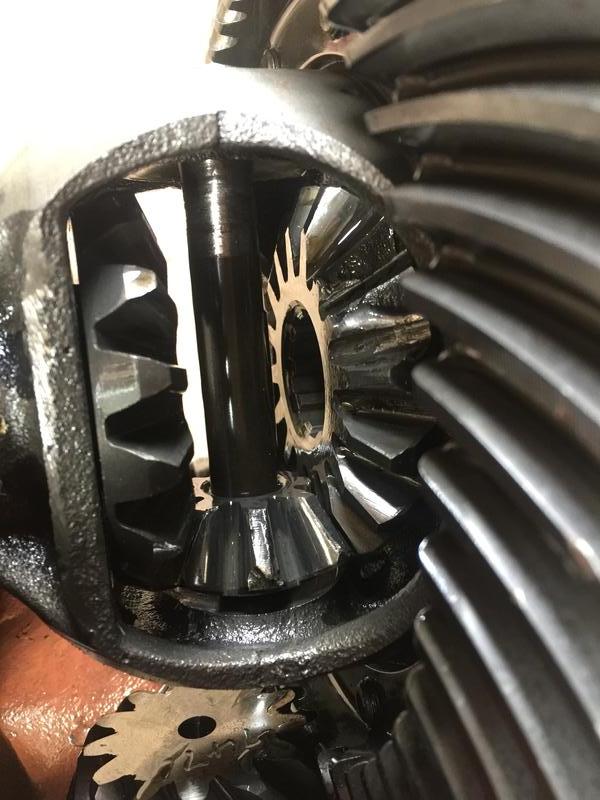
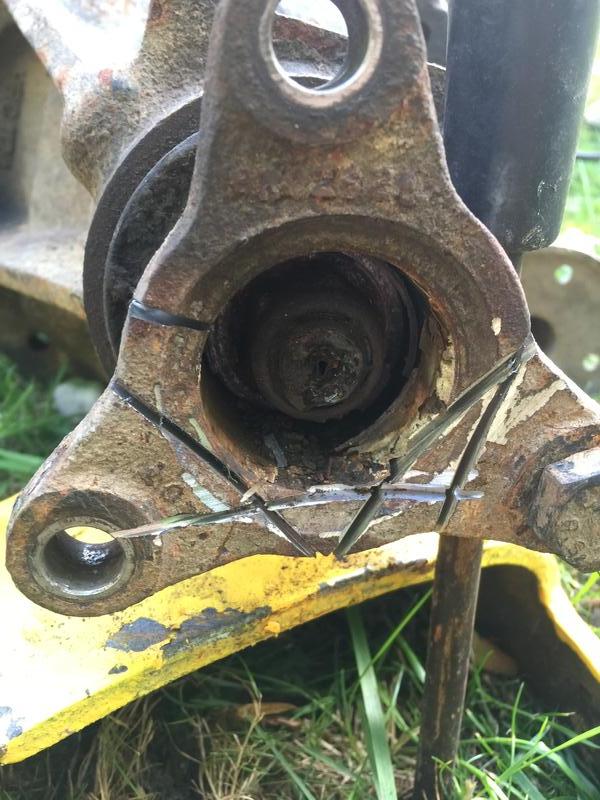
Once I had got the old diff out, I had a look at the damage...

3DGATBt.jpg


7fGSRcI.jpg


Yep that's broken.

PXIHvfC.jpg


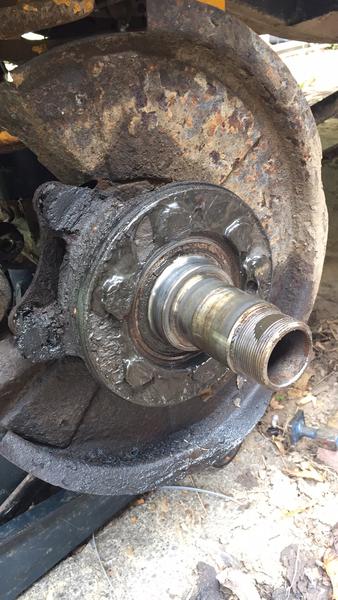
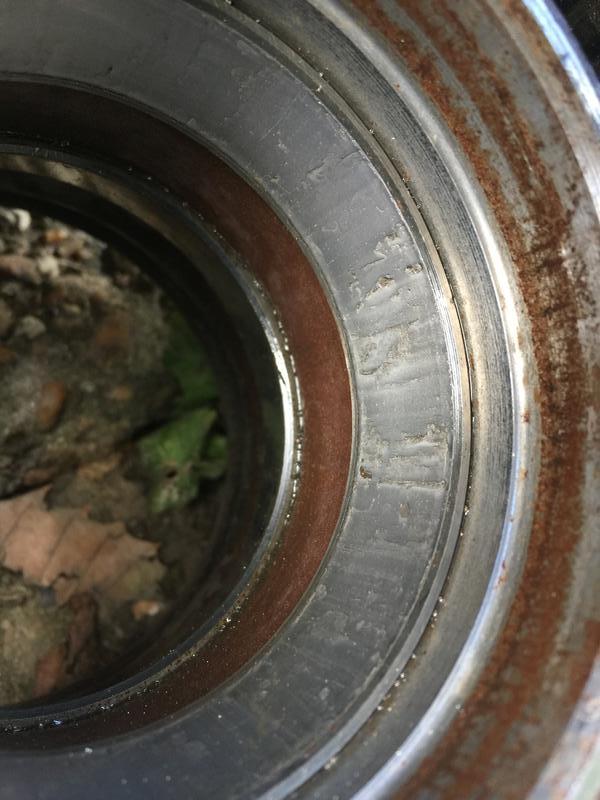
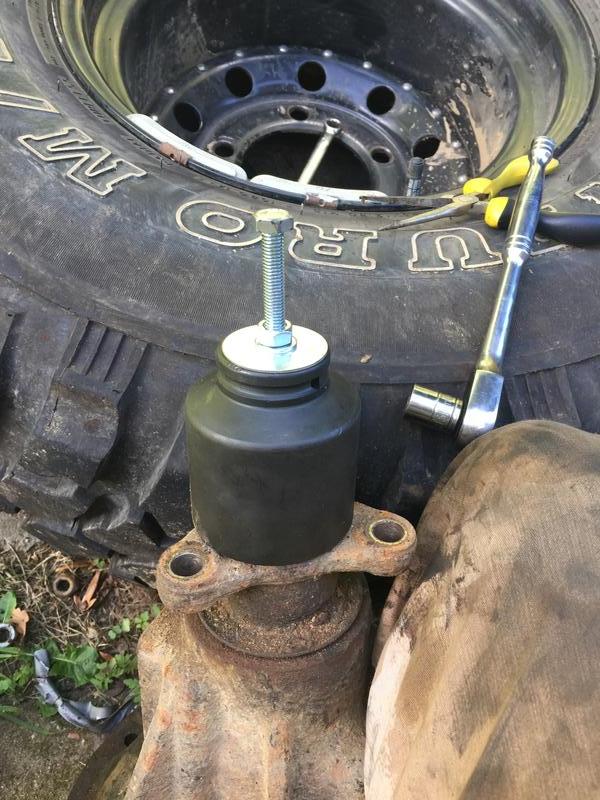
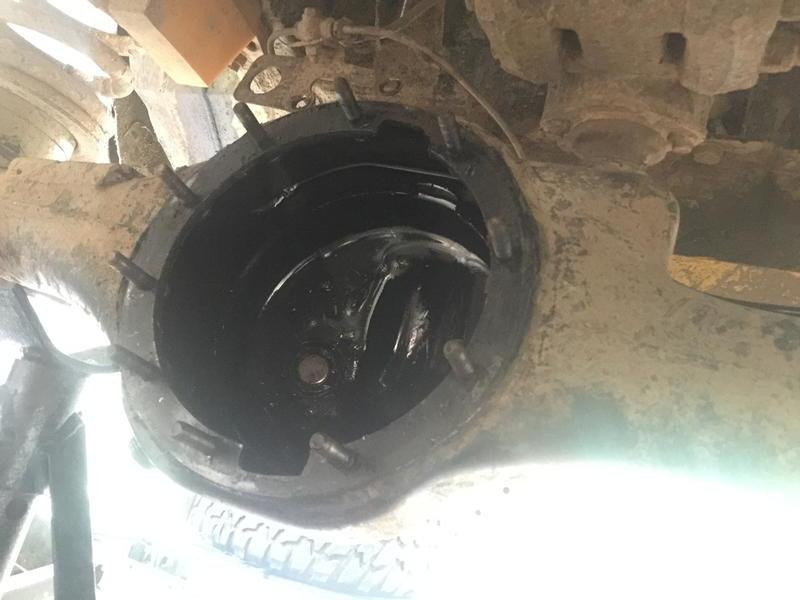
Before I started on the diff, I set about replacing the hub seal - as well as the wheel bearings.

So, i don't think this was meant to be quite so covered in oil
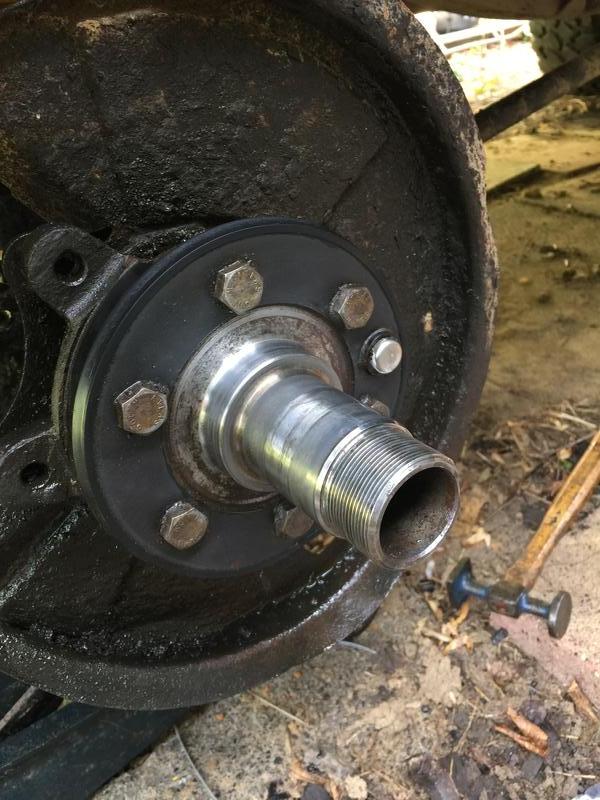
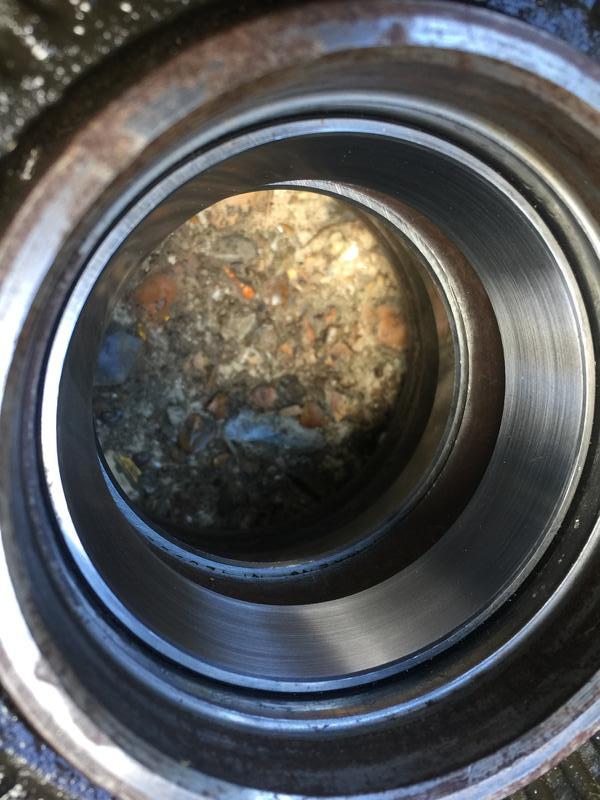
IwxtVUq.jpg


Cleaned up

ZhN67A6.jpg


Also I didn't get a picture, but the oil seal was in the wrong way.

Outer tracts were a bit worn

tC9tRzM.jpg


Shiny new

iYx4wmE.jpg


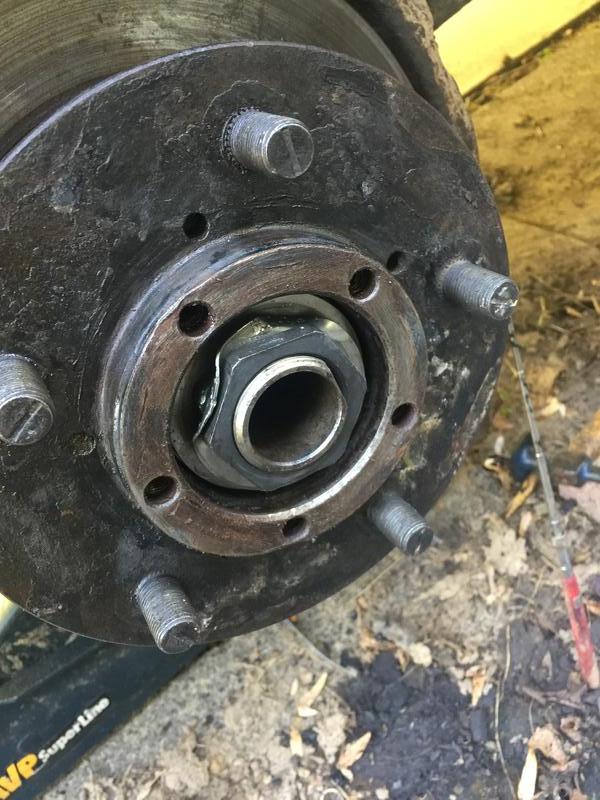
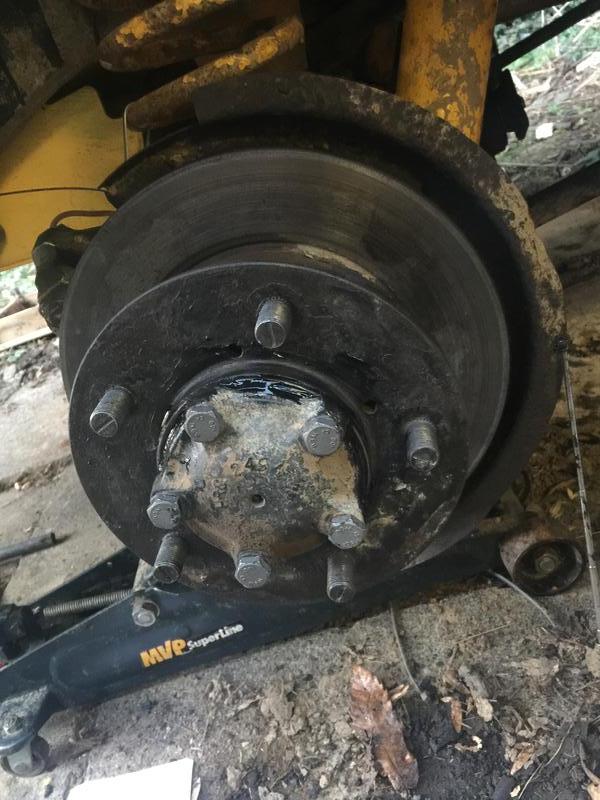
and then missing a few steps, all back together.

9NFKkTB.jpg


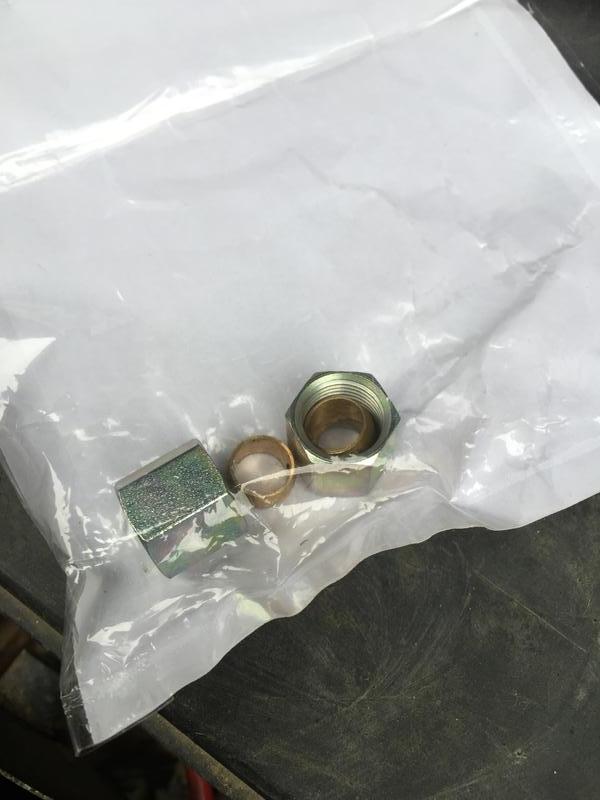
Next up was swapping over the diff flange, as I have a 200tdi rear prop.

This was also much more of a ballache than I expected.

FsgQ2uQ.jpg


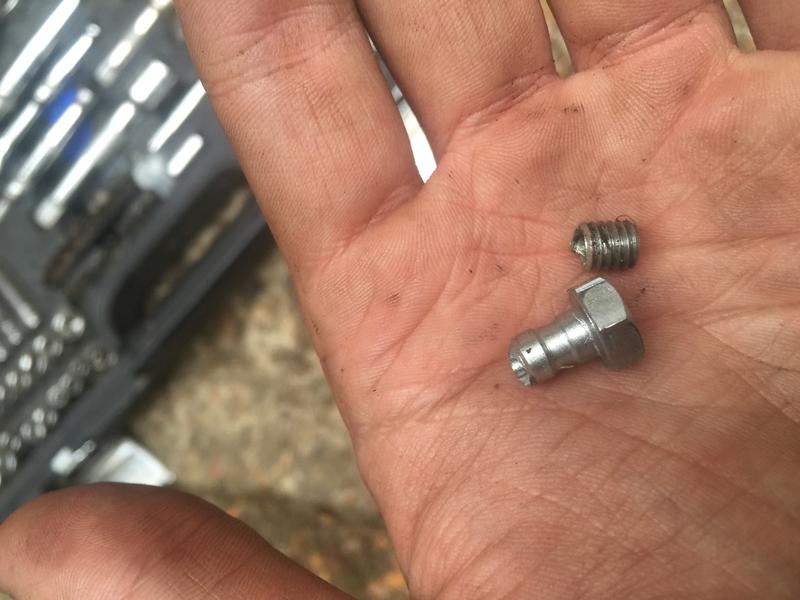
My attempt at a home made pull, which ended up shearing bolts and making no progress, applying heat didn't make a difference.

1BfiqMZ.jpg


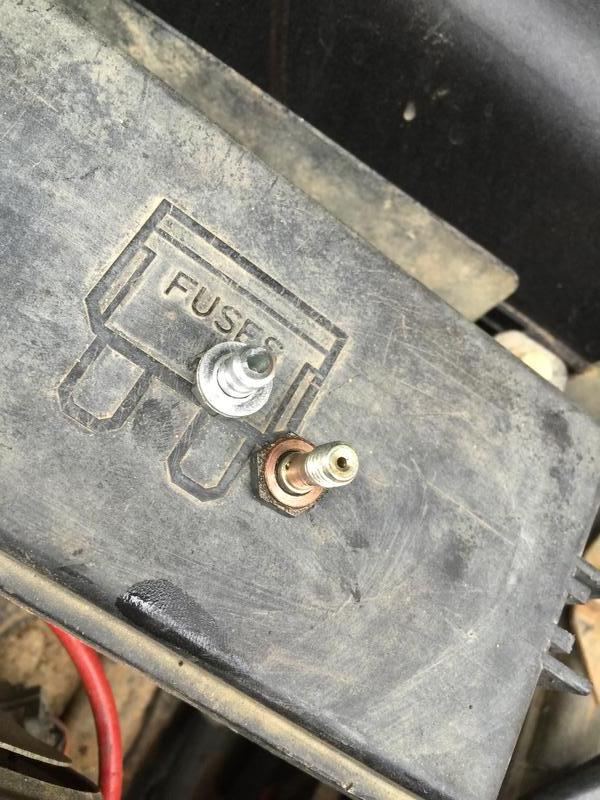
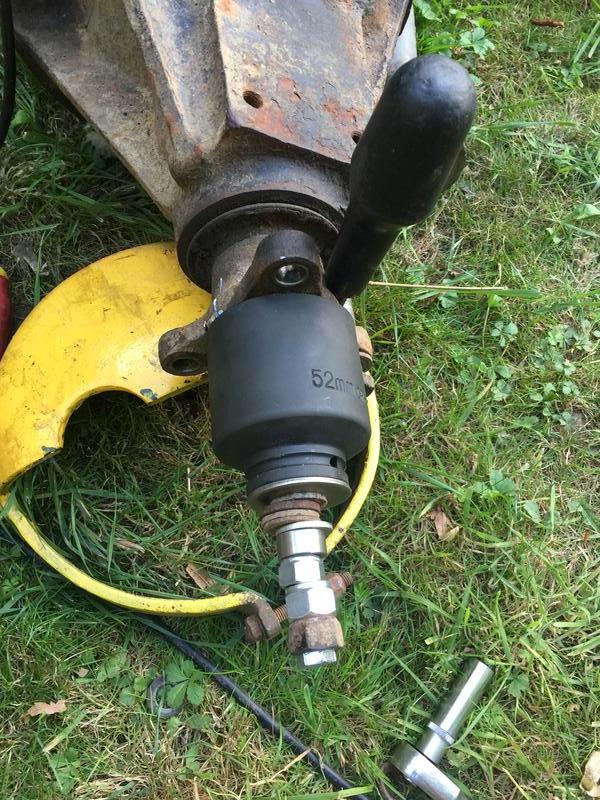
After taking an angle grinder to it, this seemed to work. Note the screw driver anchoring the diff to the floor :D

ulLgc9X.jpg


Horray!

3eWHiKW.jpg


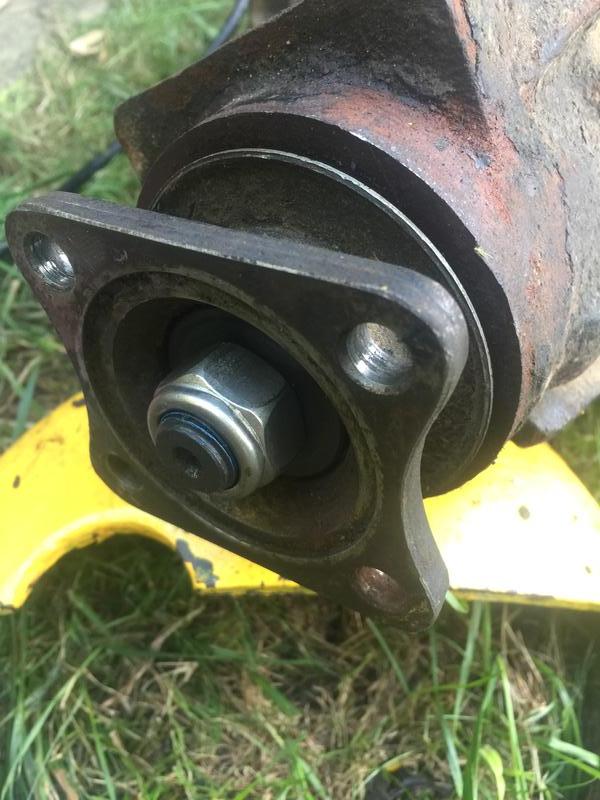
Flange swapped over and new nut.

Cyq7QHf.jpg


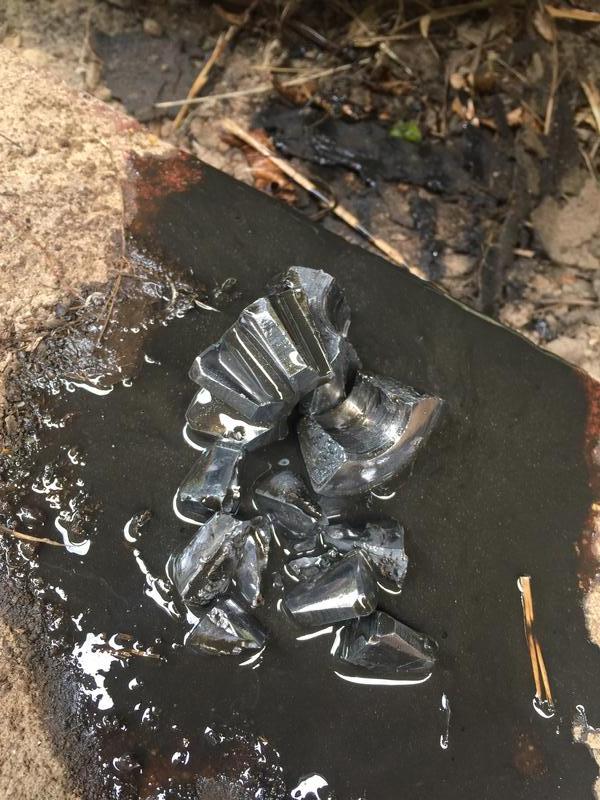
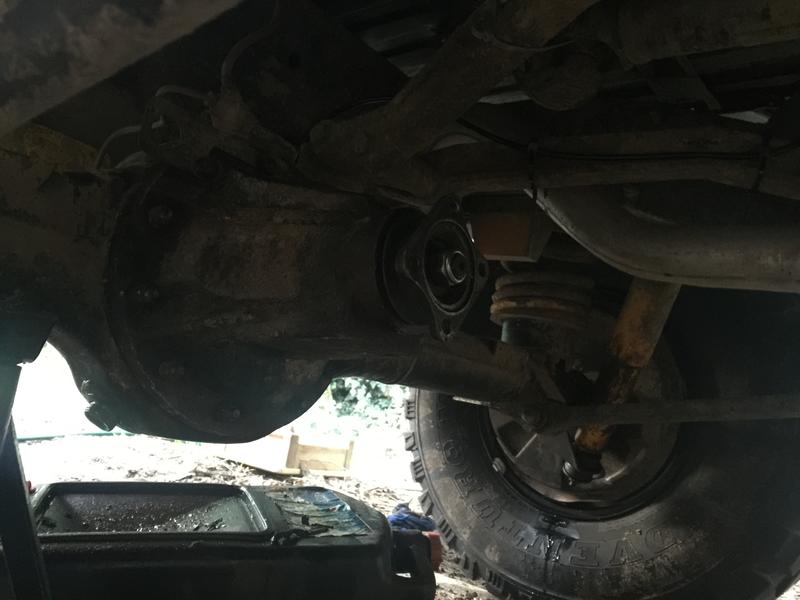
Cleaned up the axle, and used a magnet to empty out the remaining pieces of metal.

lMTc4n6.jpg


Replacement diff finally on

GjdNkvJ.jpg


Half shafts in

V1Ub8pS.jpg


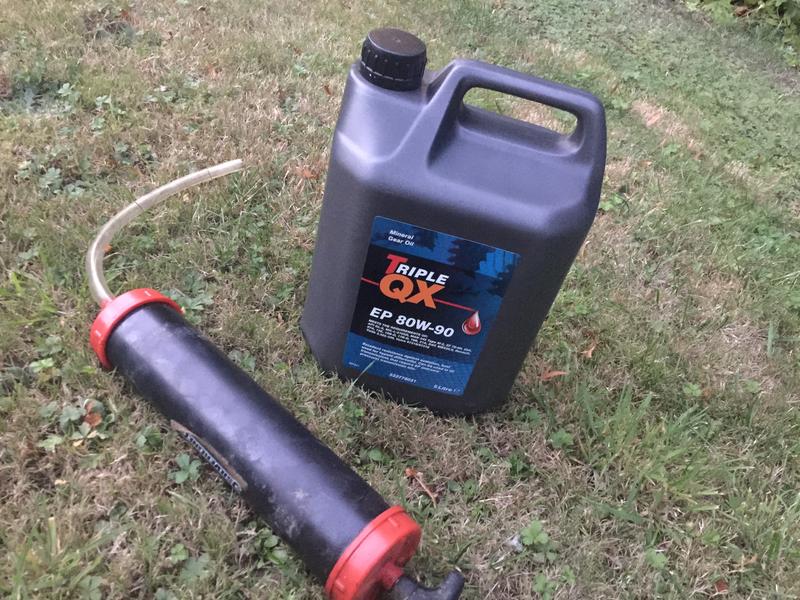
and finally some oil for the diff

89SENxP.jpg


My transfer box also arrived last week, but I don't think I'm going to be fitting that myself.
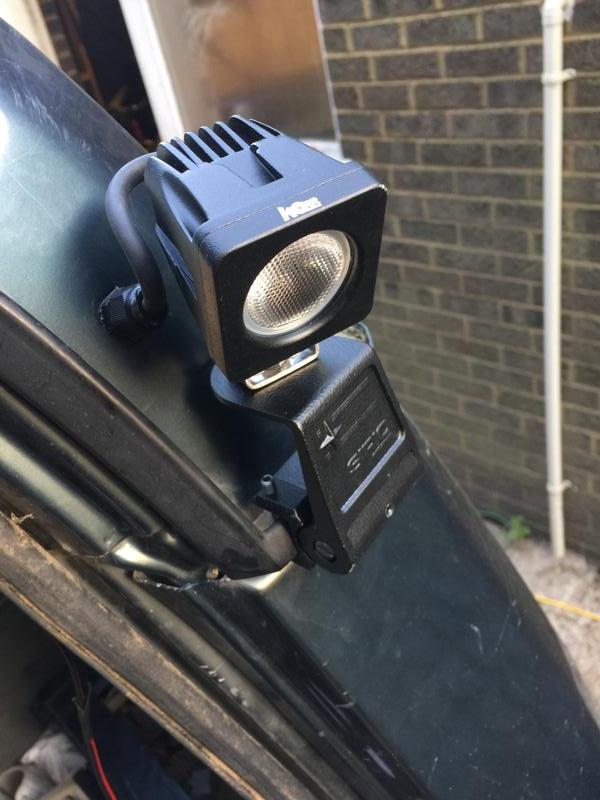
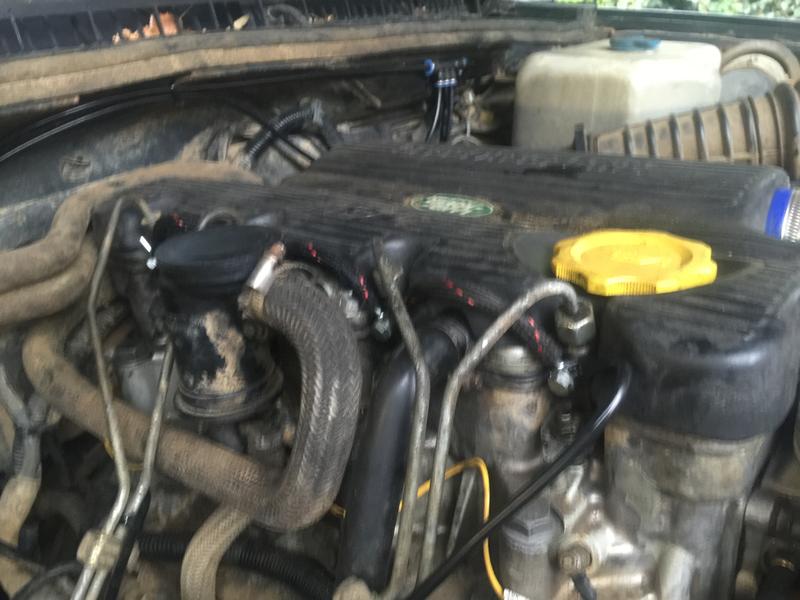
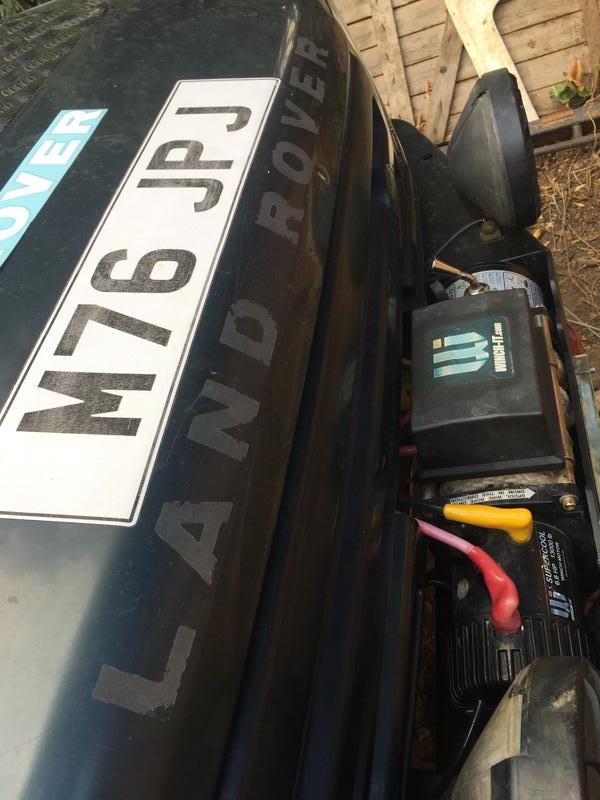
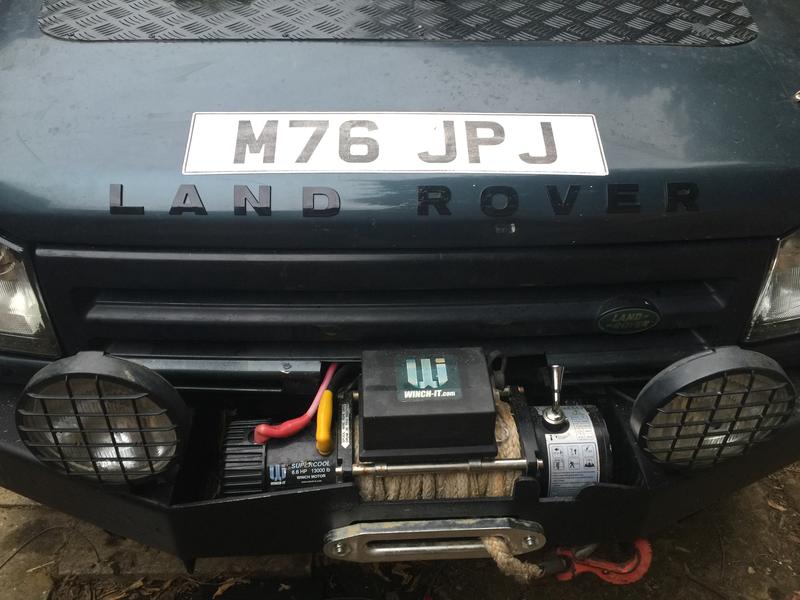
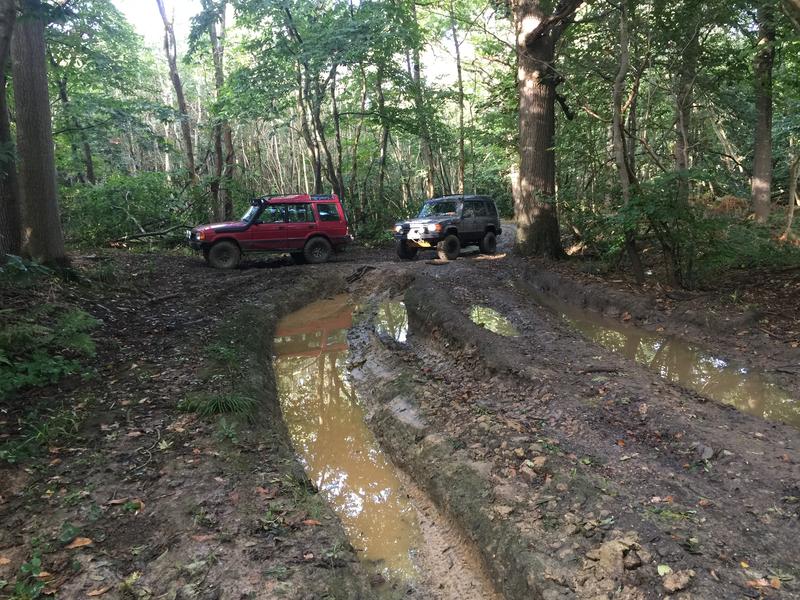
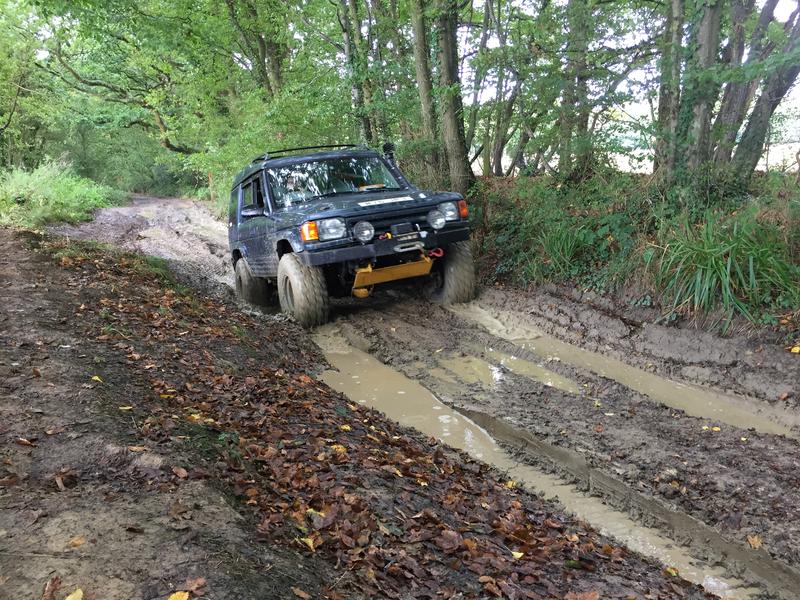
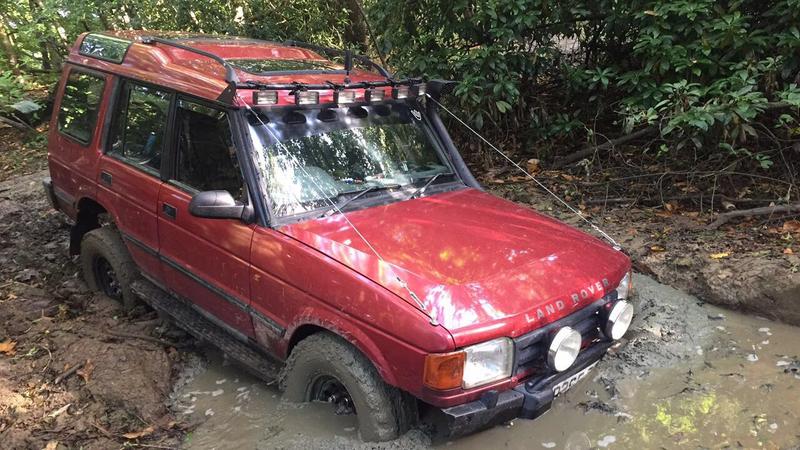
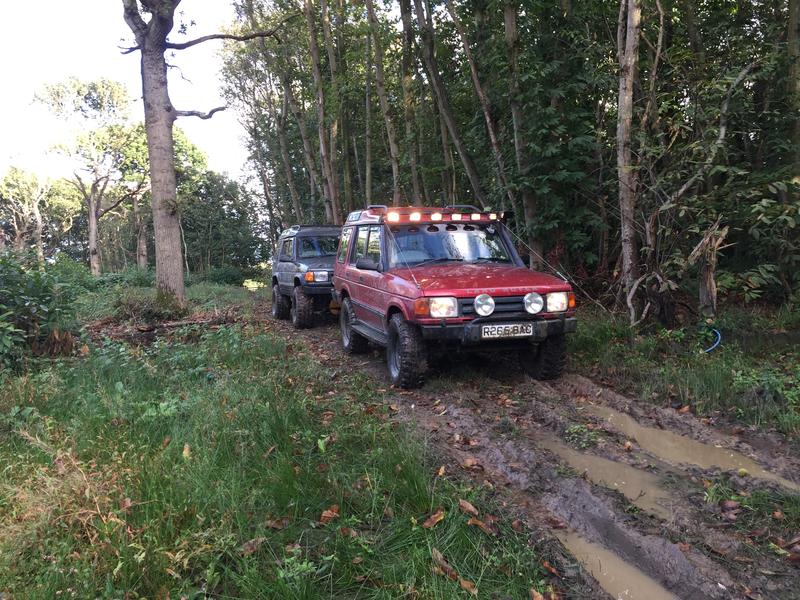
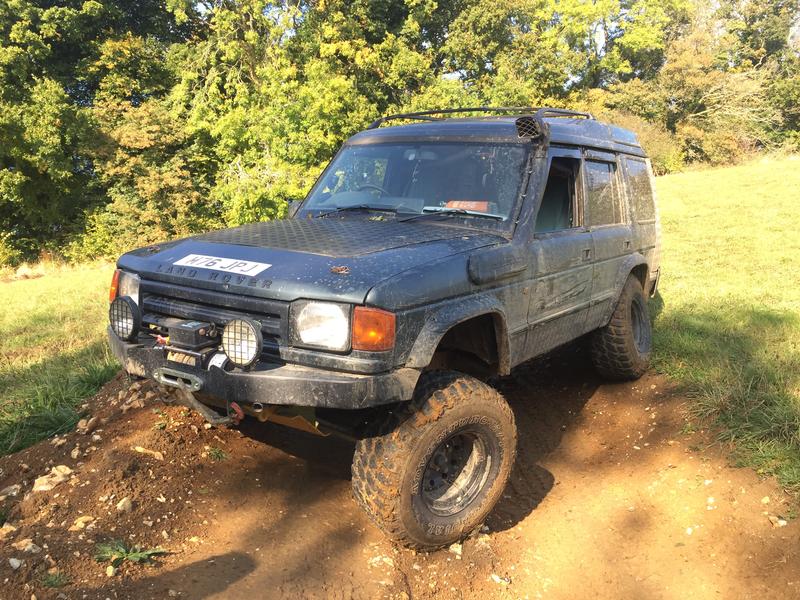
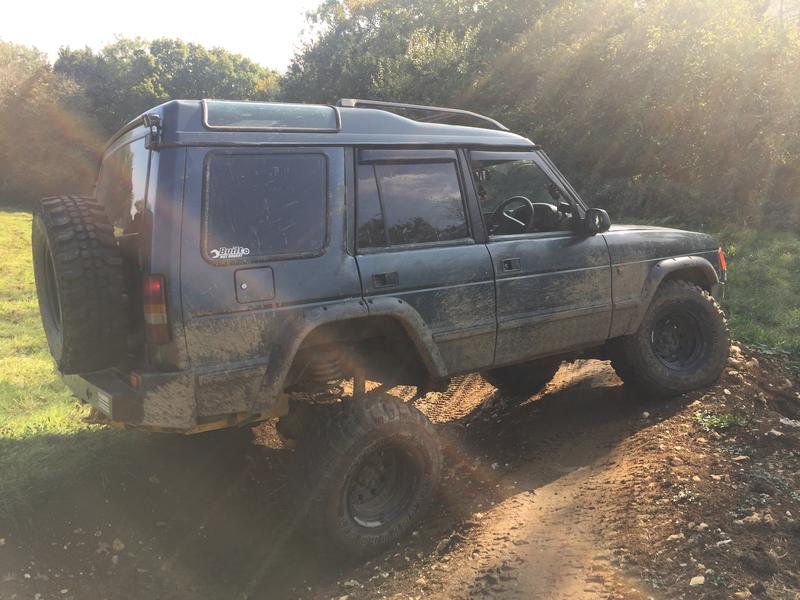
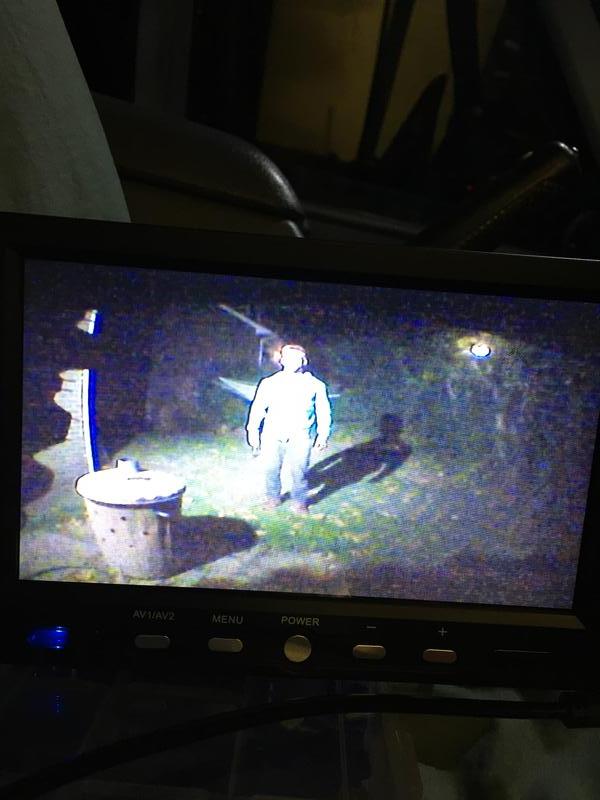
QCuh6kQ.jpg


Bonus shot

23SY4KW.jpg


Foz
 
Last edited:
A friend and I visited some byways in Ashford this afternoon, couple of pics below.

e2lwWJO.jpg


4jDOvmX.jpg


2mCzZPi.jpg


60rSK6Y.jpg


VCRi7pY.jpg


Foz
 
Last edited:
A friend of mine has a cheapy PA system in his Discovery and I thought it was a fun idea - so I got one too. You can briefly hear some of it at the end of the last video I posted.

Was a cheap one off eBay, cost around a tenner.

My friend has hit mounted under the bonnet, and it's quite loud - but I chose to mount mine just behind the grill.

It is mounted in front of the radiator, next to one of the horns.

Mounting bracket

k4EpKwW.jpg


Mounted

F2fN6lK.jpg


Wired up

hGdAZts.jpg


n8QDkrD.jpg


Controls

RcJjwCW.jpg


As this is mounted in the grill, it's very loud. The voice part of the thing isn't that great, but it has various horns, alarms and sirens which are all fun. I would take a video and upload it, but as it's currently in my garden it's embarrassingly loud and I feel for my neighbours! When I get a chance I'll take it for a drive and do a quick video away from home... :)

Foz
 
Took the Disco offroading over the weekend, didn't really take any pictures or videos.

DaRoaKd.jpg


Couple of flex shots.

Y6yzFU4.jpg


XLe1Q3J.jpg


With the tinted windows visibility out of the rear is pretty poor, so i bought myself a rear camera and screen.

As I like to make things reasonably neat, i decided i was going to mount it under the tailgate handle. This meant removing it to run wires.

There are a number of bolts securing this, and most are obstructed by the locking mechanism.

3VKddBw.jpg


lTn5A4Q.jpg


Once removed I was greeted by some corrosion.

z5ZyTPl.jpg


IqE3xHJ.jpg


d6G1COo.jpg


I don't have any paint that matches my paint code (i really should get some) i i cleaned it up and painted it black, as it's all i had.

ClsMOFn.jpg


I fed the wires though one of the holes, and taped them up. I then fed the wires through the door grommet and through into the cab.

foPrKHL.jpg


Back together, and this is what the camera looks like. I didn't go for one with night vision, as I'm hoping my rear spot will provide enough light in the dark.

rDXXt70.jpg


When I bought this screen I didn't pay too much attention to the size of it - it's 7" so pretty big for a rear view screen, and it looks like this is the only place i can fit it!

XPwp1Nn.jpg


Foz
 
I like the neat position for the camera. Can you post a pic of the screen view from the cam are a position. I have one of those cameras mounted above the tow bar for hitching the trailer and the night vision camera mounted above cantre of the rear door. The night vision camera colour definition is not as good as the small camera so I am thinkIng of changing to another small camare
 
I like the neat position for the camera. Can you post a pic of the screen view from the cam are a position. I have one of those cameras mounted above the tow bar for hitching the trailer and the night vision camera mounted above cantre of the rear door. The night vision camera colour definition is not as good as the small camera so I am thinkIng of changing to another small camare

Hi Shaun - I will get a couple of pictures for you tomorrow evening!

Edit -

Here are a couple of night shots, I can get some in daylight tomorrow.

The bin is about 1m from the back of the Disco, and I'm standing directly behind the Disco about 3m back. Rear flood light on. Knobbly bit to the left is the spare wheel.

Look kinda spooky...

4IEi4Vl.jpg


0vCRGCn.jpg


Foz
 
Last edited:
Back
Top