Time to fit the new bushes into the chassis. I cleaned and prepared the holes as much as possible.
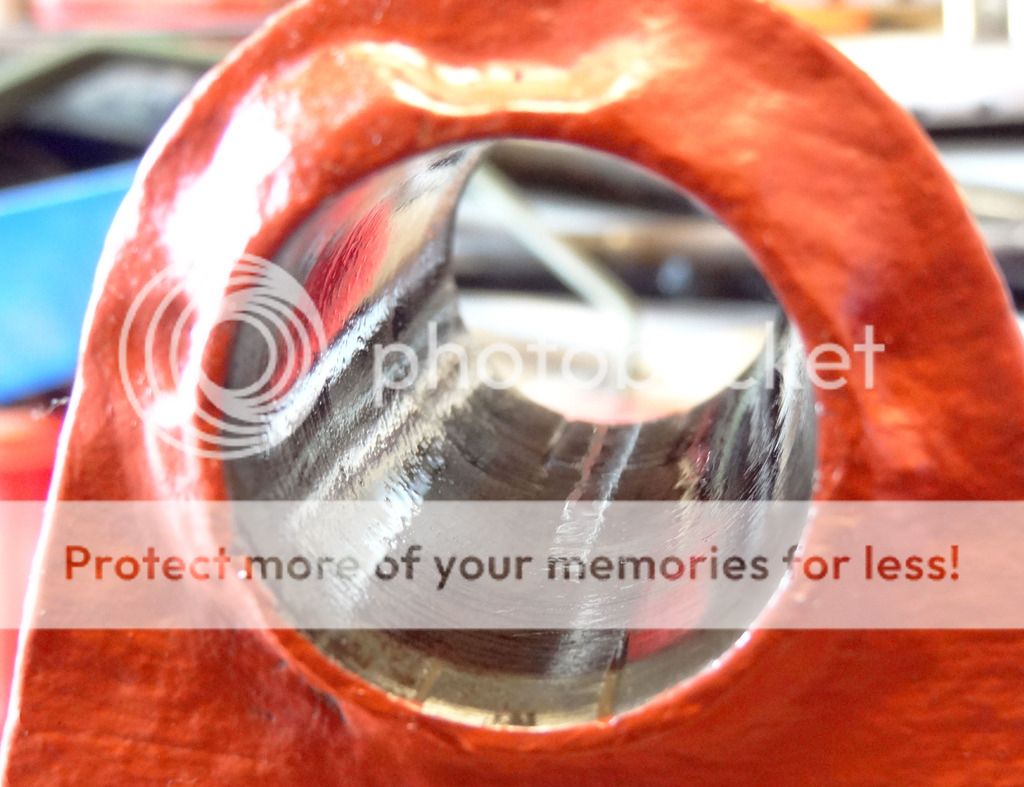
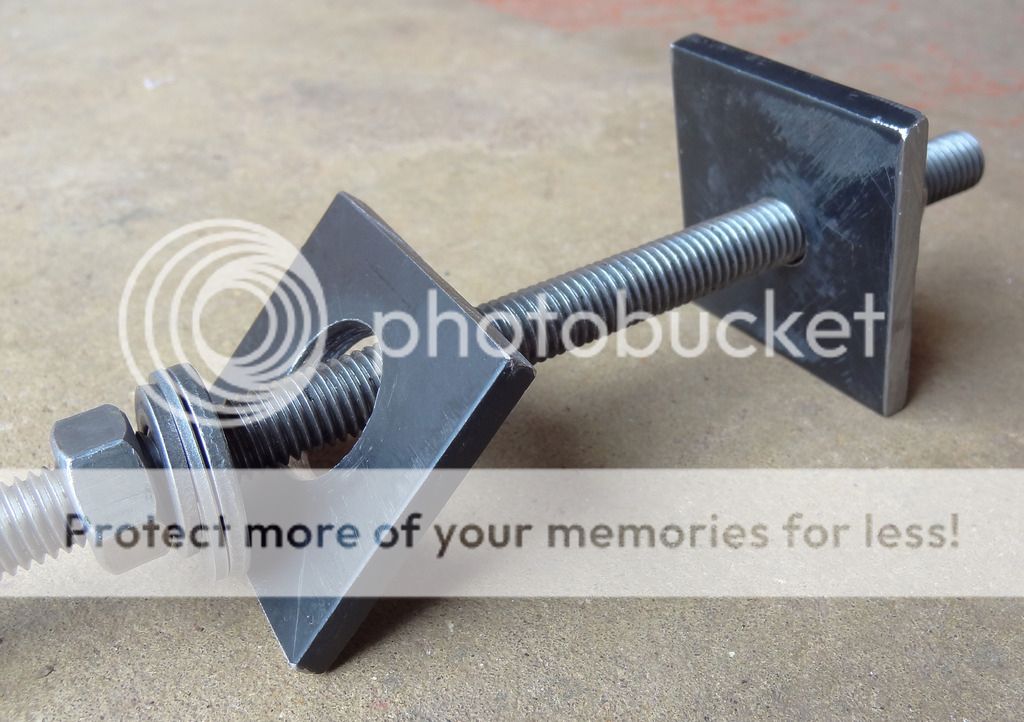
I made a puller to draw the bushes in.
I coated the inside of the holes with copper grease, ground a chamfer on the leading edge of the new bushes then put them in the freezer overnight to shrink them a bit.
Things started well enough.
The first of the rear ones went in really easily.
The other rear one and one of the front ones went in with a bit of effort.
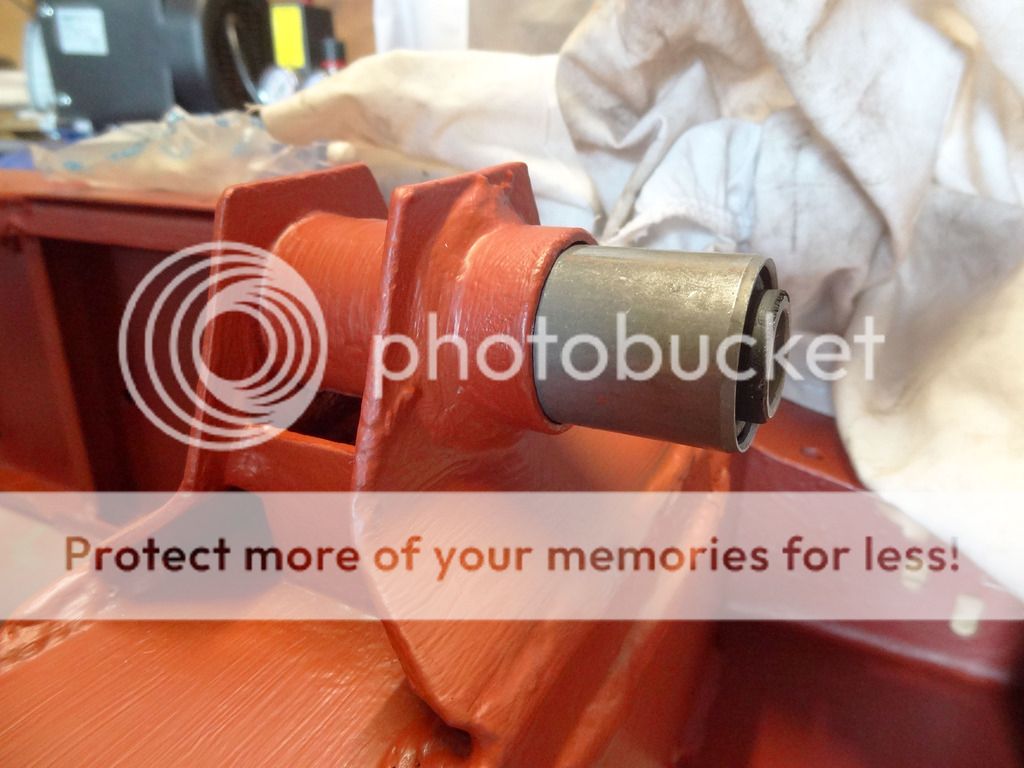
Then the last bugger went most of the way in but jammed with about 7mm sticking out.
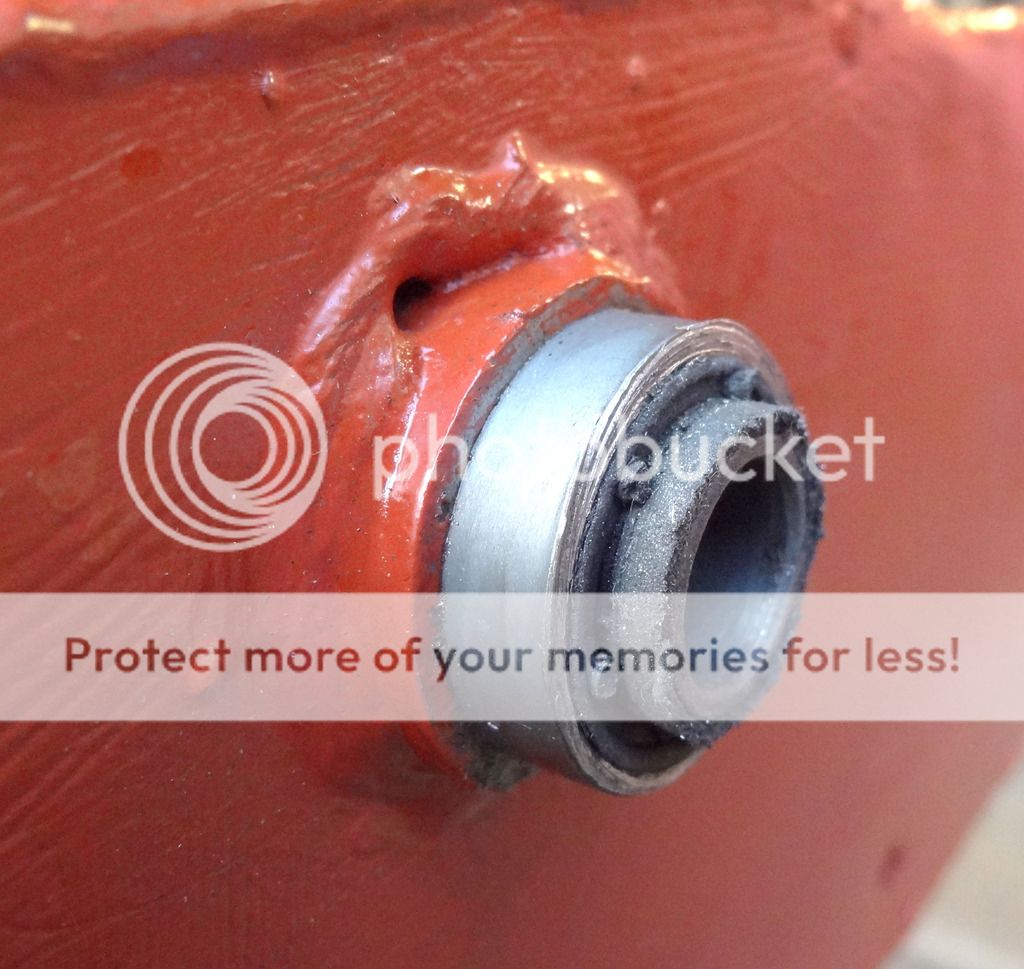
The piece of threaded bar was getting pretty tired by now and sure enough as I gave it a bit of stick it sheared.
At that point I decided to call it a day.
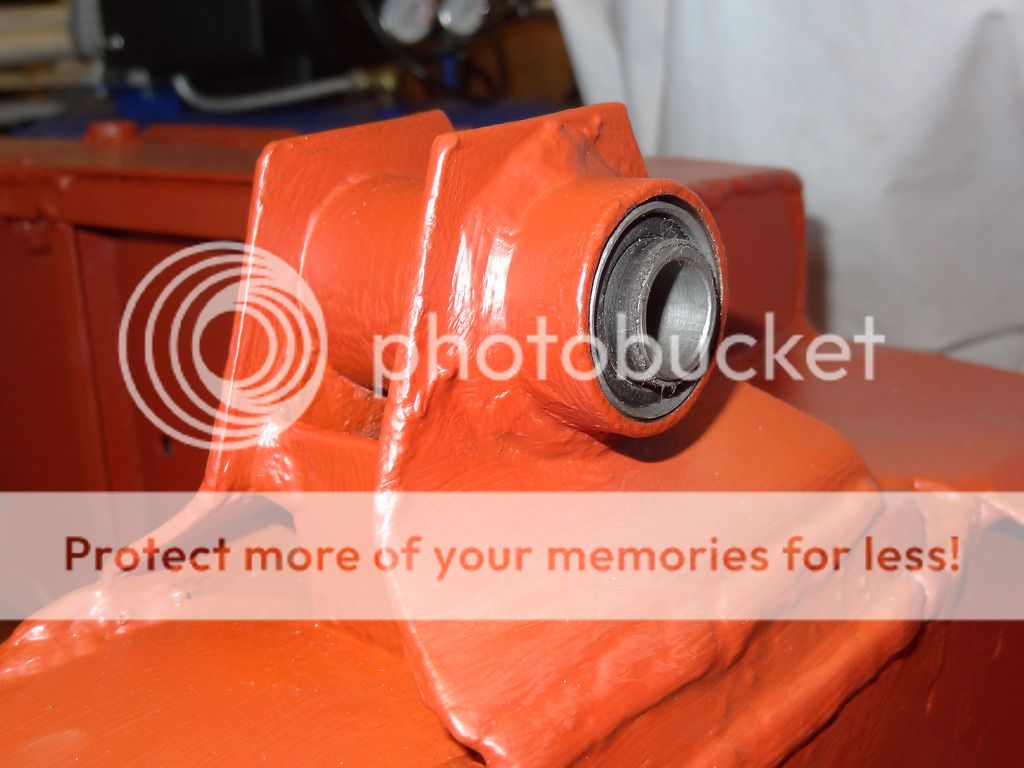
I made some improvements to the puller and used a really hefty coach bolt and tonight, finally, I managed to get it installed properly.
So that's the first new parts refitted to the chassis. I hope the rest goes back together easier.
")


