OK, the big job has begun!
Last Saturday my mate called round and we finished working on daughters Fiesta so it is reasonably presentable again. The bumper is repaired (ish) and the plastic parts are back on well enough. The car is 03 and not worth much and it will be sold shortly so I don't think it will be worth much more by making it perfect.
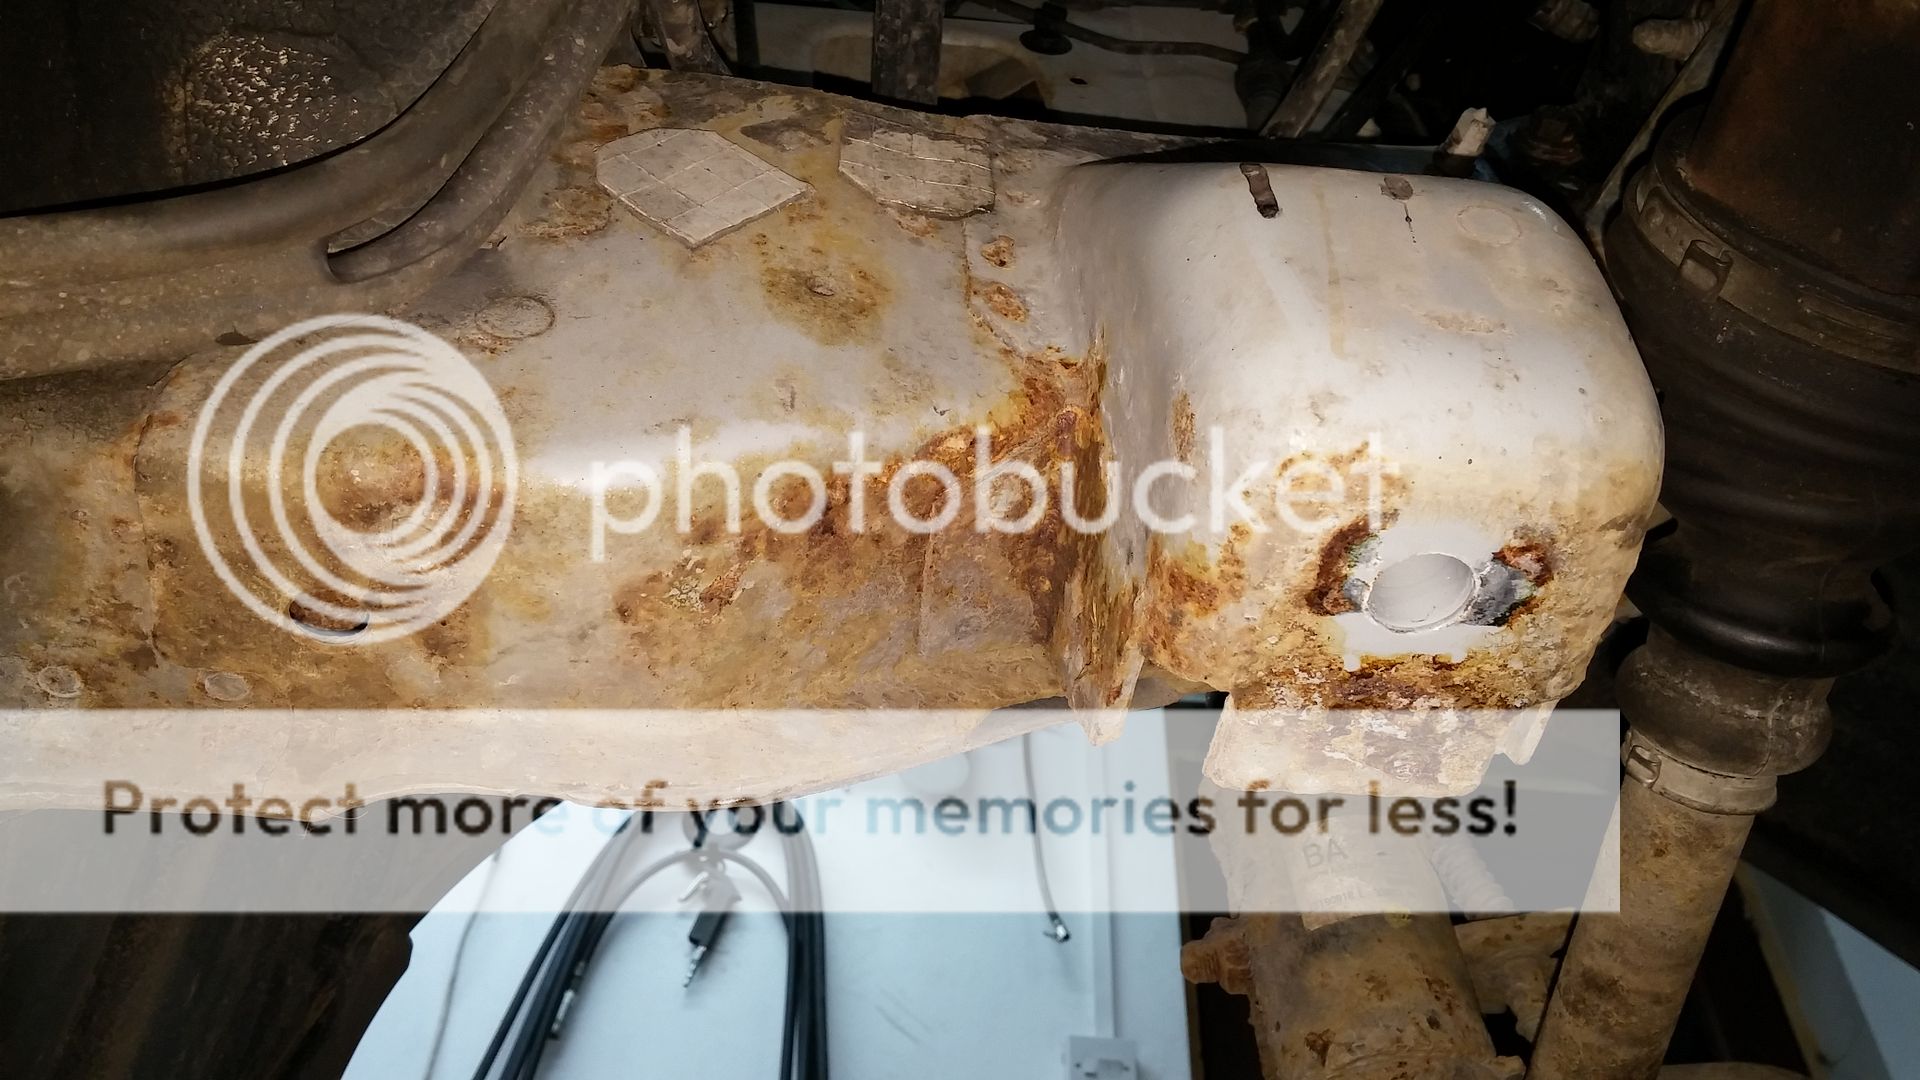
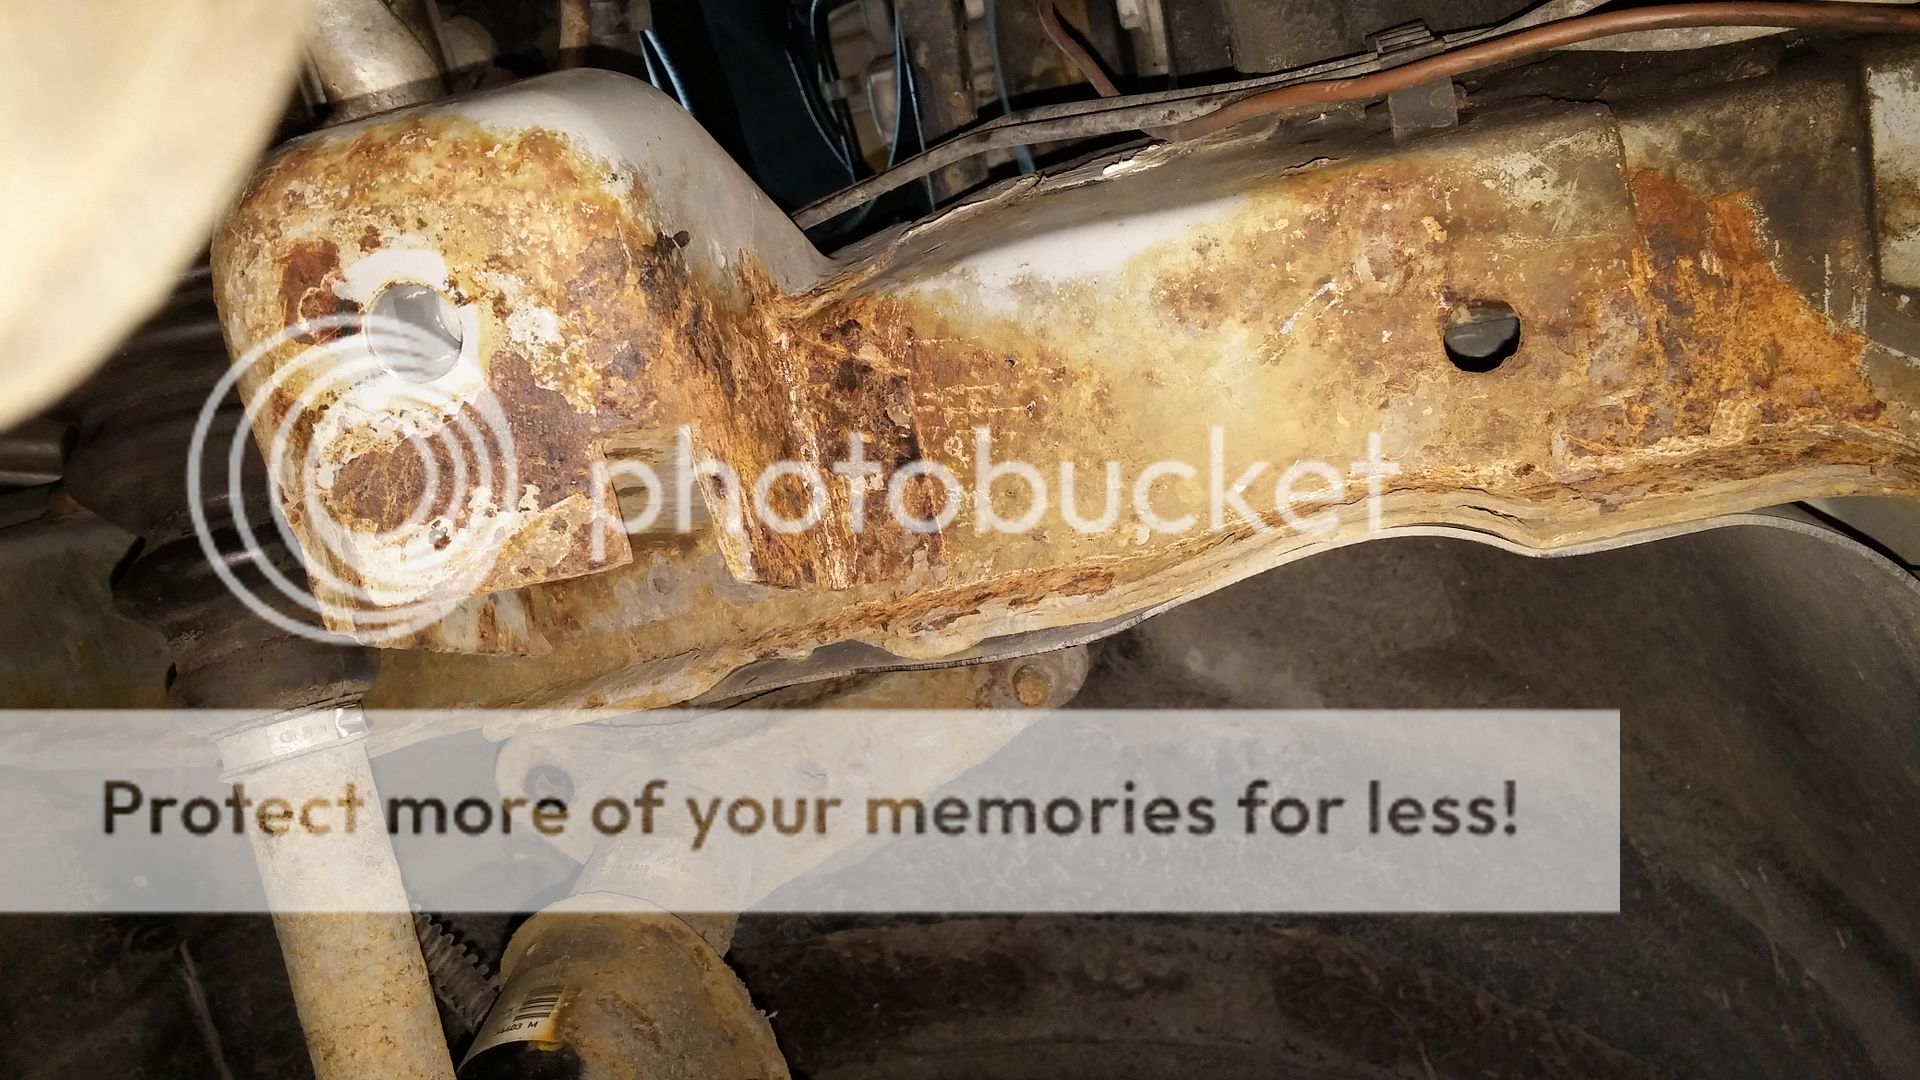
Anyway after working on the Fiesta we pulled the propshaft off the Freelander. I know it doesn't need to come off completely to replace the clutch but the VCU was seeping a little and I wanted to have another go at welding it up, I also intend to repair the fuel tank support the same way I did for Gertrude so it needed to come off.
So on Saturday the undertray came off and the propshaft but not much else.
Tonight I got stuck in and did the following
Jacked up the front and put it on axle stands
Removed both front wheels and both plastic side guards.
Removed the battery and battery tray. A pig of a job as the bolt securing the battery just turned without loosening so I spent at least 30 minutes drilling and grinding it out.
Drained coolant from the bottom rad hose
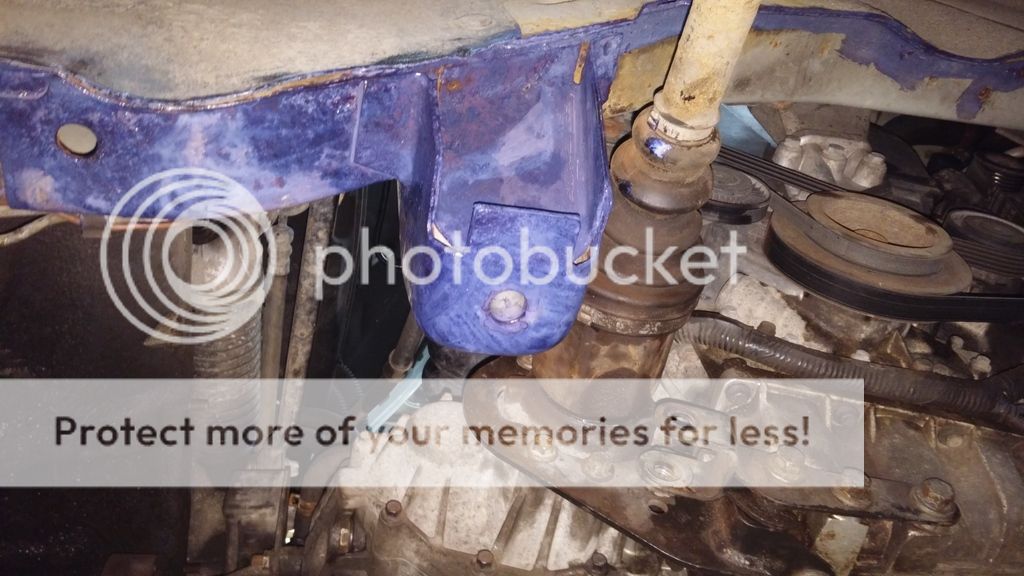
Disconnected the two coolant hoses to the IRD. (A pig of a job which found me sitting on the engine reaching down and struggling to get the hoses off. I had to push a thin screwdriver in the end of the rubber hoses and wiggle it around to break the seal.
Here's a photo of them disconnected.
Once that was done and I mopped up the mess on the garage floor I then started removing the bits which secure the IRD.
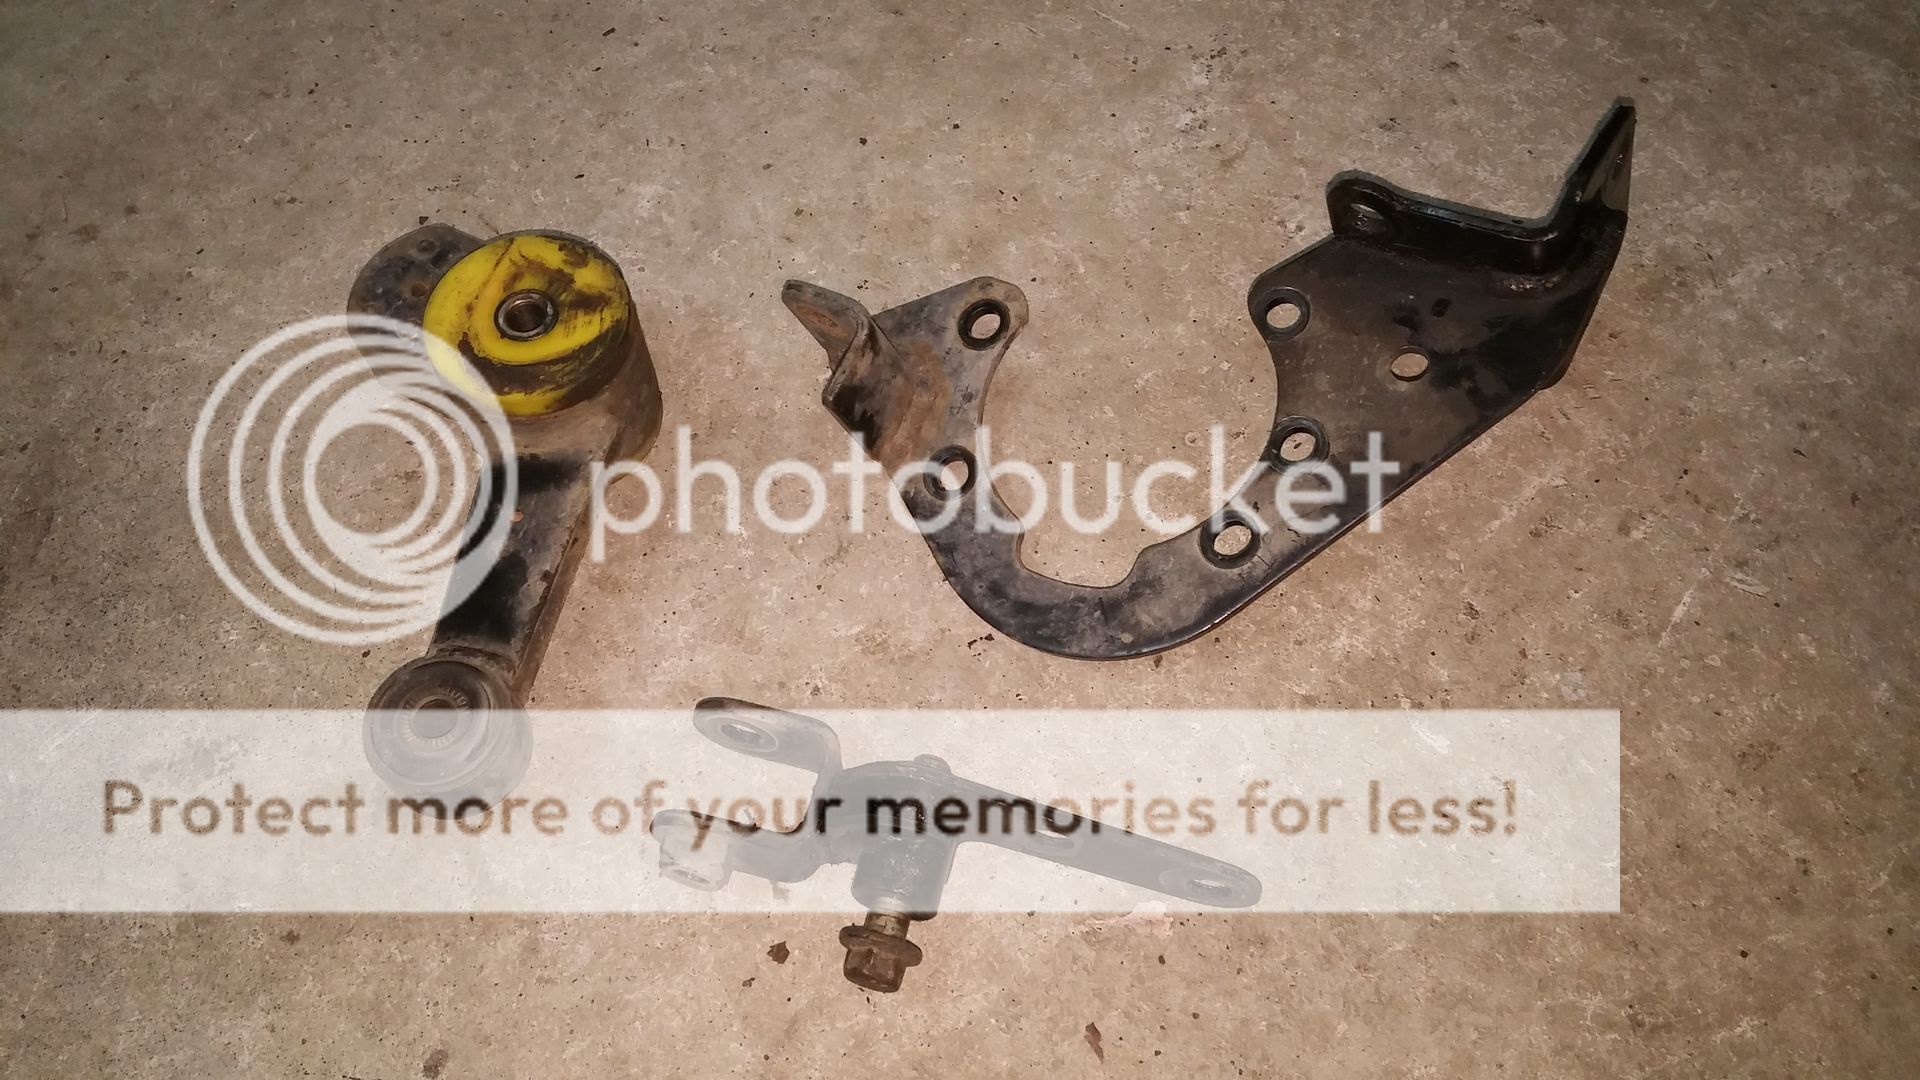
First I removed the bolts holding the lower tie rod, then the bracket which goes round the offside drive shaft. It is not the first time I've done this as I had to do it when removing the sump to replace the oil rail. But it is still a pig of a job.
Here are the bits removed.
After that I removed the damper from the VCU (it sits above the propshaft) and that was about it for the night. Hopefully tomorrow night I'll get the IRD out, I know I don't need to remove it completely to replace the clutch but it is seeping oil so I want to replace all the oil seals. IRD oil has a very distinctive eggy odour so is easy to spot and the lower half of the IRD is covered in oil.
LUKBENPHI suggested I allocate a day and a half for this job. Mmmm, I suspect a week and a half will be more like it for me, I'm a bit slow at this kind of thing, and I always end up doing other stuff at the same time, but I have the luxury of a spare car at the minute so I might as well take my time, enjoy it and do it right.
 I guess the wishbone will be next to try and sort it.