TomKermitNixon
Member
- Posts
- 57
- Location
- Hexham - Northumberland
Hi All,
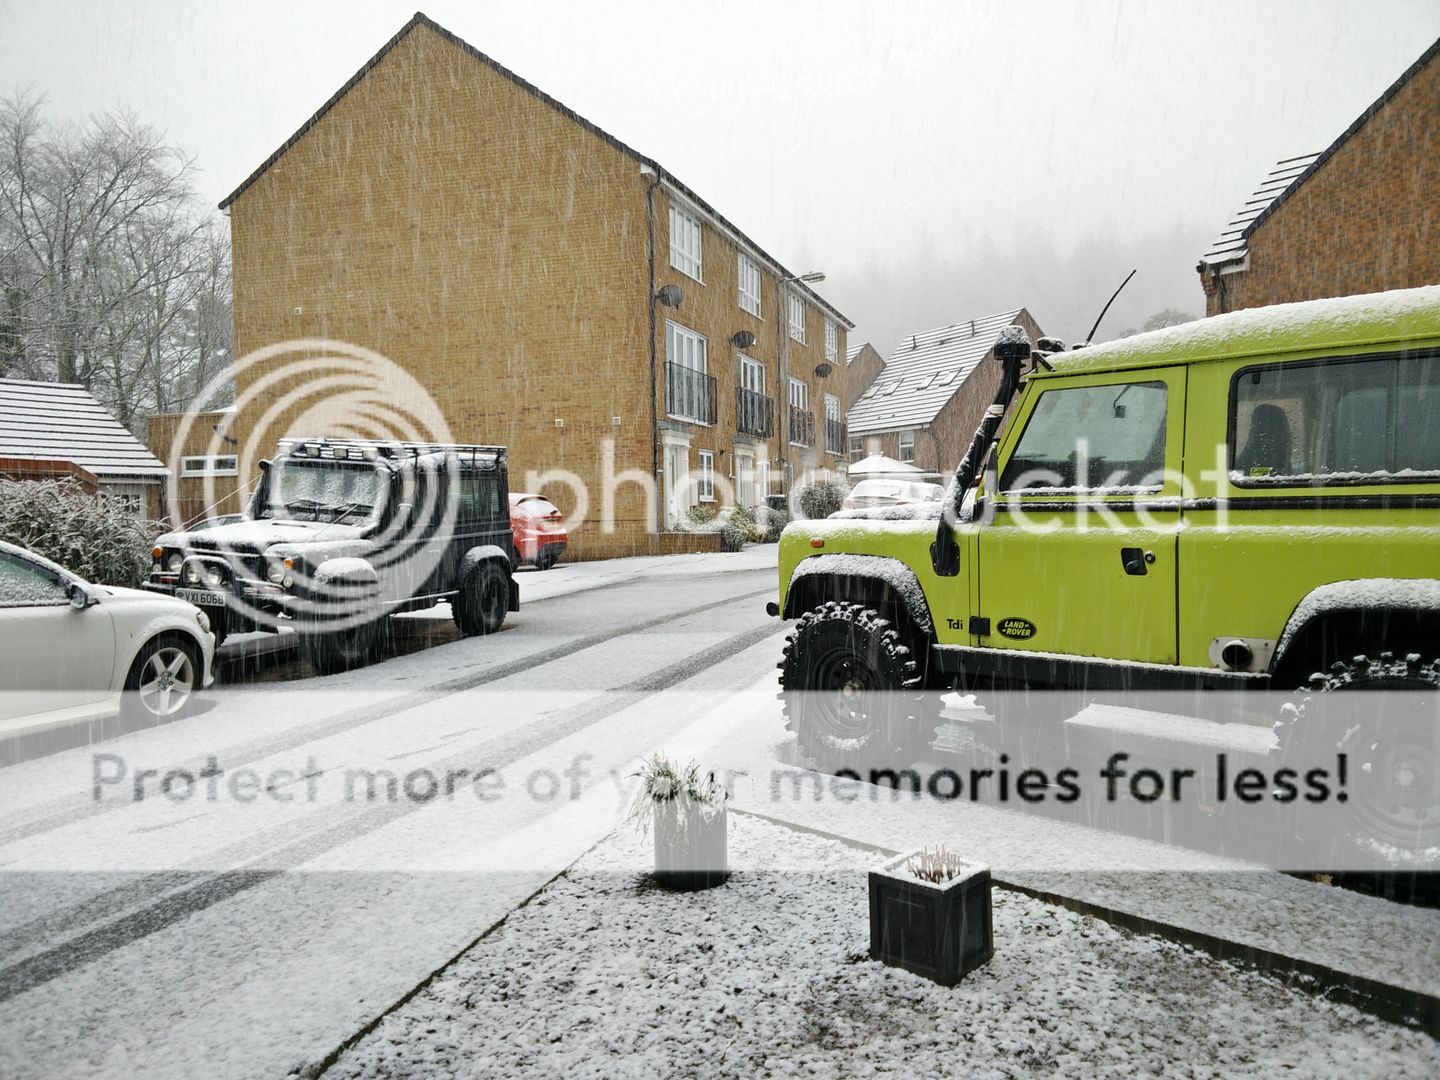
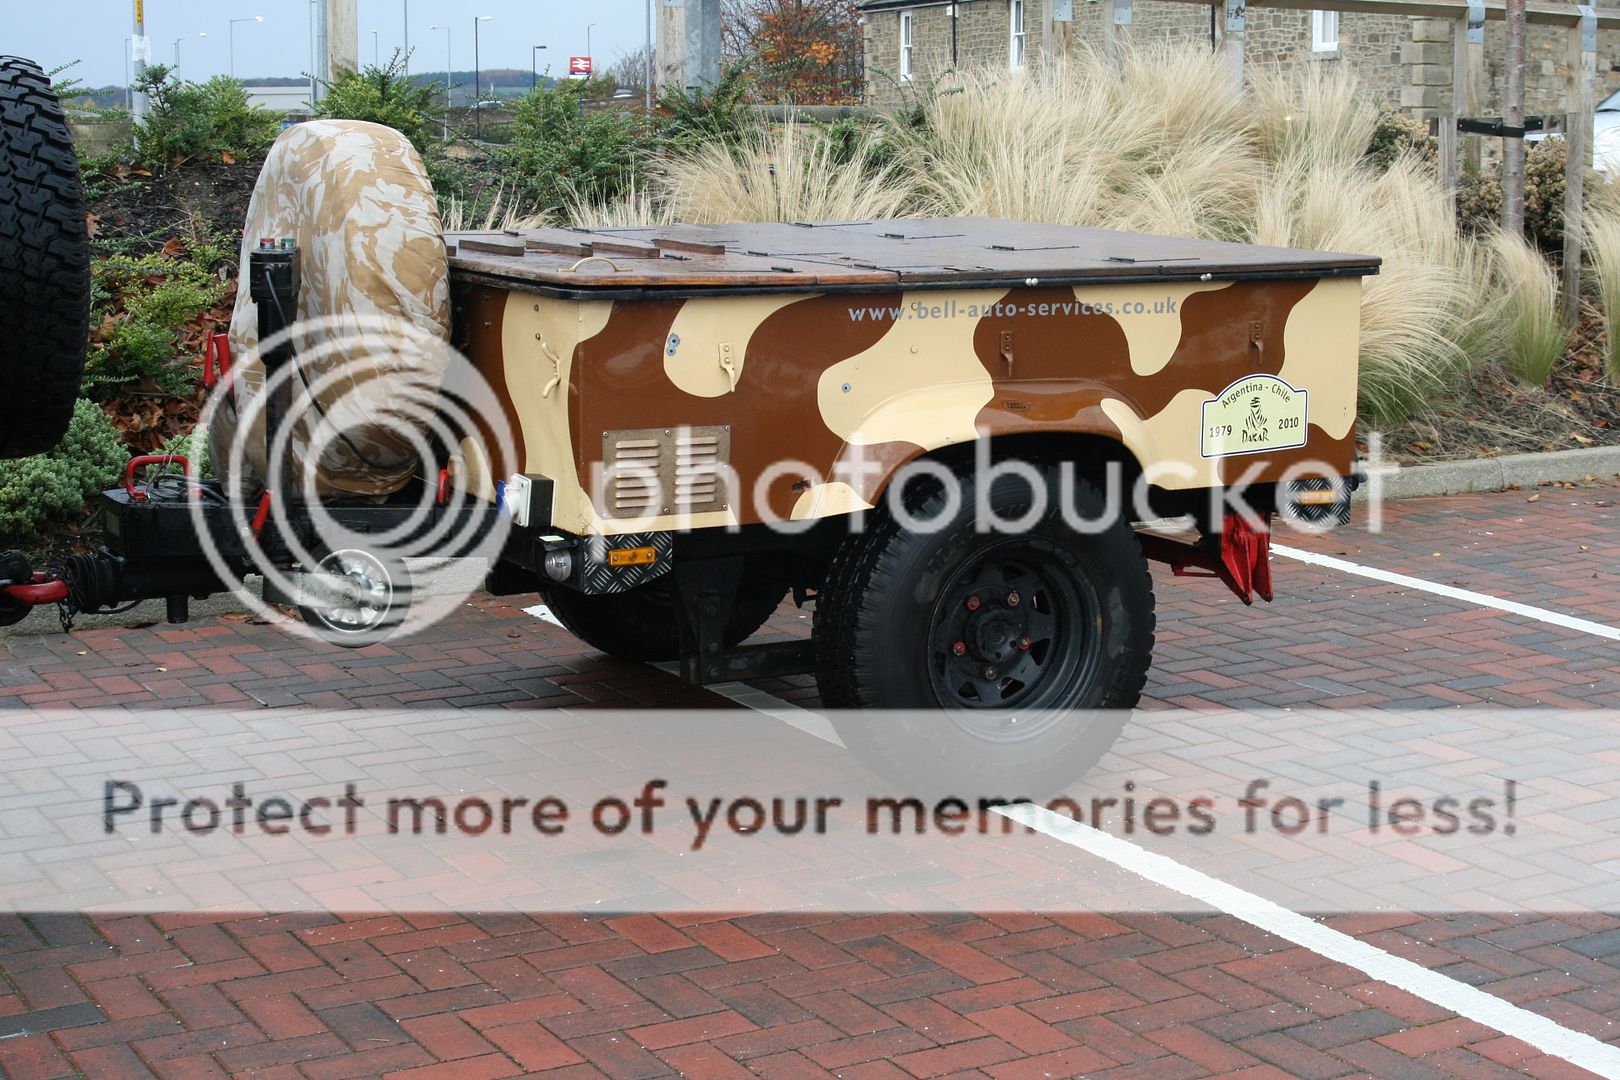
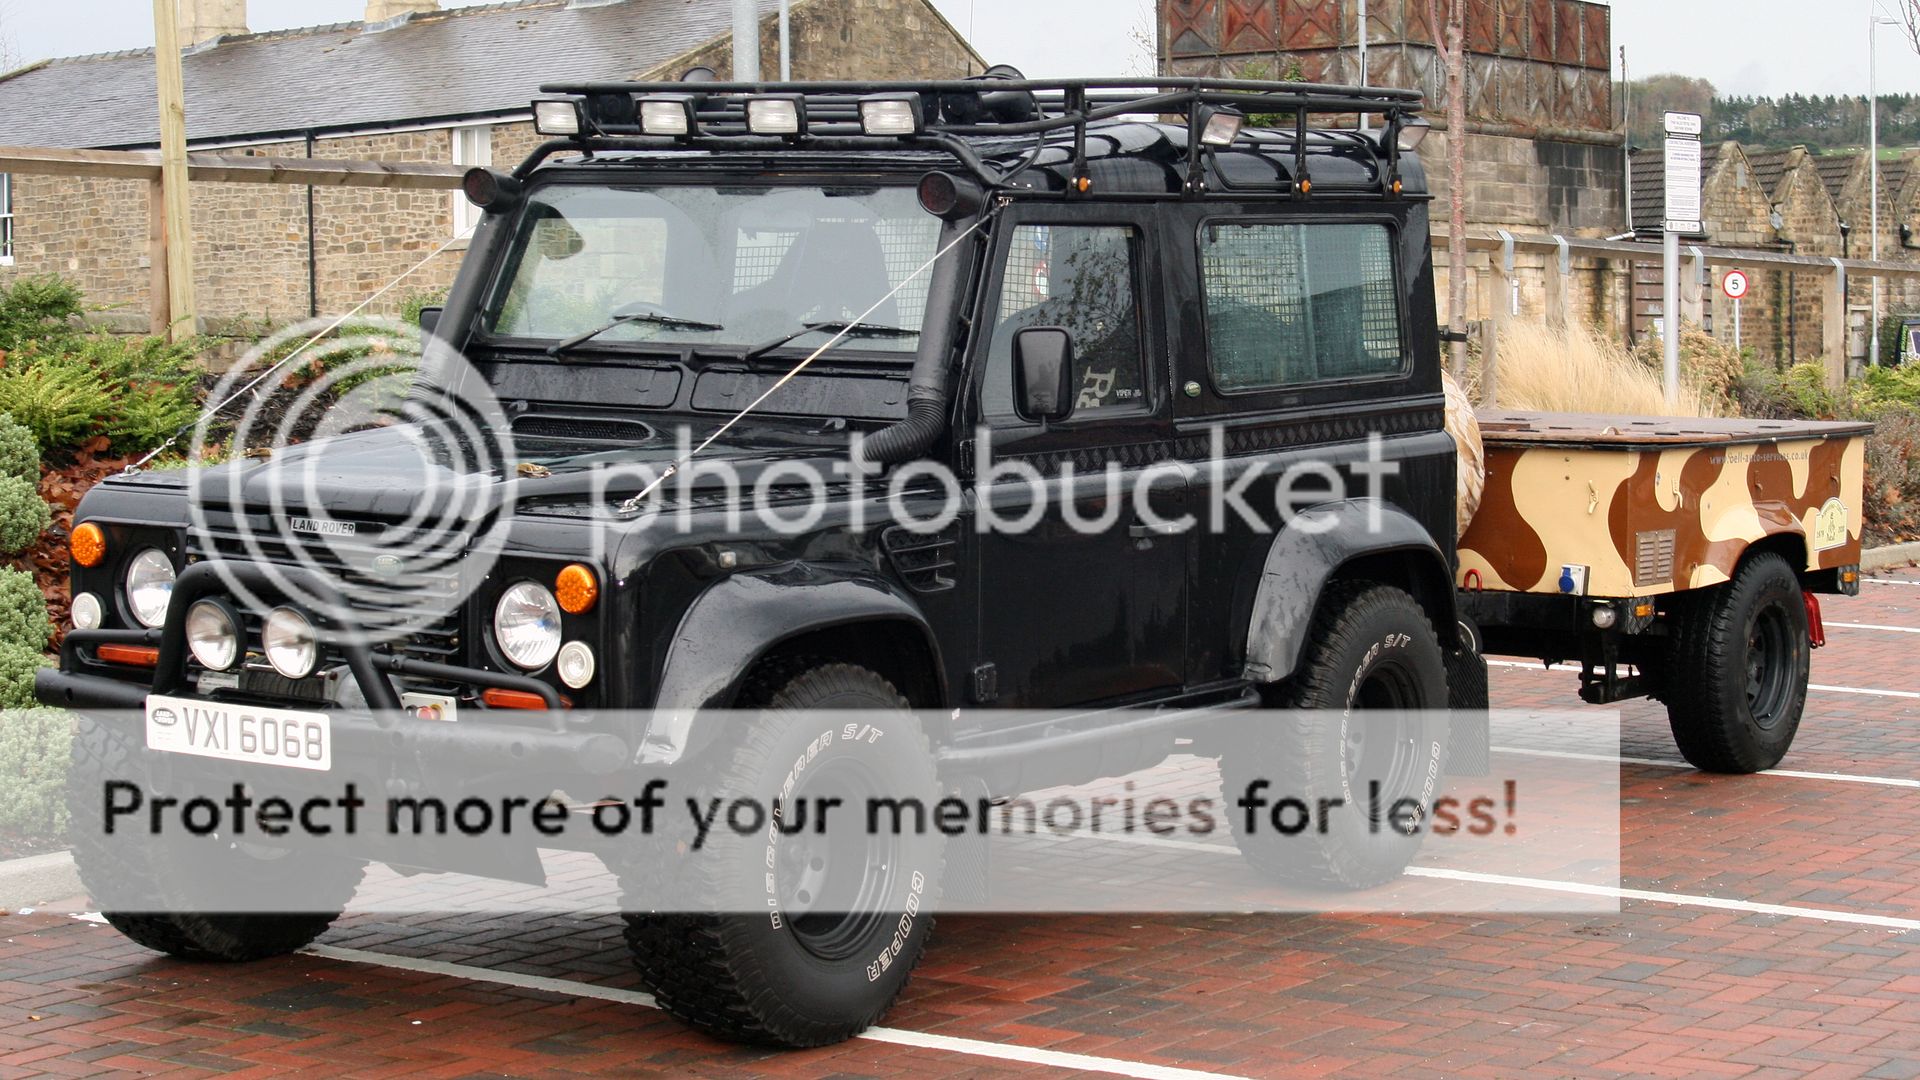
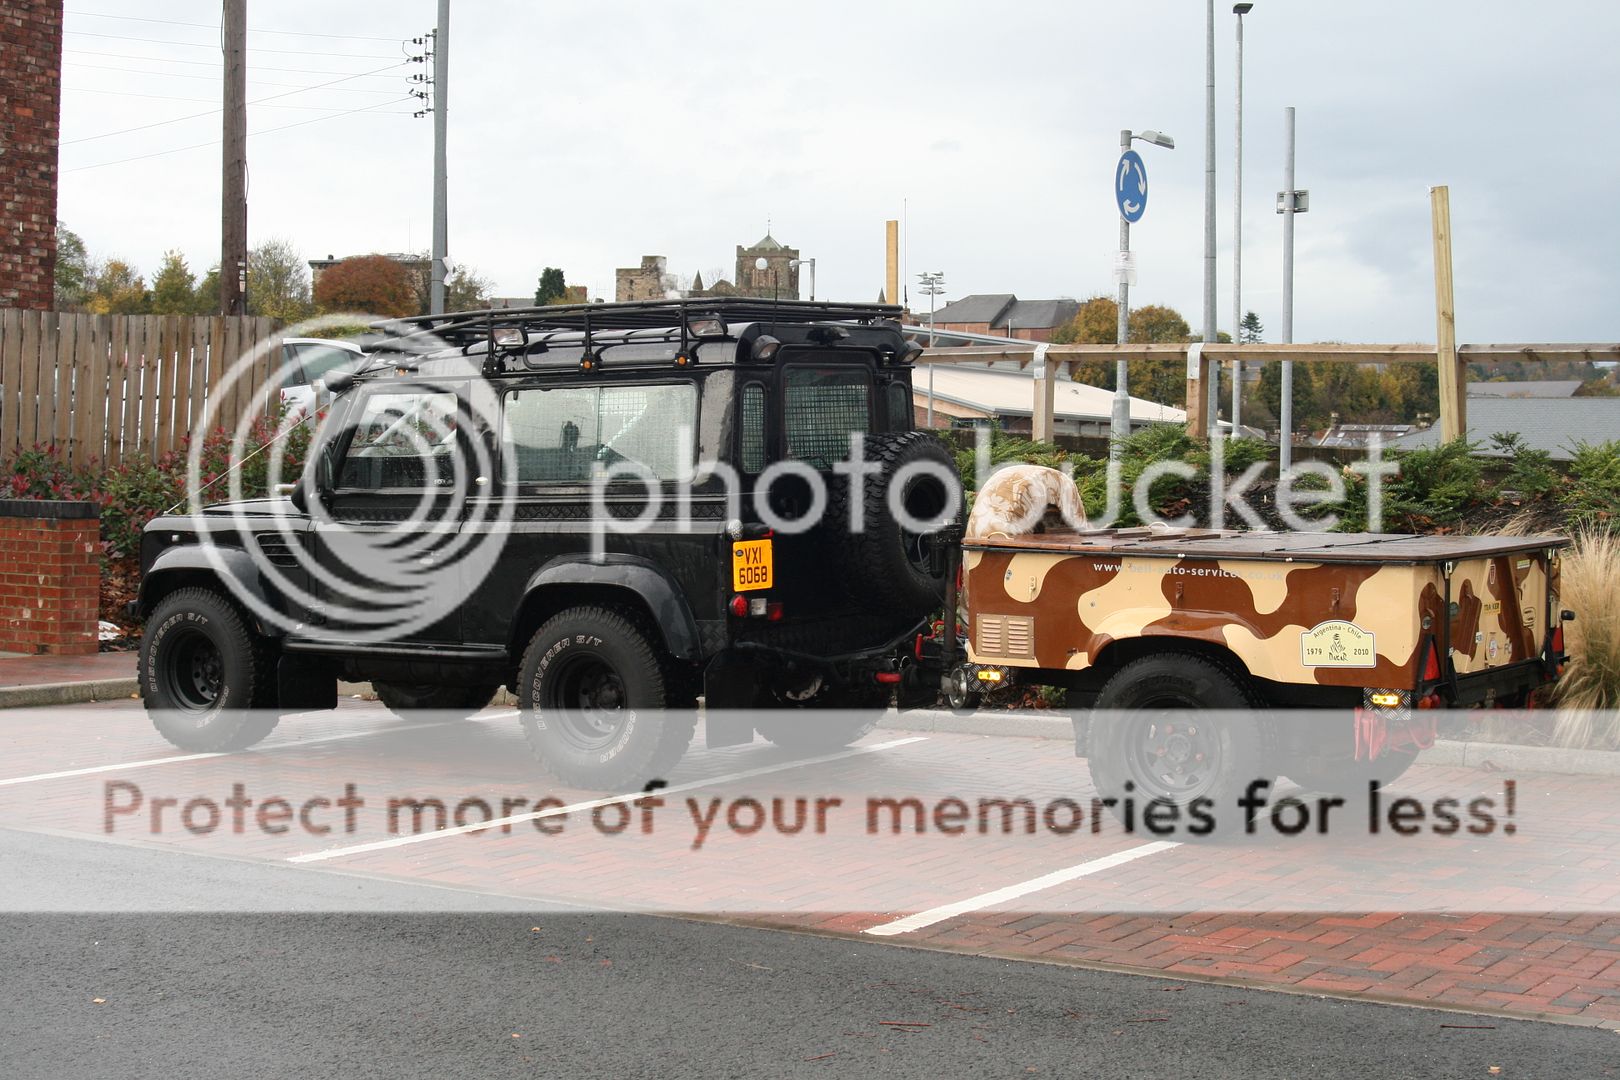
Whilst investing in my second defender I managed to land myself with a sankey to go with it, it's had some changes made to it already like exterior paint and electric jockey wheels amongst a couple others. However I decided to recreate it before starting up again on the two defenders. I've finally managed to get round to starting after a while of deliberation and thinking what I wanted to include.
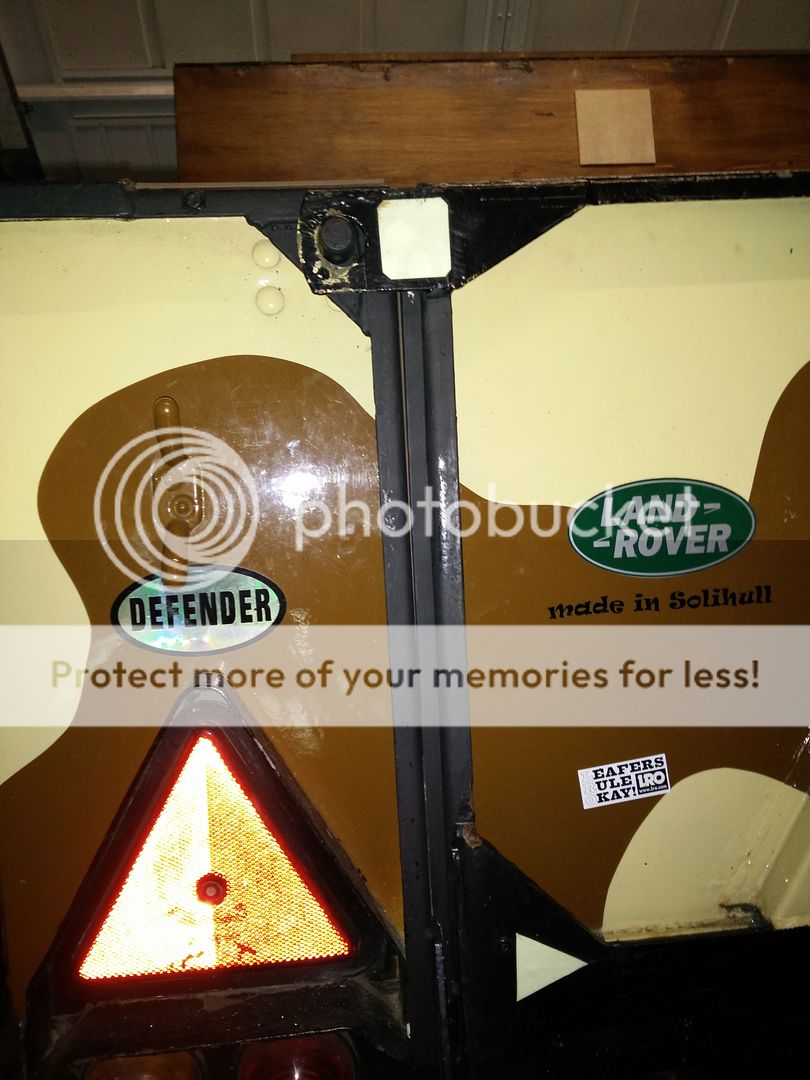
The aim for me is to build what in my eyes would be an ideal camping trailer. Having rechargeable power on board, roof tent that is able to move on top of the trailer allowing access to different compartments when needed, cool box facilities for essentials such as bacon and beer and ample storage for food and camping equipment maximising room in the defender. A lot of the build so far has used recycled materials, and where applicable I will continue to do so. I also want to retain the original look of the exterior of the Sankey, and it's off road ability.
Ultimately the trailer will have the following facilities:
- Large amount of storage in weather sealed rear compartment, also accessible from rear tailgate.
- LED lighting throughout the interior of the trailer for illumination whilst trailer top is closed.
- Improved 7inches of travel air suspension, with on board compressor and air tool capabilities.
- Custom roof tent mounting system, slidable and telescopic beyond ends of trailer to access top of the trailer whilst keeping centre of gravity low. Also will work with tent erect.
- Electronic jockey wheel.
- Portable solar panels and inverter for on board power and battery recharge facility.
- On board electronic cool/heat box.
- Storage for solar facilities in the front of trailer.
Trailer will be resprayed and exterior restored once internal work and tent mounting system is complete.
These will not necessarily be in order, I'll complete what I can when I can. Whilst at university I am only able to make progress when I'm home, and also when I get the next instalments of student loan.
Phase 1: Rear Compartment
Phase 2: Tent Mounting System
Phase 3: Front Compartment
Phase 4: Painting and exterior work (Fix wood on
Phase 5: Solar and uprating power facilities
Jobs done so far:
- Rear Compartment 98% complete - Carpeting edging to finish.
- Designed and sourced parts for creating the sliding mounting system for roof tent.
- Rewired compressor, lighting, cool box, jockey wheel etc.
**Apologies for poor quality of some images, unfortunately it's all I was able to get at the time**
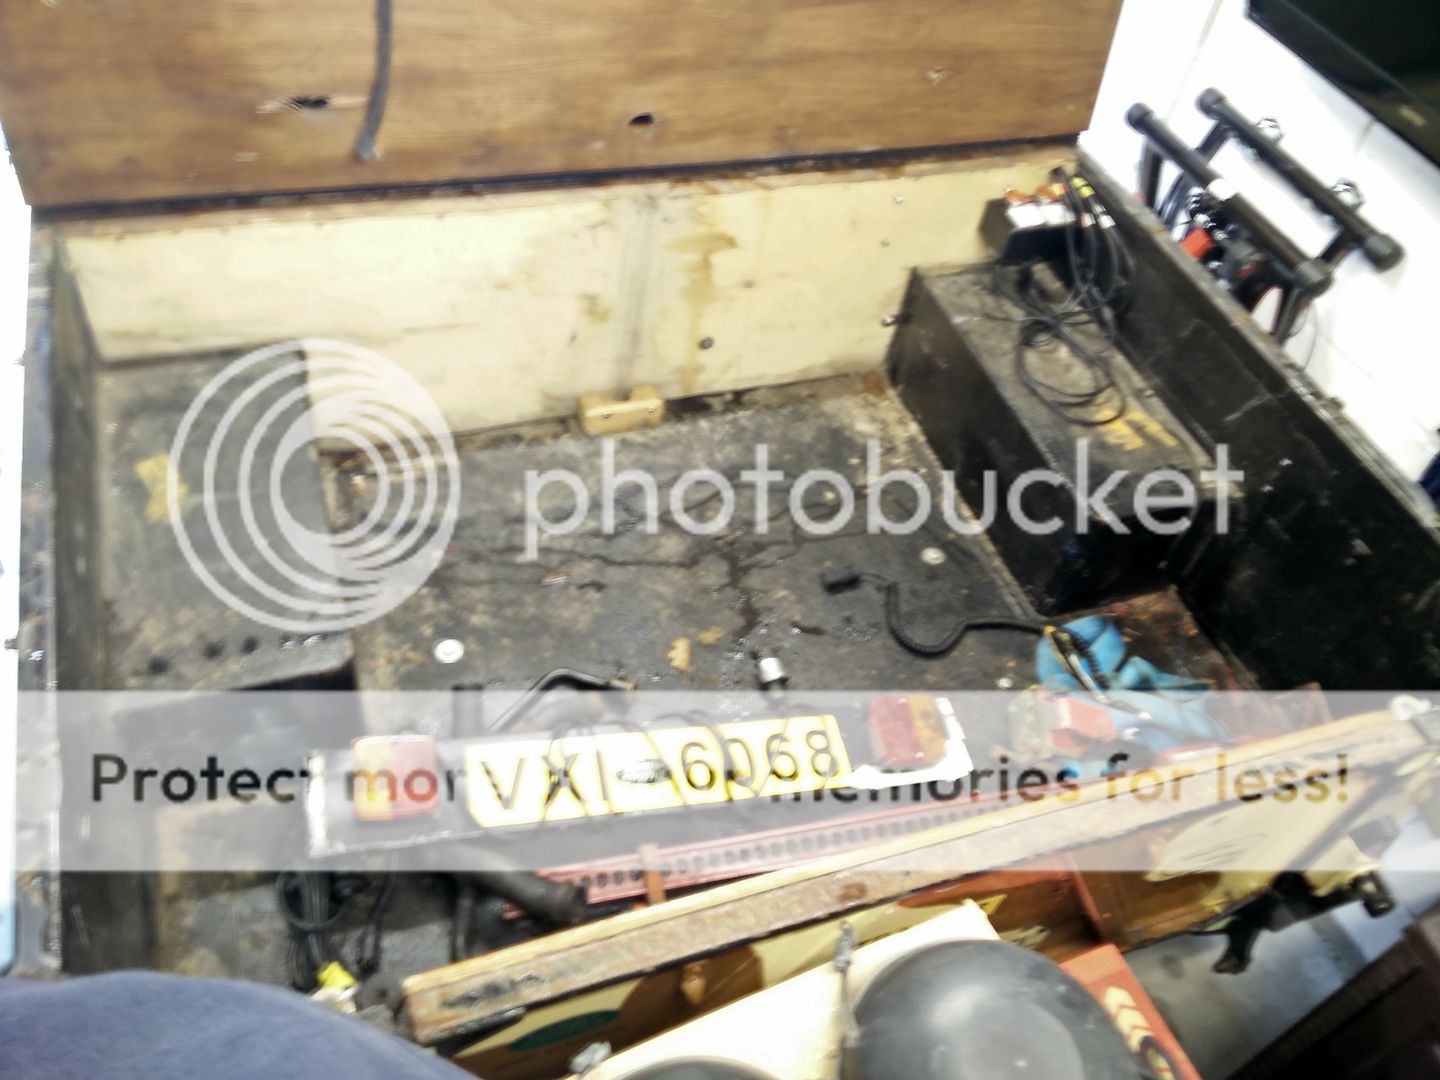
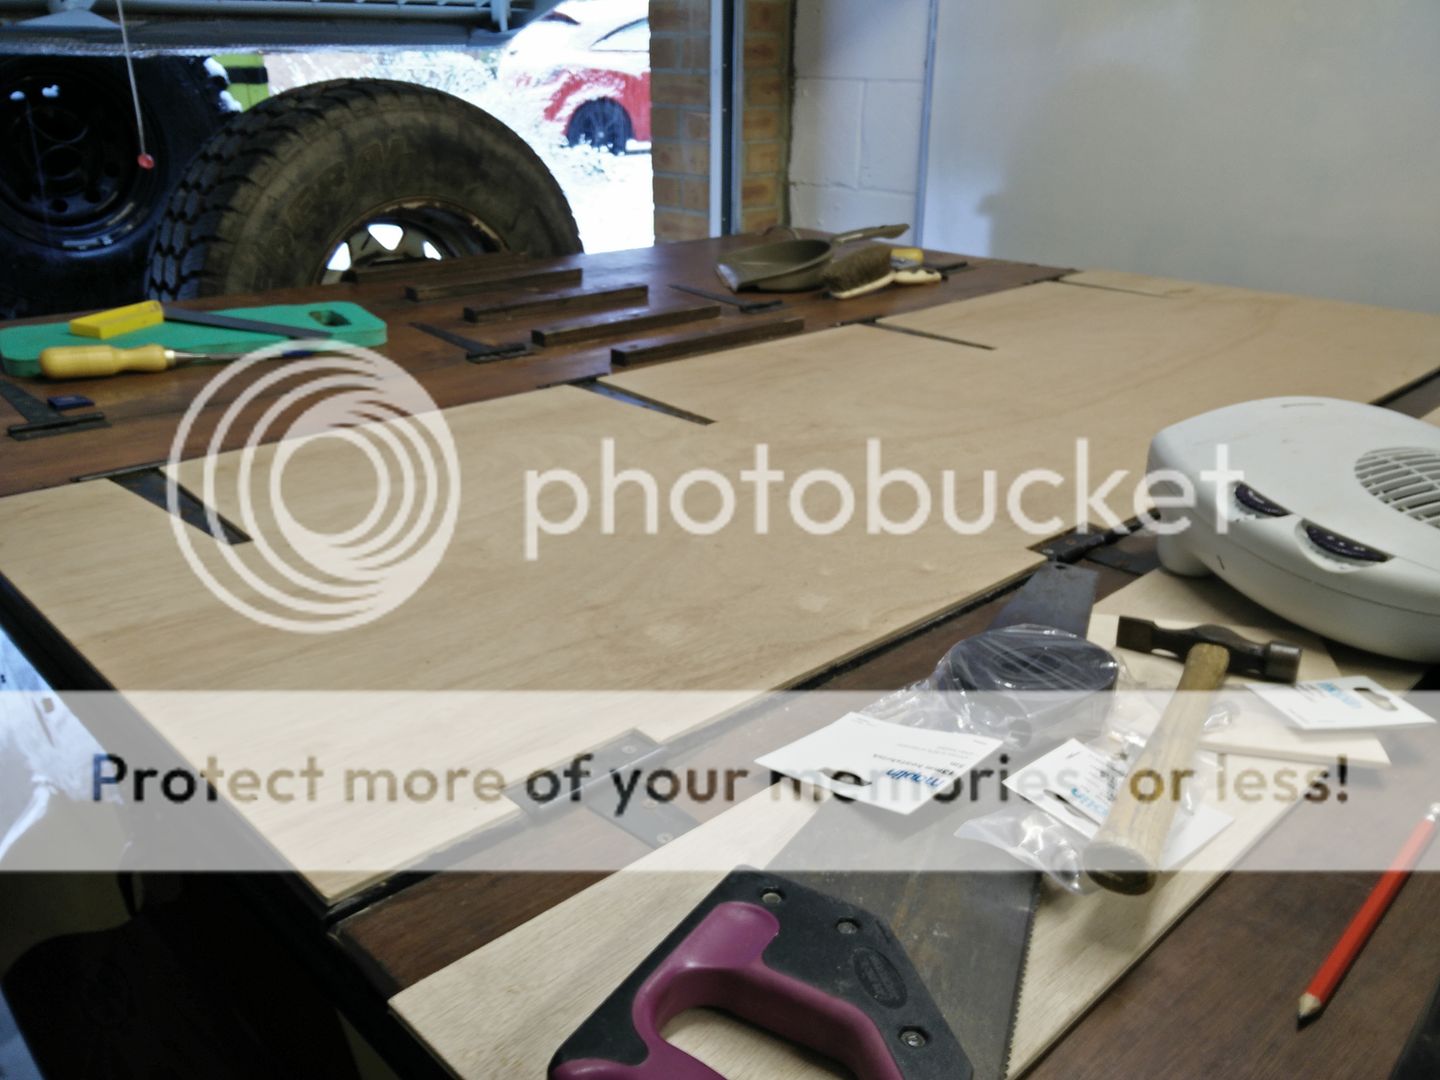
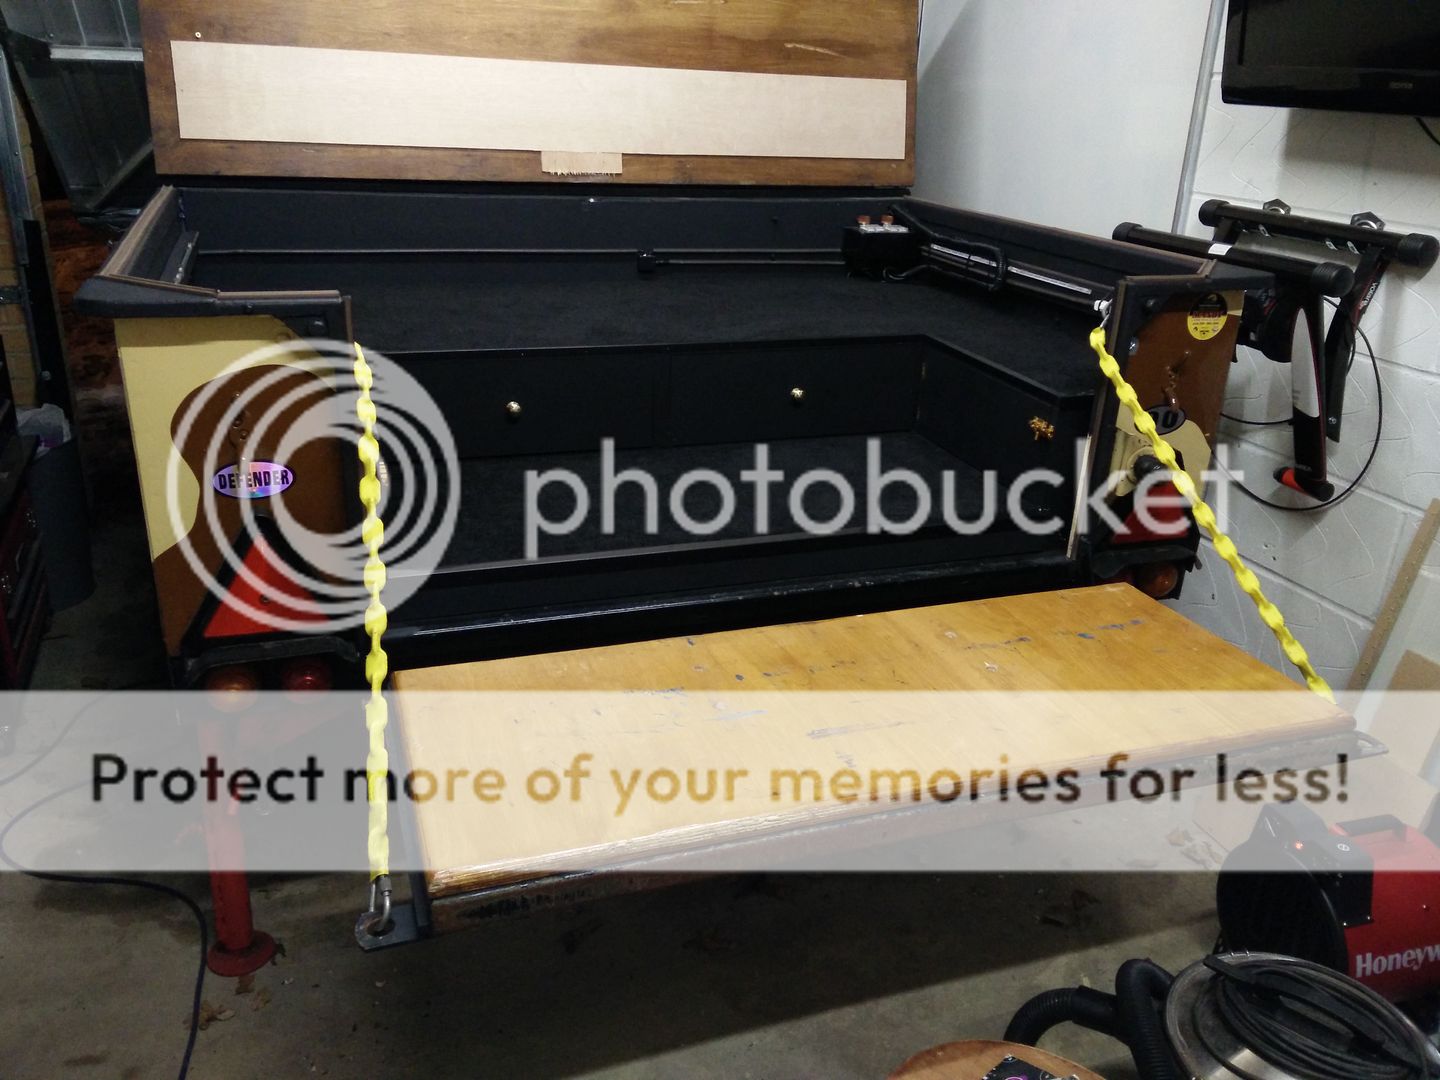
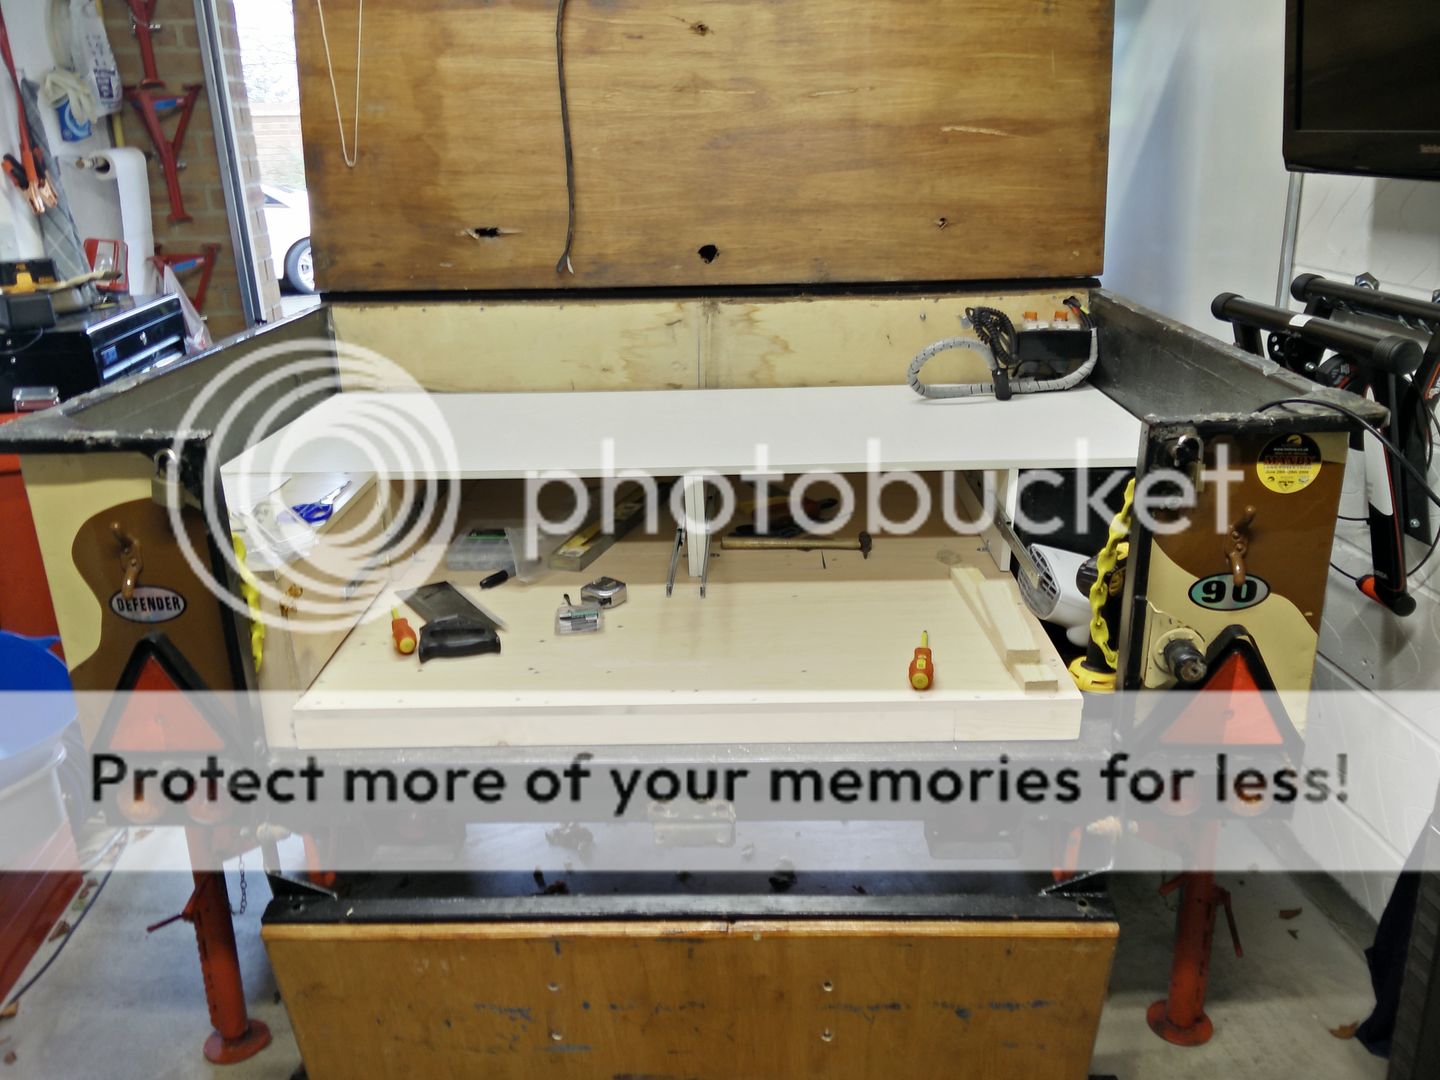
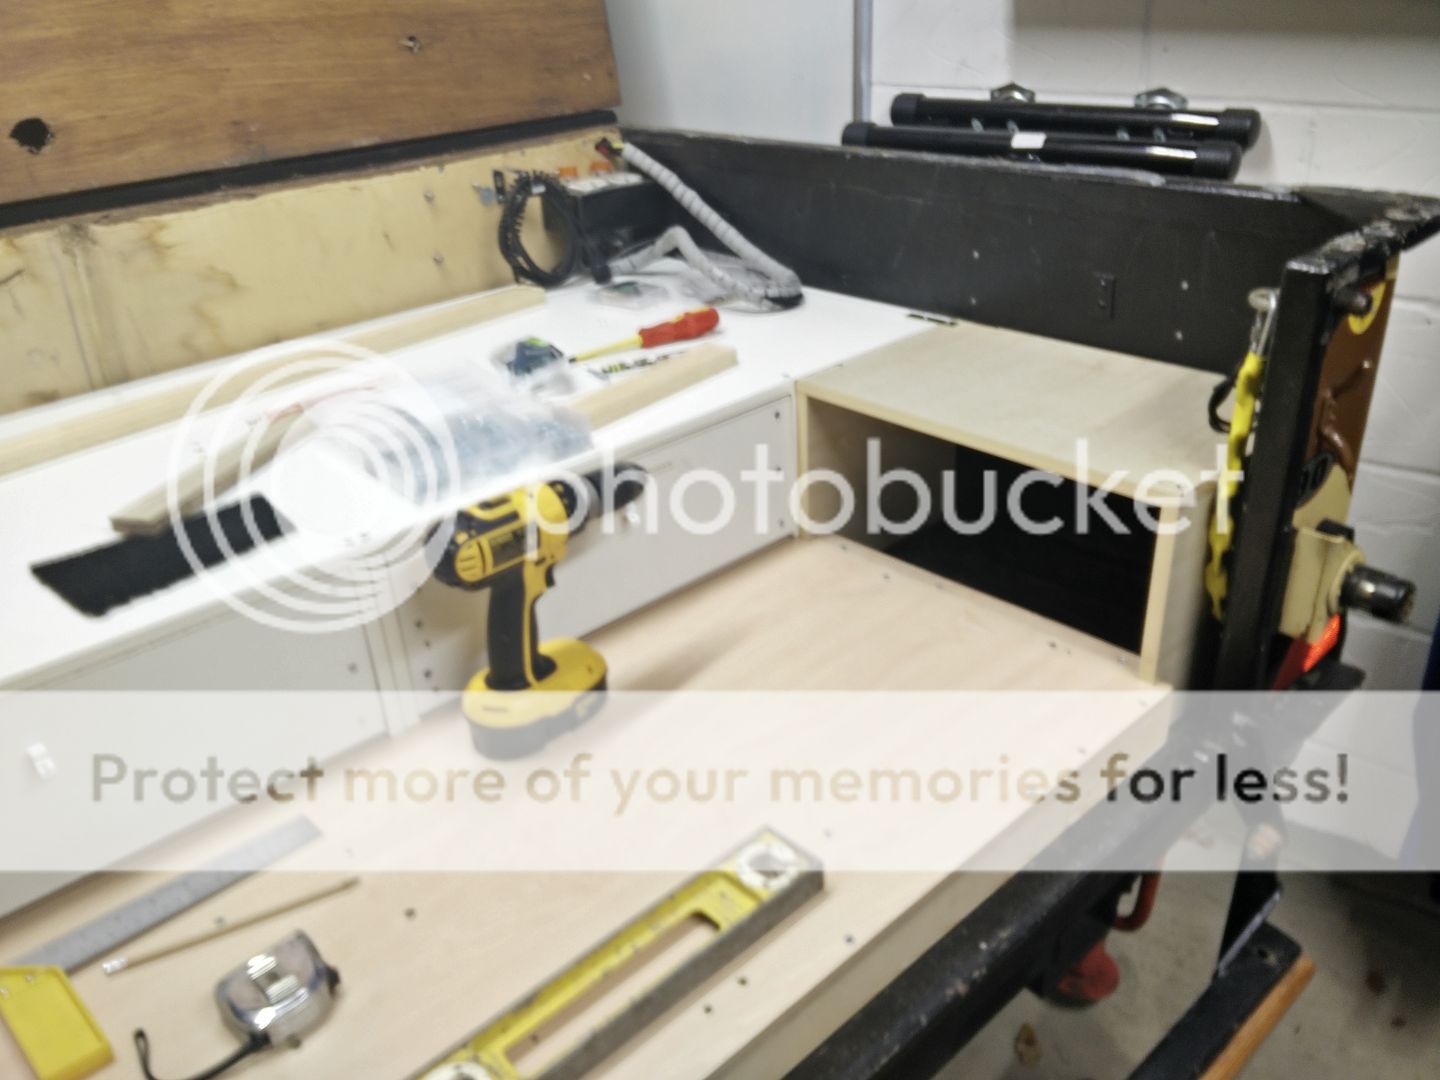
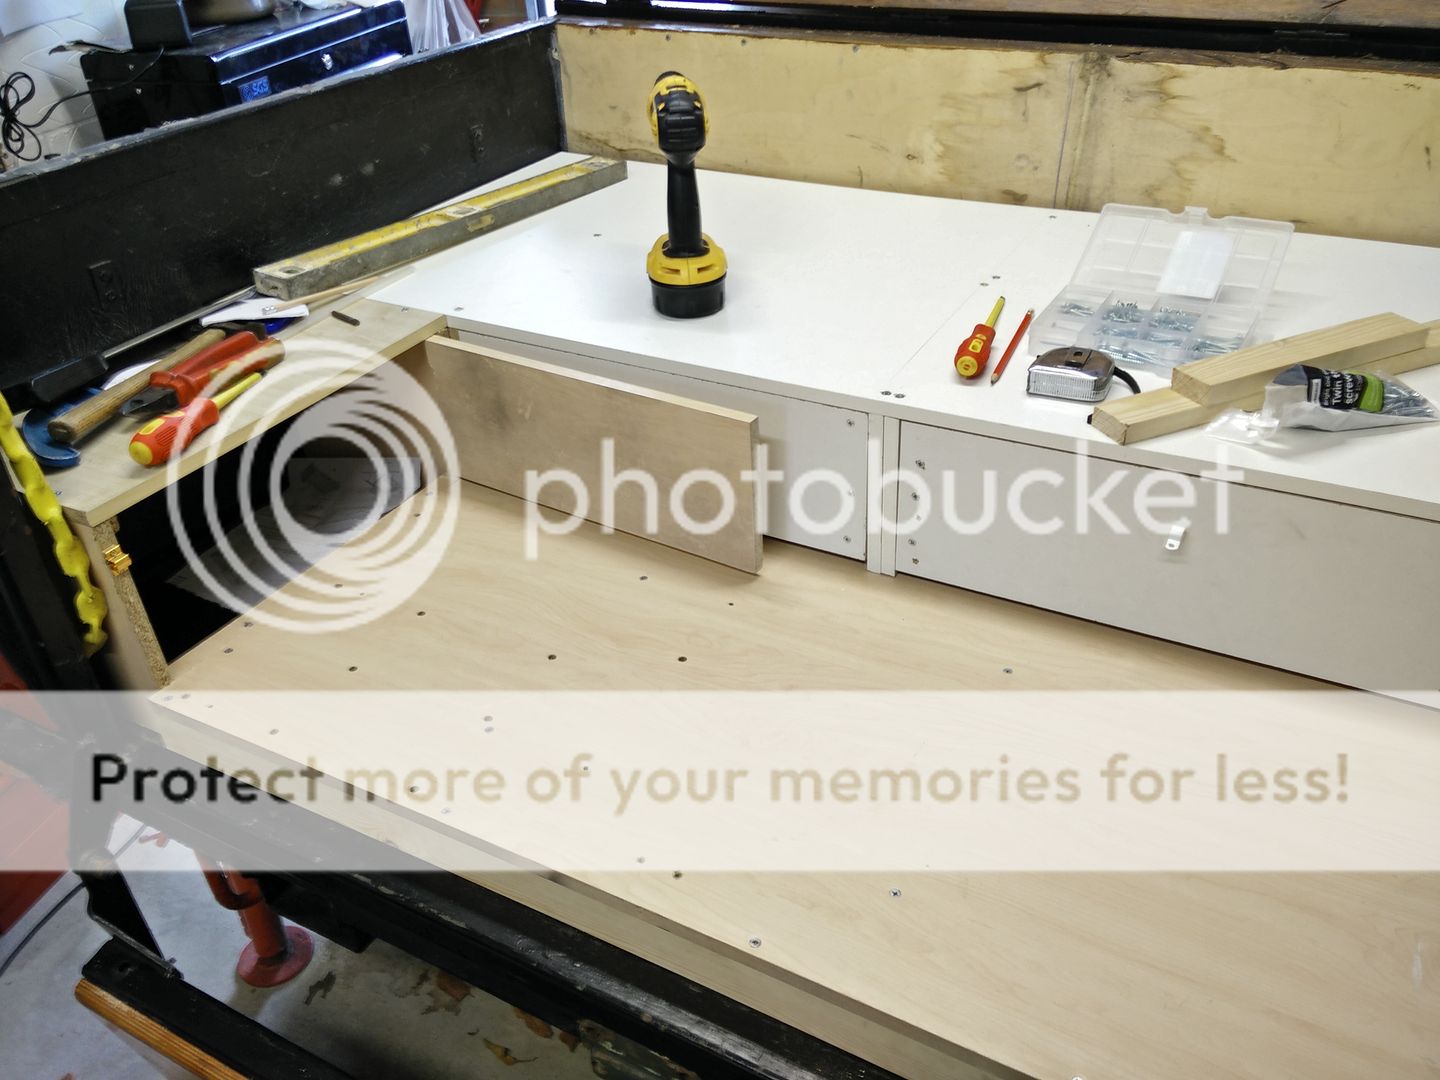
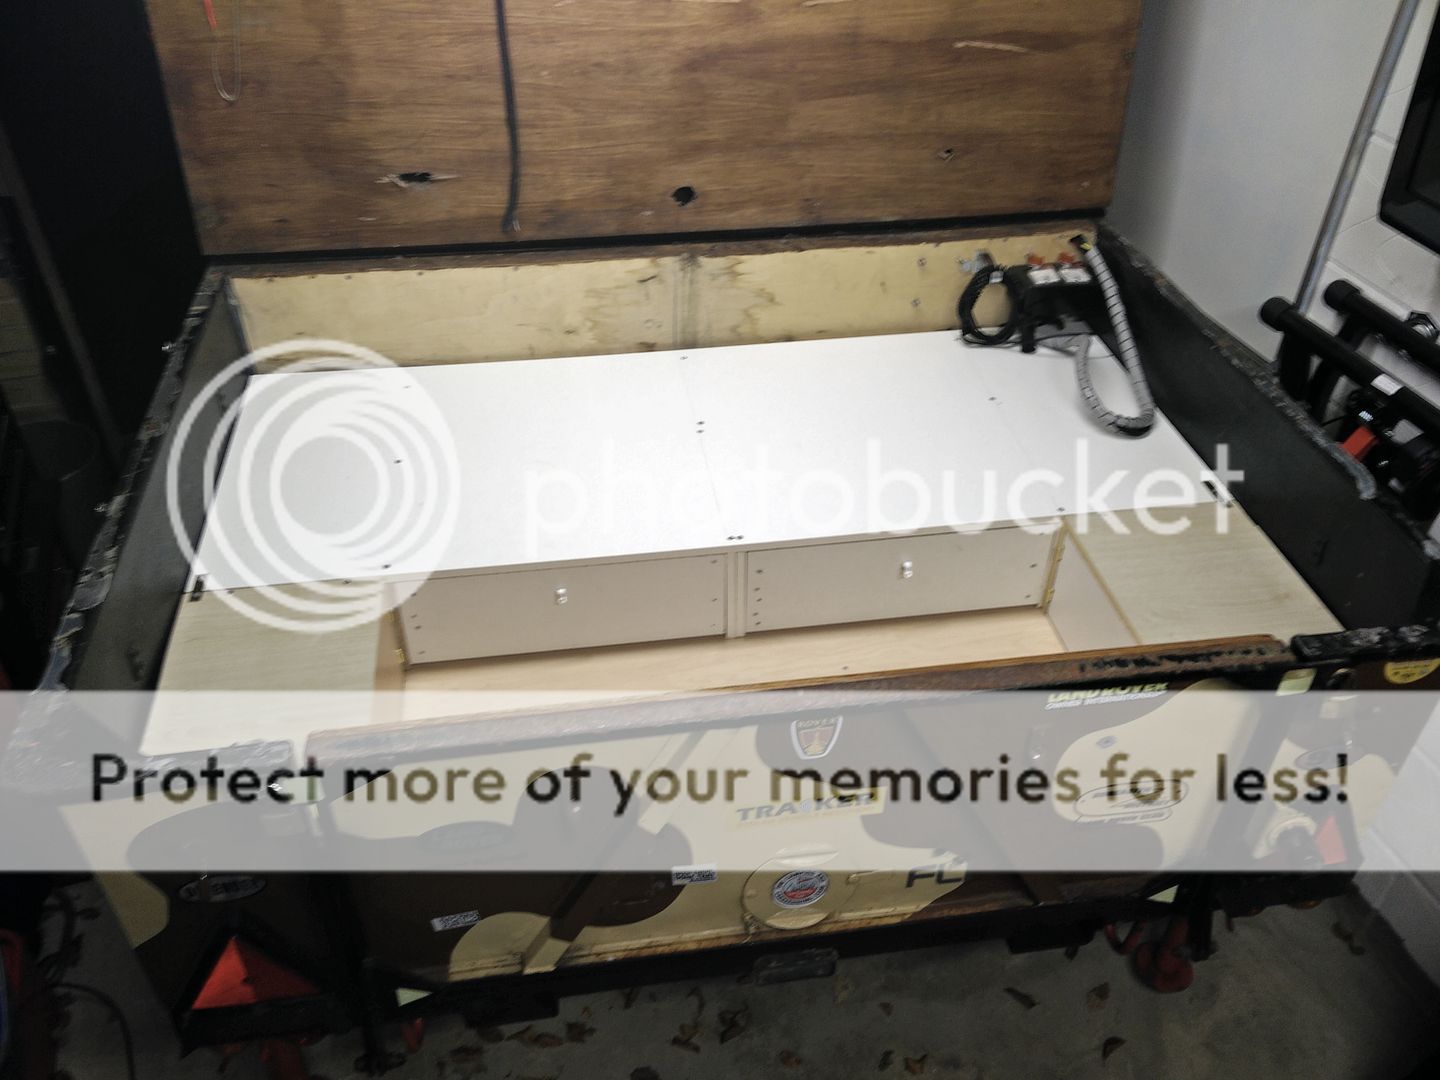
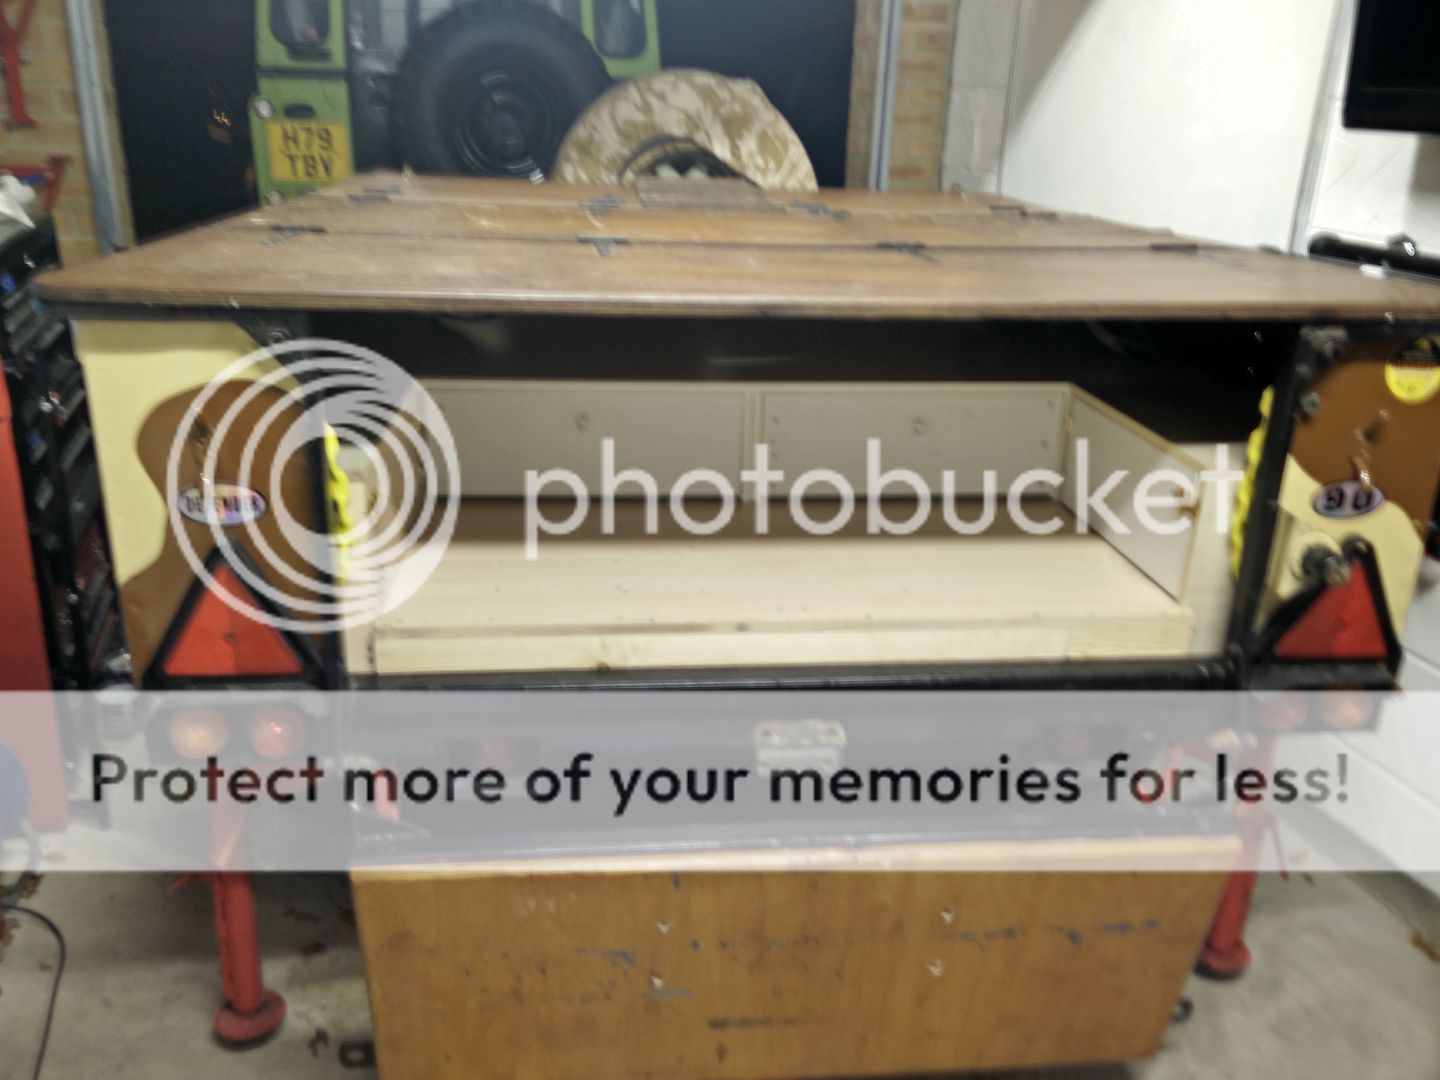
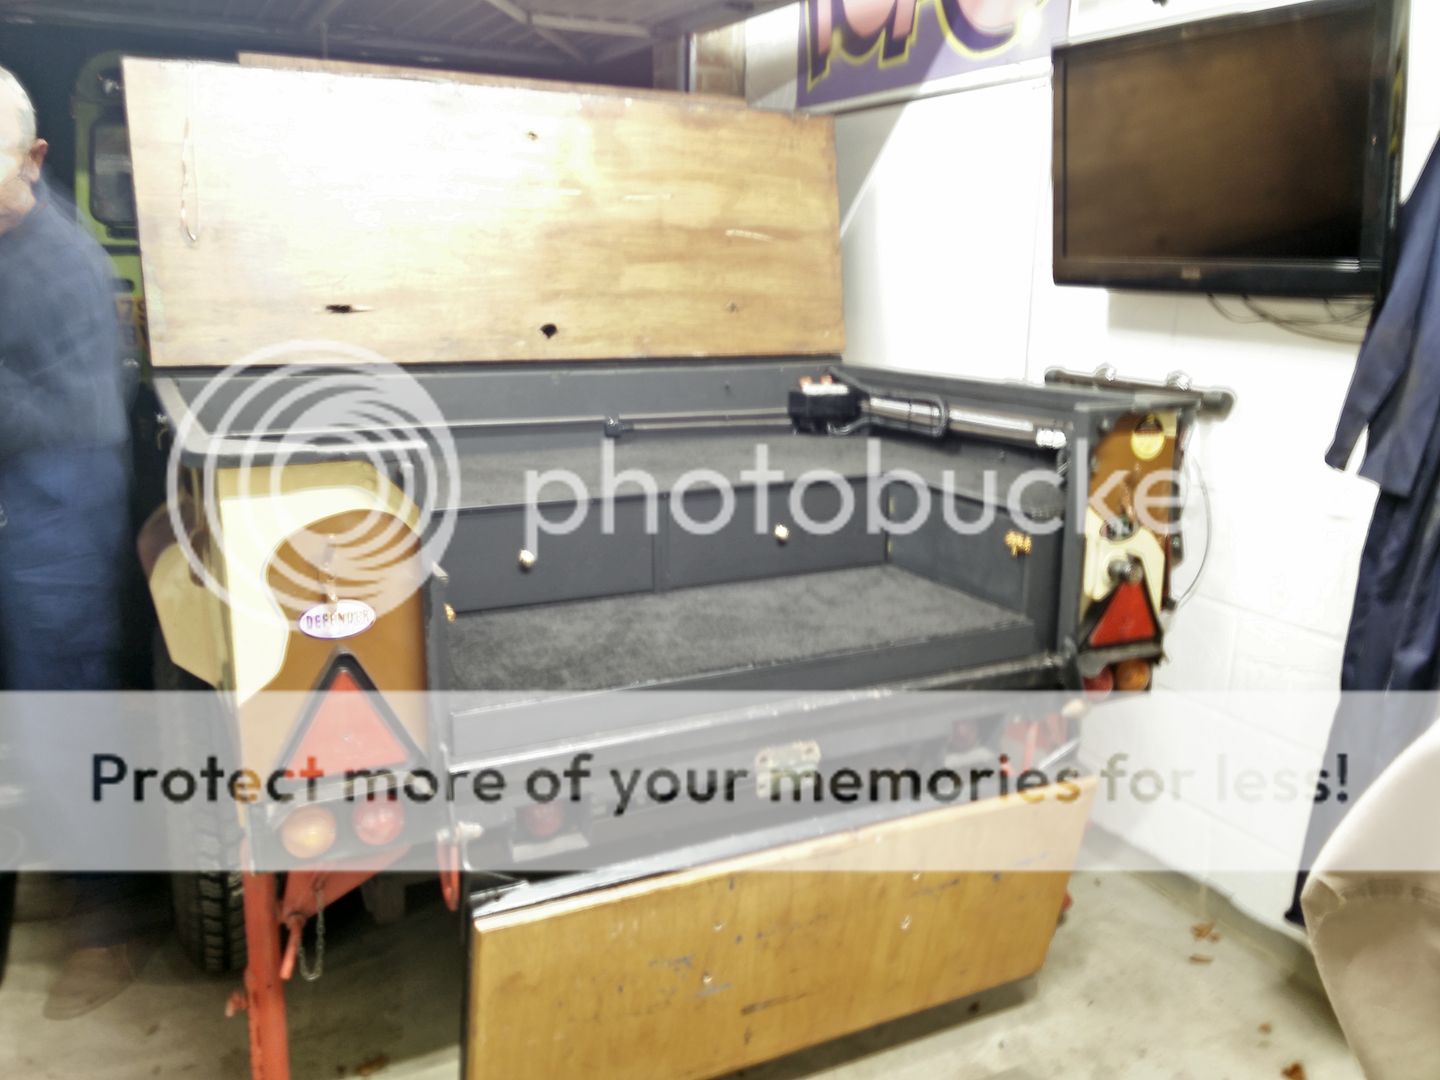
Starting Rear Compartment Build - Post Clean up and Rewire: (Majority of wood recycled from old wardrobe).
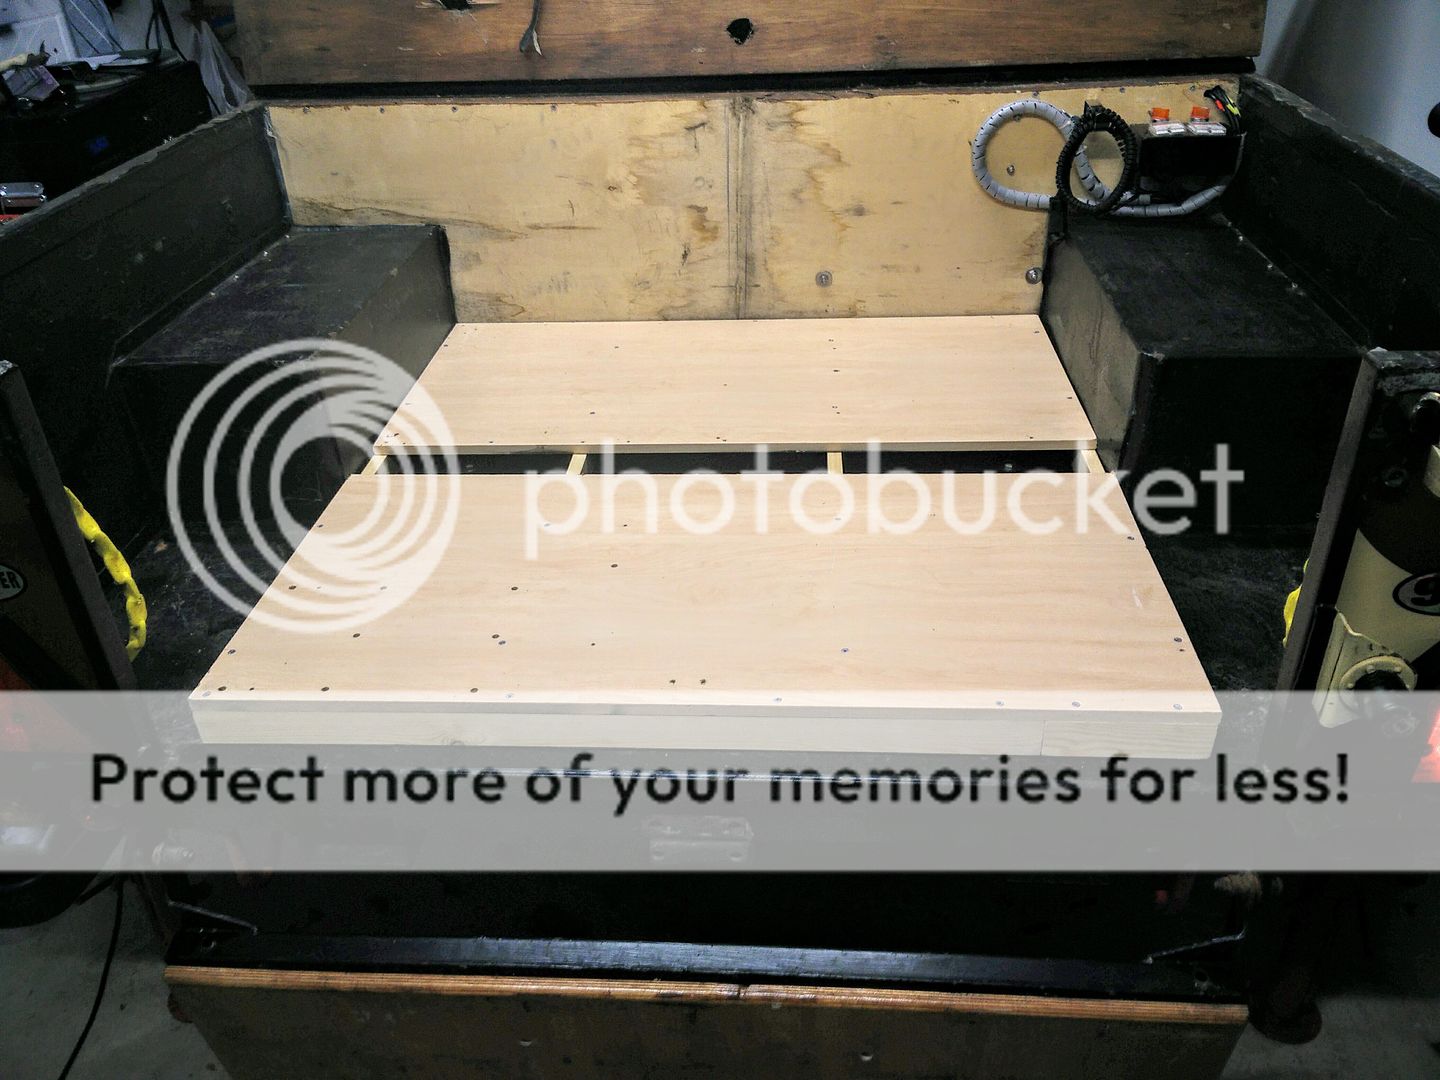
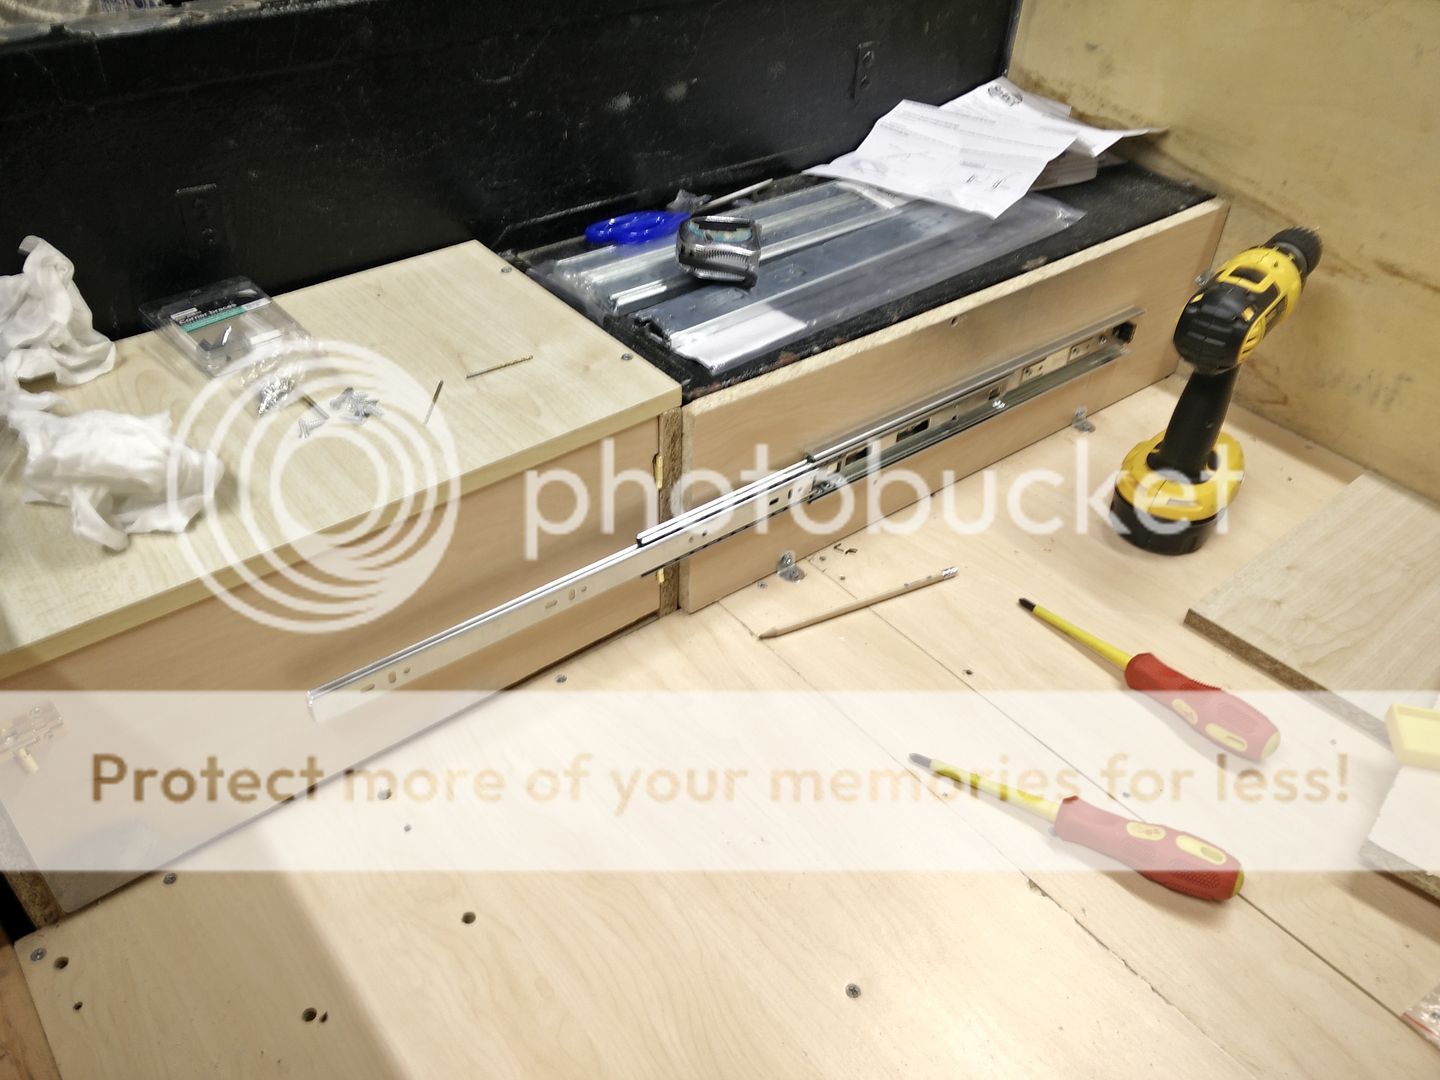
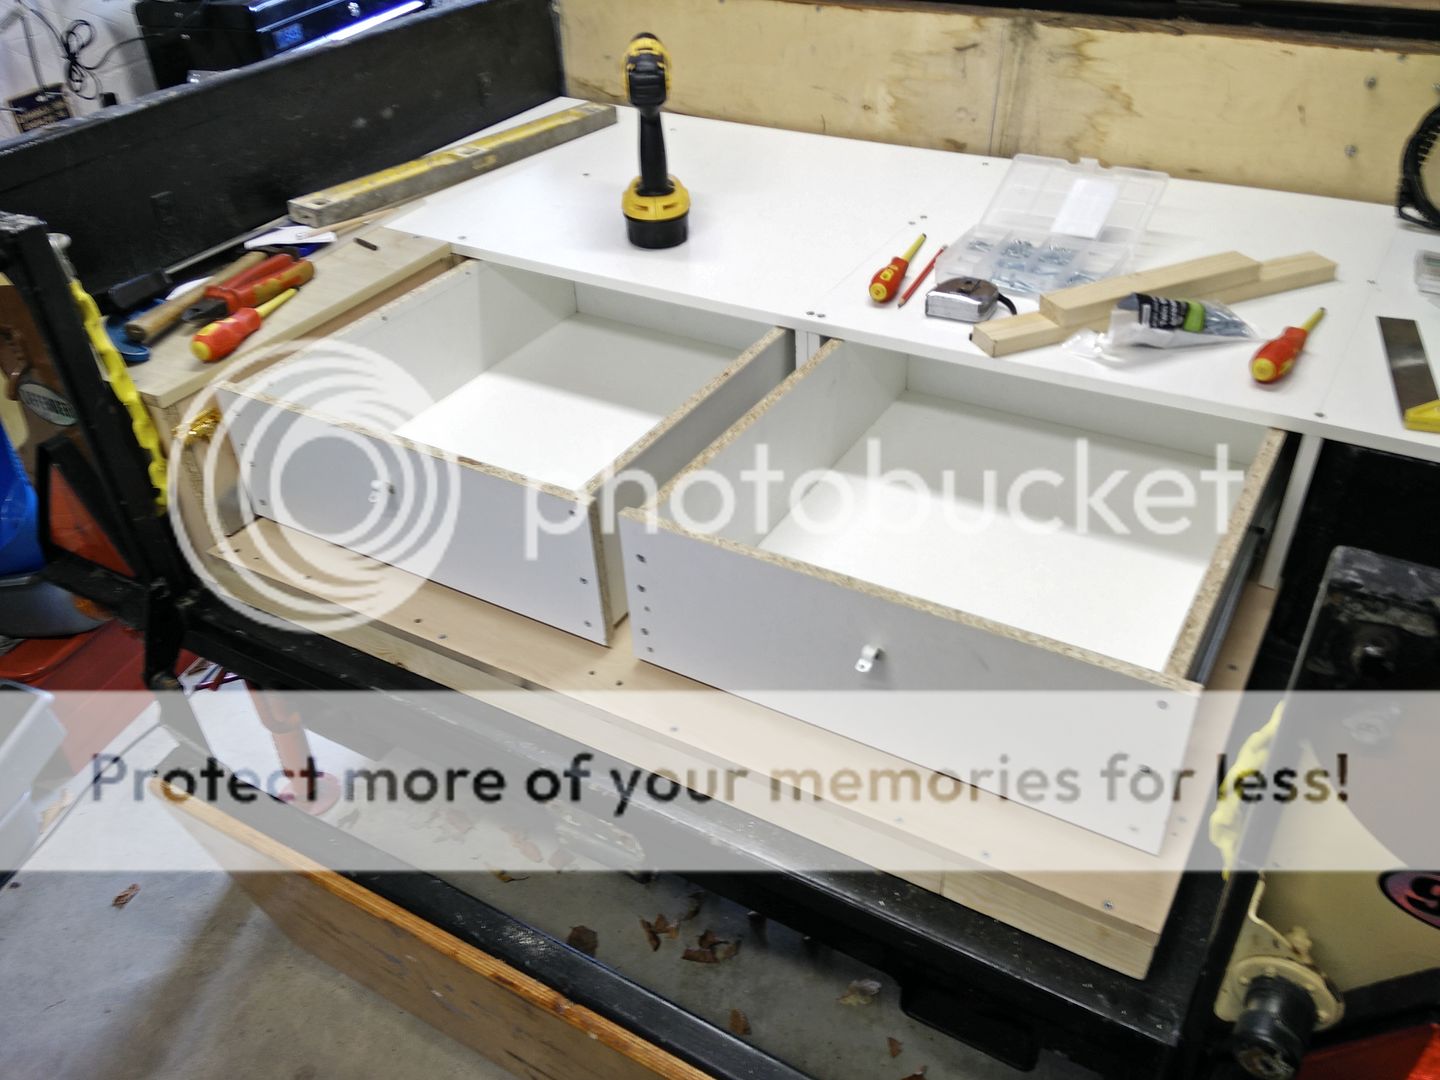
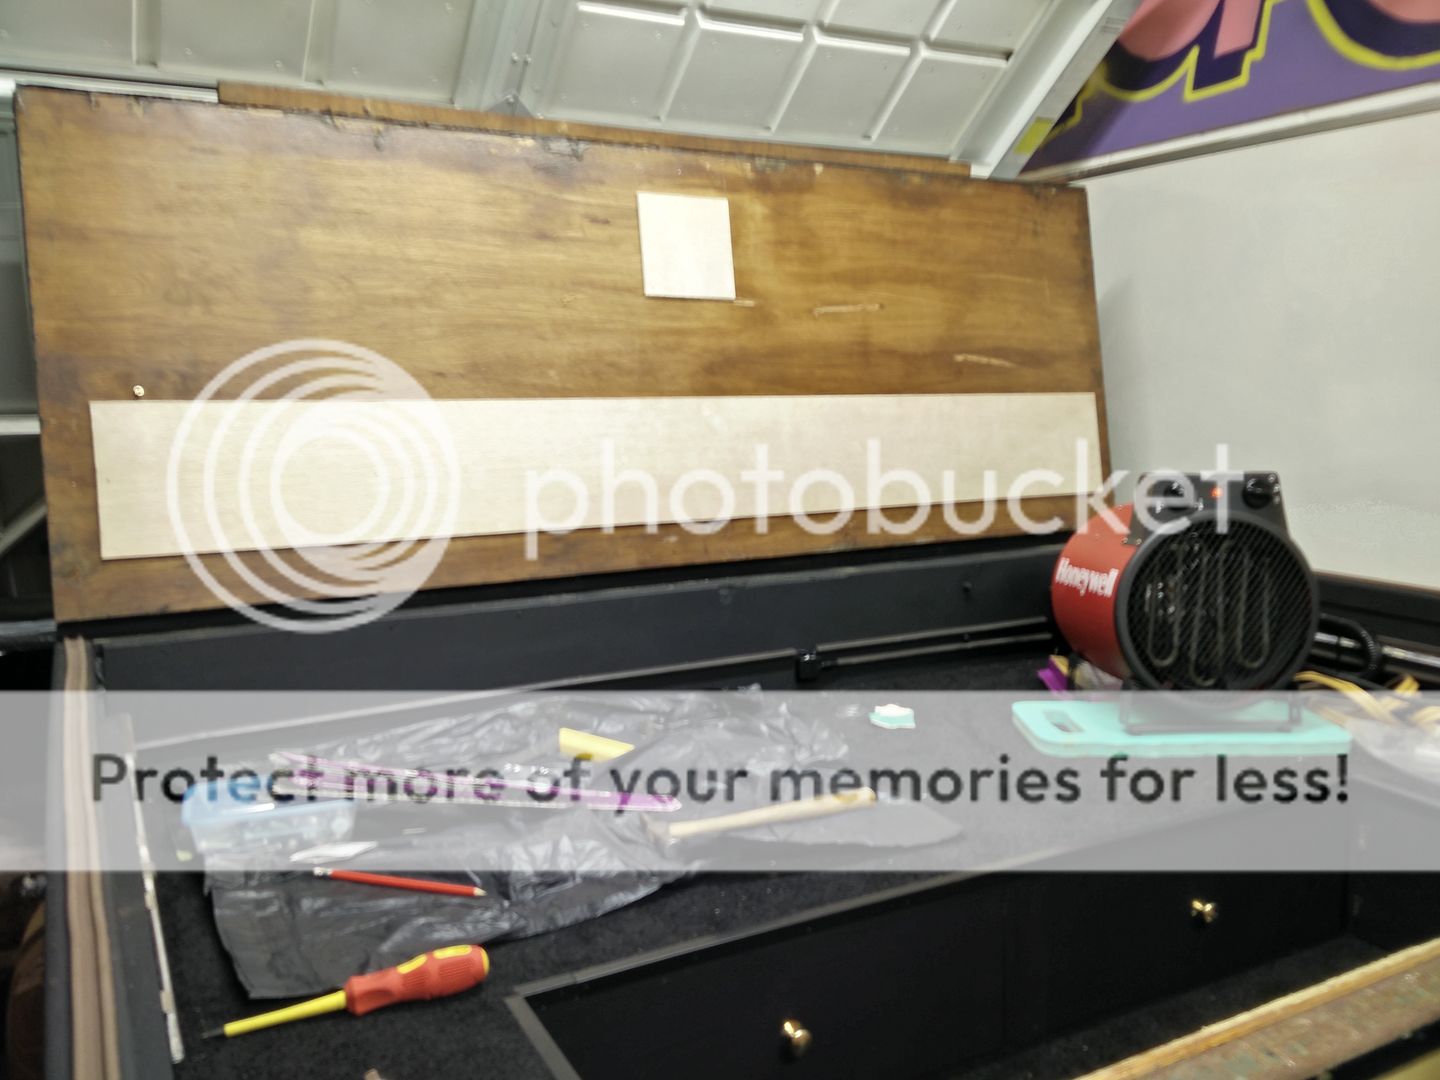
Starting to put the finishing touches to rear compartment and wire up LED's:
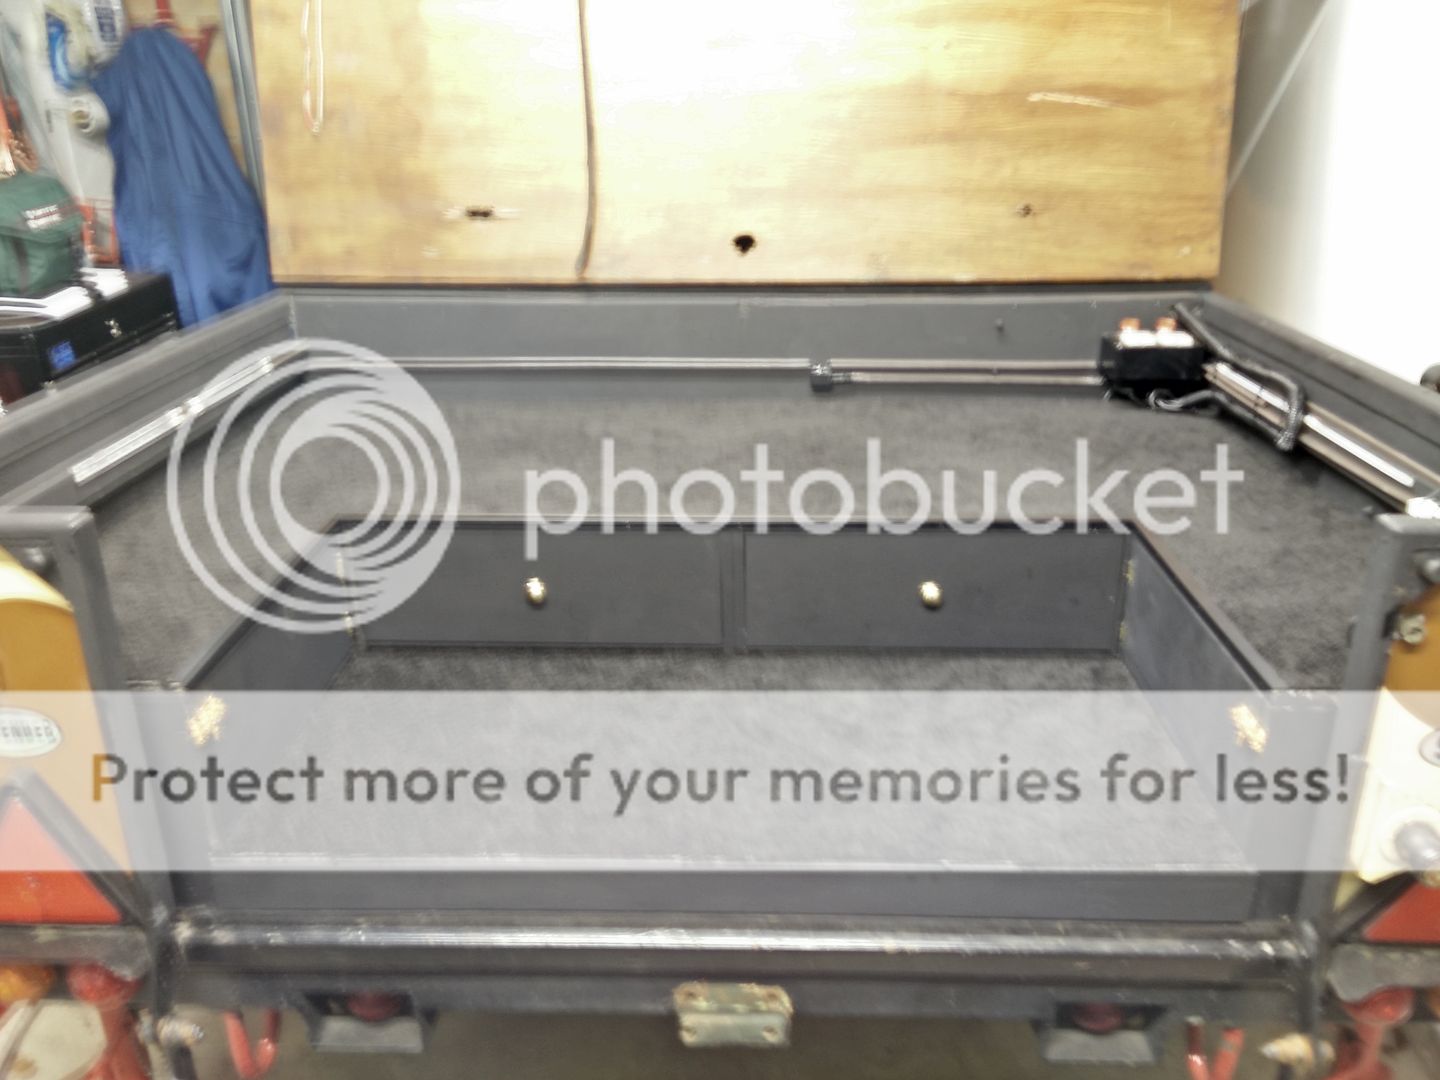
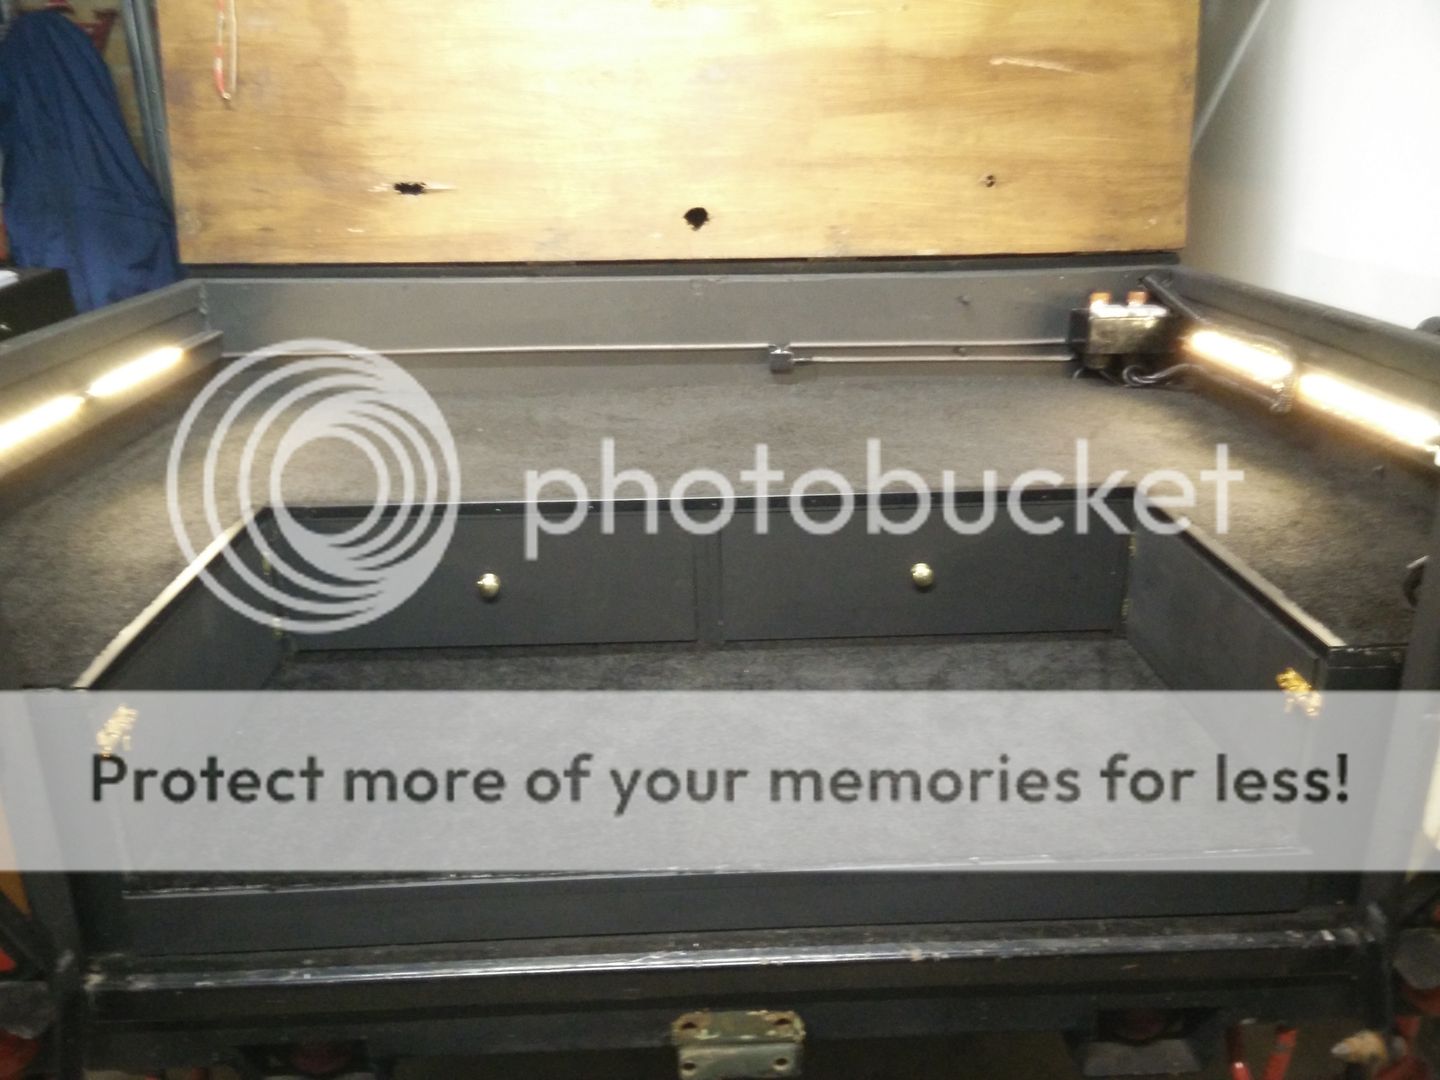
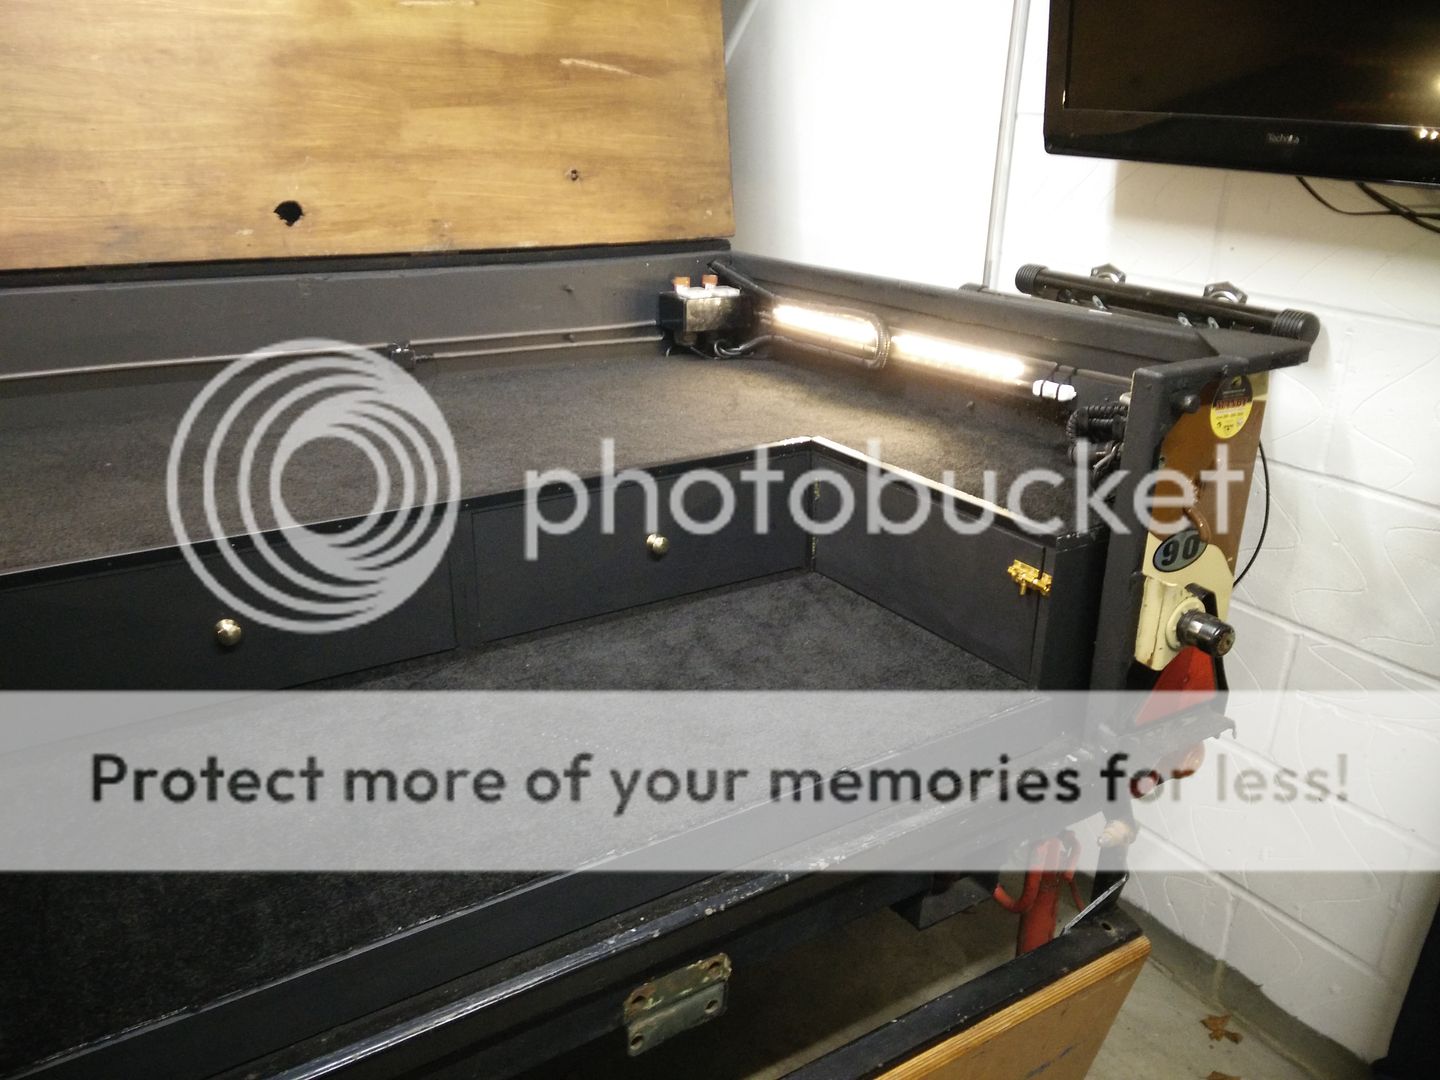
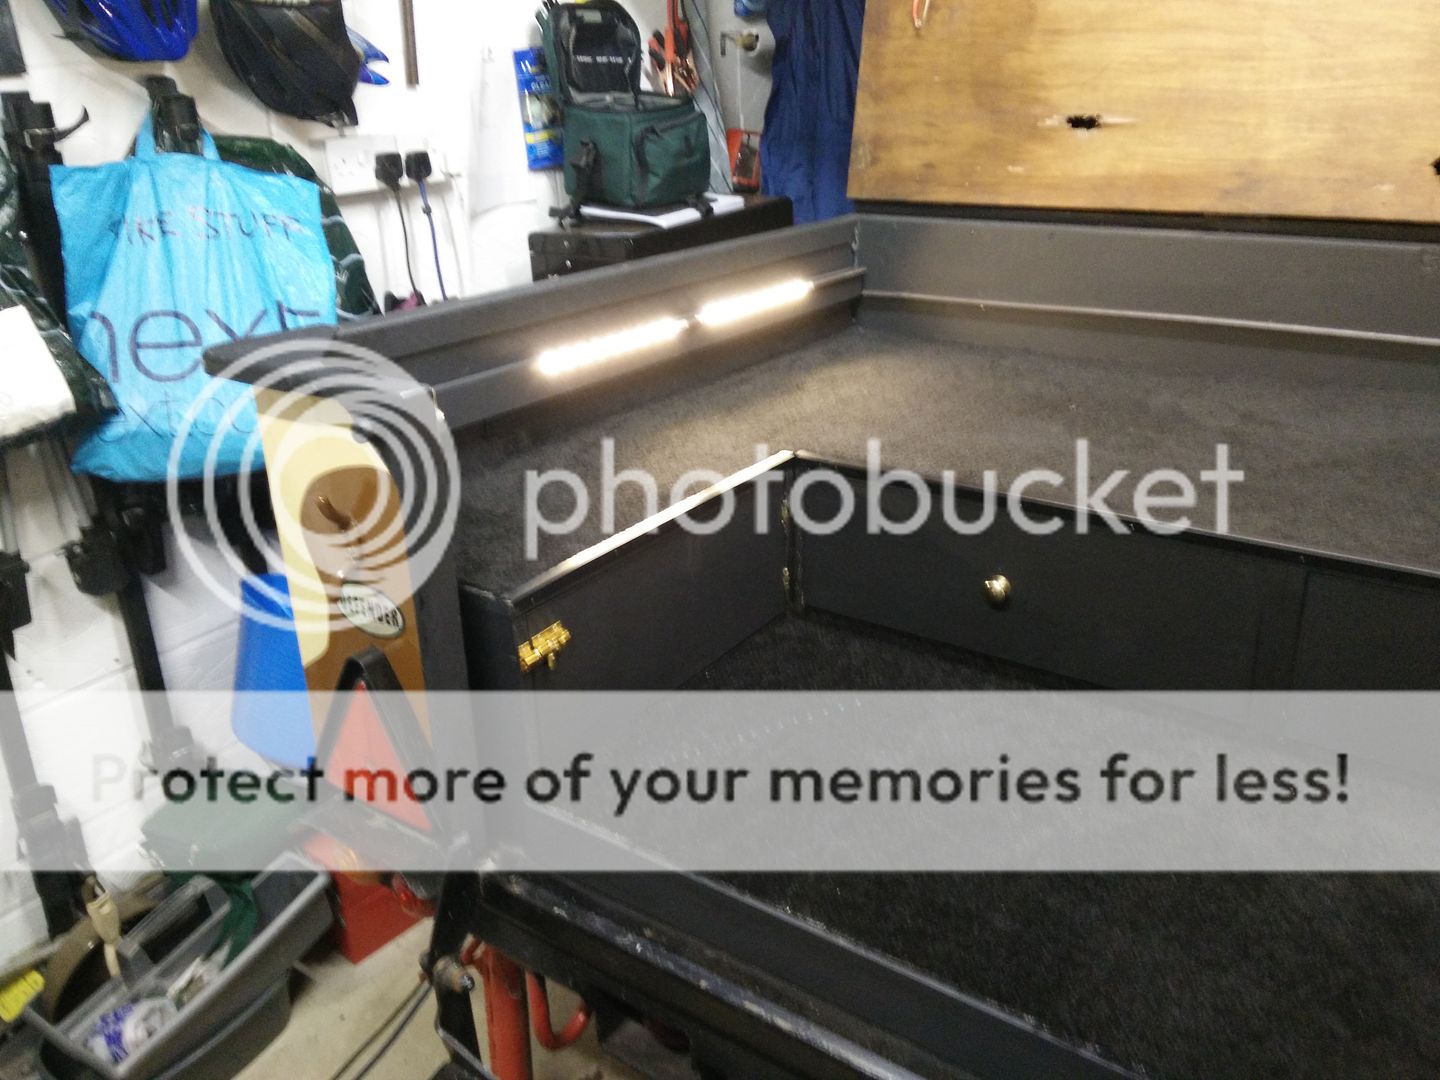
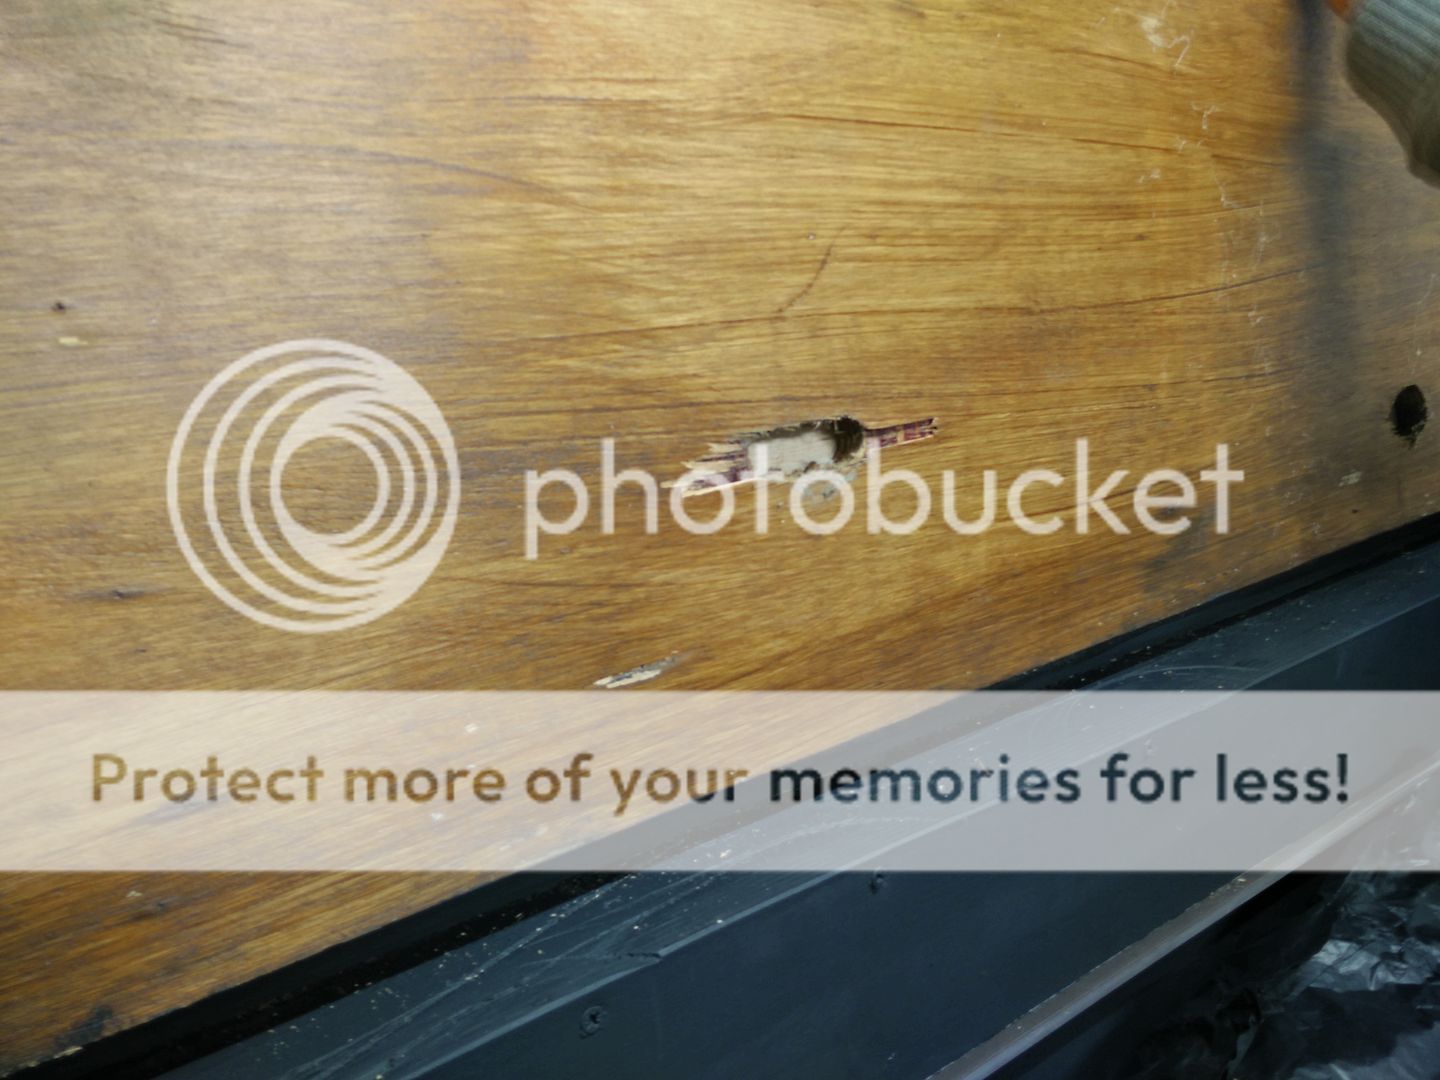
Carpet edging is still to finish, some areas are in need of another coat of paint and then the weather sealing of the compartment can begin. The wood cover also needs to be repaired and revarnished internally and externally. Next I'm looking into buying what I need to create the sliding roof tent frame, hopefully I'll be able to start that over my christmas break.
Whilst investing in my second defender I managed to land myself with a sankey to go with it, it's had some changes made to it already like exterior paint and electric jockey wheels amongst a couple others. However I decided to recreate it before starting up again on the two defenders. I've finally managed to get round to starting after a while of deliberation and thinking what I wanted to include.
The aim for me is to build what in my eyes would be an ideal camping trailer. Having rechargeable power on board, roof tent that is able to move on top of the trailer allowing access to different compartments when needed, cool box facilities for essentials such as bacon and beer and ample storage for food and camping equipment maximising room in the defender. A lot of the build so far has used recycled materials, and where applicable I will continue to do so. I also want to retain the original look of the exterior of the Sankey, and it's off road ability.
Ultimately the trailer will have the following facilities:
- Large amount of storage in weather sealed rear compartment, also accessible from rear tailgate.
- LED lighting throughout the interior of the trailer for illumination whilst trailer top is closed.
- Improved 7inches of travel air suspension, with on board compressor and air tool capabilities.
- Custom roof tent mounting system, slidable and telescopic beyond ends of trailer to access top of the trailer whilst keeping centre of gravity low. Also will work with tent erect.
- Electronic jockey wheel.
- Portable solar panels and inverter for on board power and battery recharge facility.
- On board electronic cool/heat box.
- Storage for solar facilities in the front of trailer.
Trailer will be resprayed and exterior restored once internal work and tent mounting system is complete.
These will not necessarily be in order, I'll complete what I can when I can. Whilst at university I am only able to make progress when I'm home, and also when I get the next instalments of student loan.
Phase 1: Rear Compartment
Phase 2: Tent Mounting System
Phase 3: Front Compartment
Phase 4: Painting and exterior work (Fix wood on
Phase 5: Solar and uprating power facilities
Jobs done so far:
- Rear Compartment 98% complete - Carpeting edging to finish.
- Designed and sourced parts for creating the sliding mounting system for roof tent.
- Rewired compressor, lighting, cool box, jockey wheel etc.
**Apologies for poor quality of some images, unfortunately it's all I was able to get at the time**
Starting Rear Compartment Build - Post Clean up and Rewire: (Majority of wood recycled from old wardrobe).
Starting to put the finishing touches to rear compartment and wire up LED's:
Carpet edging is still to finish, some areas are in need of another coat of paint and then the weather sealing of the compartment can begin. The wood cover also needs to be repaired and revarnished internally and externally. Next I'm looking into buying what I need to create the sliding roof tent frame, hopefully I'll be able to start that over my christmas break.