My 4.6 V8 build

This site contains affiliate links for which LandyZone may be compensated if you make a purchase.

JordanTD5

Active Member
Hi guys, thought I'd put some pictures of my V8 build here.

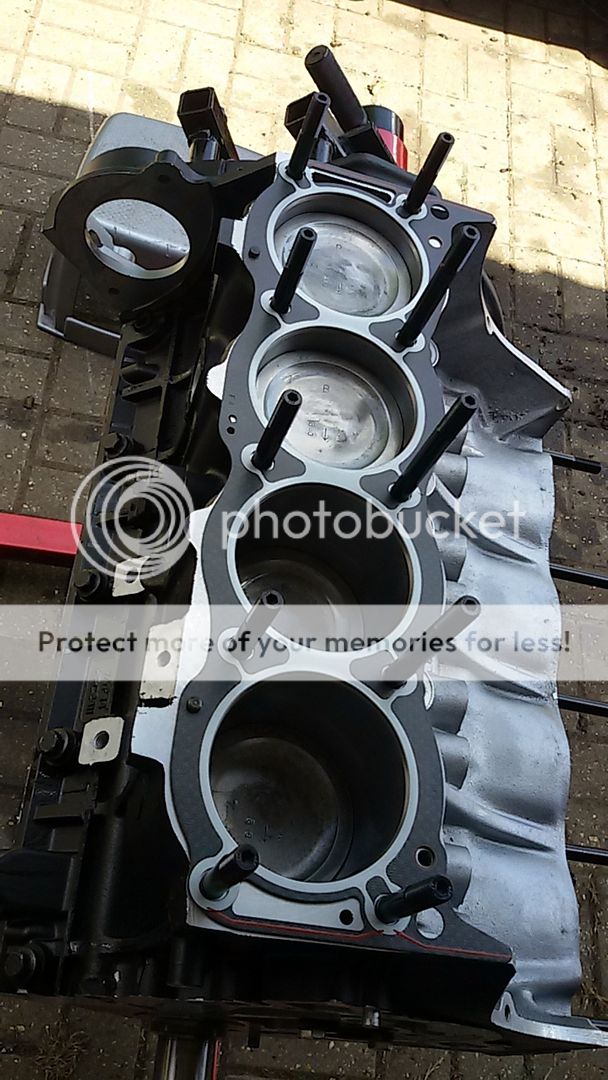
All started with a top end tap on the 4.0ltr Thor in my Discovery 2. Turned out one of the thrust pads on the rockers had gone walkies and the corresponding valve stem had been trashed. With the heads coming off and the engine already being on 129K miles, I thought balls to it and decided on a full rebuild on the following spec:
  • Turner Engineering top hat block
  • P38 4.6 crank and rods
  • 4.0 pistons kept to raise compression (roughly 10.6:1)
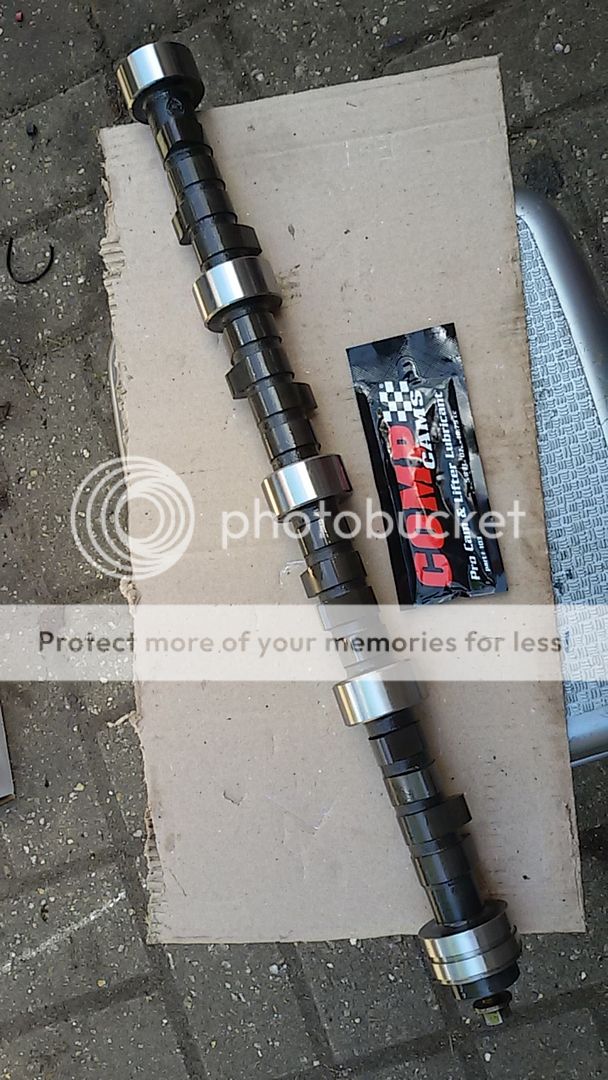
  • Kent H180 "high torque" camshaft
  • Refurbished heads with bullet valve guides
  • ECU remapped by Mark Adams at Tornado Systems
 
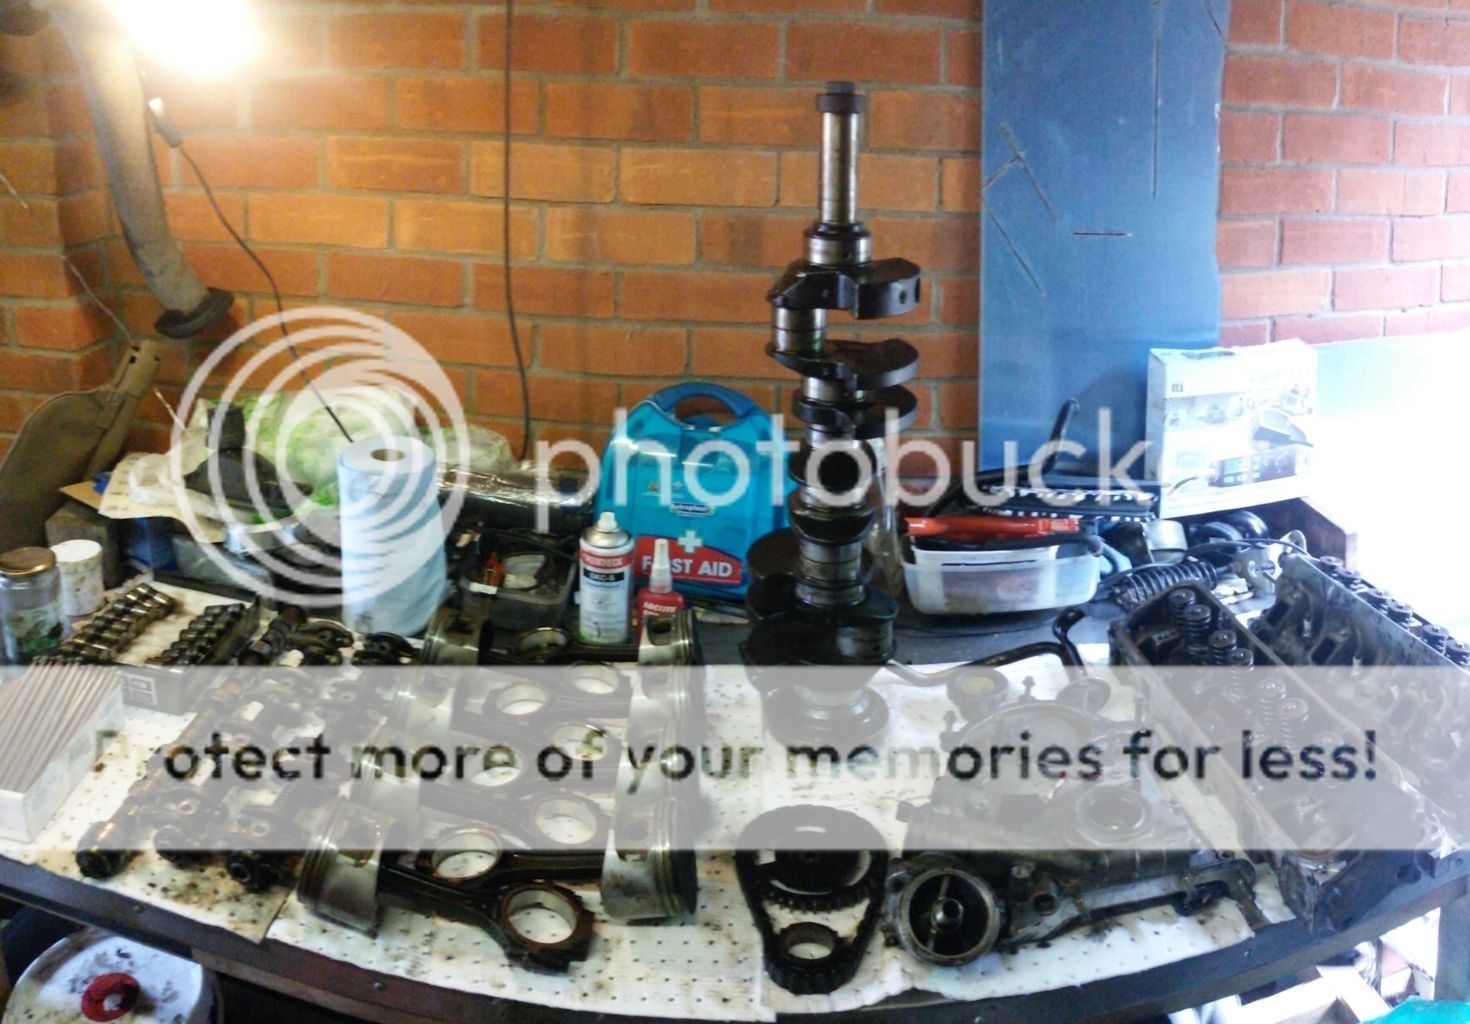
First job was to strip the old engine down

20150605_132356_zpsnkfxbghi.jpg


20150605_150239_zpsbzggjjm2.jpg


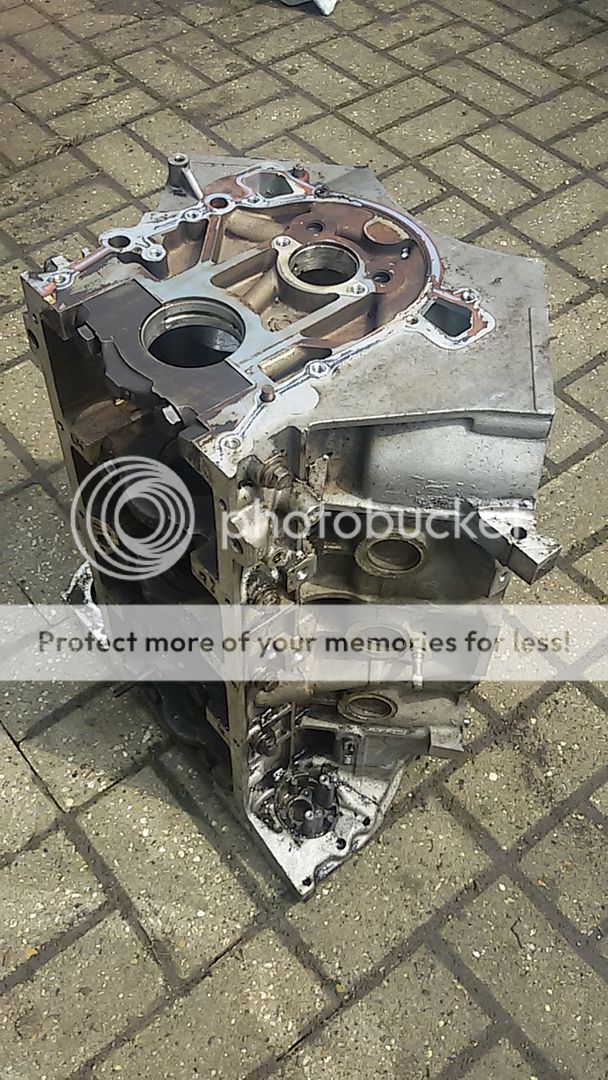
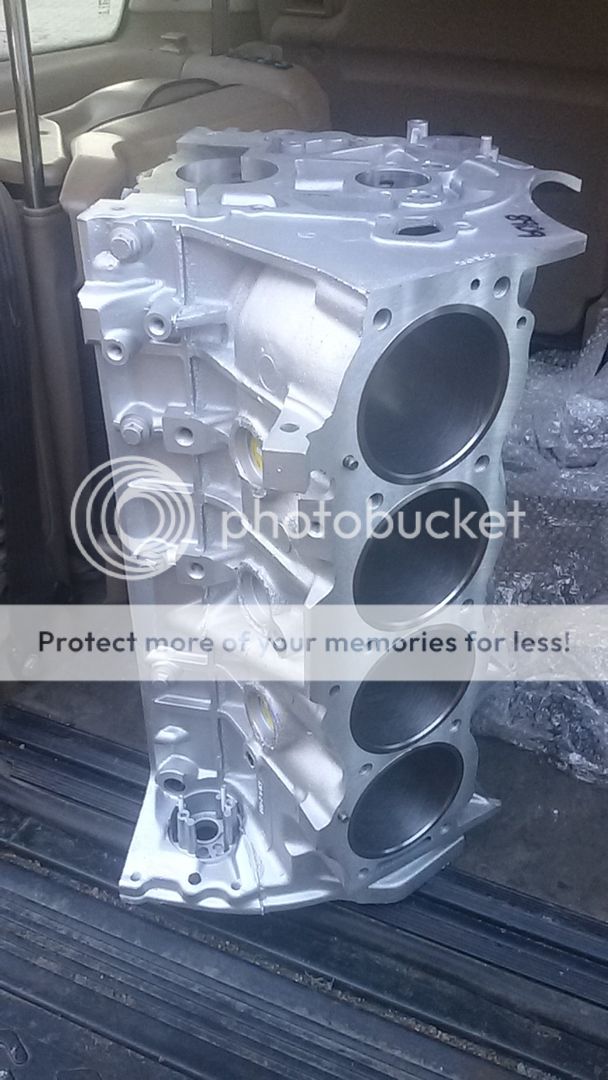
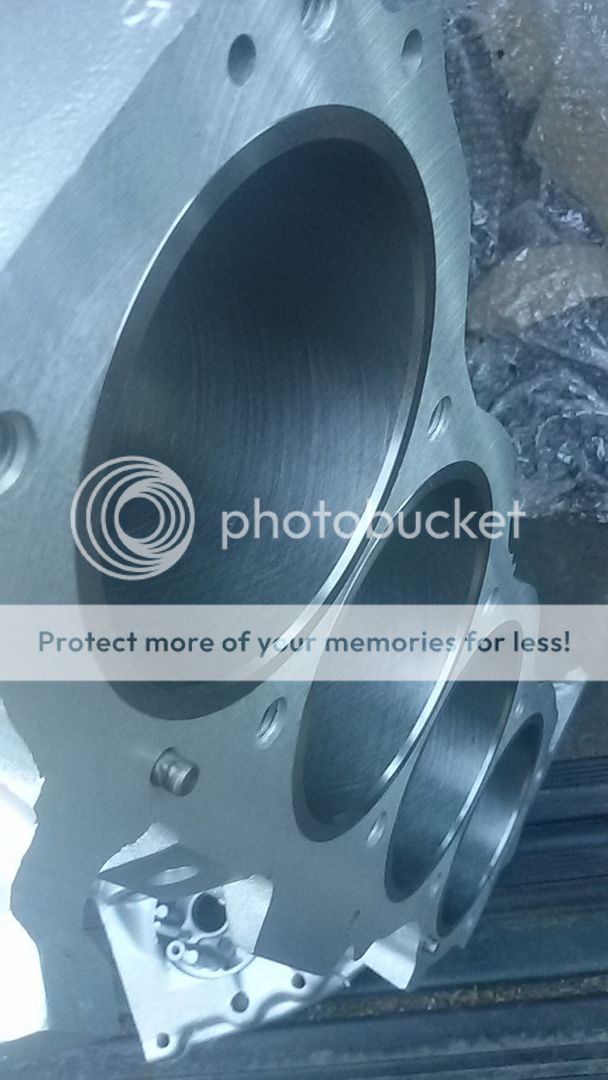
And then a trip to Surrey to swap the block for a fresh one fitted with top hat liners :cool:

20150608_201350_zpsr7onnqzf.jpg


20150608_201358_zpsq0cxdpch.jpg


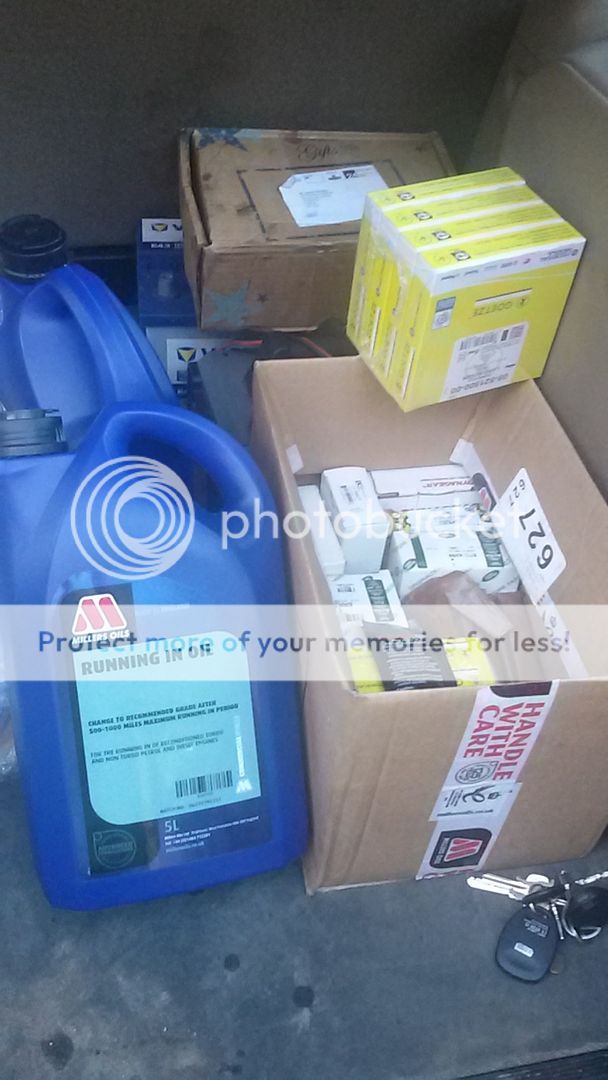
Along with a box of rebuild goodies :D

20150608_201420_zpsbqx9qnfm.jpg


More to come....
 
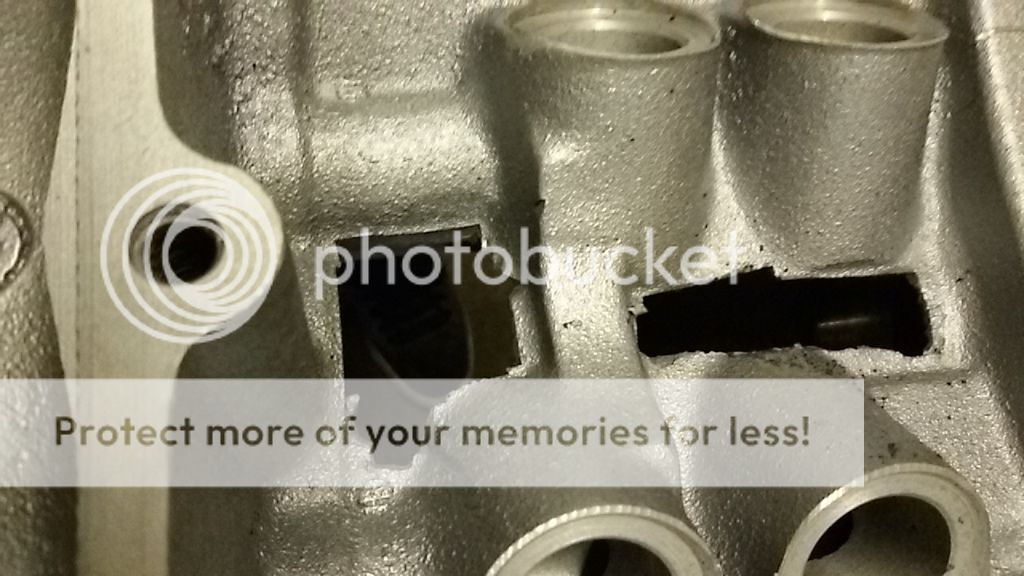
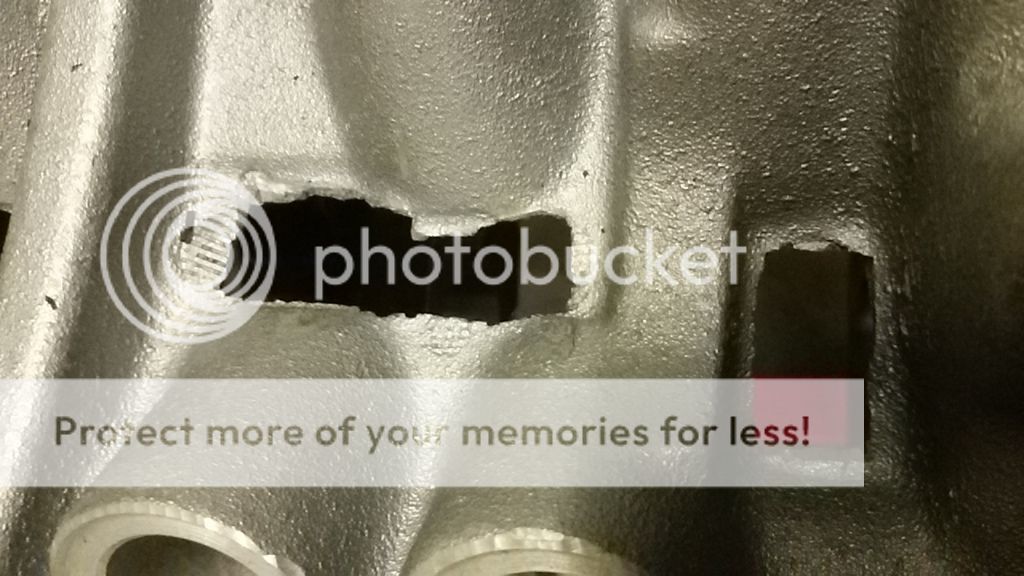
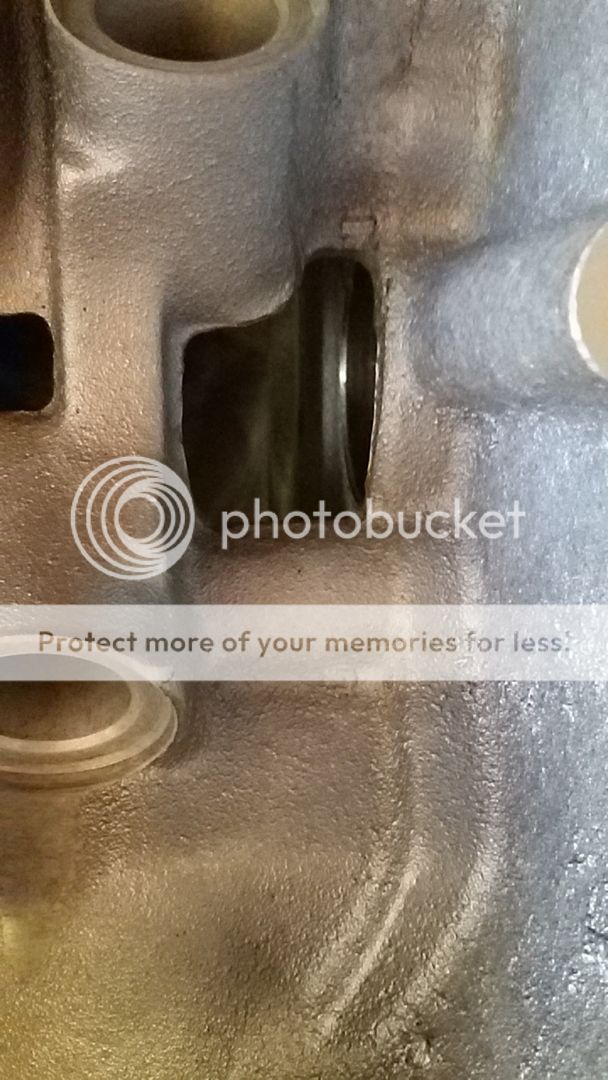
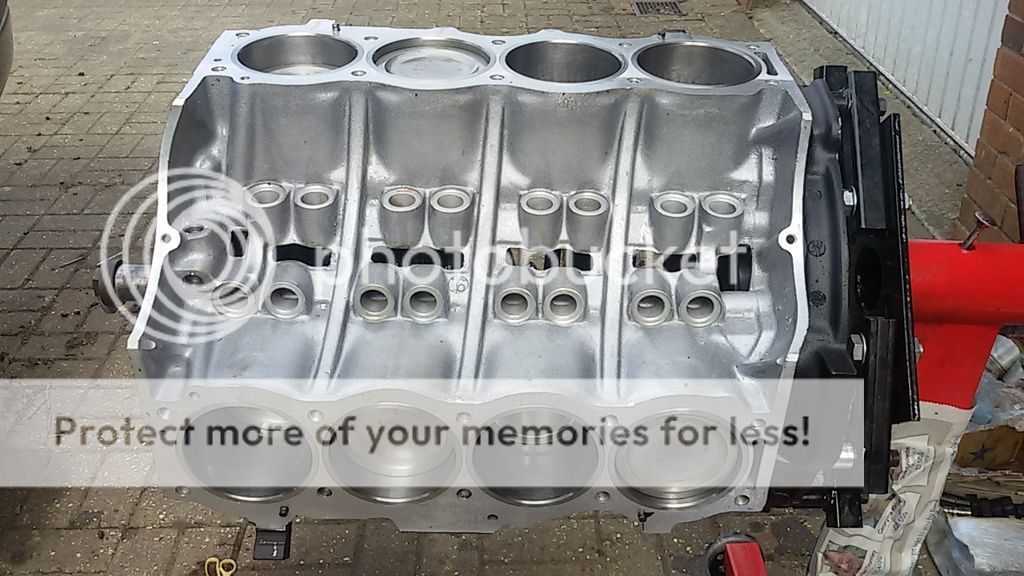
Started off by getting the block on my stand and removing all the casting flash. Basically the raged edges left from the casting process.

Before:

20150622_085926_zpsaaebzsya.jpg


20150622_085857_zpsfhpy2hrx.jpg


After:

20150622_100855_zps1defief1.jpg


20150622_095626_zpsccaw1kpz.jpg


Highly unlikely to have caused any issues (hence why it's not removed at the factory) but I couldn't put up with knowing it's there. :lol:

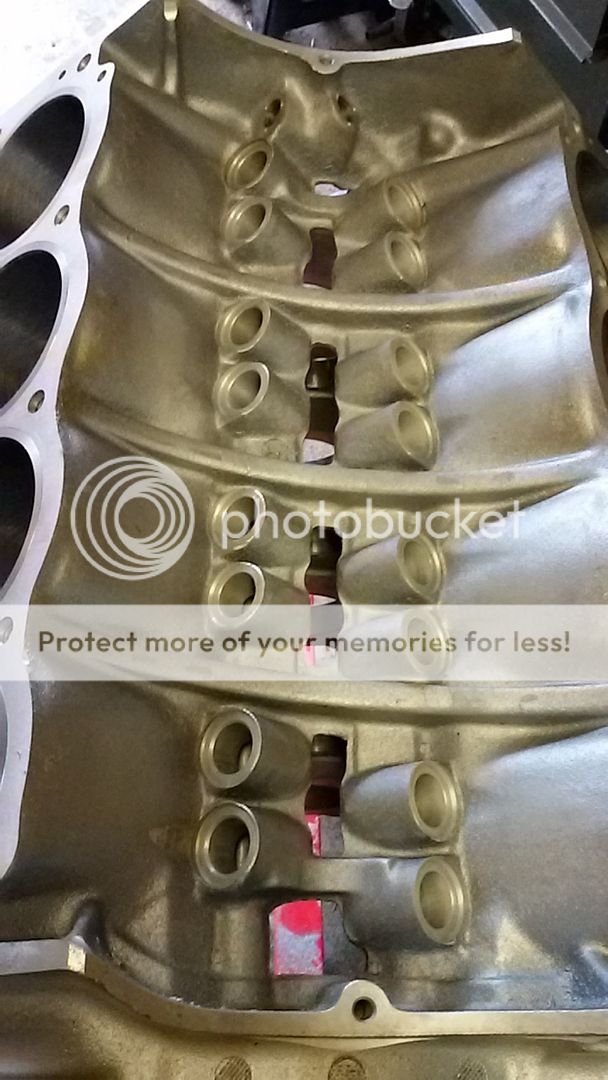
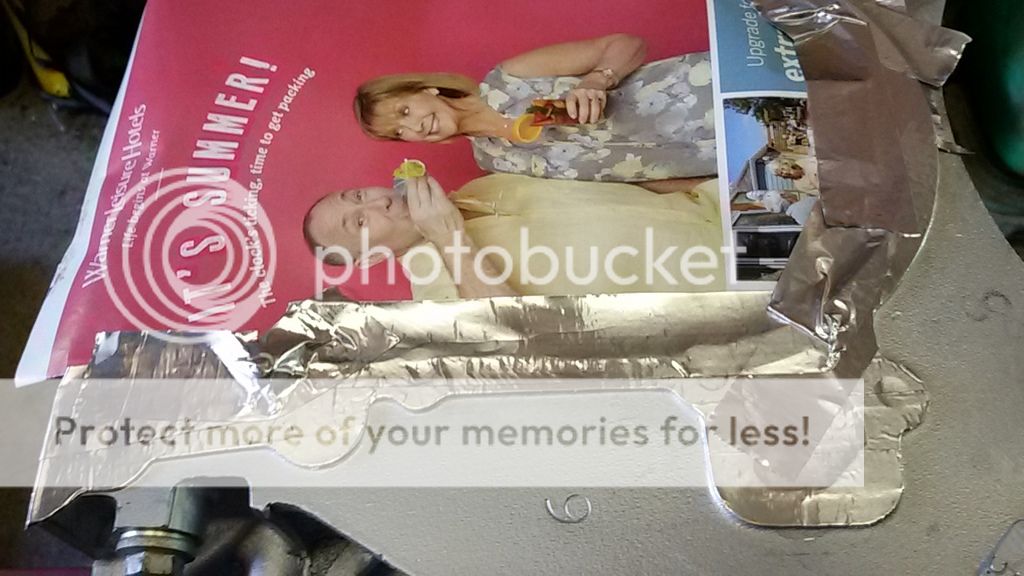
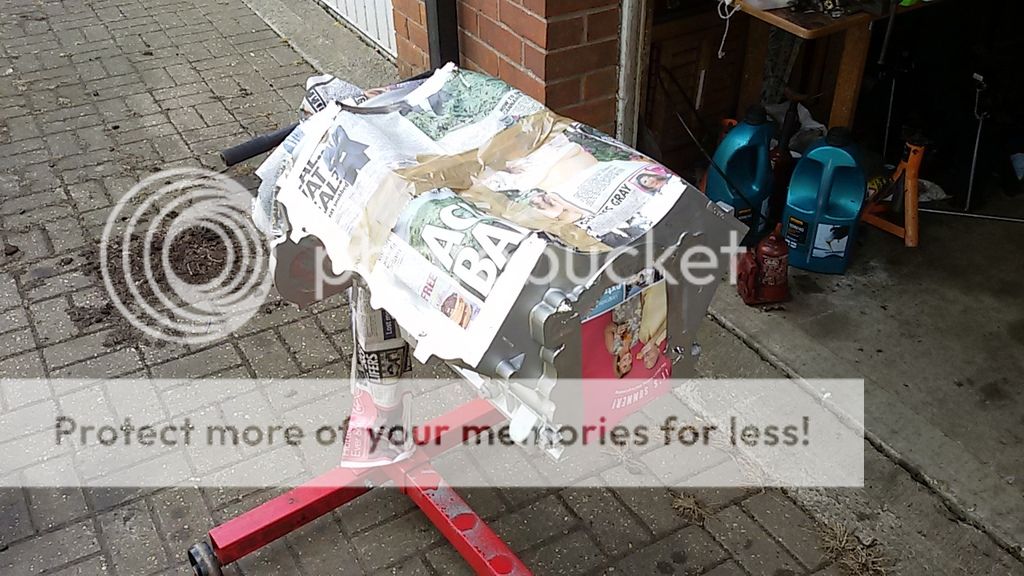
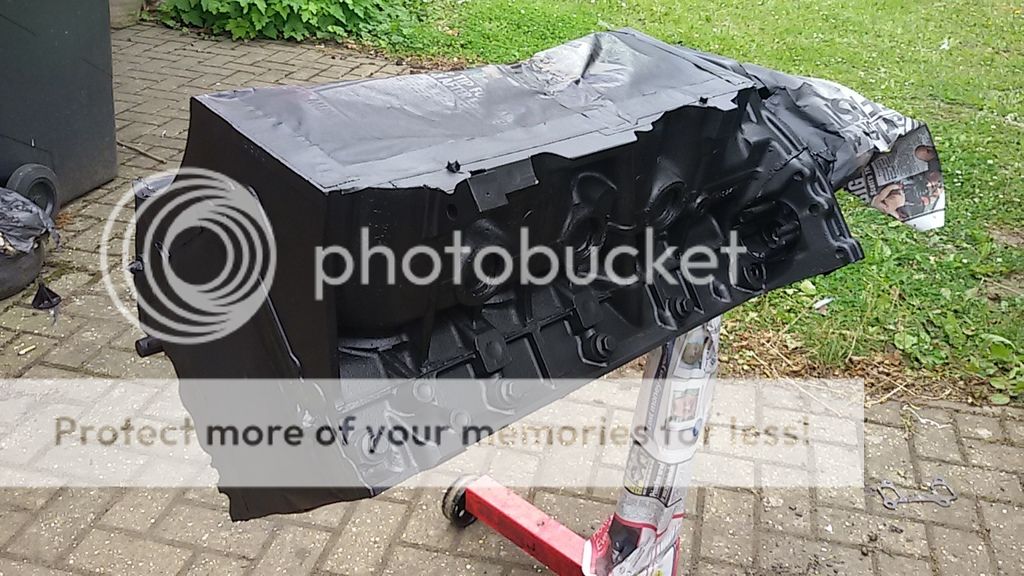
Next up was a lick of paint. Starting with masking off all mating faces.

20150622_102231_zps8ohpkfix.jpg


20150622_115528_zpsx9ijcfnh.jpg


20150622_115602_zpsteuet7ct.jpg


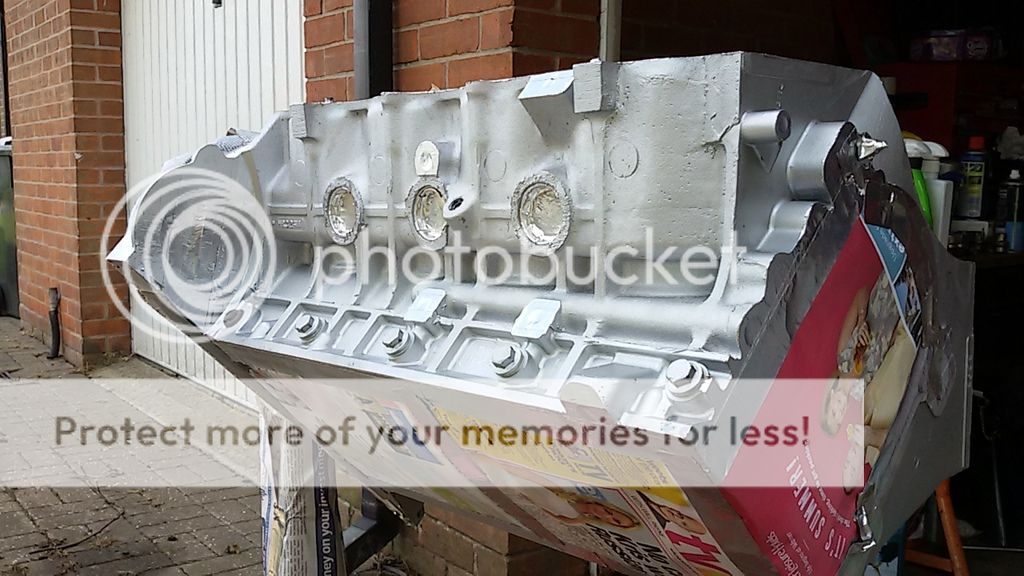
Then a few coats of high temp paint.

20150622_140026_zpsqwkbxkdi.jpg


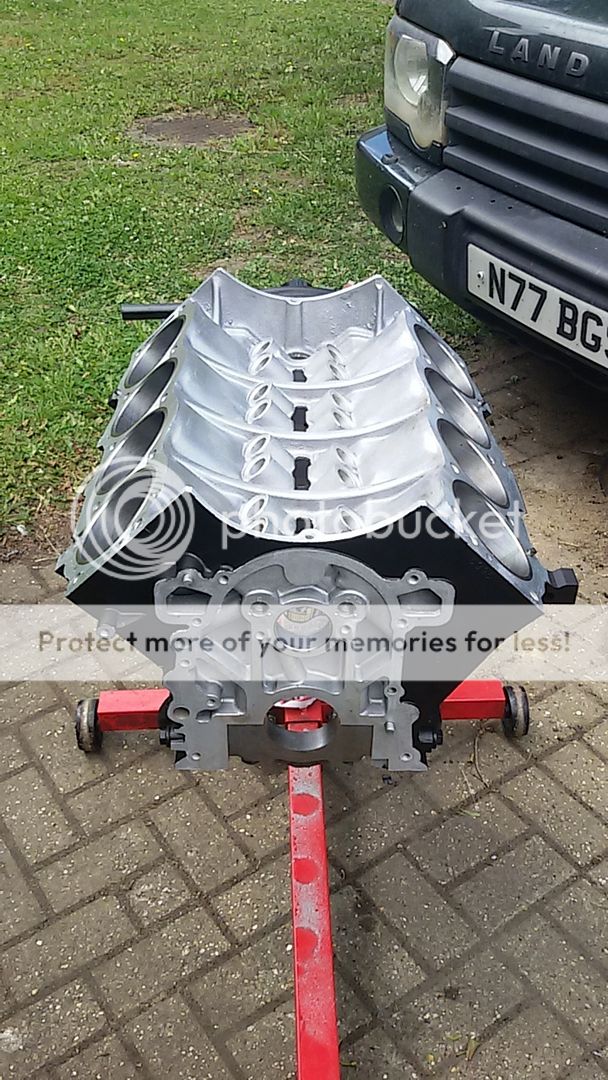
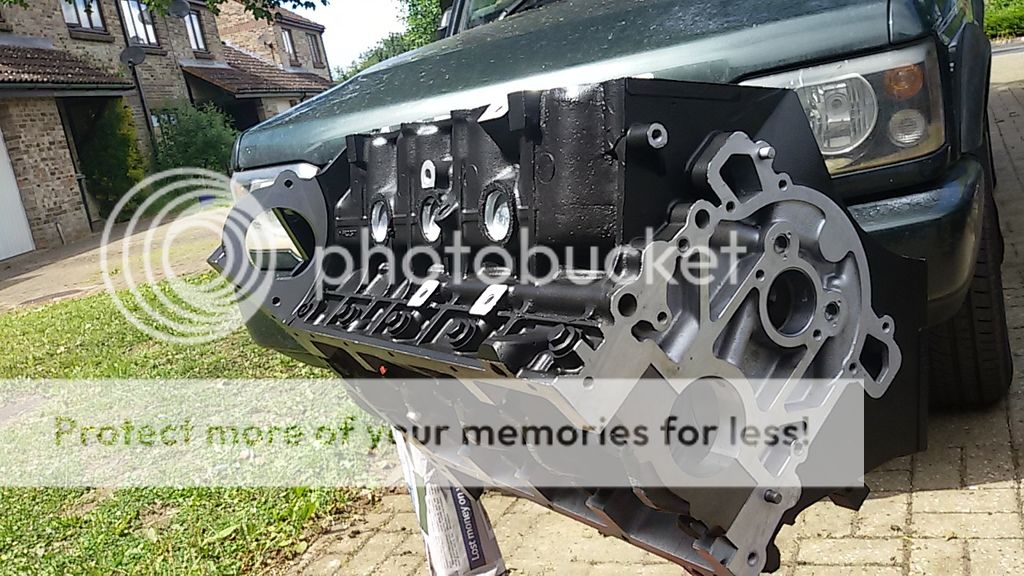
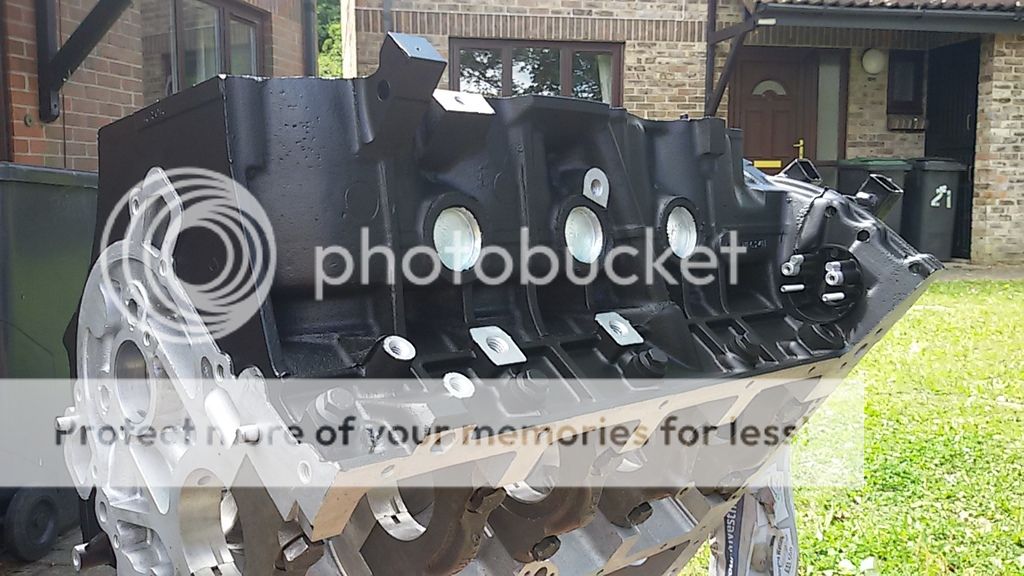
And masking removed :cool:

20150622_141816_zpsxe0fpmyb.jpg


20150622_142337_zpsmqqd7zna.jpg


20150622_142410_zpsmufqyowa.jpg


Very happy with how it came out so onto the next job which was to prep the heads for refurb.

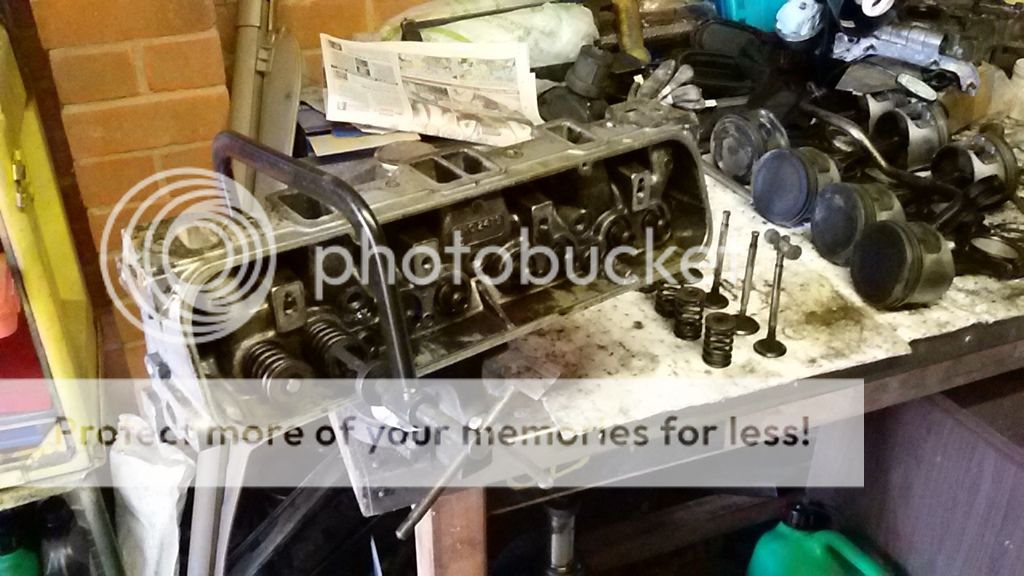
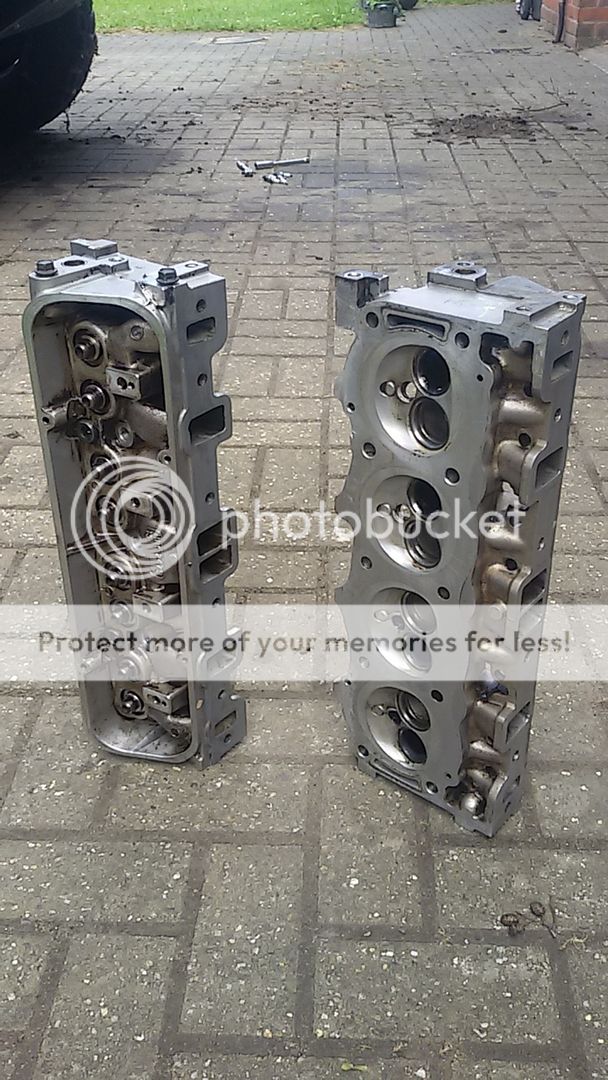
Stripped down.

20150622_124947_zps1wnyvgvf.jpg


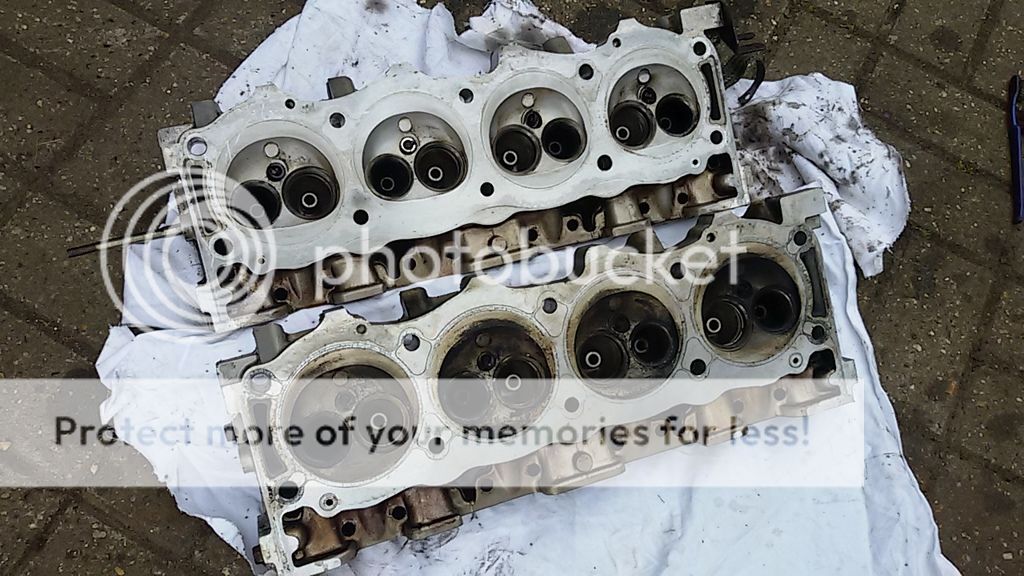
And cleaned

20150622_135300_zpsx0doj8nh.jpg


Marks on the underside suggest it was still on it's original head gaskets.

20150622_143651_zpsbr0hv44x.jpg


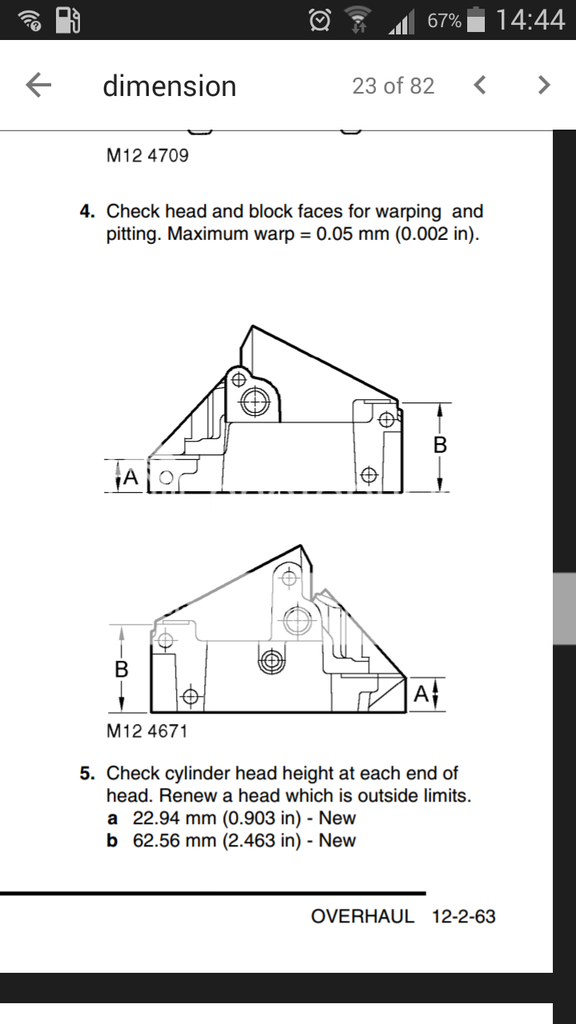
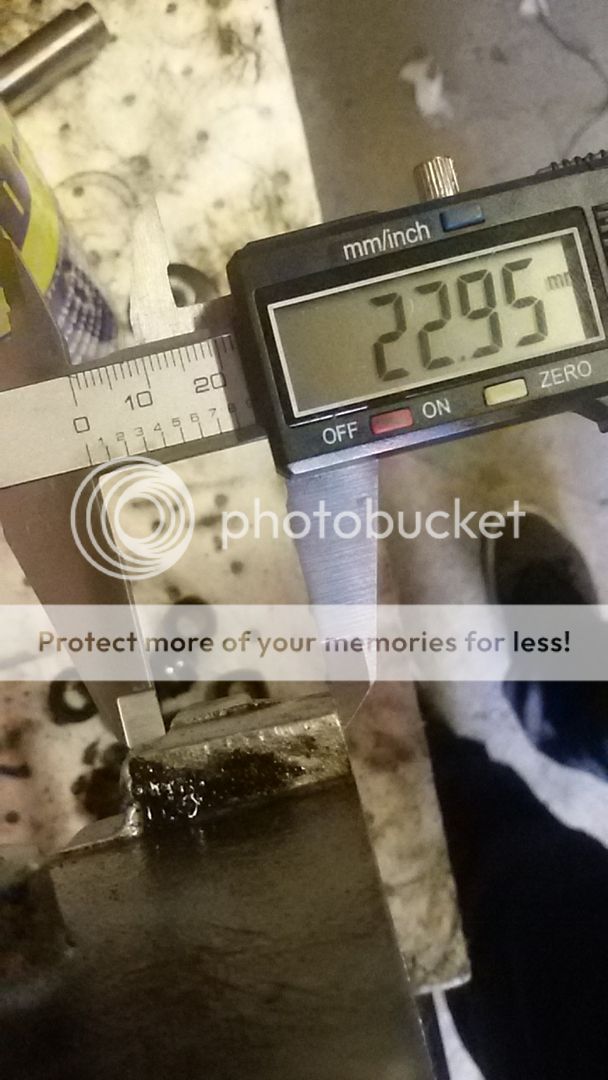
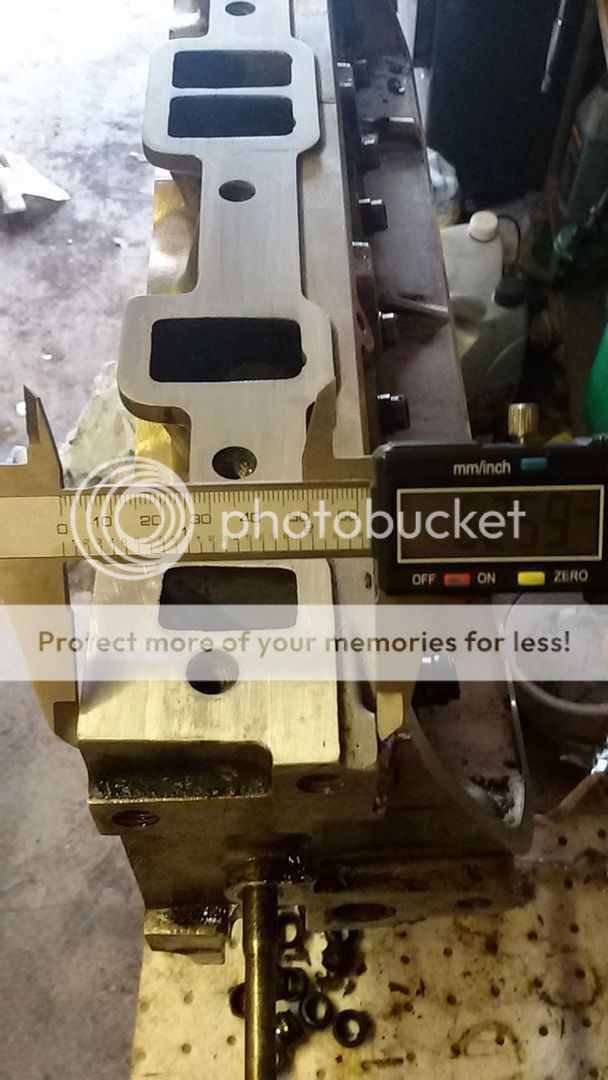
Backed up by the head dimensions showing they've never been skimmed :nod:

Screenshot_2015-06-22-14-44-18_zps7ymwqzql.png


20150622_144542_zpsrexbbfql.jpg


20150622_144512_zpswqk6l6sj.jpg


So all done and ready

20150622_155611_zpslmki9von.jpg


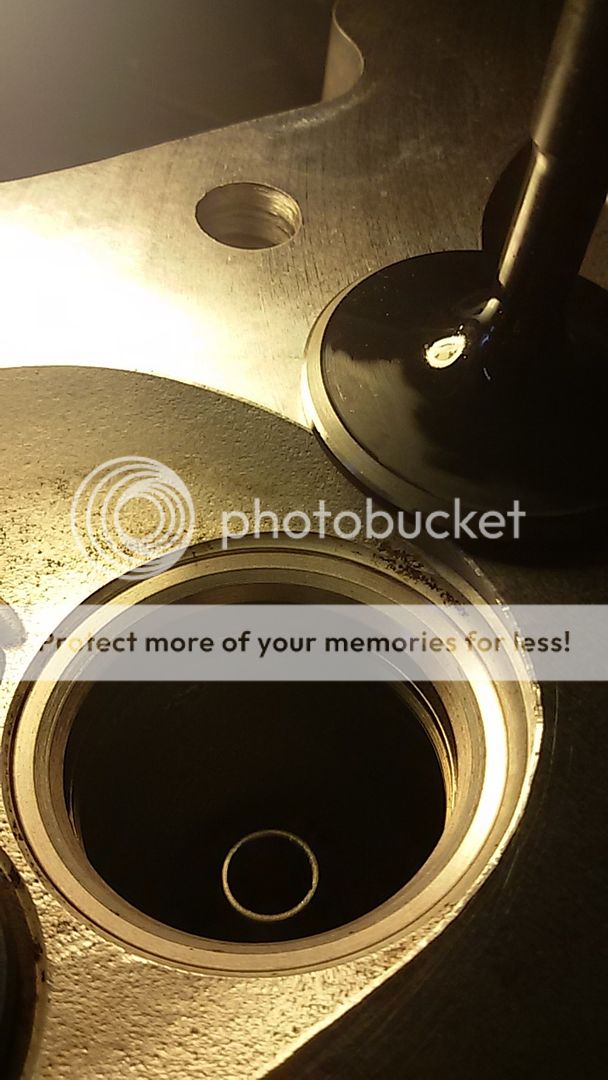
Heads then went to Scholar Racing Engines in Mendalsham, Suffolk for a refurb, skim, new bulleted valve guides from V8 tuner, re-cut seats and 16 new valves lapped in.

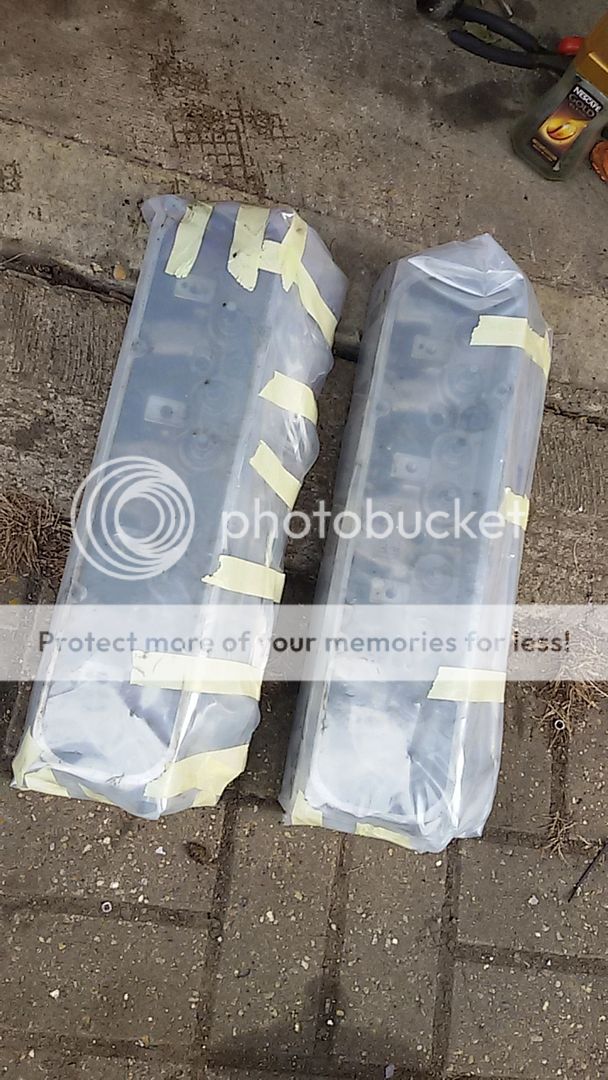
Two finished heads, wrapped up safe

20150626_175236_zps4whfnj9w.jpg


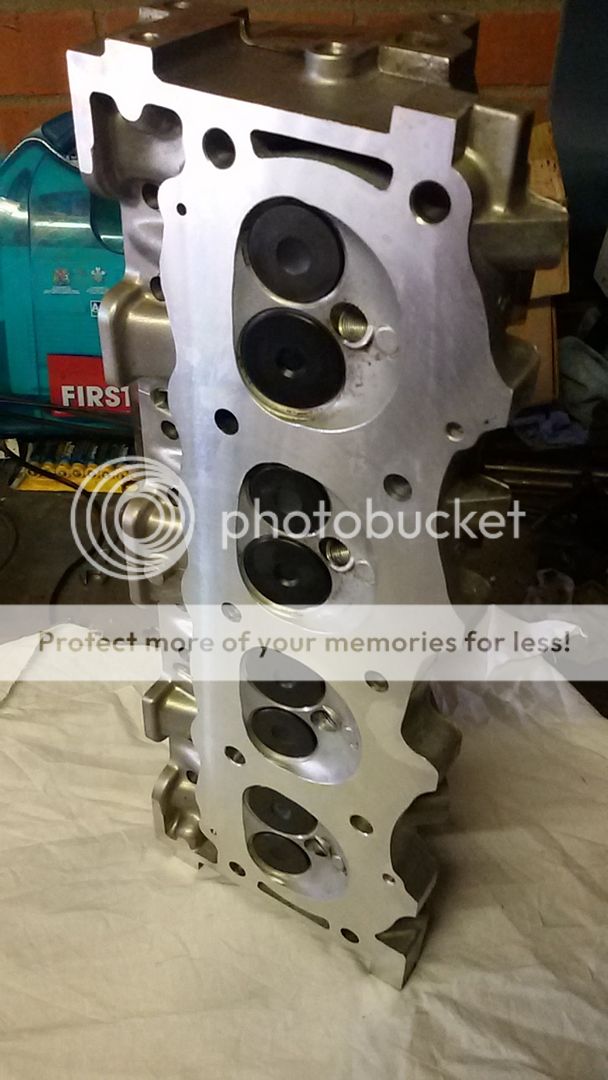
Unwrapped.

20150626_175544_zps6o8vjgal.jpg


20150626_175811_zpspyy4twpx.jpg


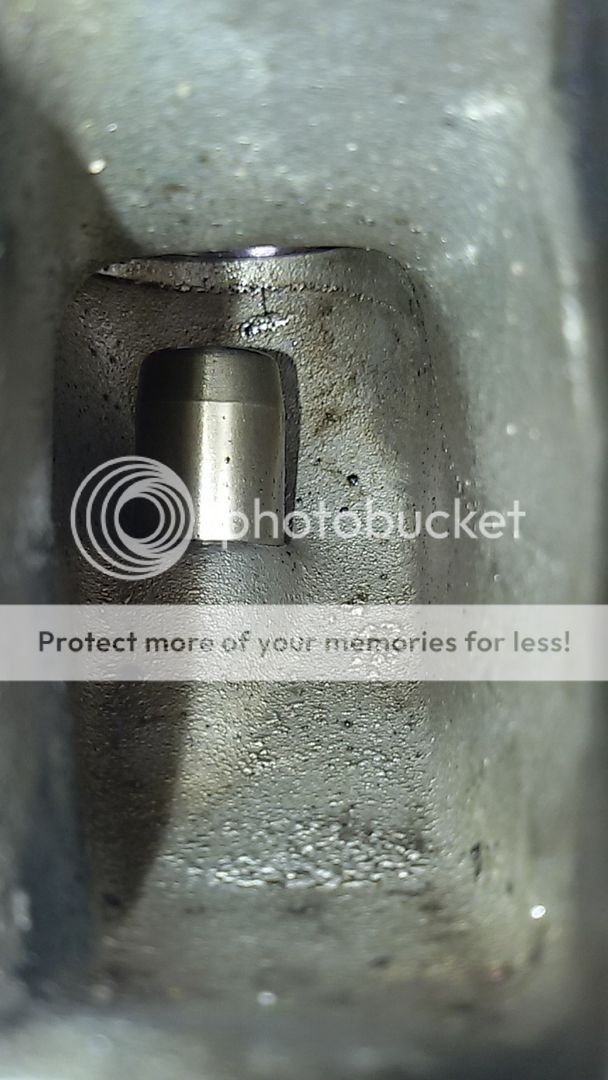
Standard valve guides (Took picture before I dropped them off)

20150622_135745_zpsiv0ey3kv.jpg


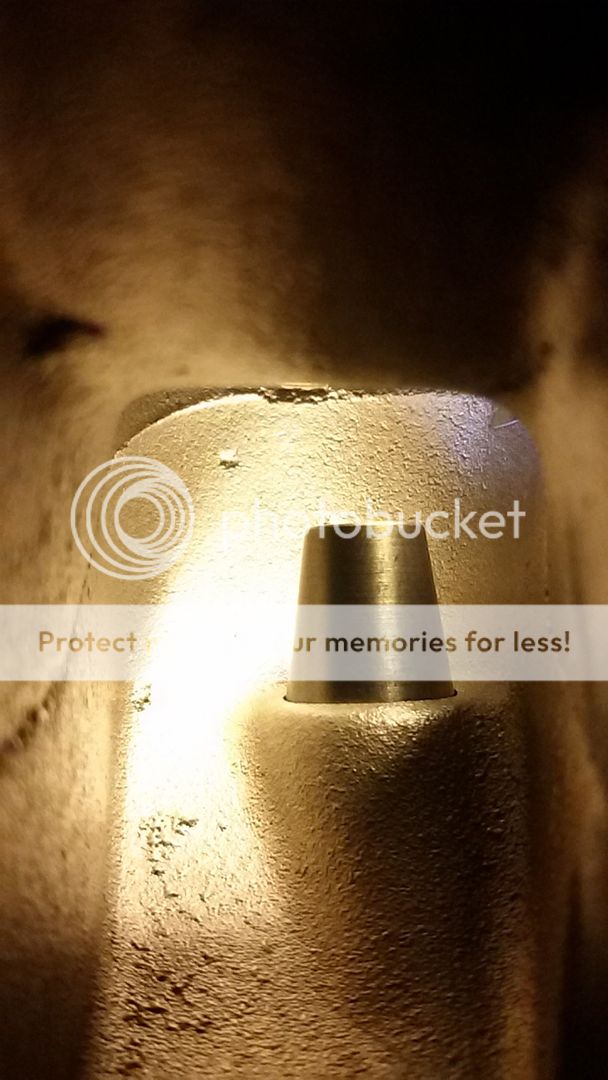
New "bulleted" guides for better flow.

20150626_175648_zpsar5y631x.jpg


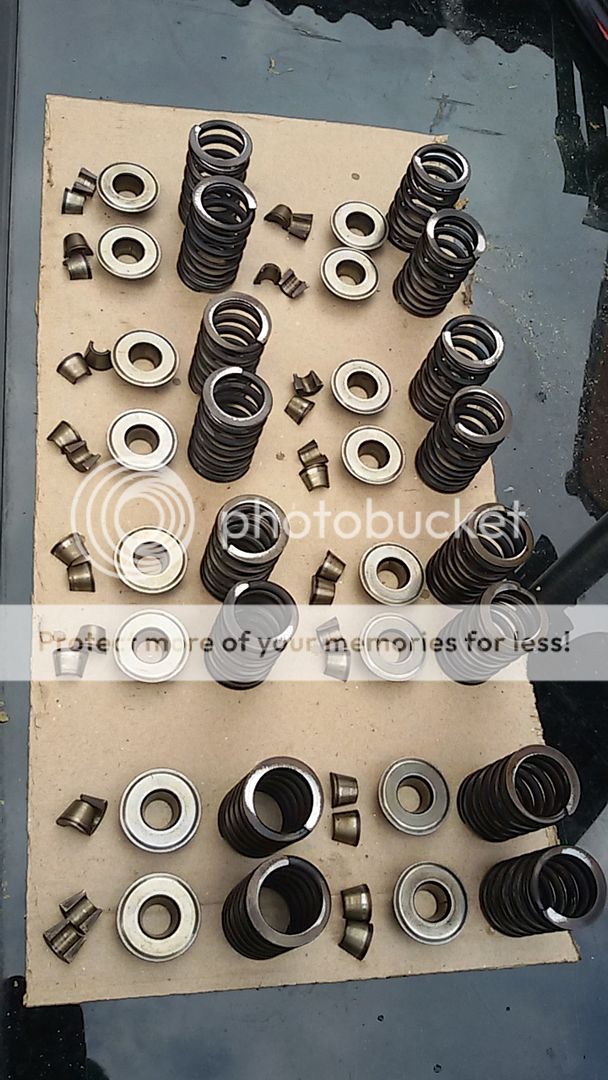
Very happy with the service from Scholar. Next I cleaned up the valve gear ready for the rebuild.

20150626_175107_zpslgngnmka.jpg


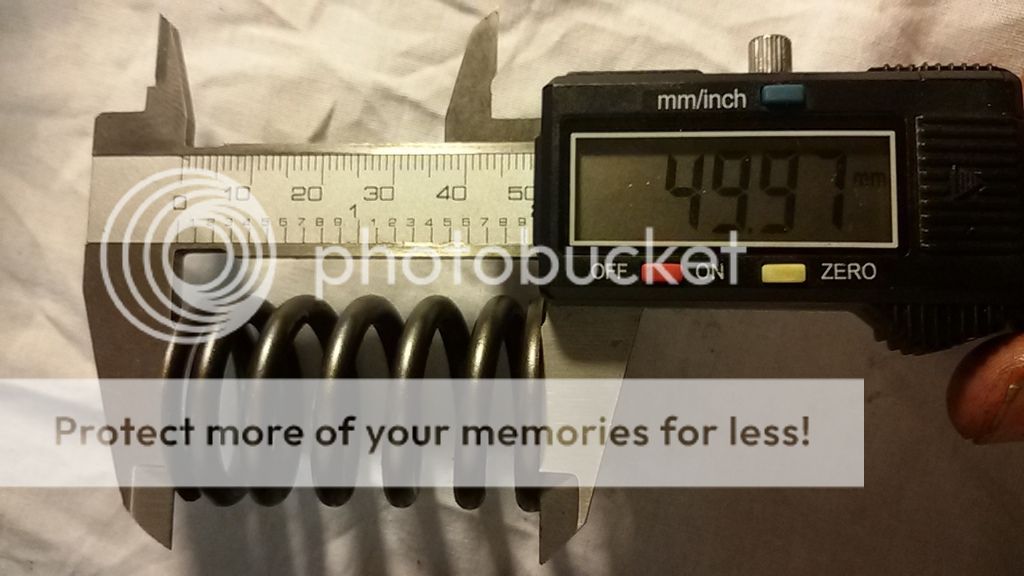
Valve springs free length checked. All good.

20150626_181906_zpsfz0j2ibl.jpg


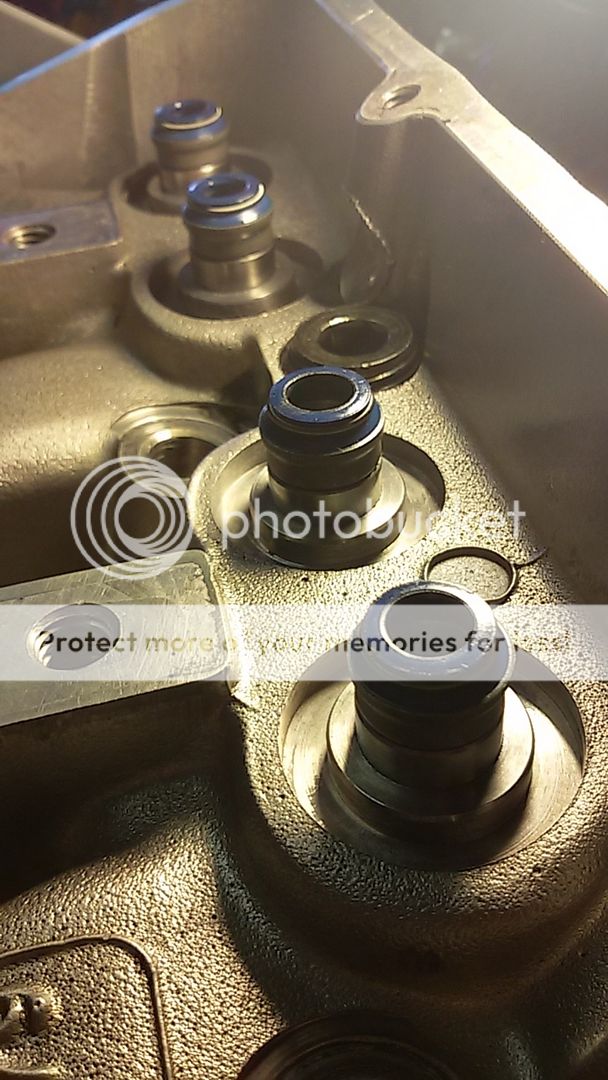
Stem seals fitted.

20150626_180615_zpstwntp6d5.jpg


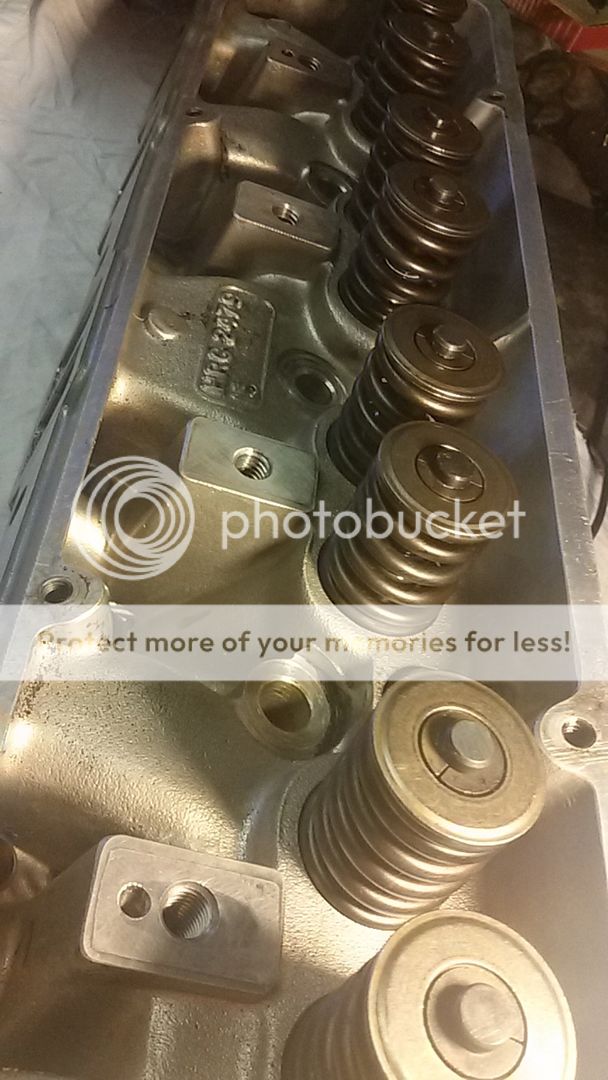
Springs in.

20150626_183509_zpsqlbziqkq.jpg


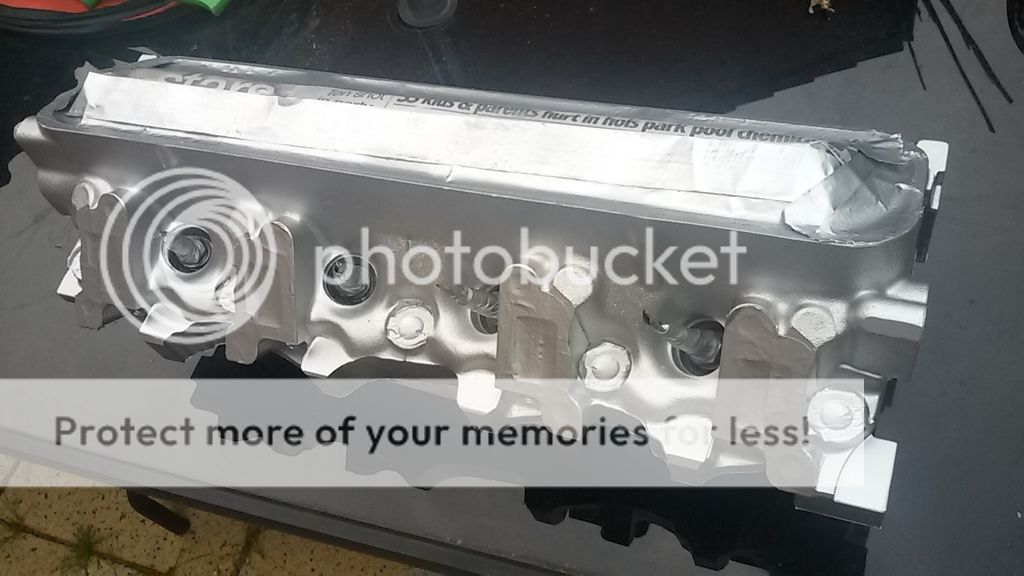
Masked up and a few coats of silver.

20150626_194501_zpsrtkemvrm.jpg


Block reuild next ........
 
Brilliant!
I have a similar set up in mine (top hat block, 4.6 crank & rods with 4.0ltr pistons & Kent 180 cam). Runs like a dream now on LPG. I also cleaned up the flashing on the engine casting, as you say, shouldn't be a problem but nice to know all is tidy in there.
Keep em coming :)
 
Another update for you guys. sorry for the wait, depends when I get time to put the pics in order. Anyway, big one this time :)

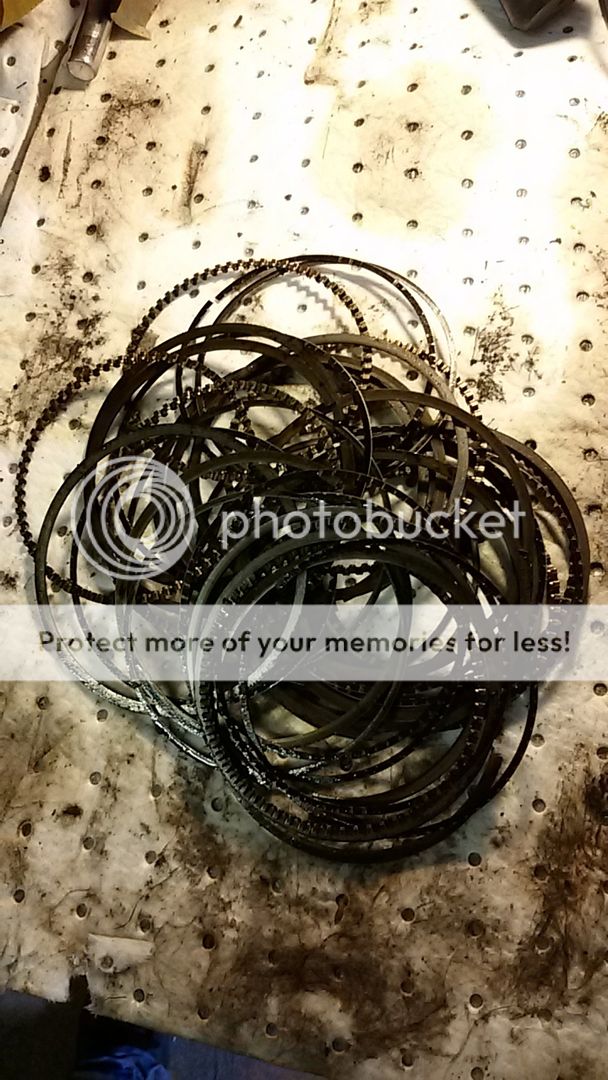
Before I could start building, I needed to get on with de-ringing and cleaning up the old pistons so they could be reused with the 4.6 rods.

20150624_104343_zps4ltxl2aj.jpg


20150624_104218_zpsvan1rbun.jpg


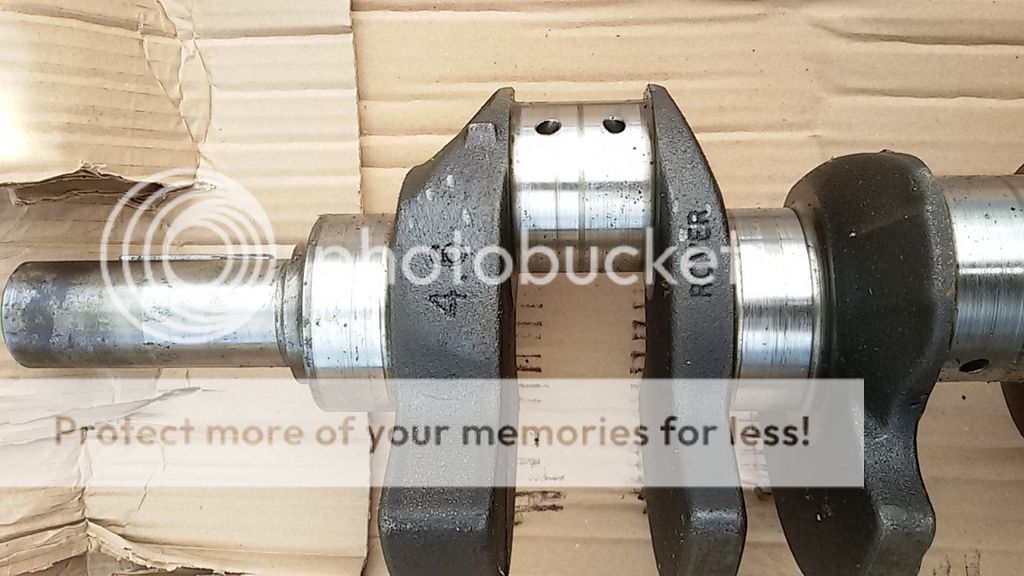
Then my 4.6 crank arrived.

20150624_110959_zpsorkngozz.jpg


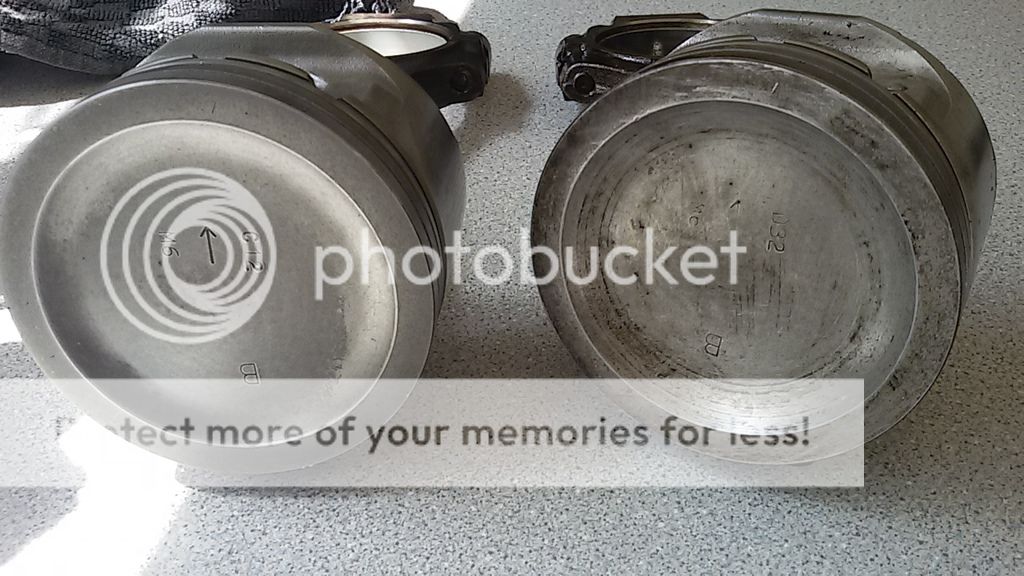
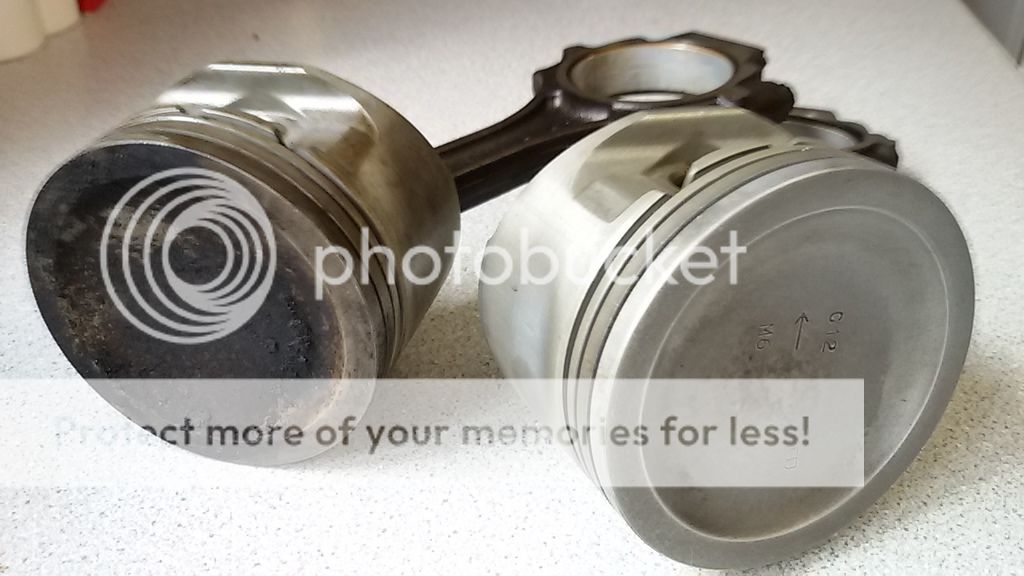
Also with it was a set of 4.6 rods and pistons. The rods I needed, but the pistons I didn't. Due to the longer stroke of the 4.6, the pistons have a much larger dish on top to keep the compression ratio the same at 9.35:1. Here's a couple of pictures.

20150624_120646_zps2ia91k96.jpg


20150624_120740_zpsjds4ii4w.jpg


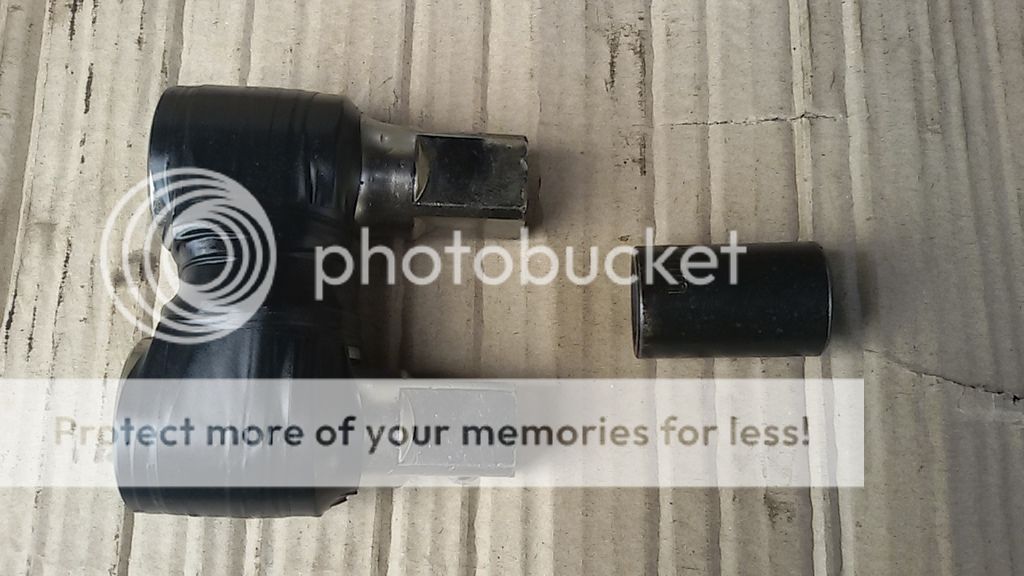
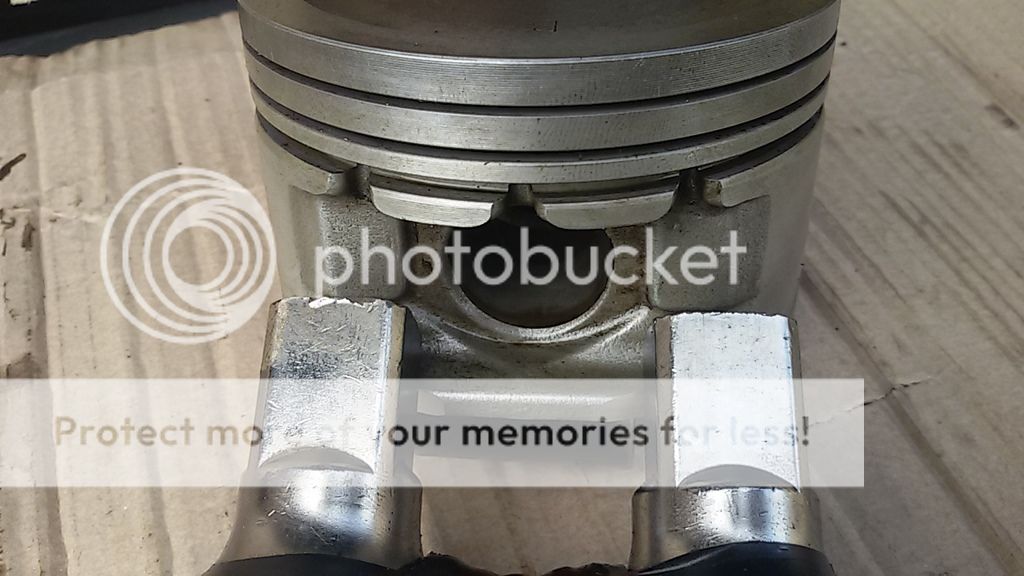
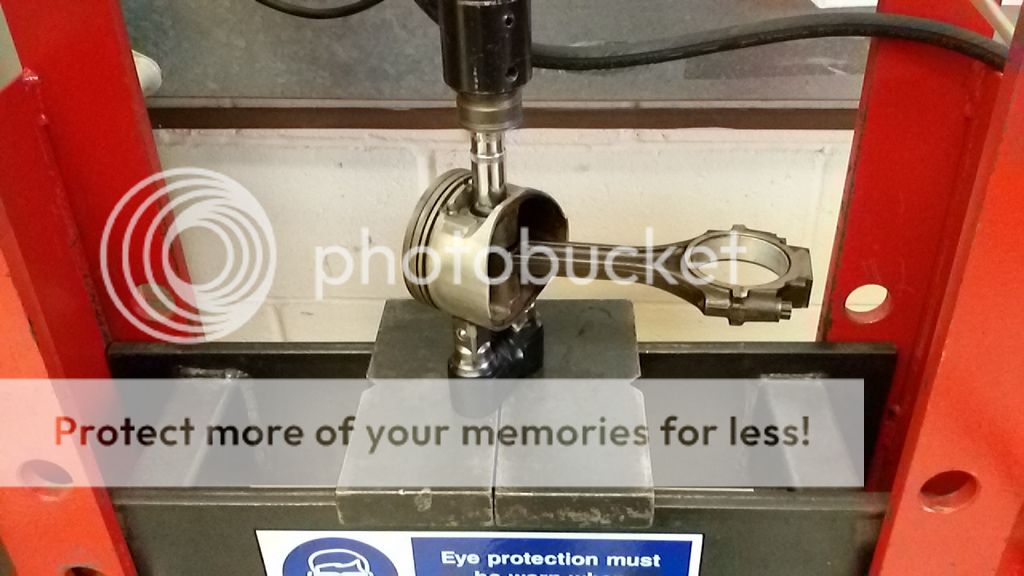
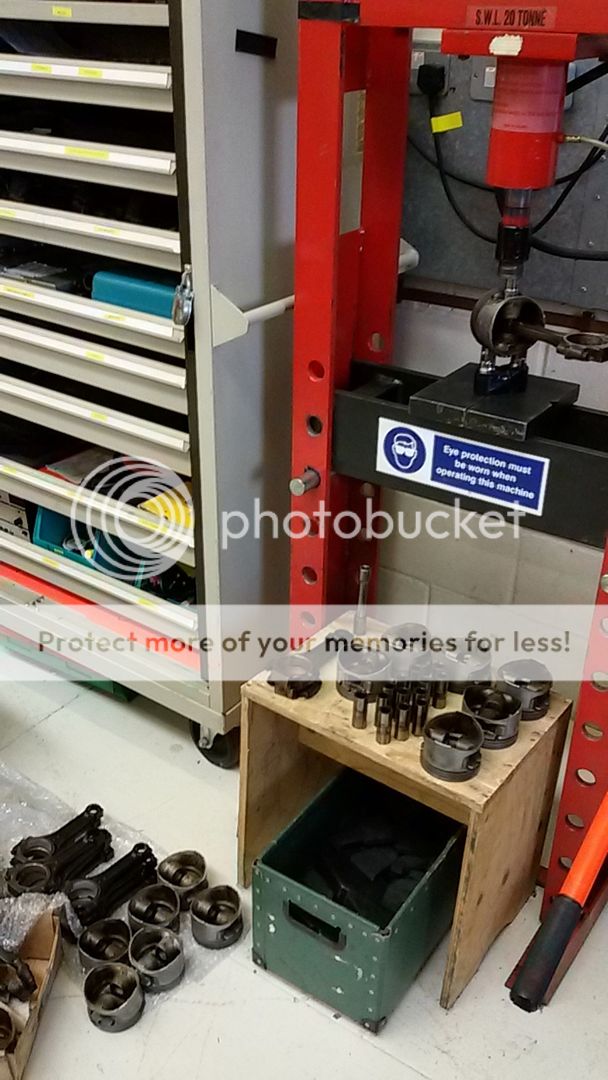
I could have used them no problem but a common route is to keep the 4.0 pistons, this lifts it up to about 10.5:1 compression. The gudgeon pins are pressed into the rod, and I wasn't paying for the Land Rover tool, so I needed to make something to get them out again.

20150625_093849_zpsi8lsjocp.jpg


The larger one supports the piston on these two flat parts, the same place the genuine tool does.

20150625_094002_zpsj8ugf7oq.jpg


I don't have my own press so off I went to the engineering bay at work, armed with my box of pistons and a packet of chocolate Hobnobs for the guys that work there :)

20150624_142924_zpshojpmvcf.jpg


20150624_145121_zpss45cfjcy.jpg


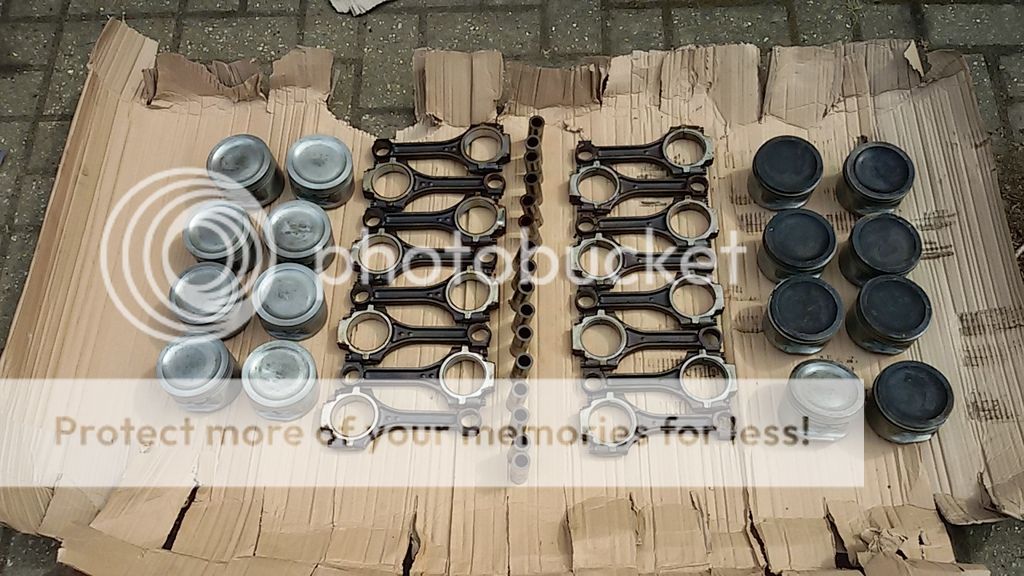
All apart

20150624_153649_zps76bii5sc.jpg


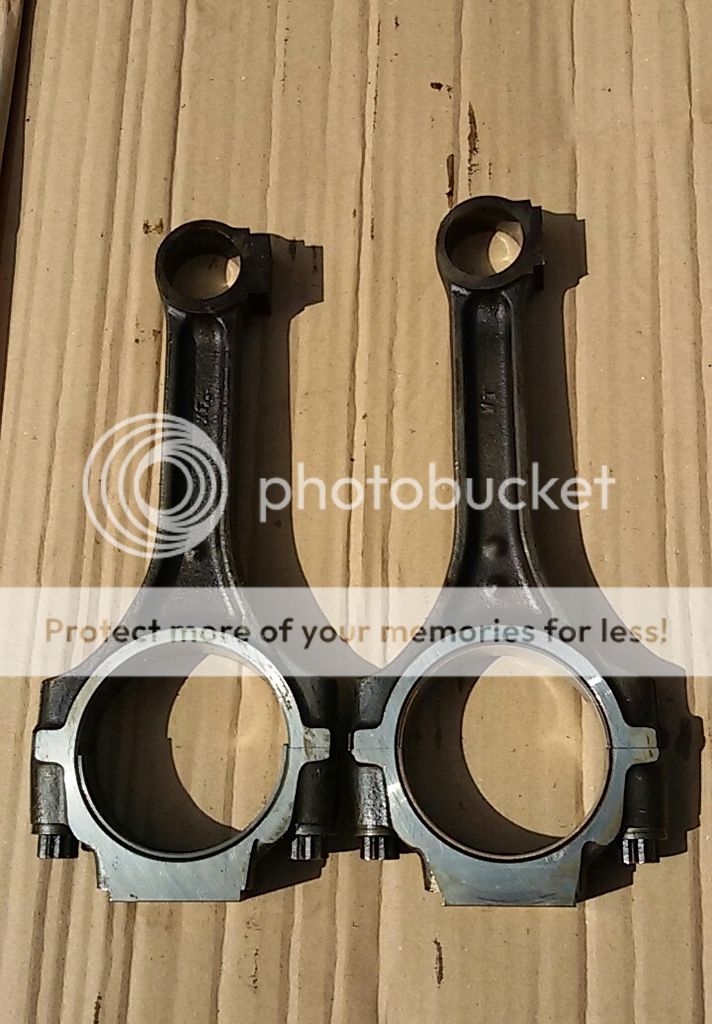
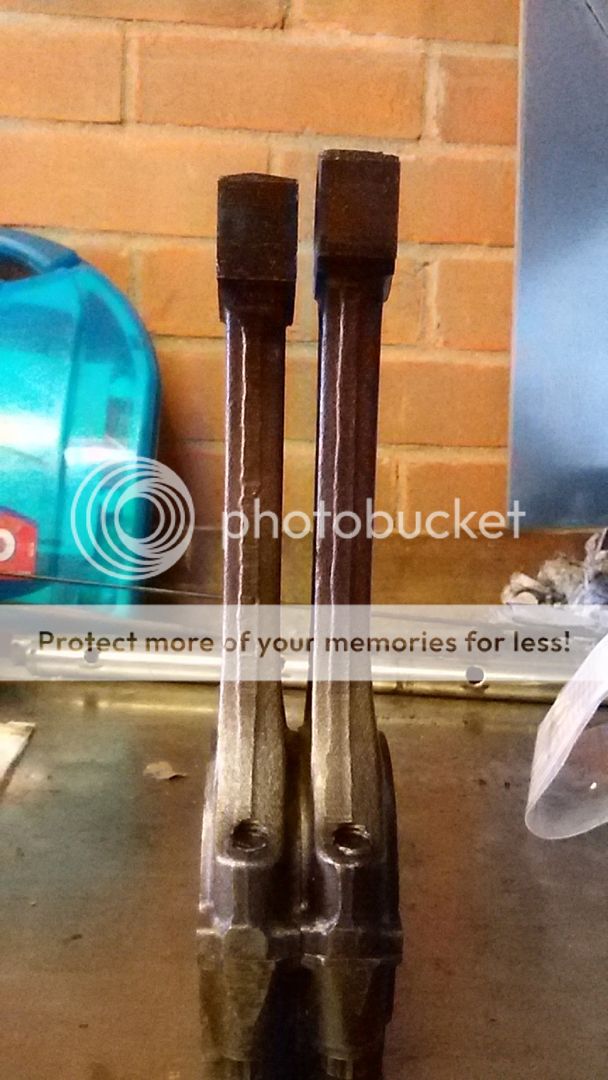
Here's the difference in the rods. Visually identified by the number of dimples on the side, the 4.6 are slightly shorter to match the longer stroke crankshaft.

20150624_155618-1_zpszdzuvbzd.jpg


20150624_155854_zpsayxrjuap.jpg


So after leaving the gudgeon pins in the freezer over night to make installation easier, I went back into work this morning to carry on.

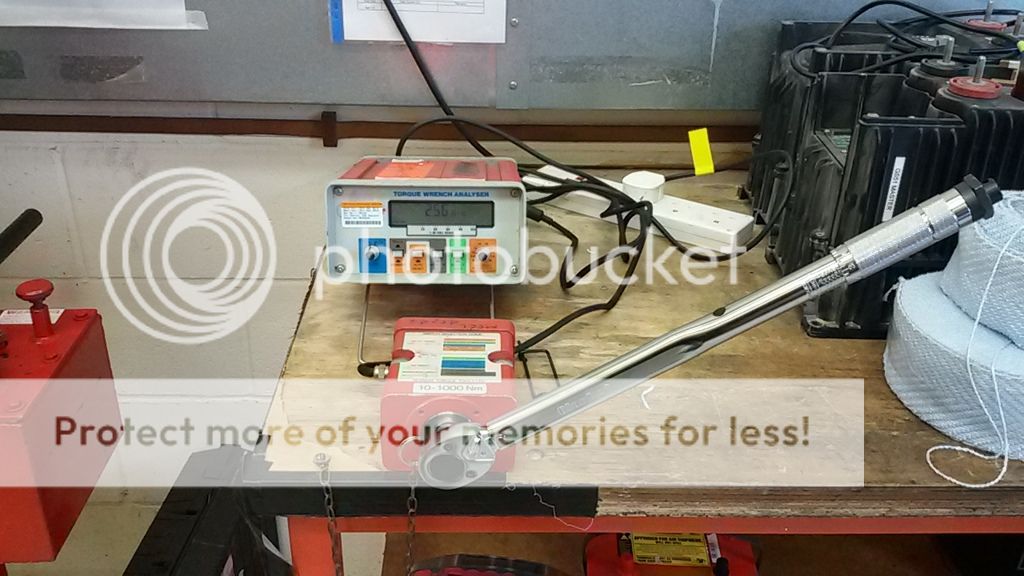
Before starting I took the opportunity to check my torque wrench was calibrated for the build later. All good :)

20150625_100359_zpsvyoxsrtq.jpg


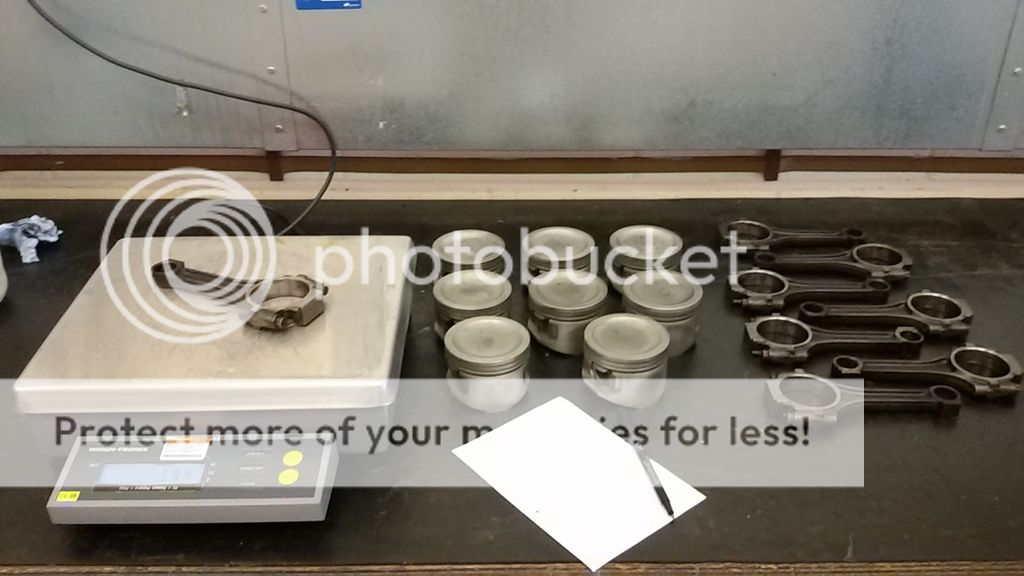
Then I spent some time weighing and matching the pistons and rods. All 8 sets are within 3 grams of each other now.

20150625_102758_zpsufilldut.jpg


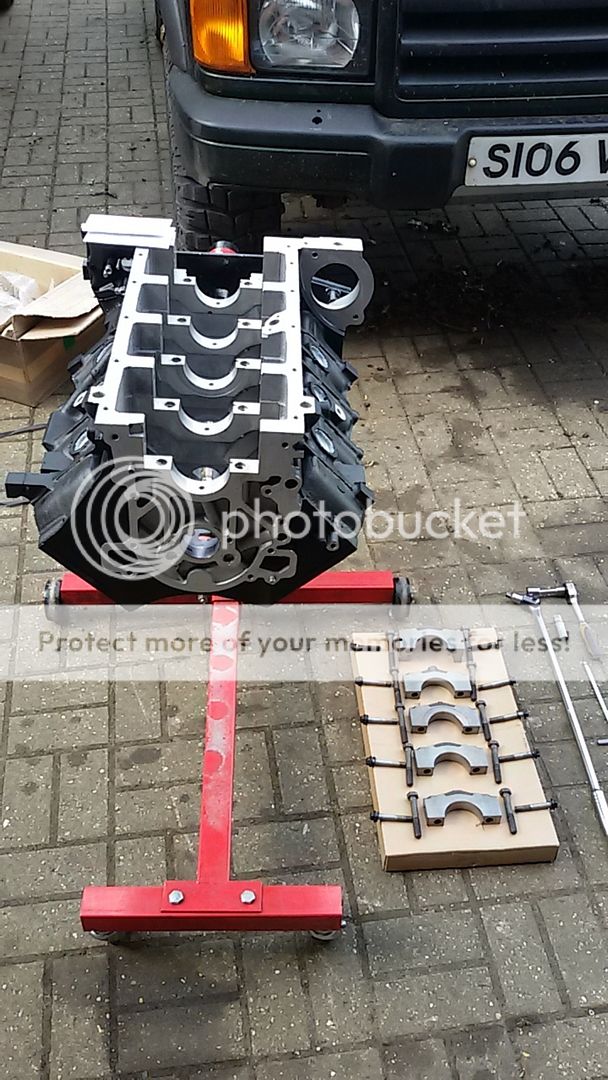
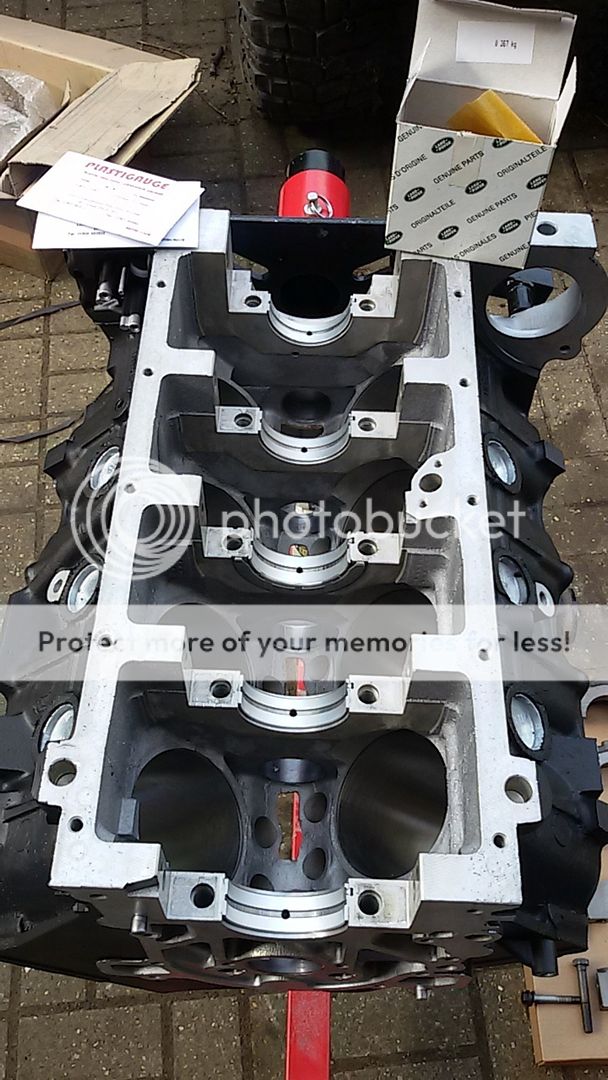
With all that done I could come home and crack on with the build. First job was to take the main caps out of the block.

20150624_164510_zpsp8fo0w3f.jpg


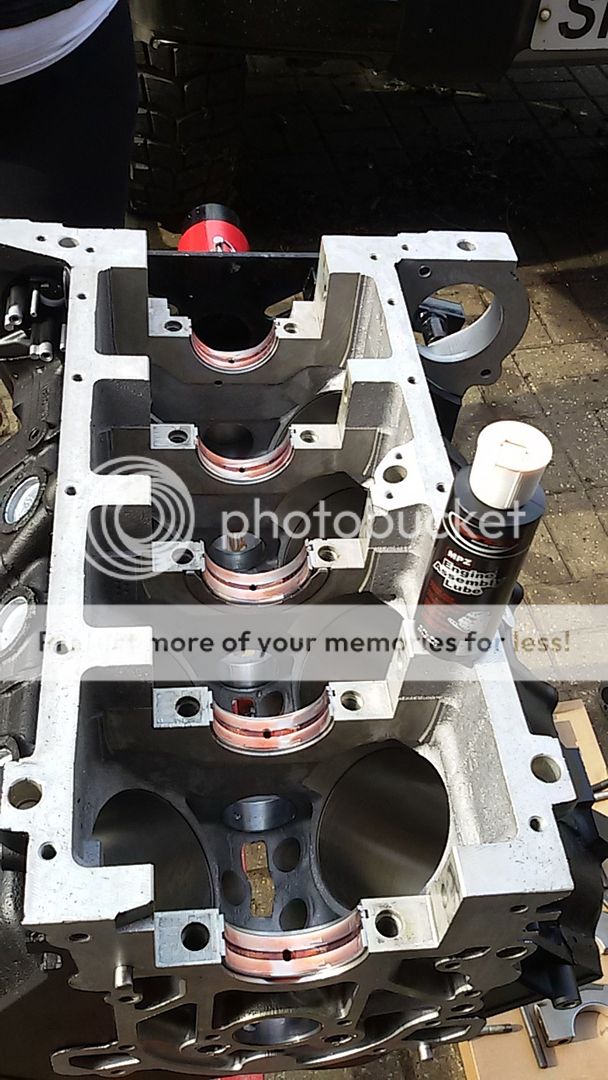
New shells in

20150624_164936_zpsu0g7ww9u.jpg


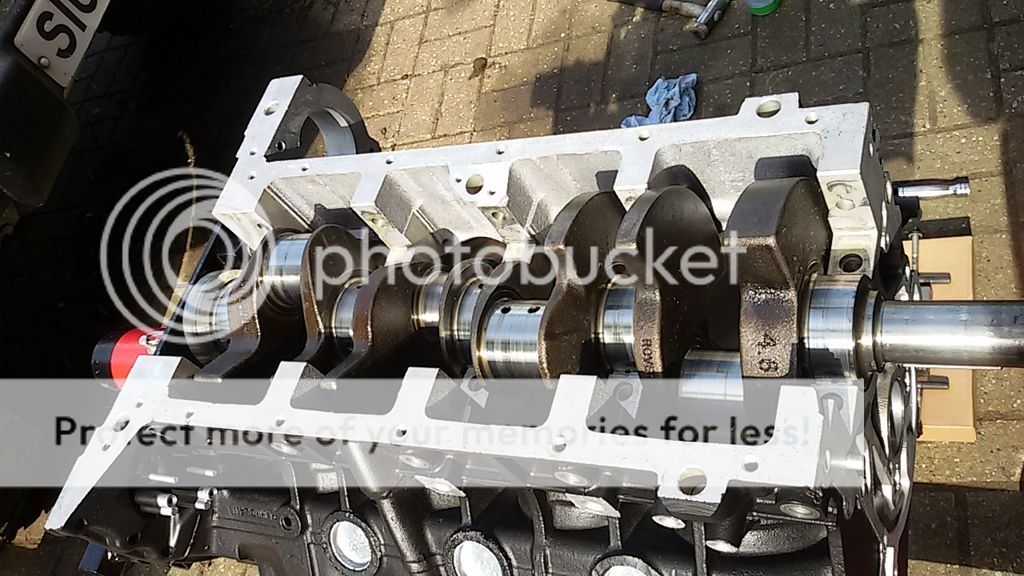
Crank in.

20150624_165052_zpsomhzskzh.jpg


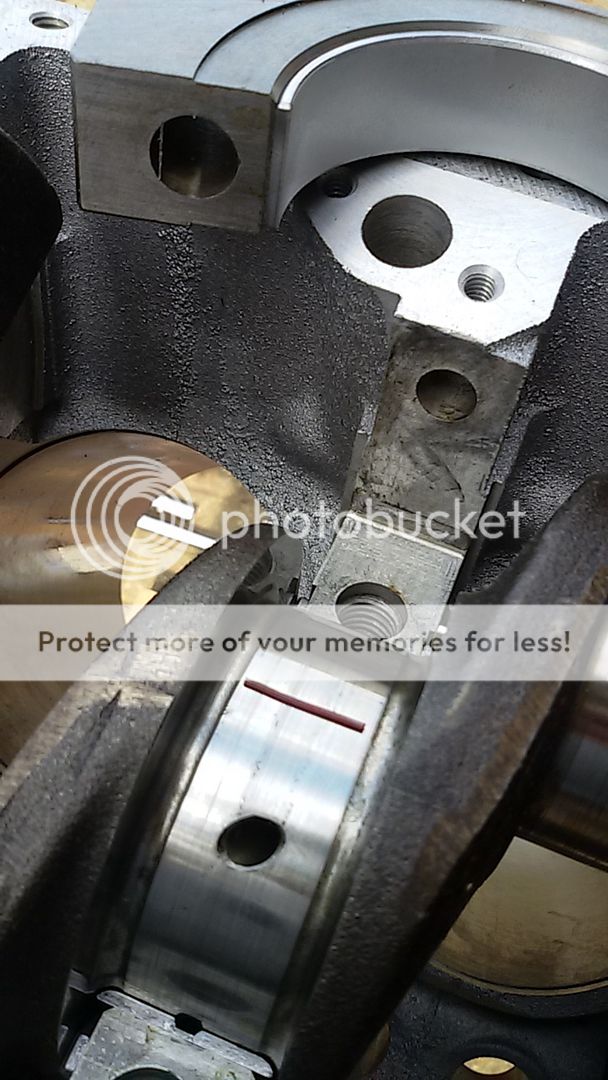
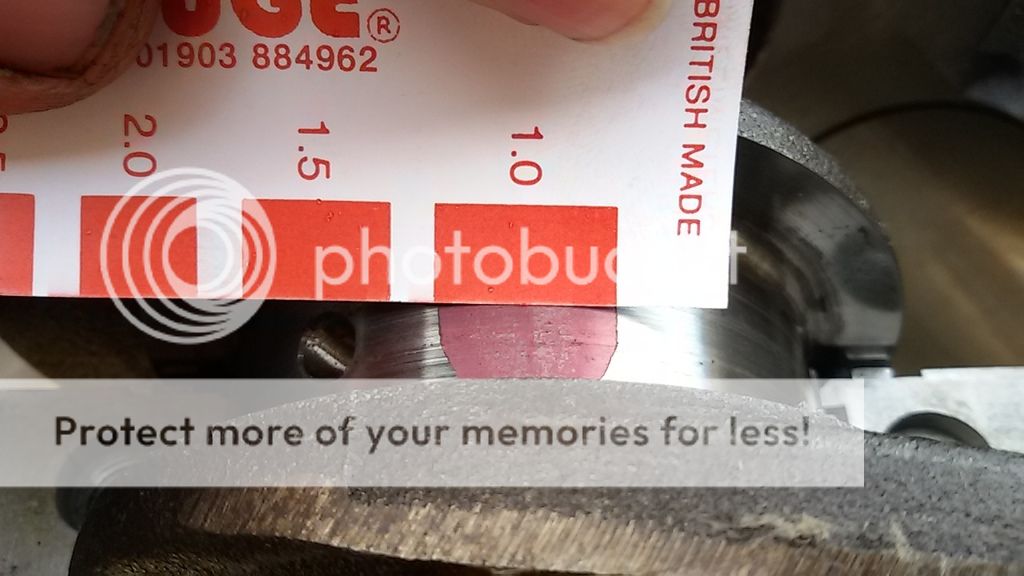
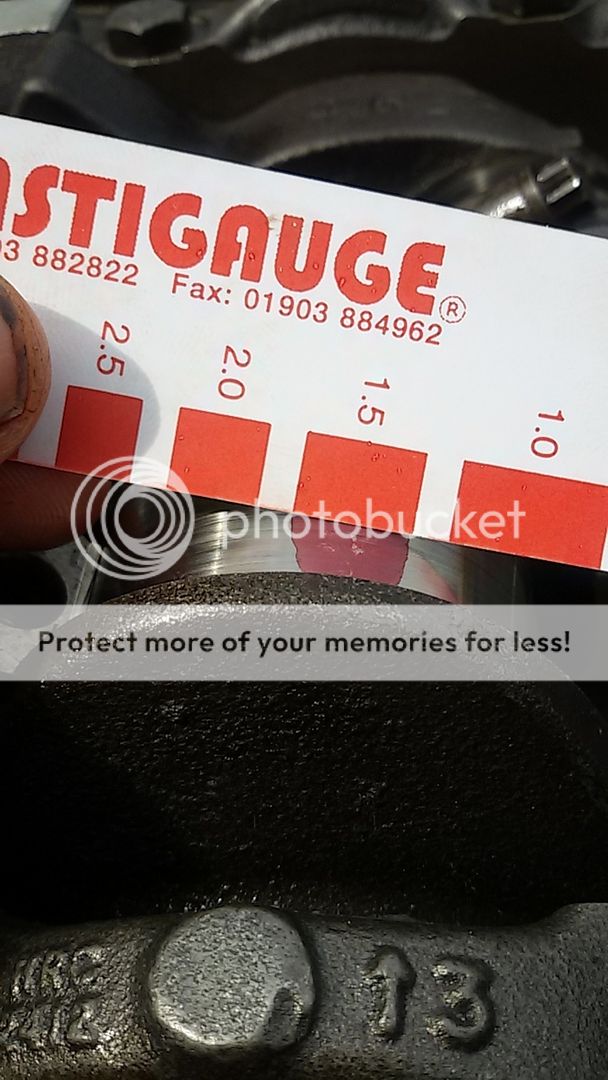
Out with the Plastiguage to check the main bearing clearances.

20150624_165843_zps1imqrgwl.jpg


Acceptable clearance is between 0.0004" and 0.002". Plastiguage showed a little over 1 thou so all good.

20150624_171311_zpsbqquh61p.jpg


Crank back out to add some assembly lube.

20150624_172325_zps6z8ismzf.jpg


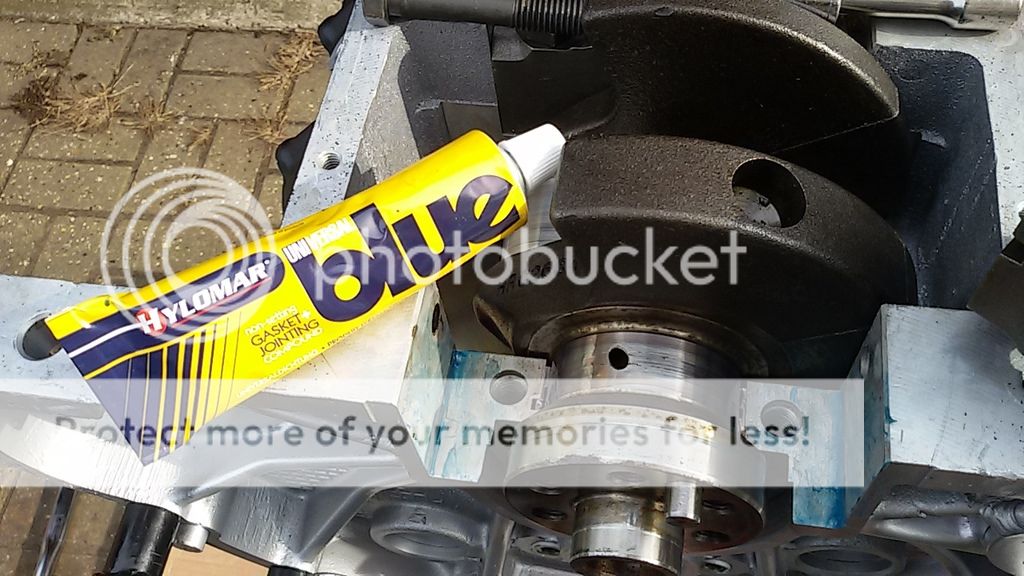
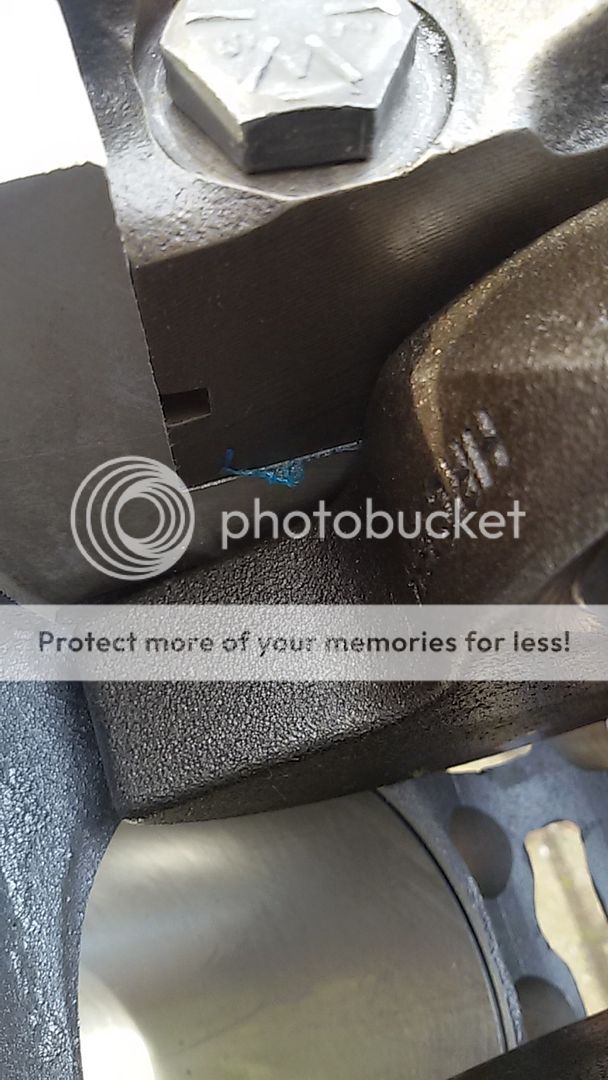
Back in and Hylomar blue added to the rear main cap as per the Land Rover rebuild procedure.

20150624_173854_zpsndg7zhvo.jpg


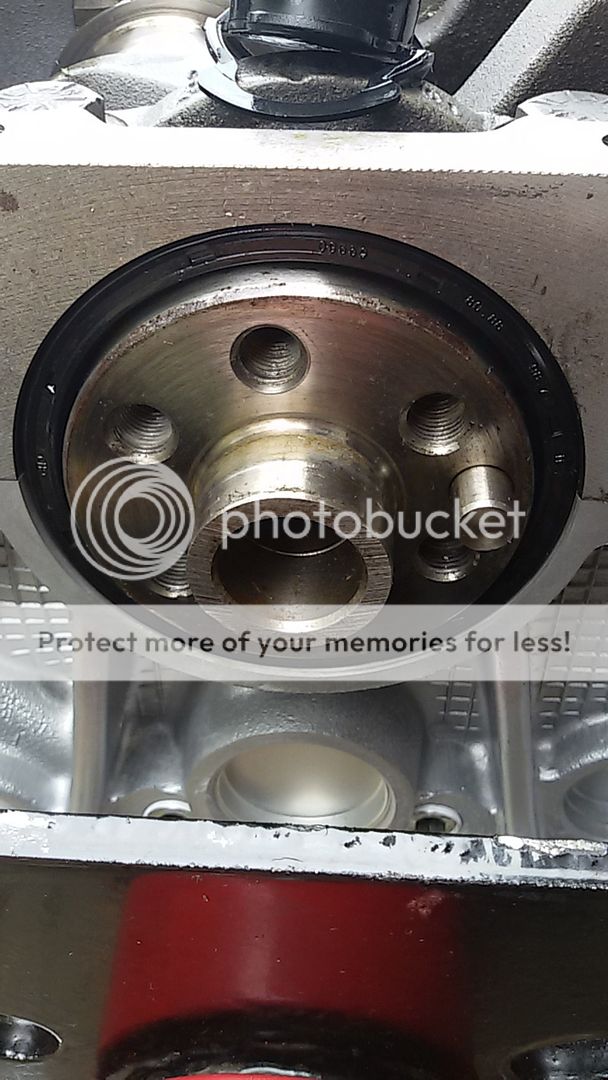
Cap on along with the rear crank seal.

20150625_124444_zpsax0gnq0z.jpg


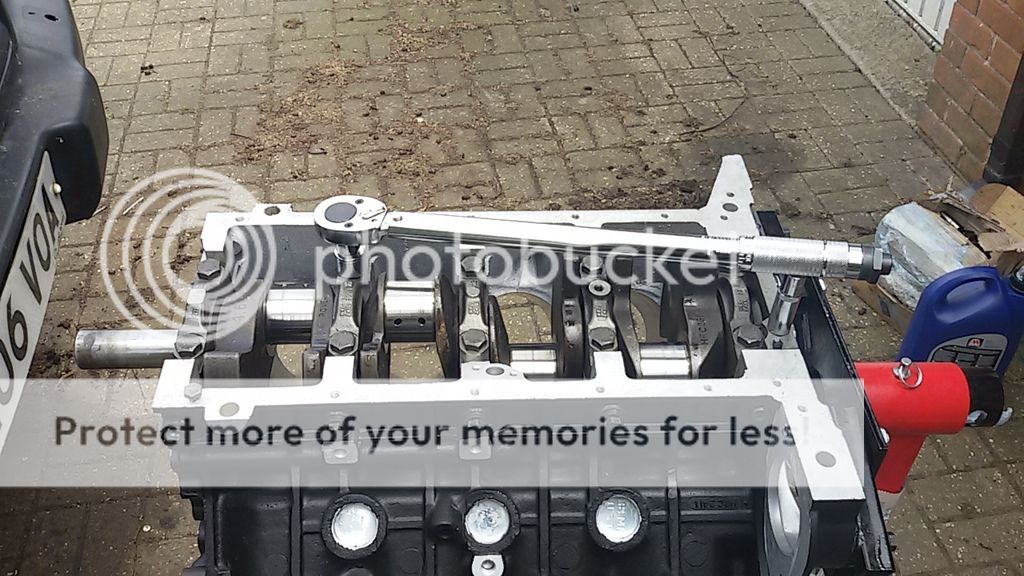
All torqued up.

20150625_132807_zpsir77tp63.jpg


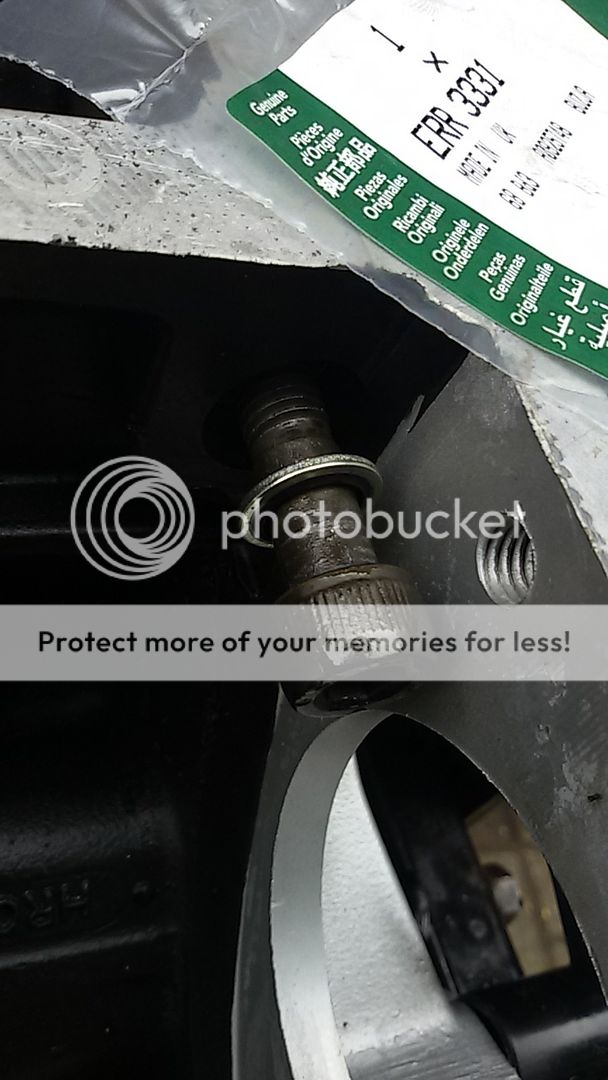
Including cross bolts, remembering to fit the sealing washers

20150625_124411_zps3uxvy0jf.jpg


And here's one bit people forget. Checking for, and removing any sealant that has squashed out from the rear cap. You don't want it falling off, finding it's way into the oil system and blocking something.

20150624_174338_zpshca7oq6j.jpg


Next job was fitting the pistons. First the new rings needed checking for gap which were all within limits.

20150625_134620_zpspajjlruu.jpg


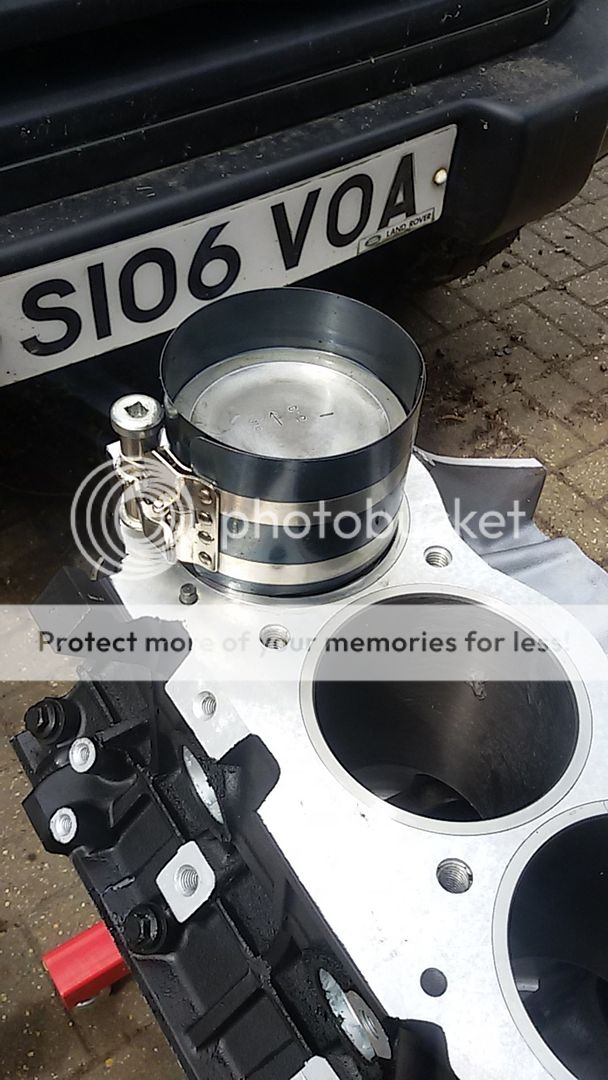
I also checked the ring clearance in the piston grove, and the skirt to cylinder clearance, but didn't get any pictures. With them all fine the pistons could go in.

20150625_154410_zpsq0vxkfzu.jpg


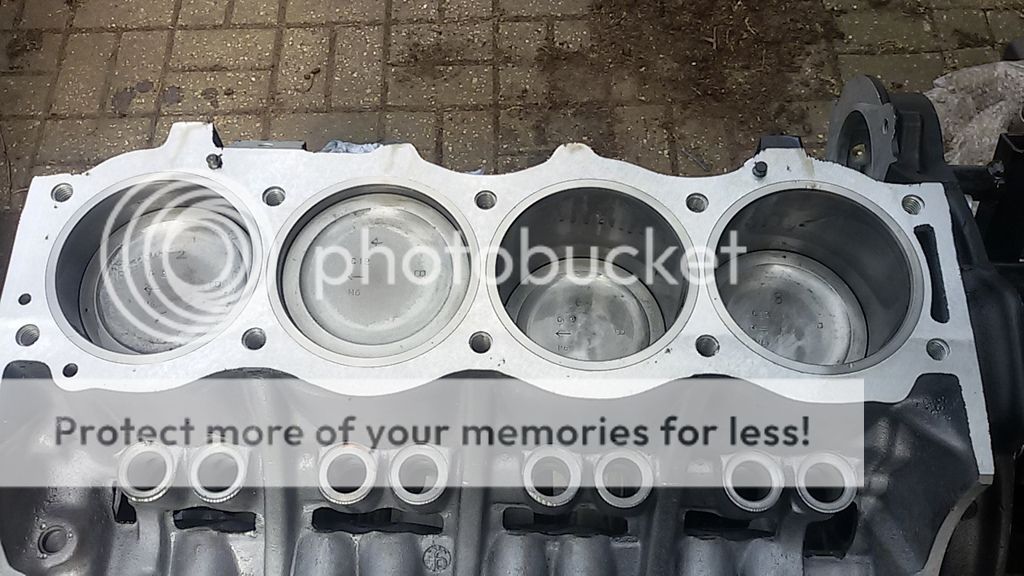
All done.

20150625_163527_zpshcre541c.jpg


20150625_163518_zpsuxdtgxpm.jpg


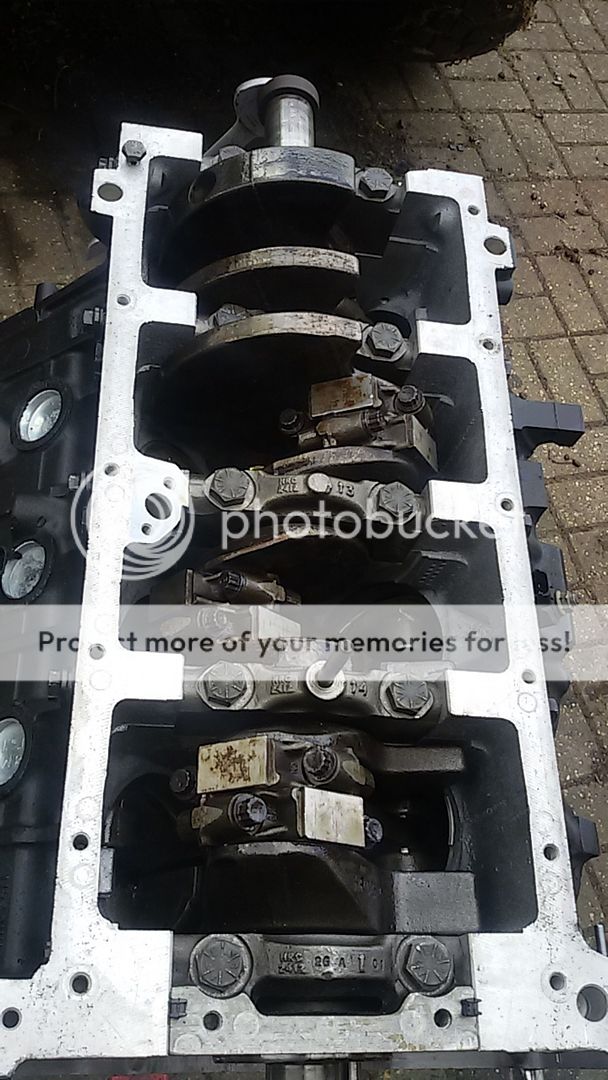
Big end bearing clearance checked. A touch bigger than the mains but no issues, still well within tolerance.

20150625_151250_zps03k8ko6g.jpg


And all torqued up with new stretch bolts.

20150625_171128_zpsbhs37zf1.jpg


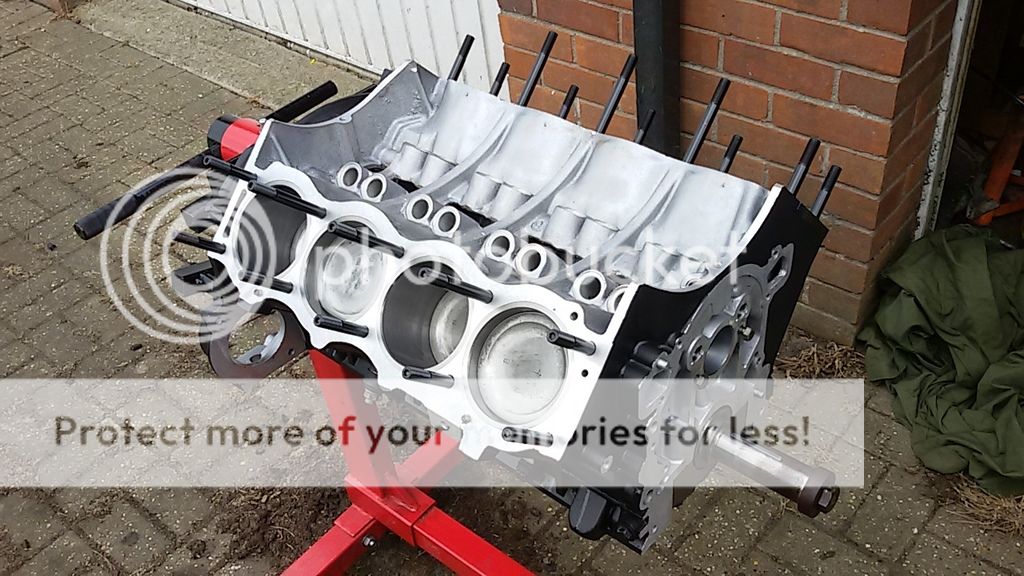
Finished up the block with fitting a set of ARP head studs

20150625_175647_zps8dnjvlt4.jpg


Thanks for reading.

 
A picture speaks a thousand words. A Really detailed thread.
I will also be using that colour scheme when I do my 4.6 in a few weeks time.
As btd said keep them coming.
 
Cheers guys. On with the rebuild.

First job was to get the heads fitted with new elring composite gaskets.

20150627_104200_zpslvvldntx.jpg


Torquing them up was nerve racking as there is a lot of stories on the net about the threads pulling out of the aluminium block when using studs. Some people say the 80lb-ft torque specified by ARP is too high for the block and to only do it to 65/70lbs-ft.

I decided to put my engineering head on, along with a few brave pills, and trust the manufacturer. Went with the full ARP torque loading but first ensuring the threads were spottless and giving a good settling time between each tightening sequence. All torqued up fine with no stripped threads, so IMO anyone pulling them out is either doing something wrong or has a damaged block to start with.

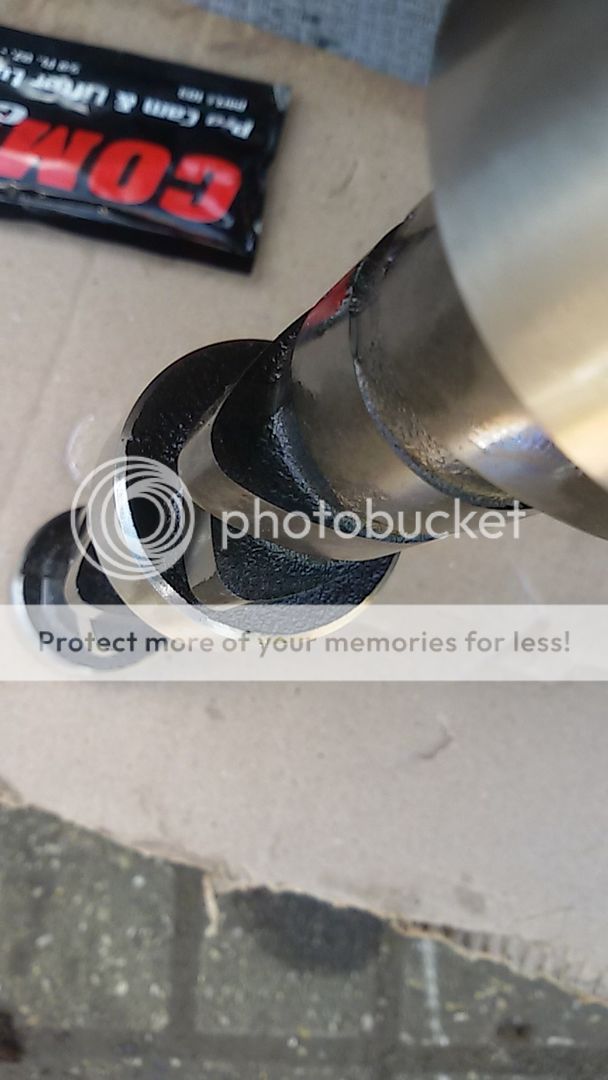
Anyway, with the heads on it was onto valve train. First with the new Kent H180 "high torque" camshaft.

20150627_121129_zpsqckegoct.jpg


20150627_121157_zpsn4nlsjbd.jpg


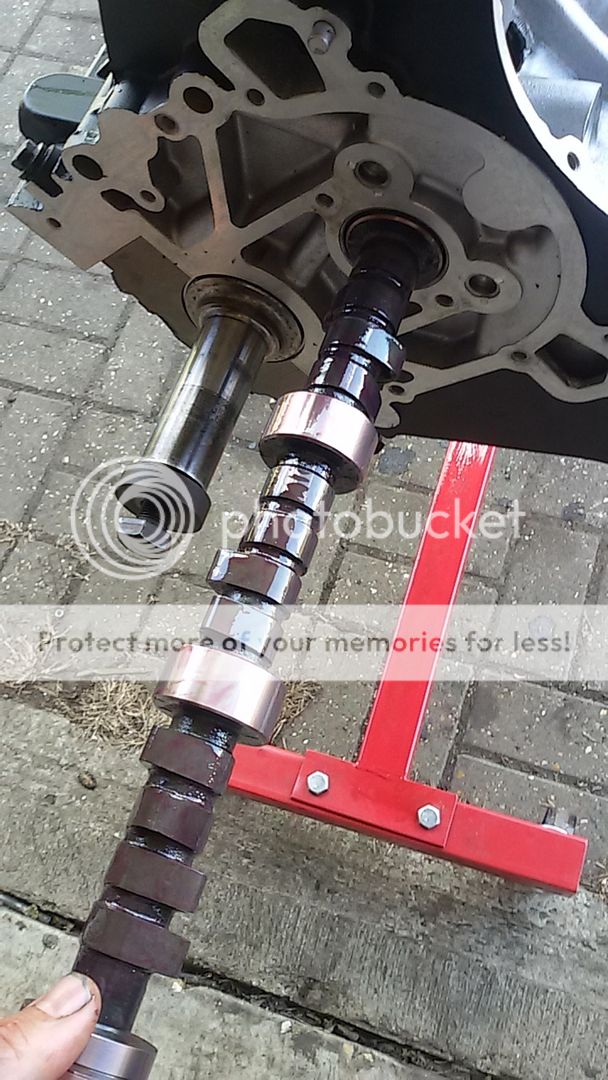
Fitted along with plenty of cam lube.

20150627_121512_zpsefpzzudo.jpg


Retaining plate fitted.

20150627_122452_zpsccvdkkqb.jpg


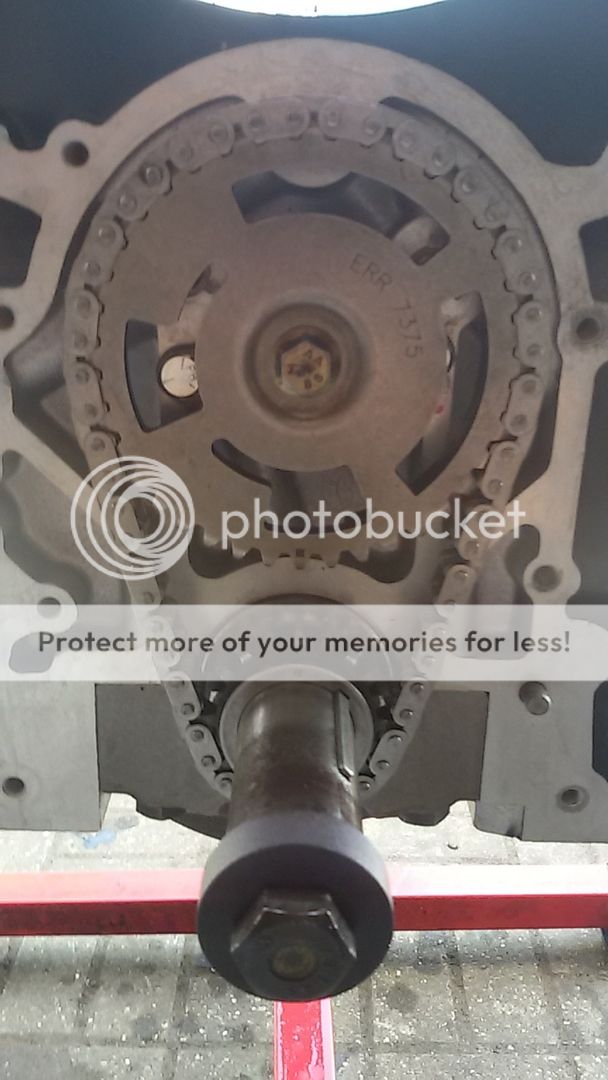
Timing gears with new chain

20150627_123358_zps6s7kspnb.jpg


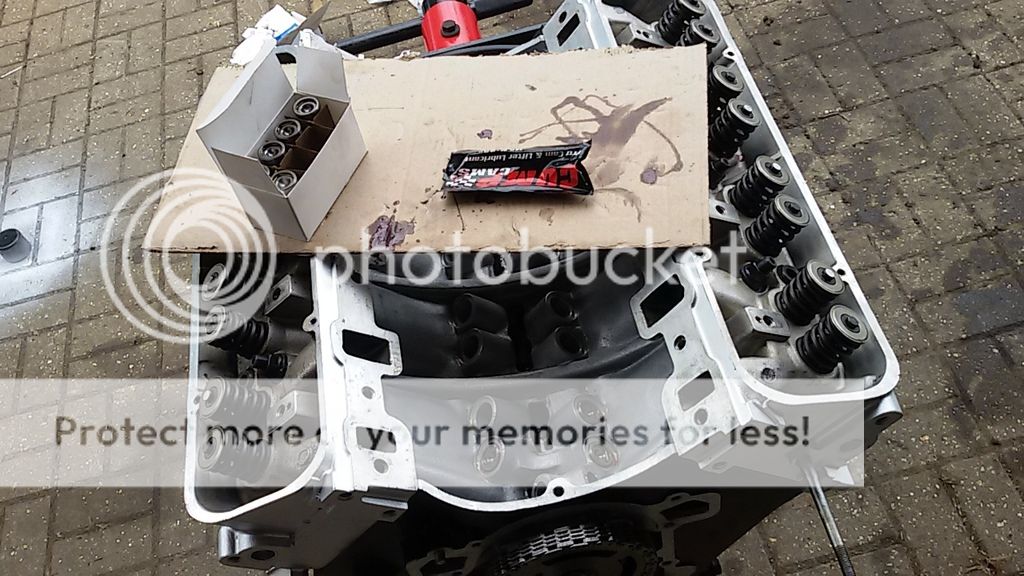
New cam followeres with more cam lube.

20150627_132808_zpspl0nngmc.jpg


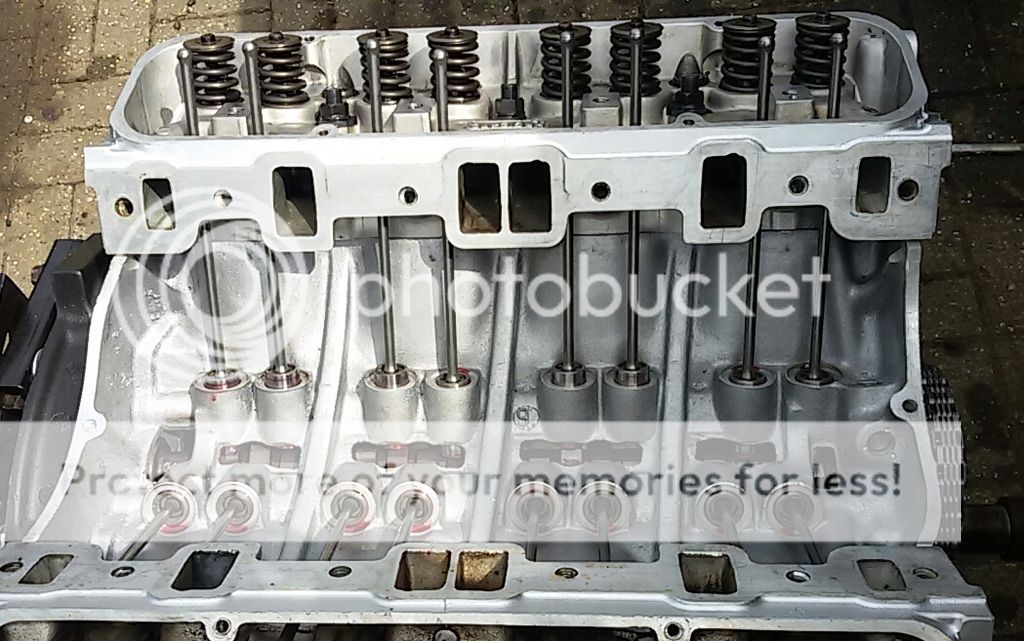
New pushrods in

20150627_134024-1_zpsrdpgdwar.jpg


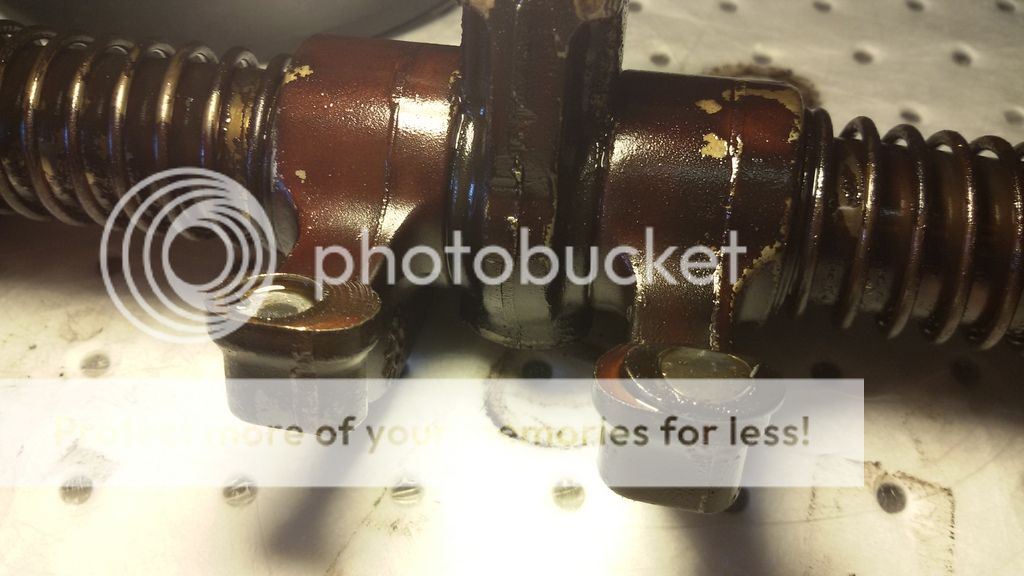
As I said, one of the reasons leading to a rebuild was the damage found on the rockers.

20150425_112710_zpsmzpzbizt.jpg


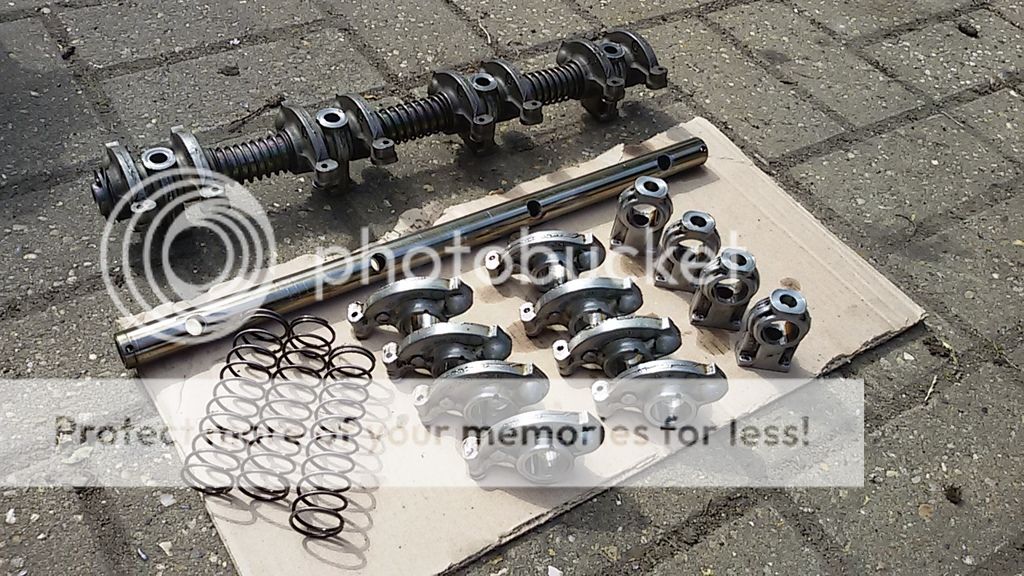
To sort this I bought a used but in good condition rocker shaft. I then stripped my two old ones, inspected them and chose the best parts to rebuild one good shaft.

20150627_155503_zpsyysdfvi4.jpg


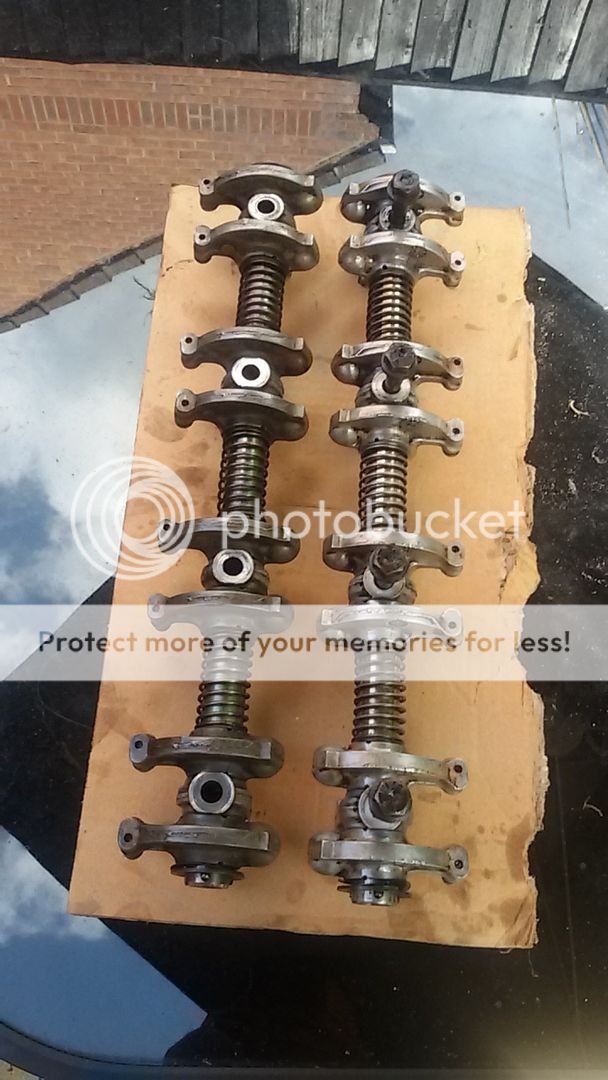
New pair together

20150627_161851_zpsktotru0l.jpg


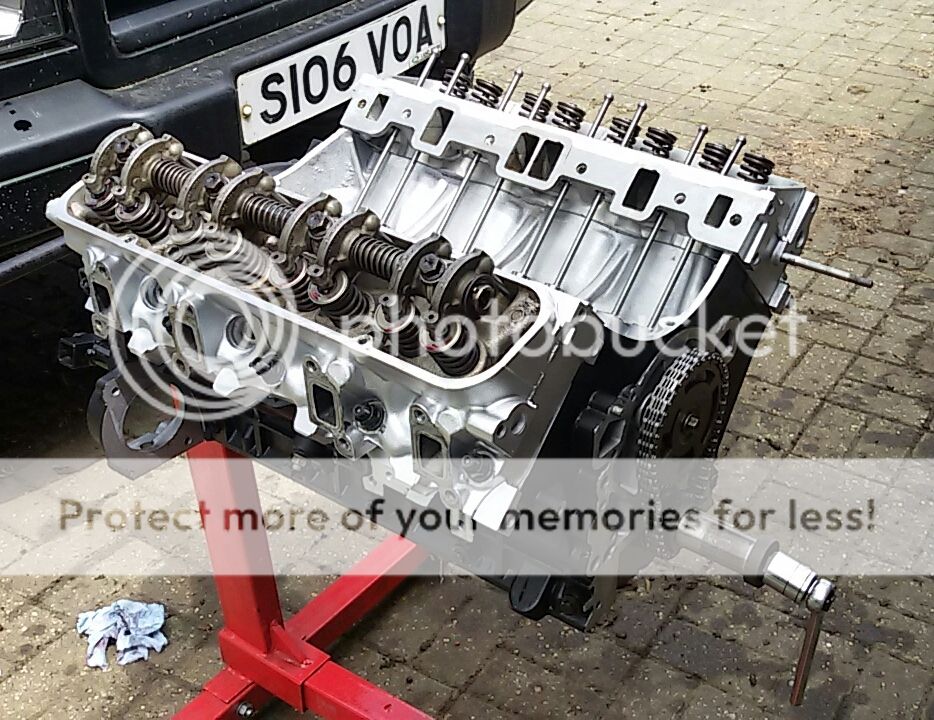
Fitted

20150627_134005-1_zpsgafi5ude.jpg


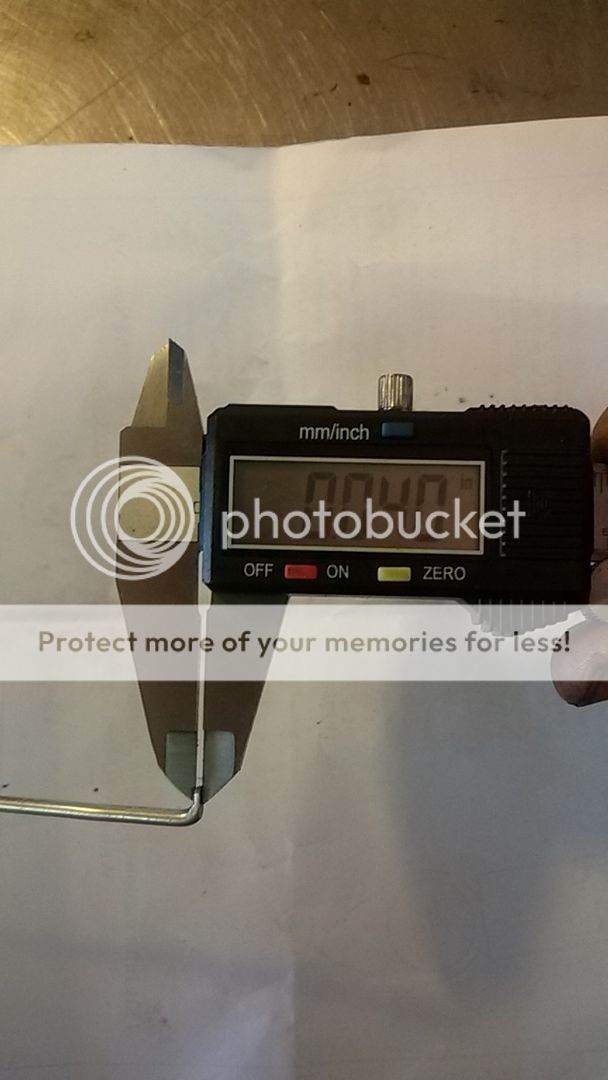
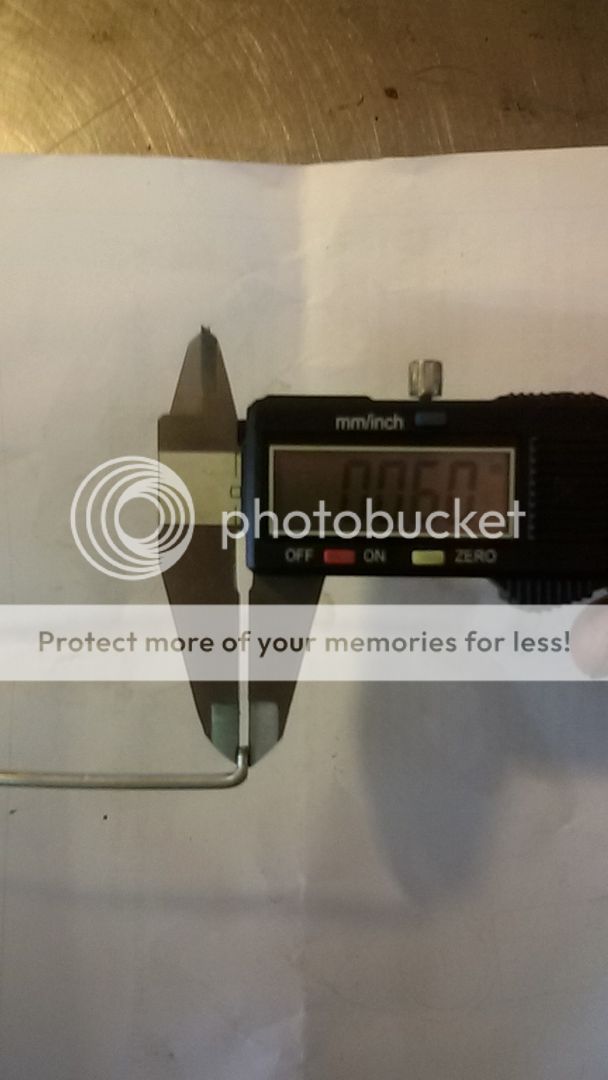
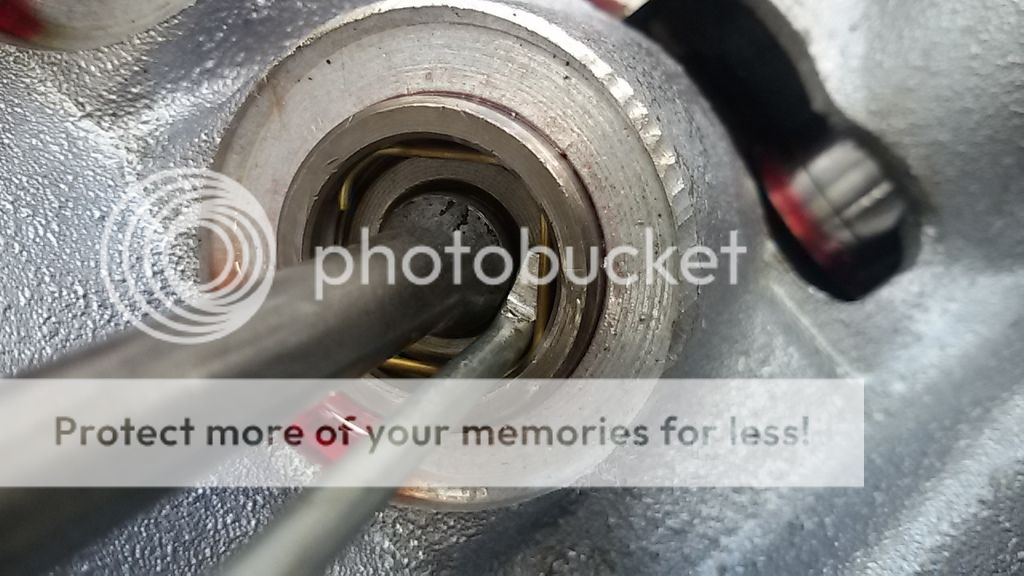
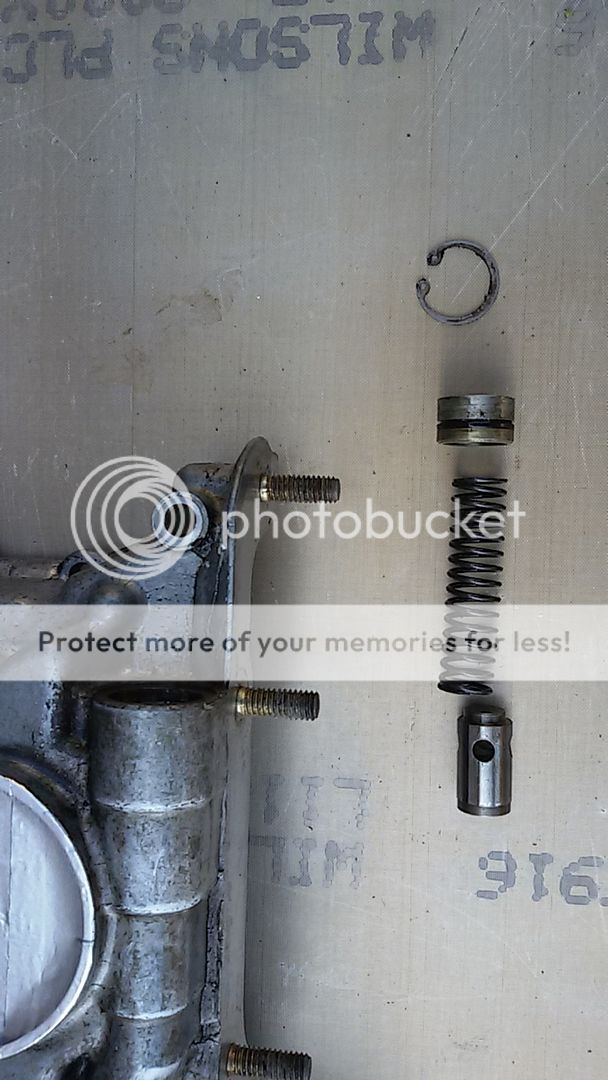
Next the lifter preload needed to be set up, this is the distance between the spring loaded center of the tappet and the circlip that retains it. Needs to be 40-60 thou, measured when the cam lobe is at it's lowest point (valve closed).

It's a pain in the arse to measure so common practice is to make a "go no-go" guage. My weapon of choise was the hook from an old coat hanger.

20150627_135652_zps6qkumg1d.jpg


Straitened and then bent at right angles both ends.

20150627_141113_zpss74vxpbq.jpg


Each end filed to the corresponding tollerance

20150627_141318_zpseucgxrx4.jpg


20150627_141212_zpsxveggvnl.jpg


This can then be poked under the circlip to check clearance. When the small end fits but the big end doesn't the preload is within spec. Easy peasy :thumb:

20150627_142054_zpstperunn3.jpg


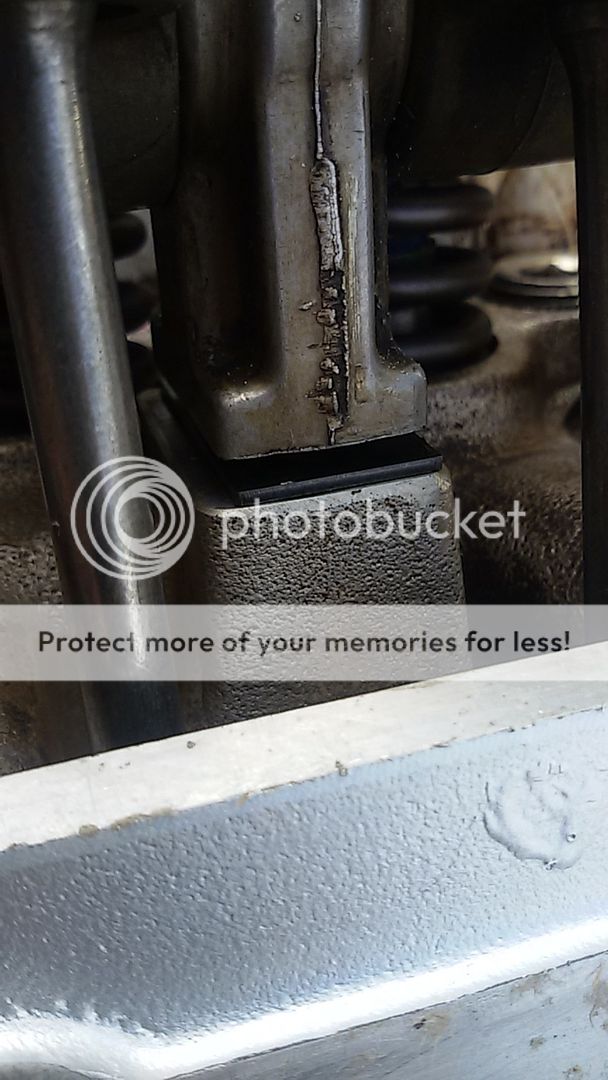
Adjustment is made by placing shims under the rockershaft pedestal.

20150627_143551_zpsps870y40.jpg


With that setup and torqued it was time to sort the front cover.

20150626_145953_zps4dc1pqzj.jpg


20150626_150003_zpsfkcletsh.jpg


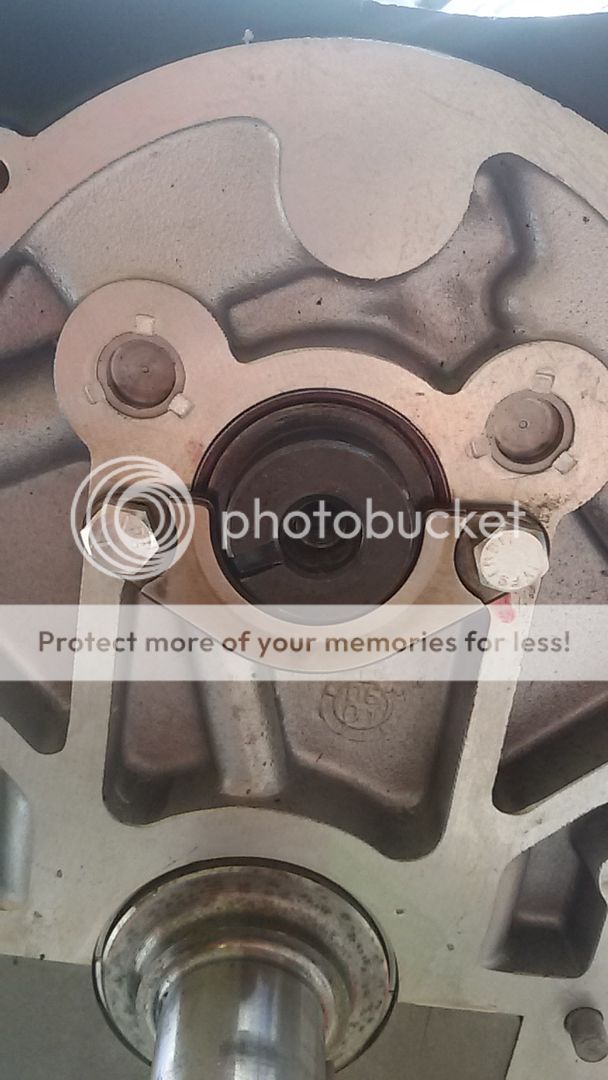
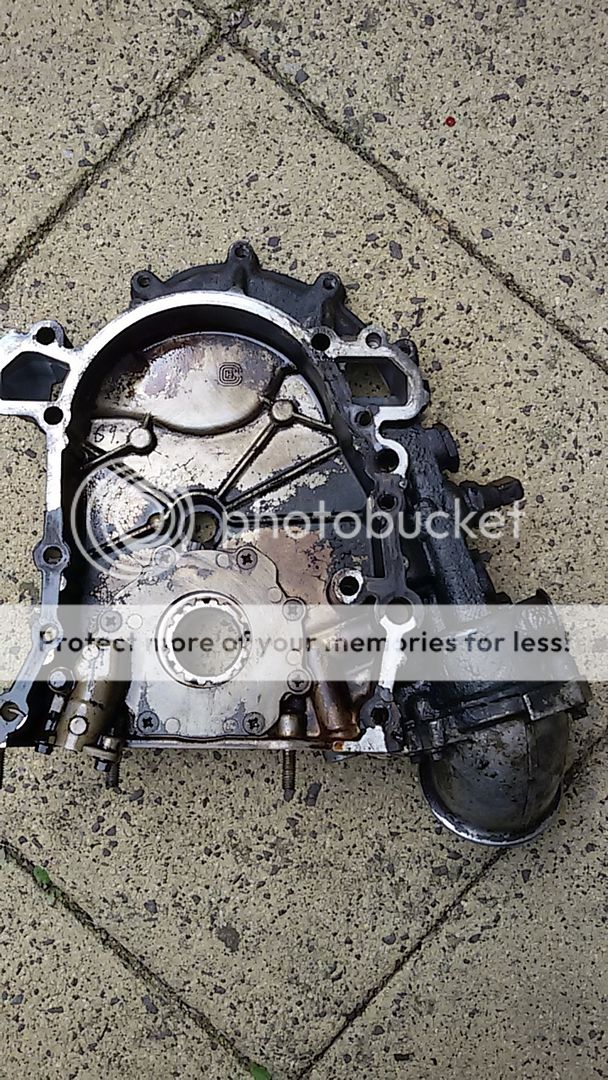
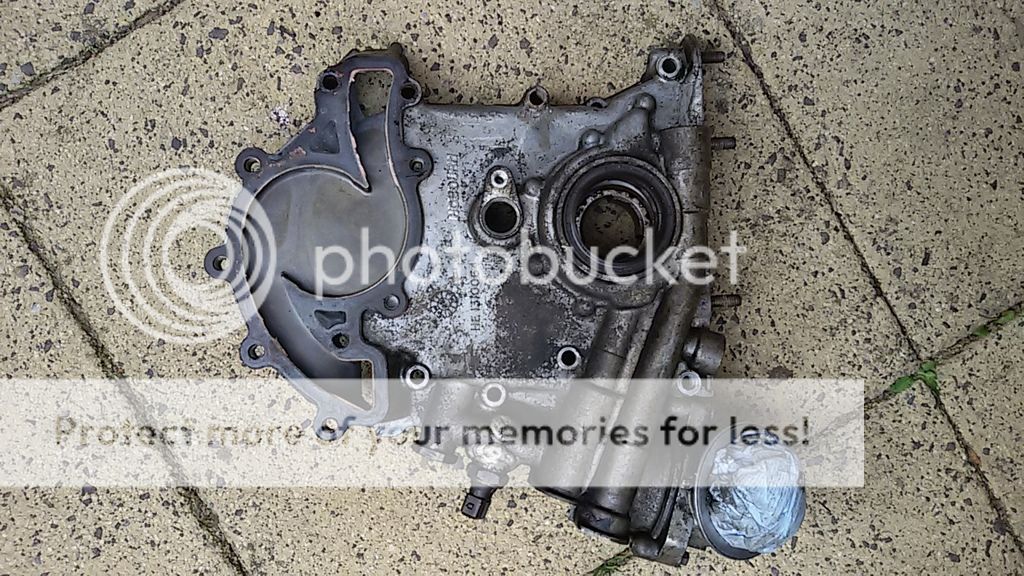
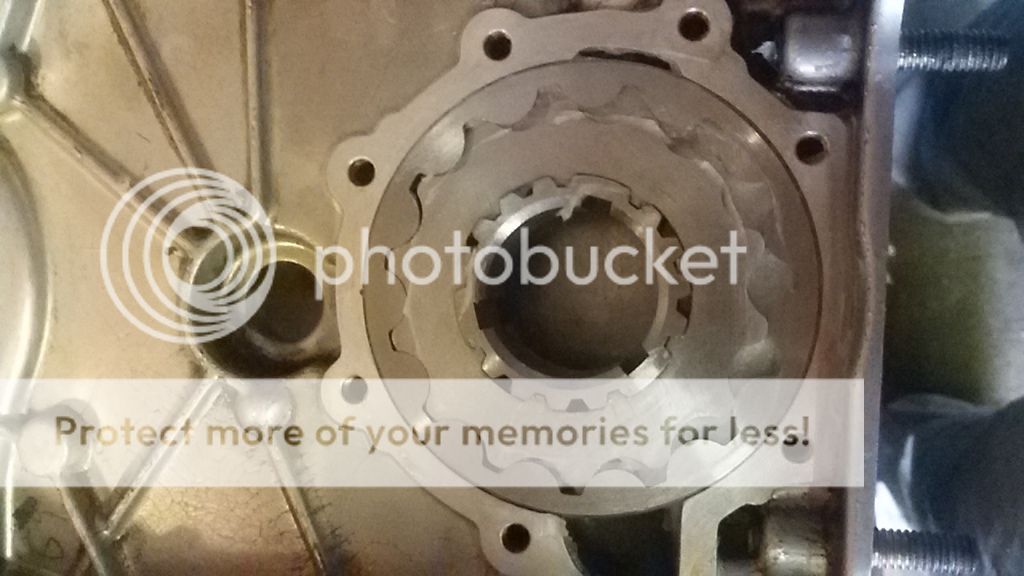
Cleaned inside including inside the oil pump housing and removal of the oil pressure valve.

20150627_093902_zpsx5p5lmgn.jpg


20150627_093948_zpsruzacrkw.jpg


New oil pump gears fitted. Packed with vaseline to help with quick priming on first start.

20150627_131725_zpsuszyeooc.jpg


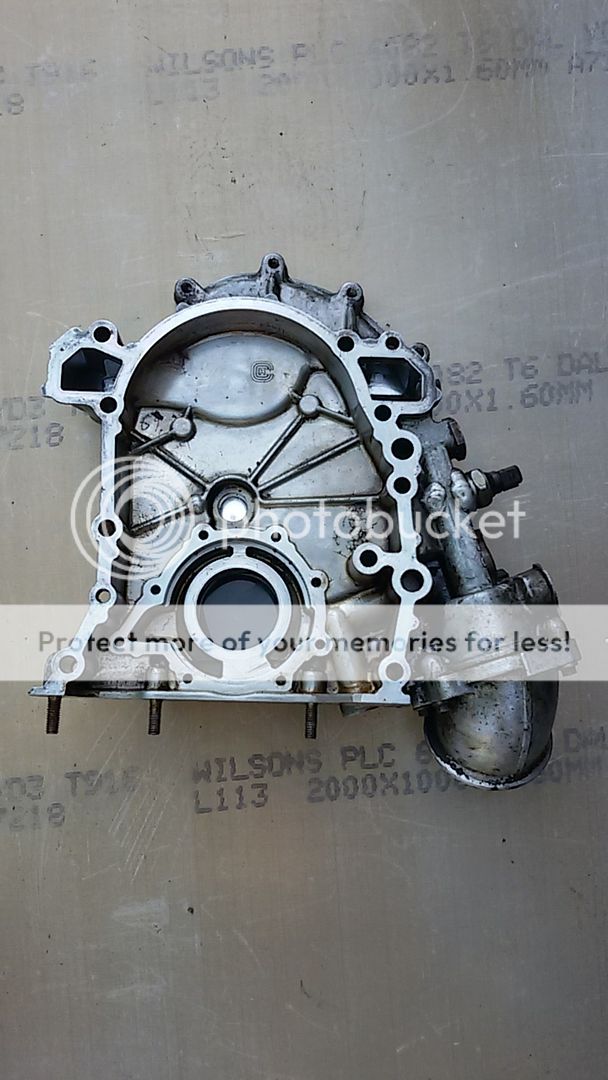
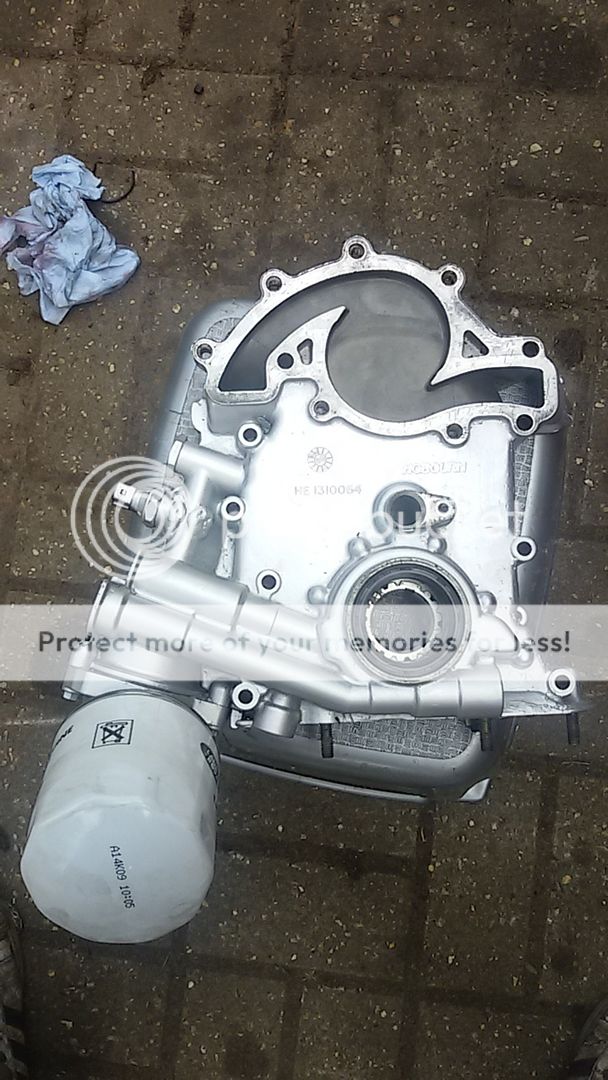
Cleaned and painted outside with new crank seal, Oil filter fitted loosly to keep crap out.

20150627_132308_zpsoblyvsnm.jpg


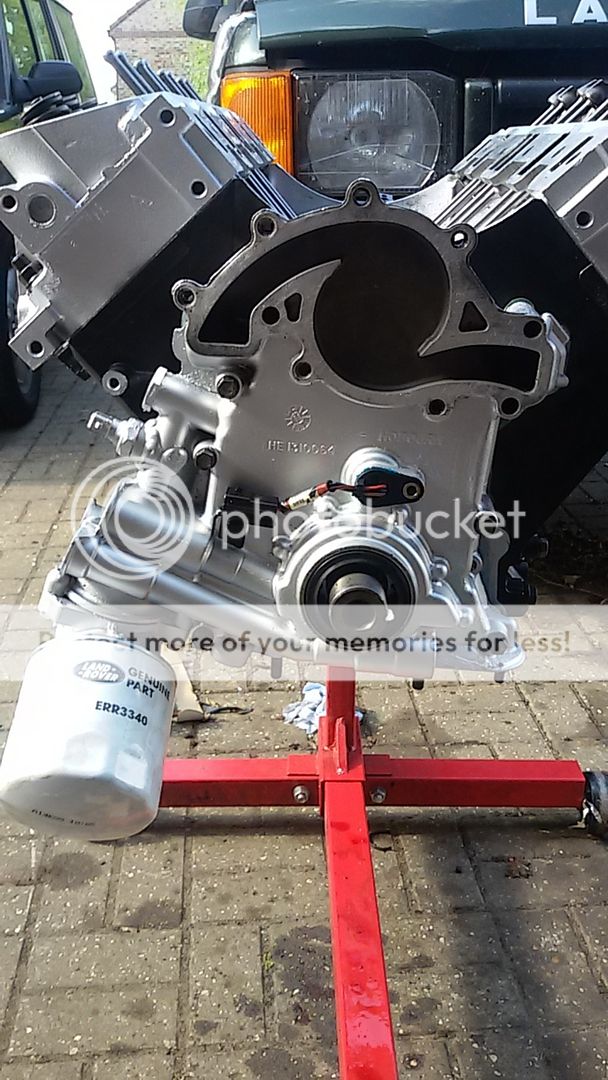
Fitted.

20150627_170430_zpsopazirzt.jpg


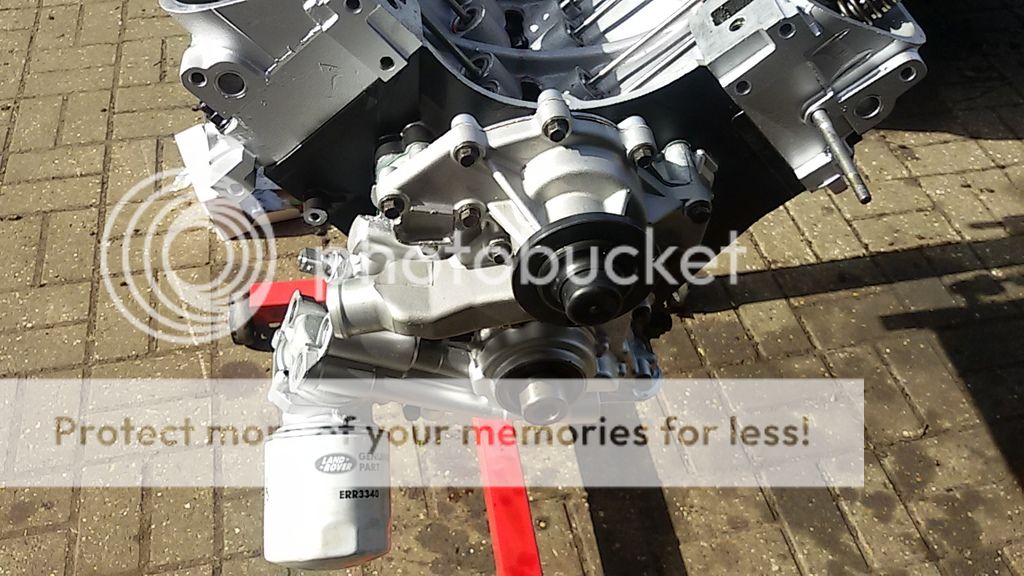
New water pump

20150627_171220_zpsbm4lzpbf.jpg


Moving on, vally gasket fitted.

20150627_180110_zpskklc5zax.jpg


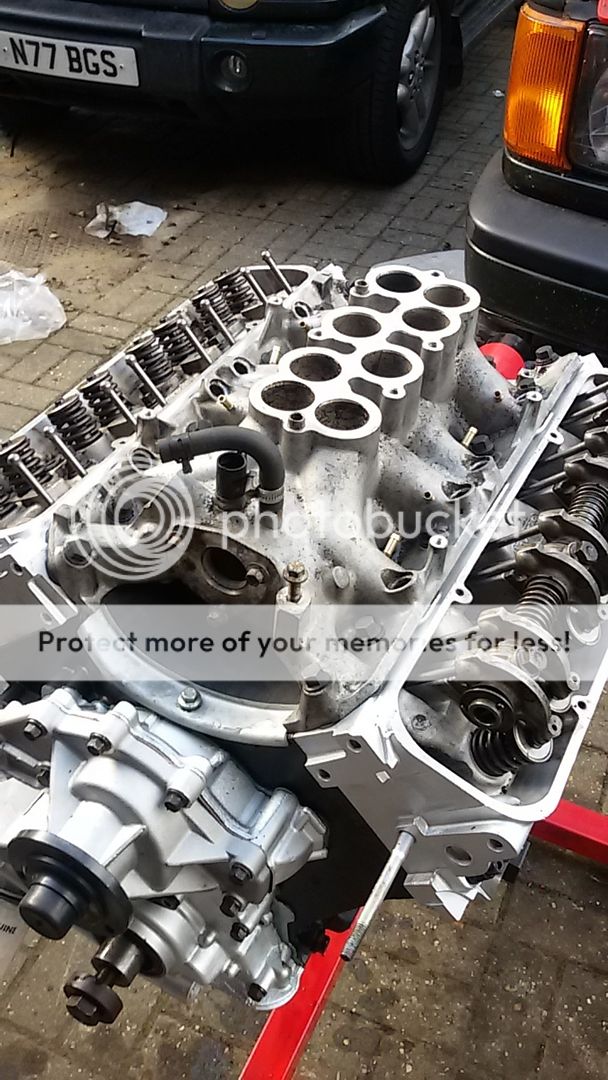
Lower manifold fitted, cleaned but not painted to save time as it's not seen once the upper manifold is fitted.

20150627_182232_zpsb0w1bvpl.jpg


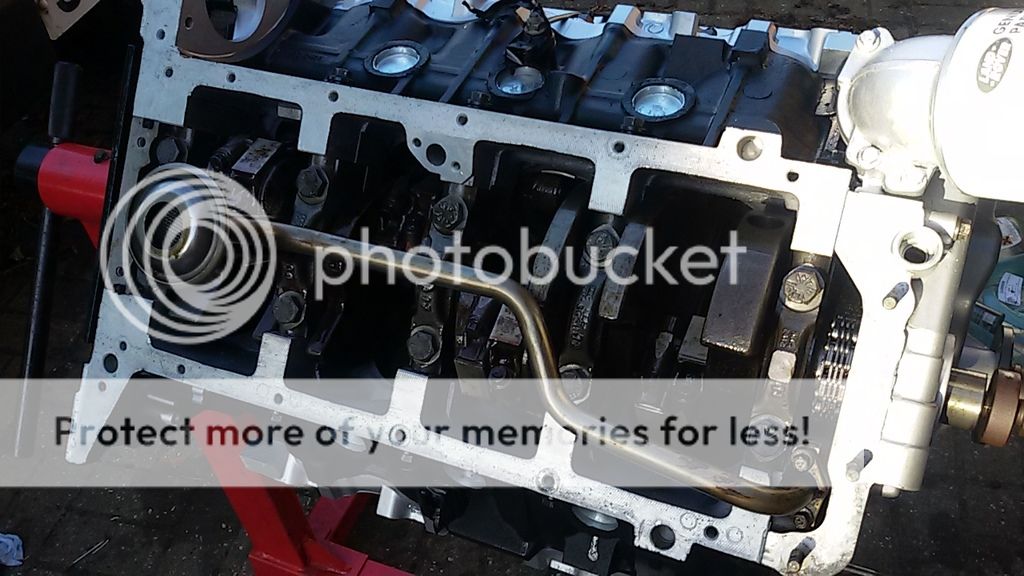
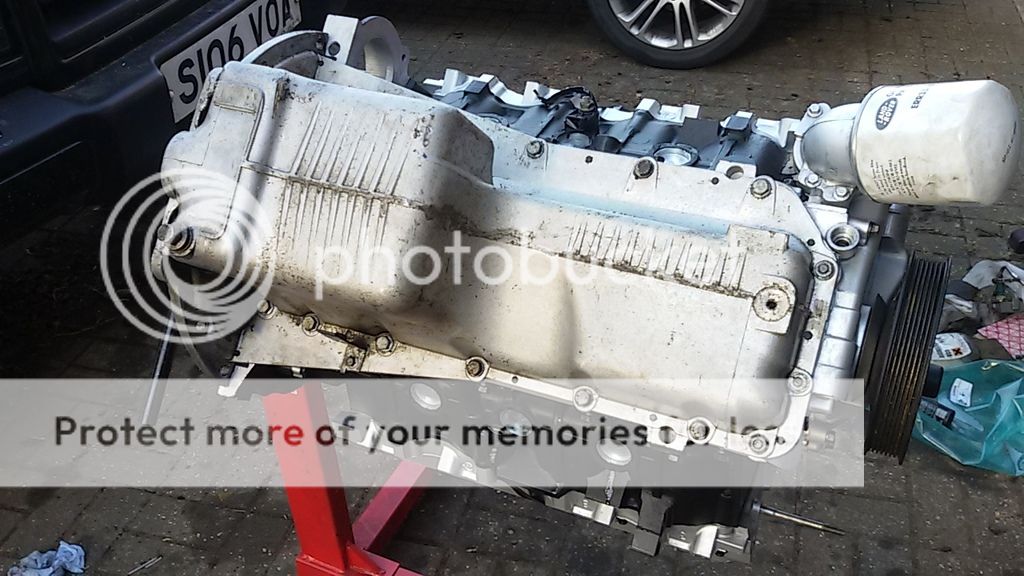
Engine turned over to fit oil pickup and sump. Also not painted, occasionally have to remind myself this is a Landrover that goes off road a lot ;)

20150627_190651_zpsjrdwlnxj.jpg


20150627_192545_zpsnnzd2gci.jpg


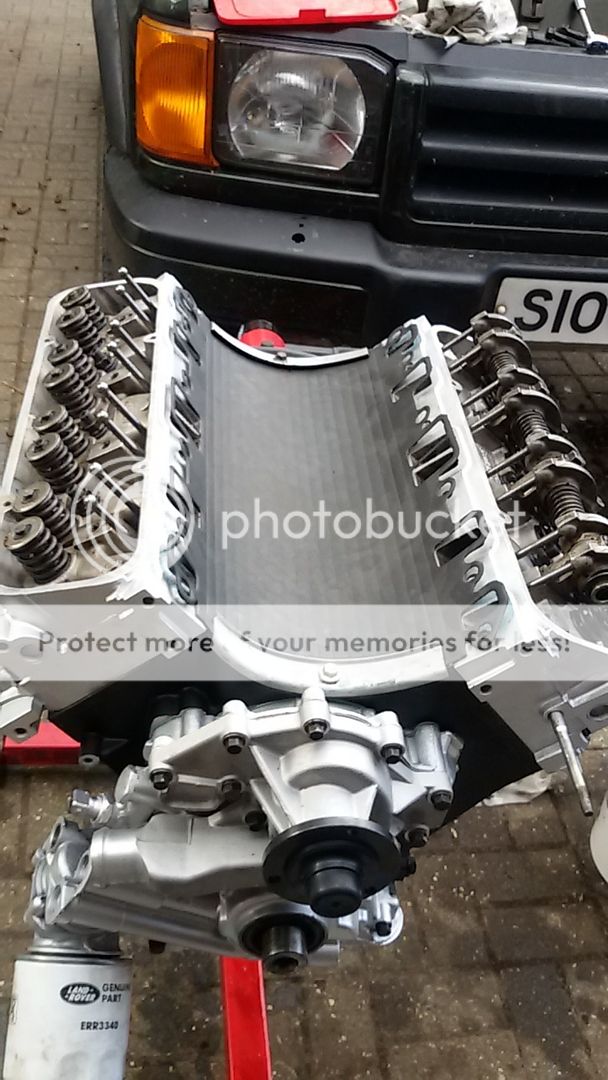
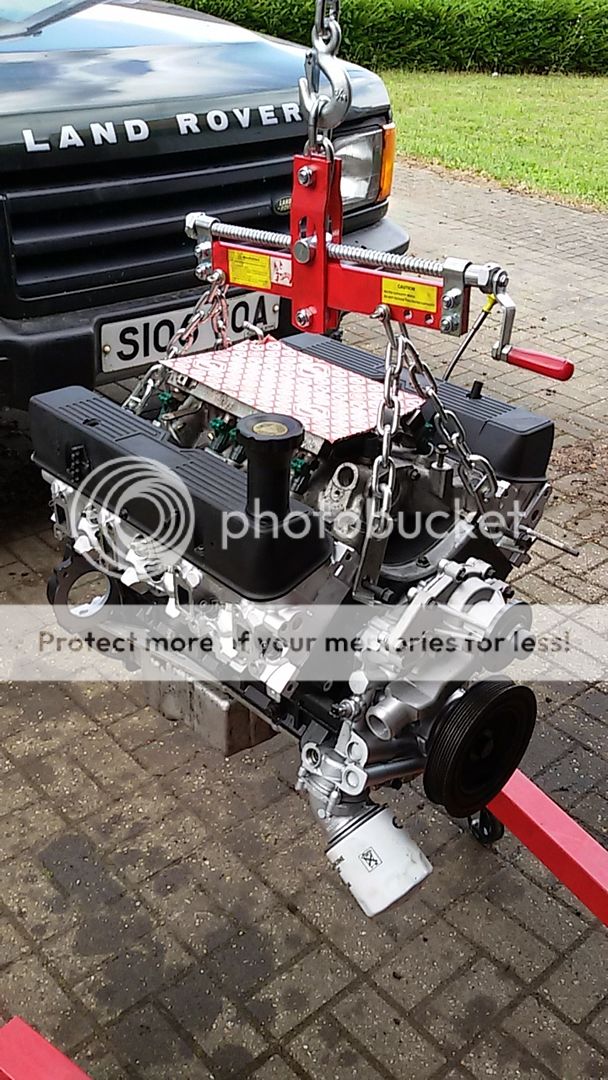
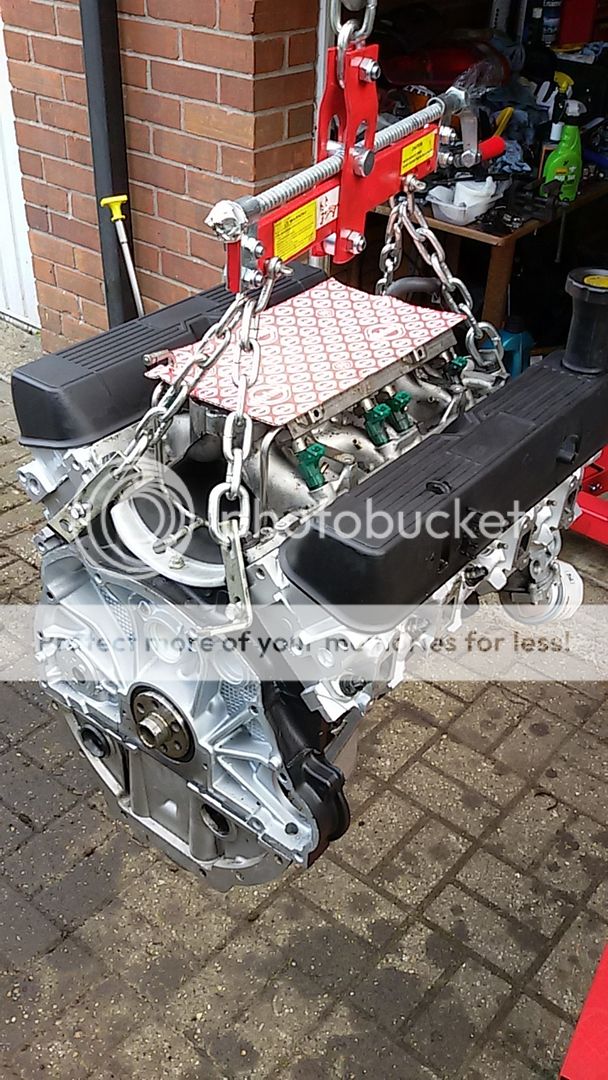
And with some freshly cleaned and painted rocker covers, there you have it. One high compression 4.6 rover V8 built and ready to fit :D

20150628_194809_zpsaedip9sq.jpg


20150628_194816_zpsckeaxtuw.jpg


Thanks for following guys.
 
Fantastic!
I wish i had the guts to have completed mine myself, i handed mine over to my Mech after doing the bottom end to fit the heads, front cover & fit back into the Rangie.
Look forward to hearing what you think to the new set up. Very happy with mine!
 
Cheers guys, forgot to follow this up TBH.

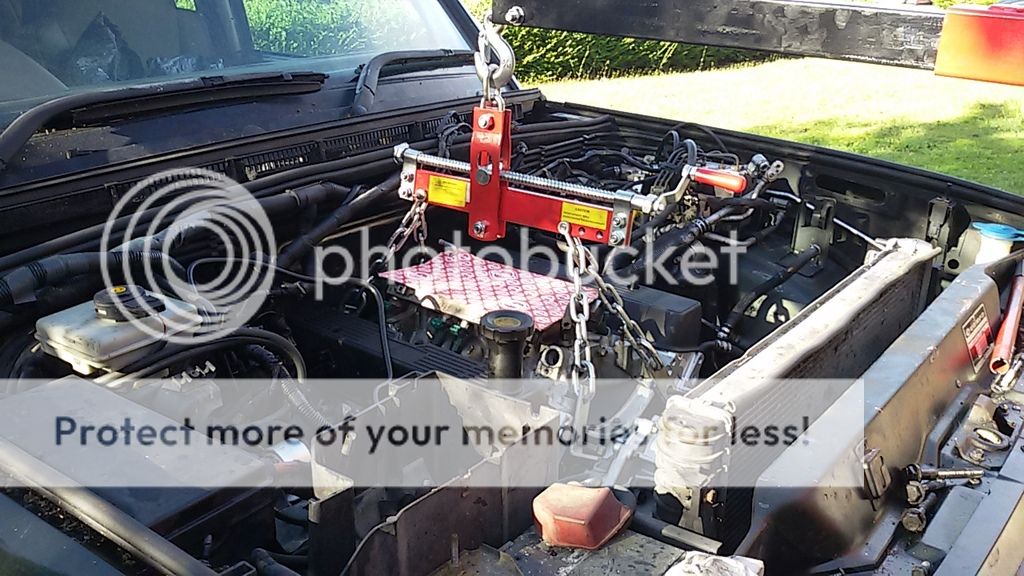
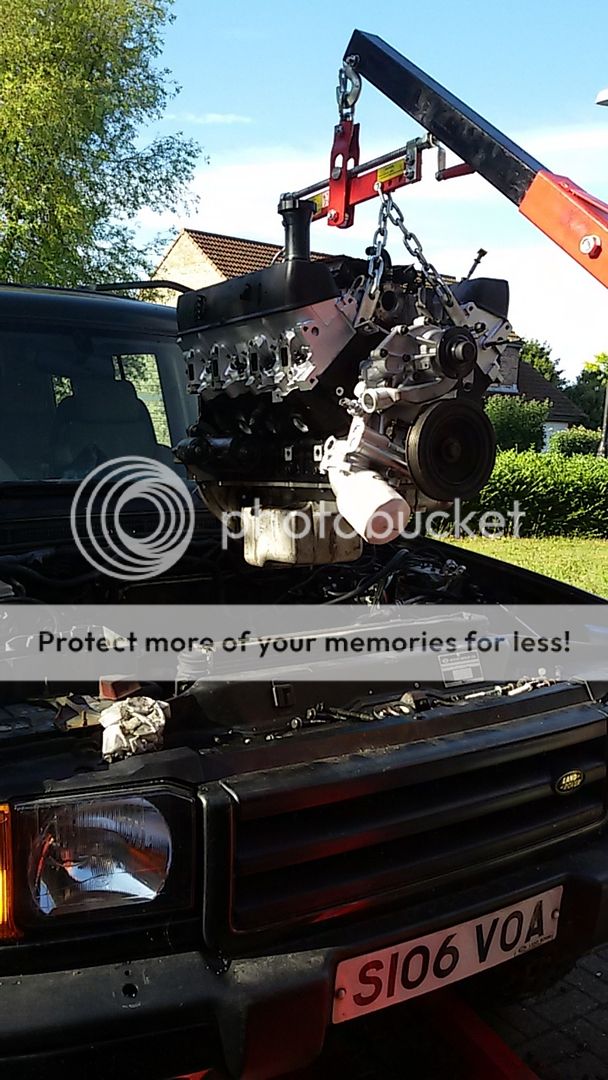
So anyway. It was finally time to put it back in the hole.

20150629_182006_zpsm0i9qmfp.jpg


20150629_183139_zps2tdcsaym.jpg


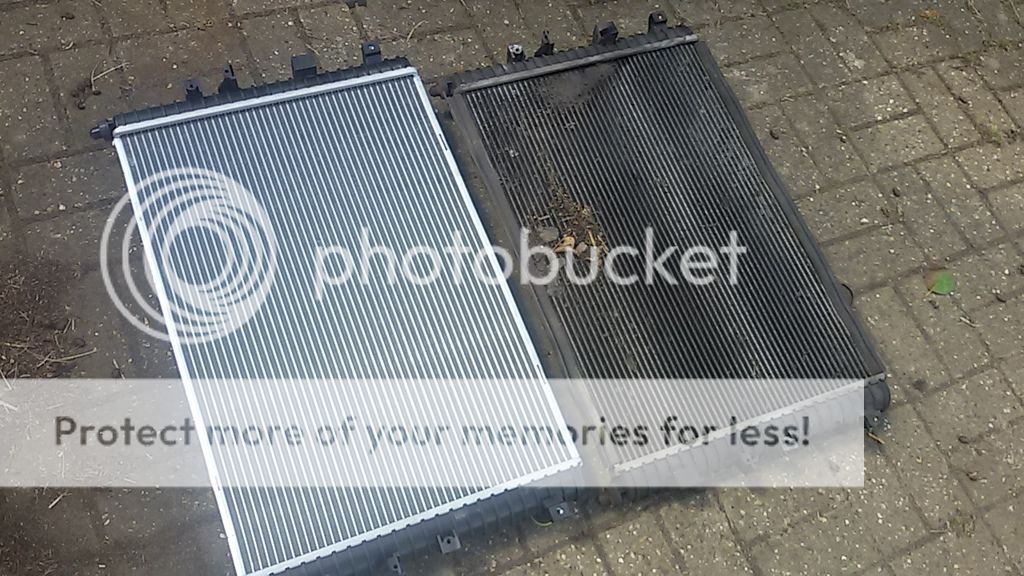
New rad and thermostat Fitted.

20150719_135227_zpsmippwvme.jpg


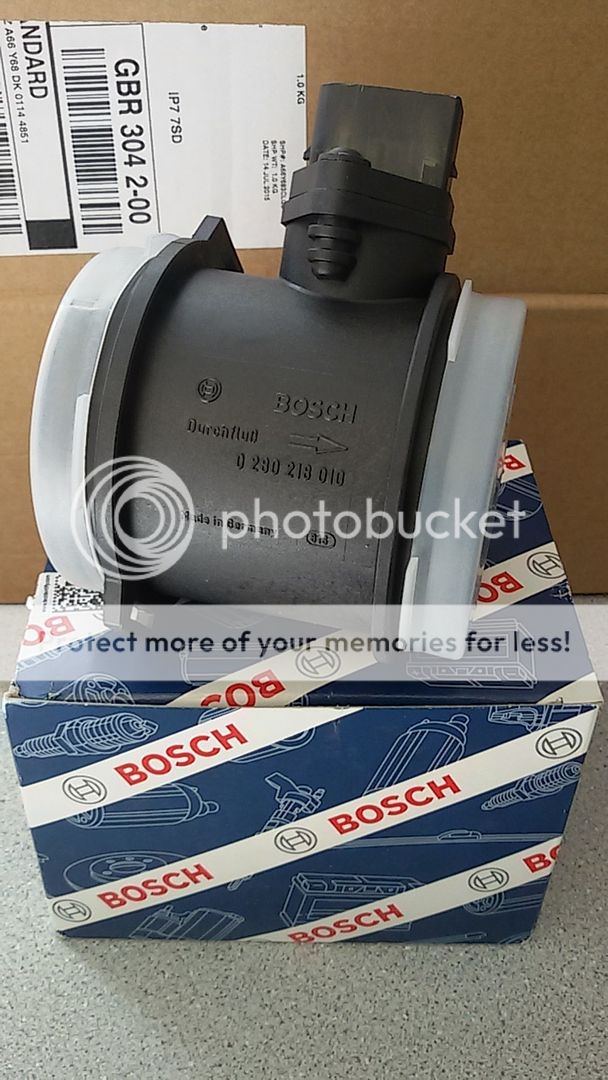
On Mark Adams' recommendation, I got a new Bosch AFM for a 4.6 P38 range rover to match the new mapping.
20150718_094353_zpsbutyv33e.jpg


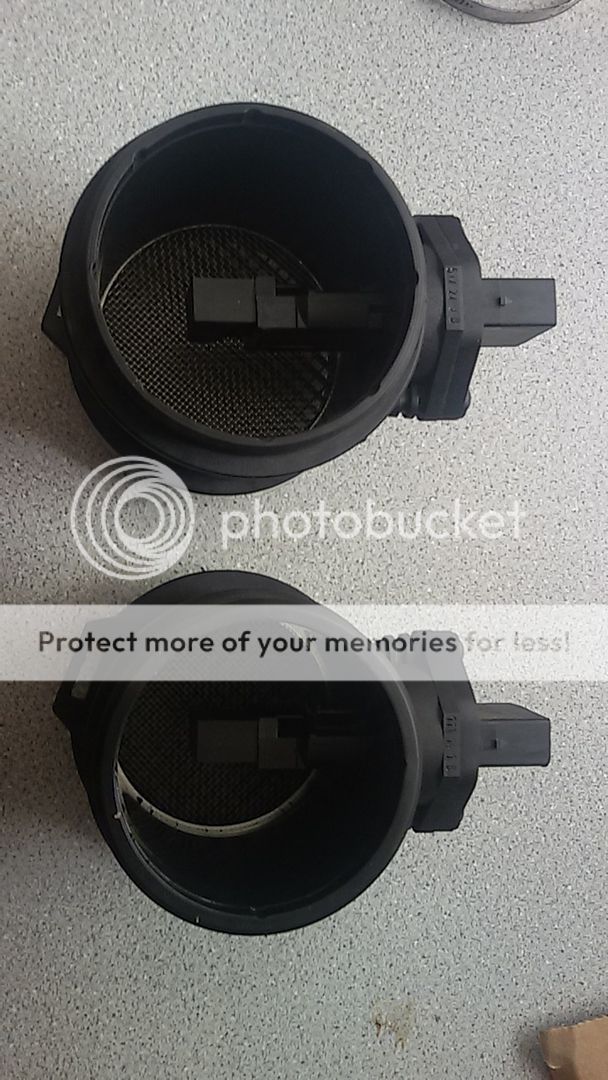
It's slightly larger than the standard Discovery one. (New top, old bottom)

20150719_150403_zpsurnxajeu.jpg


Got all of the ancillaries and plumbing done.
20150719_210755_zpscuy4x0nb.jpg


With help from the house move from Suffolk to Surrey, the running in miles went by nice and quick.

20150804_152707_zpscfaketyx.jpg


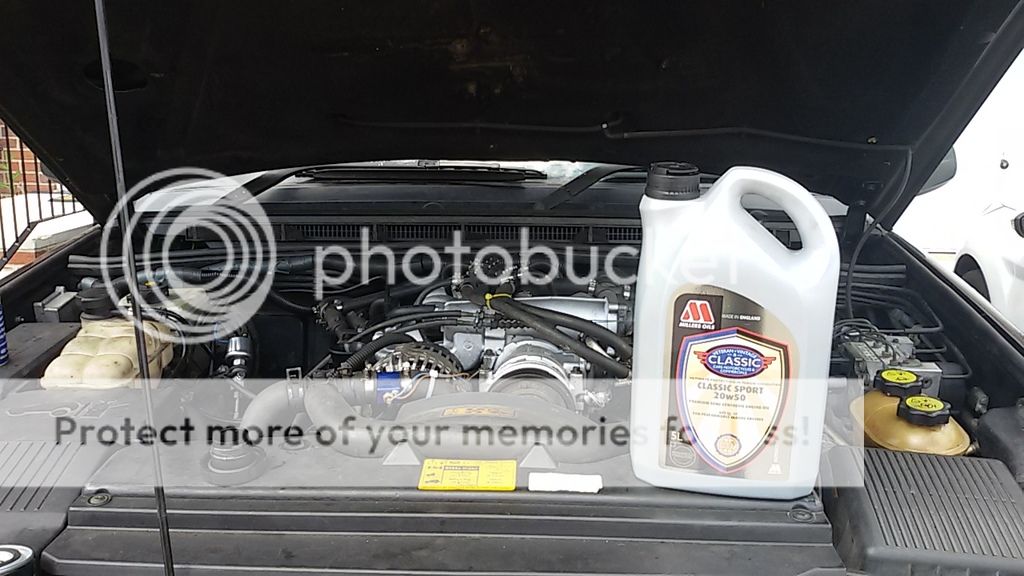
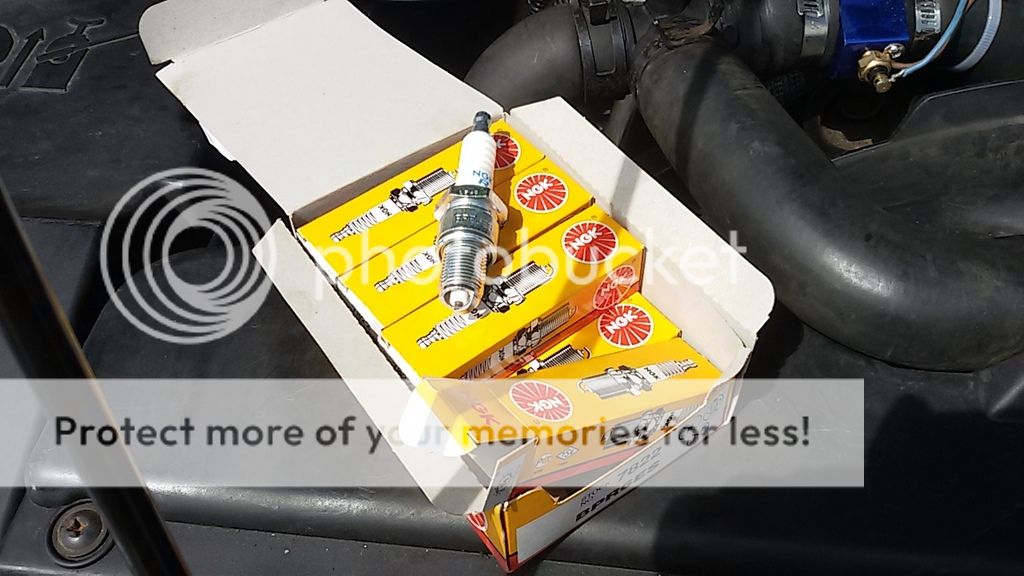
Which meant an oil change and some fresh plugs ready for running on gas.

20150806_142045_zpsy2i7lsbi.jpg


20150806_142533_zpsfgsg3mbu.jpg


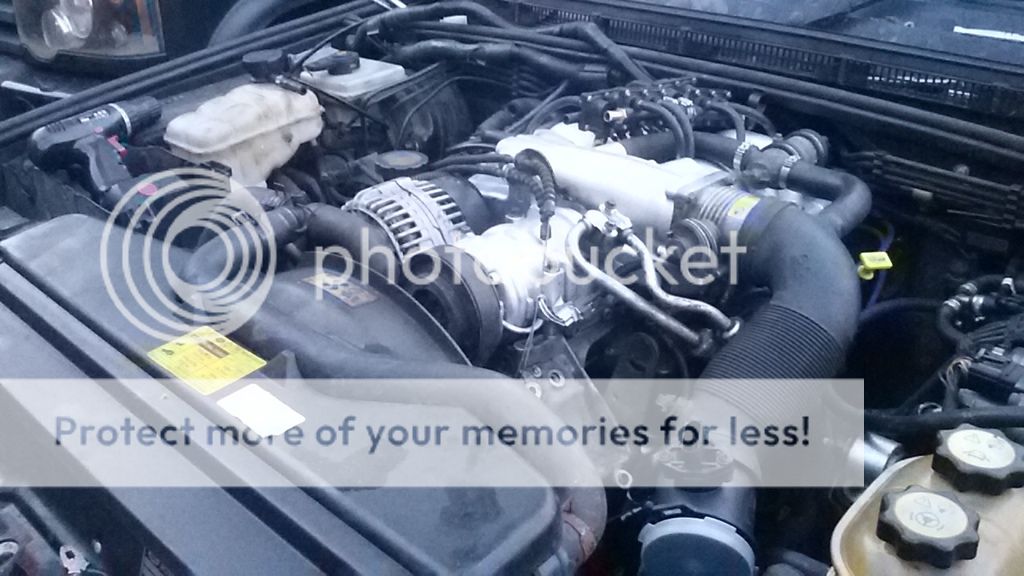
And here's how she sits now. Well happy :D

20151001_165358_zps6mbejg9v.jpg


20151001_165253_zps60sh6v0n.jpg


20151001_165433_zpsewc05rja.jpg
 
Back
Top