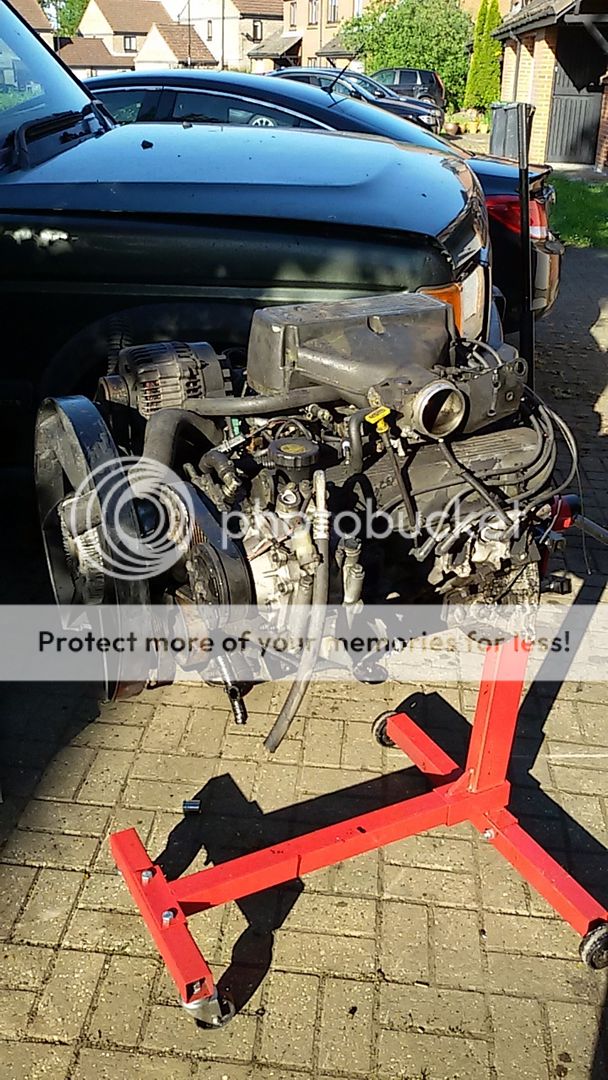
Another update for you guys, big one this time
")
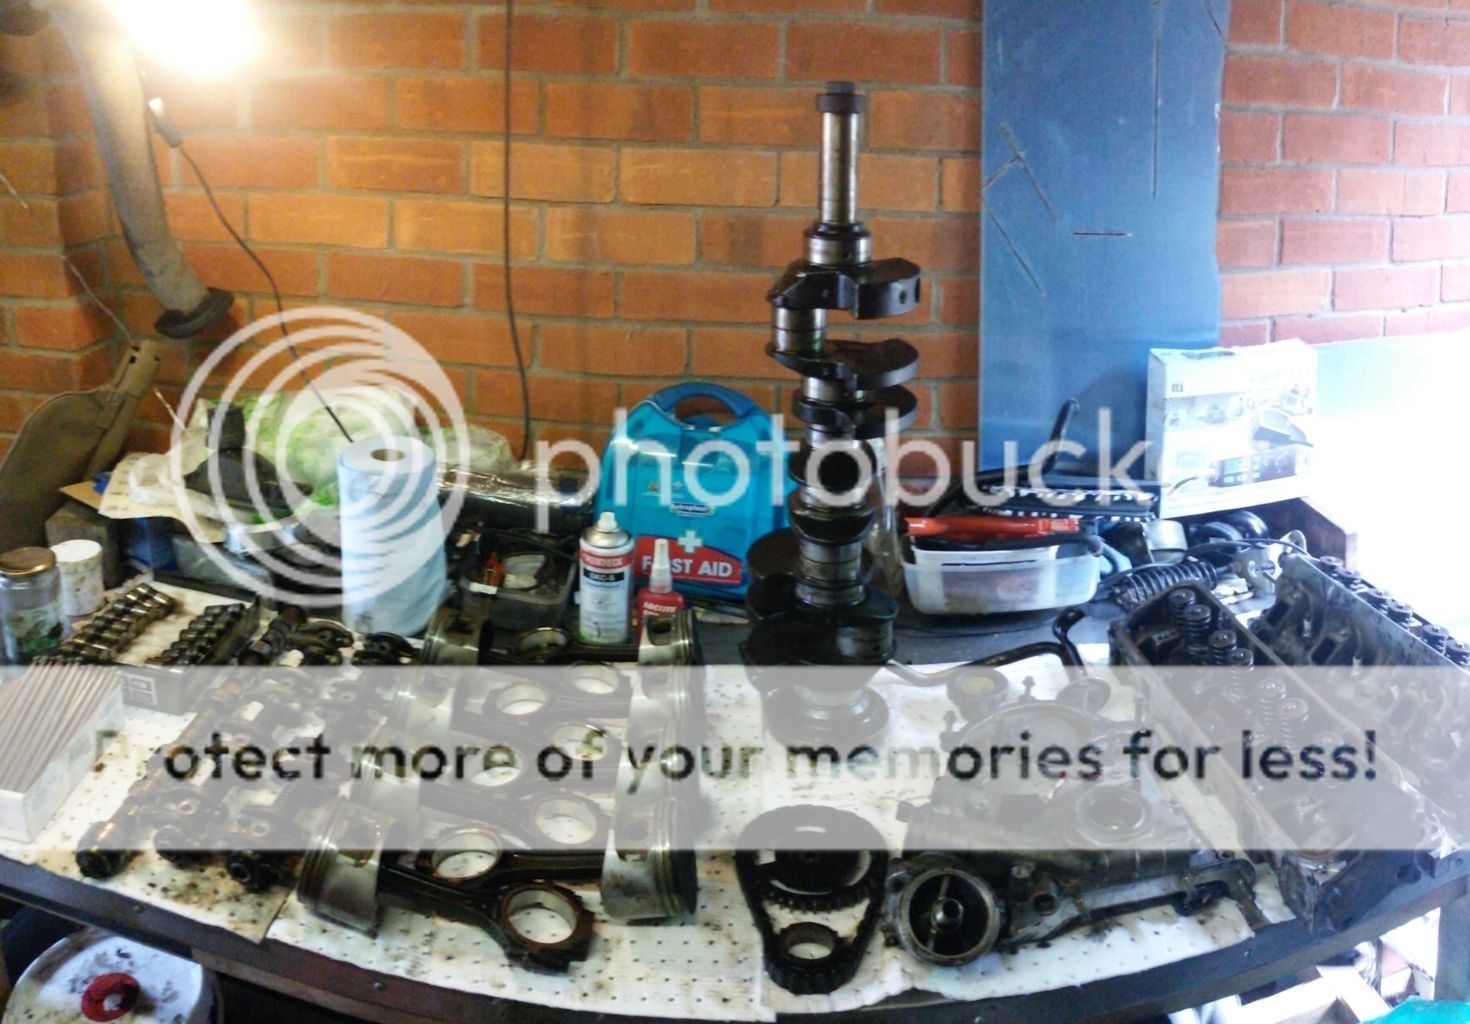
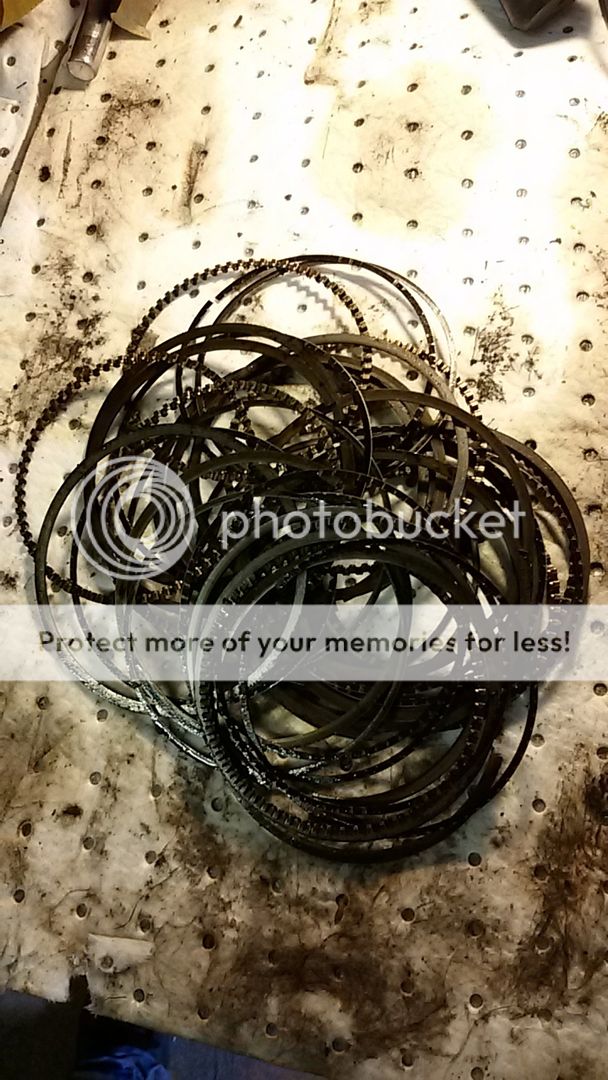
So yesterday morning I was still waiting for my new crank to arrive. To that end I decided to get on with de-ringing and cleaning up the old pistons so they could be reused with the 4.6 rods.
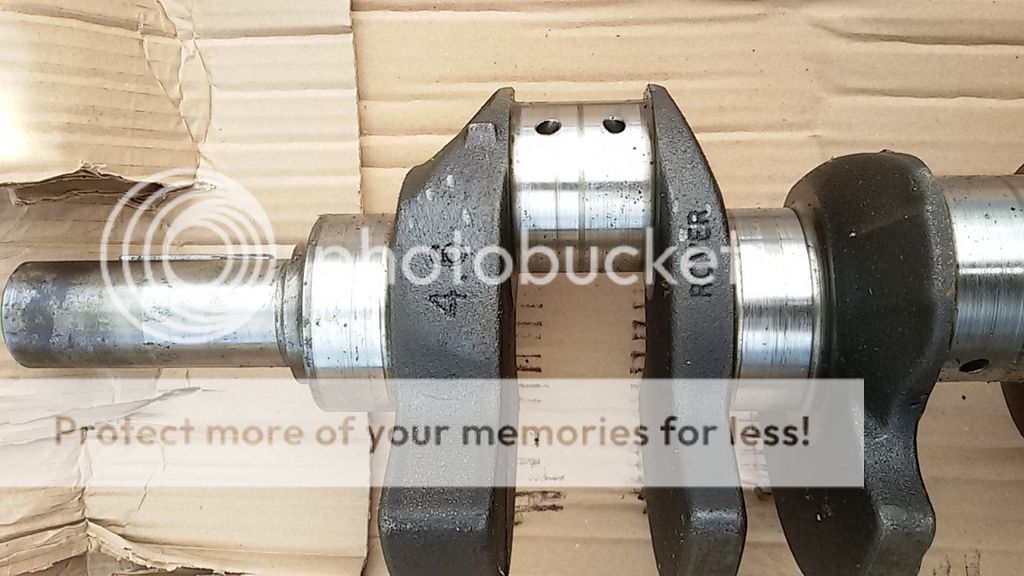
Then it came, definatly the right one this time
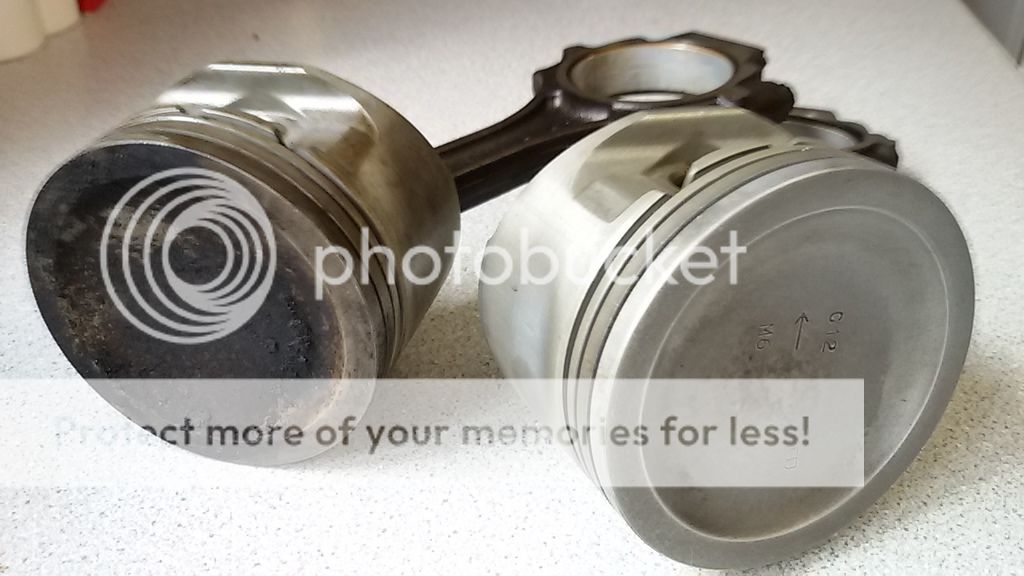
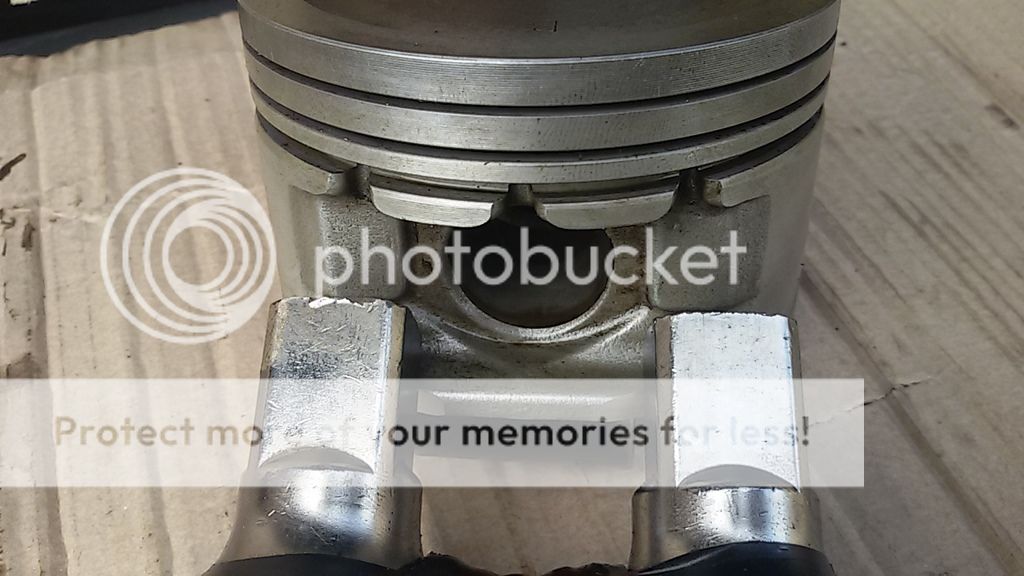
Also with it was a set of 4.6 rods and pistons. The rods I needed, but the pistons I didn't. Due to the longer stroke of the 4.6, the pistons have a much larger dish on top to keep the compression ratio the same at 9.35:1. Here's a couple of pictures.
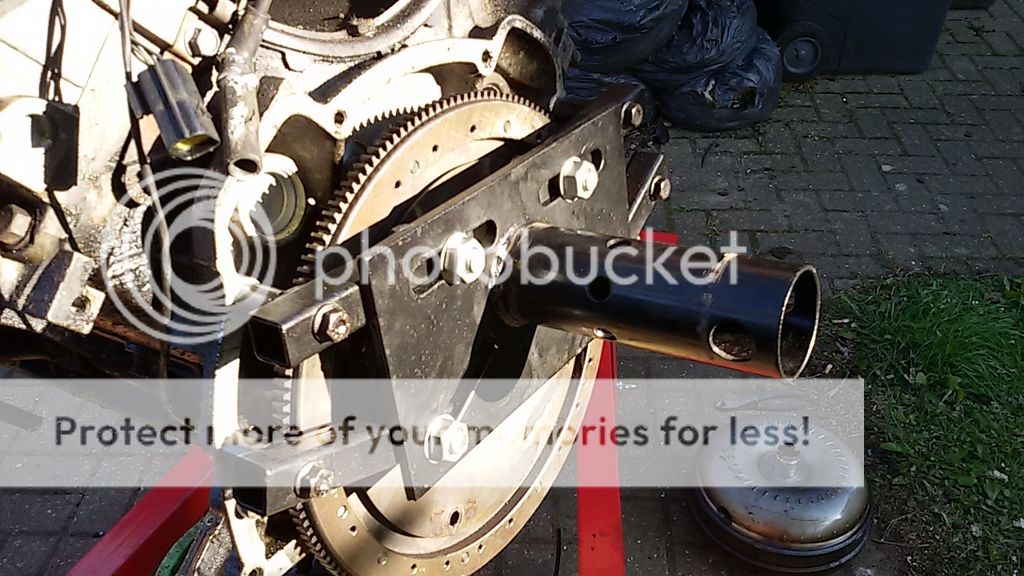
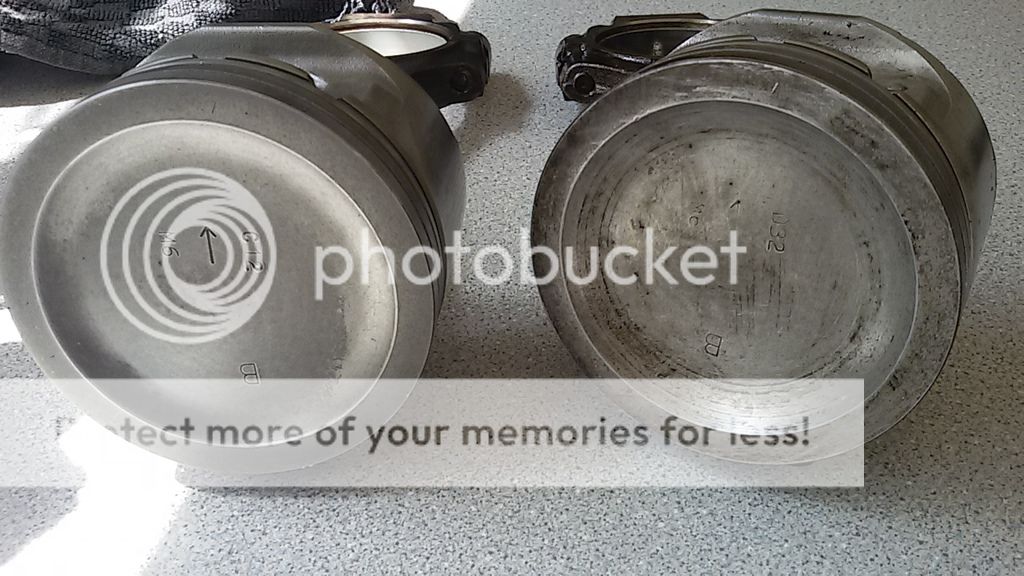
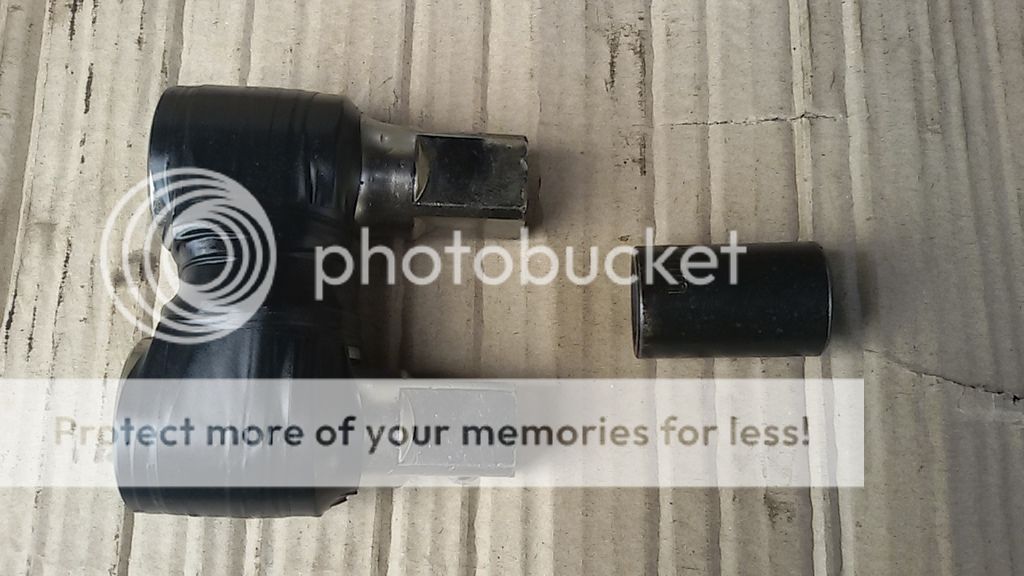
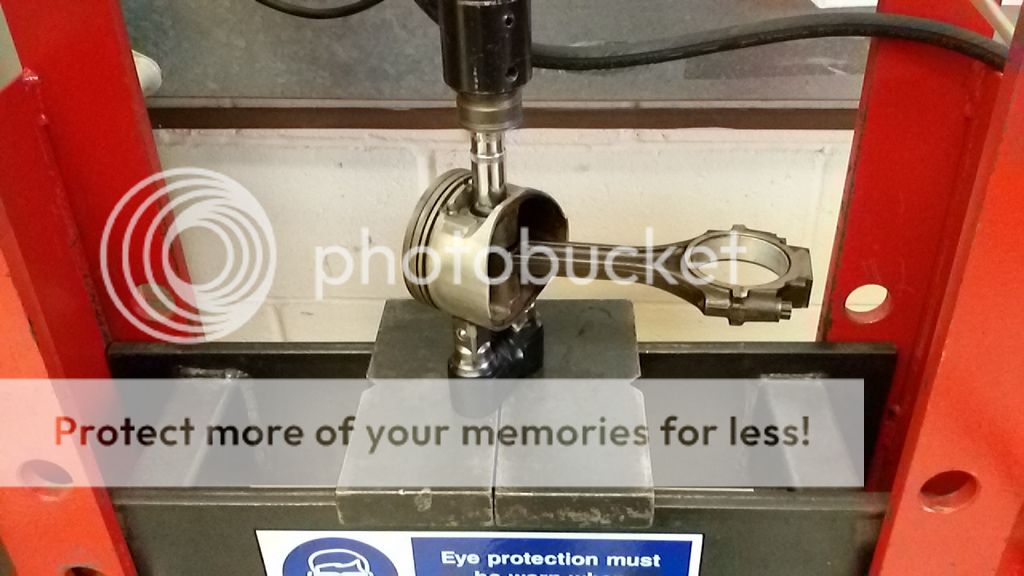
I could have used them no problem but a common route is to keep the 4.0 pistons, this lifts it up to about 9.75:1 compression. The gudgeon pins are pressed into the rod, and I'm not paying for the Land Rover tool, so I needed to make something to get them out again.
The larger one supports the piston on these two flat parts, the same place the genuine tool does.
I don't have my own press so off I went to the engineering bay at work, armed with my box of pistons and a packet of chocolate Hobnobs for the guys that work there
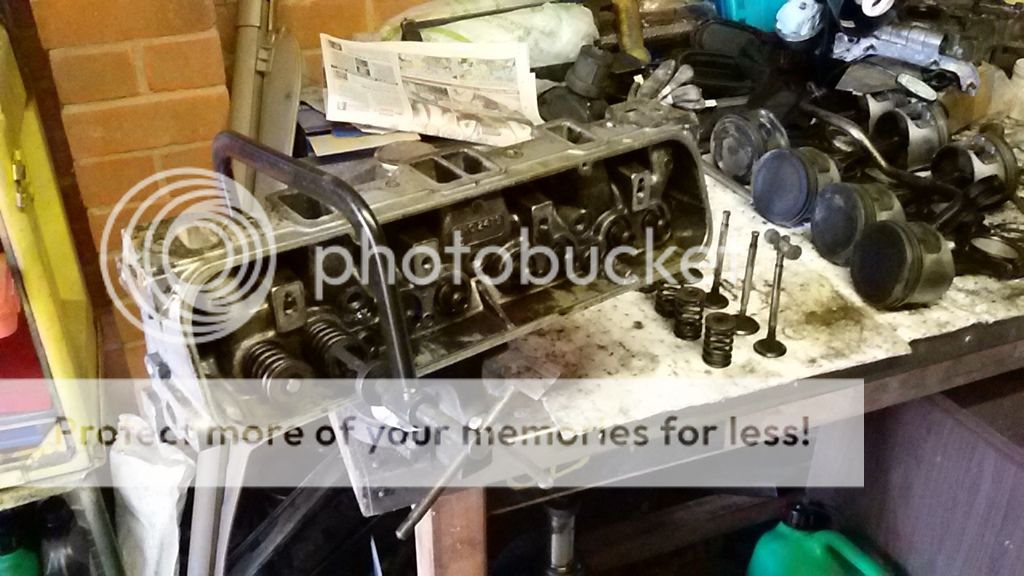
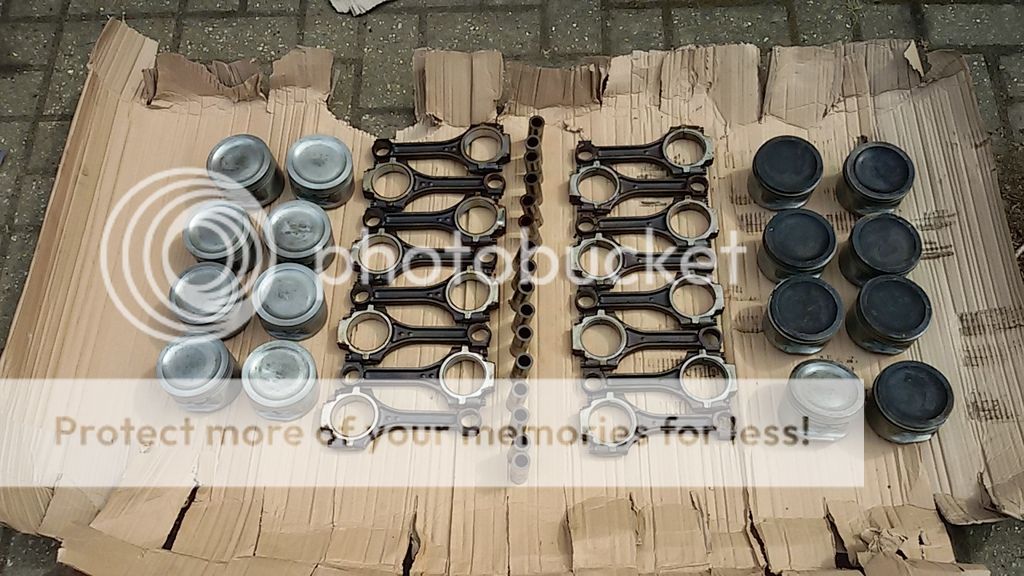
All apart
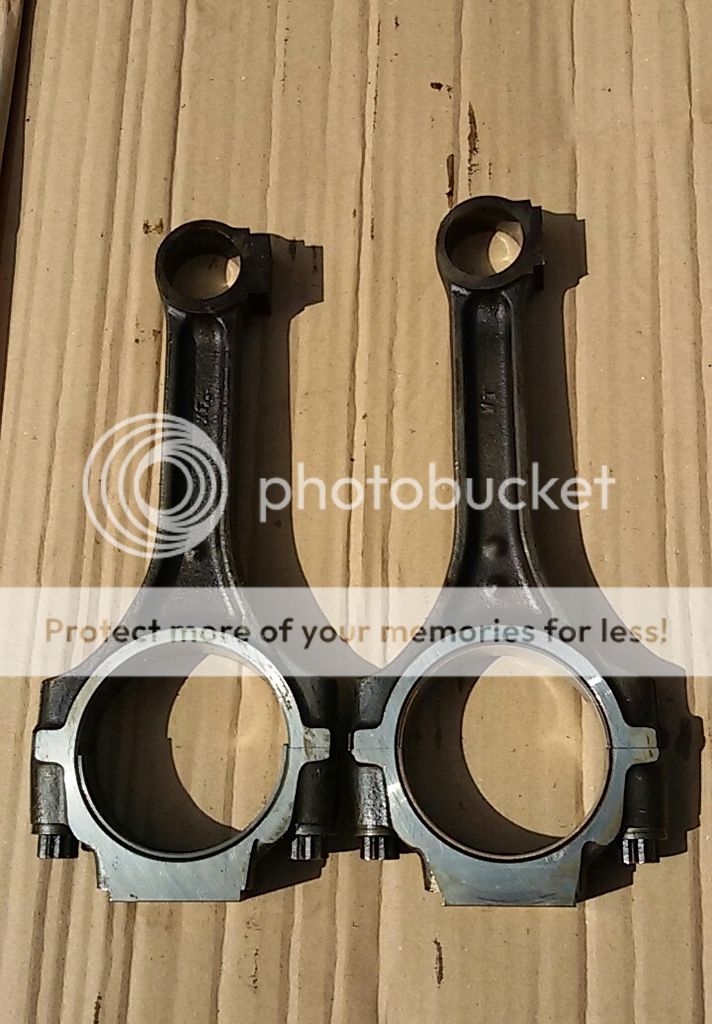
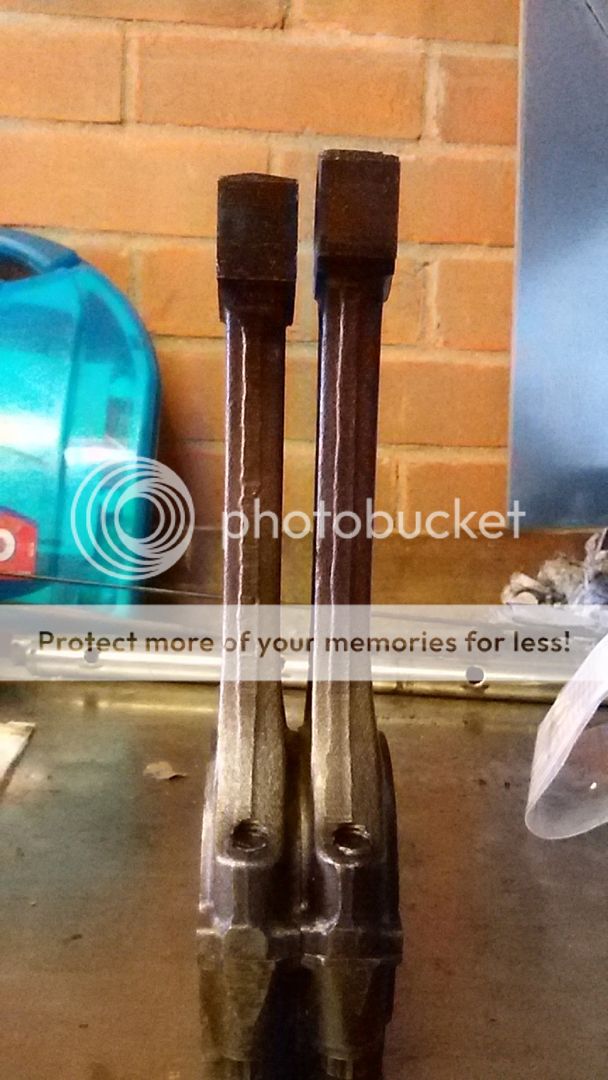
Here's the difference in the rods. Visually identified by the number of dimples on the side, the 4.6 are slightly shorter to match the longer stroke crankshaft.
So after leaving the gudgeon pins in the freezer over night to make installation easier, I went back into work this morning to carry on.
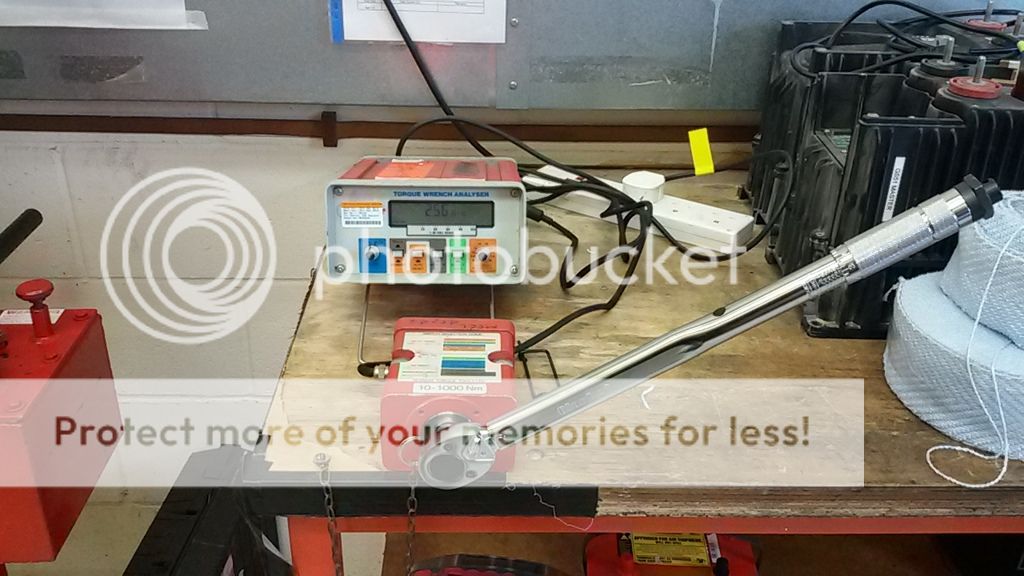
Before starting I took the opportunity to check my torque wrench was calibrated for the build later. All good
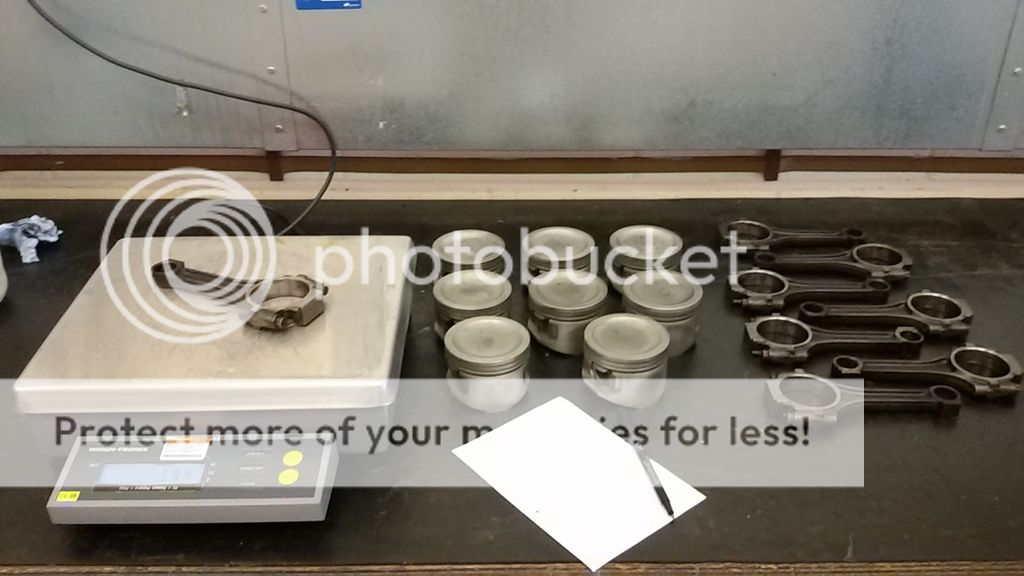
Then I spent some time weighing and matching the pistons and rods. All 8 sets are within 3 grams of each other now.
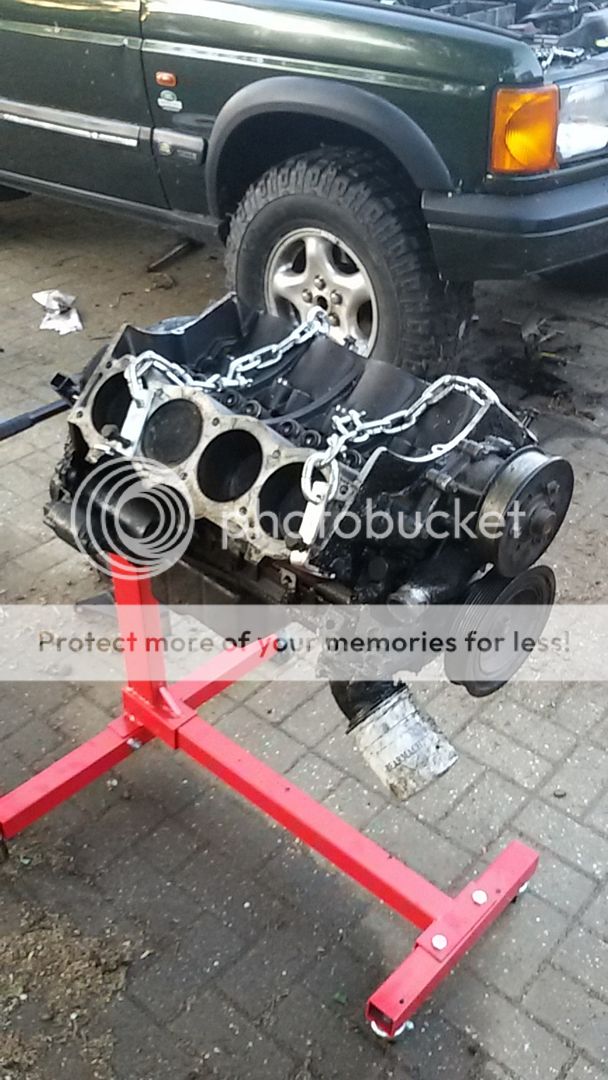
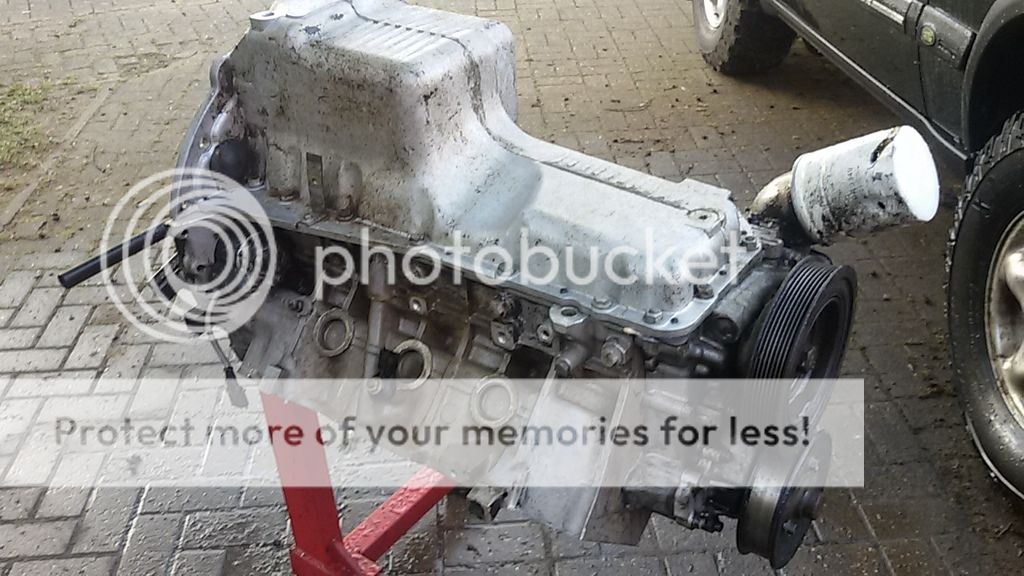
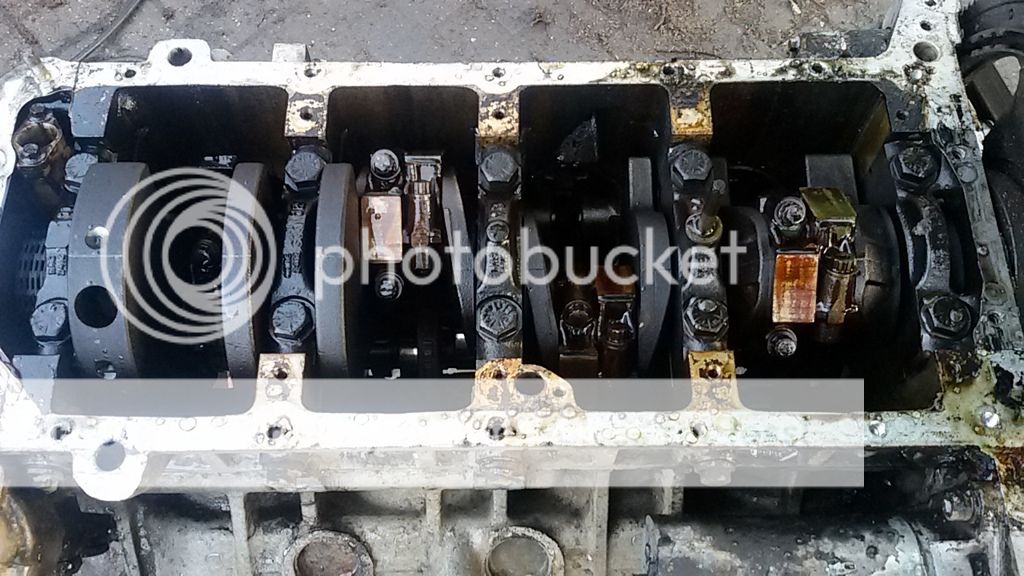
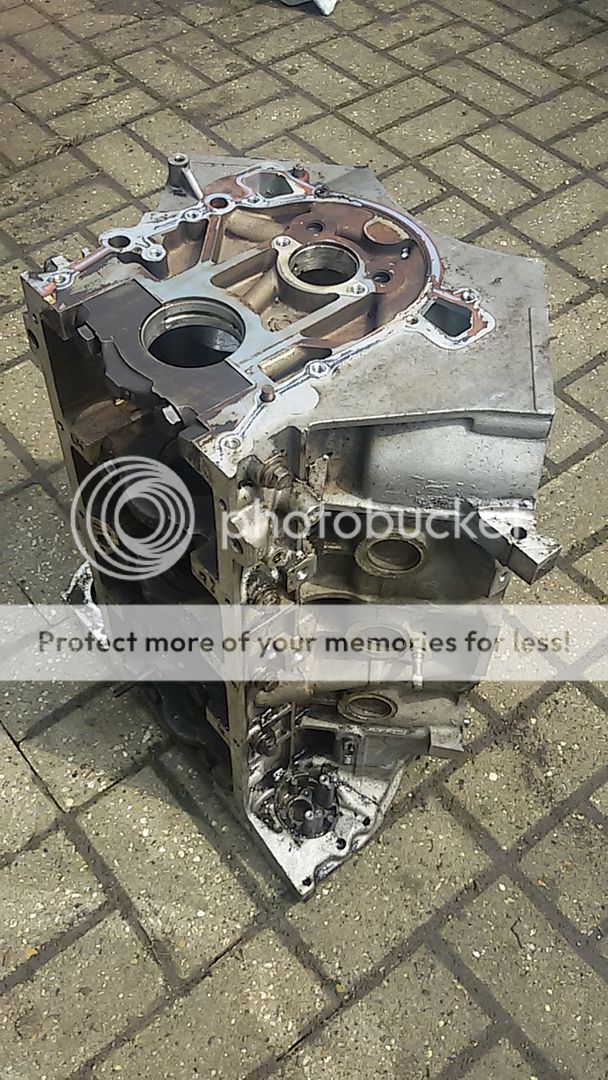
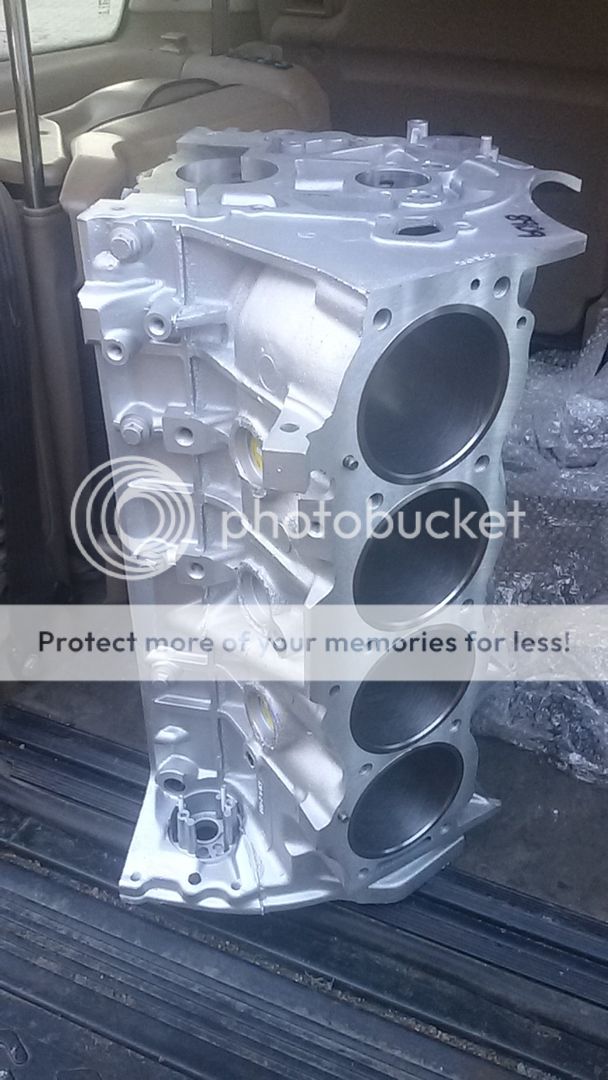
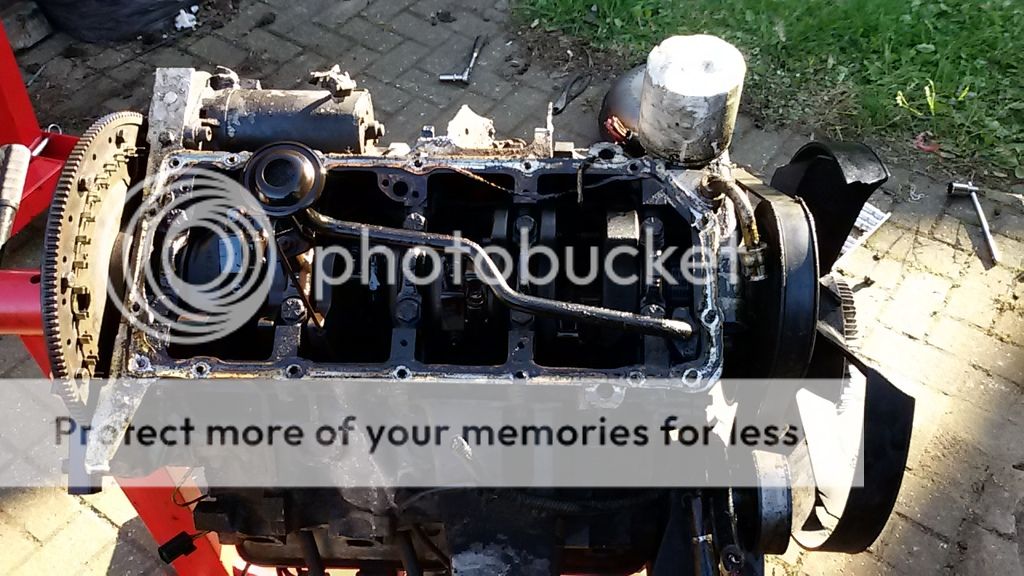
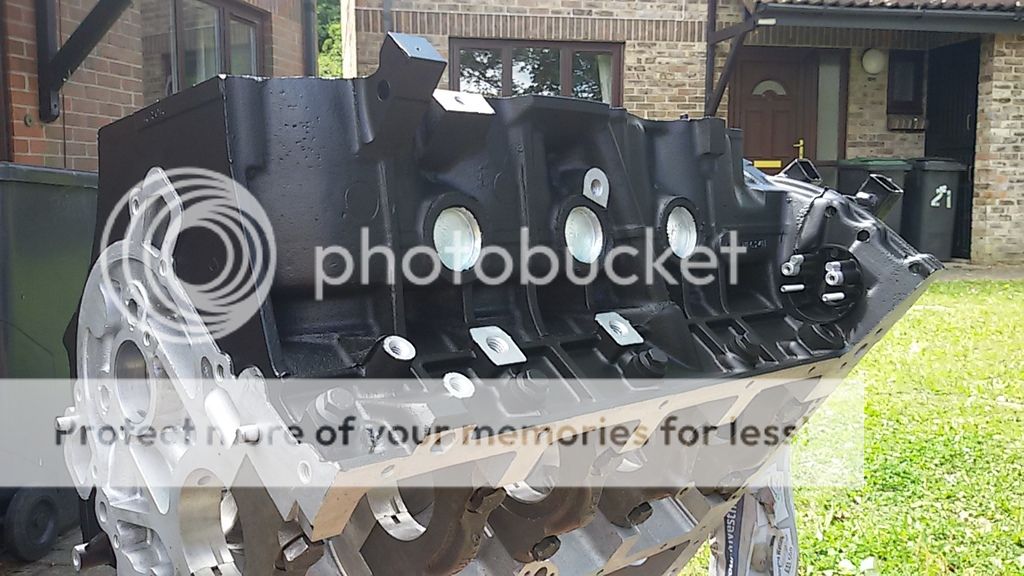
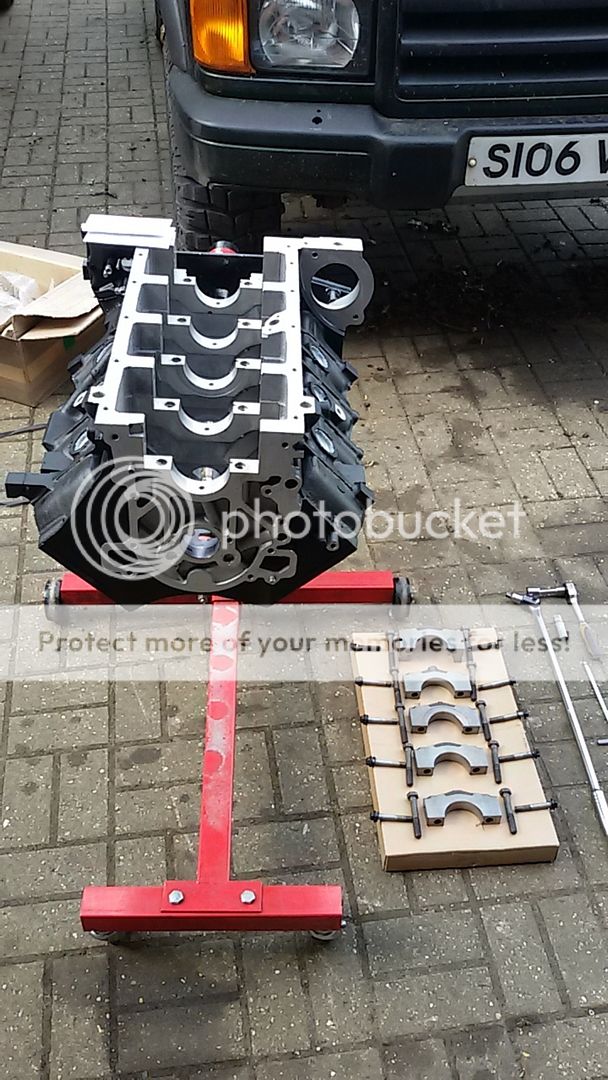
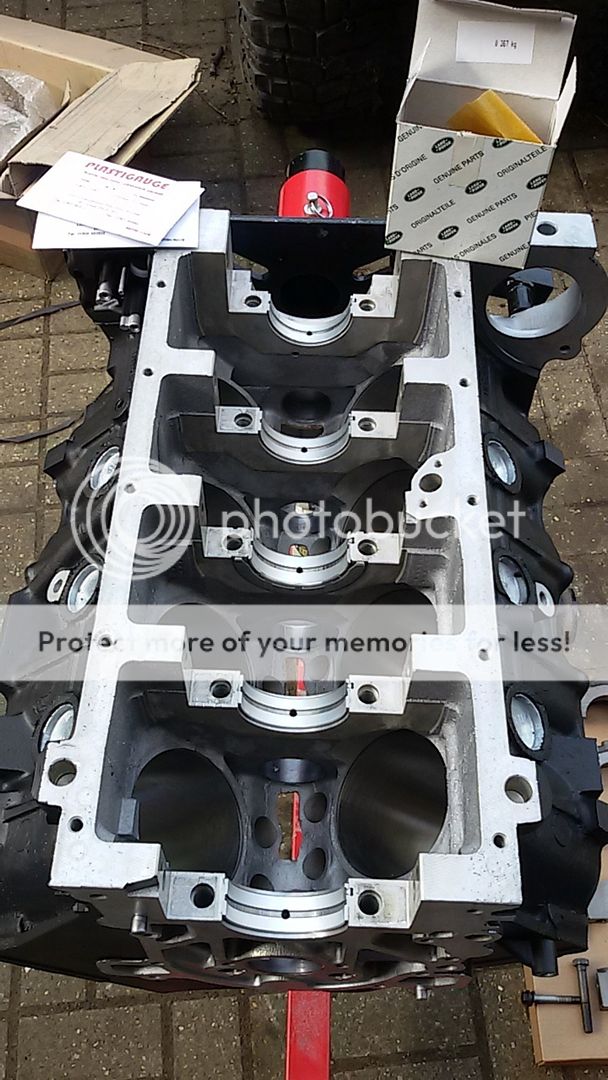
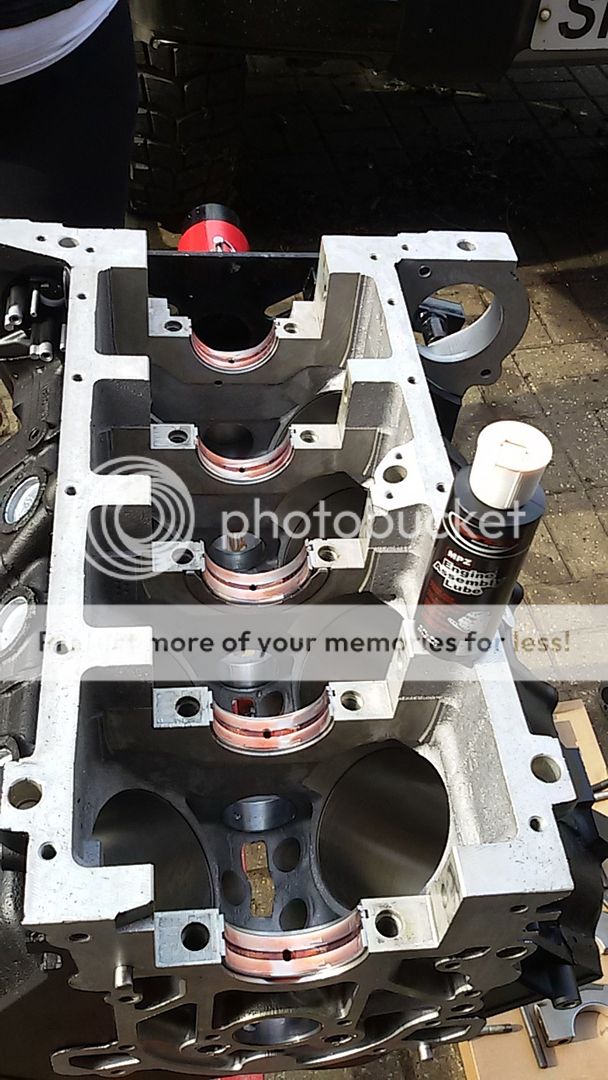
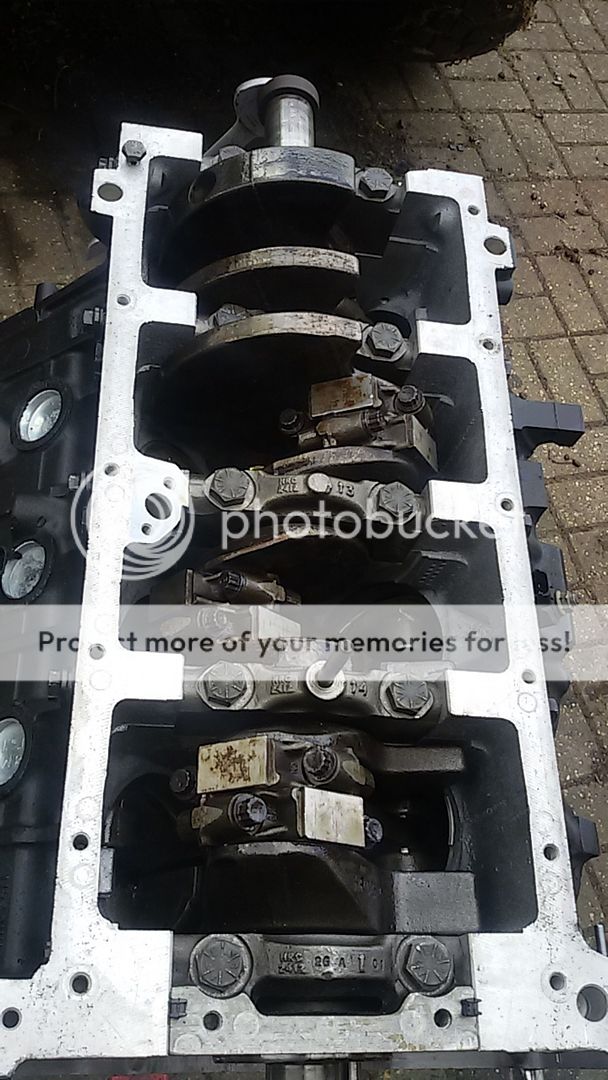
With all that done I could come home and crack on with the build. First job was to take the main caps out of the block.
New shells in
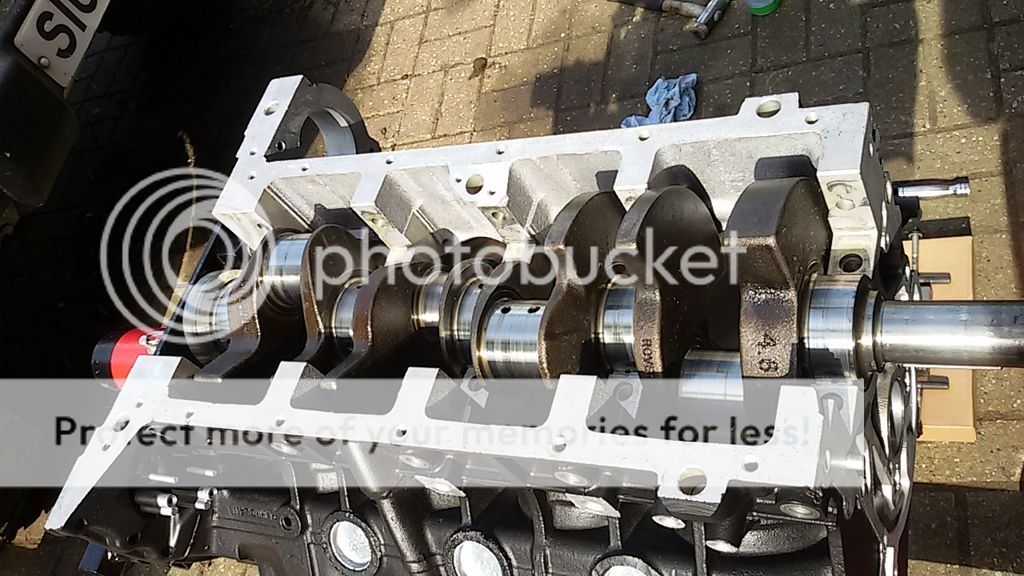
Crank in.
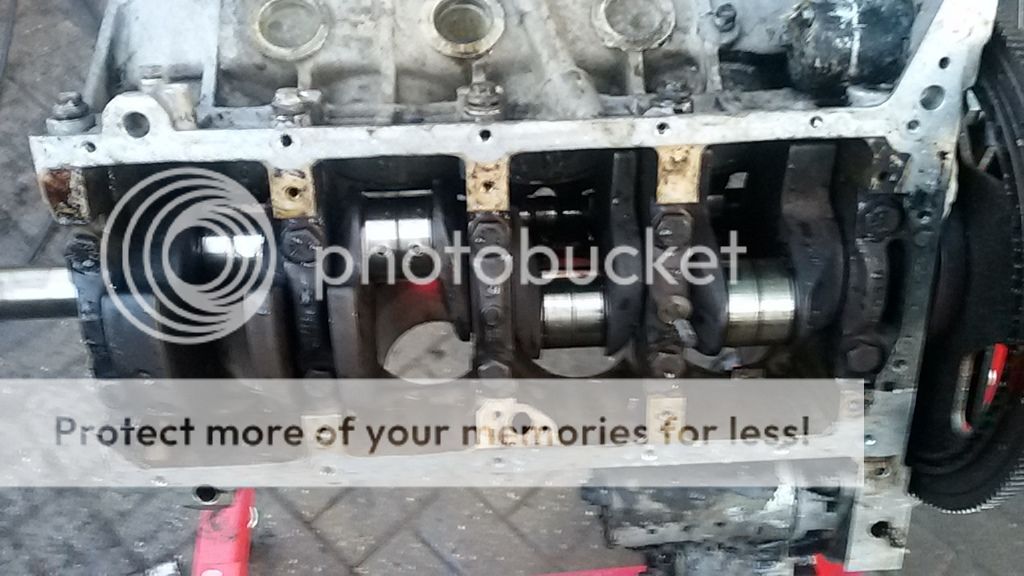
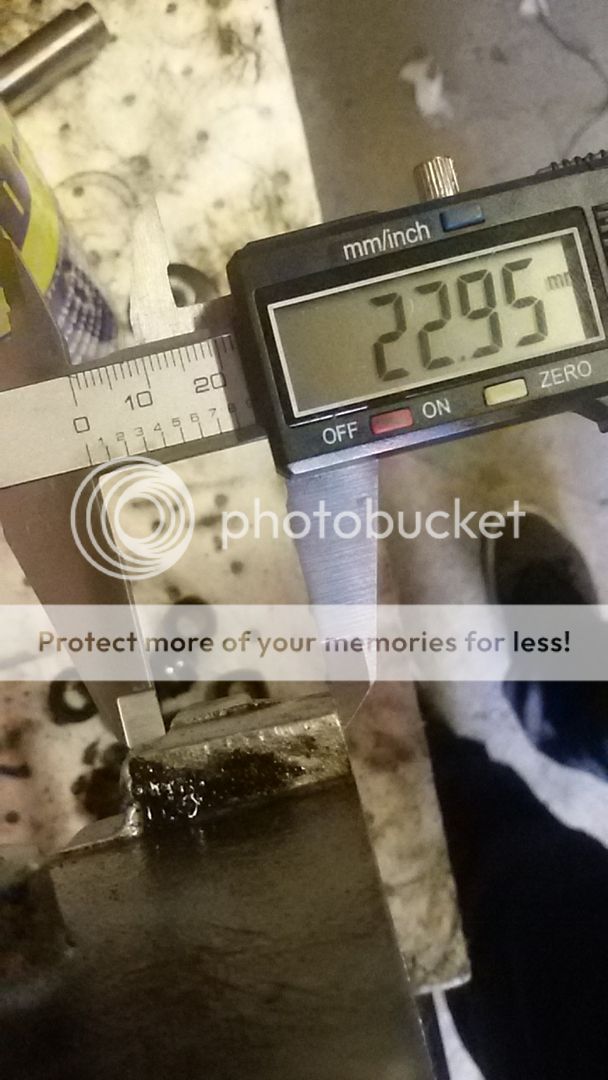
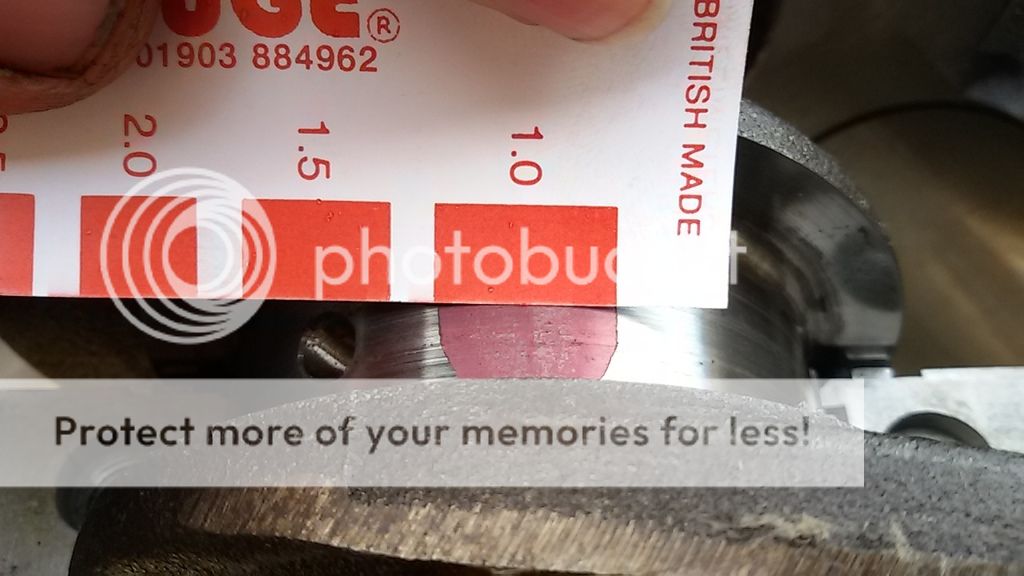
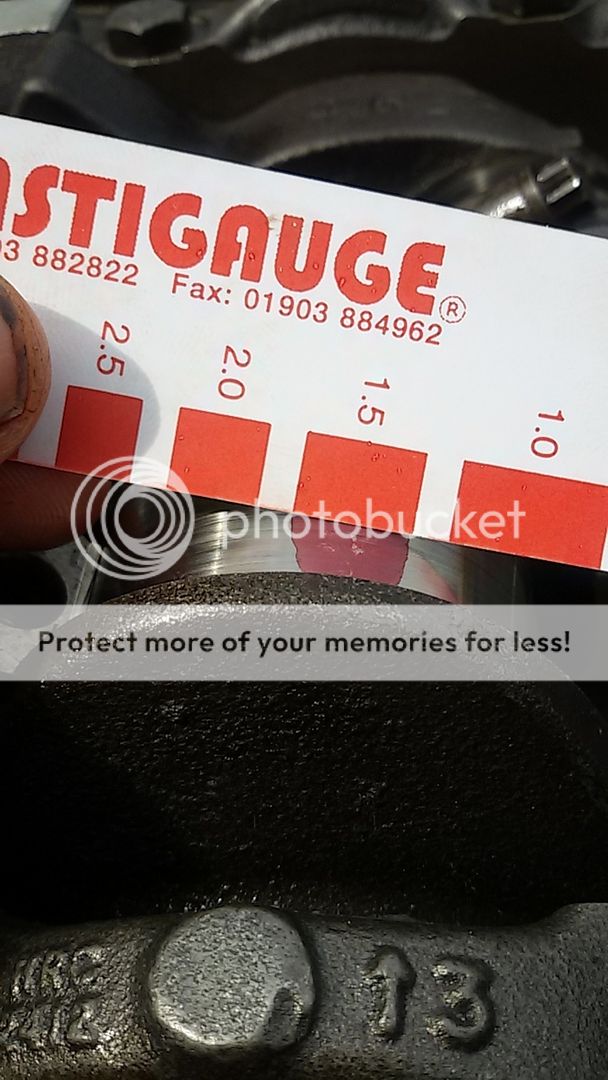
Out with the Plastiguage to check the main bearing clearances.
Acceptable clearance is between 0.0004" and 0.002". Plastiguage showed a little over 1 thou so all good.
Crank back out to add some assembly lube.
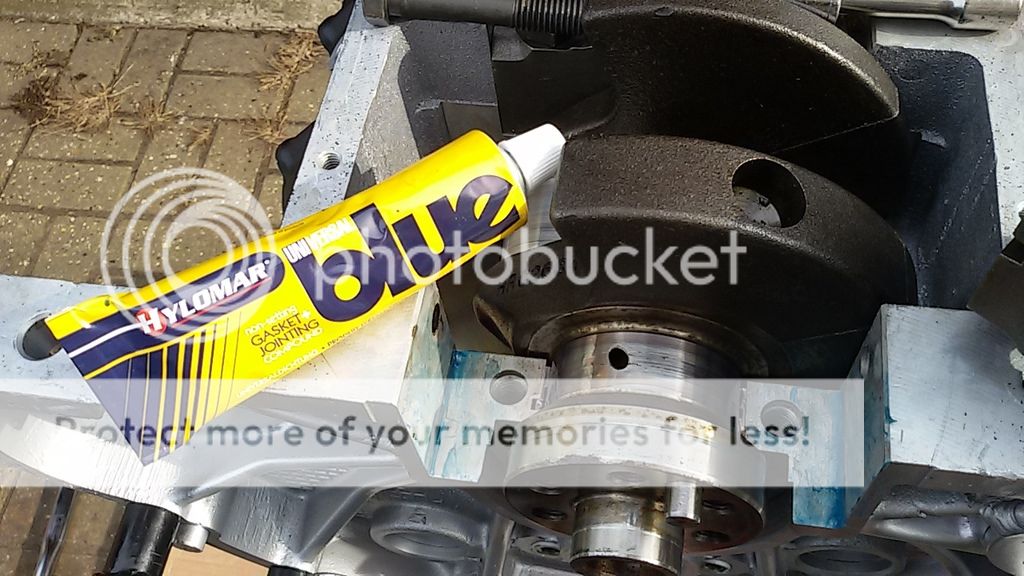
Back in and Hylomar blue added to the rear main cap as per the Land Rover rebuild procedure.
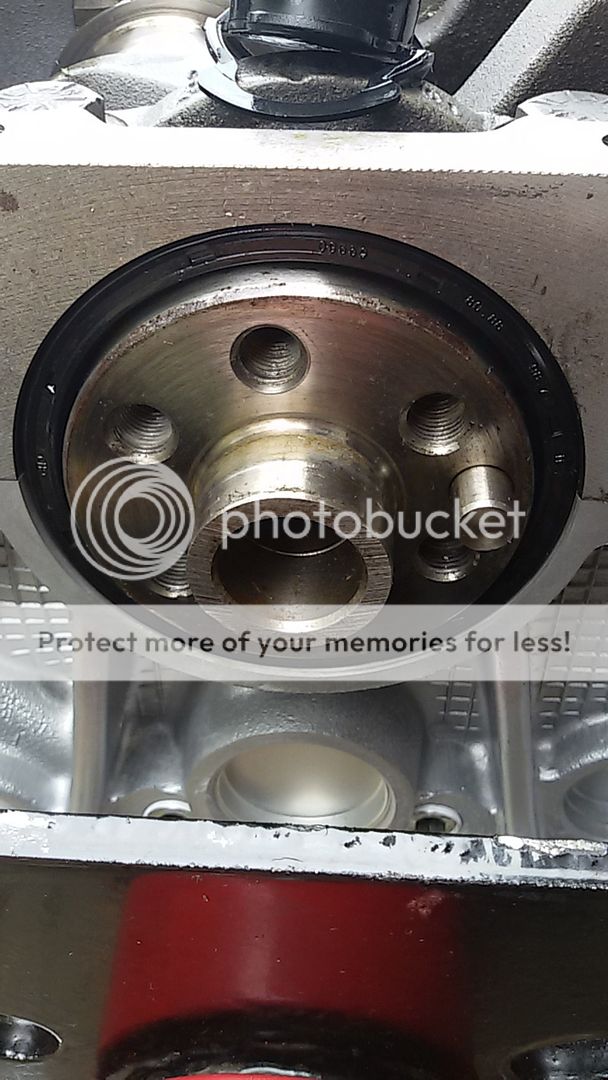
Cap on along with the rear crank seal.
All torqued up.
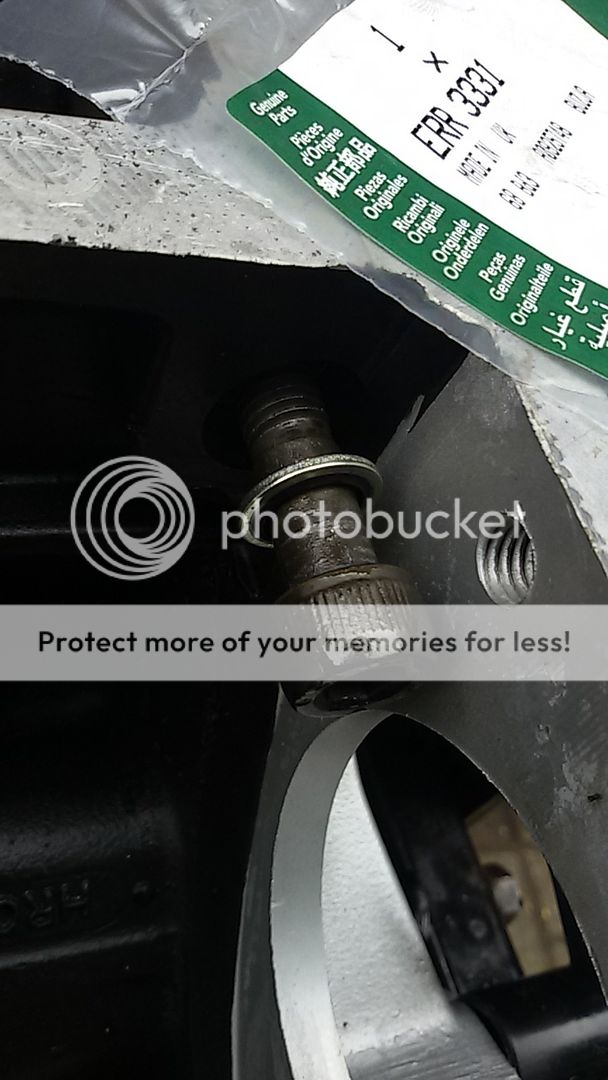
Including cross bolts, remembering to fit the sealing washers
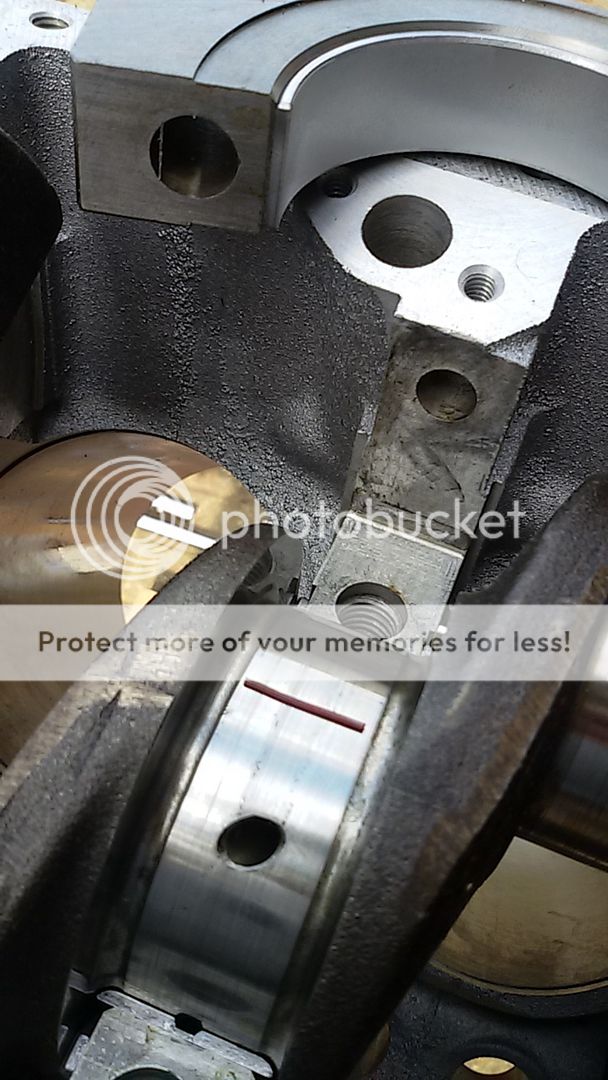
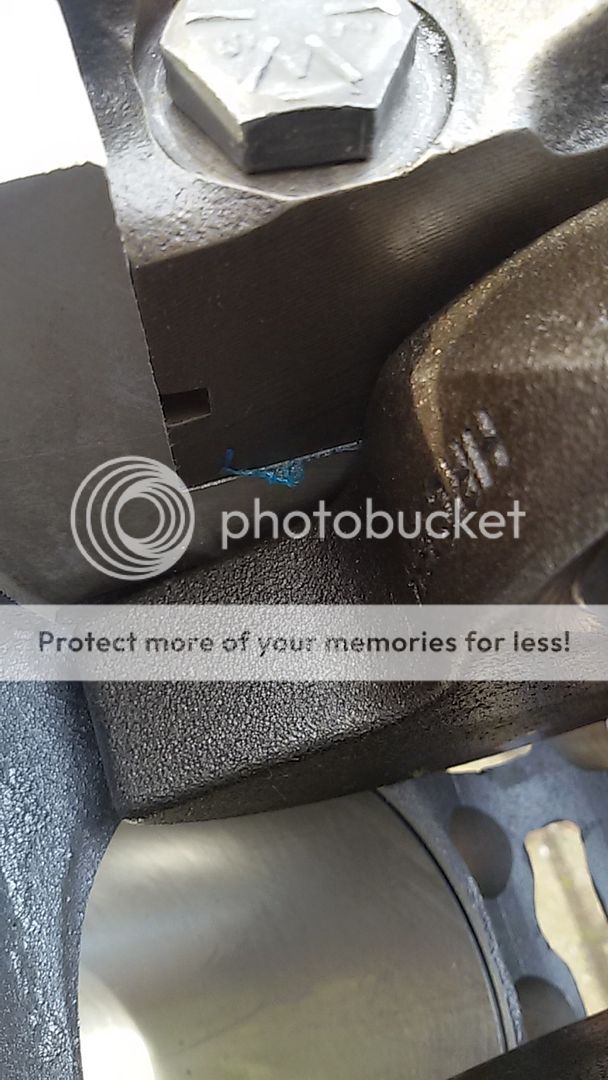
And here's one bit people forget. Checking for, and removing any sealant that has squashed out from the rear cap. You don't want it falling off, finding it's way into the oil system and blocking something.
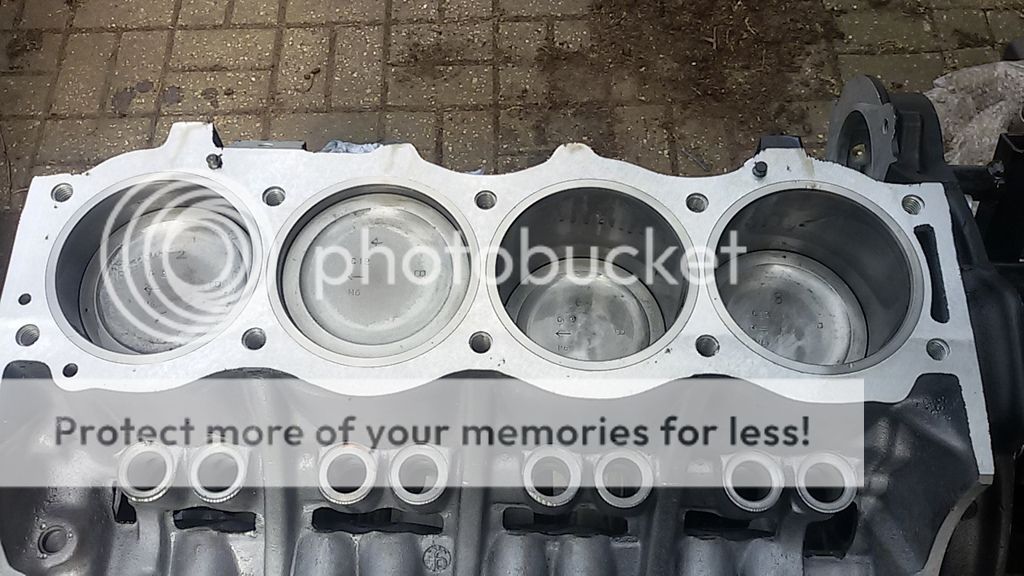
Next job was fitting the pistons. First the new rings needed checking for gap which were all within limits.
I also checked the ring clearance in the piston grove, and the skirt to cylinder clearance, but didn't get any pictures. With them all fine the pistons could go in.
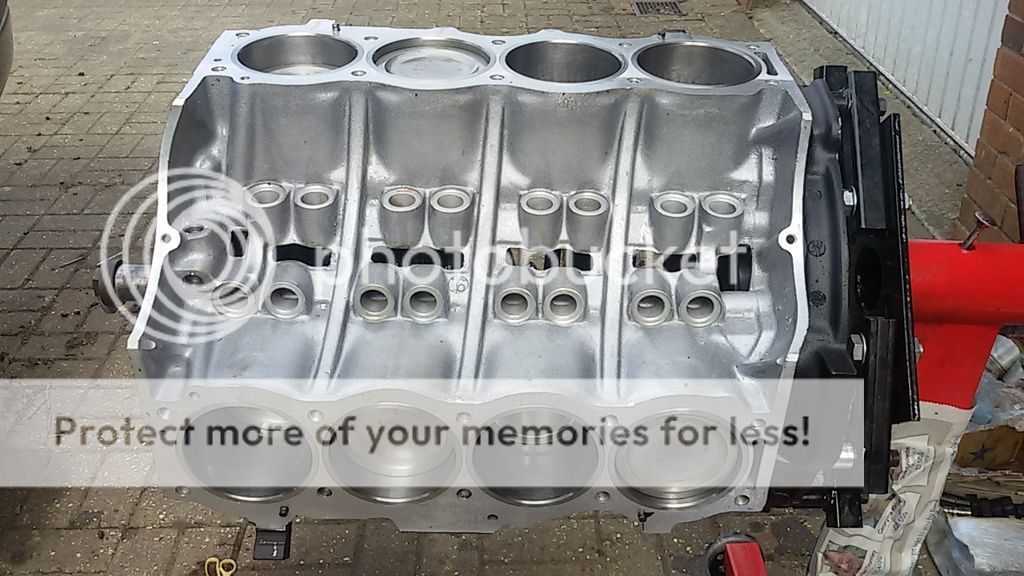
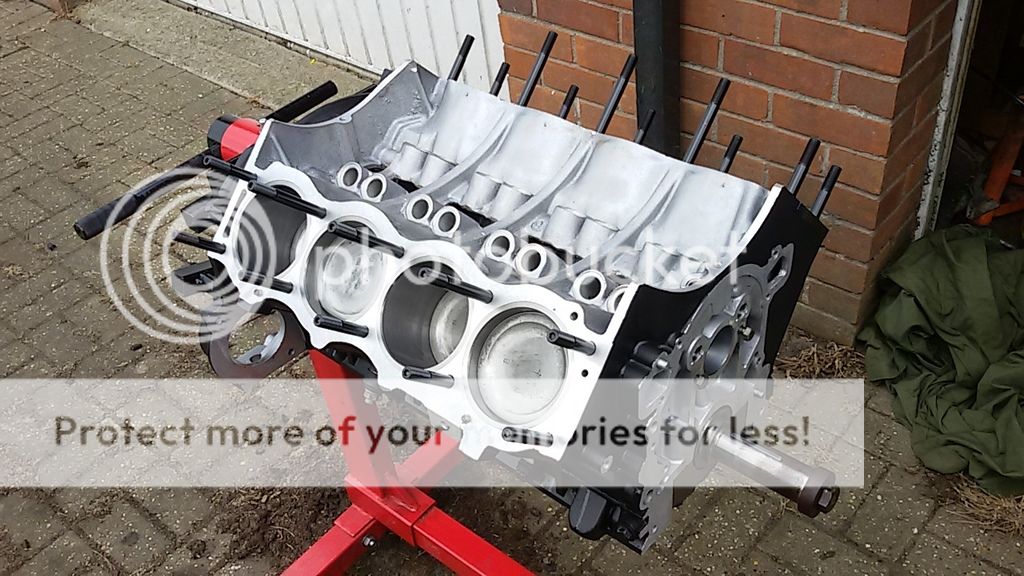
All done.
Big end bearing clearance checked. A touch bigger than the mains but no issues, still well within tolerance.
And all torqued up with new stretch bolts.
Finished up today with fitting my ARP head studs, ready for picking up the heads from Scholar tomorrow.
Thanks for reading.