My disco build thread.

This site contains affiliate links for which LandyZone may be compensated if you make a purchase.
Very small but very important job of replacing the egr vacuum blanking caps so not to loose vacuum to the brakes, done just in time. Had these diesel injector caps from my P38, so free fix really.


I think I can see light the very long tunnel, Still on the plan to do list, is front to rear brake pipes to replace in copper, front upper and lower ball joints and remove diff and re-seal to axle, (my temp repair last year is lasting well though) and think I'm going to want a steering box at some point.

Been busy today though, started off servicing swmbo's focus (did the rear brake disks and pads last night)

Then the D2 helped with the garden


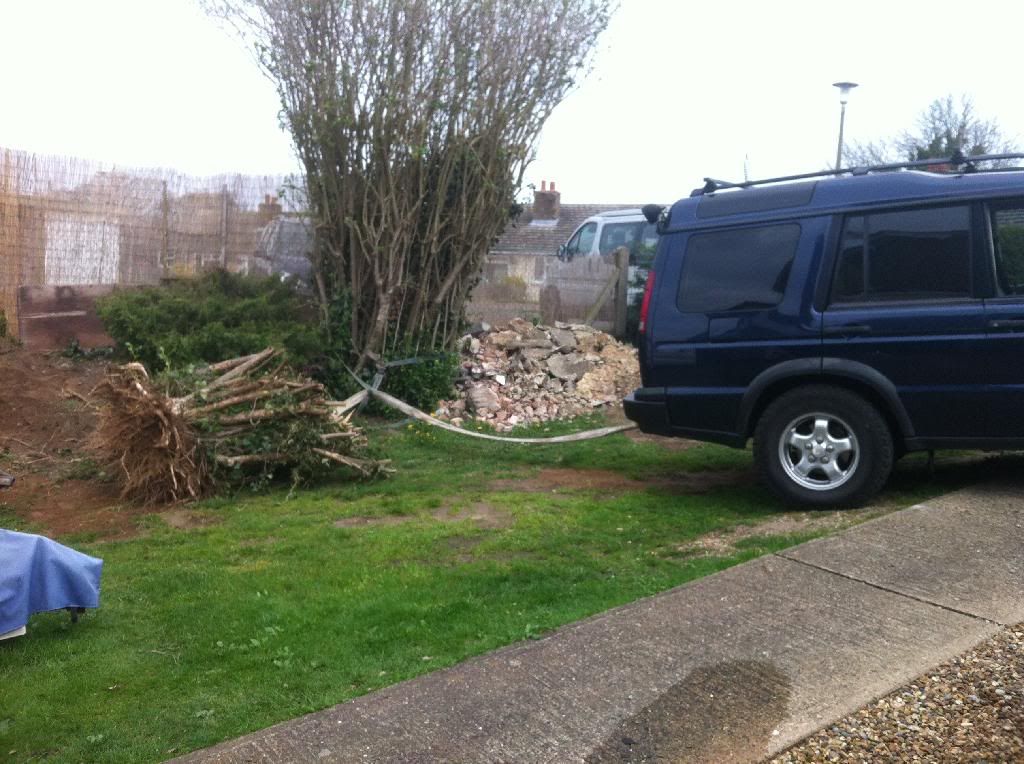
Did have to cut and root's around it, as tried last week and couldn't move it but today cam out easy heavy lump too.

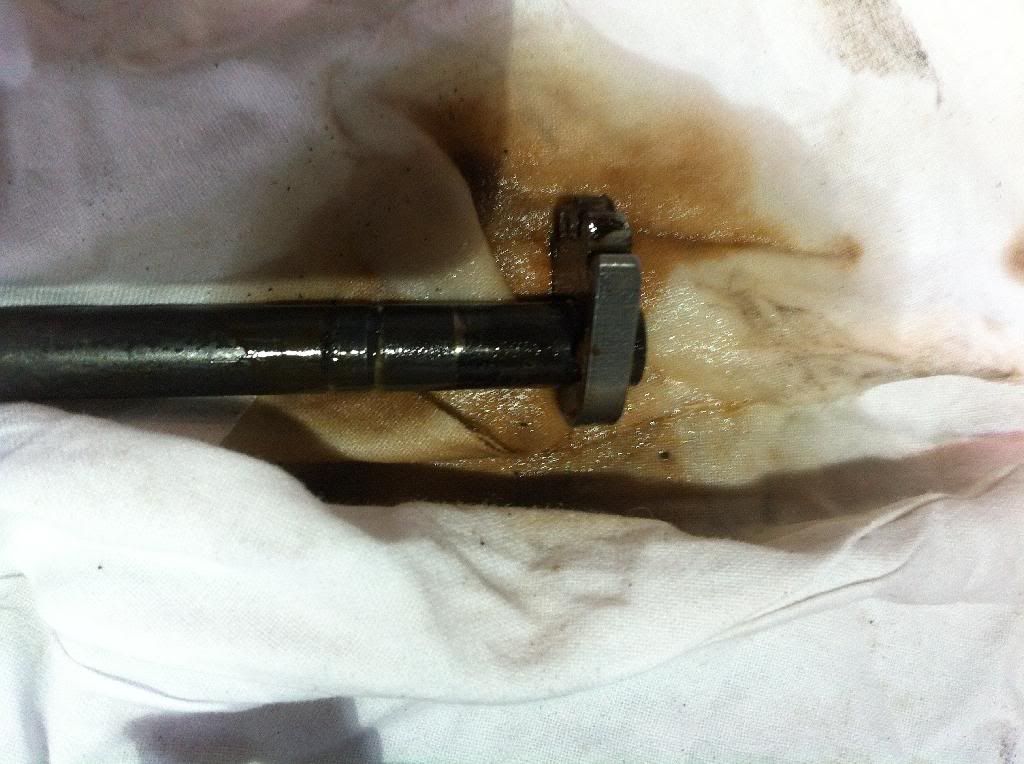
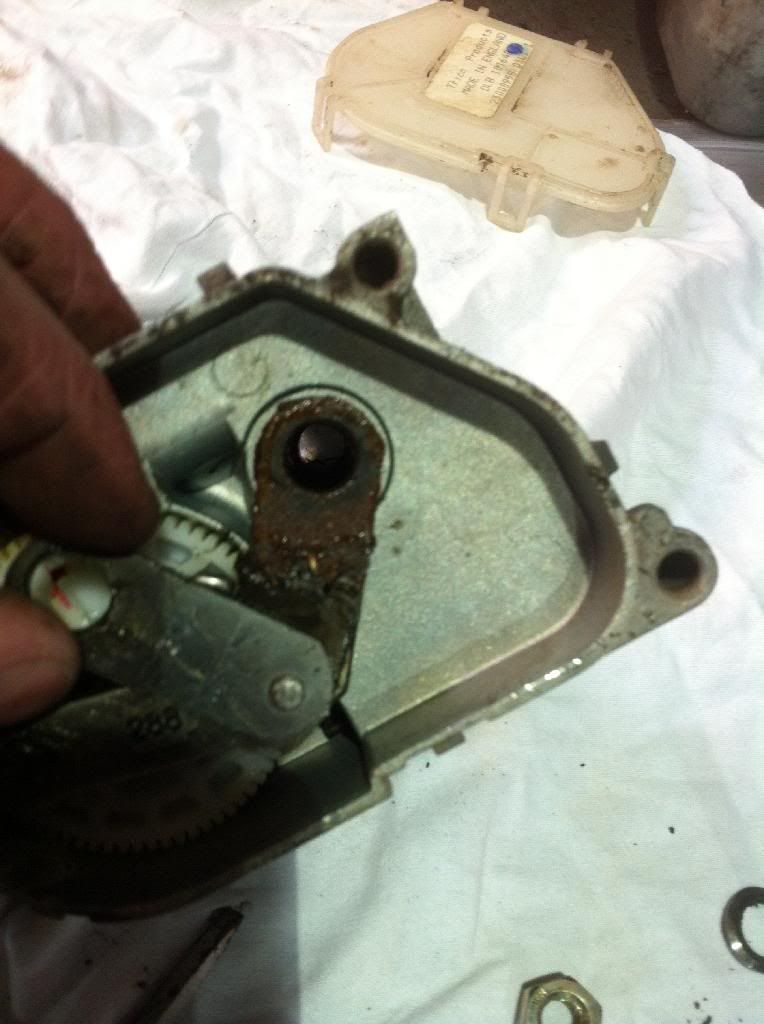
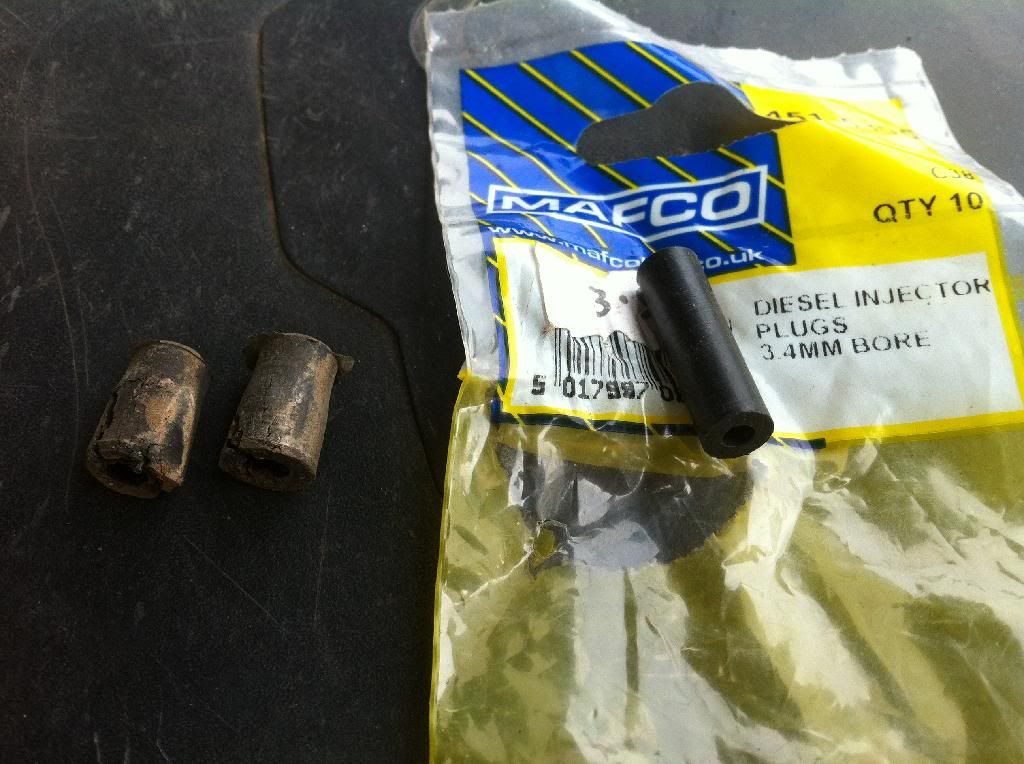
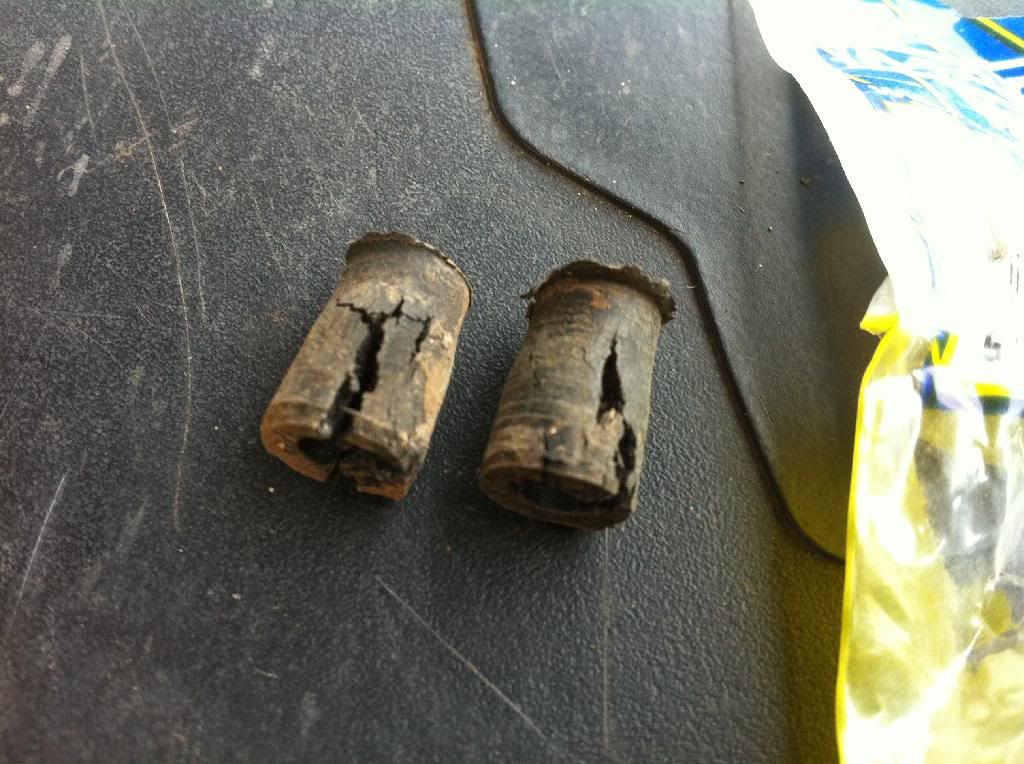
Then refitted my repaired rear wiper motor, you can see the rust that came out in the lube.


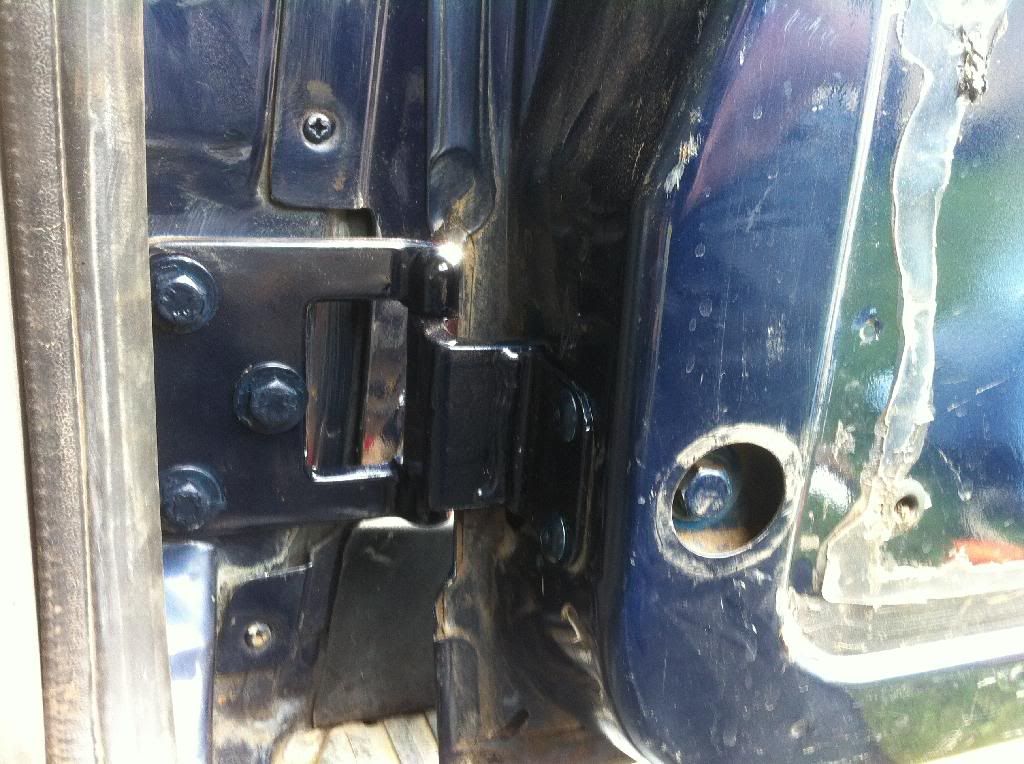
I also washed the rear door inside and out as it was full of dust and dirt. had lunch while it was drying then with help from my dad replaced lower tailgate hinge, been trying to decide the best way to do this over the last week but I'd thought about it too much it was easy, used a black and decker work mate with a couple bits of wood to take the weight (spare wheel had been removed already and carrier but that's not necessary) took the check strap off opened the door more than allowed with the strap on, grinded the 2 rivets off, unbolted all 5 bolts then opened it was far as I dare and the hinge would slide out of the door, in to the boot. Then slide the new hinge in the bolt up. adjustment we diff from car to car. My door has always been close to the nearside and rubbed some paint away so I pushed the door on to the hinge as far as it would go, then lifted the door at the bottom while doing the bolts to the body up so the top pf the door was in (as had water leak in the top of the door before. it then sat low on the catch so adjusted the top hinge on the door in a bit, Perfect. Lastly when happy with it I put some new (genuine) rivets in (there big) then gave them a paint and touched up the bolt heads.


Now the refurbed spare wheel carrier to go back on that I also flipped, the tyre was very close to the bumper before and you never know what is going to happen in the future. TBO thought it was going to be higher but least it don't look silly with my tyres I have at the min.


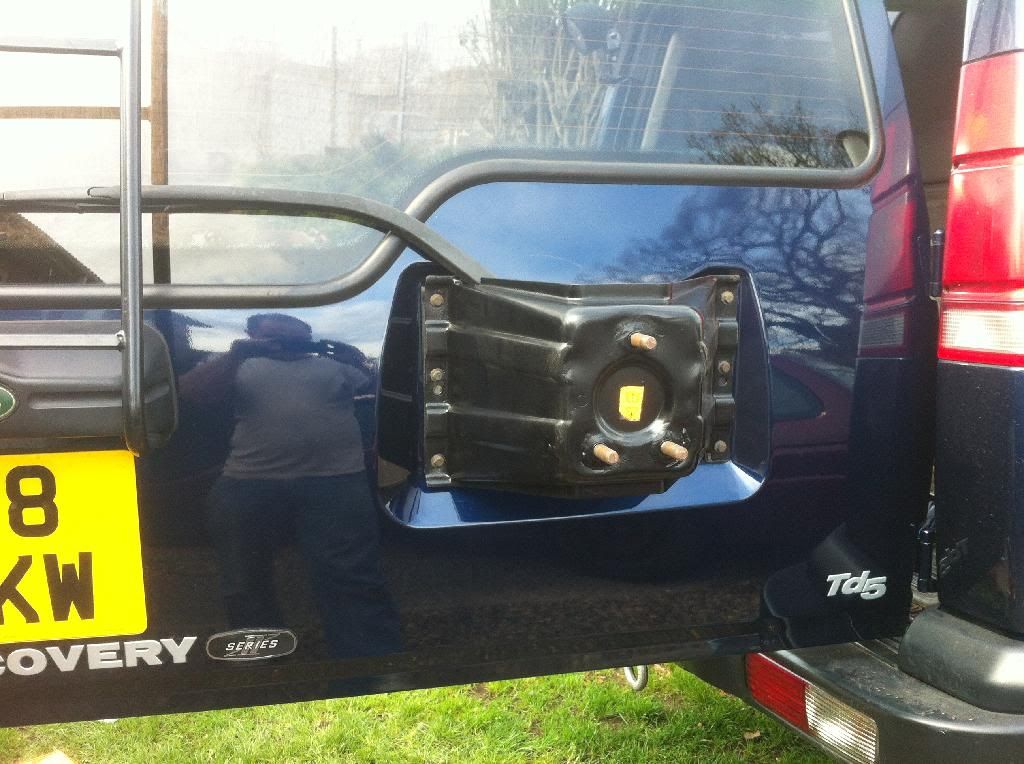
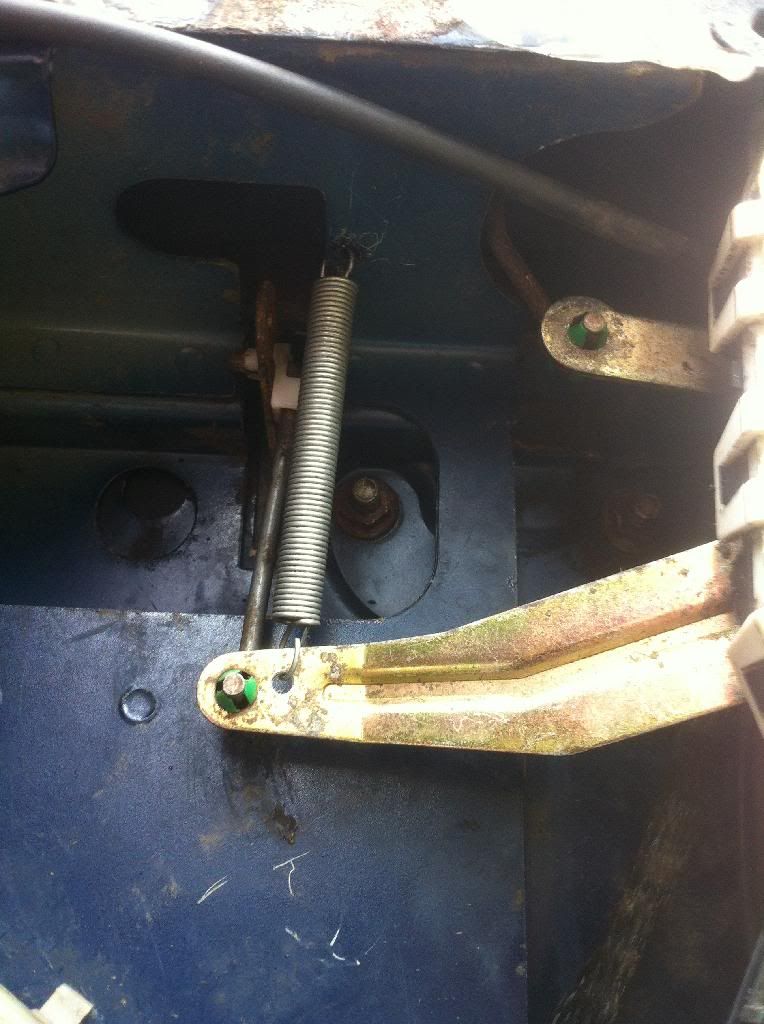
Then while the door card off I wanted to look at the handle / number plate light cover as I wasn't happy with it, I couldn't get it to fit tight to the door all the way round so I did some adjustment and also sealed the seal to the handle, to stop it filling up with water in the number plate lights again. After that I needed to give the external handle some help on the return as the spring on the handle its self has had it. had a look can found a spring in the garage that was pretty much perfect. Drilled a couple of holes, and bobs ya uncle.


Happy with the days work, I refitted the door card and filled the boot with tools for tomorrows job. 7 days a week working on cars I must be mad.
 
Finished my upper console today,

bought a retractable cb mic holder.

ORIGINAL GEARKEEPER MICKEEPER RETRACTABLE CB MIC MICROPHONE MIKE HOLDER CLIP | eBay

removed the clip and hid the body under the centre part of the map pocket console.


All that shows when mic not attached


with the mic


Then added a green led to light up the center console at night, connected to the dash lighting circuit.


Also added another cigarette socket in the map pocket, used to have my sat nav next to my rear view mirror so thought this would be handy.


Then the big wire job, I put wiring up to this spot when the roof lining was out, with the exception 2 wires that I added today, These are for my amber flashers, so cut the plugs off the lights today and soldered to my wires then heat shrunk. now plugged into the control box and wired the power up to that.


Cut hole in the alarm sensor blank and added double sided trim tape to fix control unit.


tidy ?

Night shot of the led console light, But have now added a resister to dim it a bit.

 
I Thought a facelift grill would fit well with my winch bumper, but no too big a gap along the bottom and gaps down the sides of the headlight.

pre-facelift


Facelift


So I repaired my old grill and fitted my amber strobes to it.

Bit of glue and plastic welding turn out ok.


Just to paint the screw heads black and I think they fit a treat.

The cat kept look out for swmbo as I was just going to refit my grill but 2 hours later I came in after trimming it up a bit more found some stainless steel screws to refit it and also ended up wiring the strobes in :tup:


Last edited:
I Thought a facelift grill would fit well with my winch bumper, but no too big a gap along the bottom and gaps down the sides of the headlight.

pre-facelift


Facelift


So I repaired my old grill and fitted my amber strobes to it.

Bit of glue and plastic welding turn out ok.


Just to paint the screw heads black and I think they fit a treat.

The cat kept look out for swmbo as I was just going to refit my grill but 2 hours later I came in after trimming it up a bit more found some stainless steel screws to refit it and also ended up wiring the strobes in :tup:


So thats where my cat gets to...lol
 
Just spent a pleasant half hour reading this thread. You took on a job most folks wouldn't even have considered given the state of that vehicle. I take my hat off to you mate. Well done.
 
Just spent a pleasant half hour reading this thread. You took on a job most folks wouldn't even have considered given the state of that vehicle. I take my hat off to you mate. Well done.

Cheers, Its been a lot of work but getting there, I'd like to do a few more mod's but need to make some money to get it how I want it.
 
Those strobes look really eye-catching - might just save someone's life.

I'm assuming they have some sort of program control - is it that black box above your rear view mirror?

Very cool mod.

Dave


Yep I hope so, some of the roads out my way aren't where you'd choose to be on a winters night. but last year I went out to a mate who had a wheel come off on the offside, spent an hour getting a couple wheel bolts out, to tow it home. was just waiting for someone to go into the back of my disco. So wanted to these done.

Yes that is the control box about the mirror, has the main power switch and 3 mode buttons.

I've now done the rears after a bit of trail and error I got the rear strobes finished tonight.
I started with an old light unit, and started cutting thought it looked good. next day (when it was light) thought I better just offer it up and make sure it fitted in the back of the D2.

It didn't So thought this idea may be out the window, looked on ebay for smaller ones, yes that'll work but money is tight and I already bought these (for my P38 but never fitted) So I tried again.

It worked and this time they fitted the D2, but to get the full brightness you had to be at 45 degrees to the D2 and I wasn't happy with them, So tonight I took the strobe / led unit apart, Yep that'll work. So with the test light cut up already bigger than the hole now needed I cut my good lights. :eek:
http://i[URL=http://s175.photobucket.com/user/steves24v/media/1350004B-3F63-4113-A20A-D62ABB8B2E47_zpskk8tvjwv.jpg.html]
[img]http://i175.photobucket.com/albums/w148/steves24v/1350004B-3F63-4113-A20A-D62ABB8B2E47_zpskk8tvjwv.jpg

175.photobucket.com/albums/w148/steves24v/1350004B-3F63-4113-A20A-D62ABB8B2E47_zpskk8tvjwv.jpg[/IMG][/URL]


http://www.youtube.com/watch?v=N5IJQBDcH7Y
 
Its about time, I gave this thread an up date, Had a lot of work on building an extension on my house, so the disco took a 8 month set back but was put in to work every weekend with fully loaded trailers, from blocks, wood, sand, gravel, top soil, mini digger.


[/url


Then some more soil into my garden got a bit stuck

 
Aug 2014

Had a few spare min's to look into my rough running between 1000 - 1800 rpm done a fuel filter at the weekend and been doing some tests today.

More details from when the prob started here http://thed2boysclub.co.uk/viewtopic.php?f=2&t=34489&start=0

To test the fuel pressure I found a oil pressure gauge with the right fitting M12x1.5 that is the tread of the fuel temp sensor in the fpr so I thought this was great so at lunch I stuck it on Just over 4 bar as soon as the ignition is turned on, looked good to me. with it running its jumping all over the place do you think this is just because its an oil pressure gauge and had no oil in the gauge to dampen the needle.

Here it is,

[youtube]

This is a video of my injector balances, you can see no1 all over the place when the revs are picked up to the range where it misses even though I'm told you shouldn't take noticed of them above idle.

video of injector balances

[youtube]
 
March 2015 the disco work started again at full strength lol

I fitted my 1" SLS spaces I got from mark B


Sorry about the poor picture


Also fitted rad blanket, Just need to sort some hooks of something to fix it down.


Also made some mud guards and heat shield for under the rear bumper, as when ever I need to change a lower bulb I can't get the holder out for mud.


Well its been running rough this last week and I read the fault codes at work and it had open circuits logged for all 5 injectors :eek:
Cleared faults and decided to try my genuine injector loom. So today was the day I also checked and cleaned all the engine's sensor's.

ECU first still nice and clean like it always has been with 3 injection looms in as many years it should be.


Injection loom plug also clean


Map sensor still nice and clean


app sensor in air box clean


Time for another air filter but again not going to cause any problems at the min.


I didn't like the look the left terminal in the mass air flow sensor plug, I squeezed the connections up but didn't have any contacted cleaner so that will be done next week when back at work.


Also thought a bit more oil than I'd like in the intake pipe maybe time for a oil separator catch tank like ben. as the decompression valve was new last year.


These are the silicone hoses I'm not happy with see thread 'Where did you get your silicone hoses from'


I also copied bennehBoy's air box mod. I didn't know about this bit in the intake pipe of the air box, I do now, and do have a spare air box in I want to go back.

Before


After


Also spotted I needed a new dump valve, well to the garage for my spare air box.

 
Back
Top