Seals finally arrived! Which meant that I could finally make the cabin slightly more water tight than hanging a couple of clear polythene bags over some rusty cruddy old door tops I got for peanuts.
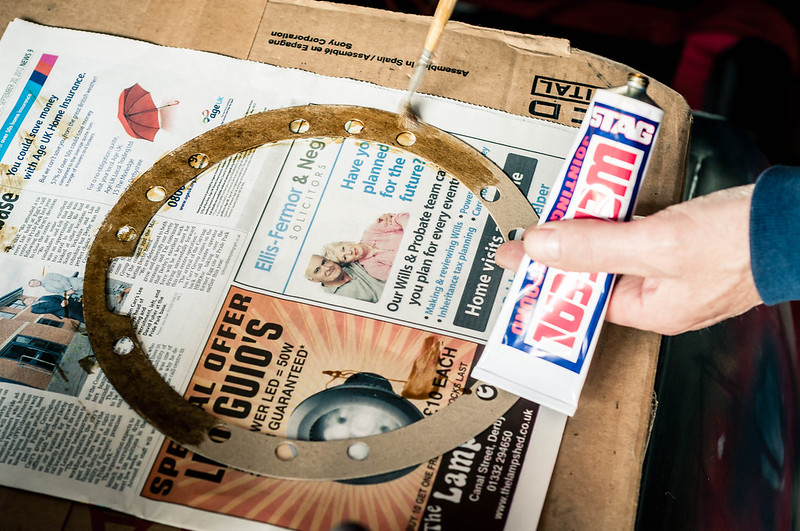
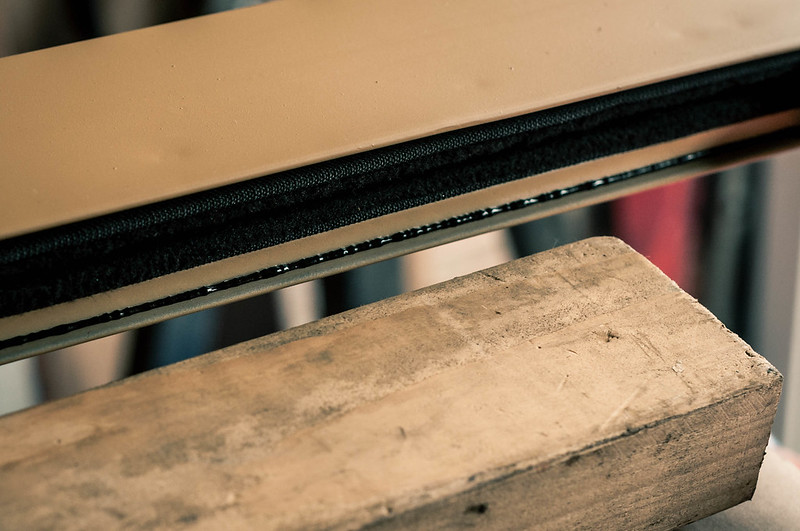
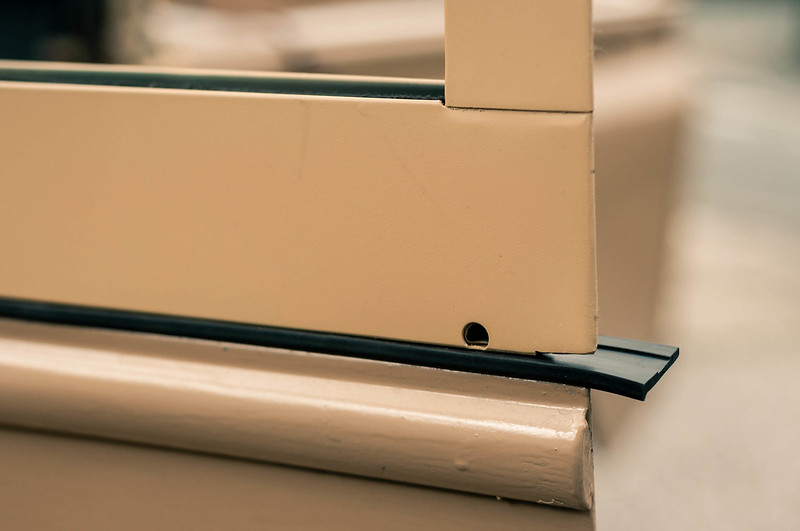
I wanted to add a couple of runs of sealant to the door glass assemblies though, so I ran a bead of sealant between the stainless insert and the door lip. I didn't want water collecting there and then soaking into the inside of the door frame.
 Sealant
 by
Diabolu80, on Flickr
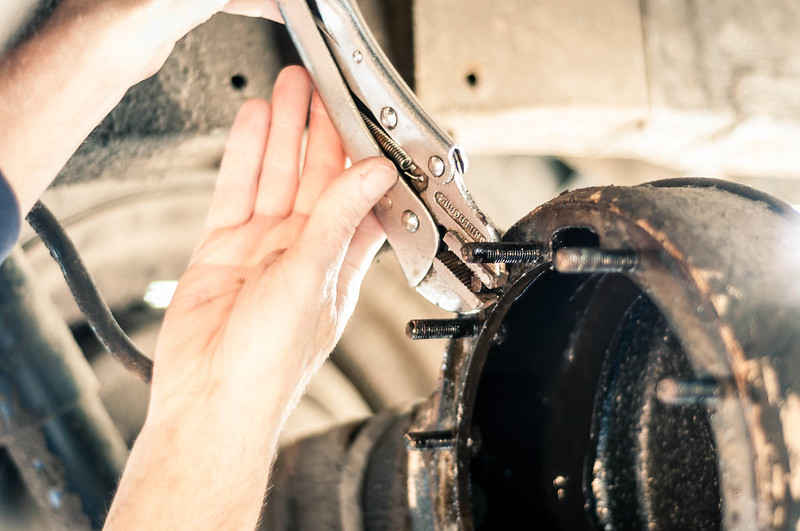
Drivers side fouled quite badly when I was sliding the door top on, so rather than having to force the fit, I decided to open up the holes just a little...
 Reeeeeem
 by
Diabolu80, on Flickr
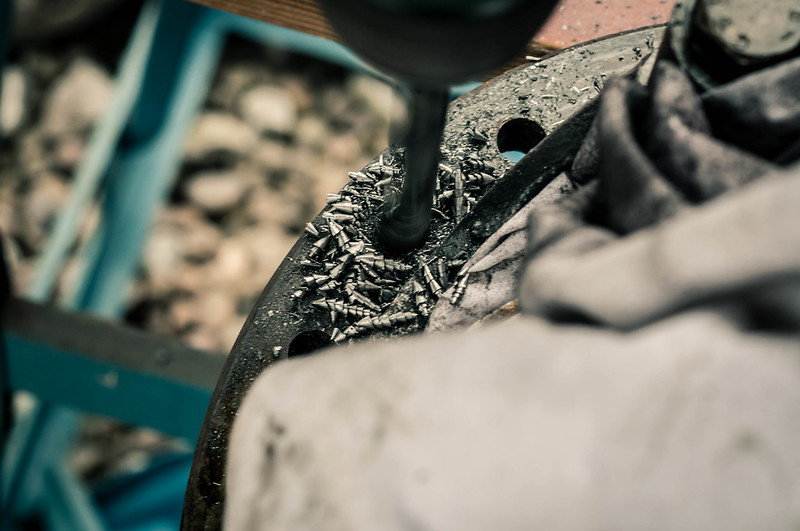
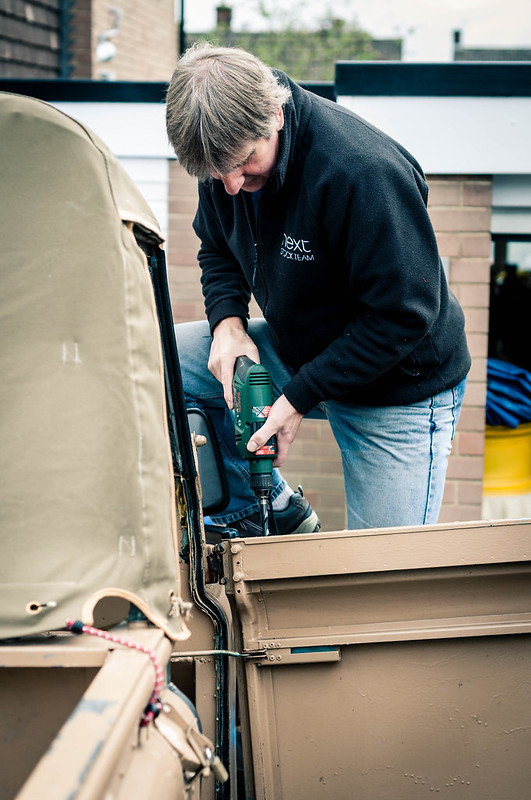
Reemer wasn't enough though, so the drill came out!
 Drilling it out
 by
Diabolu80, on Flickr
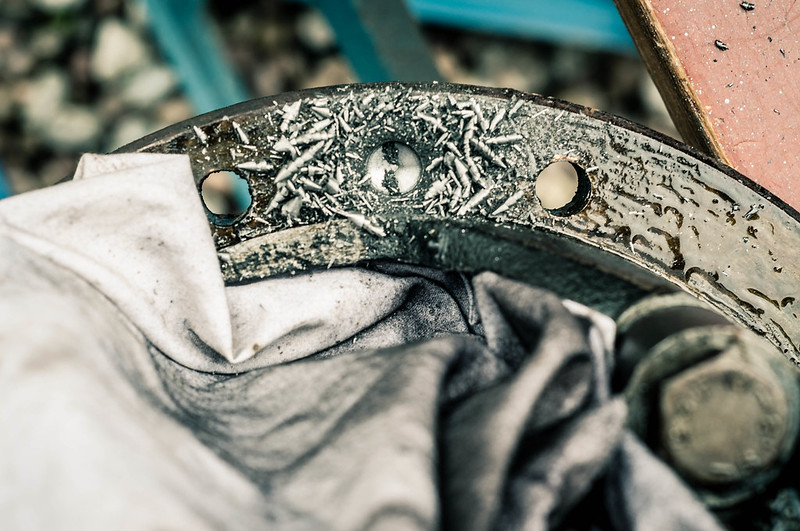
It got a little hot though

 Running hot
 by
Diabolu80, on Flickr
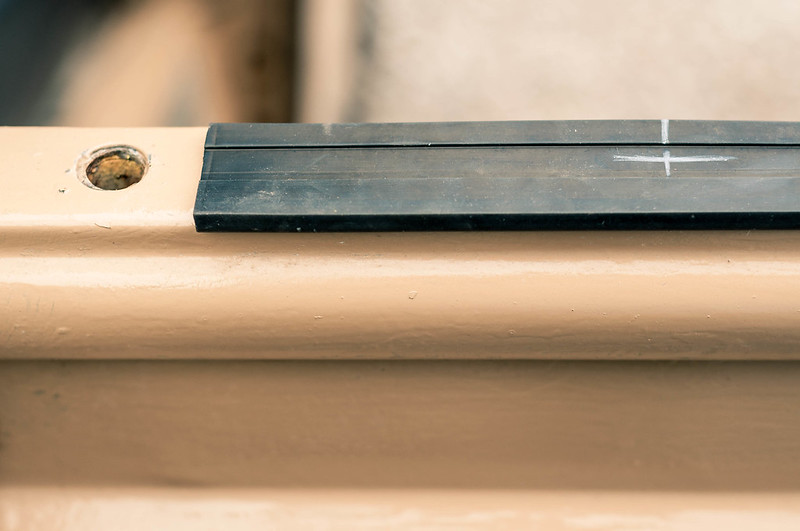
Holes checked for clearance I marked out the seals that sit between the door and the door top. Not exactly a complicated seal; merely a strip of rubber with a lip. I am starting to love how simple this Landie is!
 X Marks the hole
 by
Diabolu80, on Flickr
We made a hole stamp out of some central heating pipe that happened to be the correct size and in 3....2....1.....
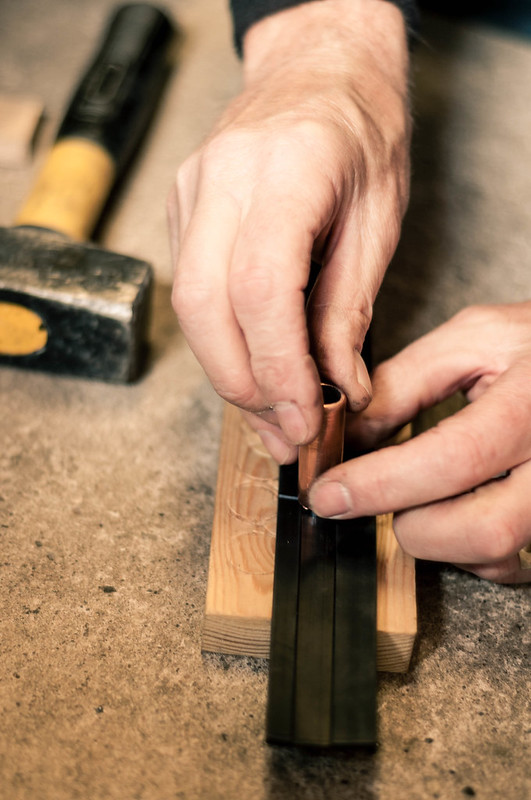 Heating stamp
 by
Diabolu80, on Flickr
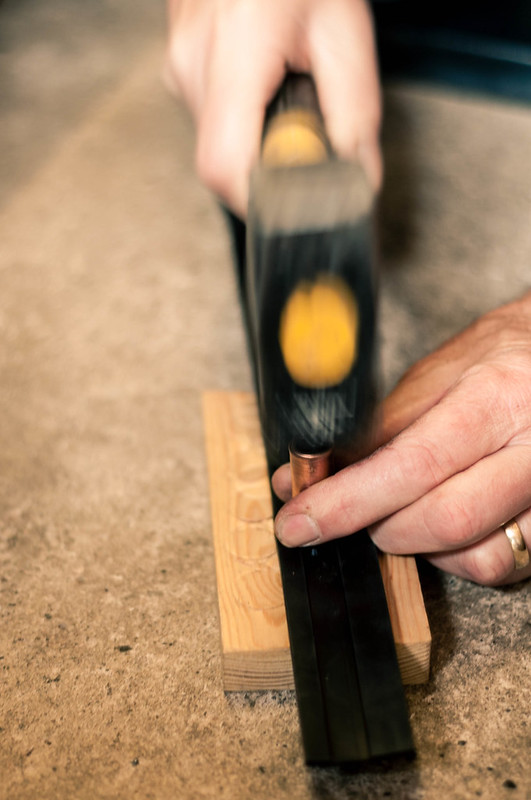 ...1!
...1! by
Diabolu80, on Flickr
 Holes in place
 by
Diabolu80, on Flickr
Holes done!
We intentionally stamped the holes a fraction towards the inside of the door so when they were clamped up, the lip would tighten against the external door edge. That was my thought anyway, so I'm sticking with it
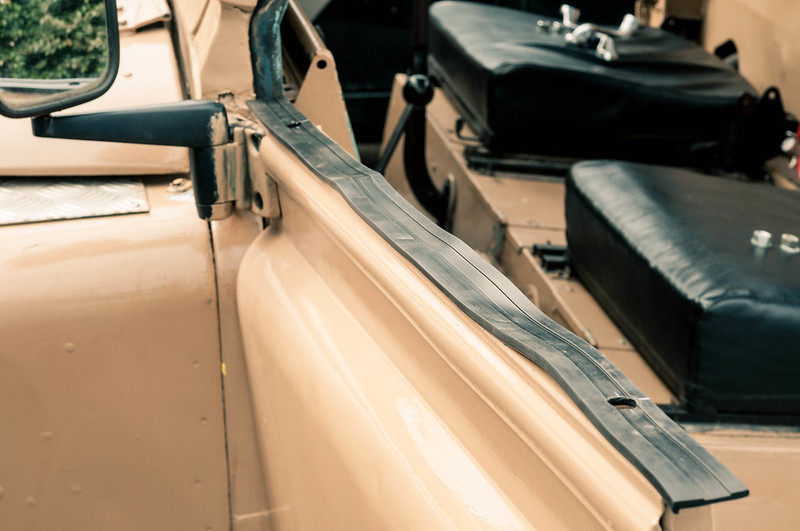
 Door tops
 by
Diabolu80, on Flickr
A little excess on each side to be trimmed
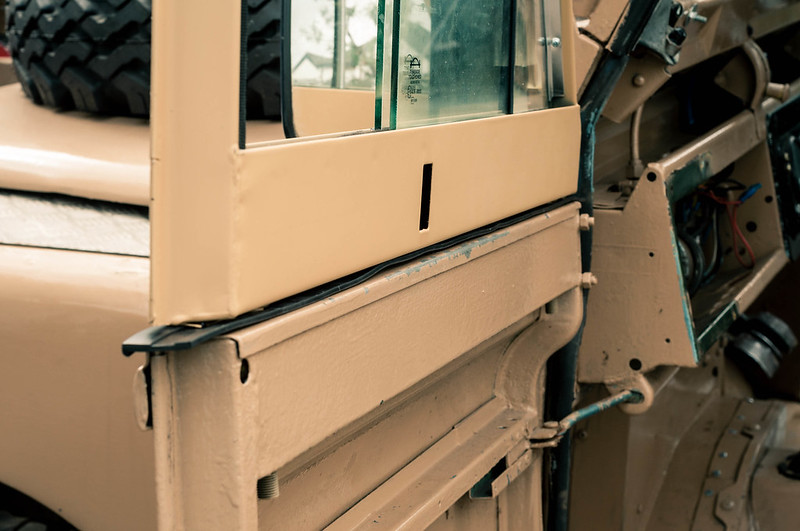
 Door top seal
 by
Diabolu80, on Flickr
 !!!
!!! by
Diabolu80, on Flickr
AND BINGO!
Well chuffed! The old seals around the door do squeak a little when driving so I'll replace those in due course but it's awesome!
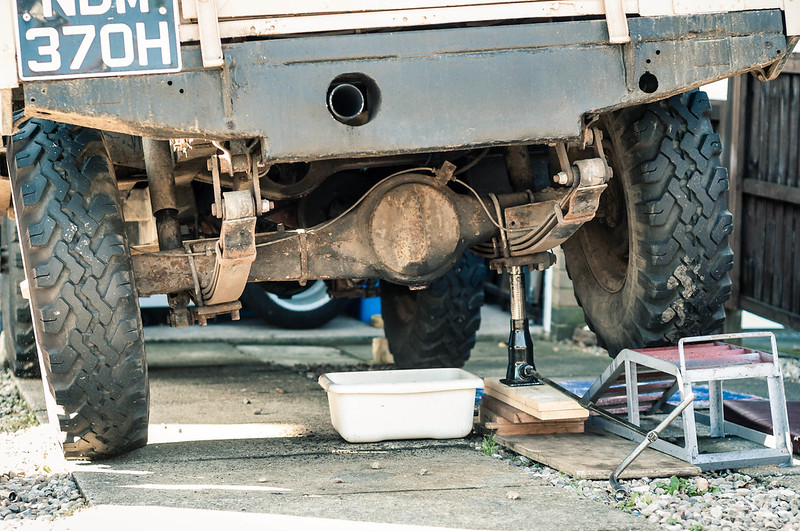
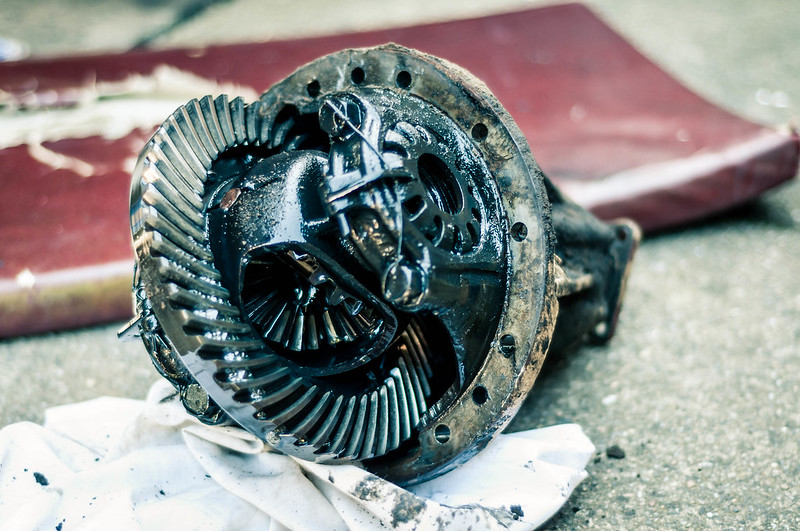
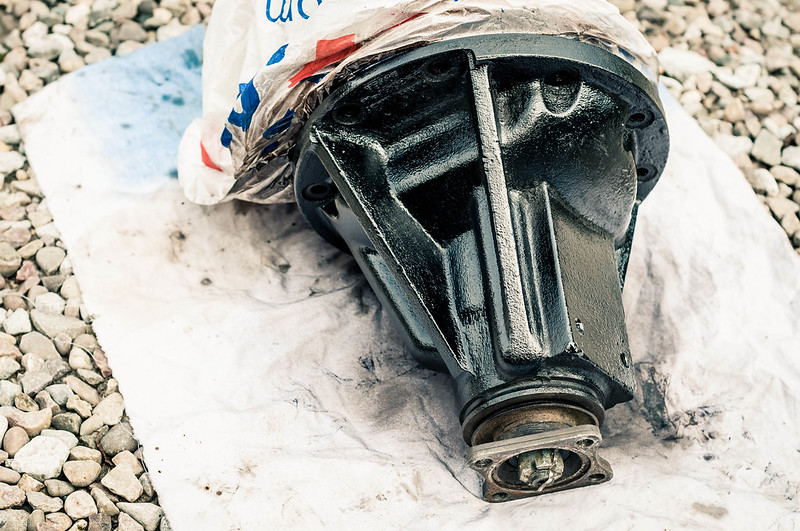
Door tops and coaching done for the day, I got home and decided to get my head clear on the differential replacements that I got from Sowen earlier in the week (thanks bud!!)
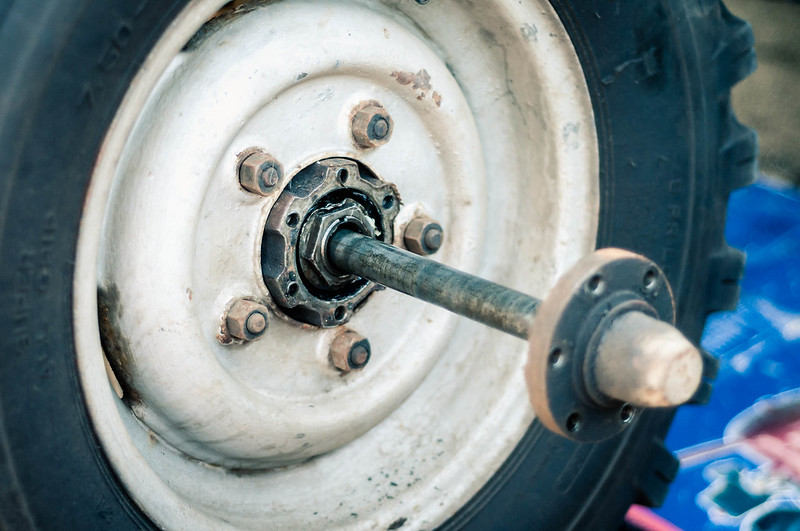
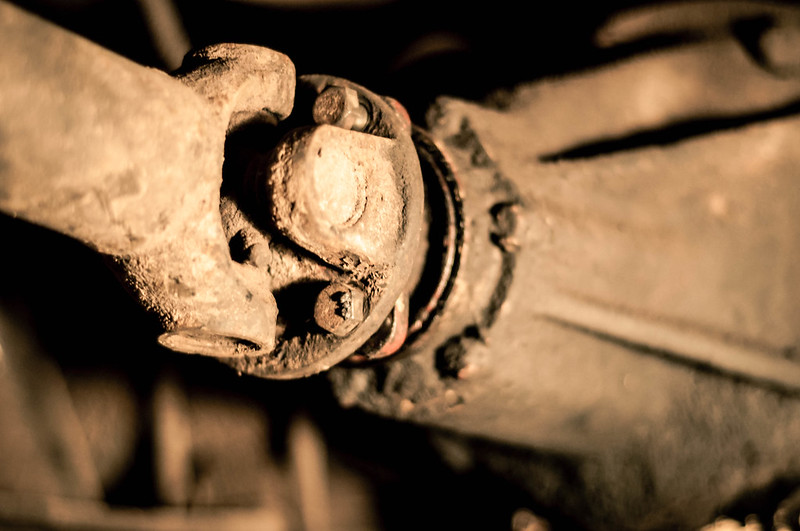 Prop to be removed
 by
Diabolu80, on Flickr
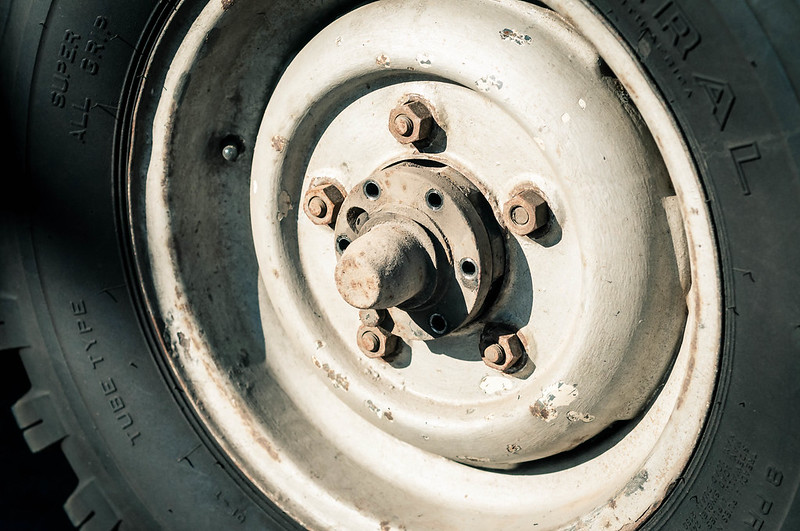
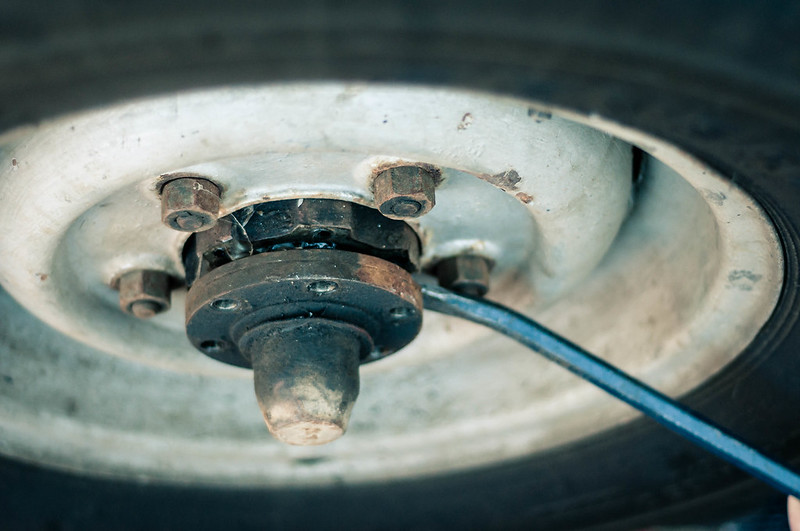
Prop shaft bolts loosened and dropped.
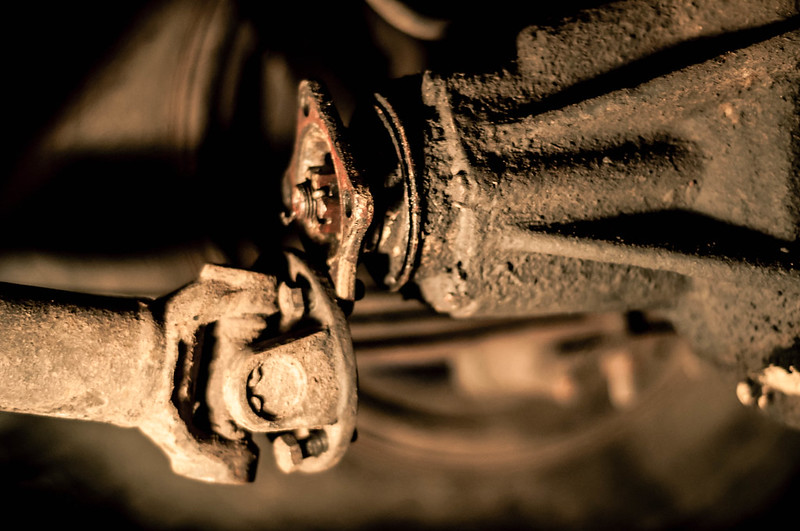 Prop off
 by
Diabolu80, on Flickr
 Clean up
 by
Diabolu80, on Flickr
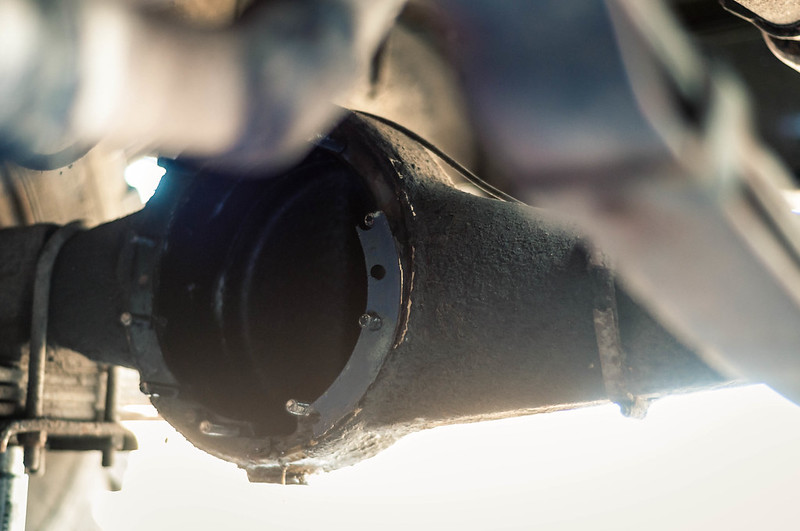
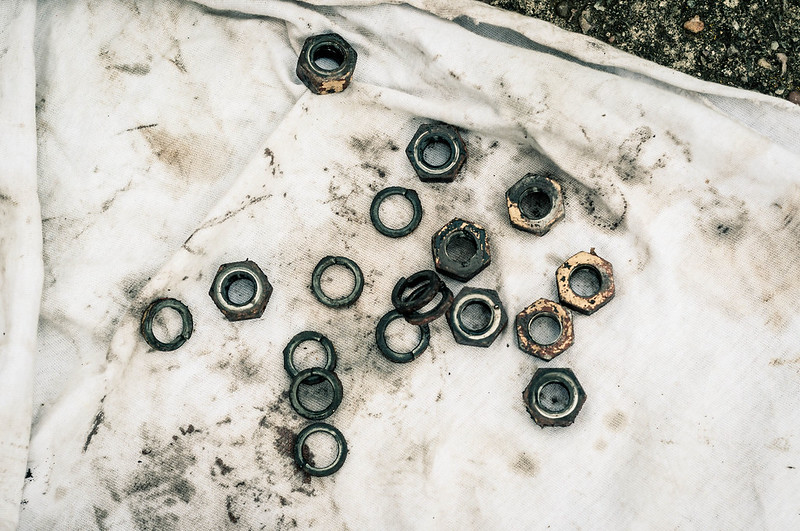
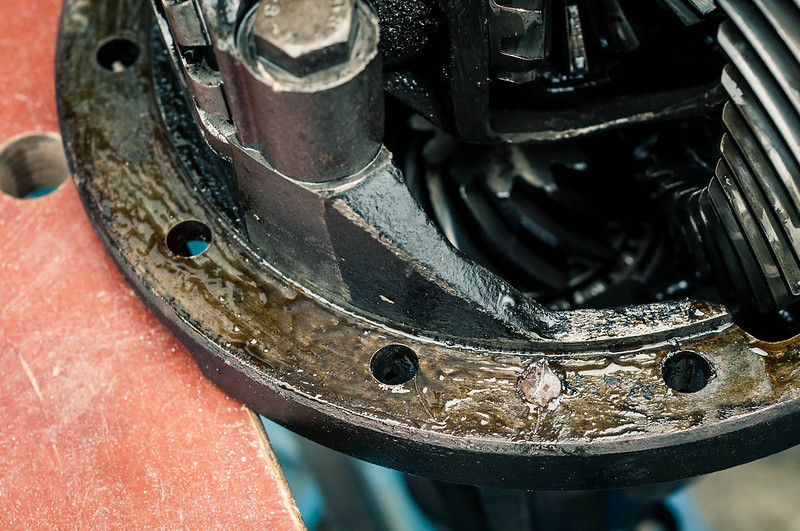
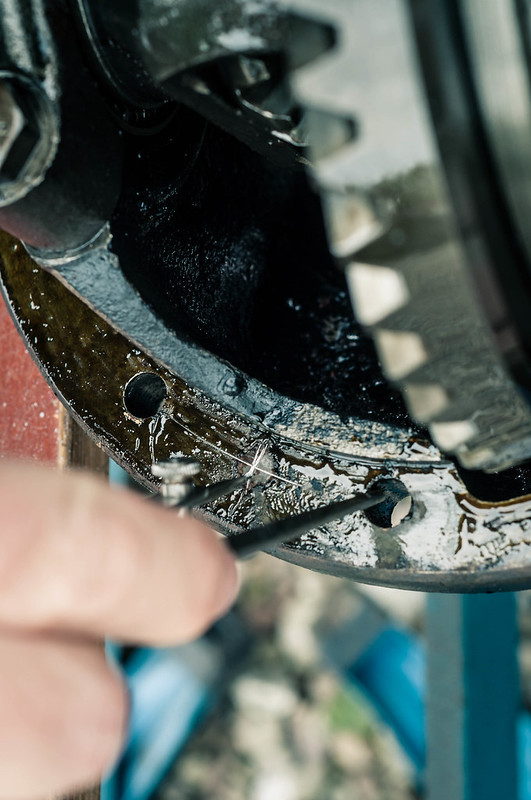
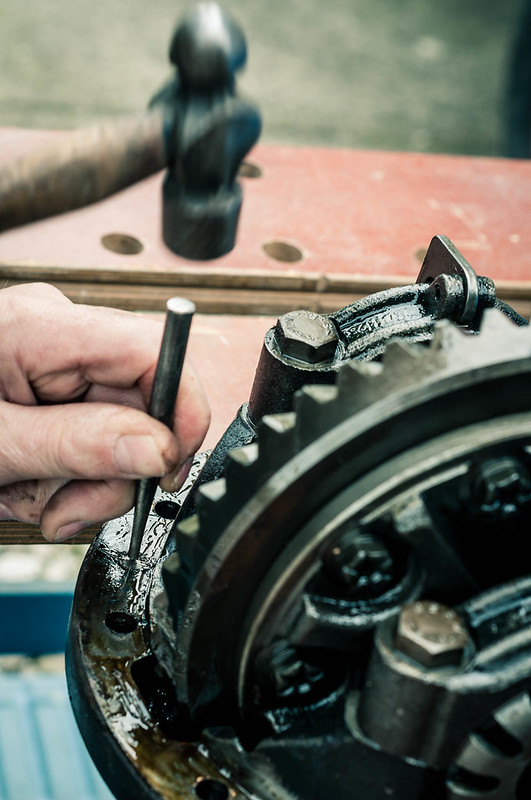
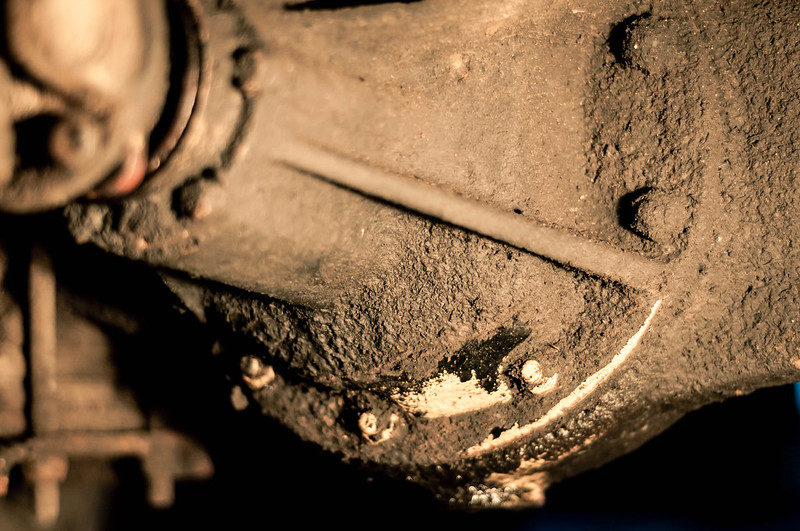
Differential nuts cleaned and loosened. And then a few whacks with 'ammer to get to here...
 Whack whack
 by
Diabolu80, on Flickr
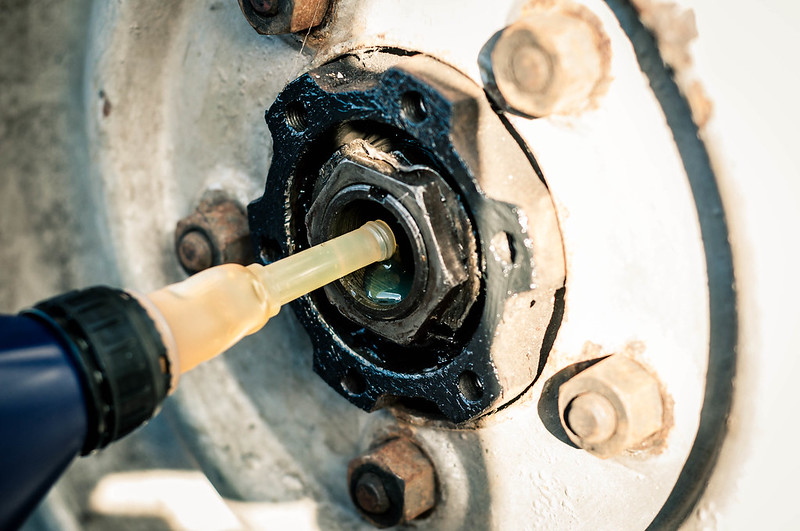
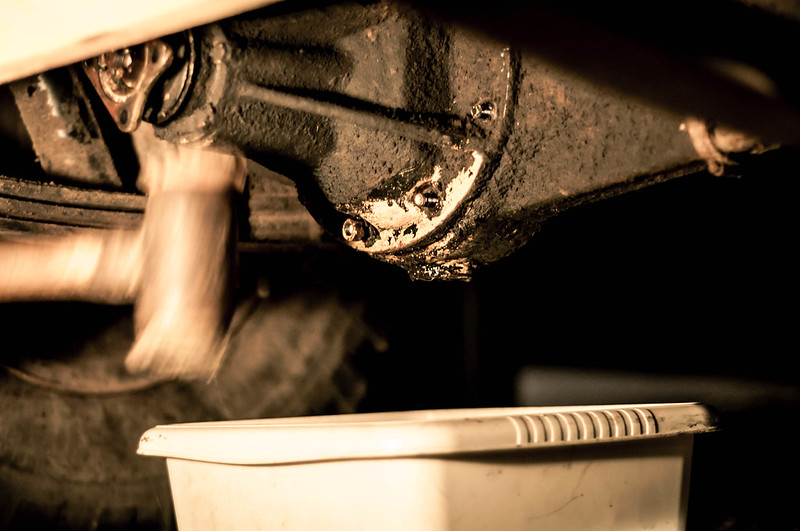
 Oil leak
 by
Diabolu80, on Flickr
That's being left overnight to hopefully drain the majority of the oil out.
The drain plug on the axle has a large slot in it that we couldn't unscrew so thought we may as well drain it this way until tomorrow at least.
Plans for tomorrow?
Pull the half shafts out (carefully).
Pull diff out (very carefully).
Gasket up new diff and slide in.
Gasket up half shafts and slide in.
Prop shaft and then go for a slow drive and see what the cruising revs and speed are like
Oh... and then collect a full length hard top from Chesterfield
Thanks all! Please feel free to drop any tips, hints, or helpful comments RE the diff changing and I'll update you all tomorrow evening.
Chris!