My Range Rover Classic expedition project (ongoing, pics etc)

This site contains affiliate links for which LandyZone may be compensated if you make a purchase.

MikeV8SE

New Member
Posts
1,771
Location
Bucks
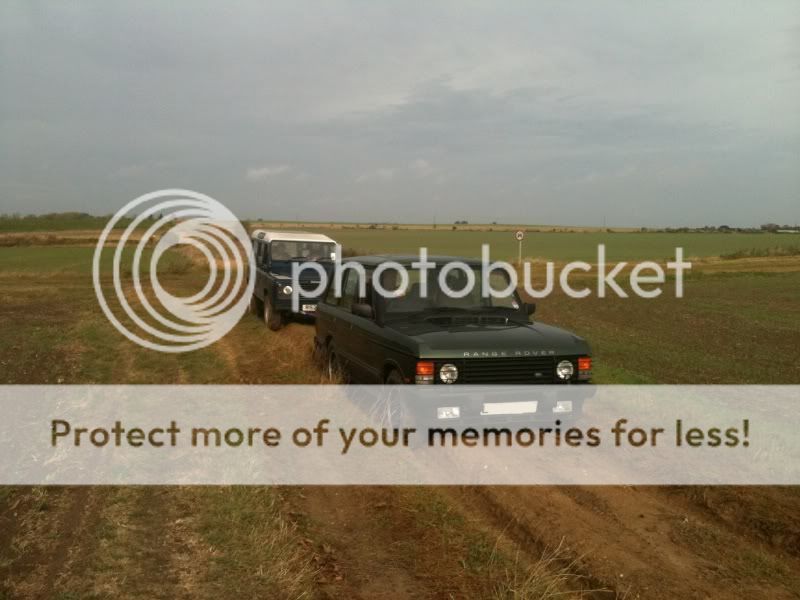
OK, so I've bought my second RR Classic a few weeks back and, rather than post lots of threads as I do stuff, I though I'd put it all in one place for anyone who's interested. The plan is to keep the car as close to original-spec as possible (i.e. standard looking) but also kit it out for greenlaning, Recovery/Response work in the winter and also expedition use, starting with a trip to Morocco next year.

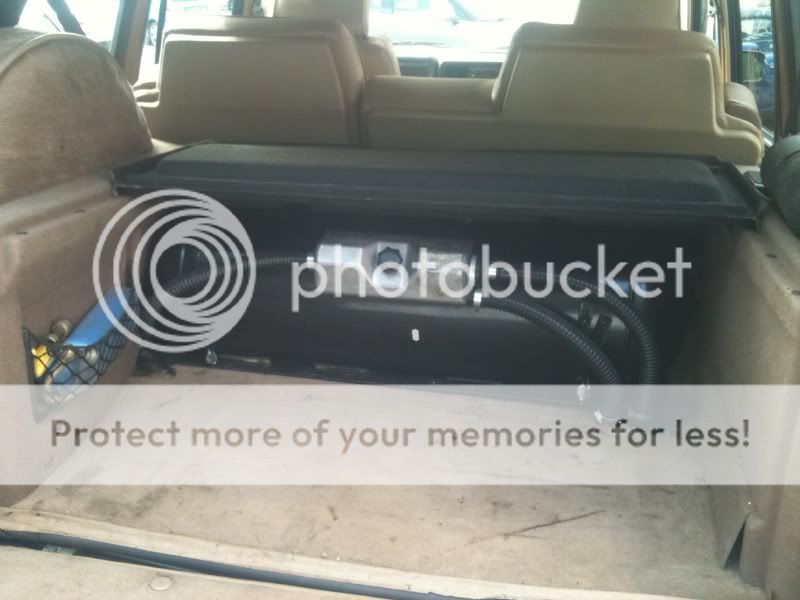
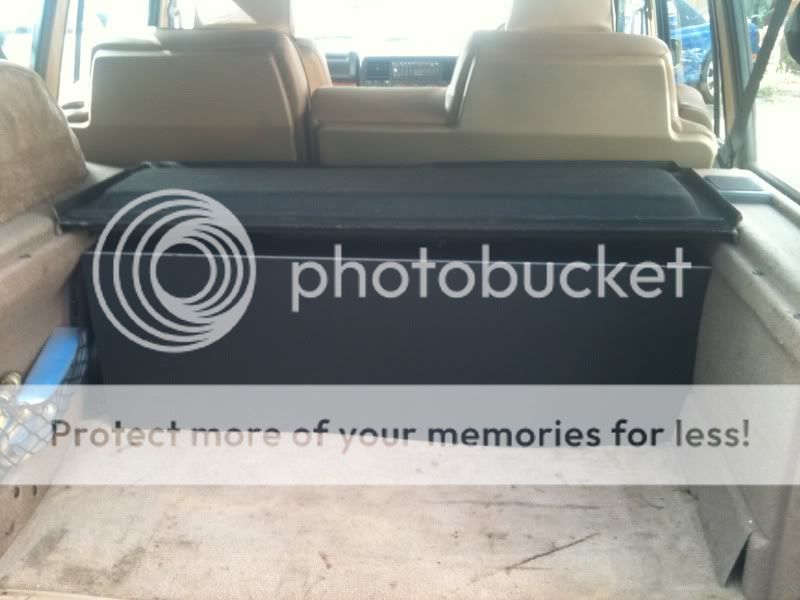
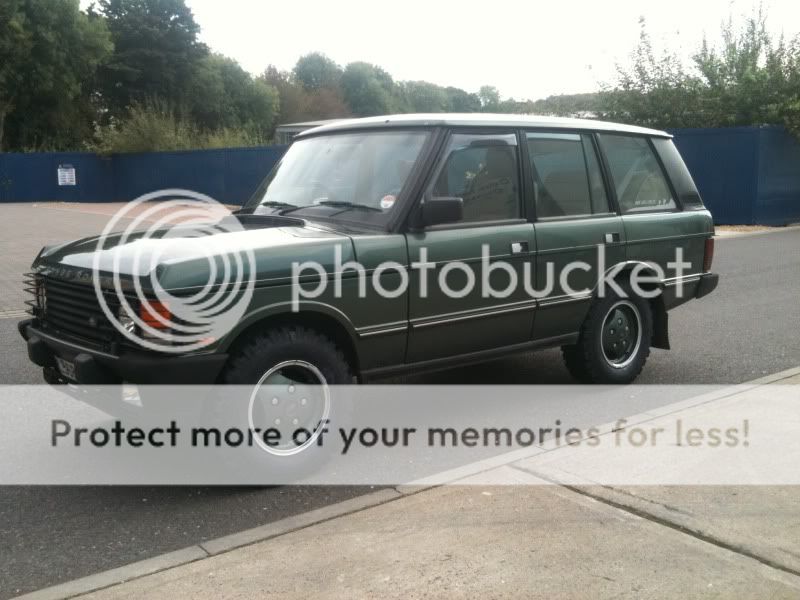
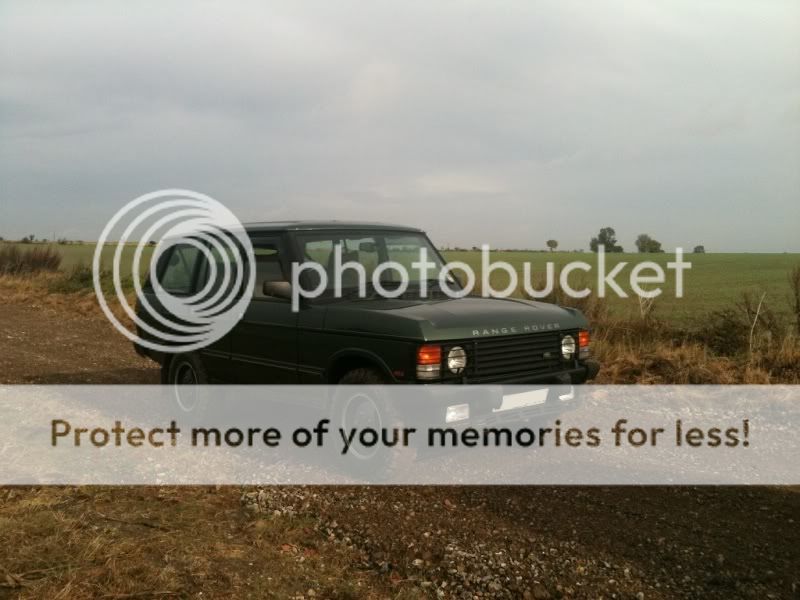
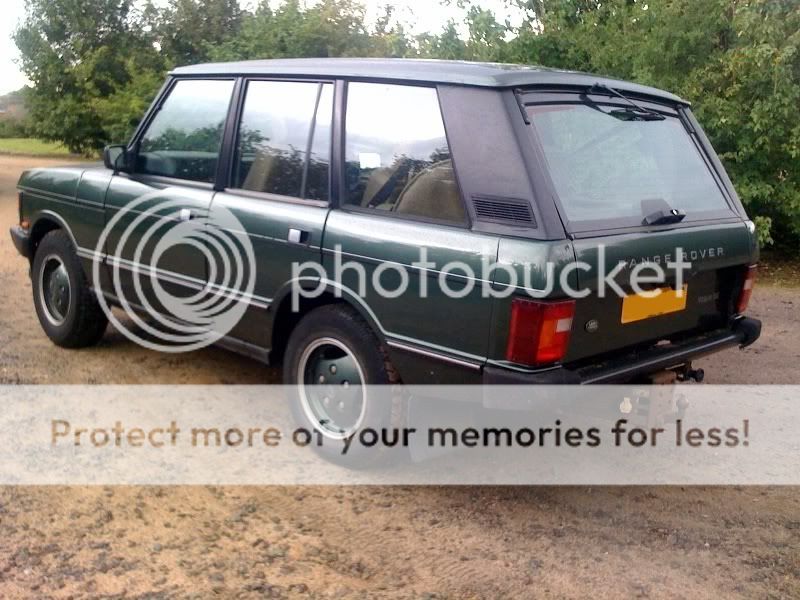
The car itself is a 1994 Range Rover Classic 3.9 V8 Vogue SE auto, a late soft dash model with EAS (Electronic Air Suspension) and an LPG conversion with a 100 litre tank in the boot.

Why did I choose this? Well, I love Range Rover Classics so it had to be one of these, and finding a decent 200/300Tdi for sensible money is nigh-on impossible. I love the V8 engine too, so an LPG kit keeps the running costs here in the UK sensible, and everywhere else in the world petrol is relatively affordable (e.g. 72p /litre in Morocco at the time of writing).

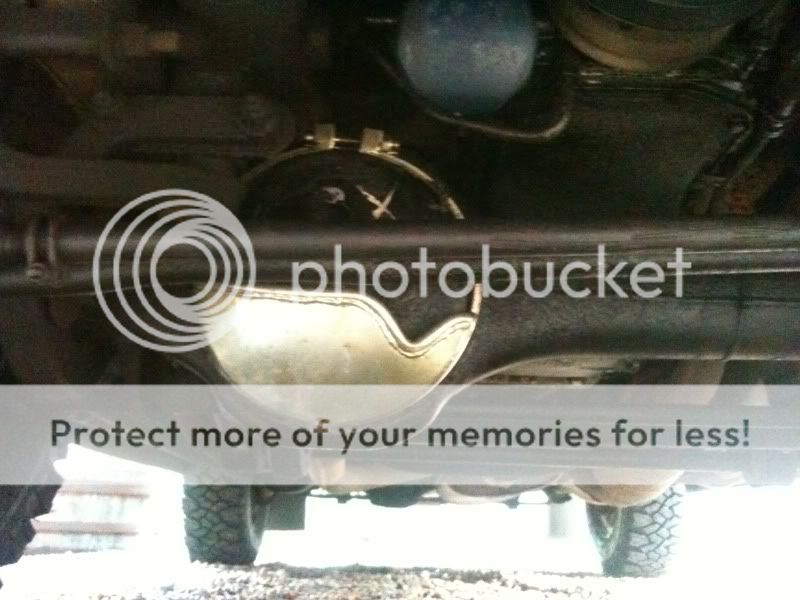
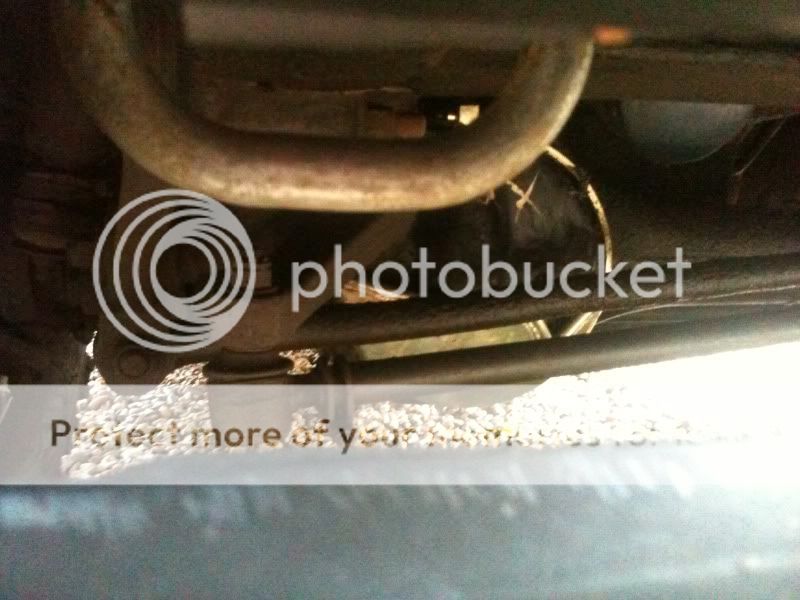
Whilst this car was scruffy in places, the engine and gearbox are sweet as a nut and the chassis is 100% solid underneath, both of which are vital for a good base vehicle. The cosmetics can be sorted out as I go along, if I want to.

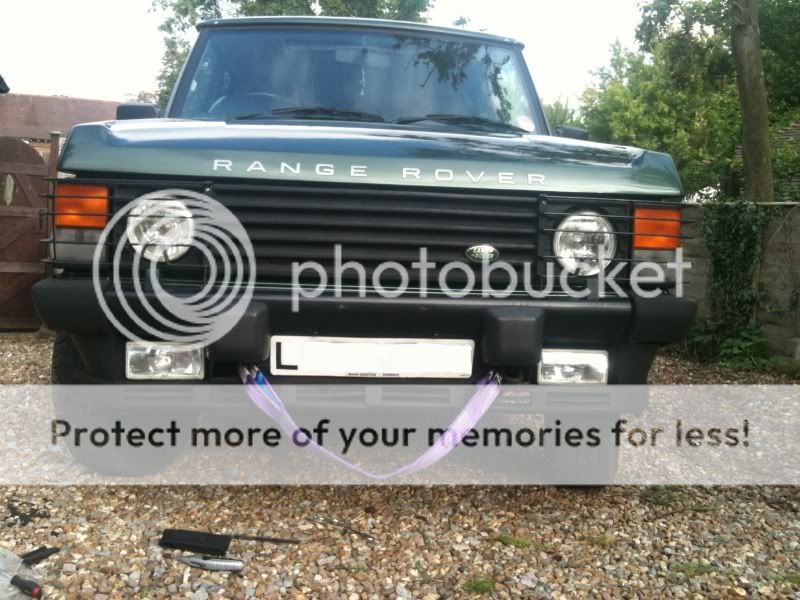
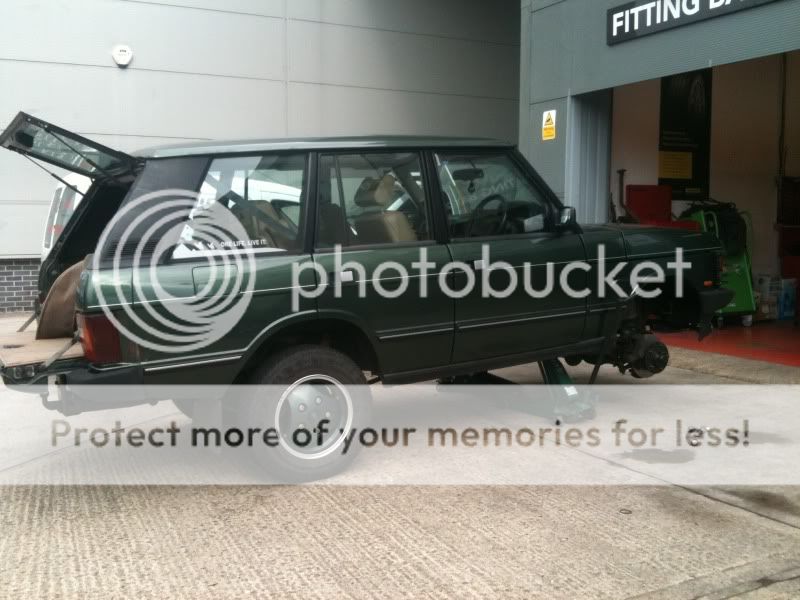
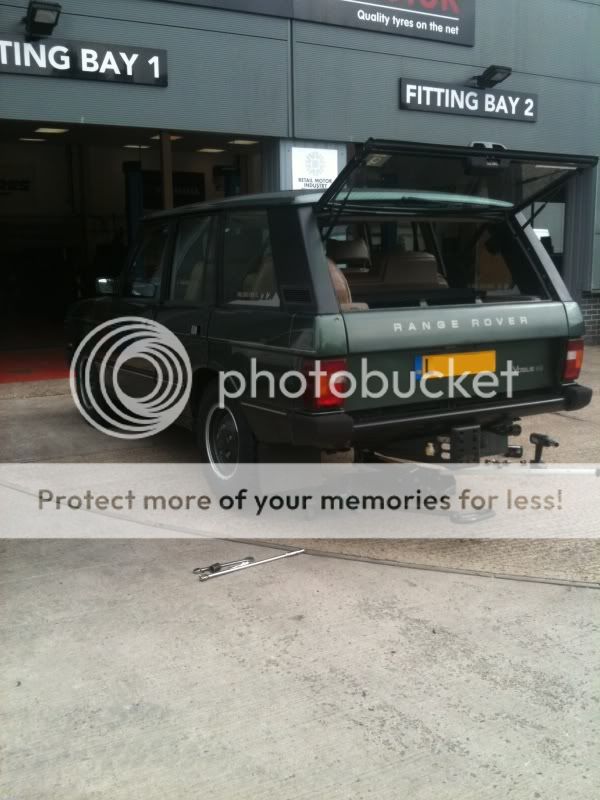
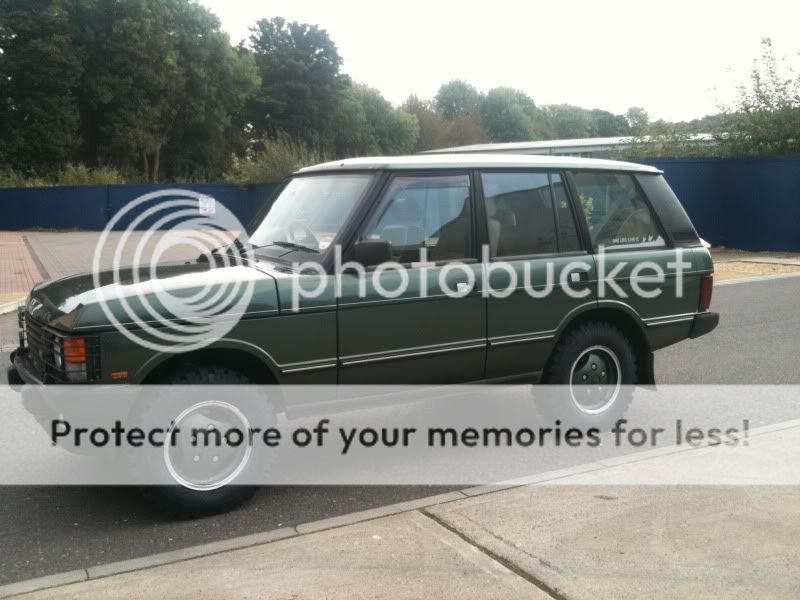
So, here's a pics of the car as advertised:
rangy2.jpg

rangy3.jpg


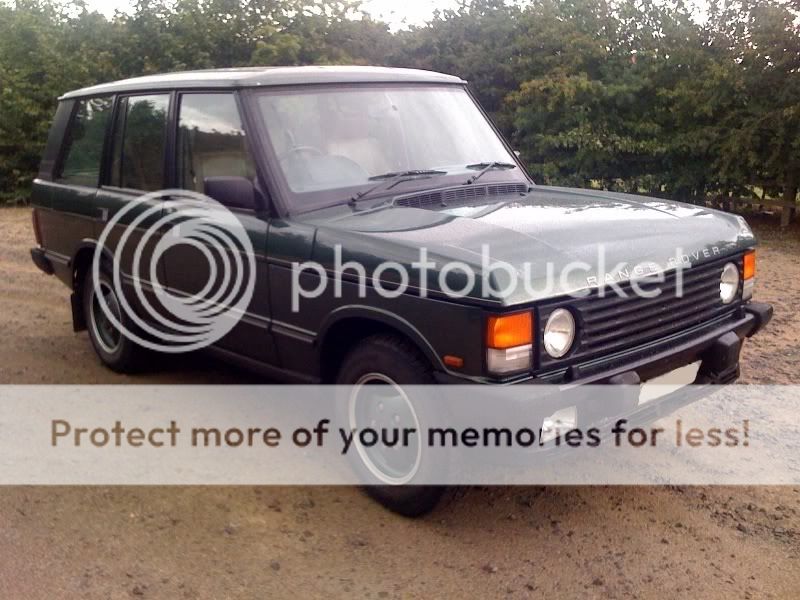
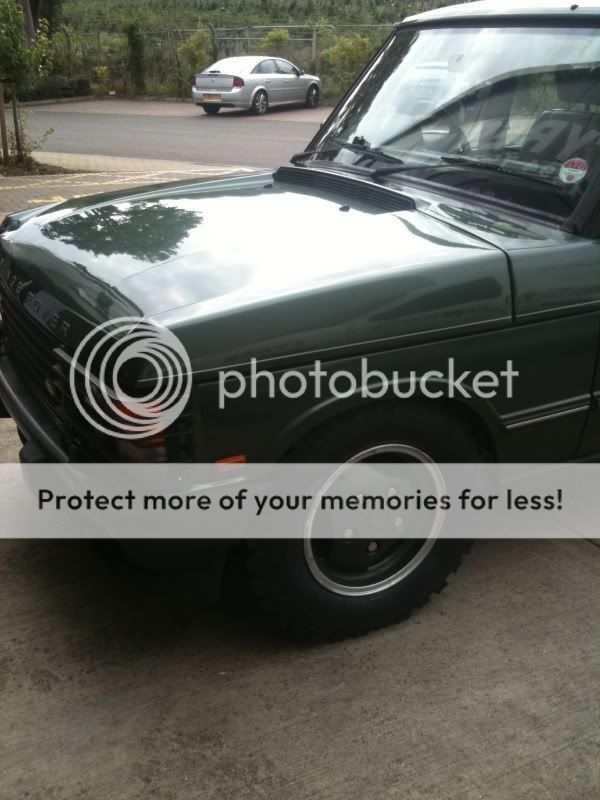
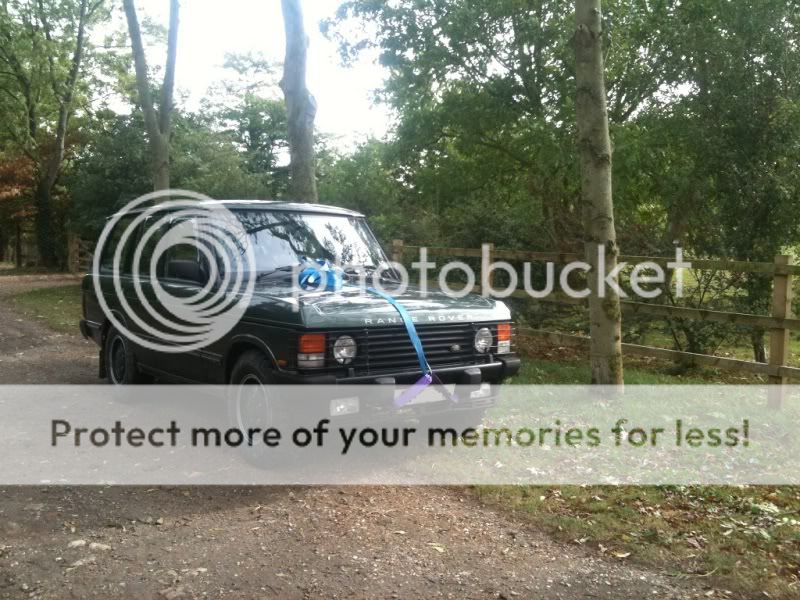
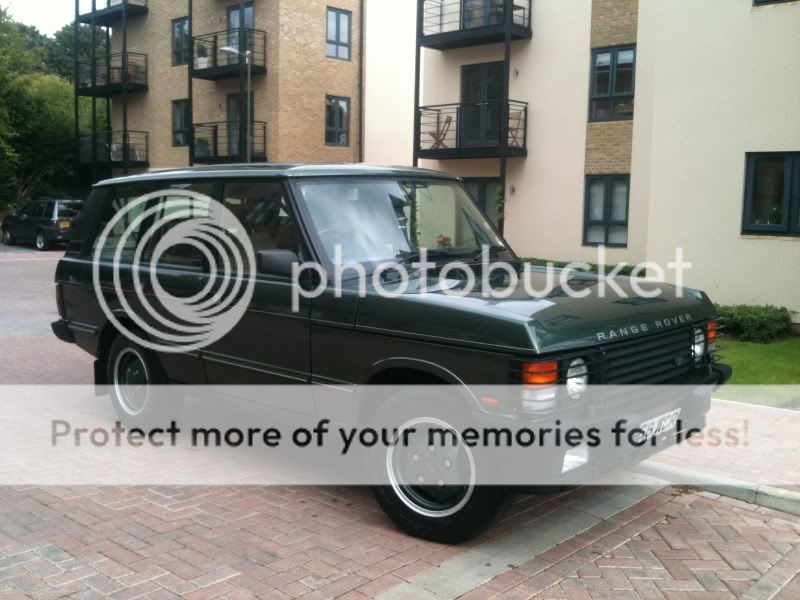
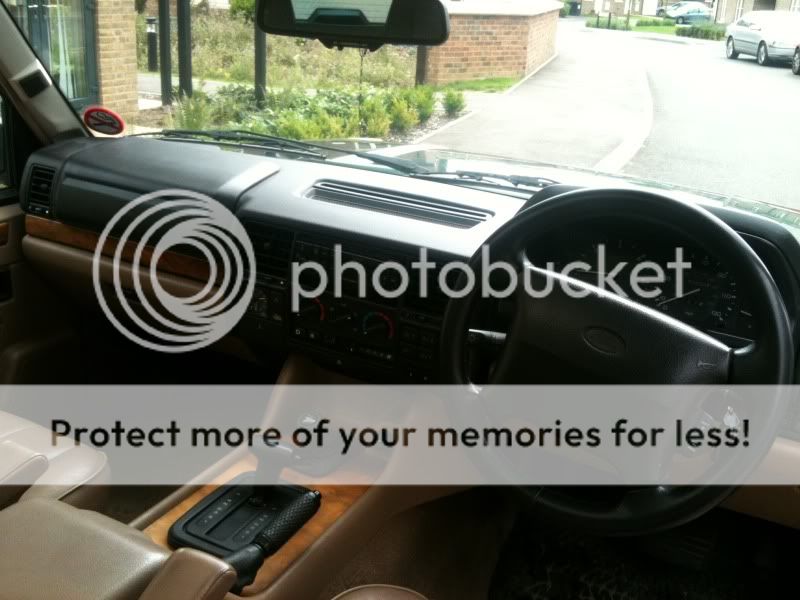
First job was a REALLY good clean, in and out. It smelt like a dog had died in there and it was pretty grotty outside too, but I like to give every vehicle a thorough clean before starting any project - its a great way to get to know a vehicle. She cleaned up nicely:

photo3.jpg

photo4.jpg


Now I could make a list of faults to fix and mod's to do. The abbreviated list runs as follows:

- Sunroof only opens about 10% of the time
- Rear windows only work about 50% of the time
- Rear N/S door doesn't unlock
- Rear O/S door doesn't lock
- Rear N/S door very difficult to open from the outside
- Upper tailgate doesn't shut properly
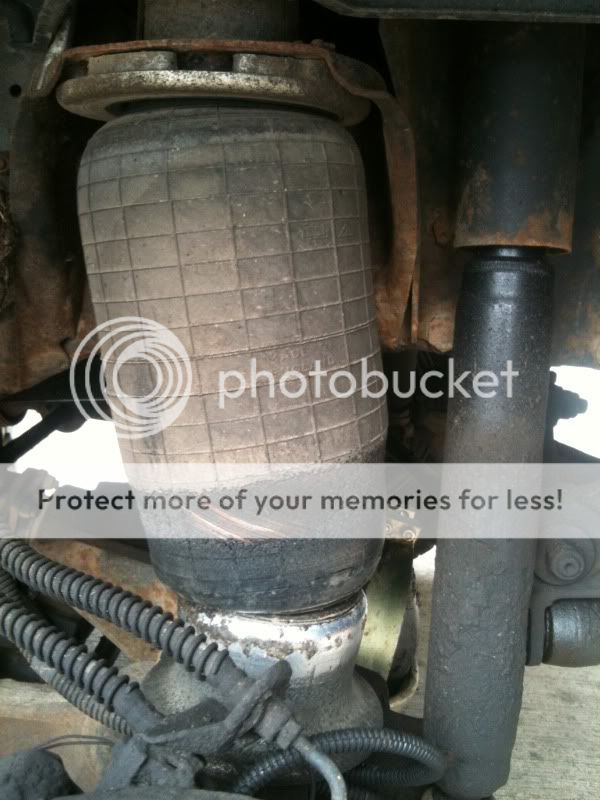
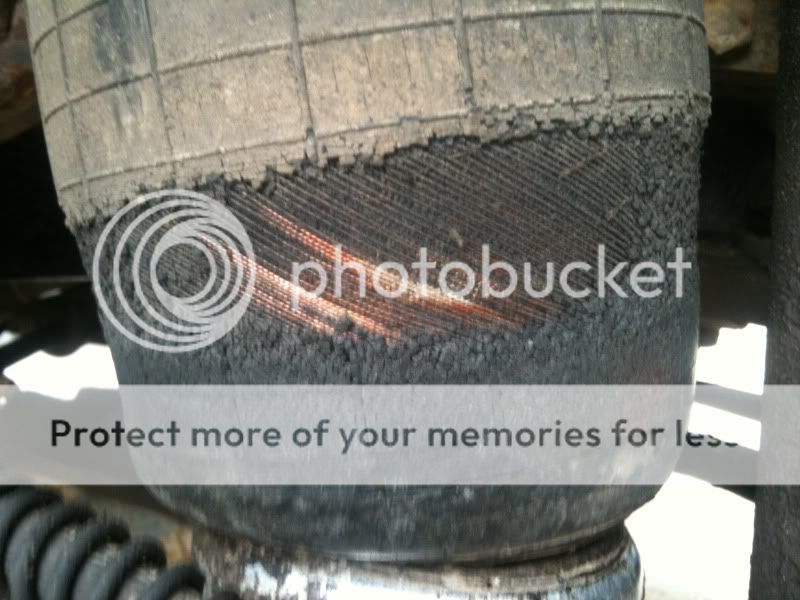
- Rear N/S air spring needs replacing
- N/S front tyre is a different size to the other three (215/80 vs 205/80)
- Exhaust is blowing, suspect N/S manifold/downpipe gasket

So I will tackle these in turn, trying to do as much of the work as I can. I have also got a lengthy (and ever-growing) list of modifications to do to ready it for my requirements and it's intended use, most of which I will cover in this thread:

- New tyres - some decent A/T tyres all round
- Fit appropriate recovery points front + rear
- Fit underbody protection as required
- Service and repair/replace EAS system components as required
- Build a boot-storage system, broken down into several parts - daily use (to include recovery gear), greenlaning (+ camping equipment) and expedition use (+ everything else!)
- All fluids to be checked and changed as required
- Possible addition of an expedition roof rack + roof tent - to be decided!
- Hopefully a swingaway rear wheel carrier, to hold either one or two spares (may remove the spare + sub & amp from the boot for additional storage space)

Anyway, I hope you enjoy the thread as it evolves - it's not gonna be a quick project, and there's no major body-off rebuild to get excited about, but as I discover problems and fix them along the way, hopefully it'll help others out too!

Enjoy... :)
 
Last edited:
Very interested. Thanks Mike, for taking the time. Looking forward to it!

Wahey, a follower! :p Just been typing up the first 'instalment' which was to fit some of the existing toys I had from my previous RR Classic.

We all know the diff's are pretty vulnerable and, although the EAS allows me to raise the chassis up for offroading, the diff's are pretty fixed - so on go the diff guards (only fitted the front for now, need to be wire brush and respray the rear diff before fitting the guard - prevent rot setting in when damp!):

IMG_1219.jpg


The undertray has also been removed - firstly so I can see any oil leaks (as otherwise they just drop onto the tray and you never know!) and secondly so I can fit a heavy duty steering guard to protect the vulnerable steering arms. The front spoiler + foglights will be staying, highing the steering guard and keeping the 'standard/OEM' look I am after.

I also fitted the JATE rings to the front chassis rails. By carefully cutting two slots in the front bumper, I can attach a bow shackle to each JATE ring when needed, and thread a short tow strop between the two. I can then attach the full length tow strop onto this, bracing the force of a recovery between the two chassis rails - much better than relying on one. When not in use, the bumper holes and JATE rings are pretty much unnoticable:

IMG_1220.jpg

Recovery.jpg
 
Last edited:
Before I started on a boot storage system, I wanted to protect the LPG tank and vulnerable-looking pipes associated with it - as much from tip runs and chucking stuff in the back than anything else. It also gives me a flat surface to build the storage system against.

I don't want to start weighing the back end down with massive lumps of timber needlessly, so found the ideal material in some 2.5mm thick expanded polypropylene that we use at work. I trimmed it to size on the guillotine, creased it in the appropriate place and then reinforced the back with some corner protector strips, to hold it at 90 degrees.

The result? Before:
photo.jpg


After:
photo1.jpg


It does the job, was free to do and looks a lot better too. If only I could find some nicer boot carpet...but I have a plan for that too!

Next step: new tyres all round and replacing the air springs. :)
 
Before I started on a boot storage system, I wanted to protect the LPG tank and vulnerable-looking pipes associated with it - as much from tip runs and chucking stuff in the back than anything else. It also gives me a flat surface to build the storage system against.

I don't want to start weighing the back end down with massive lumps of timber needlessly, so found the ideal material in some 2.5mm thick expanded polypropylene that we use at work. I trimmed it to size on the guillotine, creased it in the appropriate place and then reinforced the back with some corner protector strips, to hold it at 90 degrees.
Very Neat !!! Well done
Think about making a door there to store gloves, combi...
 
excellent, i had a N reg lpg'd softy so will follow this fondly.

on the sun roof front, with mine it was a small relay up behind the switch, not a big job to test and could save a lot of time!

best of luck

Tommy
 
Mike,
You might want to look at getting a cheap LR load protector - I paid £10 on ebay. You can then proceed to cut it up to fit what you want.
It would cover your carpet and give a harder liquid protective layer too.
 
Very Neat !!! Well done
Think about making a door there to store gloves, combi...

Thanks! :) No door required, evrything will have its place in the storage system ;)

excellent, i had a N reg lpg'd softy so will follow this fondly.

on the sun roof front, with mine it was a small relay up behind the switch, not a big job to test and could save a lot of time!

best of luck

Tommy

Thanks for the sunroof advice Tommy! Did yours move a little bit? Mine is getting power, moves a fraction of an inch either way...but thats it!

Mike,
You might want to look at getting a cheap LR load protector - I paid £10 on ebay. You can then proceed to cut it up to fit what you want.
It would cover your carpet and give a harder liquid protective layer too.

I had one of those in my old RRC dkl, but they're a bugger to find one for the soft dahs with a sub/amp and CD changer and I'm gonna use that same polypropylene for the base anyway :)
 
mine moved, but never well then stopped. could be another issue but just something to check incase its simple.

wish that a BMW had never driven into mine, id have it now and not the p38 and its magic lights!!!!

tommy
 
mine moved, but never well then stopped. could be another issue but just something to check incase its simple.

wish that a BMW had never driven into mine, id have it now and not the p38 and its magic lights!!!!

tommy

I nearly got a P38 but went for another Classic, pleased I did! How do I test the relay then?
 
from what i can remember, pull the switch in the roof down and just check the power on the points of the little black box behind. Sorry i haven't got more detail it was over 4 years ago, someone else may be able to help.

tommy
 
Well, next on my list was some new tyres - so I ordered 4x 235/70/16 Insa Turbo Traction Tracks. I chose these as all the info I read about them suggested they were excellent in snow, sand and mud with good on road manners - just what I needed.

IMG_1214.jpg

IMG_1215.jpg

IMG_1216.jpg


Standard EAS ride height:
IMG_1217.jpg


"Off-road" EAS mode:
IMG_1218.jpg


Initial impressions are mixed. They are certainly more aggresive than I thought and the images on the internet suggested - the tread blocks are huge! The tyres are very quiet and handle well at low speeds, but the noise they make above 60mph is surprising for an A/T tyre! I am hoping that by playing with the tyres pressures and getting some miles on them to bed them in will help. They do look good, though, and I am sure they will be excellent off road too!

Whilst the wheels were off I took the opportunity to inspect the air suspension springs - oh dear! I knew one rear had been replaced and the other needed replacing, but the fronts are in a bad way:

IMG_1210.jpg

IMG_1211.jpg


I already had a new rear air spring to go on so ordered two new front from Island4x4 which arrived the next day, so will be fitting those soon. Weirdly, despite the state of the air springs, the EAS system seems to operate just fine - I just hope no damage has been done to compressor in the meantime! Video of EAS in operation (wheel shown is the one with the knackered rear air spring):


Next job: replace those damn air springs!!
 
Last edited:
Well, the 3x air springs have been replaced! Ideally I would have liked to do this job myself, but I am towing a trailer with 3 motorbikes on a 300 mile round trip this weekend and was running out of time, so had to enlist a local garage to do the work. The exhaust manifold gasket also needed replacing, a job I wasn't going to do myself, so two birds with one stone and all that.

I did pop down at lunchtime to see how it was done and it's quite straight forward (the air springs), something like this (this is for just replacing the rubber bellows, not the whole spring assembly with the top and bottom mounts - the latter is actually a lot easier!!):

- Raise car off the ground, not on the axles (i.e. jack up the chassis so the axles hang down)
- Take a knife to the knackered airbag - whoosh! - then wrestle it off the top and bottom mounting plates
- Lube (oo-er) up the hole (OOOO-ER!!) at either end of the air bag, and fit the top end first. Then position the bottom end on it's mount.
- Here's the tricky bit - inflating the air bag and keeping it on the mounts. Because they have lube all over them, they tend to shoot off when inflated with a big bang, unless they are positioned perfectly! We found that lowering the car so the wheels were on the ground, but most of the weight was still supported by the lift/jack allowed the bellow to inflate without having to lift the weight of the car, which seemed to force it off the mount. Start the engine, wait 3 or 4 minutes and hey-presto, your new airbag should be securely fitted in place!

I have also fixed a couple of problems - both back doors now lock/unlock respectively (easy job - remove the rear door cards and moisture barrier and there's a large brass plate with 4 screws - loosen these and adjust the plate up or down as required. N.B. the plate needs to move in the opposite vertical direction to what you think!).

Also, the sunroof now works more often thanks to a recommendation on here and a liberal spray of Mr Sheen to the runners!

So, what's next? Well, I need to wire brush the rear diff, respray it and coat it before fitting the rear diff guard. I also need to get the new headunit wired up and working so we have some decent music to listen to, and then I'll be adding to the job list as to where to go next!!

Comments/advice/opinions/recommendations welcome :)
 
Last edited:
Mike re doors.
One rear and one front door don't operate on the central locking. Well they do but they don't lift the plipper thing high enough as as soon as you pull the outside handle they drop a fraction but enough to stop the door from opening.

Is this what you had and is it this brass plate thing that will allow my adjustment?
Cheers
David
 
I'm really enjoying the project so far, Mike, keep the updates coming. We have almost identical Classics and I have shared a lot of the same issues with mine, so it is really helpful to see how you are tackling them.
 
Mike re doors.
One rear and one front door don't operate on the central locking. Well they do but they don't lift the plipper thing high enough as as soon as you pull the outside handle they drop a fraction but enough to stop the door from opening.

Is this what you had and is it this brass plate thing that will allow my adjustment?
Cheers
David

Yes Dave, that is correct. If the door locks won't go high enough you probably need to lower the brass-coloured plate, try halfway and full extent to see which works best. Also make sure the lock can run freely up and down in it's housing. If this doesn't work check you have a good earth, but hopefully the adjustment should do the trick :)

Thanks guys, it's going OK! Had a 400 mile round trip towing with it this weekend (3 motorbikes to a trackday at Cadwell Park and back) and if I am honest, it wasn't brilliant at that so need to make some tweaks to make it better :)

The sunroof still isn't right so need to sort that again too.

Classicdriver - any tips or things you found along the way?
 
Well that wasn't what I planned! Met up with a mate and a few of the Herts Laners guys for the RRC's first greenlaning outing, and all started well:

IMG_1260.jpg


HOWEVER, two lanes in and it cut out, no apparent reason. It has done this before, alwas running in LPG and at low revs, but I haven't got round to investigating it and it always restarted - apart from today. When it wouldn't start at all. So, here I am being dragged out of a field backwards by Diesel72:

IMG_1261.jpg


Thanks for the tow! Checked all the usual suspects, battery was OK, fuel cut-off switch OK, starter motor and solenoid connected but no luck - just a tick when trying to start. Called the RAC out who was equally perplexed but eventually diagnosed a dodgy starter motor. He bypassed the starter solenoid and got the starter motor turning over with some fancy gadget he had and eventually got the car started - at which point I hotfooted it home! Dumped it outside the local garage - and sure enough, it wouldn't start again. Better order a new starter motor (and solenoid?) this evening then!! Bugger.

IMG_1263.jpg


Looking on the bright side, my towing arrangement of JATE rings, bow shackles and tow strops worked very well indeed - every cloud has a silver lining! :)
 
Back
Top