dollydisco
New Member
- Posts
- 184
- Location
- kidlington ,oxford
And also, because the winch is sat dead in the middle of the chassis,it has a lower centre of gravity which means less stress on other components when winching!!
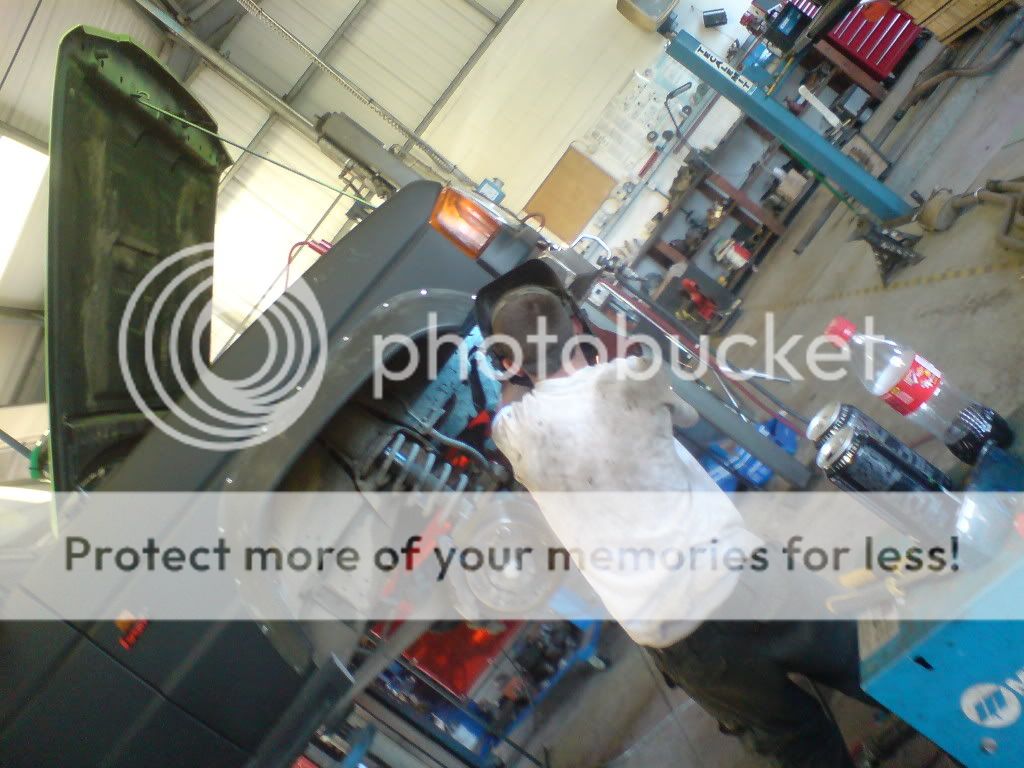
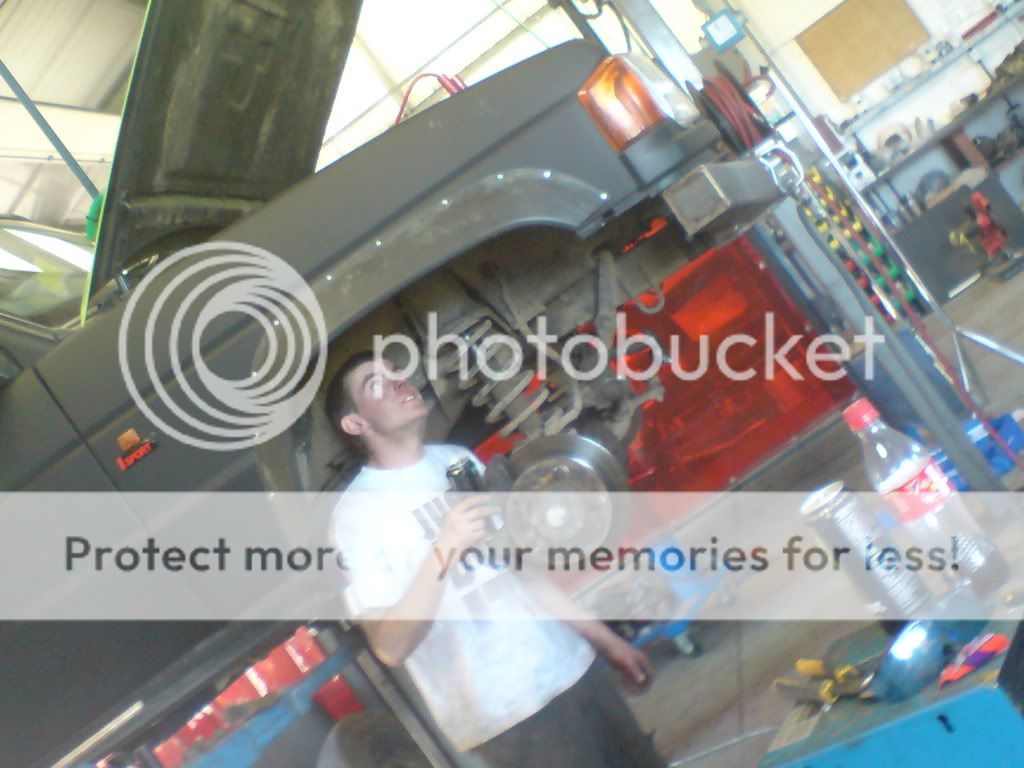
") couple of the inside and such,one of my side panel where my fuel filler neck is going and the next one is parts for my new fuel tank! and the rest are of a lovely 2.5d series 3 that i have to do some work on, i decided to hose mine down aswell
couple of the inside and such,one of my side panel where my fuel filler neck is going and the next one is parts for my new fuel tank! and the rest are of a lovely 2.5d series 3 that i have to do some work on, i decided to hose mine down aswell 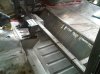


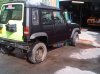
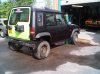
As cool as it looks,no, but it gave me an idea of how I want my wheels ,looking at extreme offset modulars so I wanted an idea and they will sit perfect !


 with a shiny new waterpump and relocated air box and washer bottle. lovely
 it exits next to the window,then goes up through the roof gutter and stick about an inch up from the gutter rail. yet again thanks for putting up with me at the weekends hope i'm not becoming too much of a bother lol. you're welcome to come over here sunday and help got the new welder today and the panels should be coming this week


 )
)


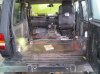
 there are 2 boxes with circle holes,1 either side next to the windows with oblong holes ,and the box at the backdoor, these will be used for shackles,tools,strops and recovery stuff and spare parts
 . I was thinking that about my fuel filler, but it will sit behind the line of my rollcage/rocksliders, my idea at the minute is get it back on the road, go to a few pay and play days to see what needs more work etc etc. Then continue with full rollcage, rocksliders, polycarb windows and my alloy sheeting underneath to protect stuff.
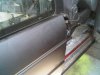
 thanks to shockwave motorsport for all the alloy welding (i.e ,the fabricator nick at my work!)


 not to expensive either\!!!!


Welcome To LandyZone, the Land Rover Forums!
Here at LandyZone we have plenty of very knowledgable members so if you have any questions about your Land Rover or just want to connect with other Landy owners, you're in the right place.
Registering is free and easy just click here, we hope to see you on the forums soon!