Nige4927
Active Member
- Posts
- 132
- Location
- Manchester
I had a welding threat going but thought i would start a fresh as this is specifically Land Rover related...
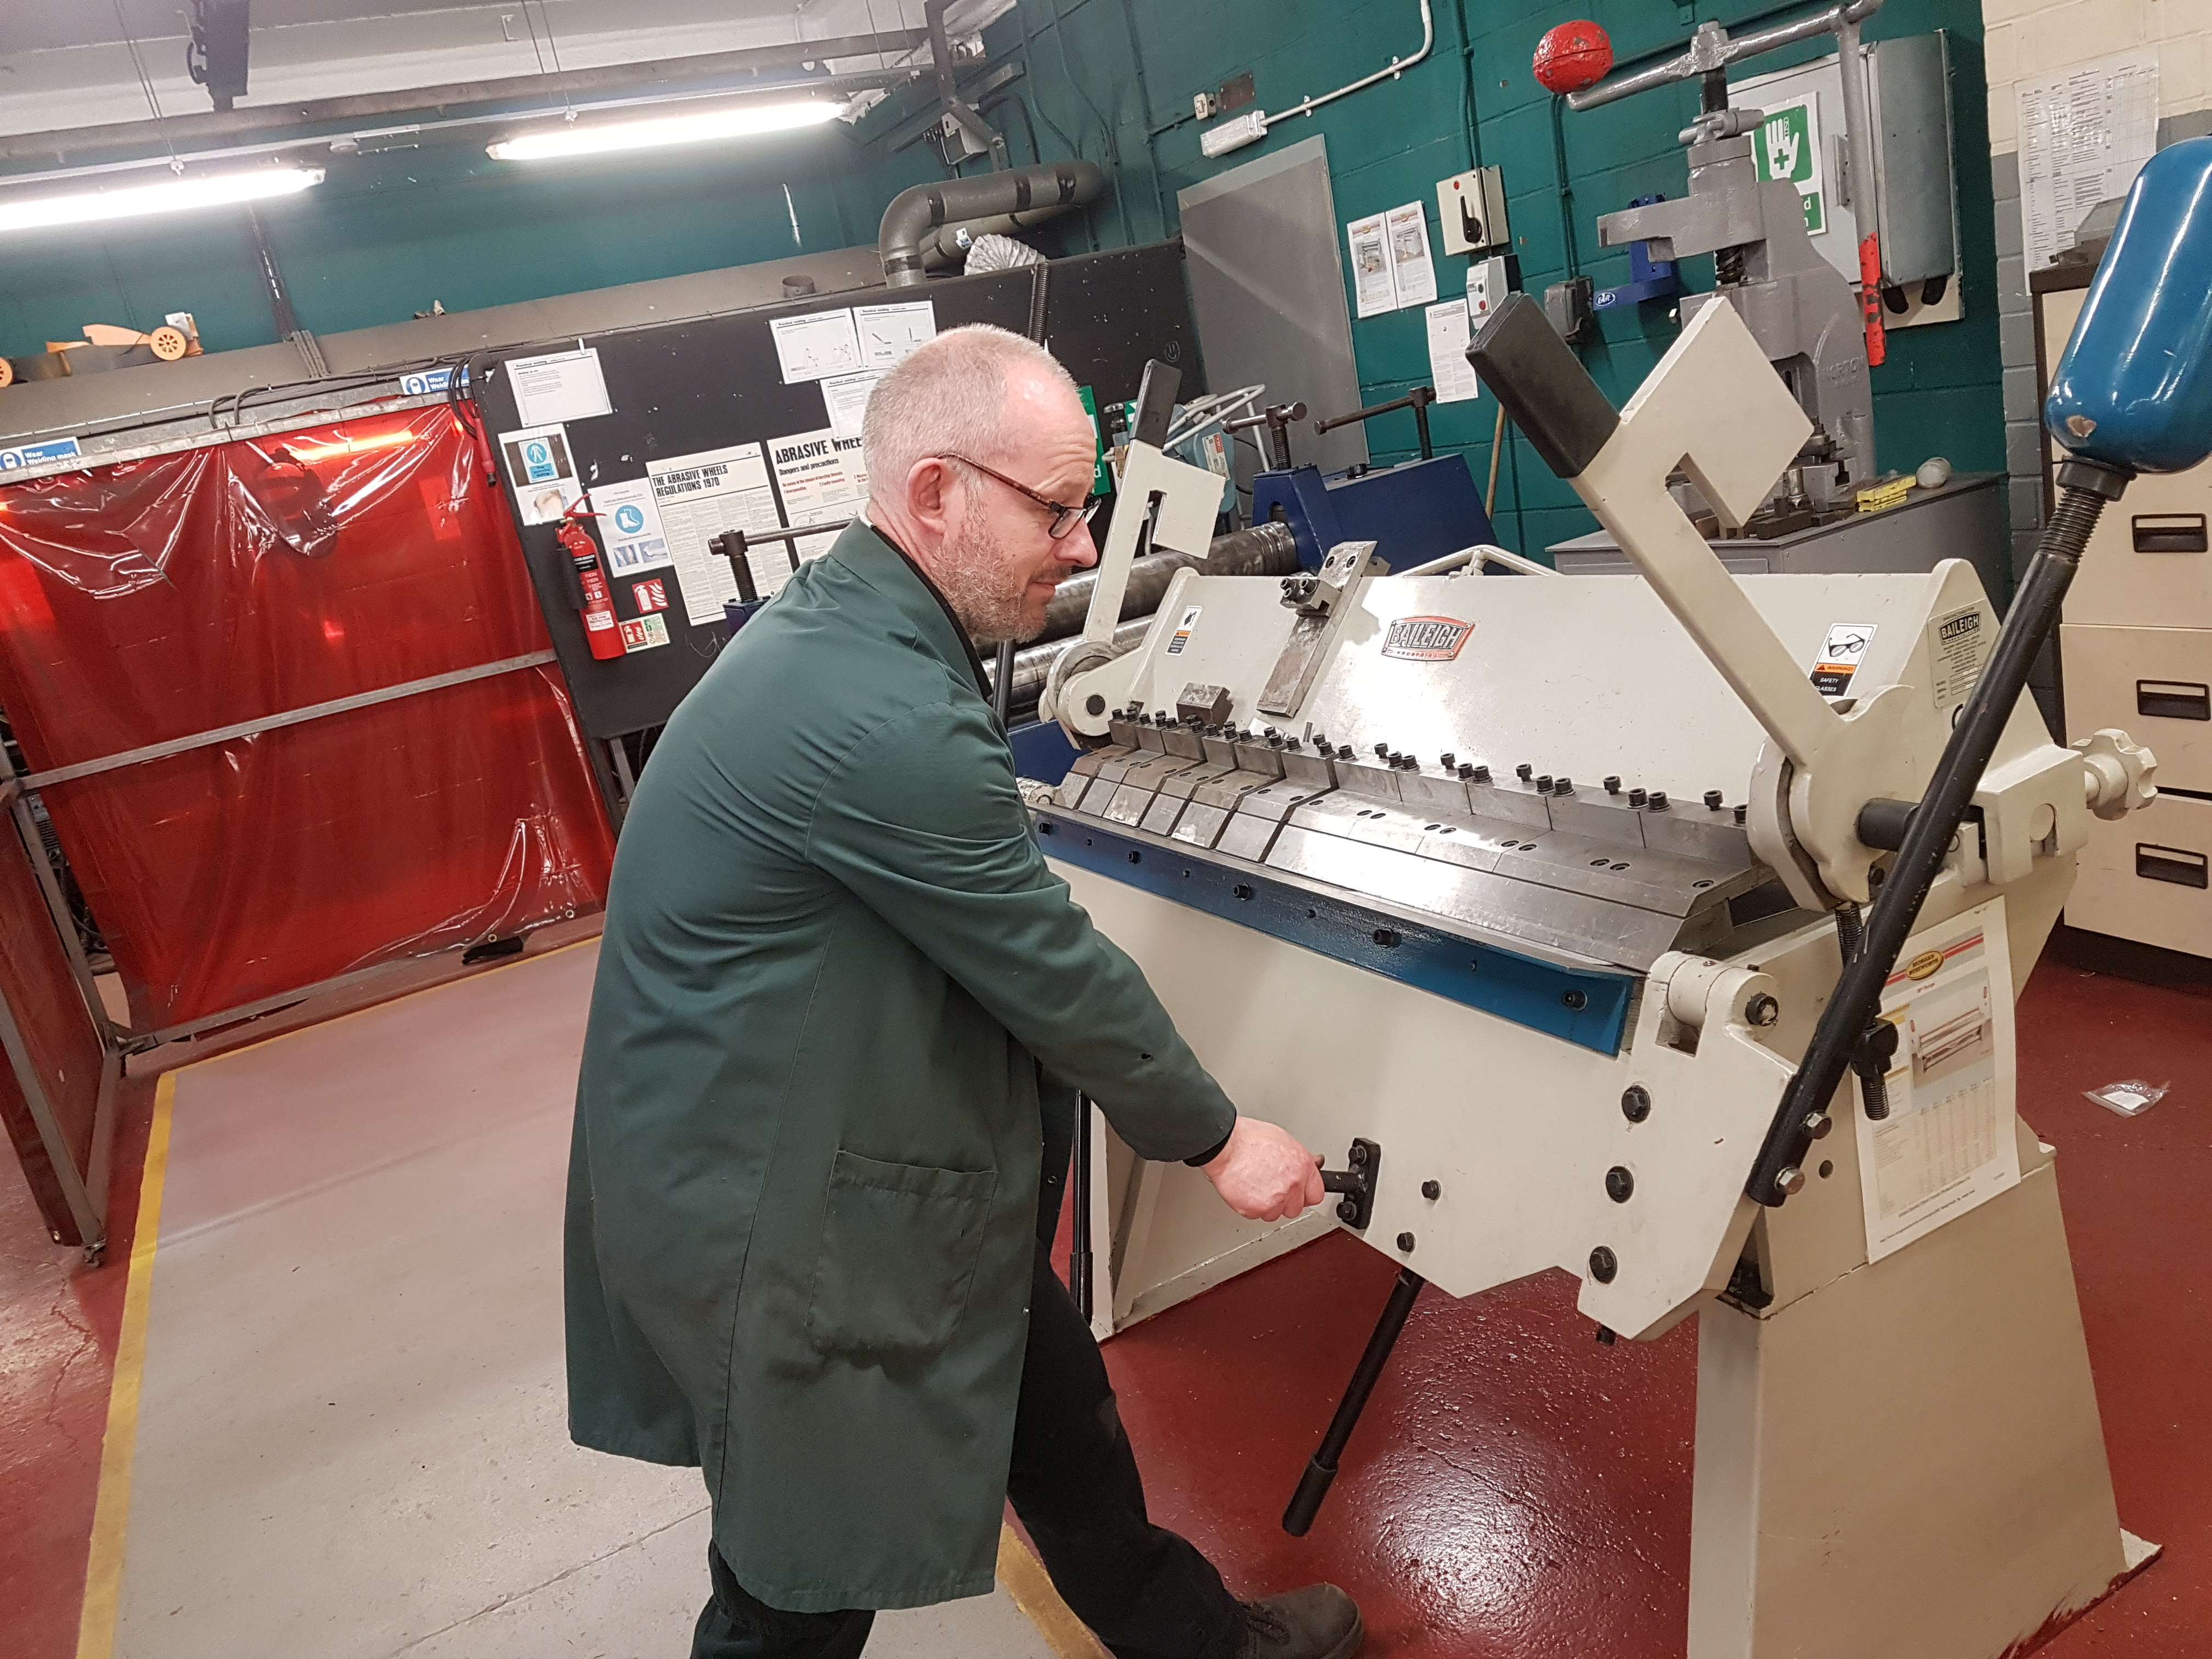
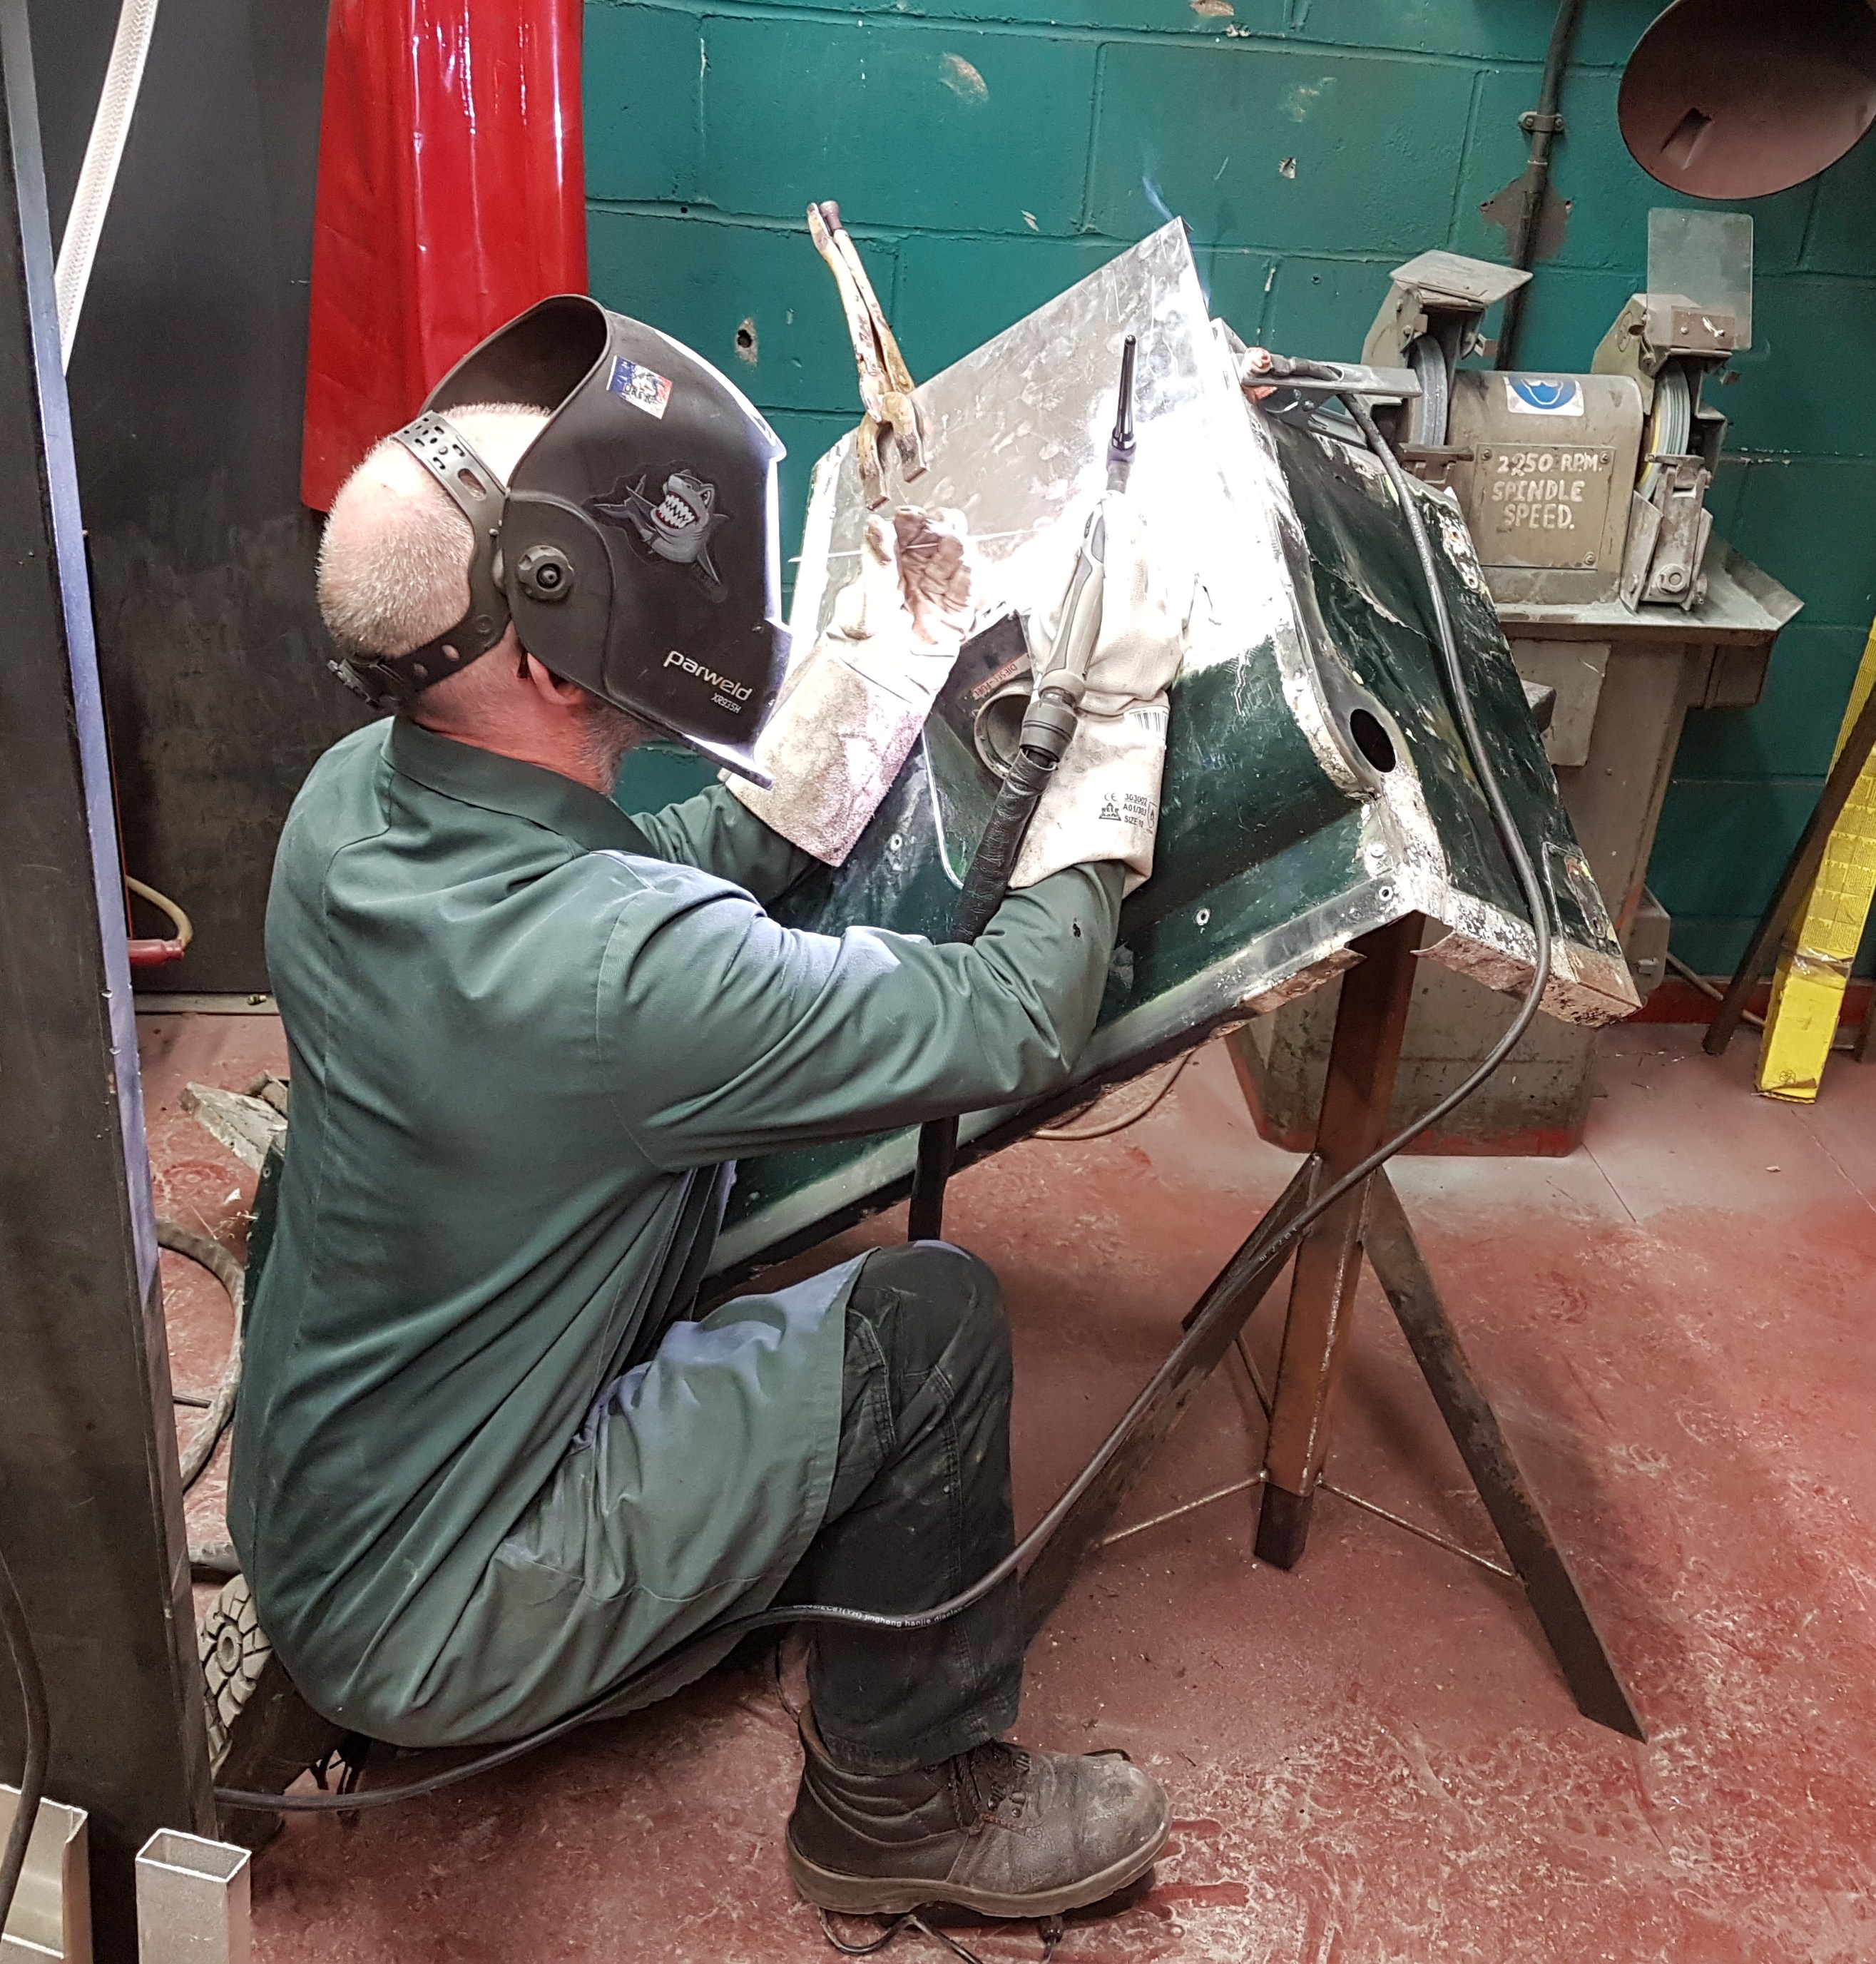
A little background, as a day job I teach welding, fabrication and sheet metal at a training centre in Oldham near Manchester and i thought I would do a series of "how to" posts and video's on all sorts of welding and fabrication. Seems there are quite a few of you out there that have a welder for example and have never really had any instruction so I hope these at least help a little, I'm always happy to answer any questions and tackle specific jobs if requested.
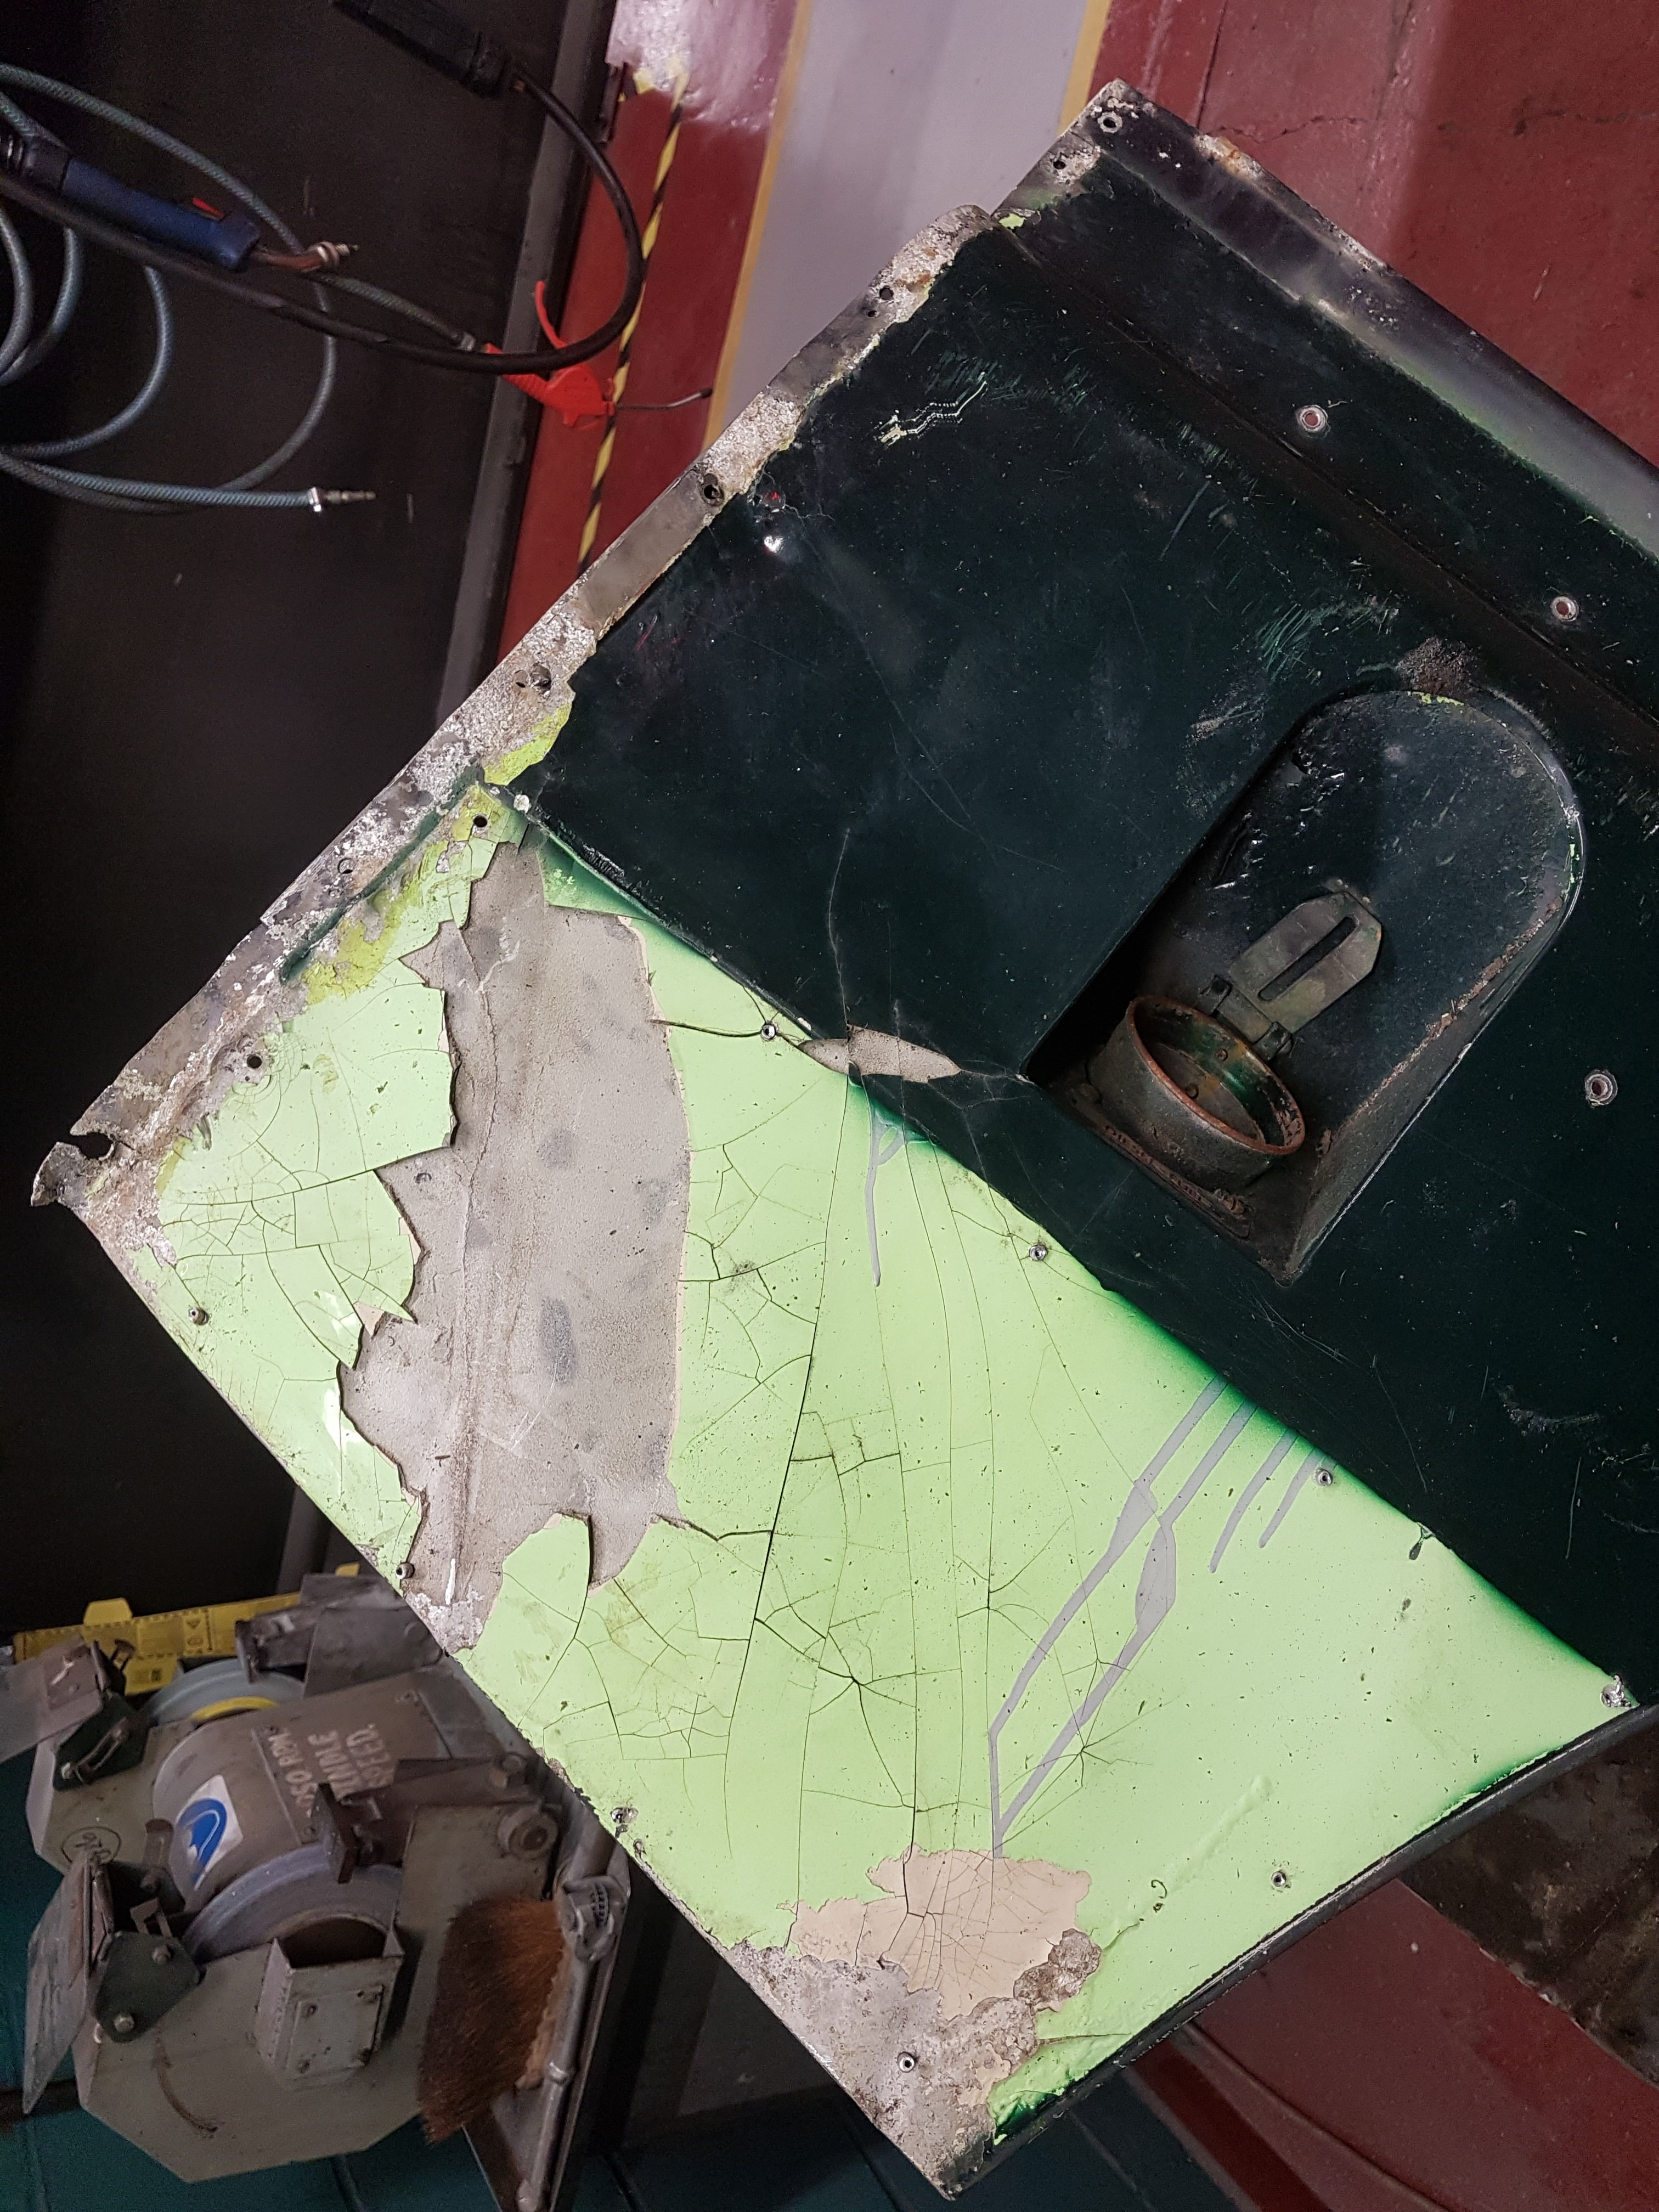
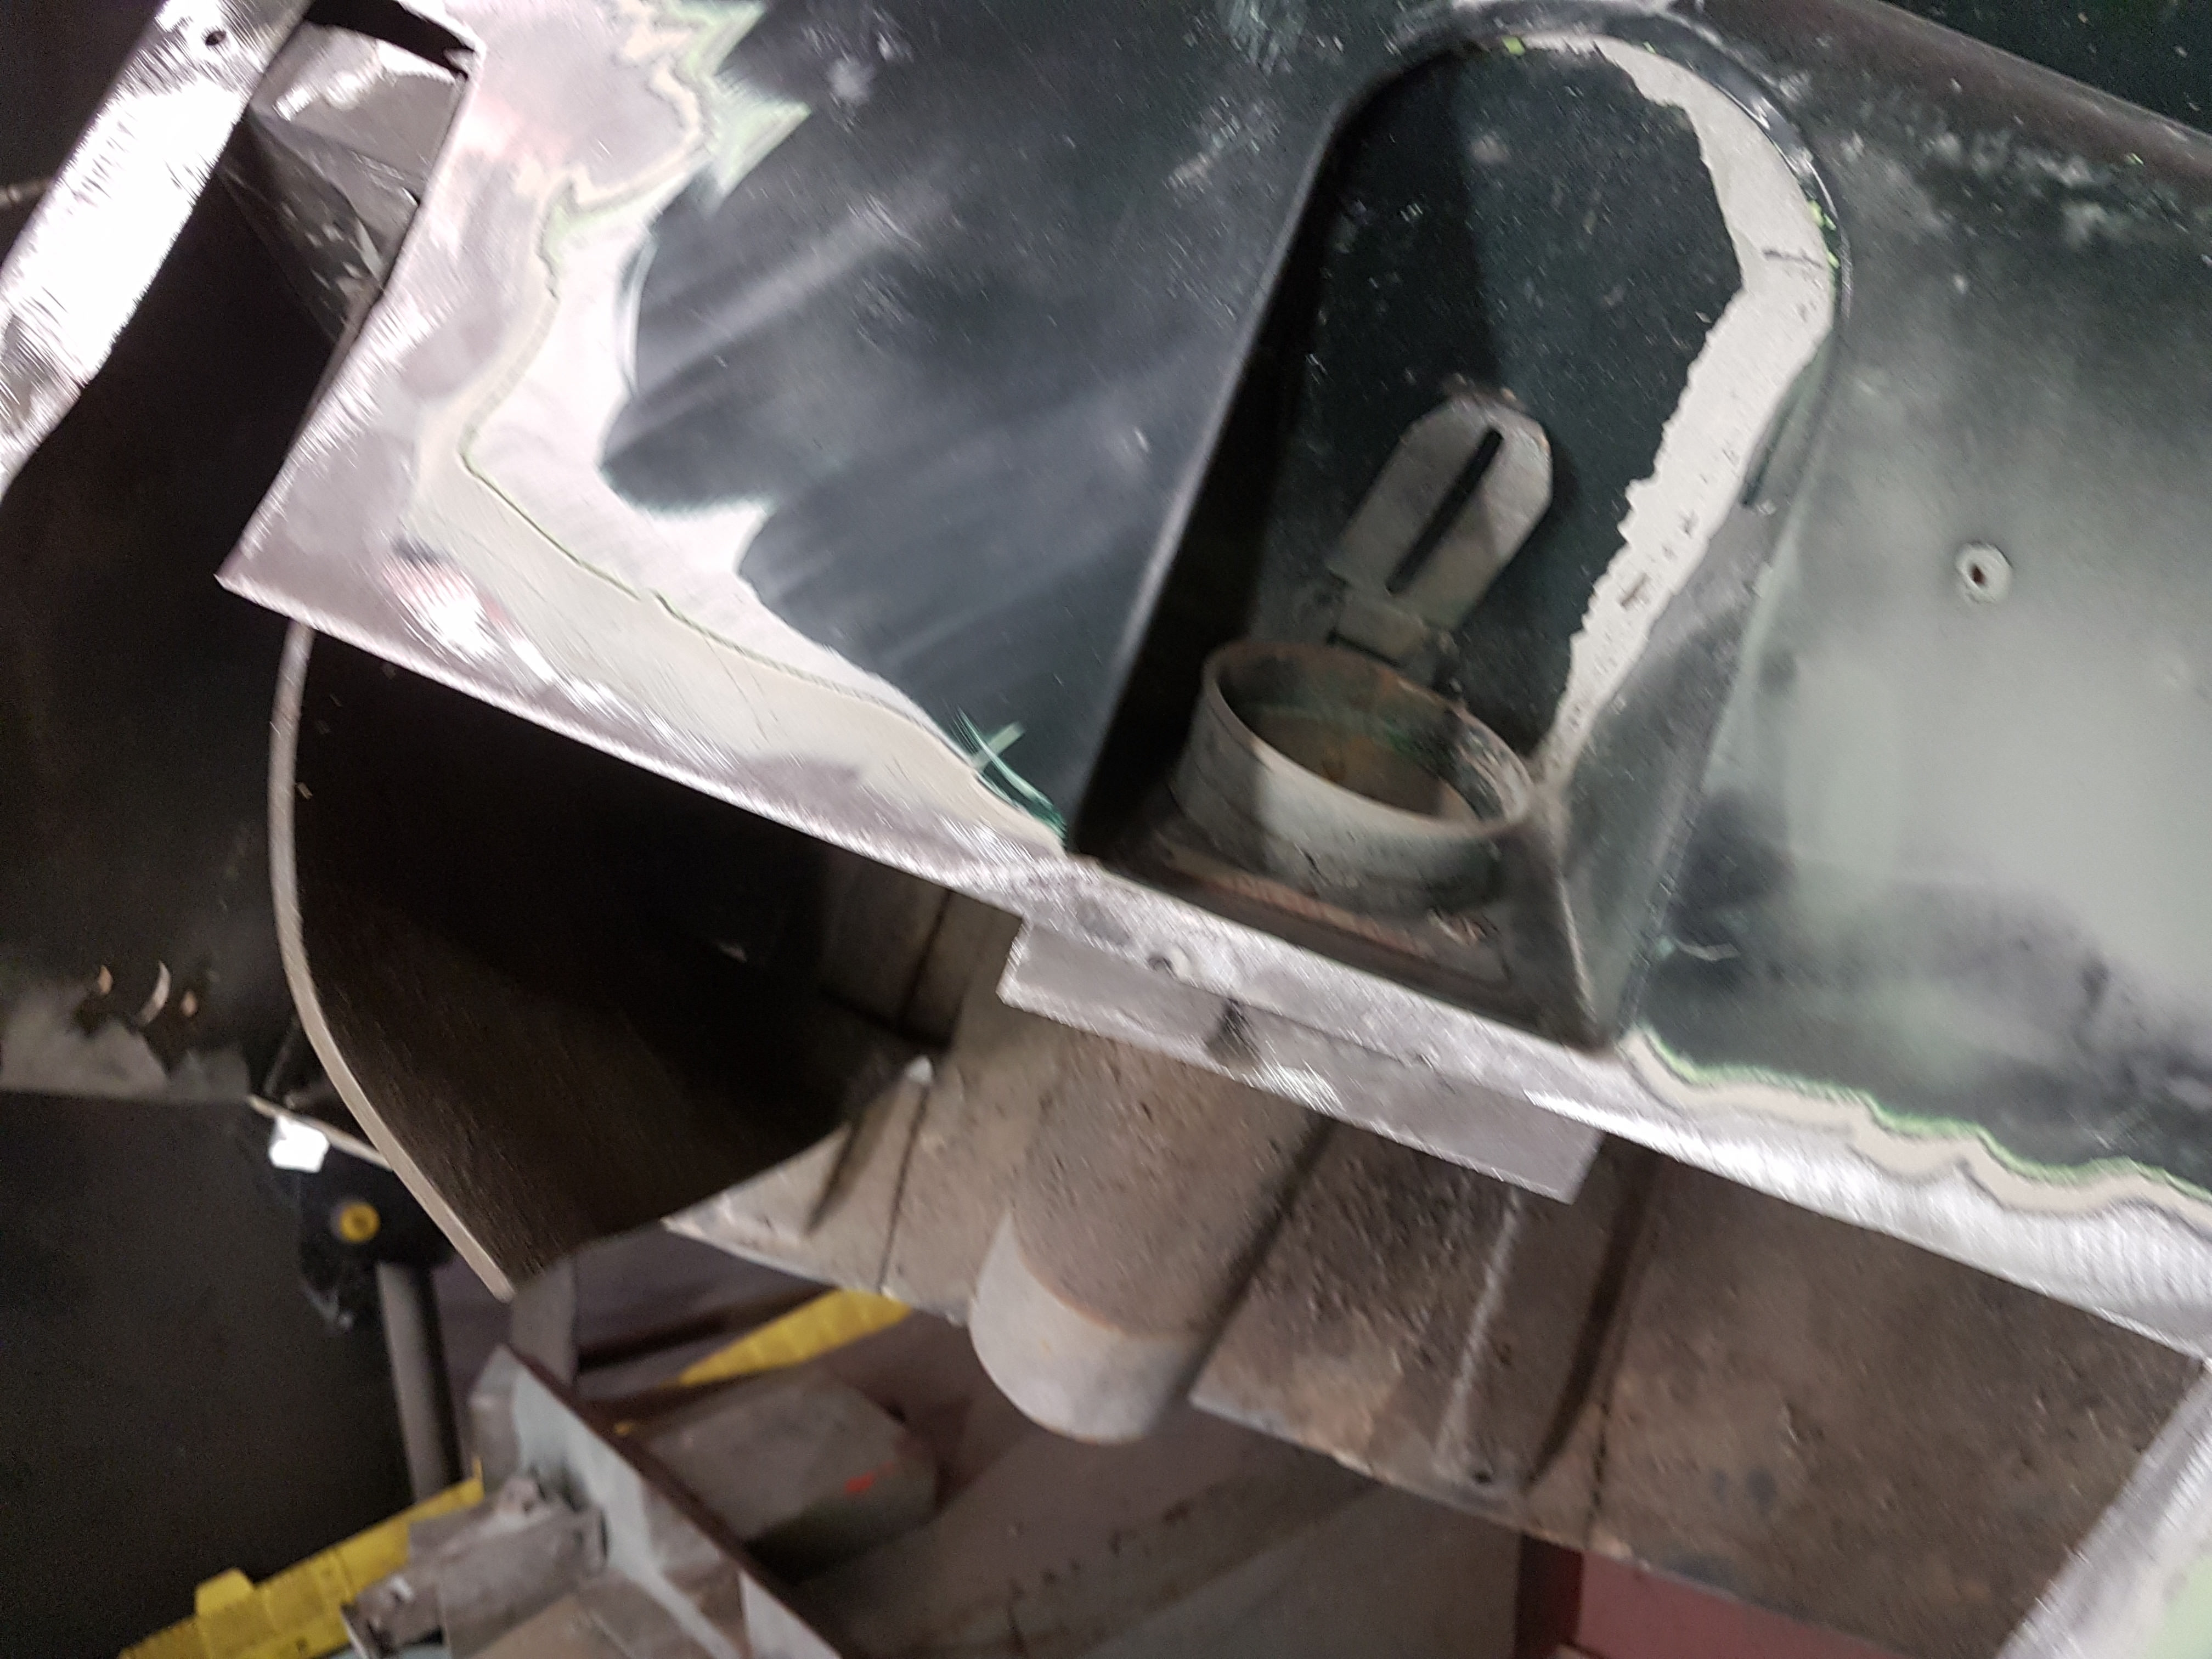
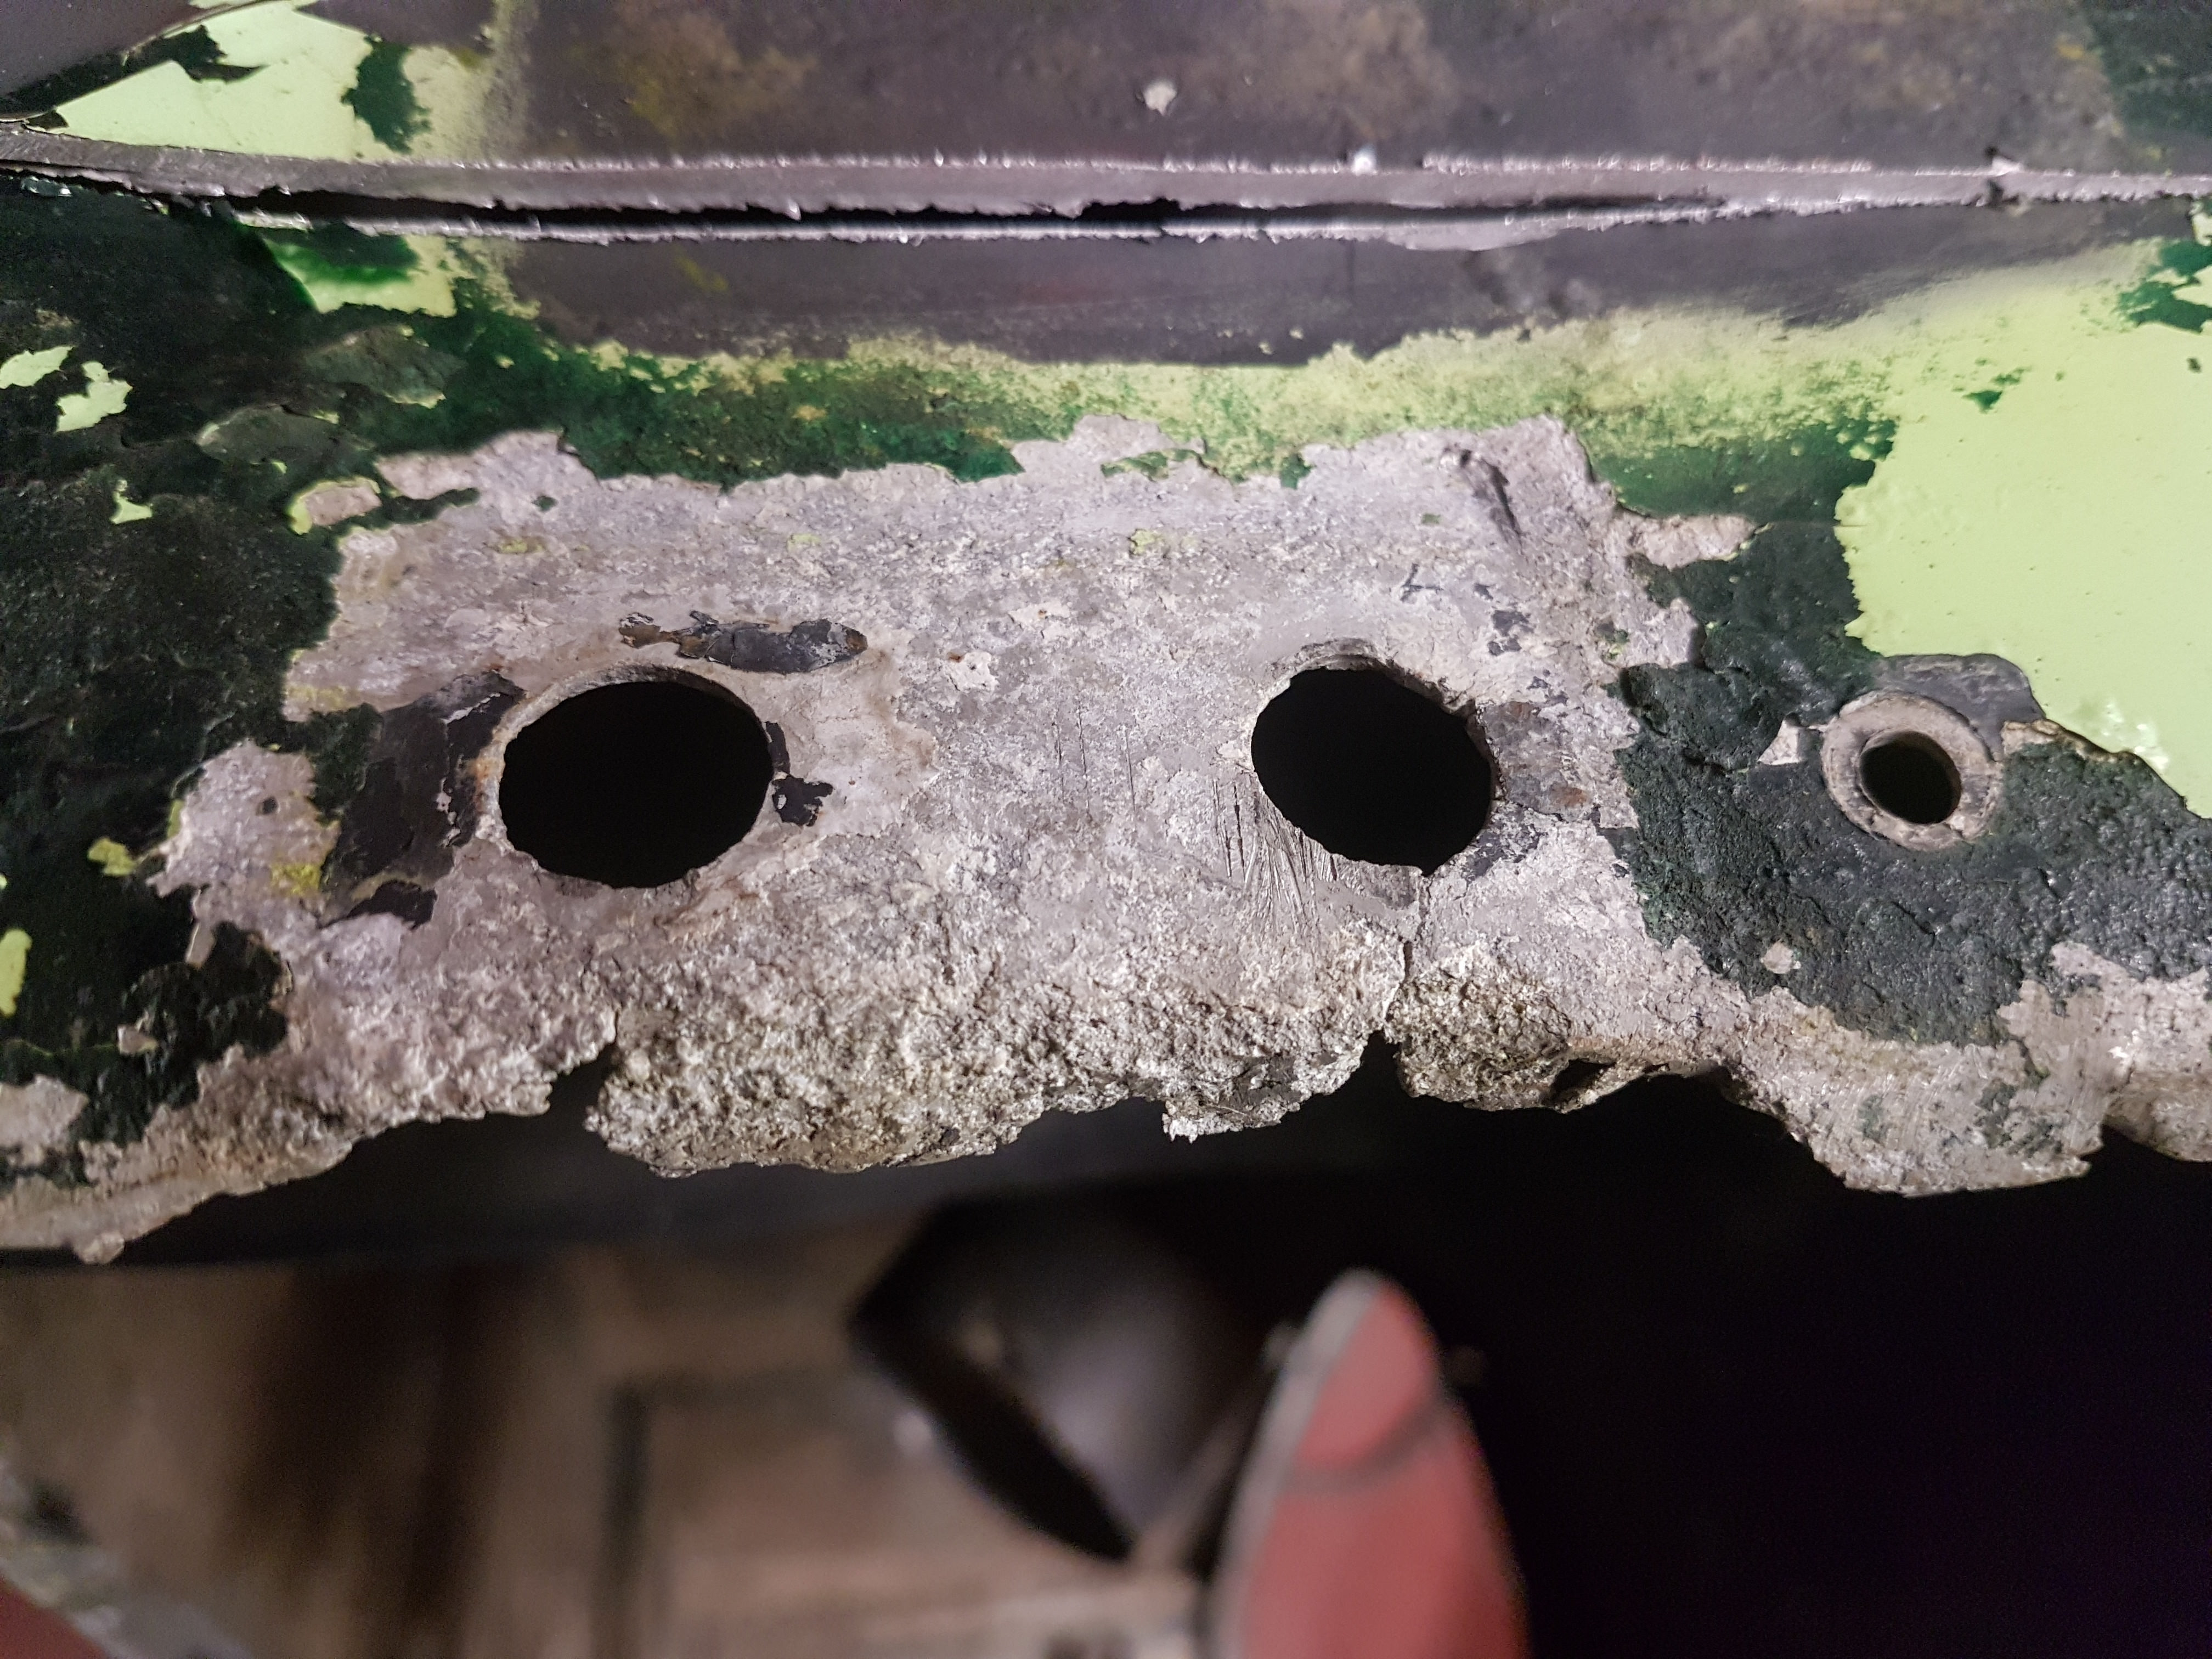
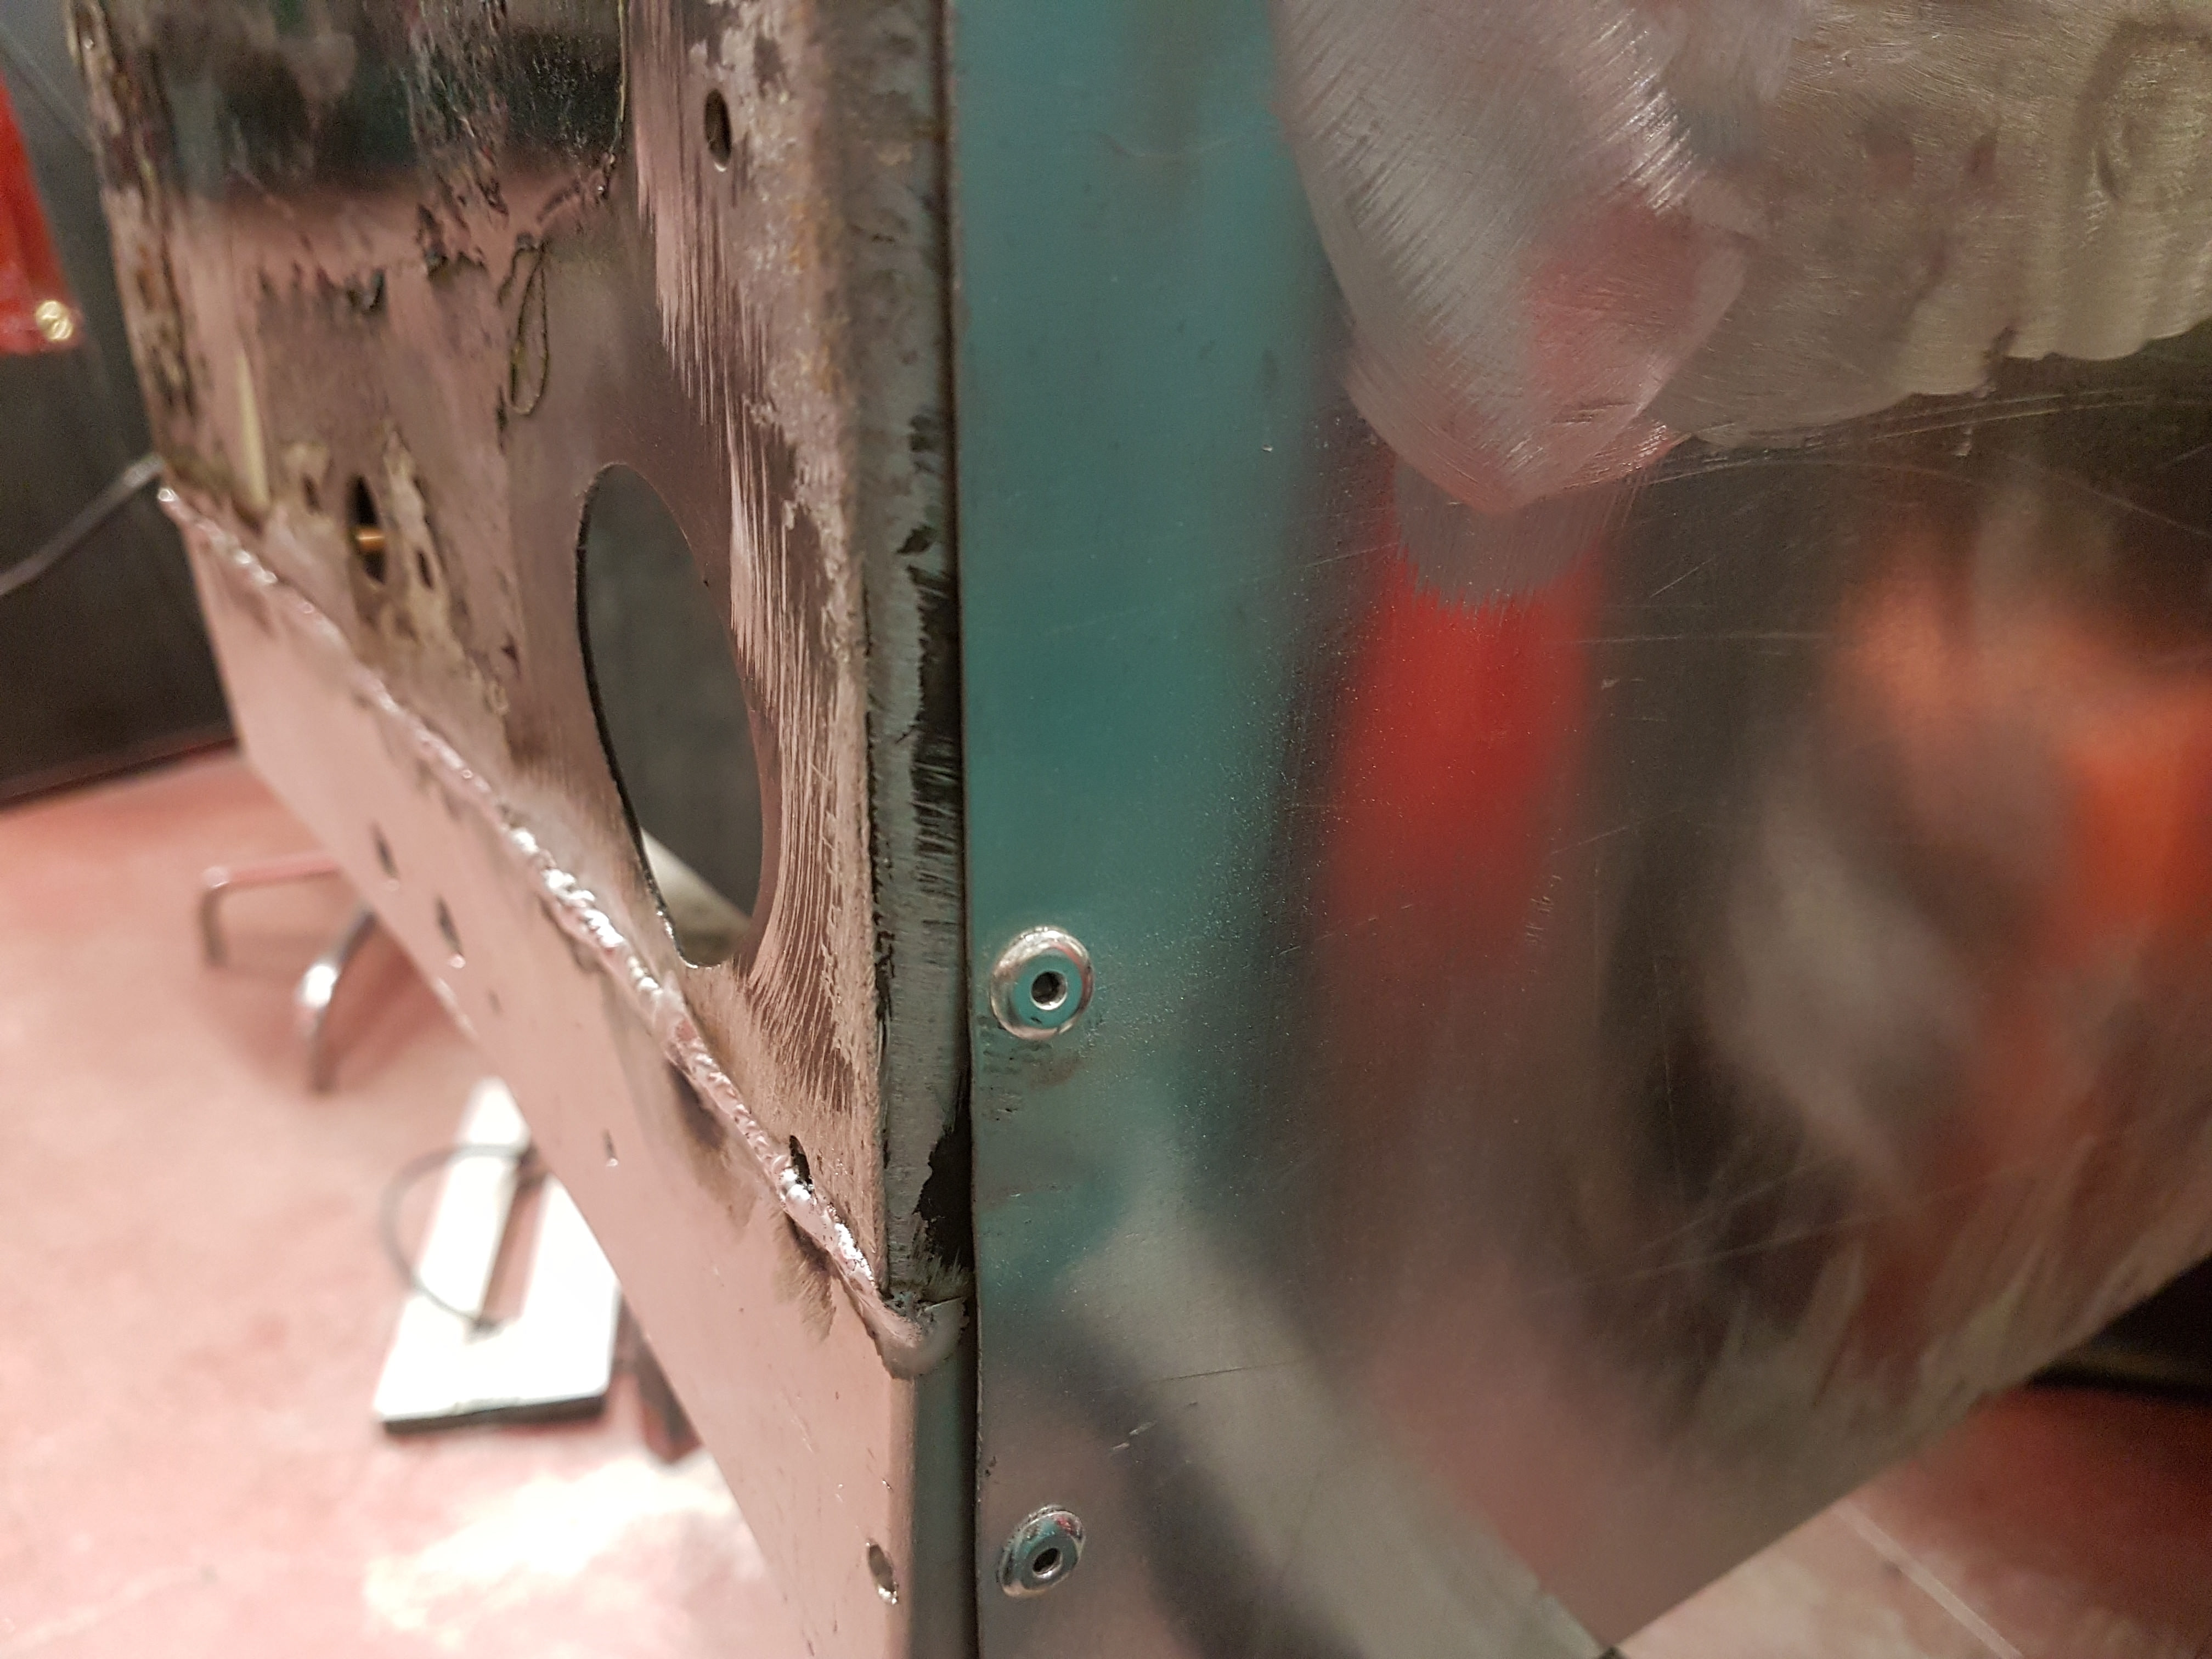
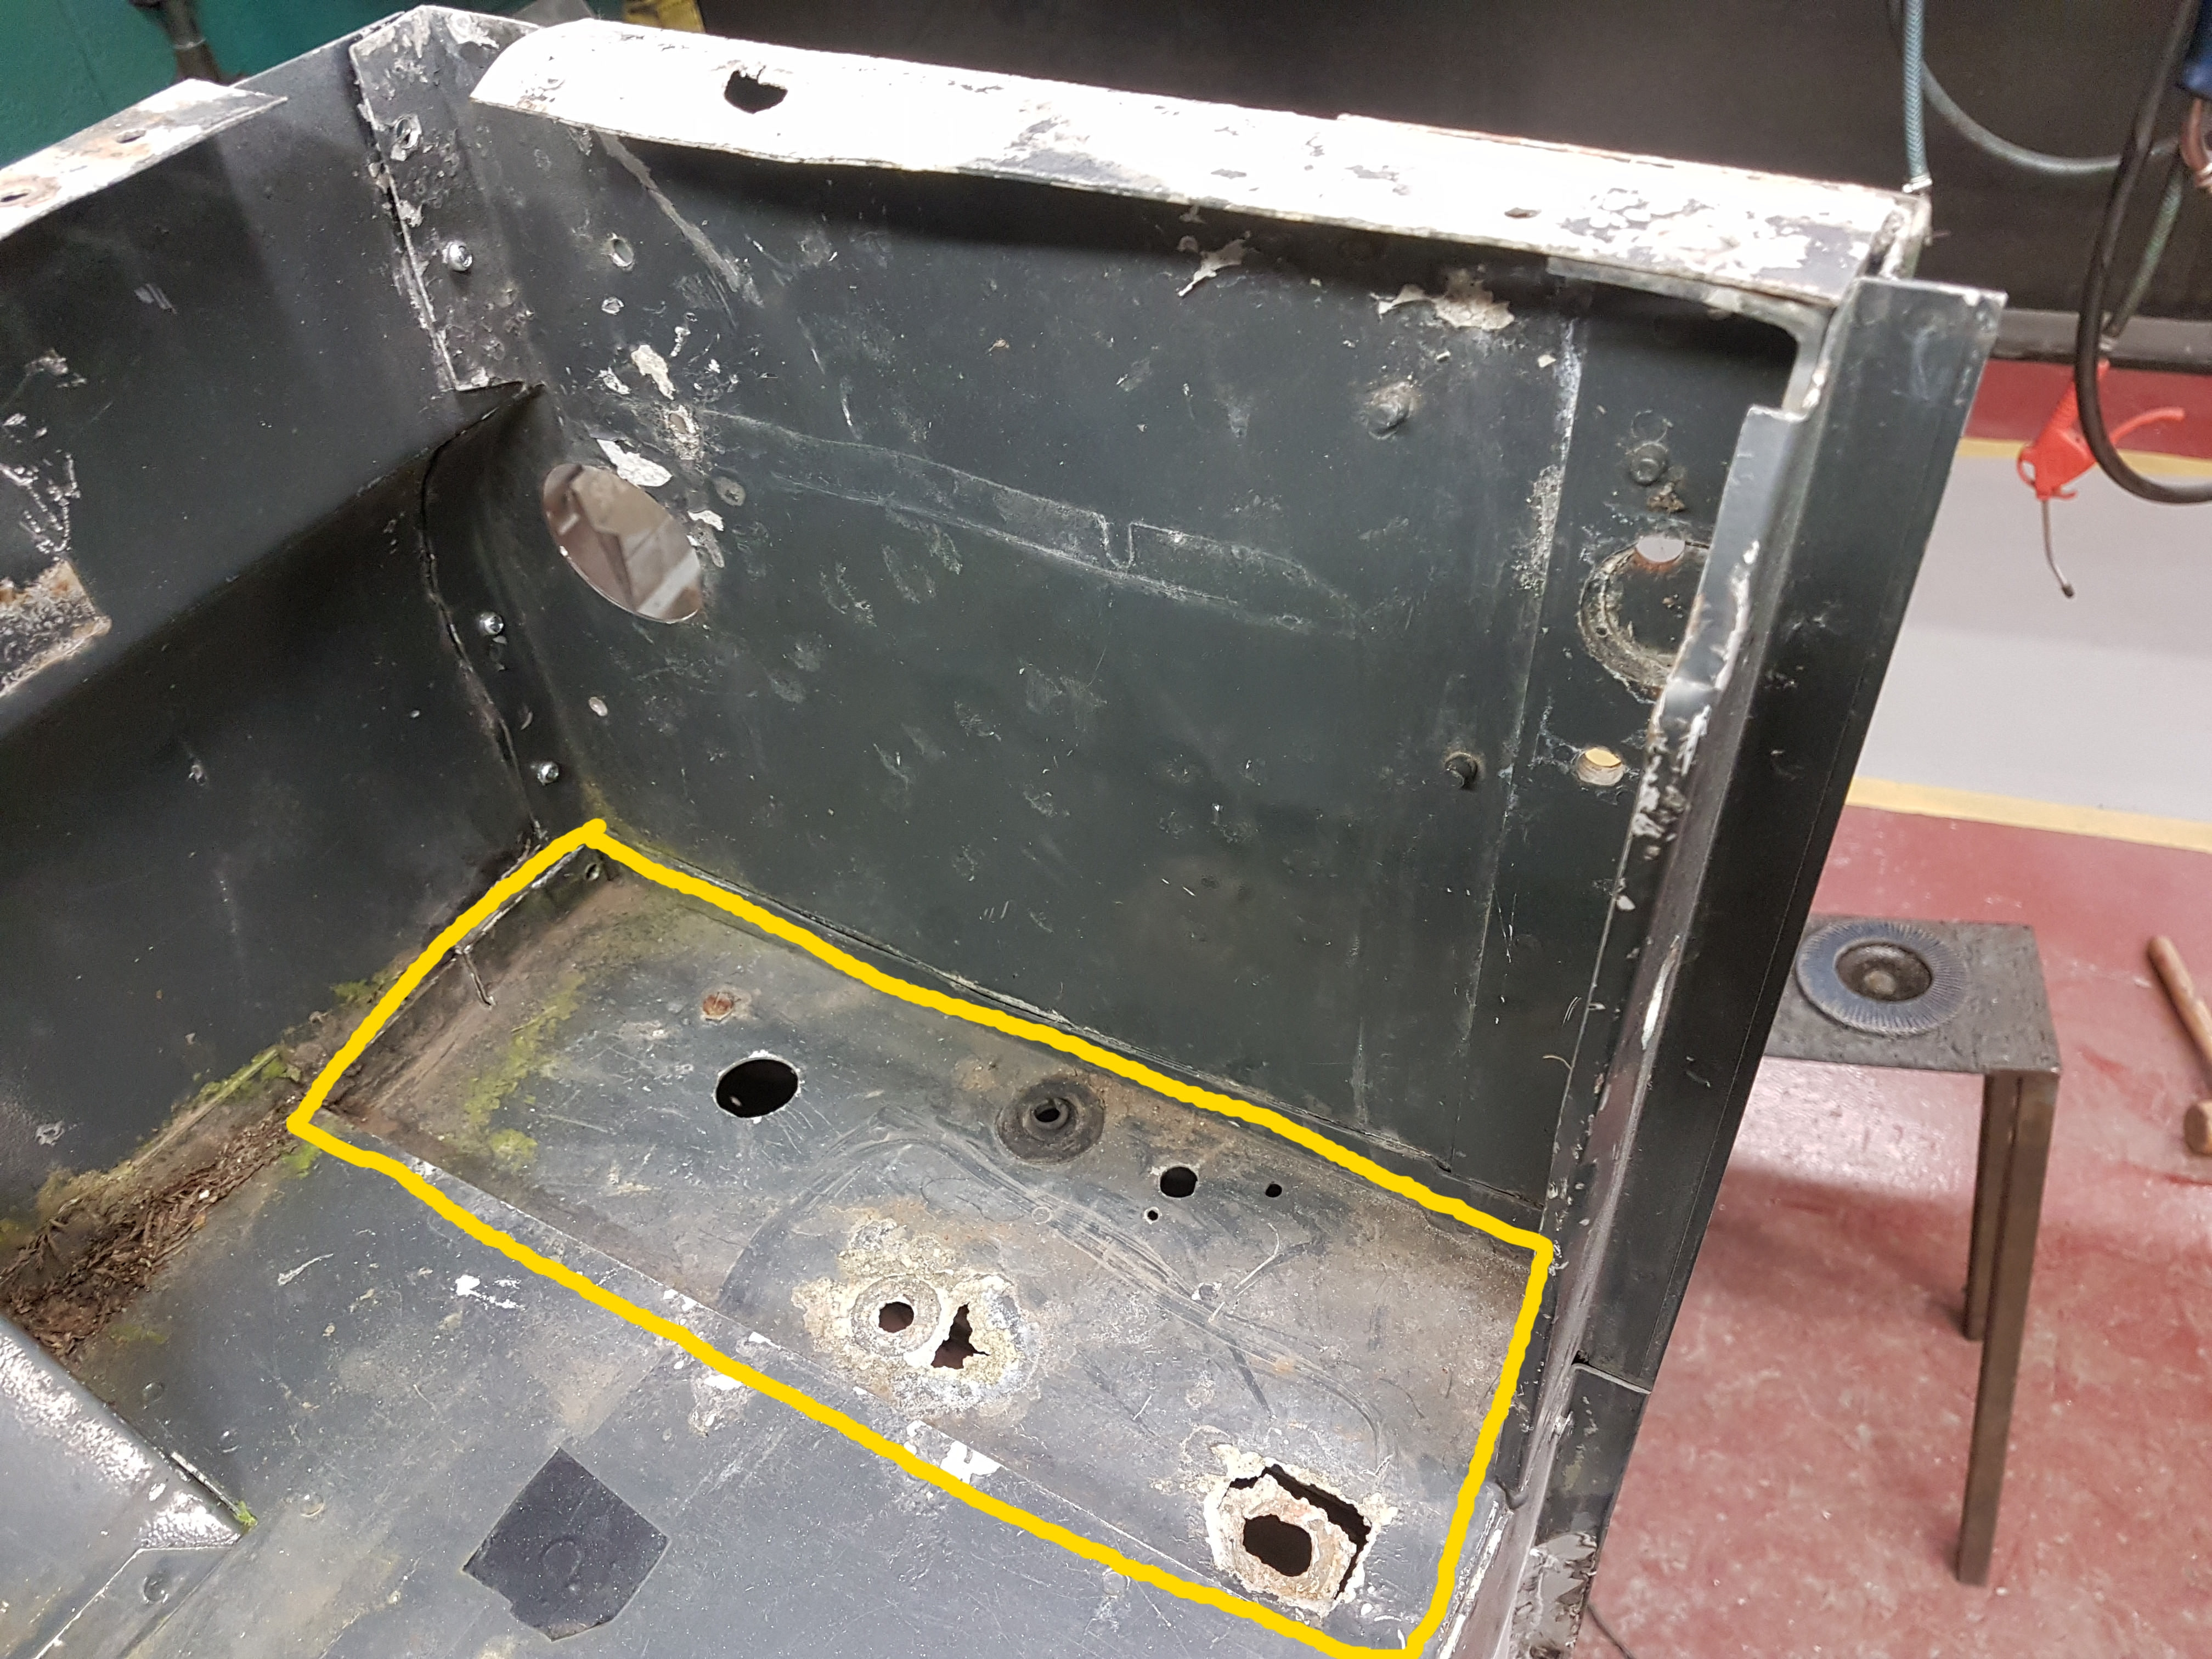
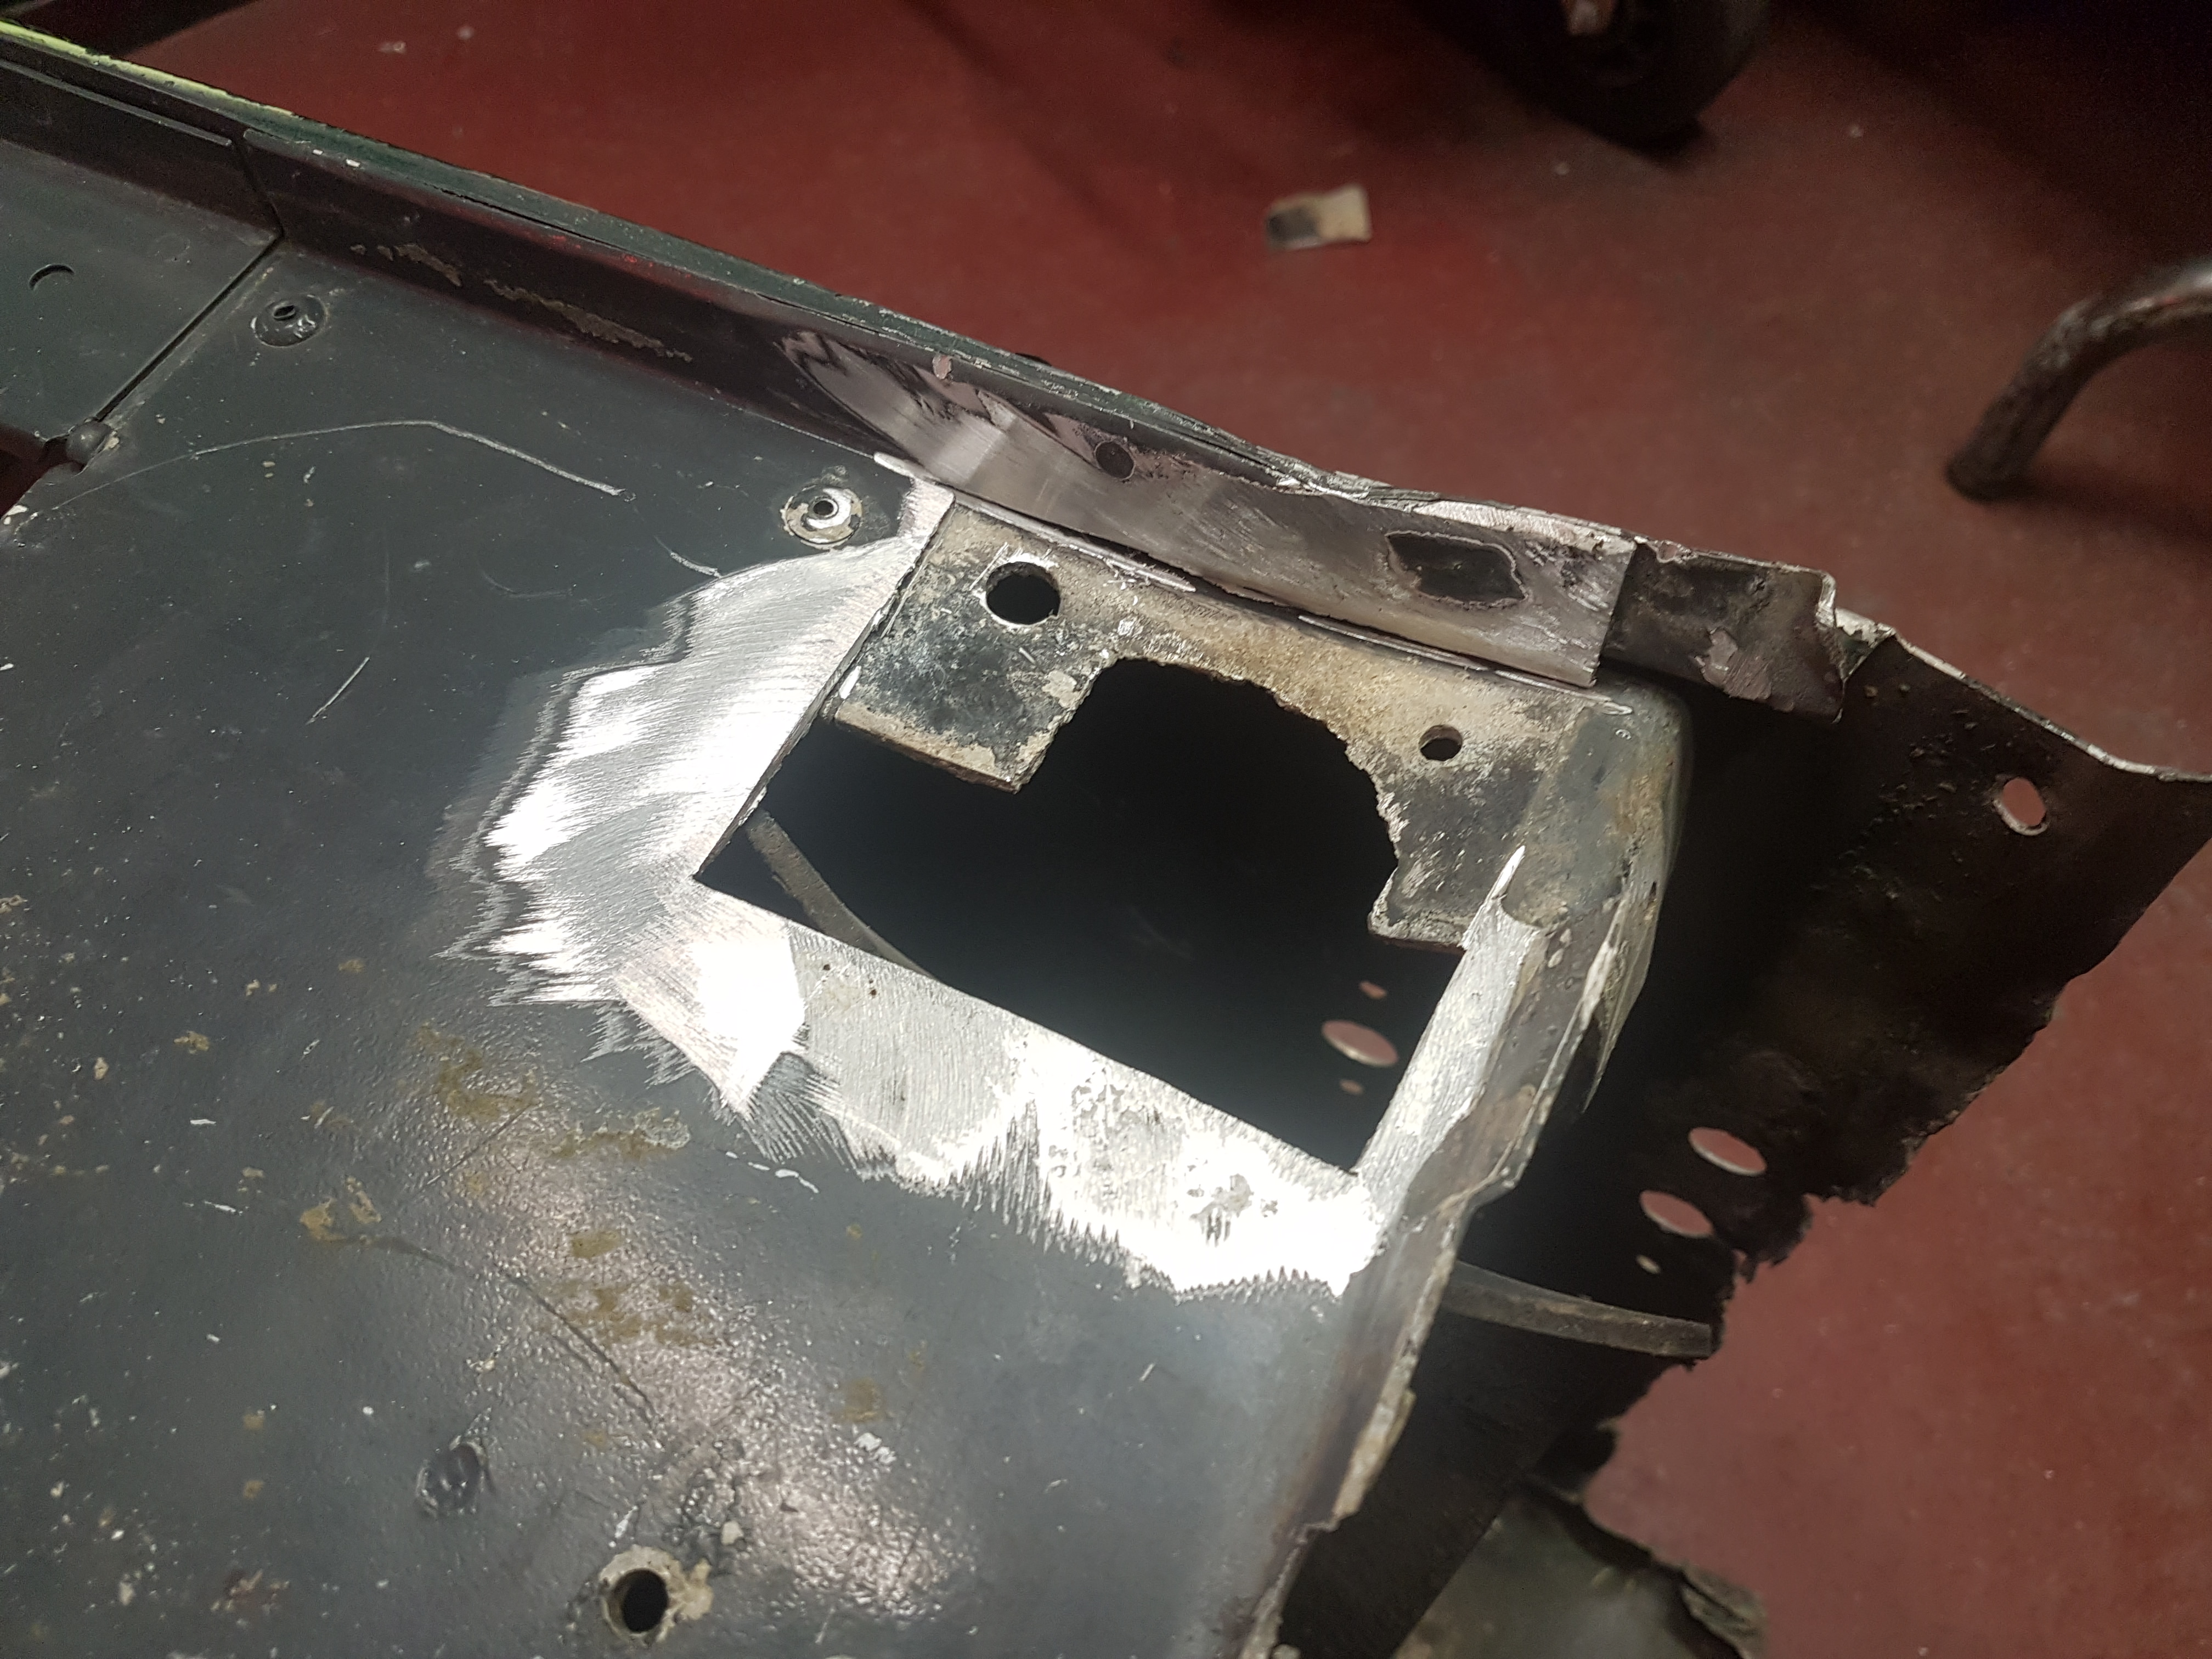
so this first instalment I am making repairs to the rear off side wing assembly of an old series 2 Land Rover that the owner is rebuilding. My first job on this wing section is to repair a nasty, very badly corroded hole where the door retaining bracket used to fit, I say used to fit as all that is left is a big hole.
Here is the section before i start work.
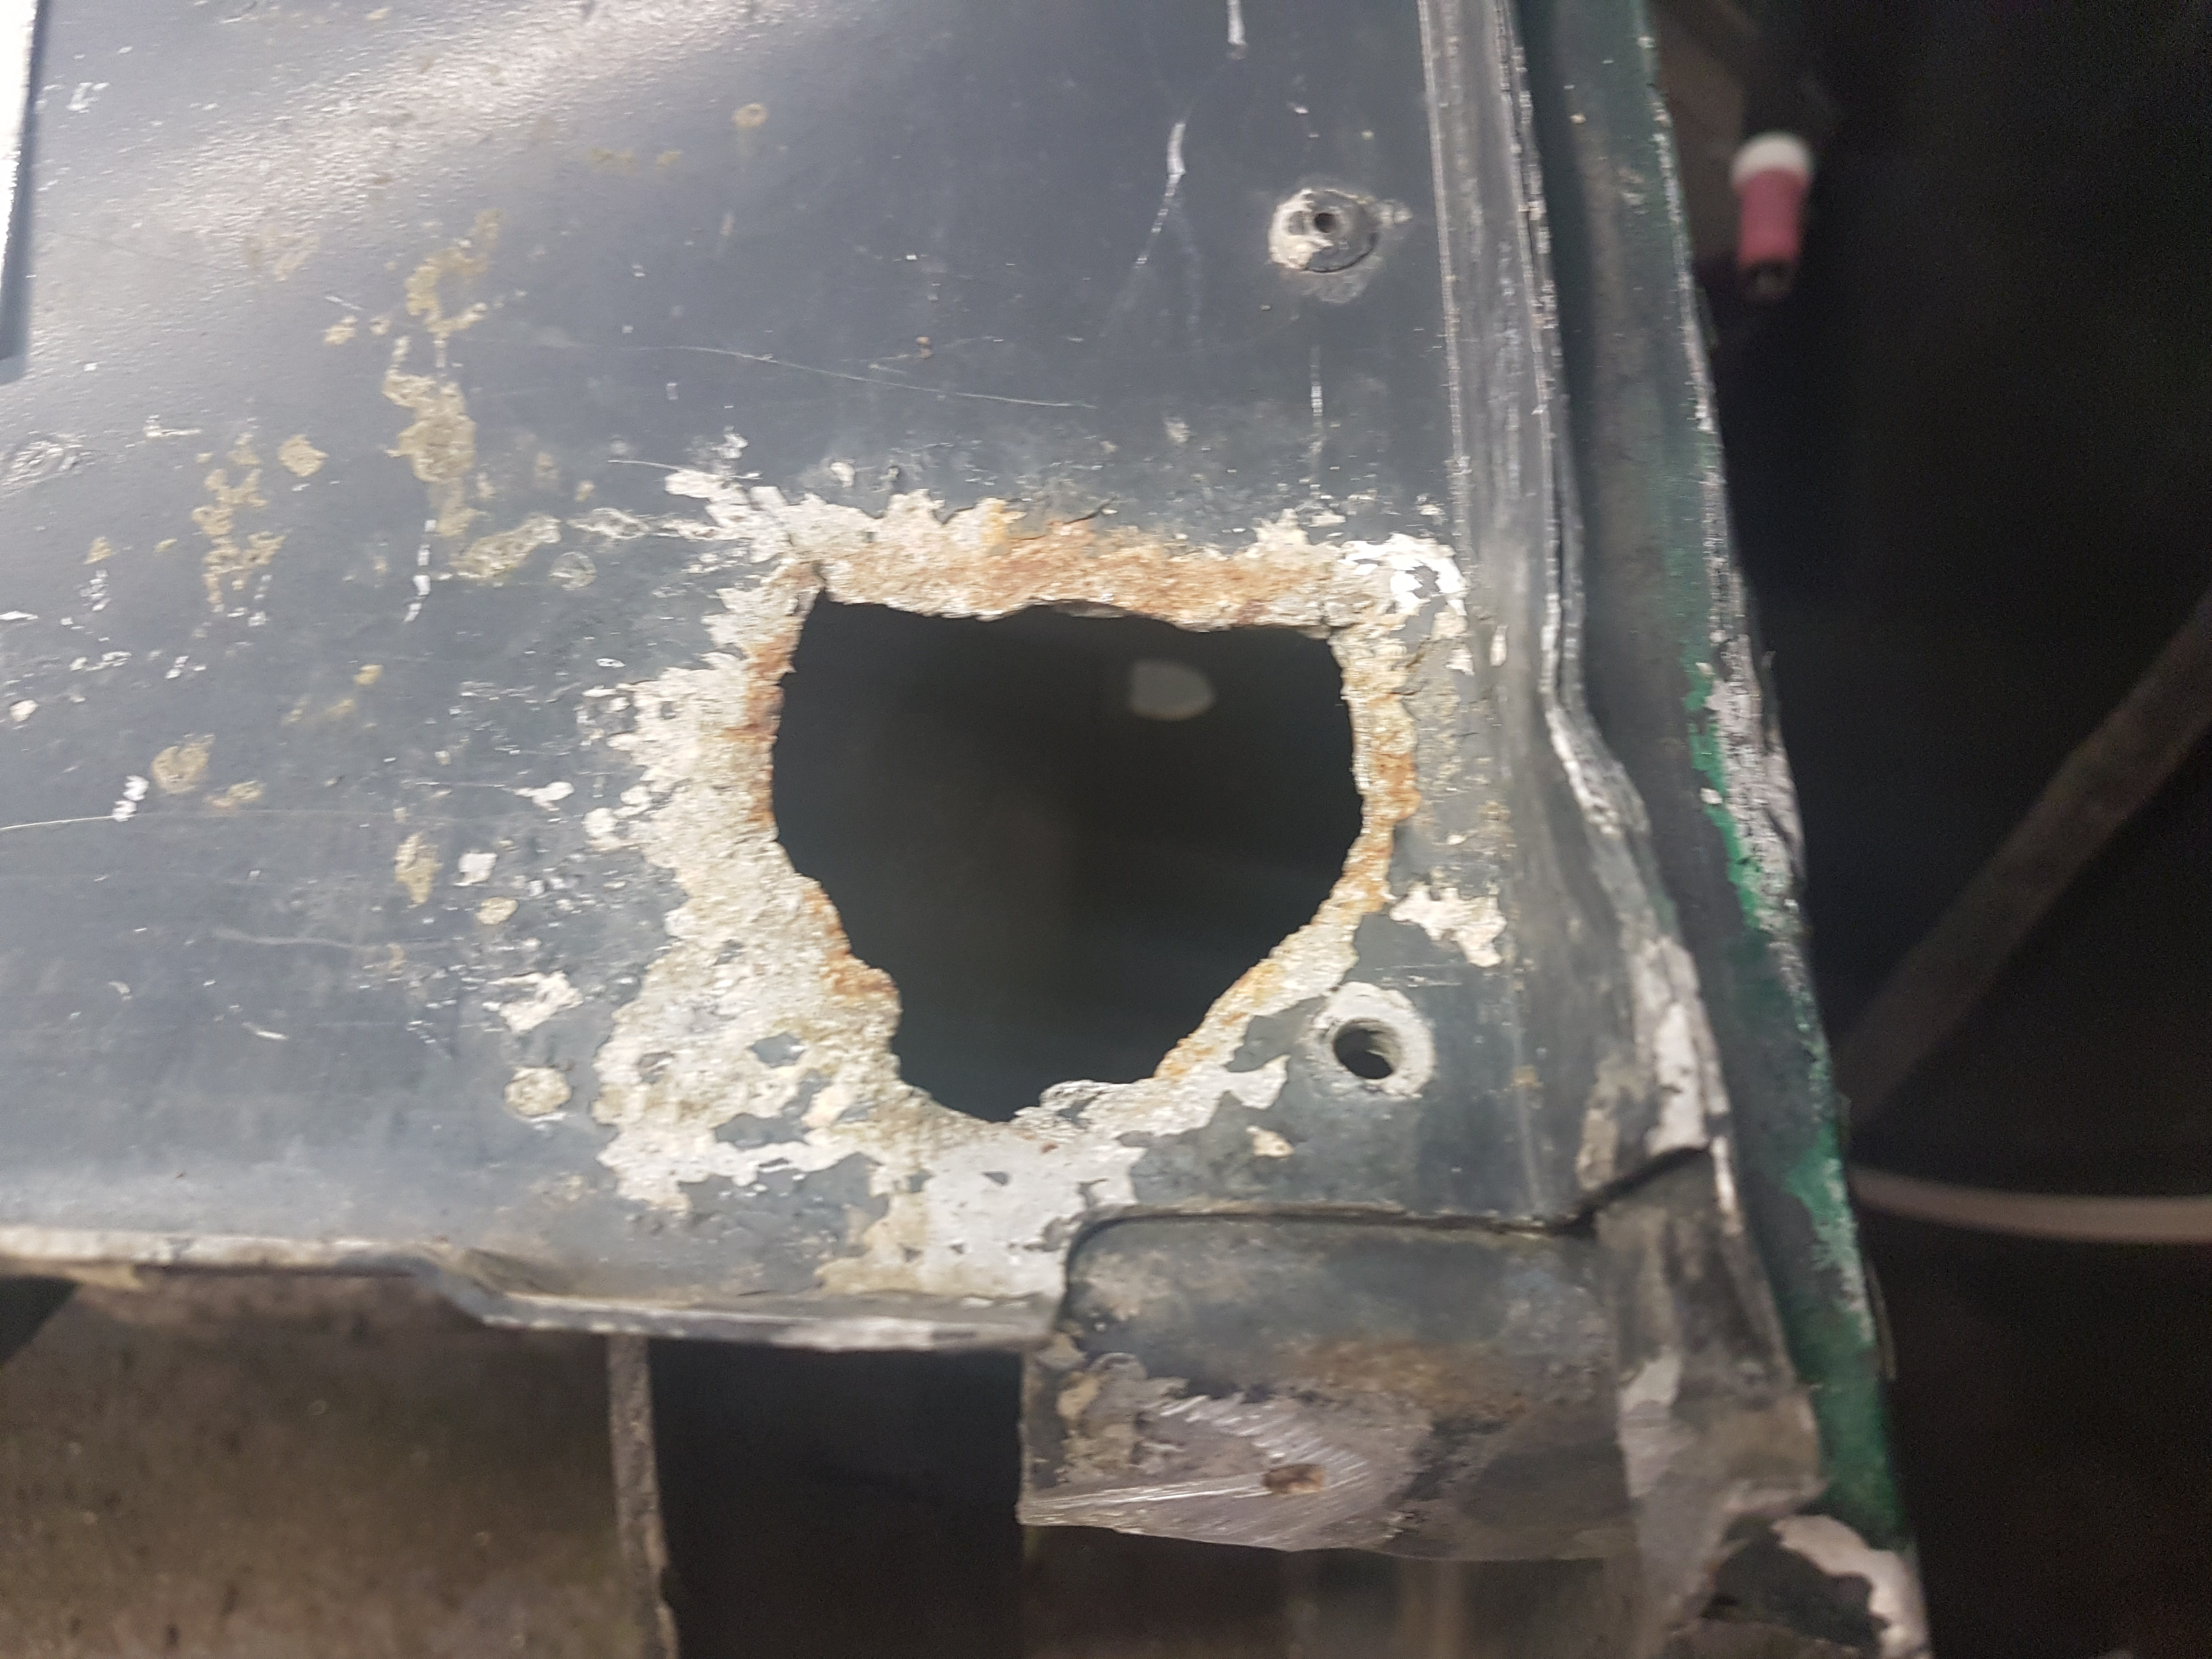
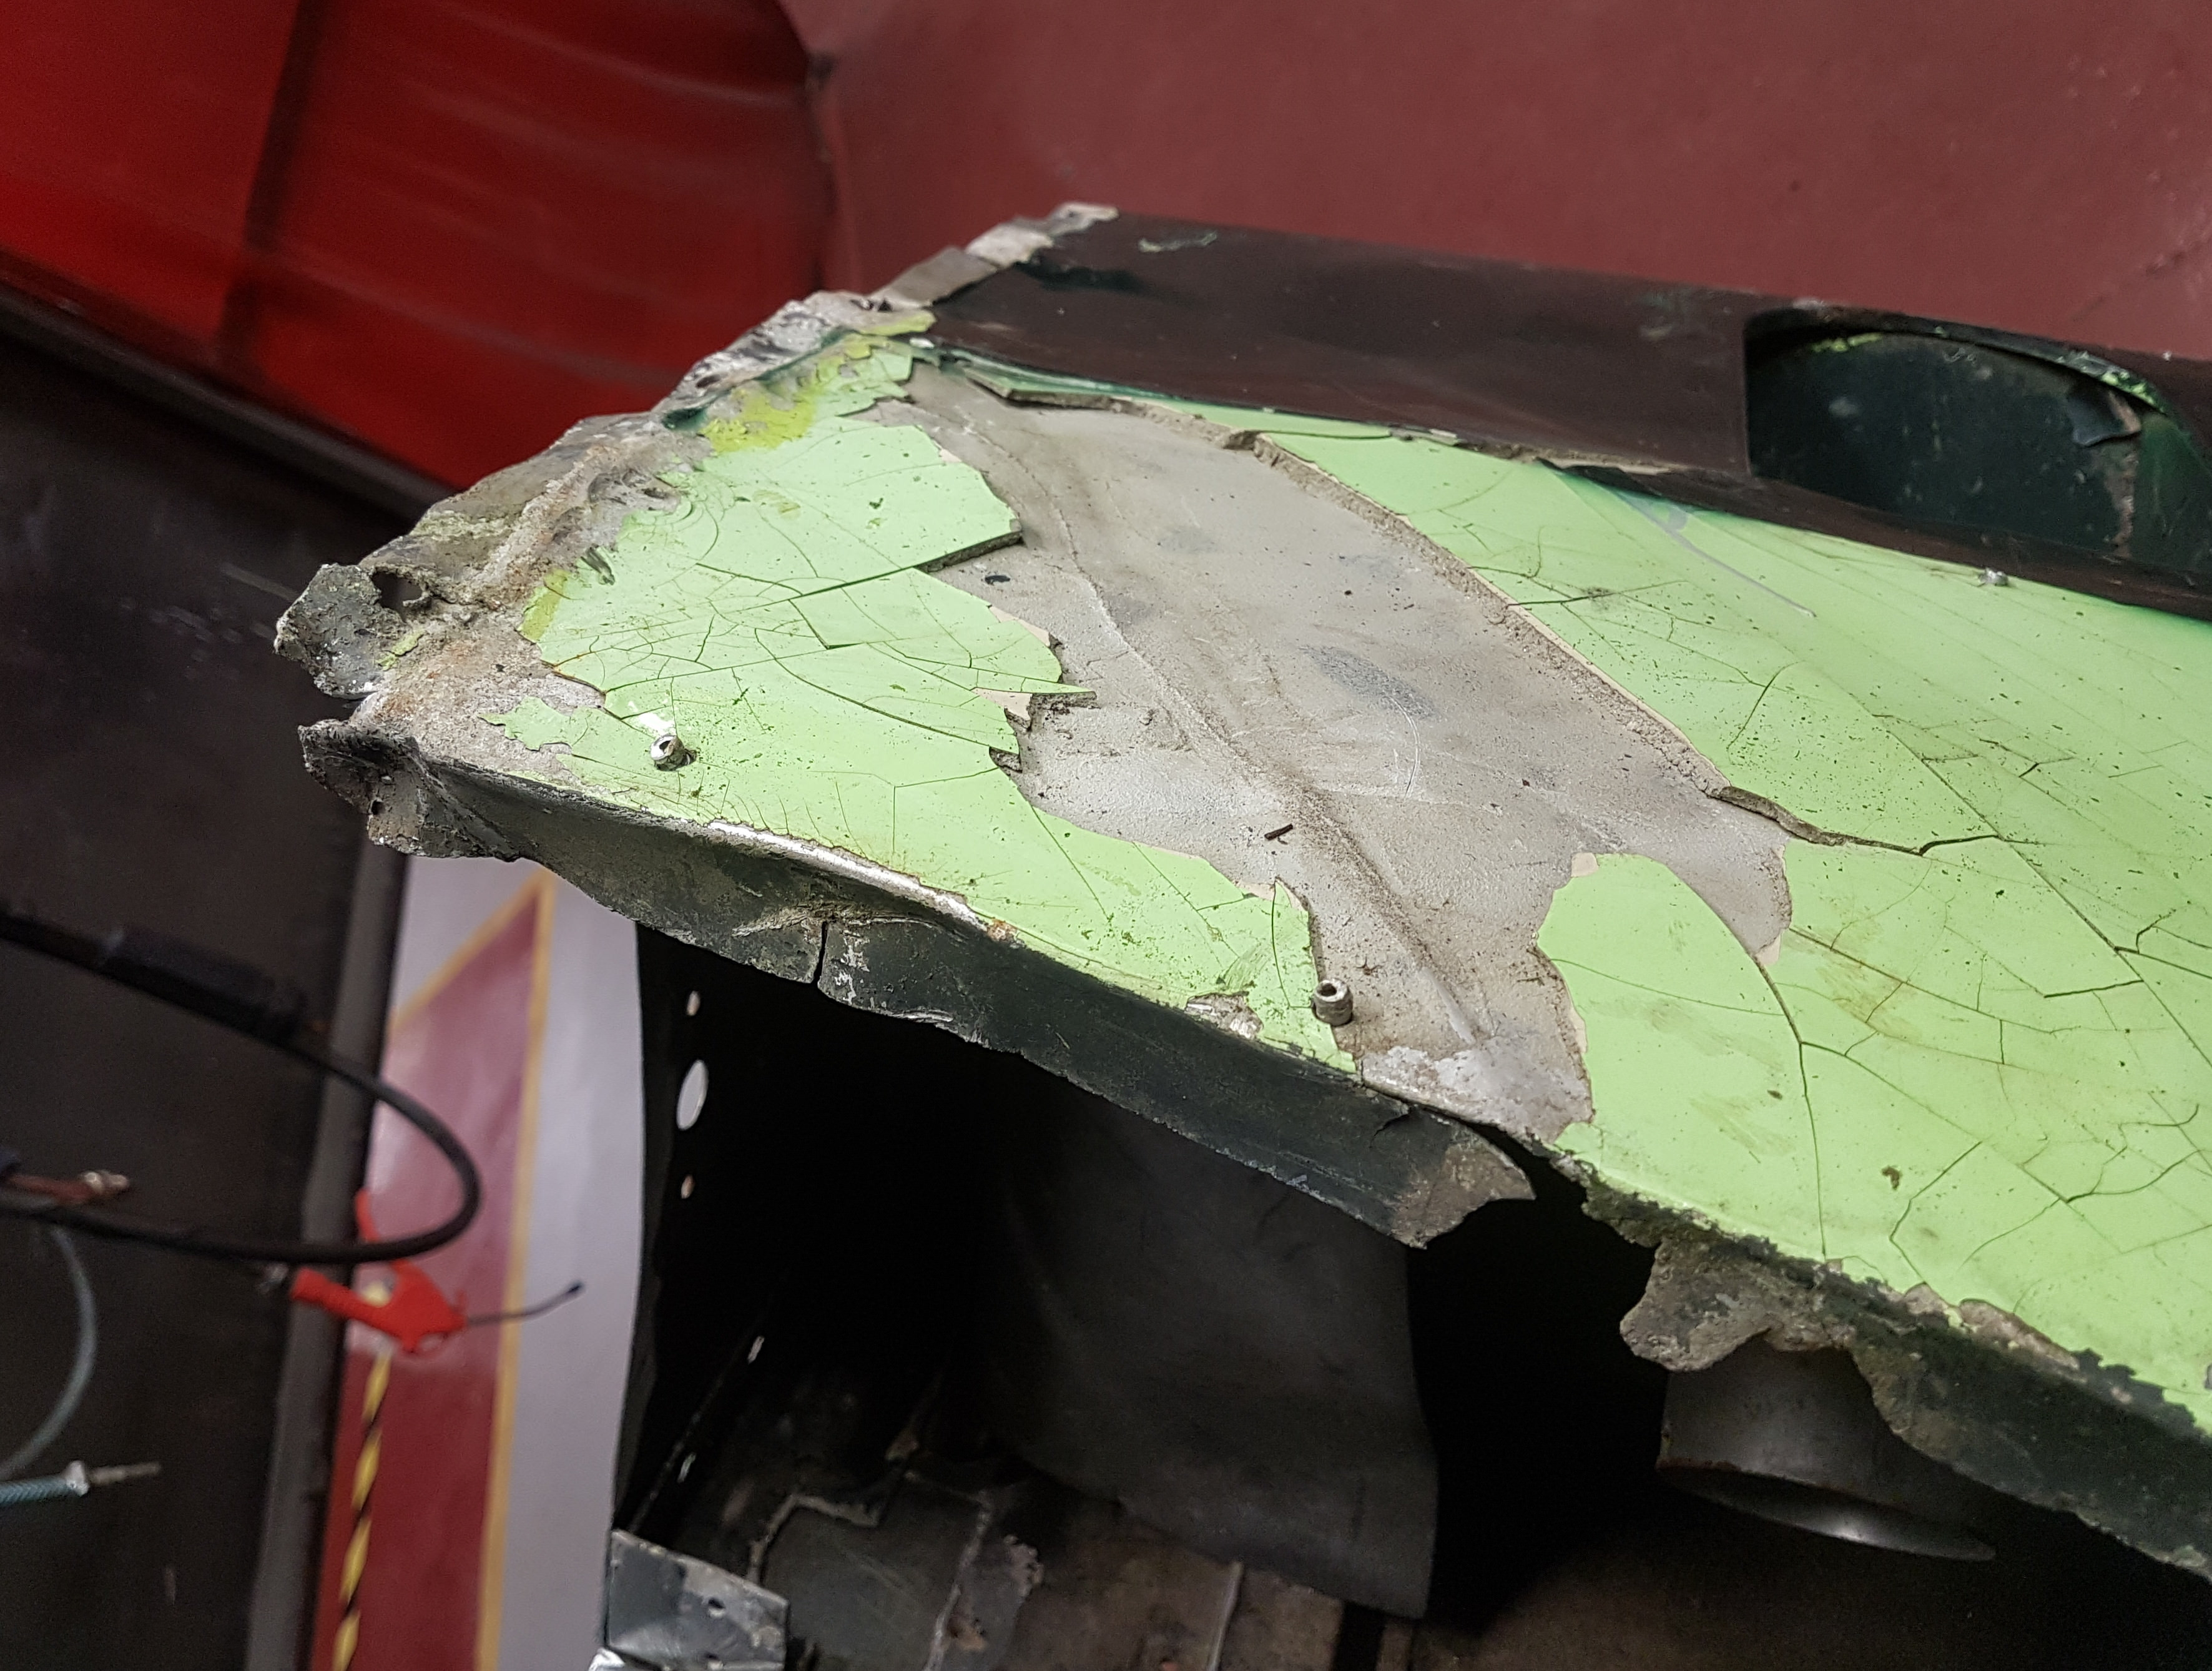
here you can see just how bad the corrosion is.
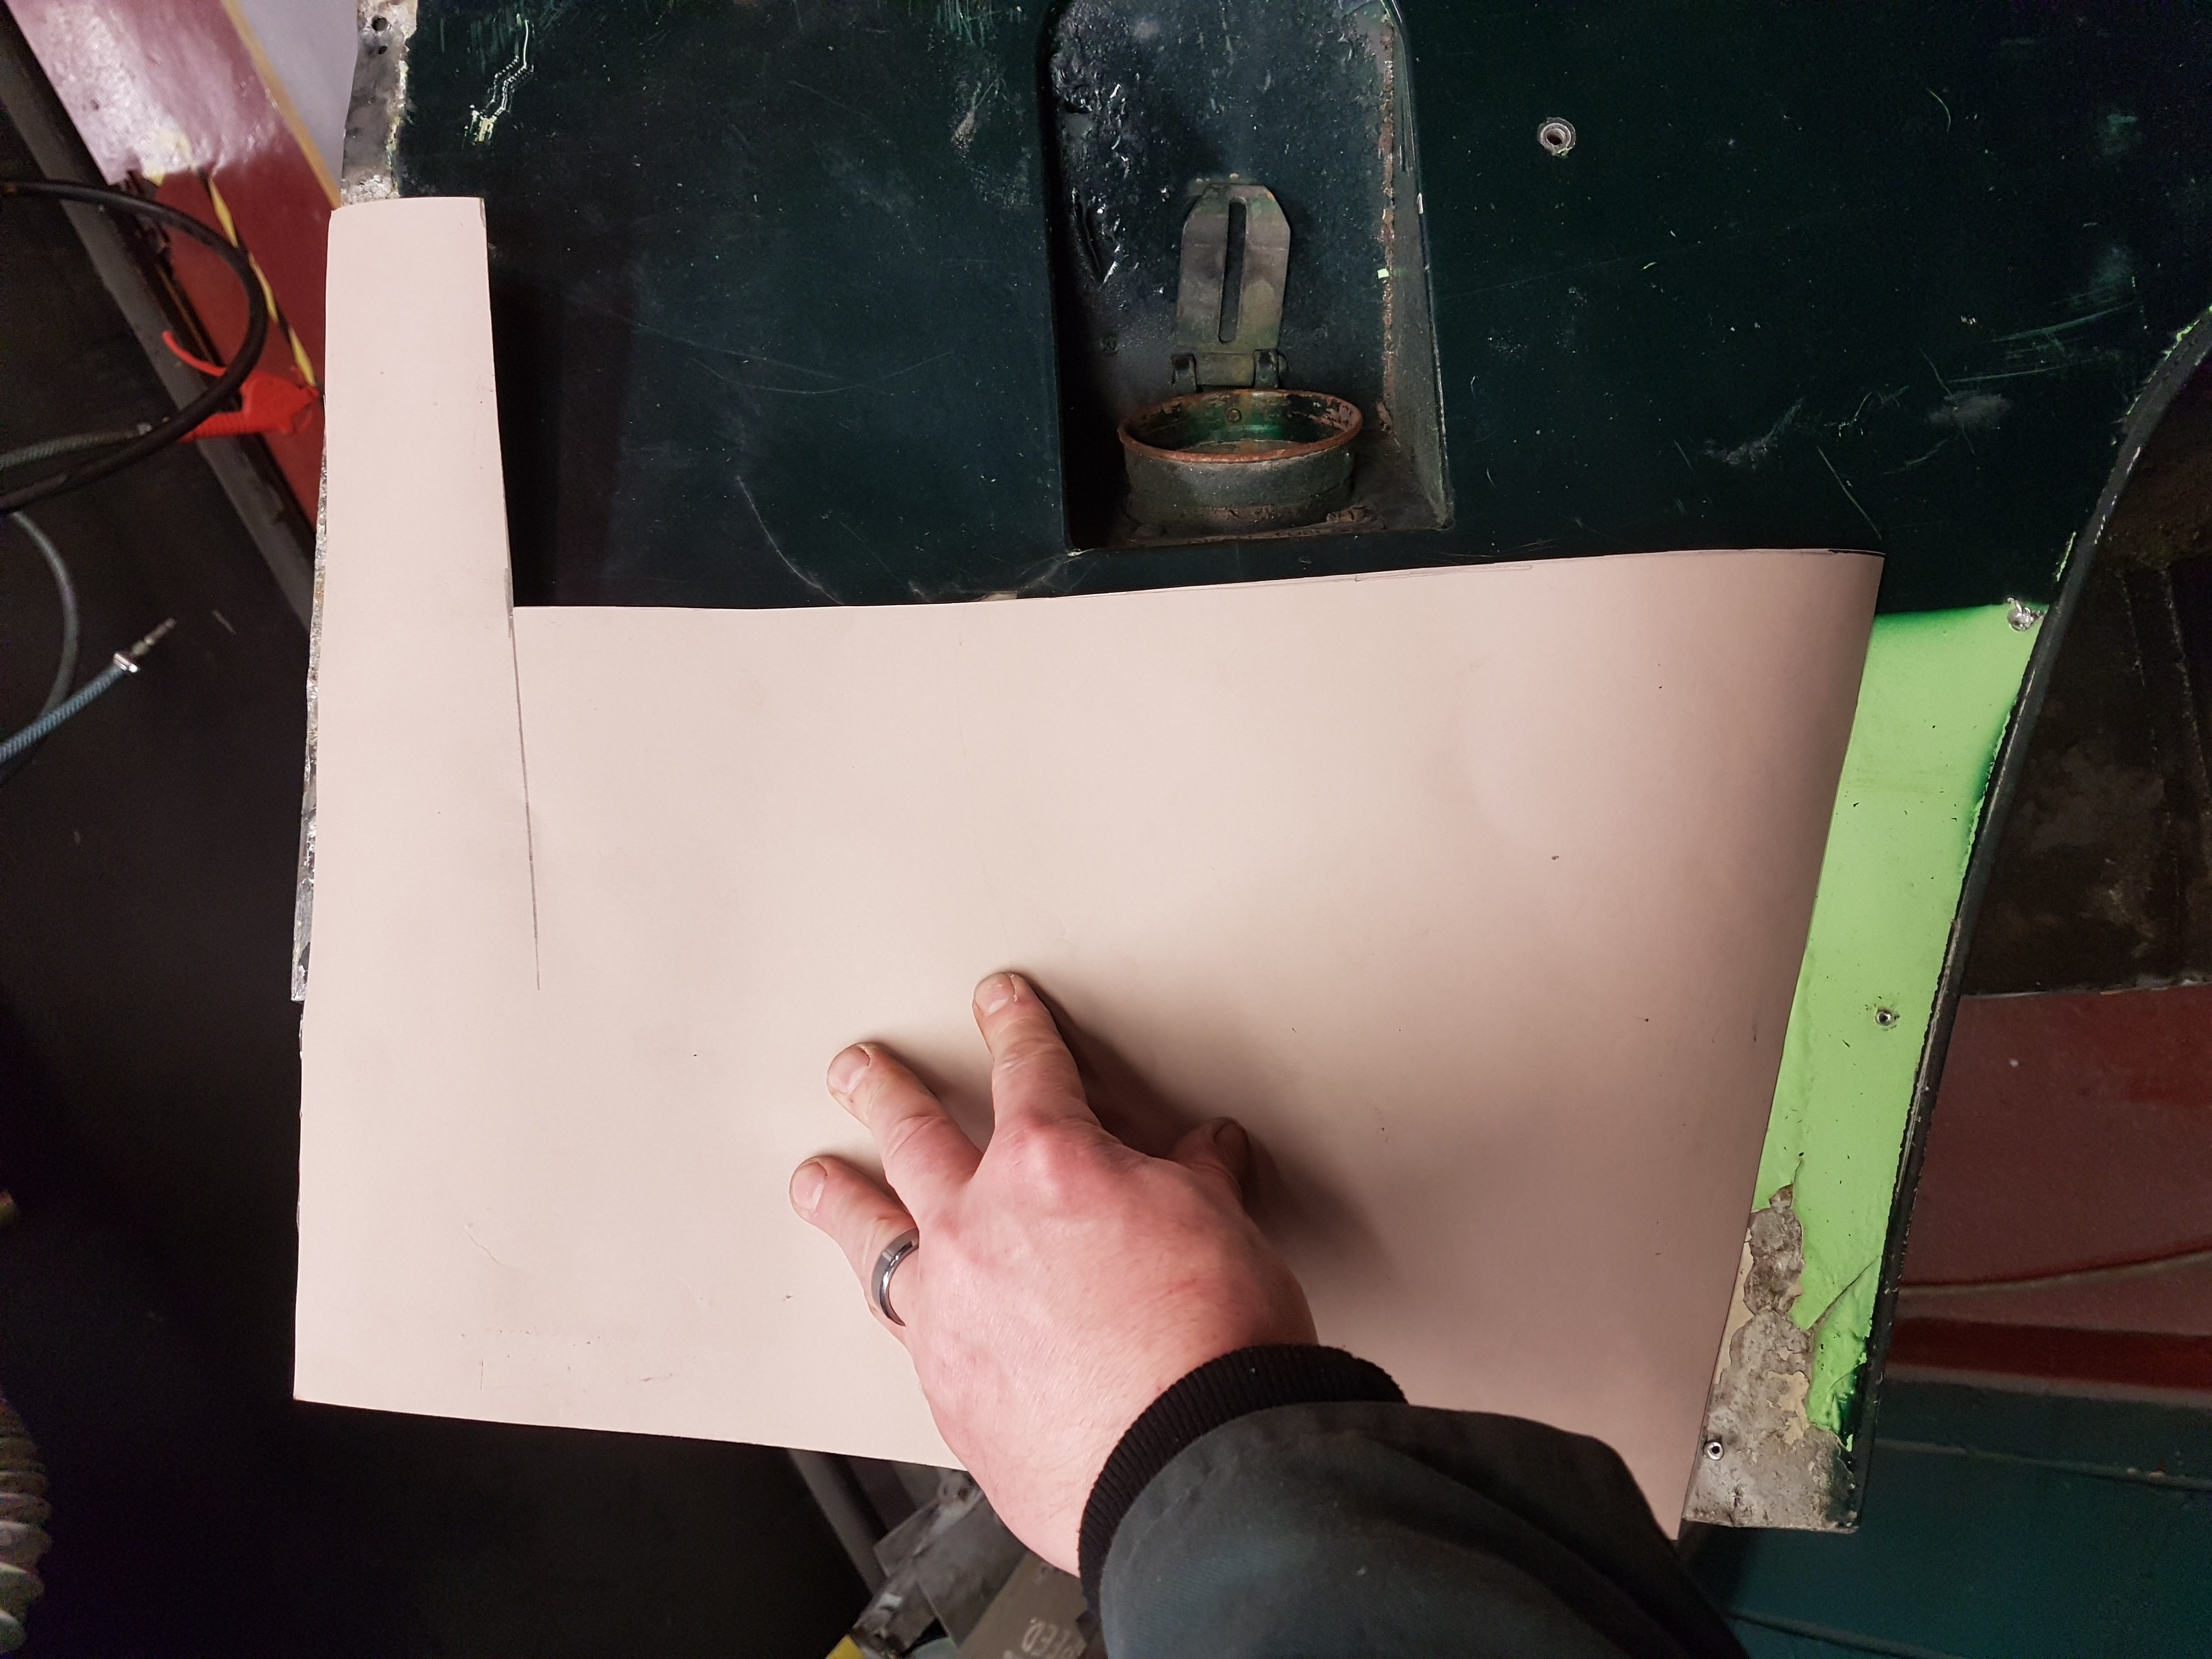
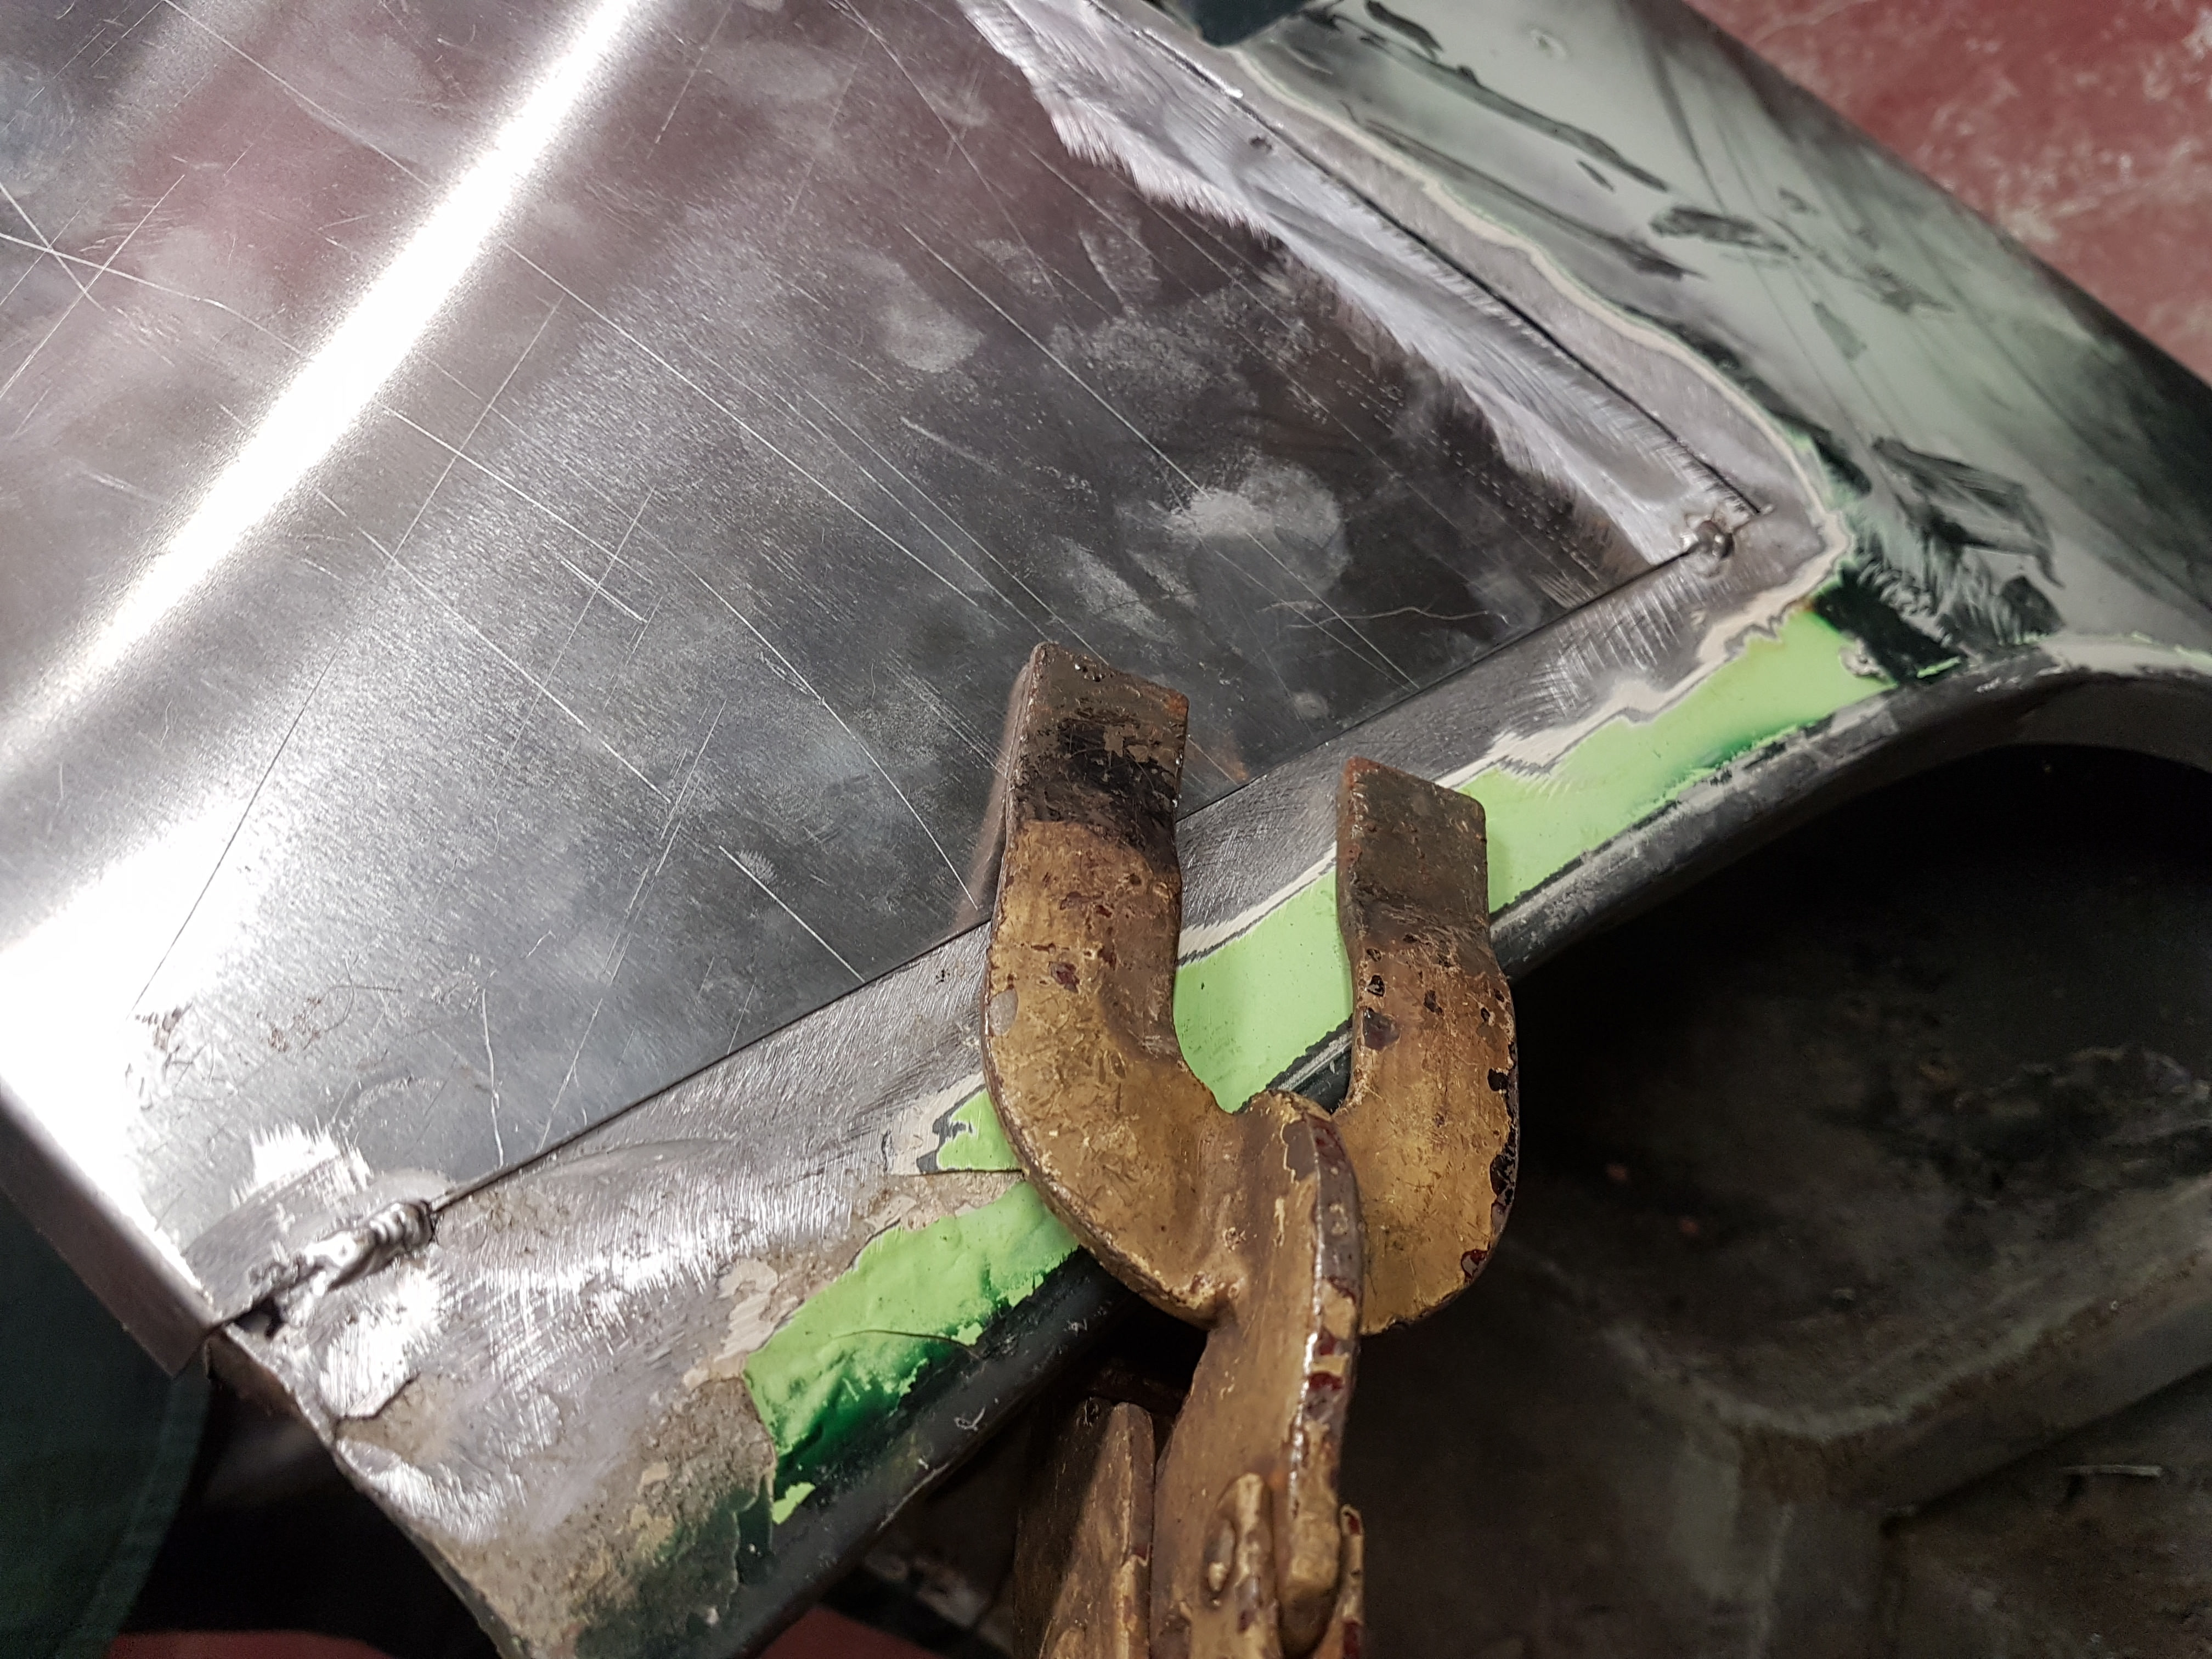
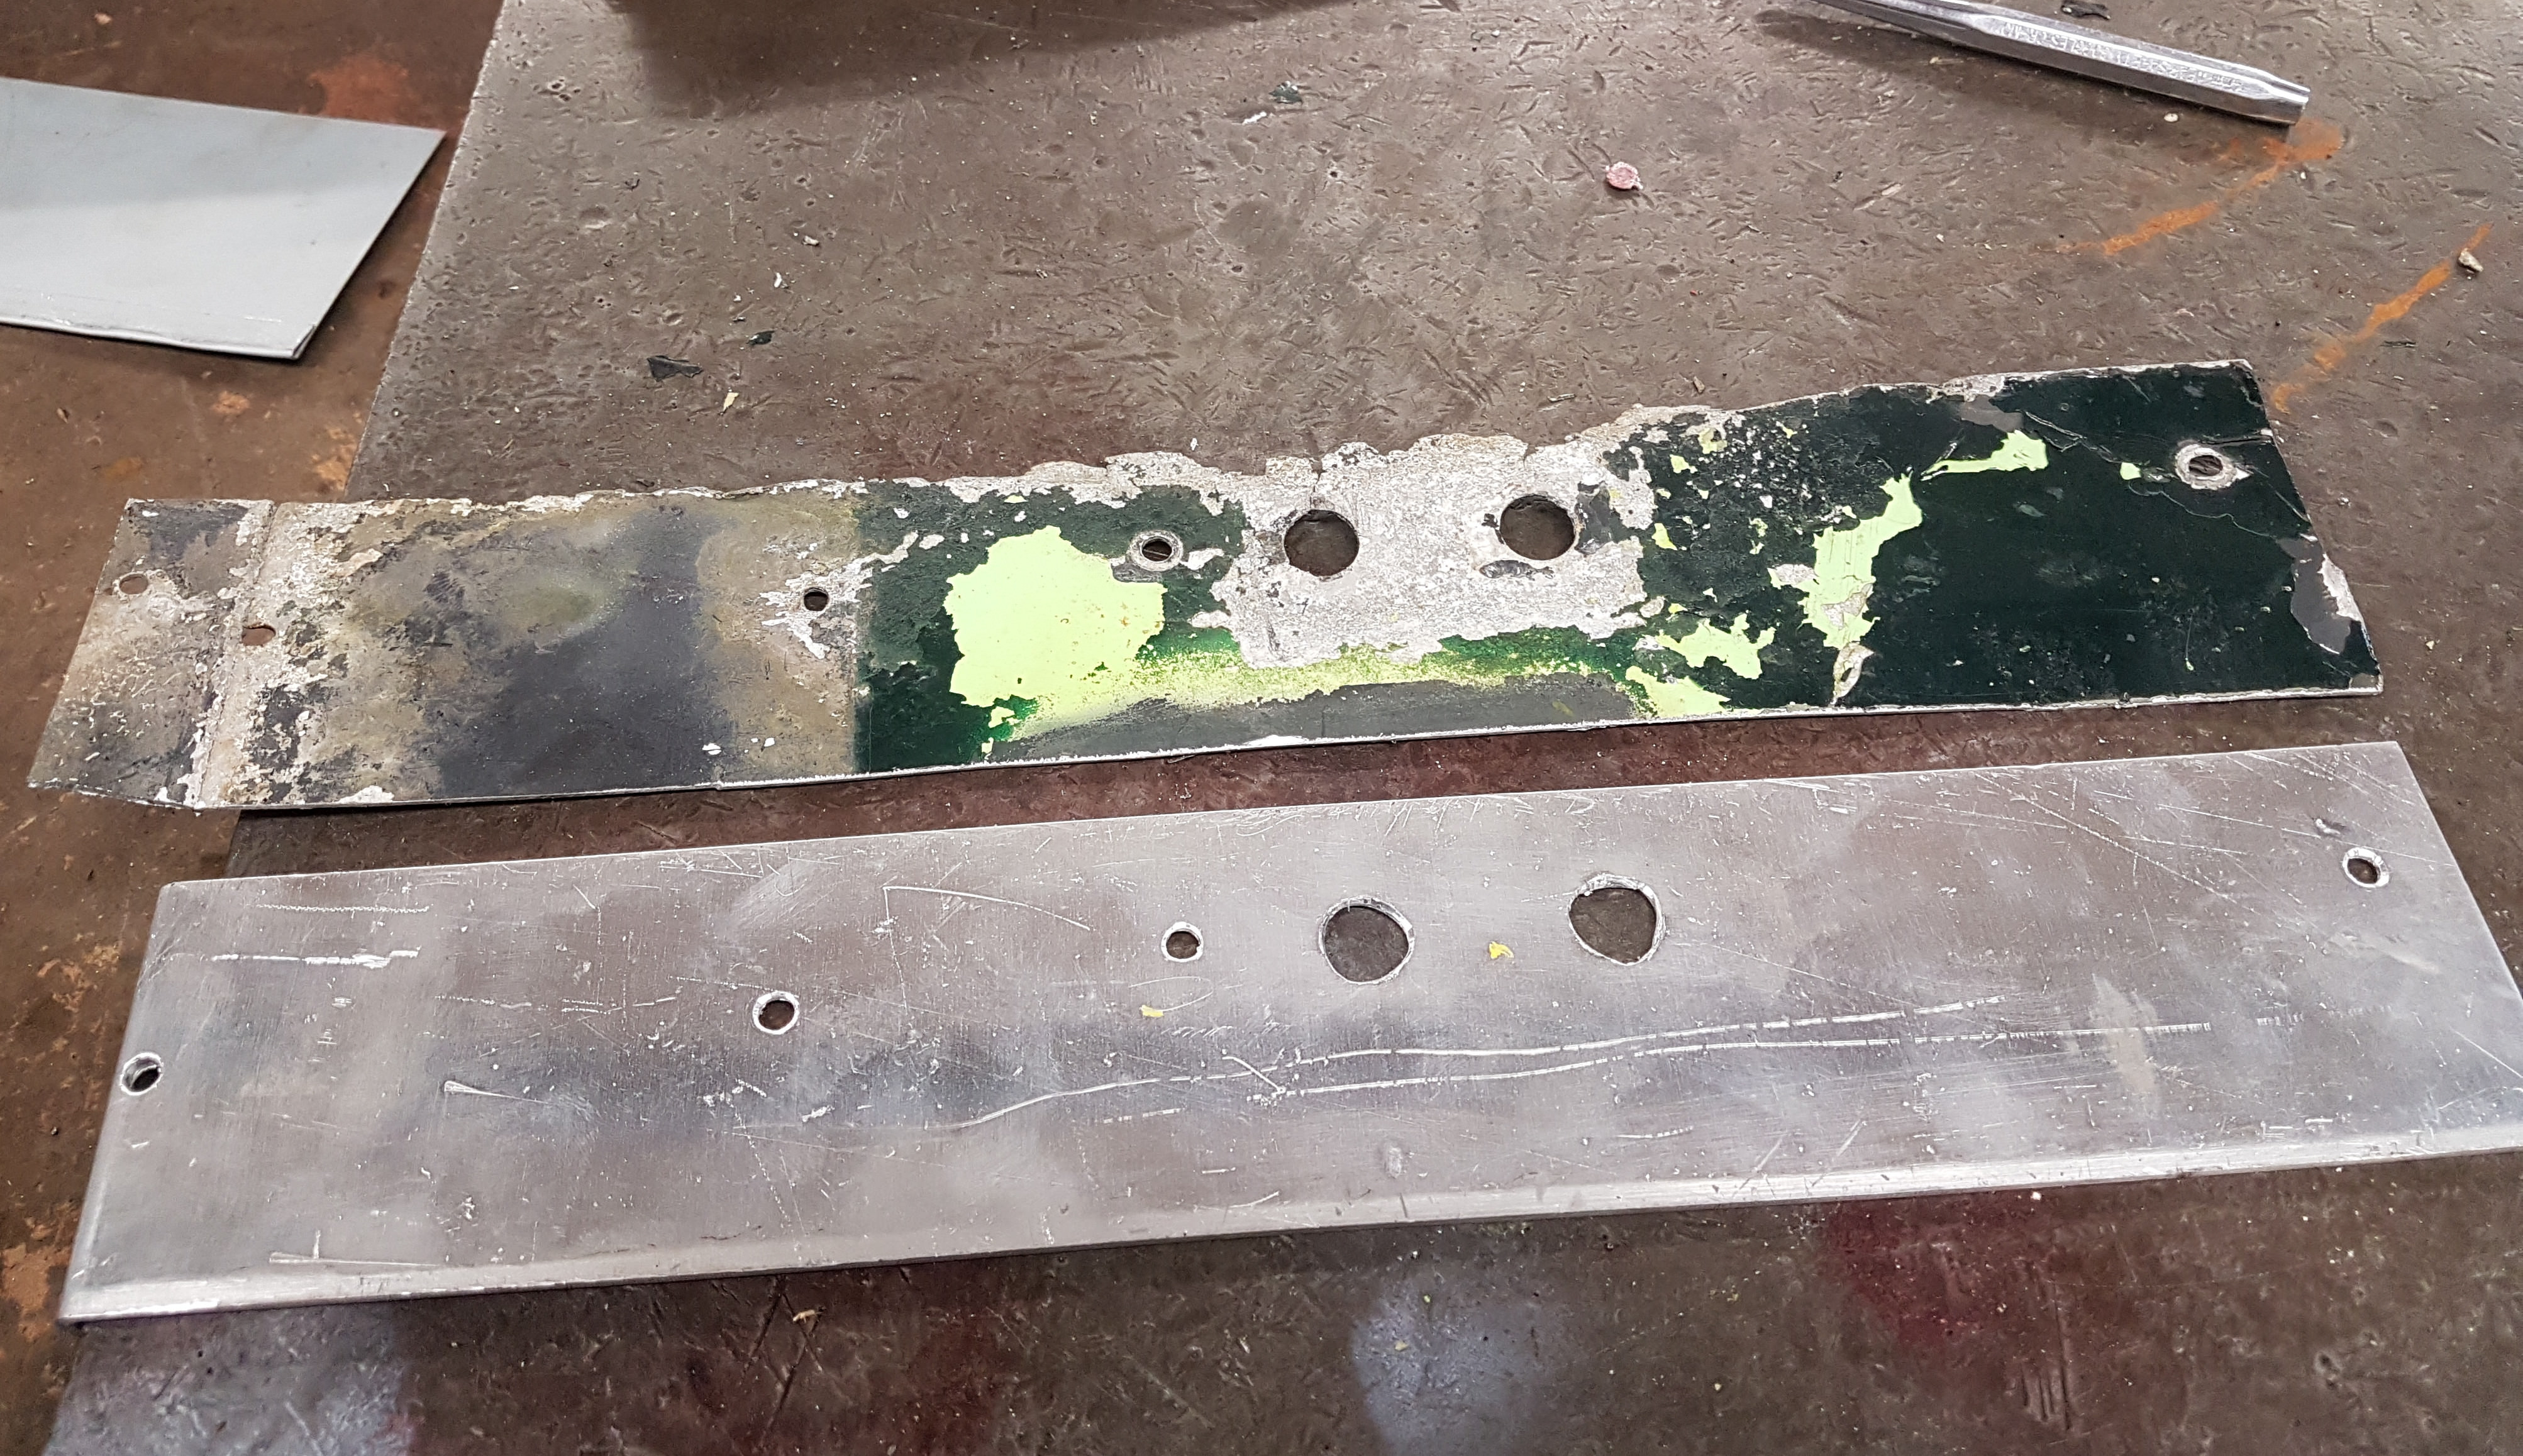
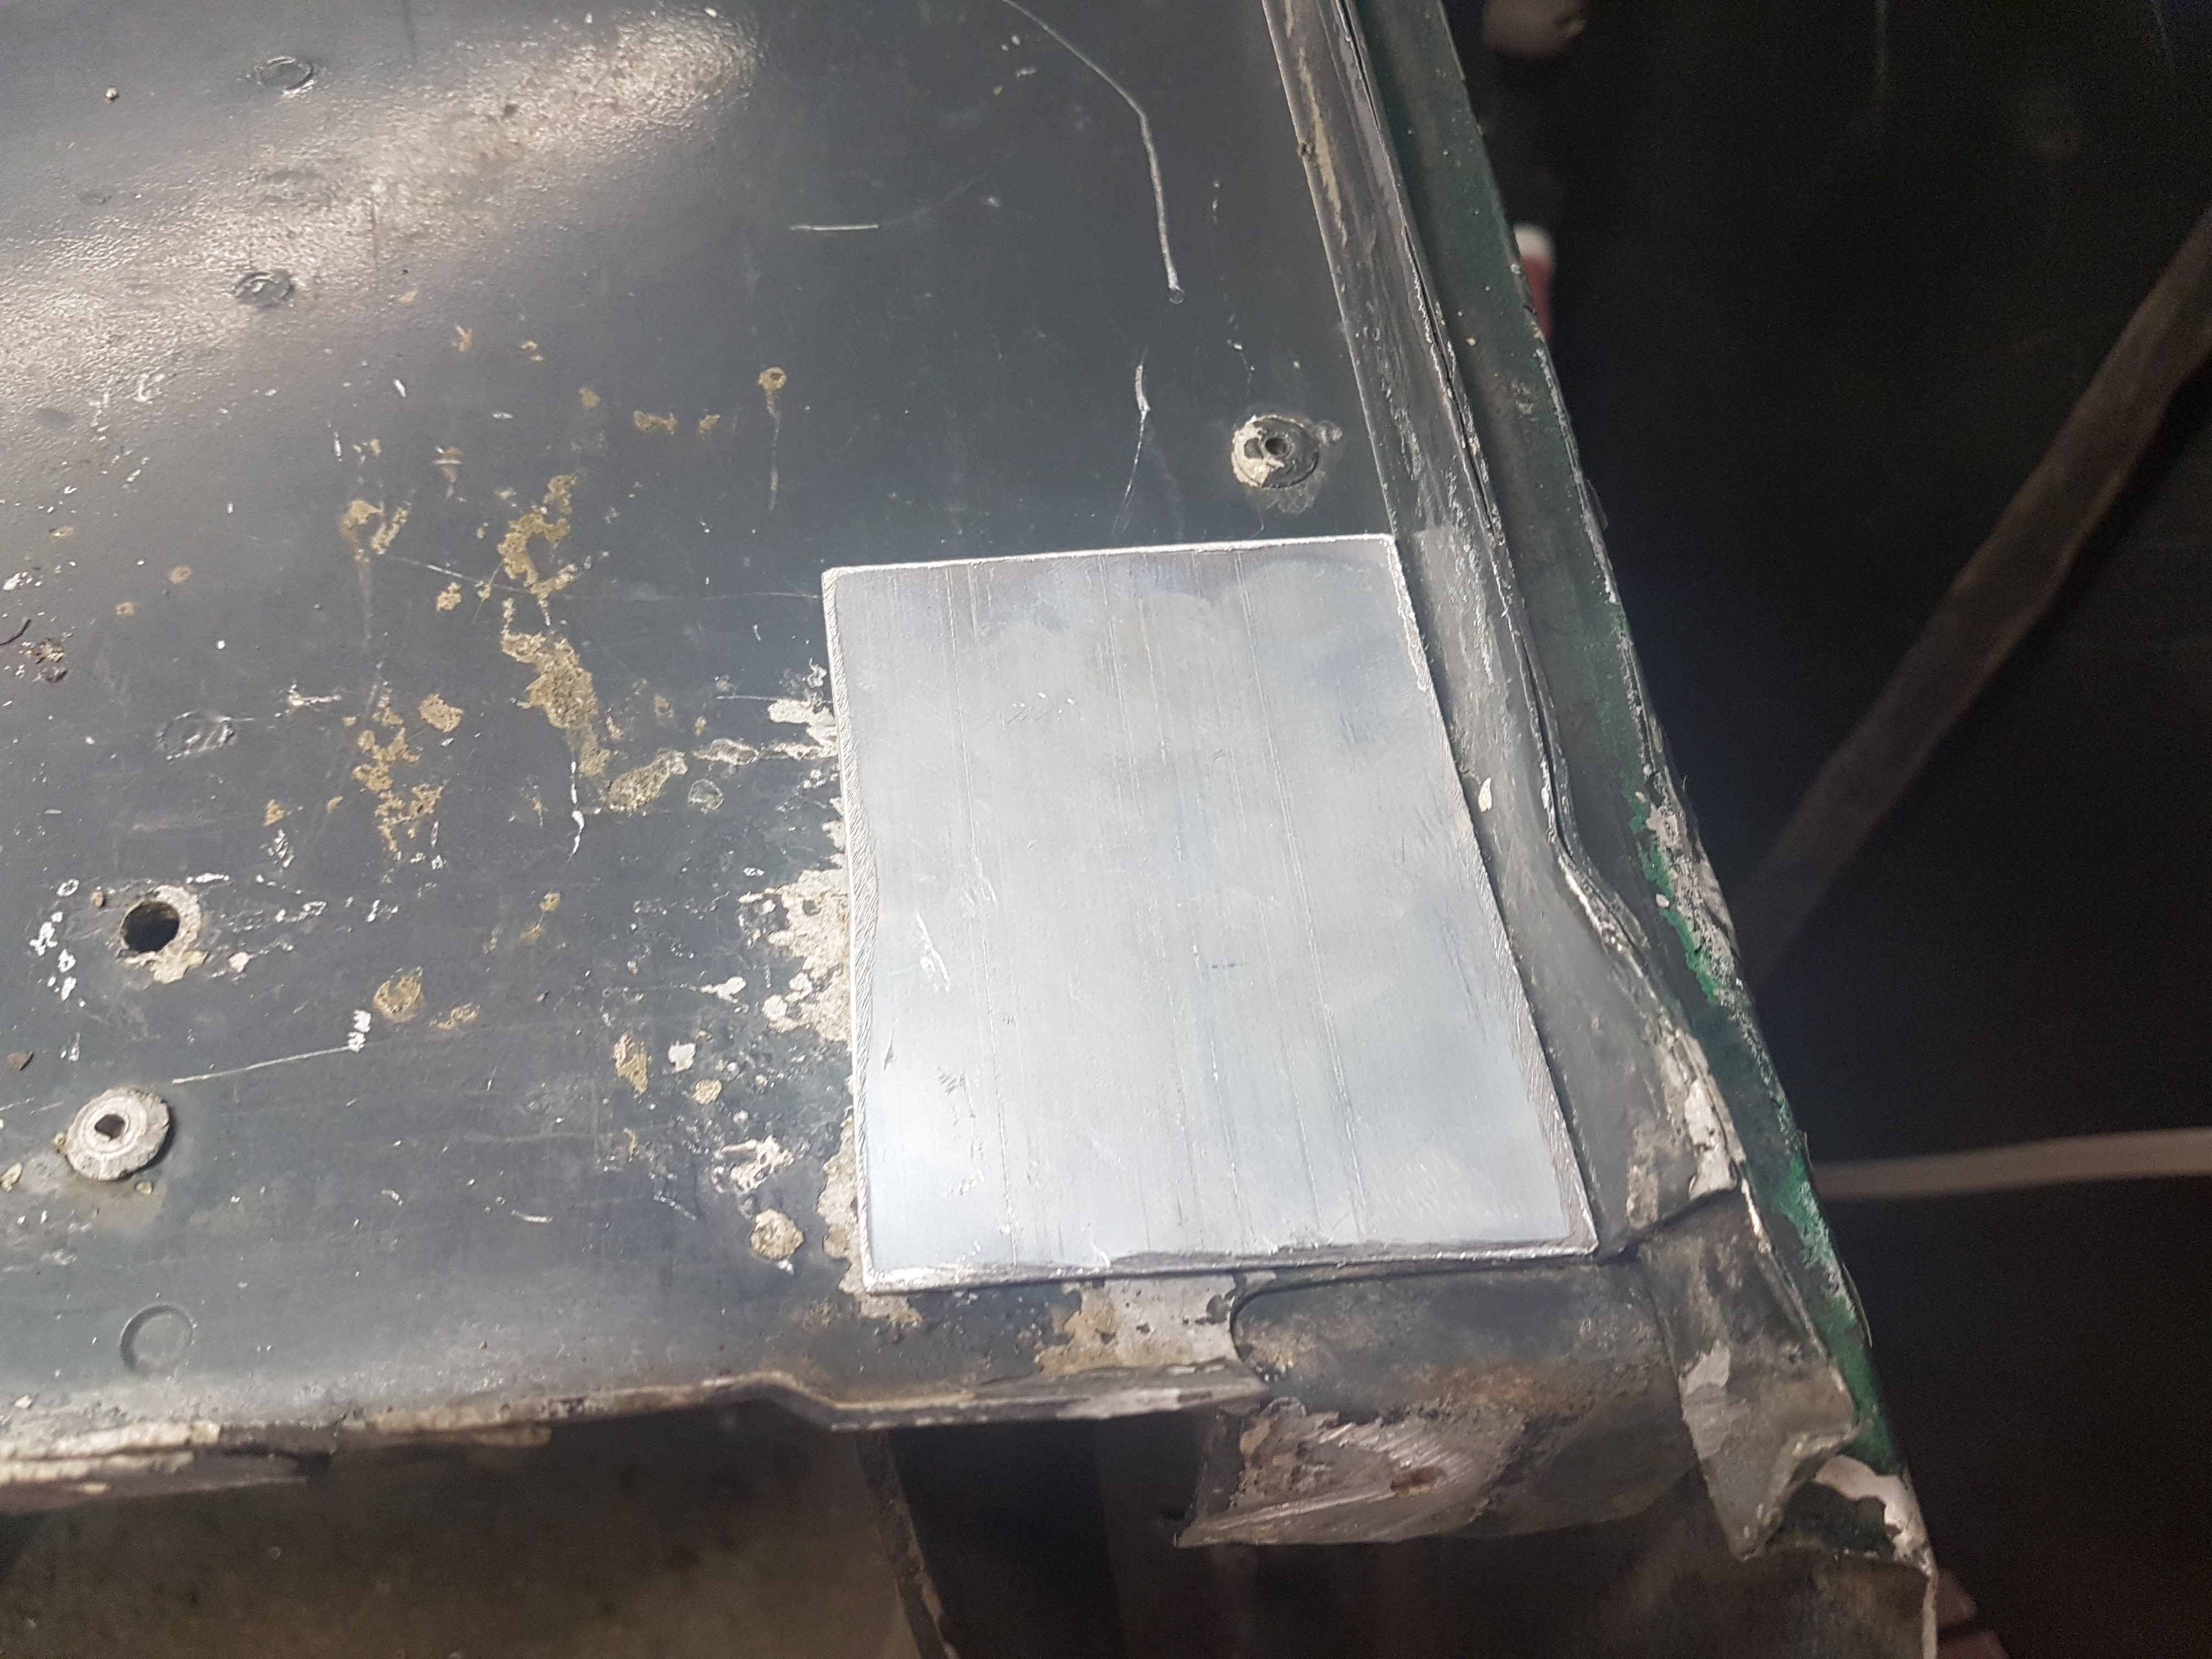
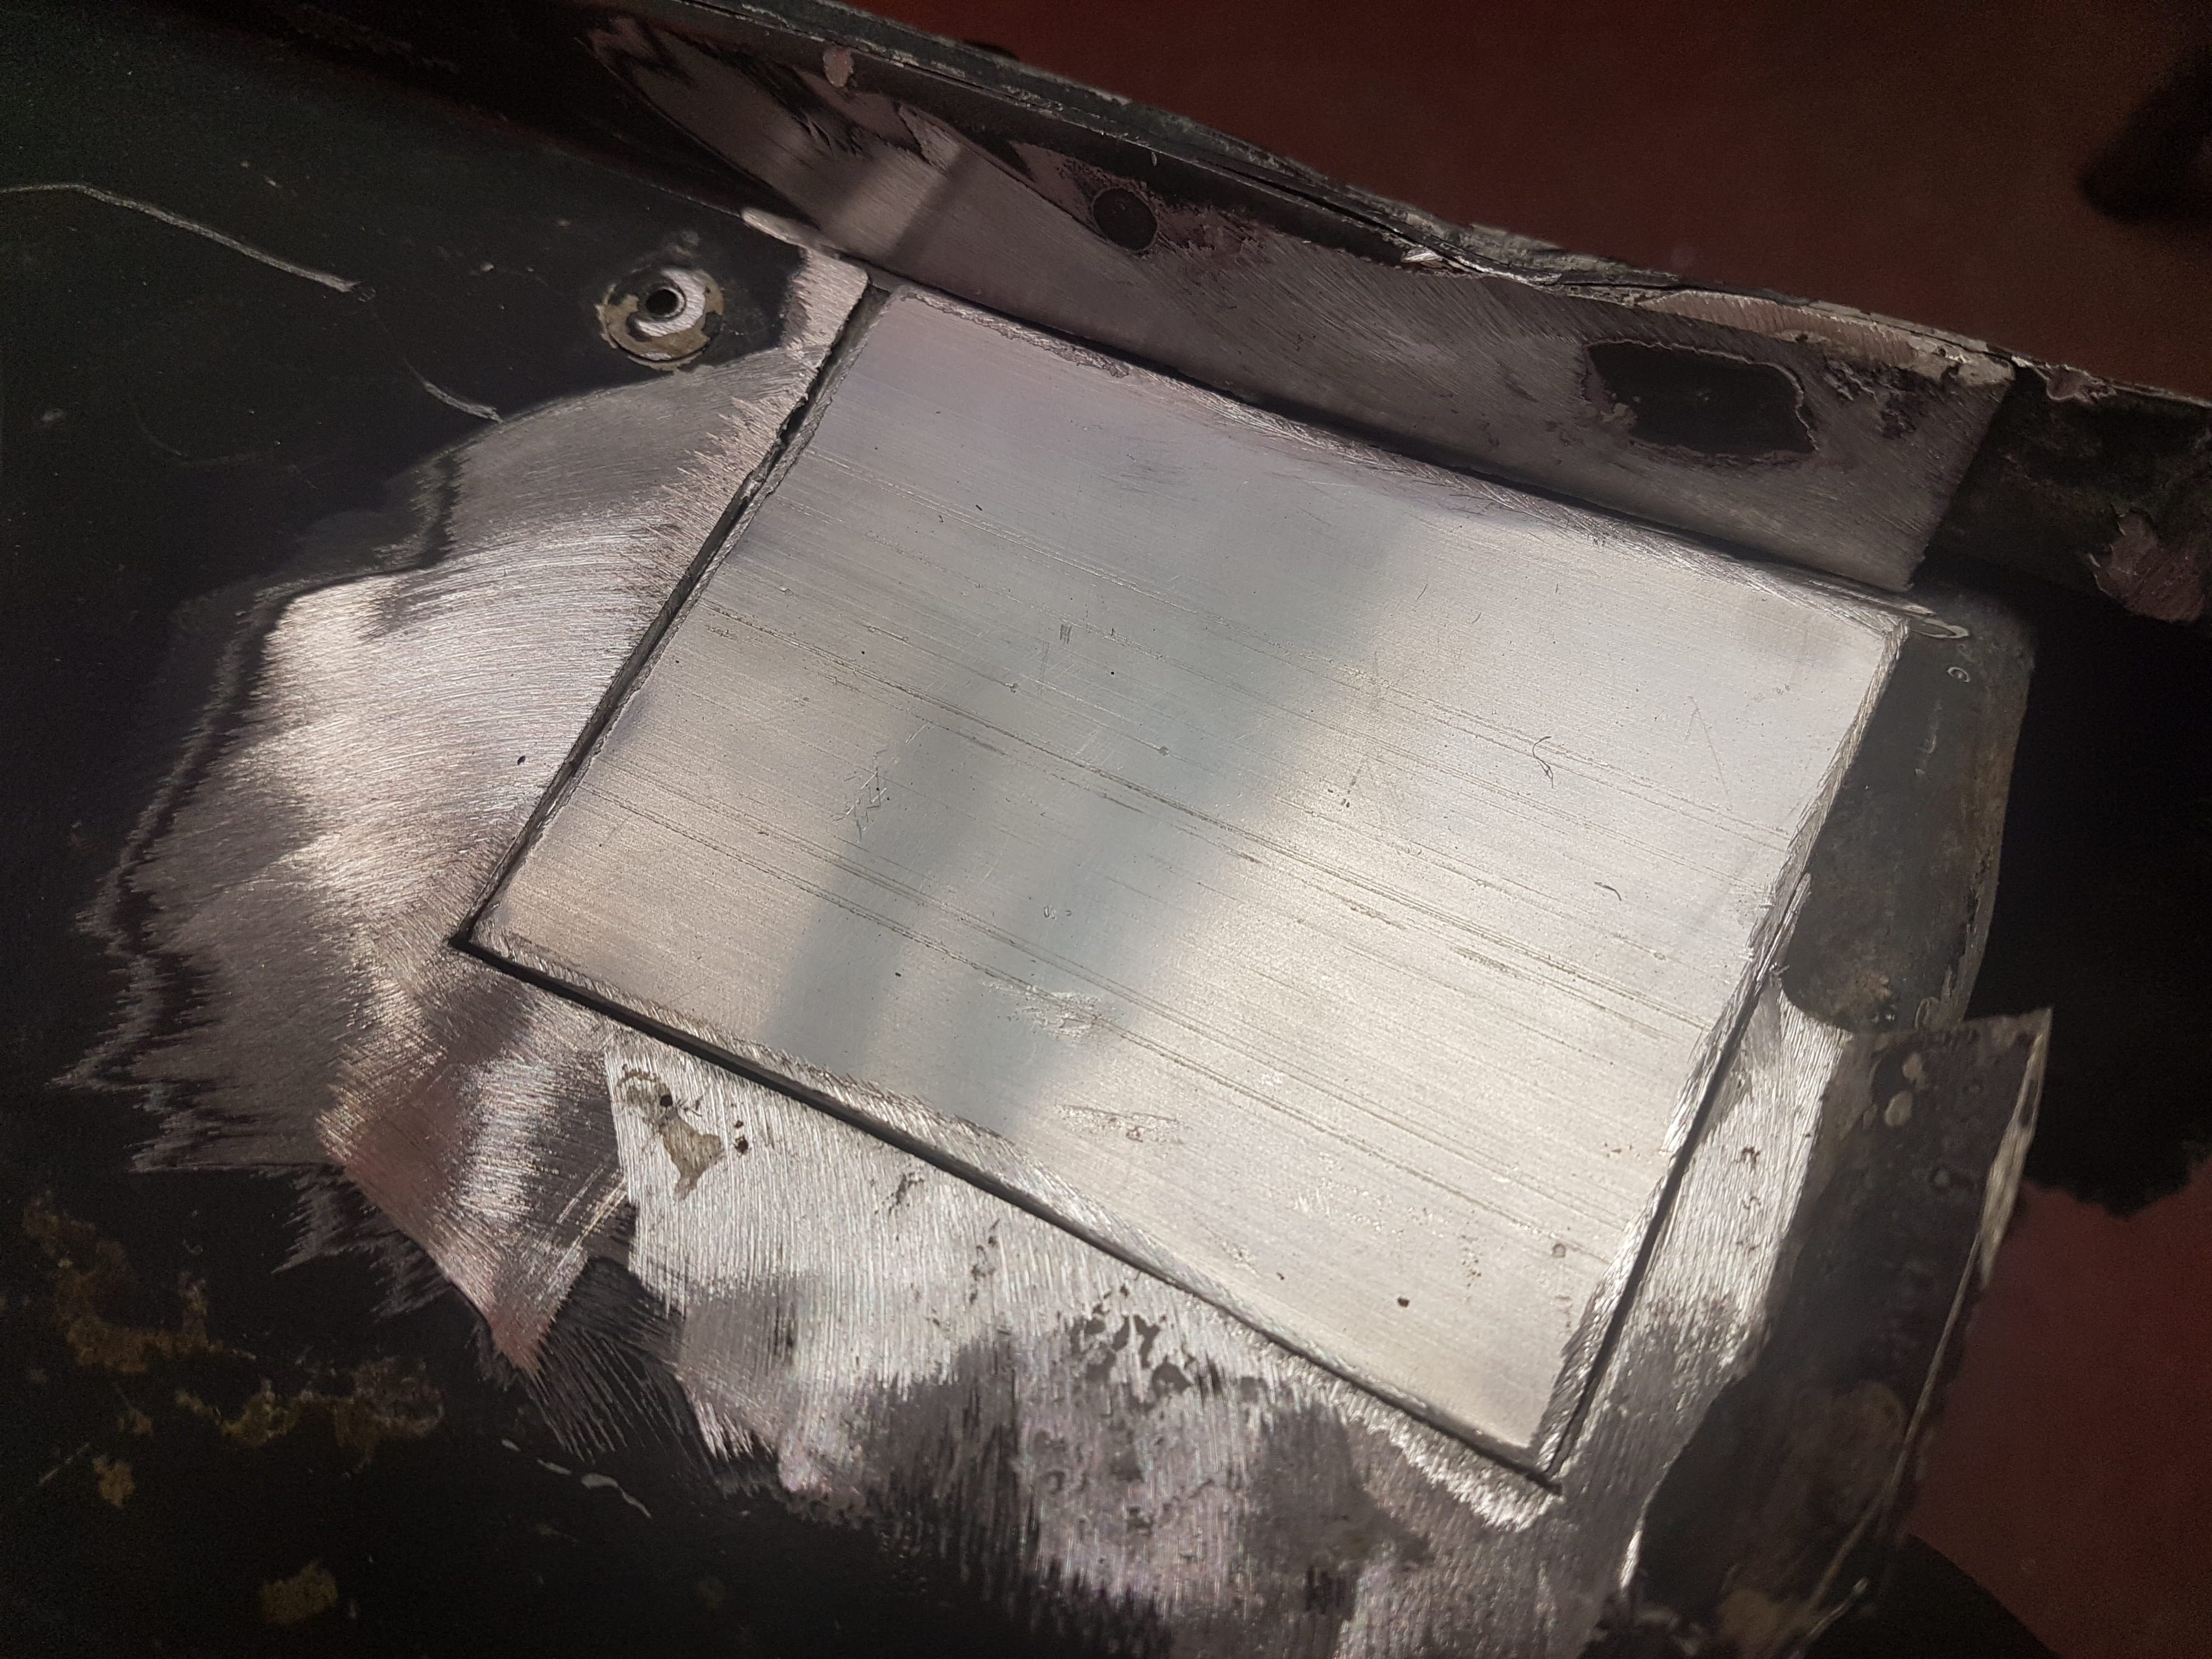
I start by selection a piece of shiny new aluminium which is the same thickness as the body panel and big enough to allow me to cut away the corroded edges. I then mark around this with a scribe.
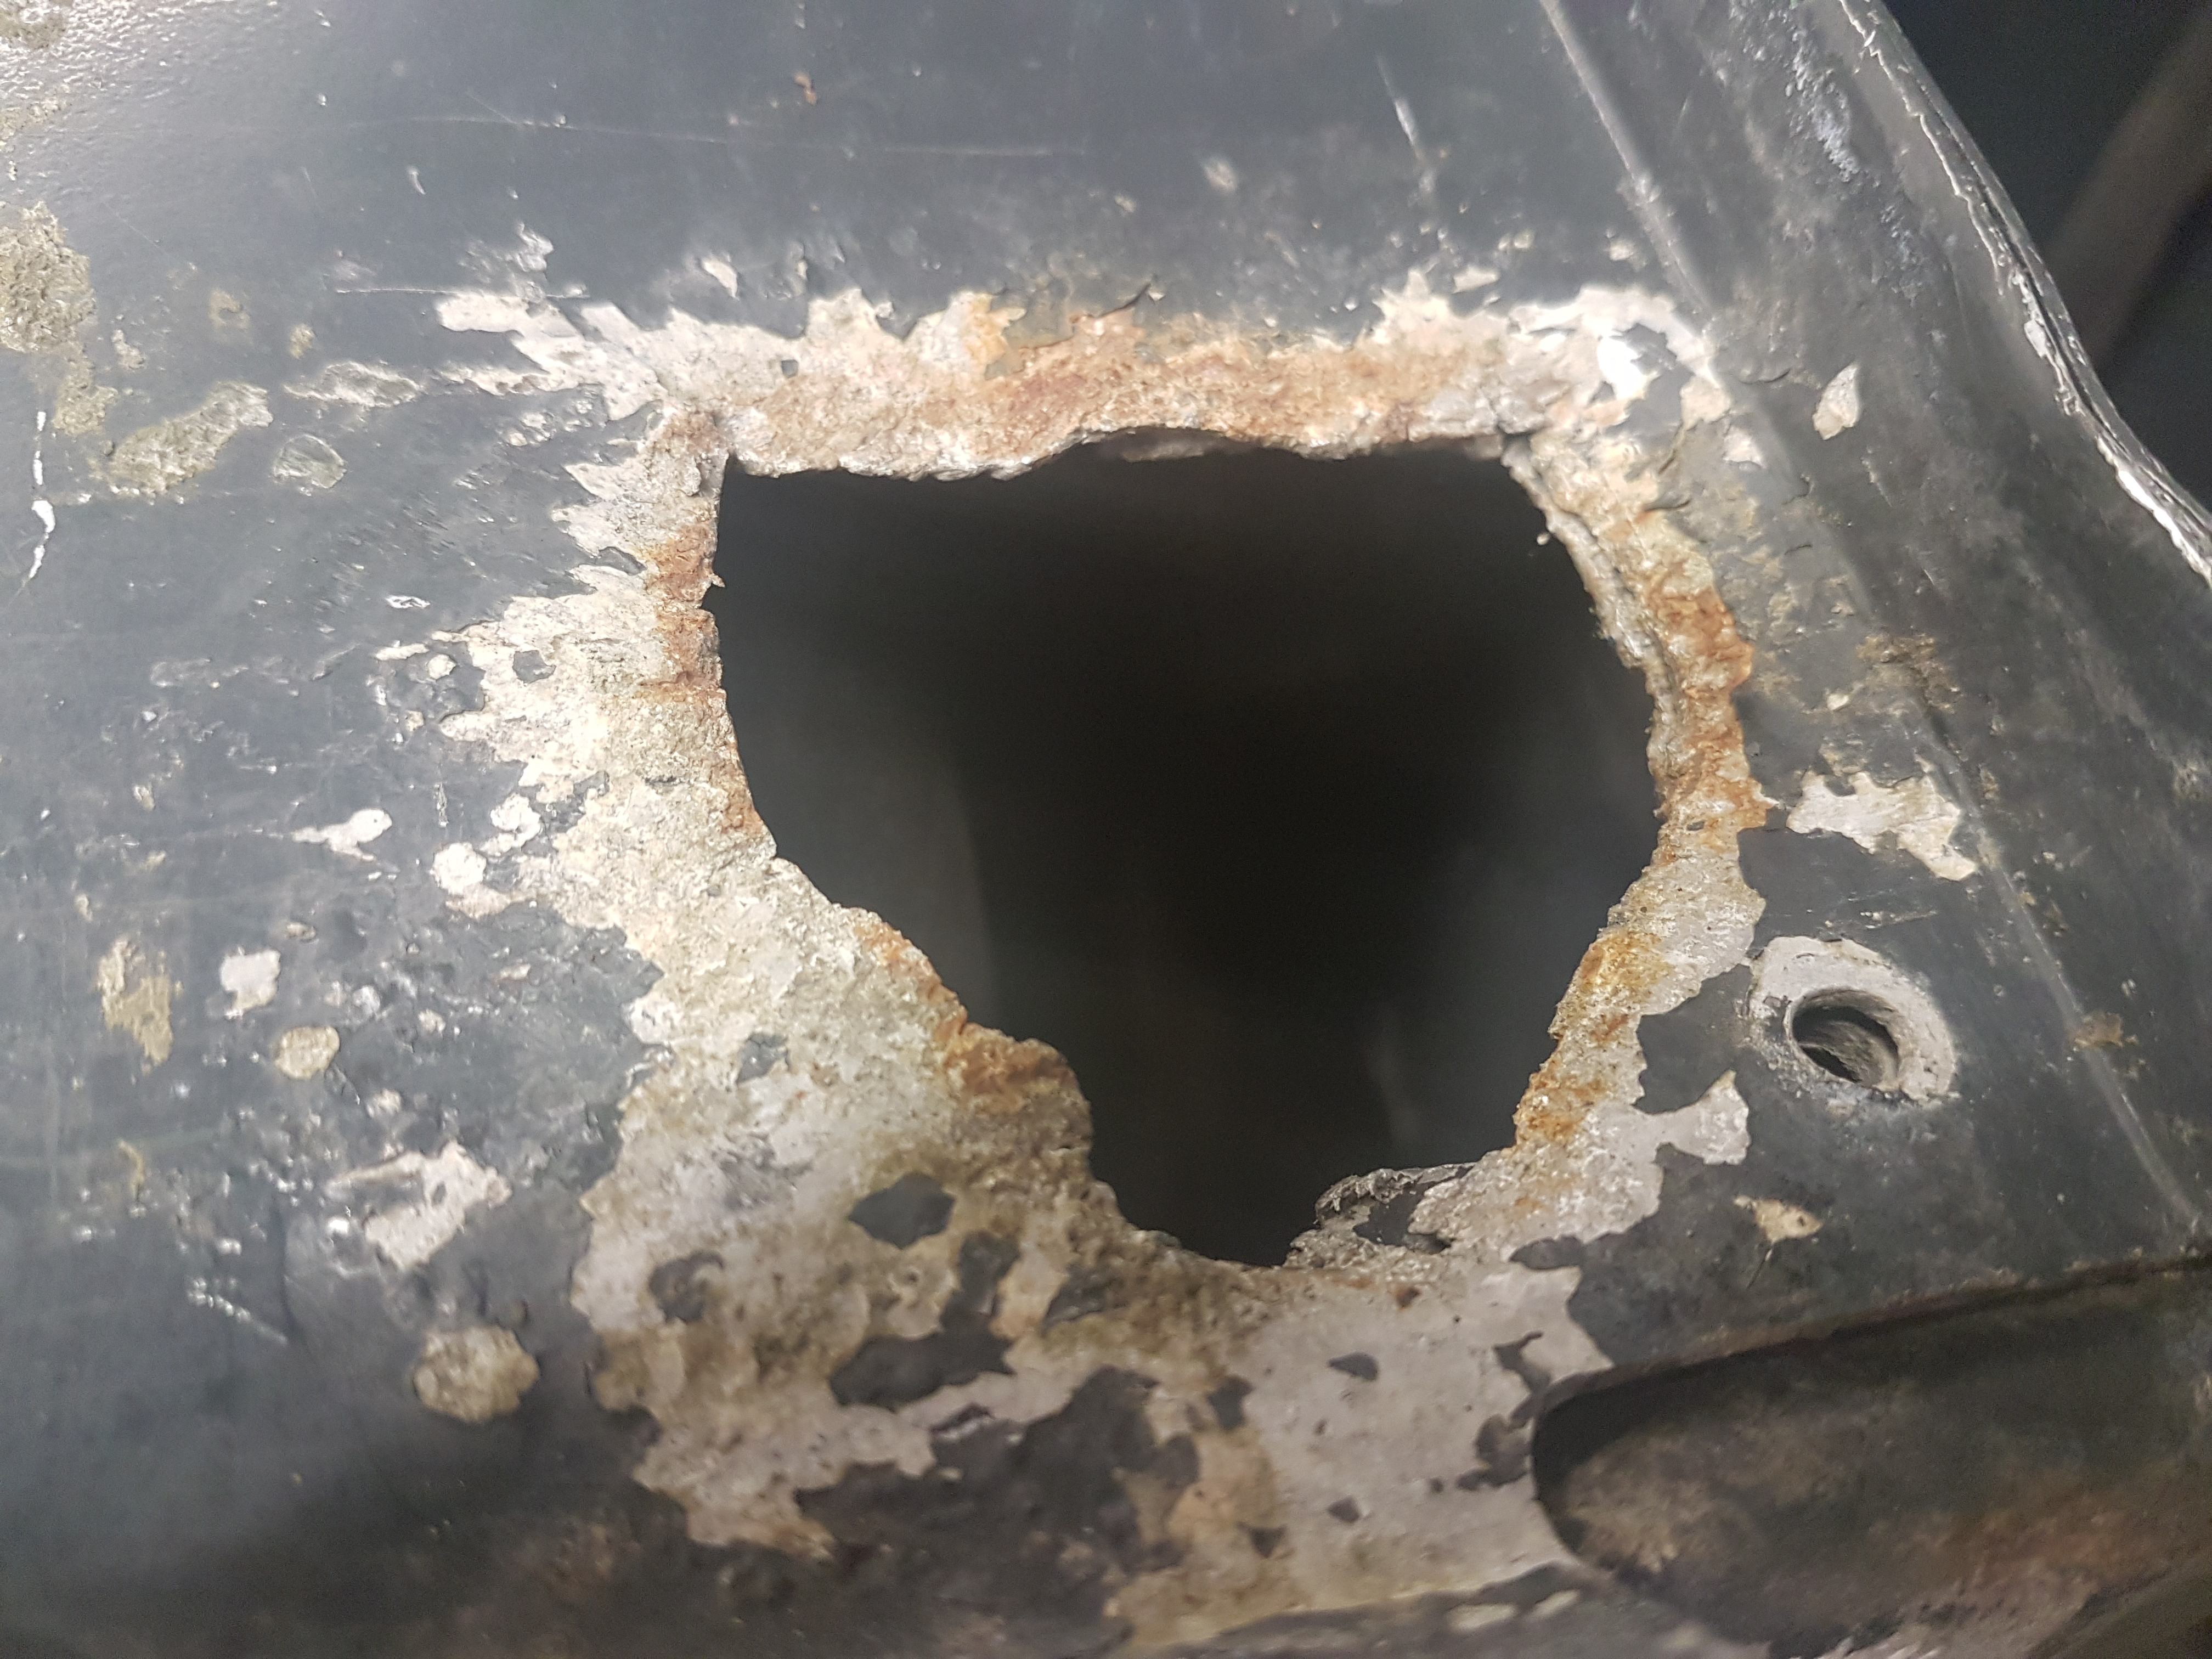
Next I carefully cut out the offending corrosion following the scribe marks using a cutting disc on a 4" angle grinder. the areas that can't be reached by the grinder i use the blade of a hacksaw. Note that the corrosion has spread to the bracket behind.
Now with a little careful fettling I ensure the new piece of ali is a snug fit inside the hole because i want this to be a seamless repair not a patch.
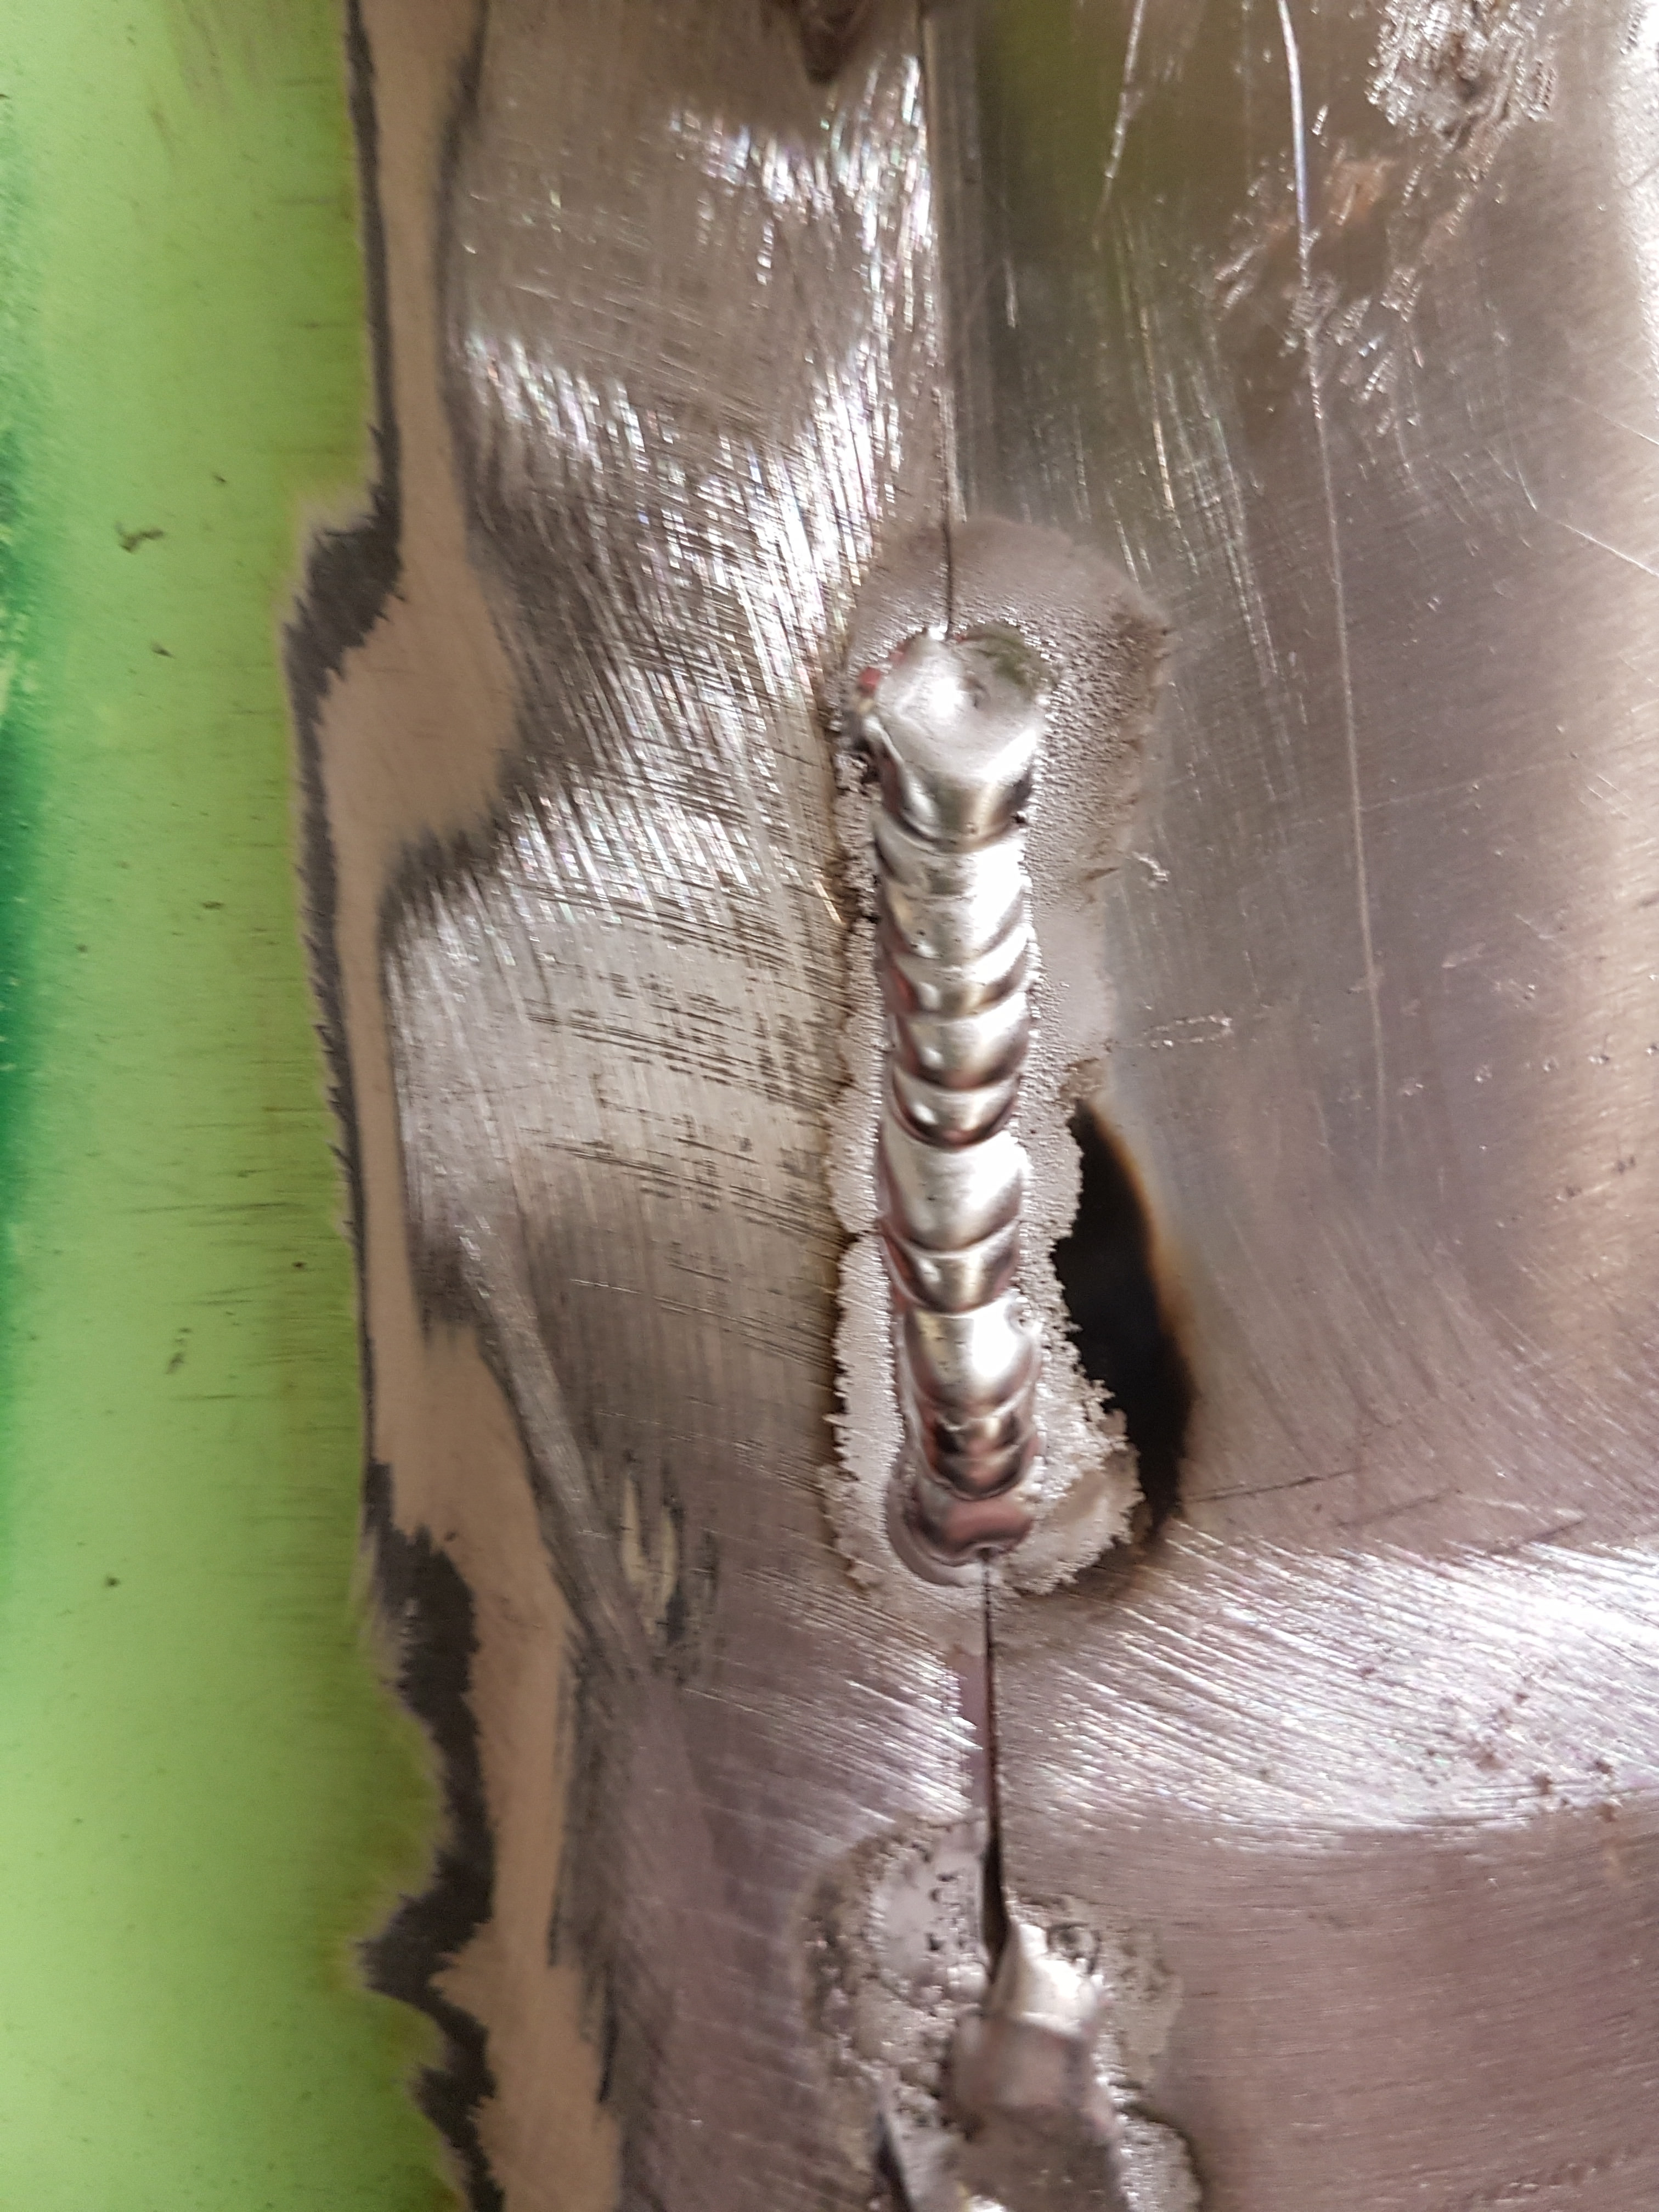
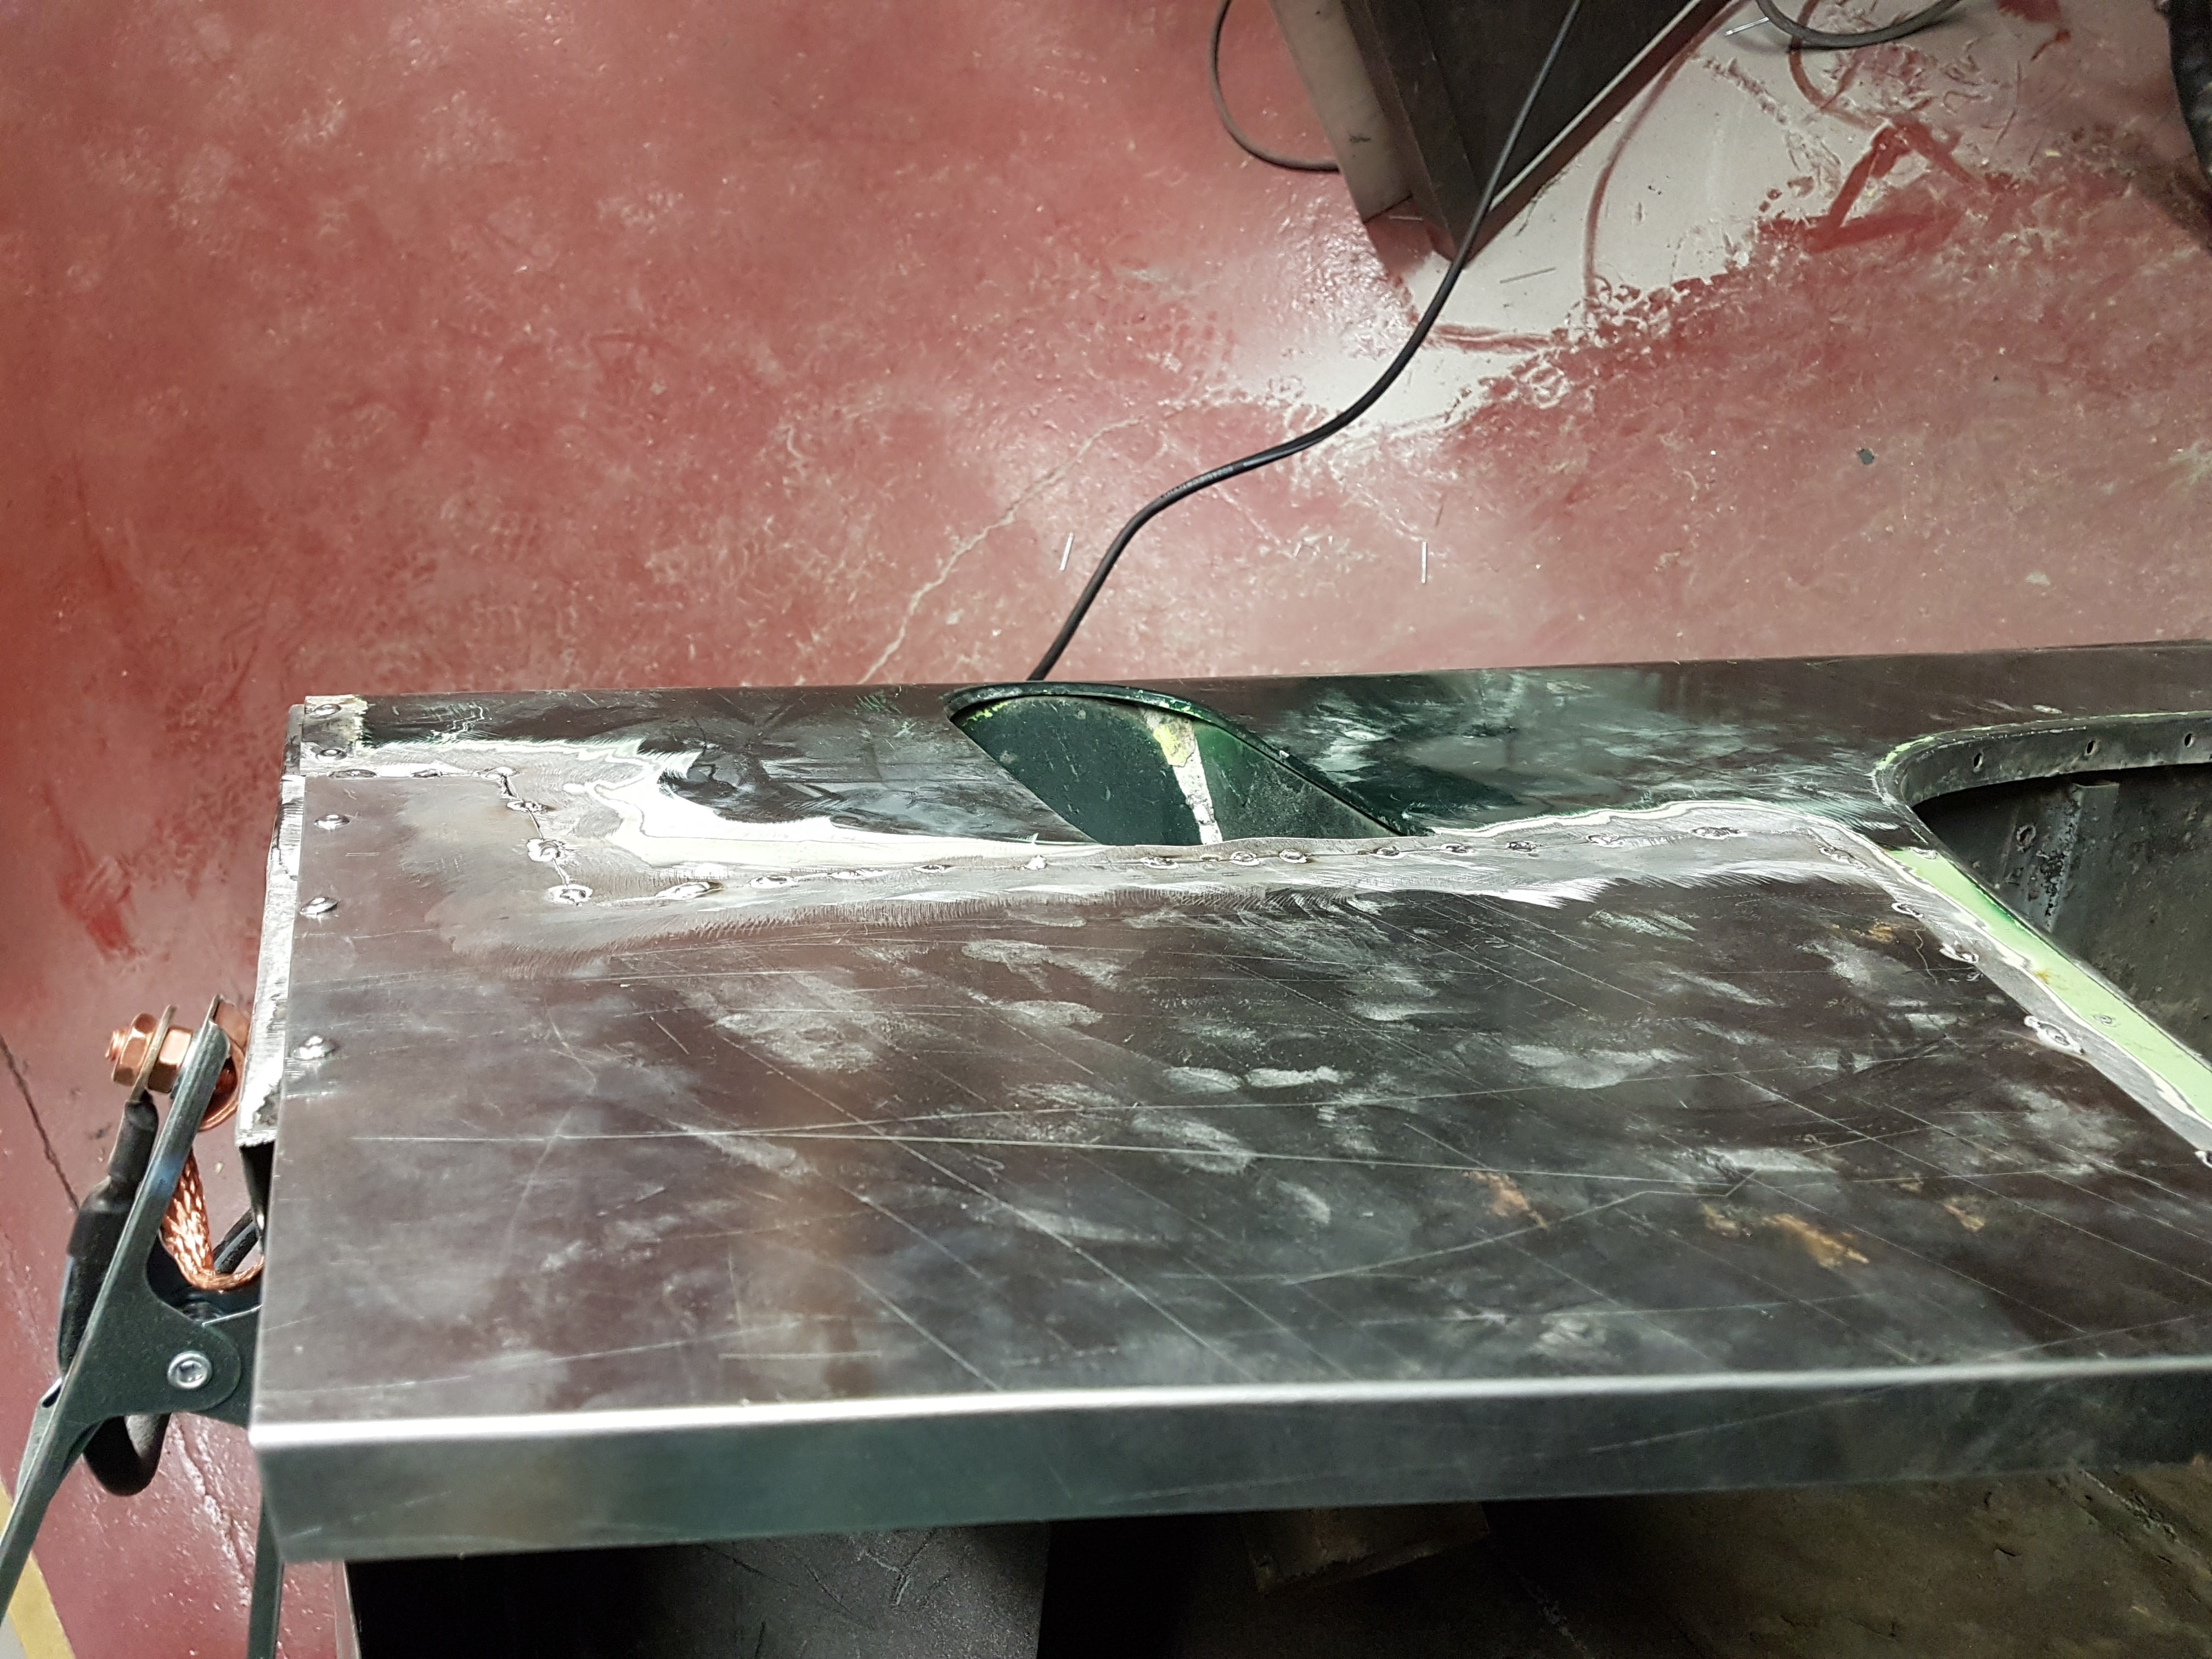
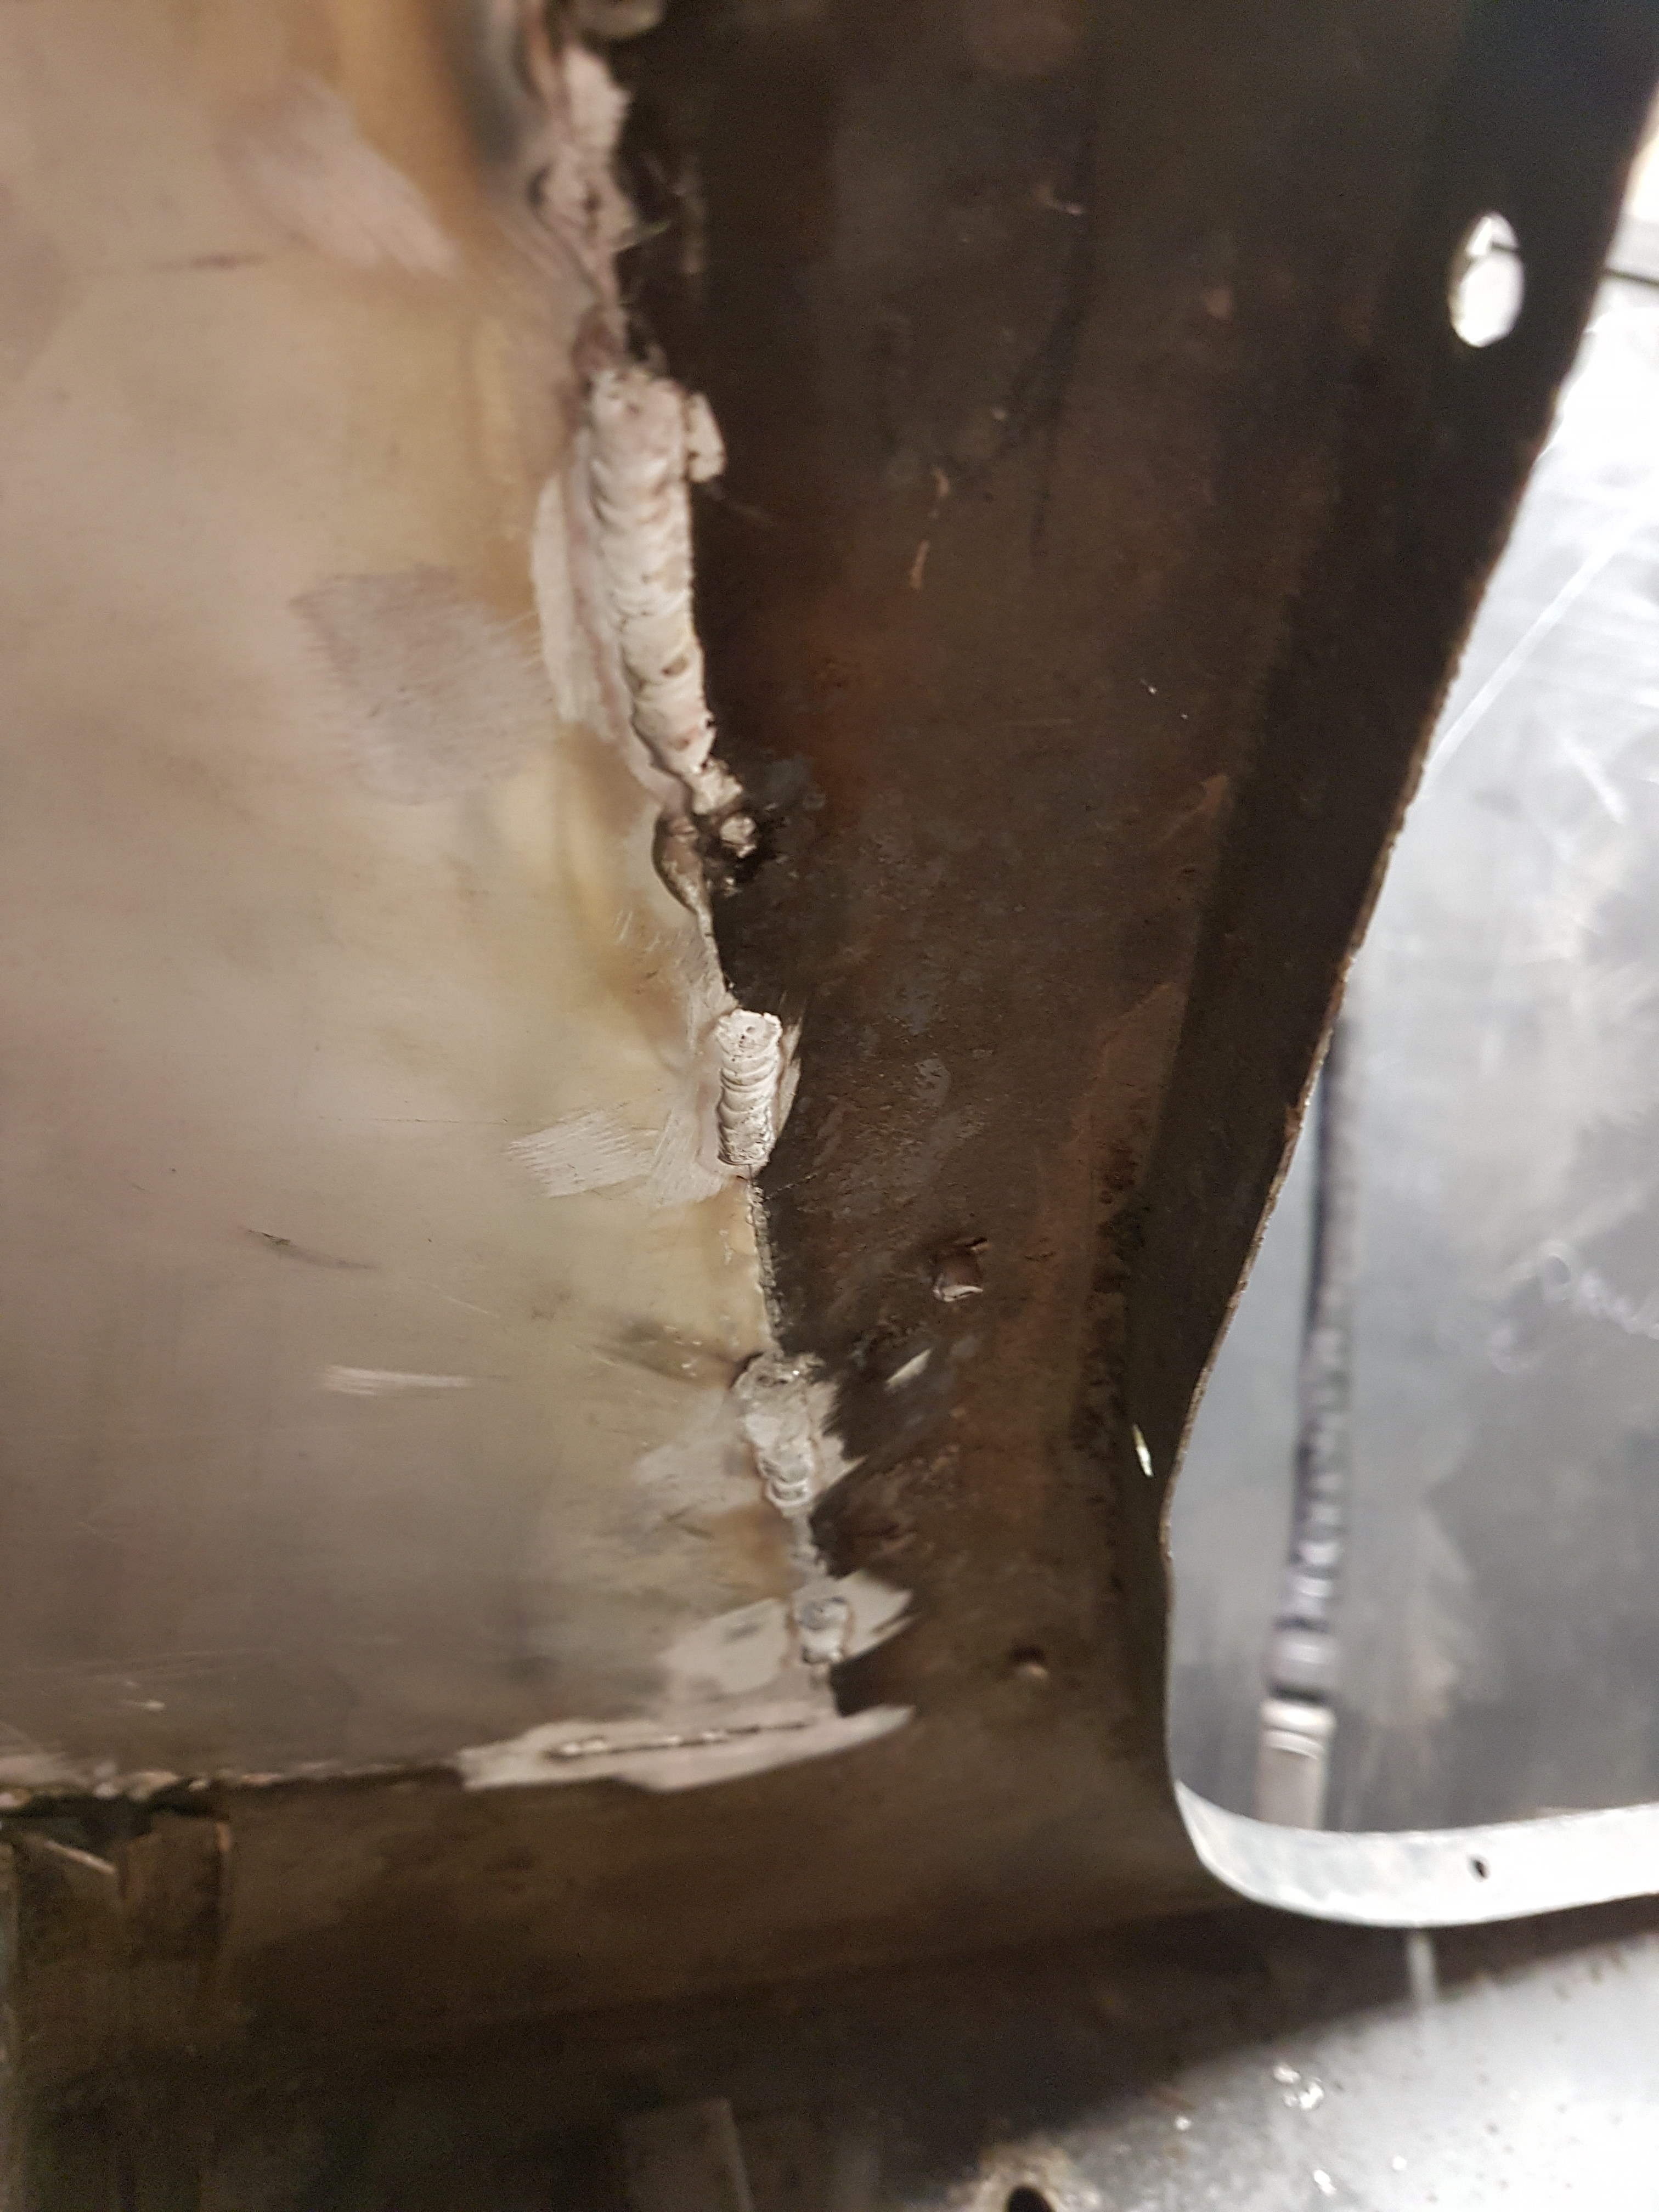
After ensuring both the edges of the wing where it will be welded and the new section are fully cleaned, including wiping with acetone I begin to carefully weld up the section. I do small runs alternating which side i weld and allow cooling in between to minimise distortion.
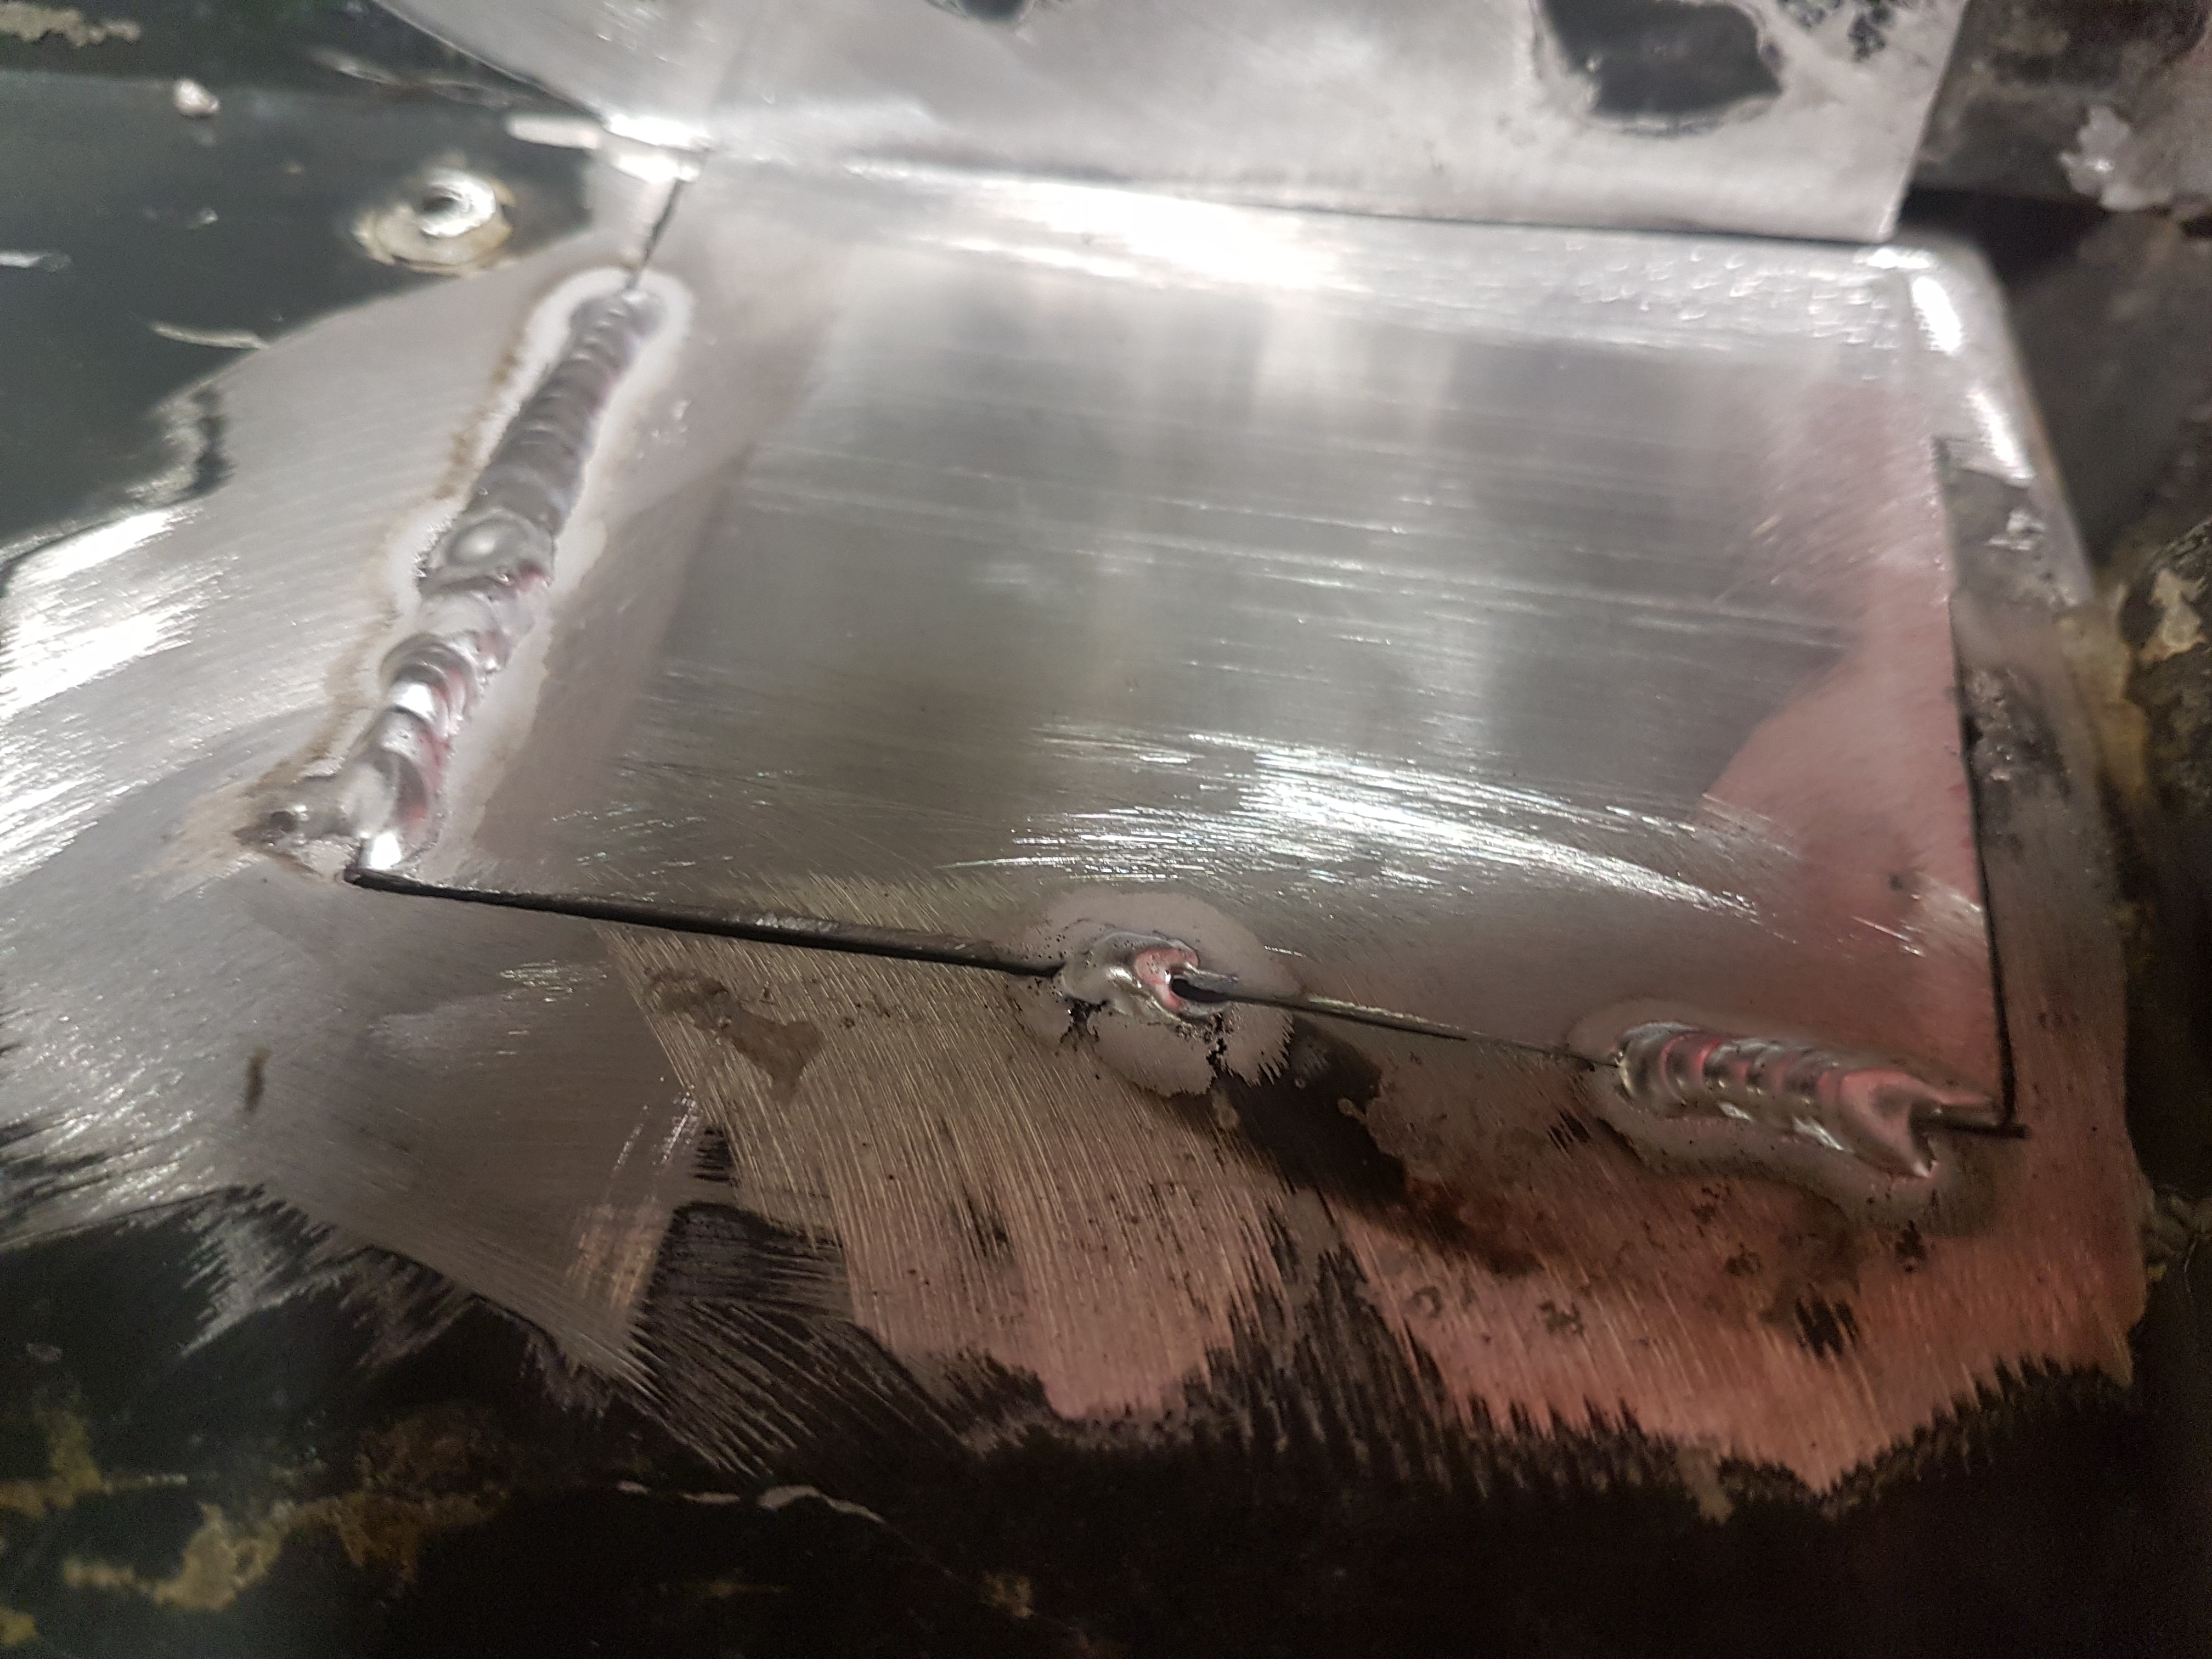
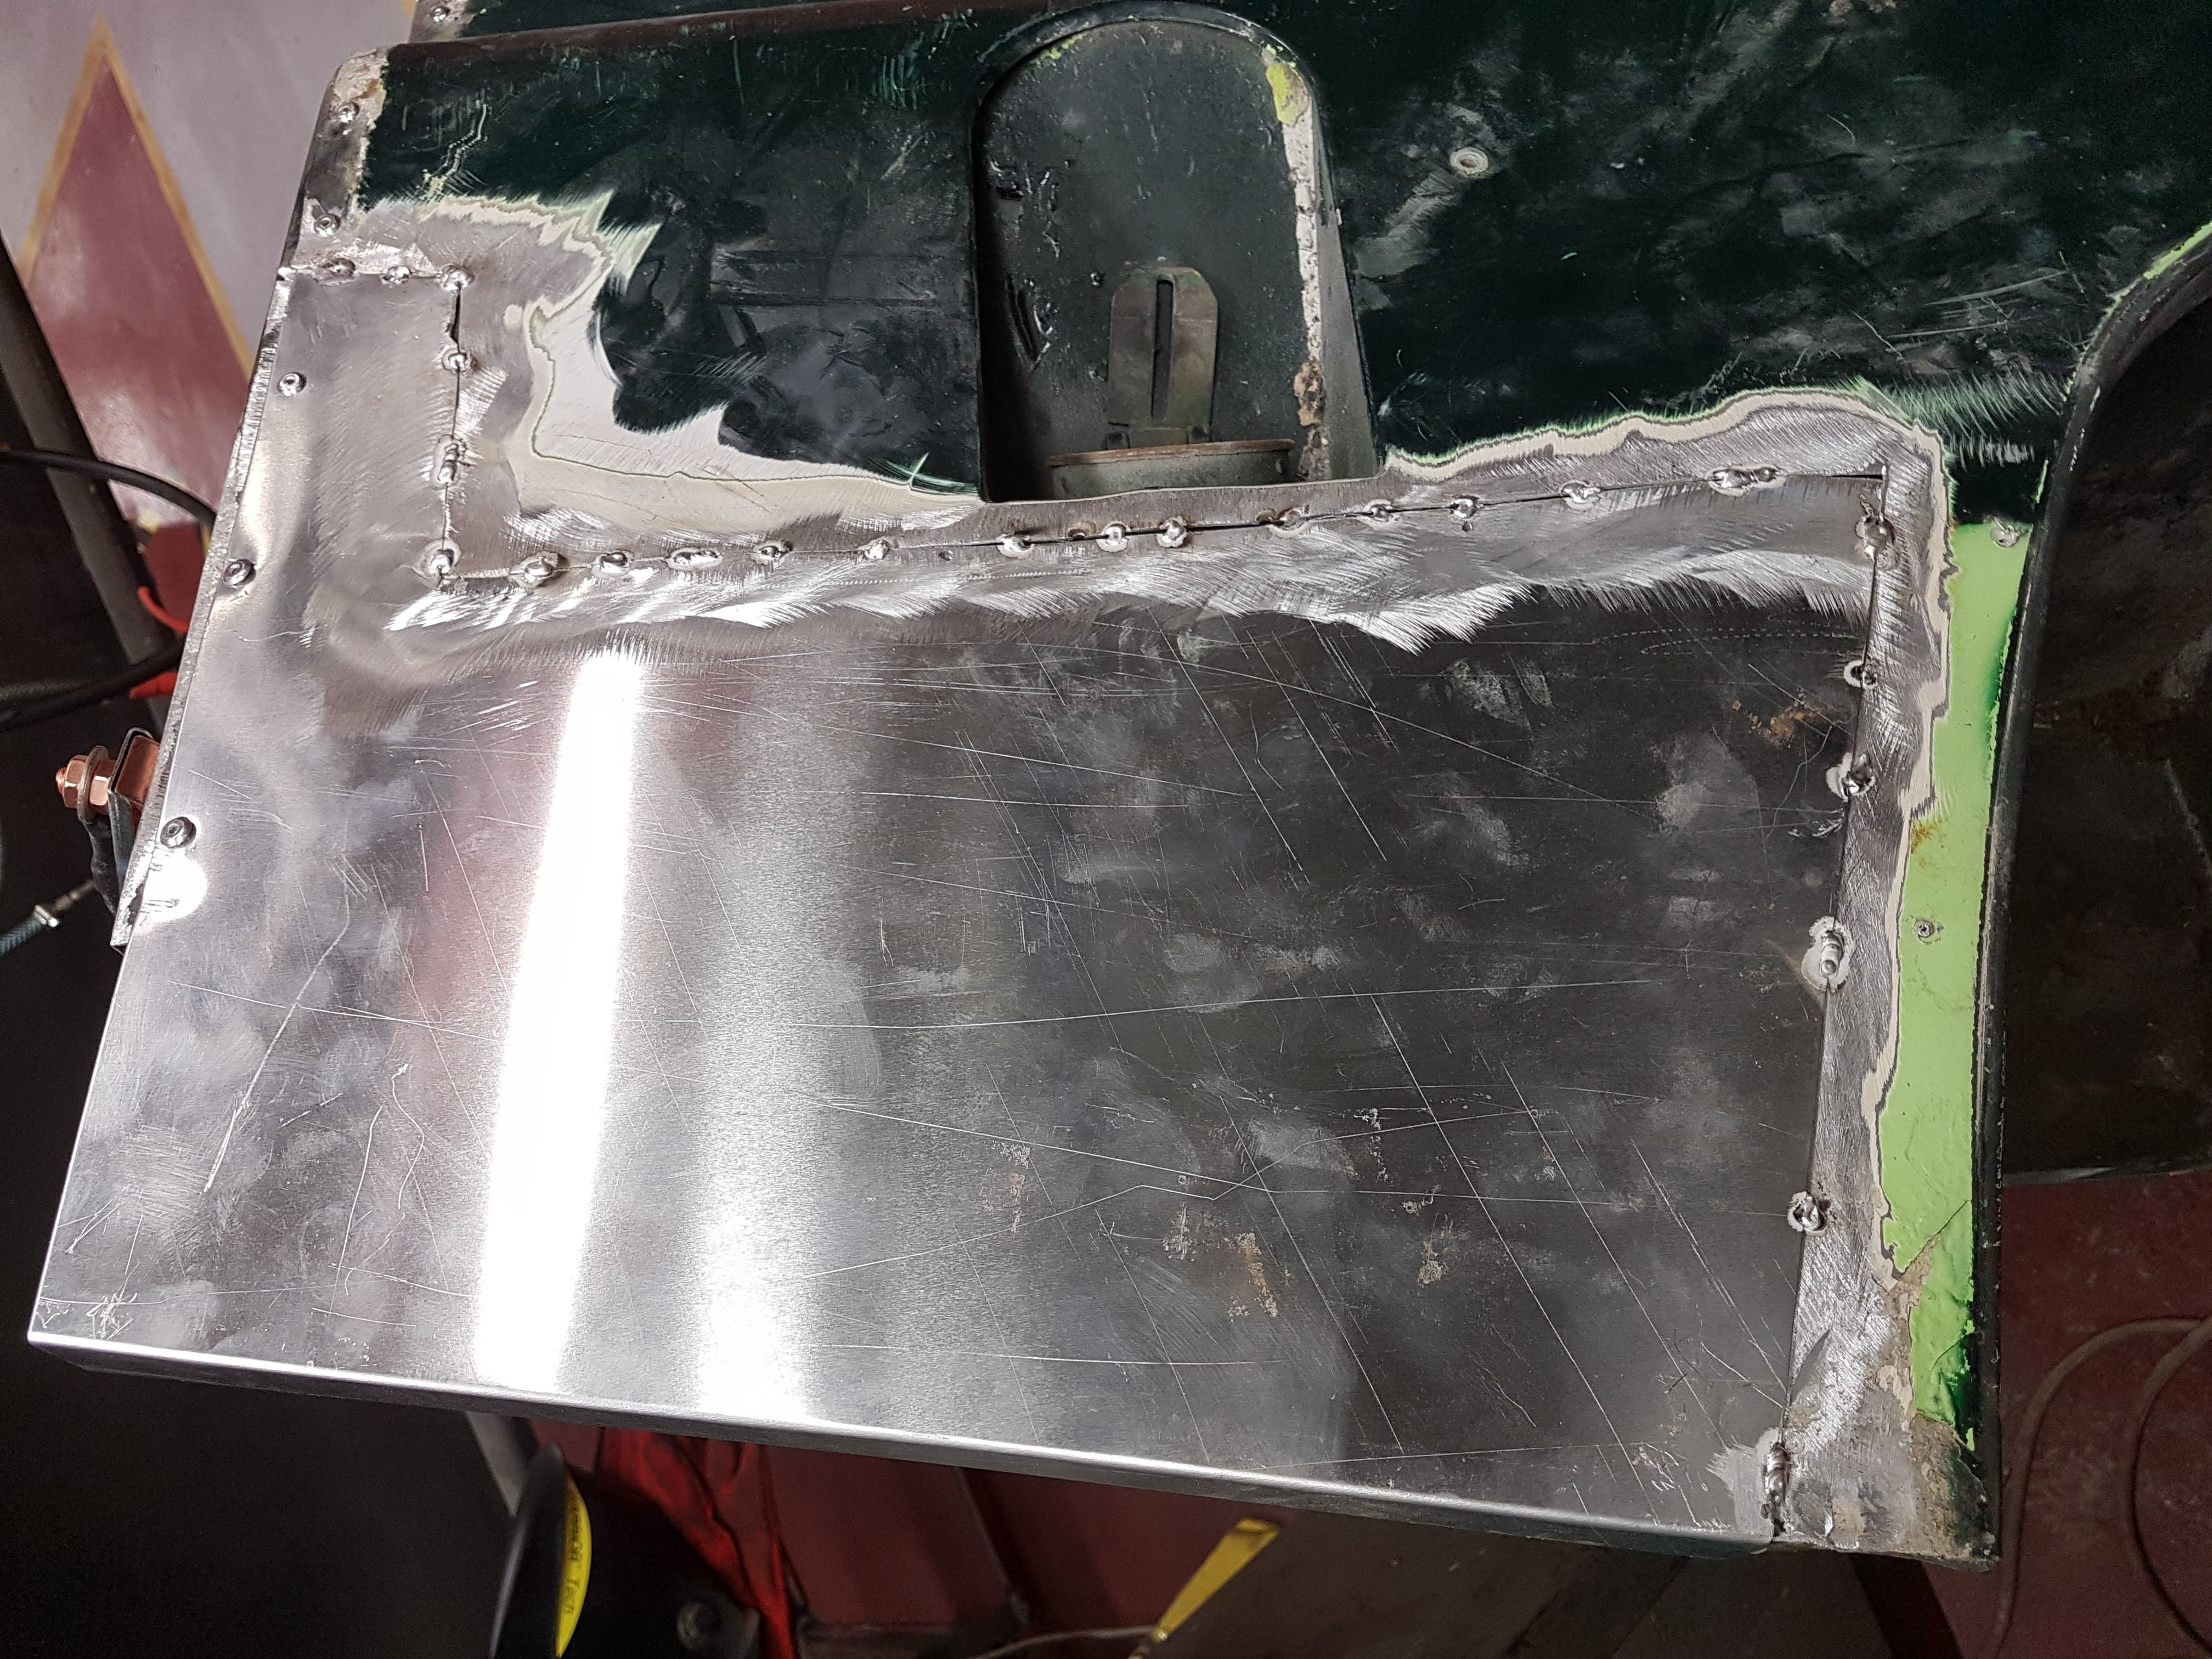
The new piece is now fully welded.. It was not to difficult although there were a few areas of contamination that caused a few difficulties.. Aluminium must be totally clean in order to weld but on a piece this old and so badly corroded, no matter how careful you are there will always be some issues..
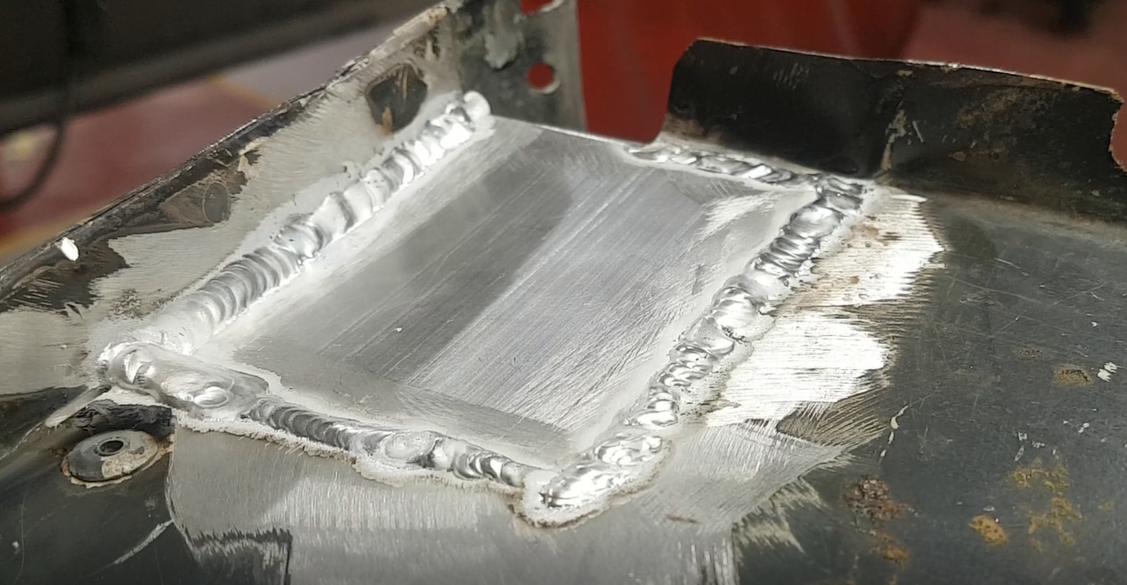
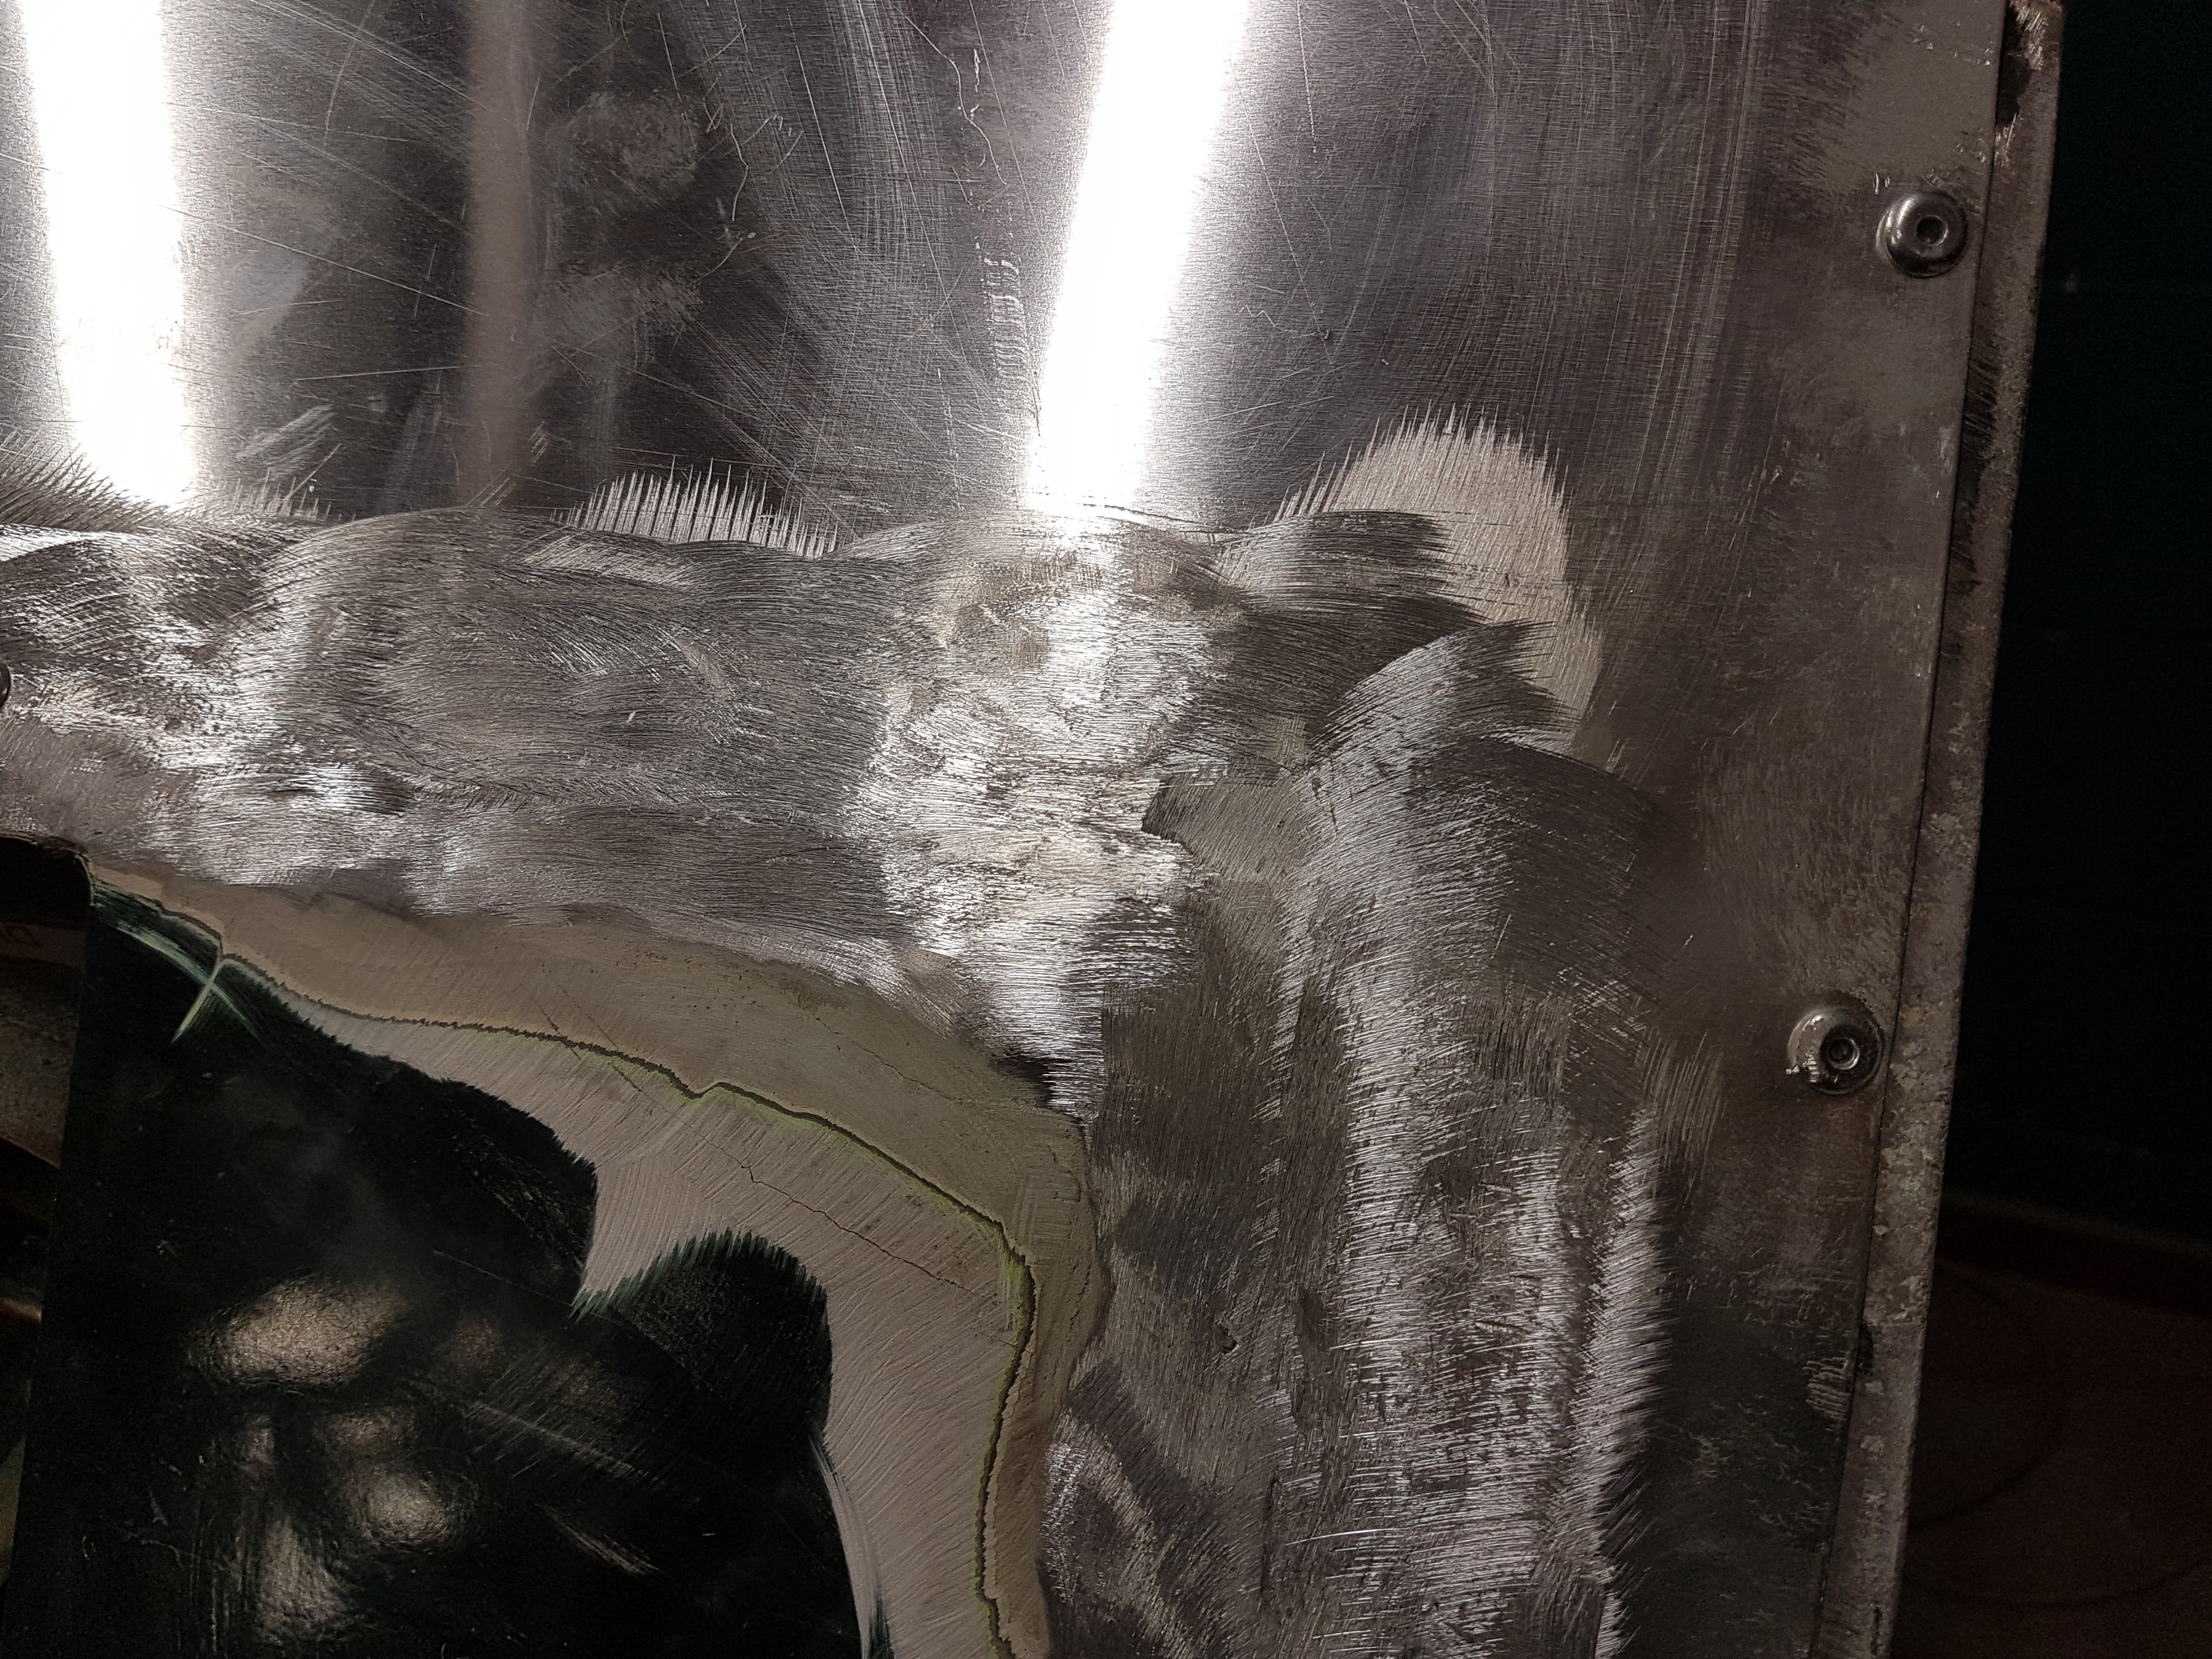
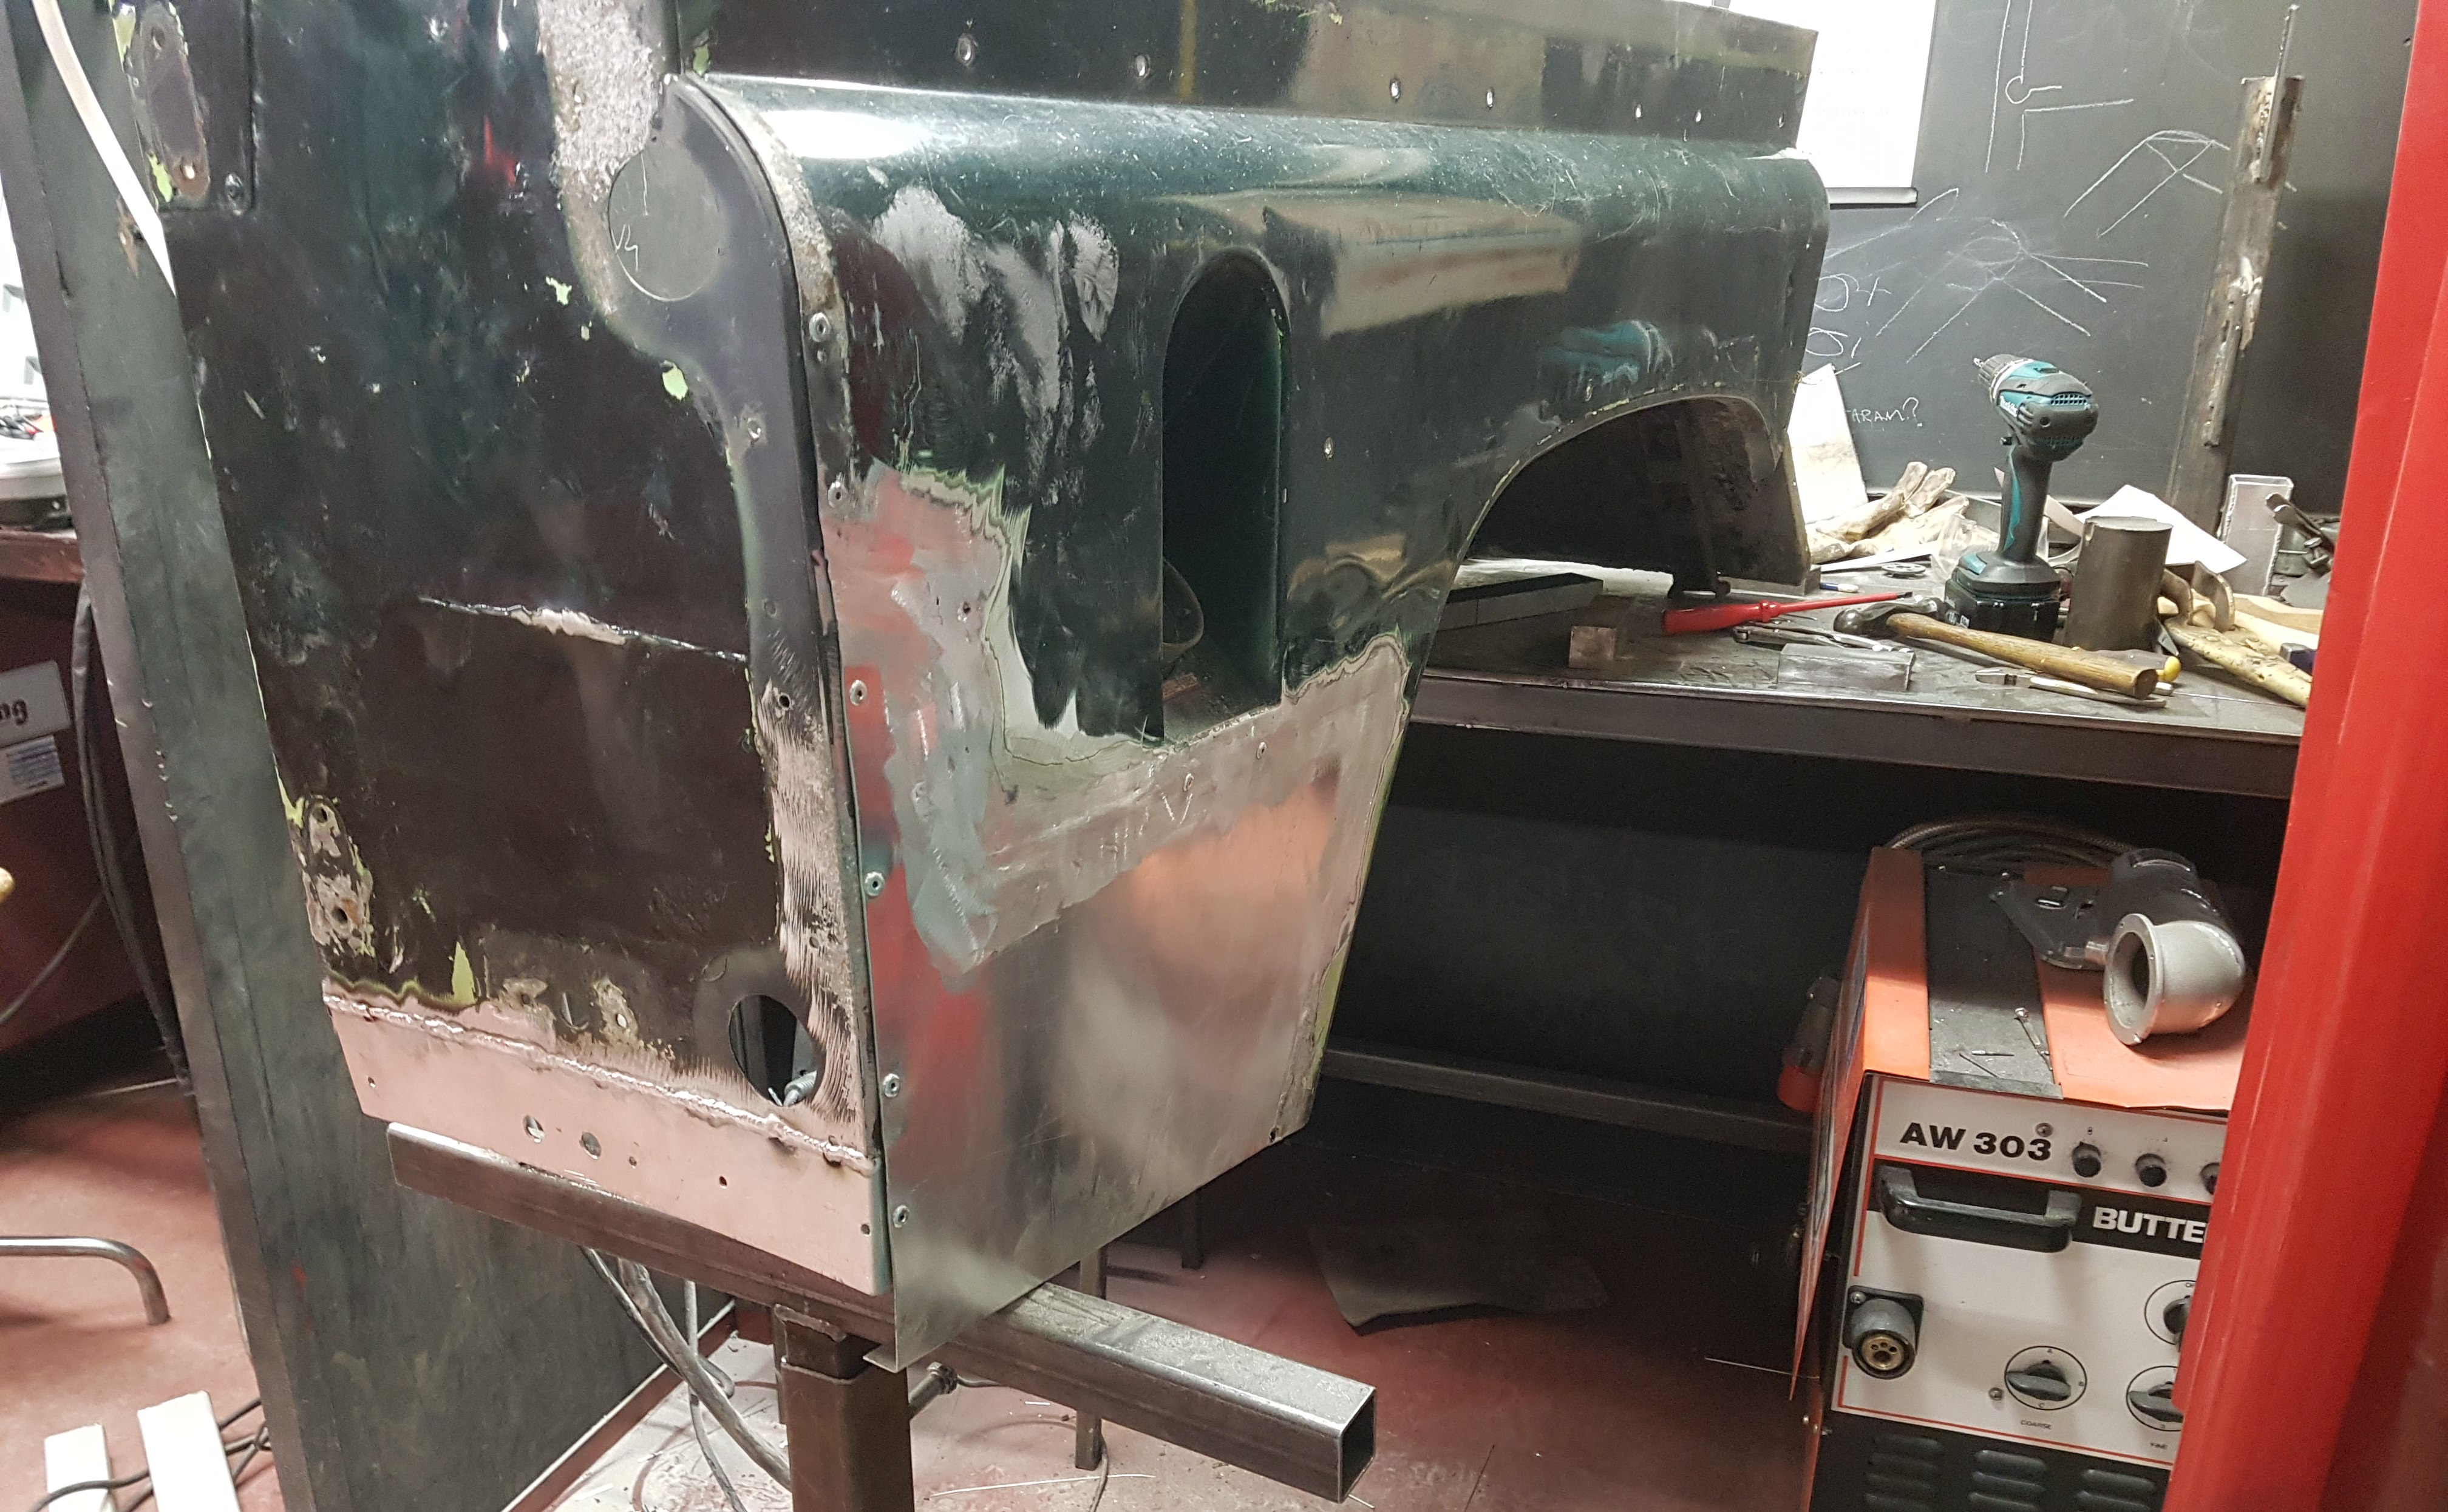
Finally using first a heavy git sanding pad on the angle grinder, followed by a fine grit pad, I polish away the welds to leave a seamless repair.. I hope you agree it looks ok..
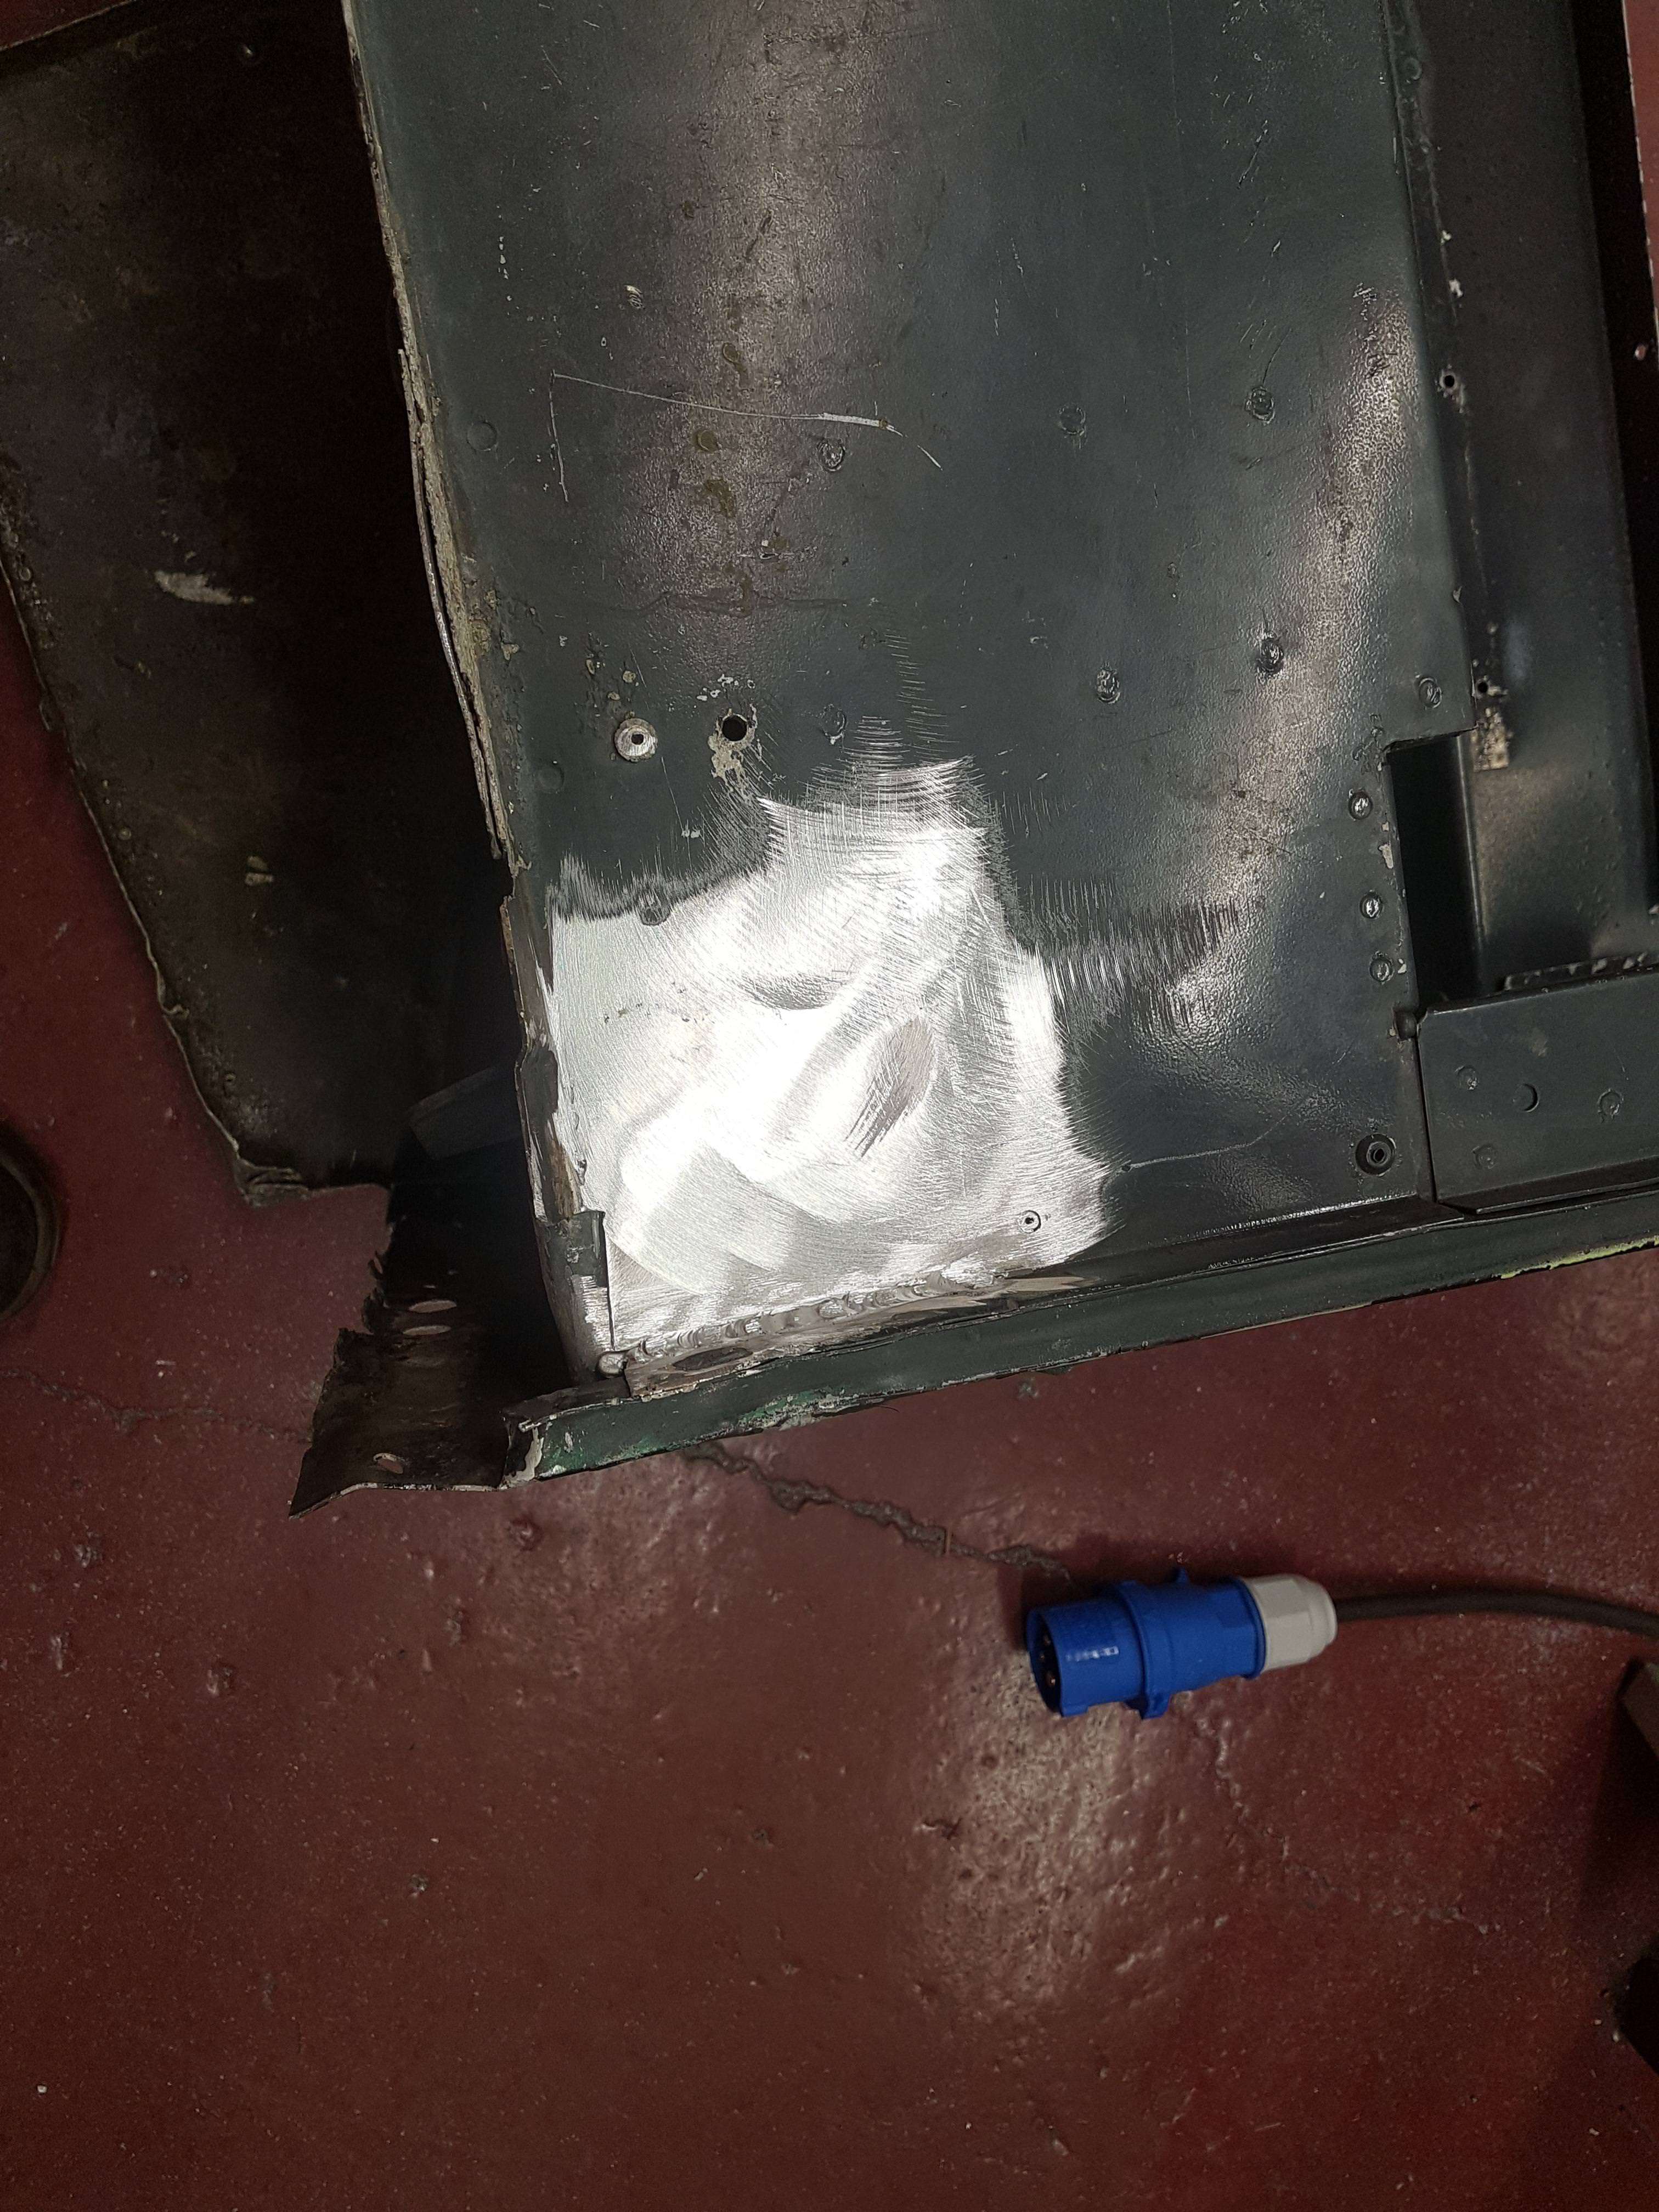
all in all the job took about 1 1/2 hours.. Next I tackle the rear section where it fits to the chassis.. I will post that job as well.. hope you found this a least a little interesting..
Nige
A little background, as a day job I teach welding, fabrication and sheet metal at a training centre in Oldham near Manchester and i thought I would do a series of "how to" posts and video's on all sorts of welding and fabrication. Seems there are quite a few of you out there that have a welder for example and have never really had any instruction so I hope these at least help a little, I'm always happy to answer any questions and tackle specific jobs if requested.
so this first instalment I am making repairs to the rear off side wing assembly of an old series 2 Land Rover that the owner is rebuilding. My first job on this wing section is to repair a nasty, very badly corroded hole where the door retaining bracket used to fit, I say used to fit as all that is left is a big hole.
Here is the section before i start work.
here you can see just how bad the corrosion is.
I start by selection a piece of shiny new aluminium which is the same thickness as the body panel and big enough to allow me to cut away the corroded edges. I then mark around this with a scribe.
Next I carefully cut out the offending corrosion following the scribe marks using a cutting disc on a 4" angle grinder. the areas that can't be reached by the grinder i use the blade of a hacksaw. Note that the corrosion has spread to the bracket behind.
Now with a little careful fettling I ensure the new piece of ali is a snug fit inside the hole because i want this to be a seamless repair not a patch.
After ensuring both the edges of the wing where it will be welded and the new section are fully cleaned, including wiping with acetone I begin to carefully weld up the section. I do small runs alternating which side i weld and allow cooling in between to minimise distortion.
The new piece is now fully welded.. It was not to difficult although there were a few areas of contamination that caused a few difficulties.. Aluminium must be totally clean in order to weld but on a piece this old and so badly corroded, no matter how careful you are there will always be some issues..
Finally using first a heavy git sanding pad on the angle grinder, followed by a fine grit pad, I polish away the welds to leave a seamless repair.. I hope you agree it looks ok..
all in all the job took about 1 1/2 hours.. Next I tackle the rear section where it fits to the chassis.. I will post that job as well.. hope you found this a least a little interesting..
Nige
")