LifetimeLandy
Active Member
- Posts
- 218
- Location
- Birmingham
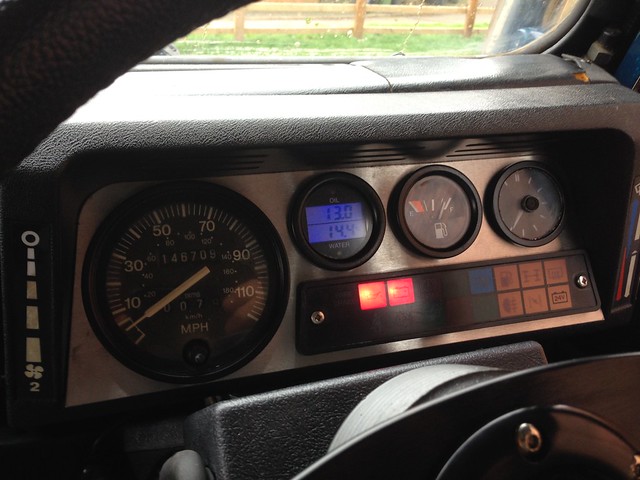
I'm in the middle of fitting a new set of Raptor dash, trim and speedo bezel parts to my 90. Just found a problem with the bezel panel... the holes to take the speedo, clock, temperature gauge and fuel gauge are too small to take them and it's more than just slightly too small. The hole for the speedo measures 95.47 mm and the speedo measures 99mm. The holes for the other gauges measure 48.09mm and the gauges are all 52mm. Has anyone else had this problem ? My bezel is the one that fits the original plastic binnacle, not the steel binnacle.