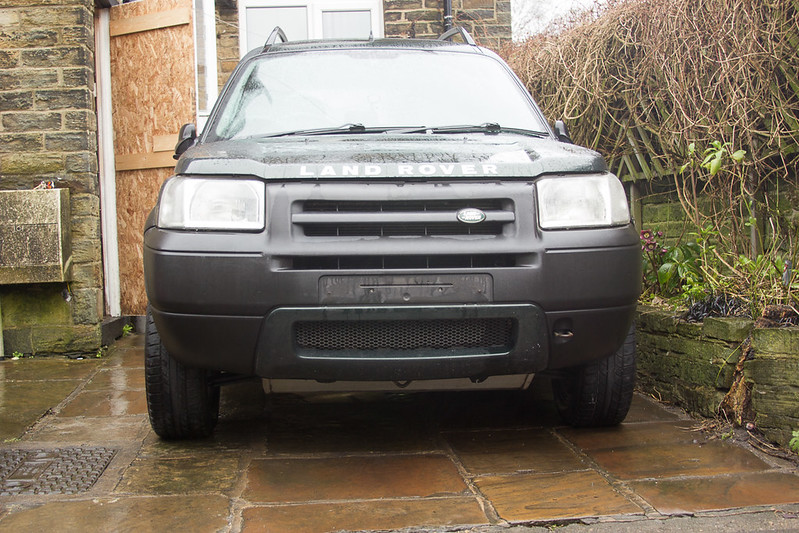
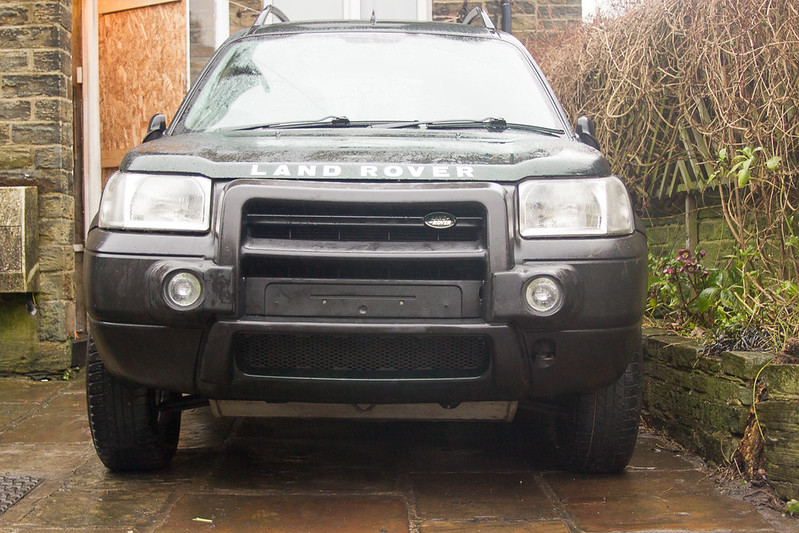
I decided I wanted a Freelander, as I dont do many miles I also wanted a petrol.
Found one that was a bit of a project, nice spec, 62k, extensive history, been stood for a while and just needed some love
Gave it a very good inspection, let it idle for 30 mins, 15 minute test drive and it ran spot on, no noises or overheating")
Drove through Sheffield and 10 minutes up the M1 it overheated
Due to the roadworks I pulled off at the next junction, lifted the bonnet, closed it again and rang the AA
Once it was home I decided not to rush into the HG, so water pump, stat, belts flush and refill the cooling system and it was fine, did 150 miles without issue; until I went on the motorway again.....
Now the HG is done the car is running sweet, just done 500 odd miles visiting relatives with no issues.
No pics of the HG being done, the site is full of them
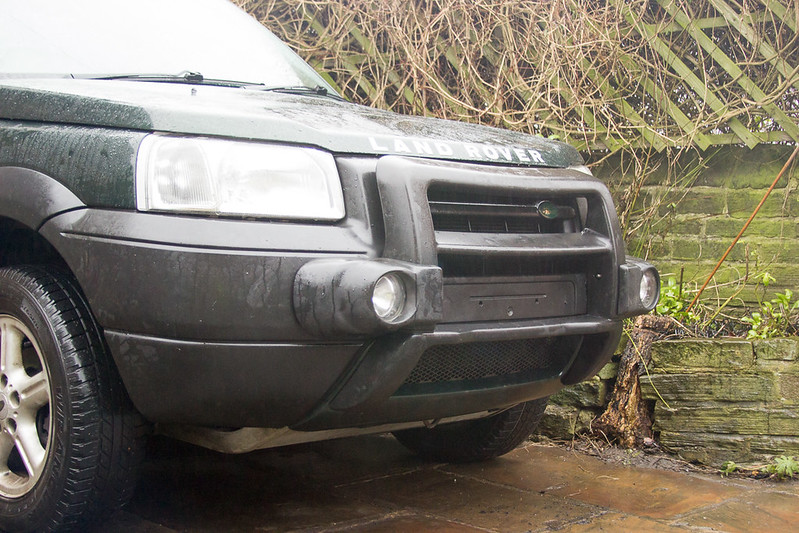
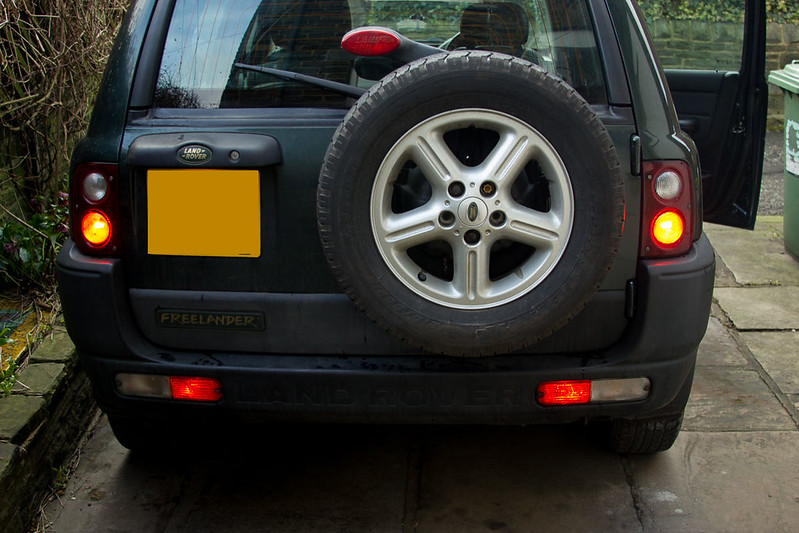
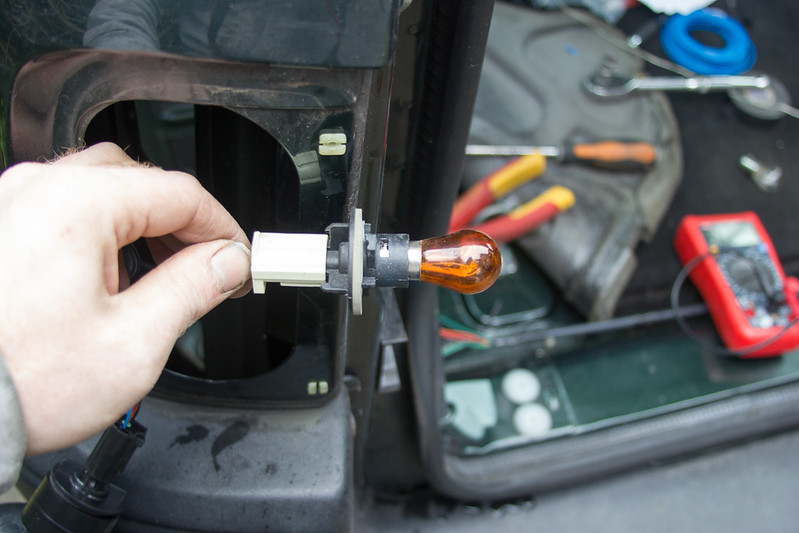
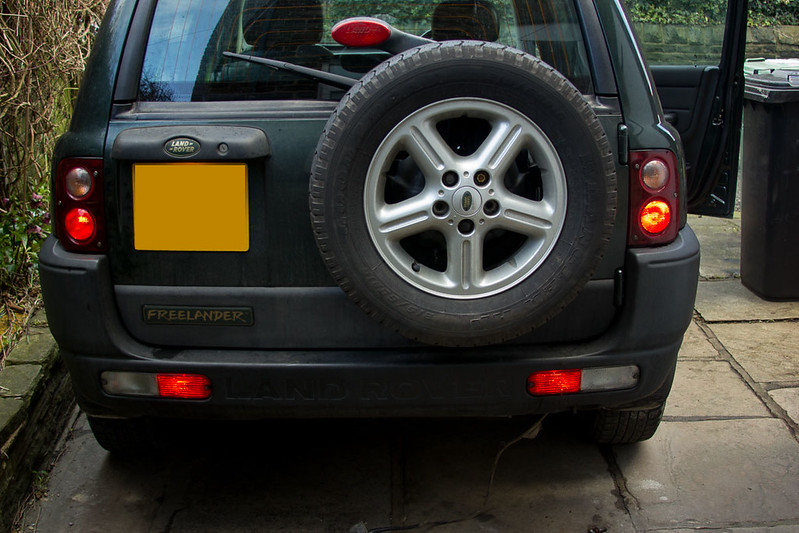
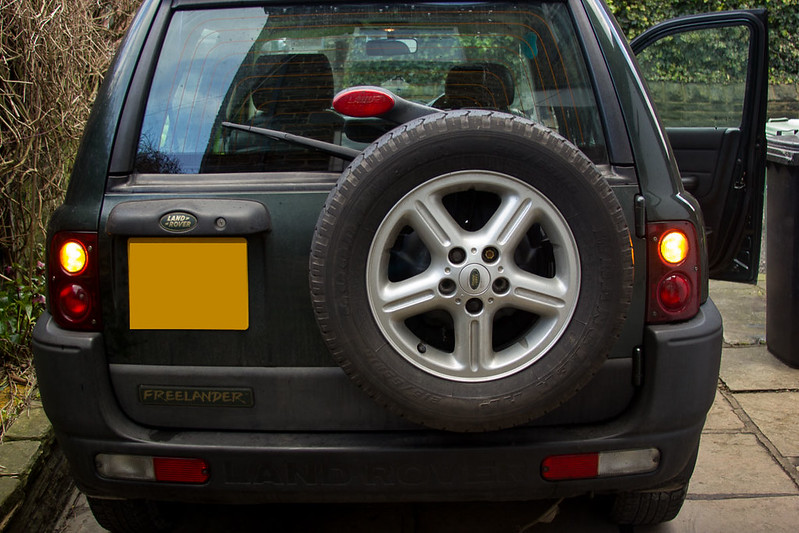
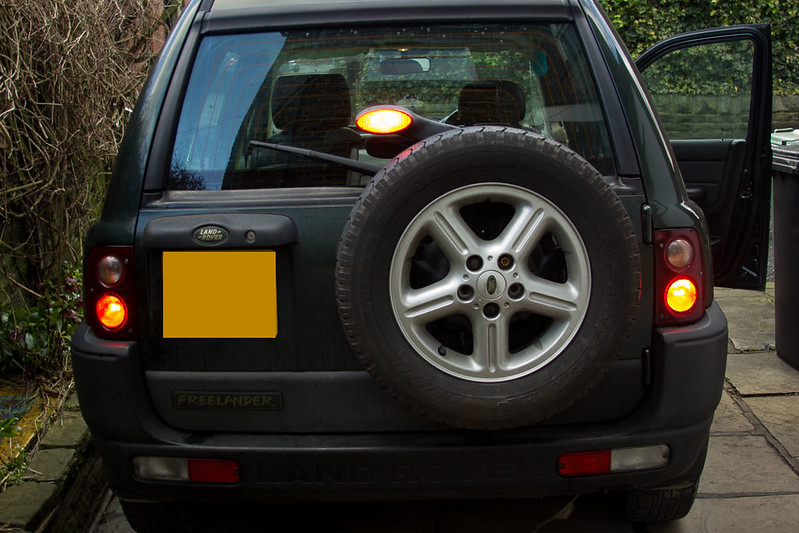
 Freelander-1 by Stuart Burrows, on Flickr
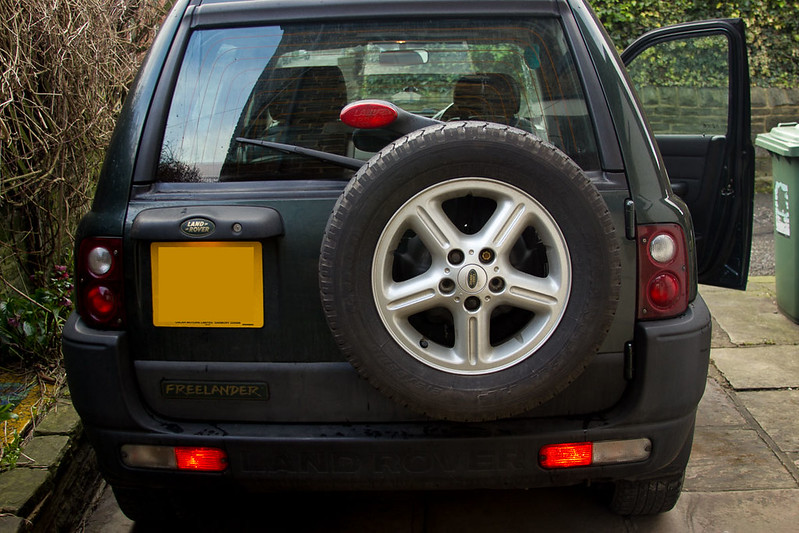
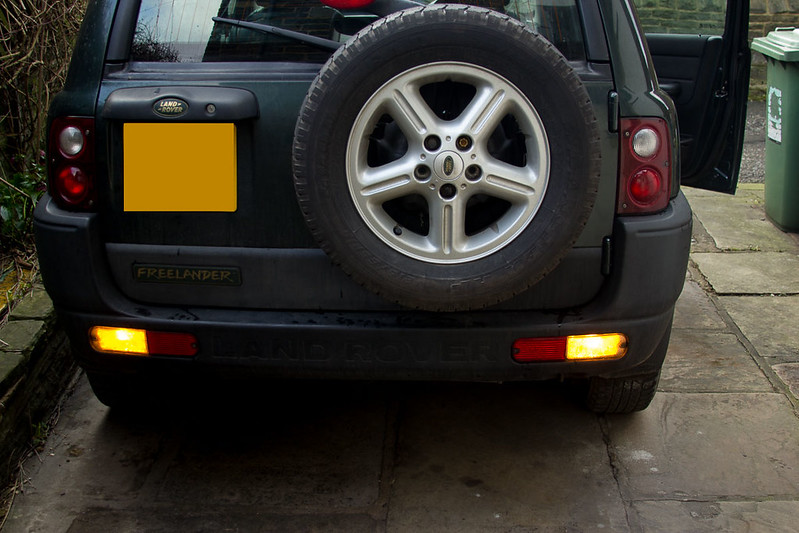
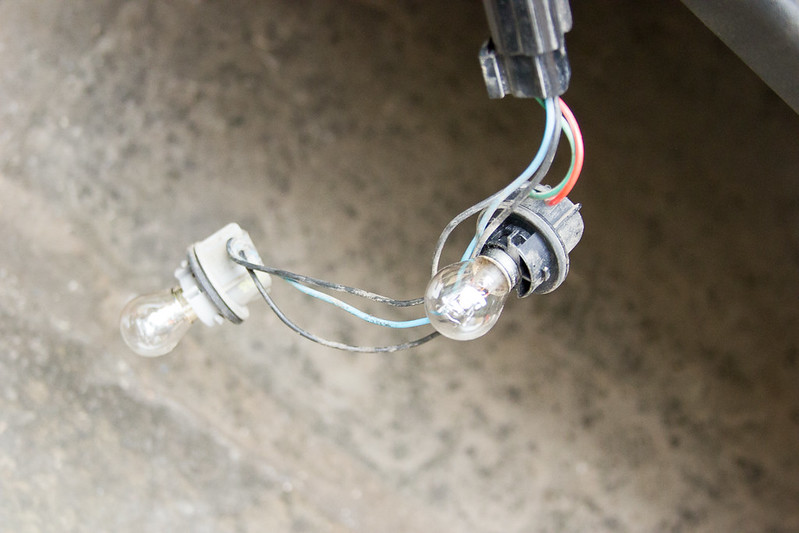
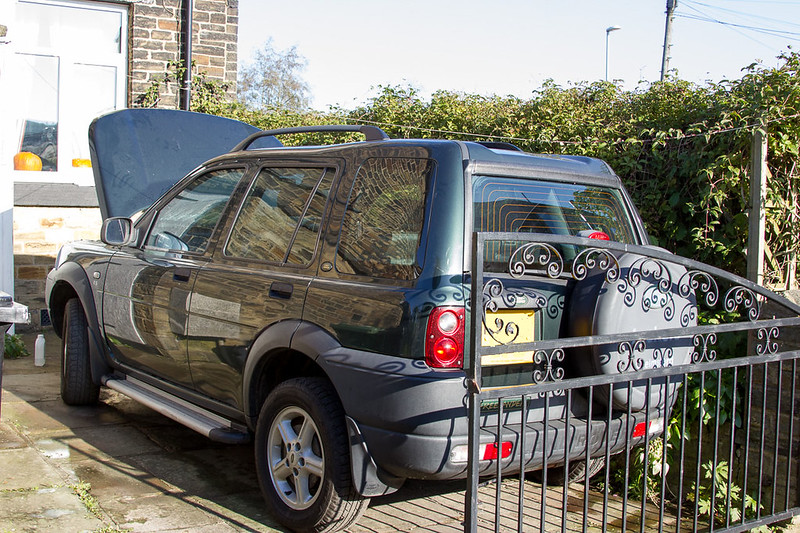 Freelander-4 by Stuart Burrows, on Flickr
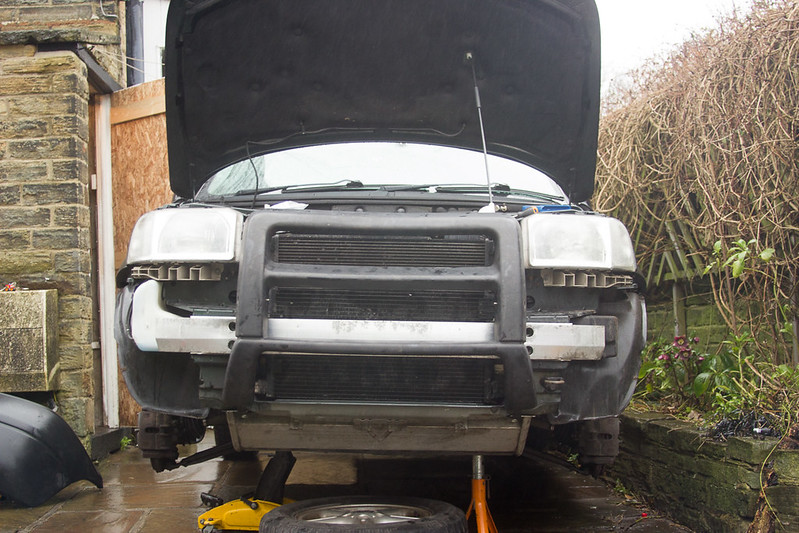
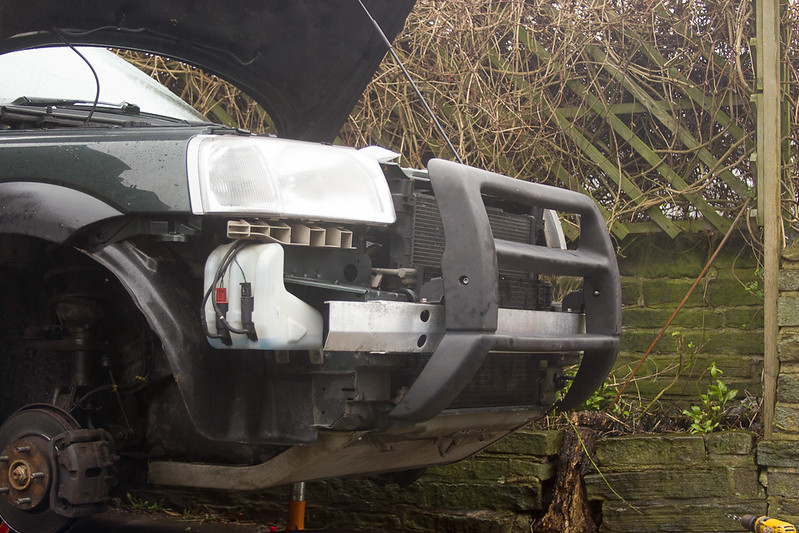
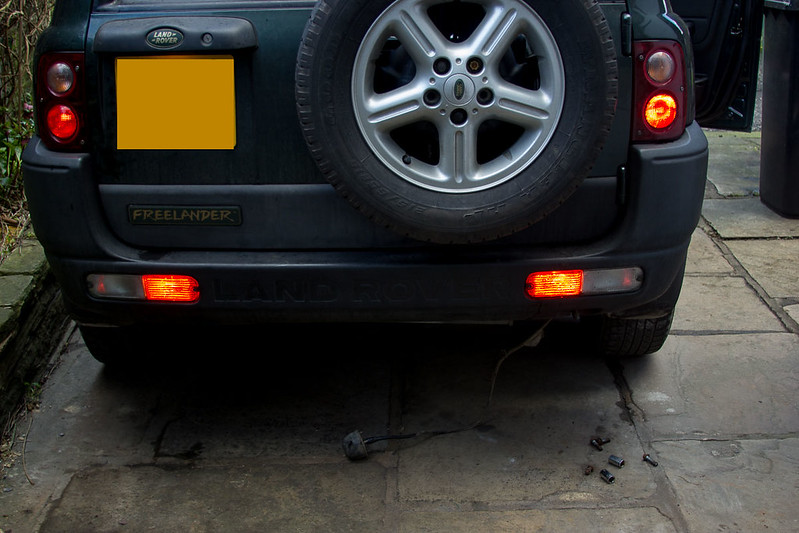
Swapped the exhaust for the MOT
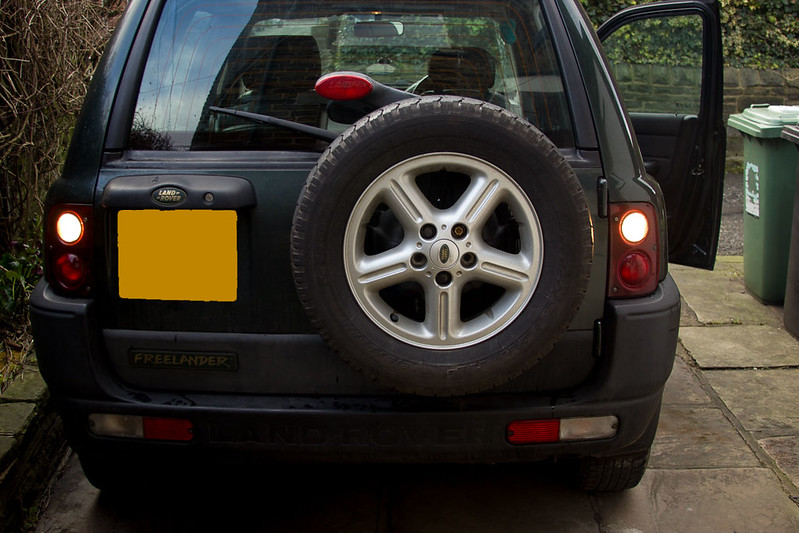
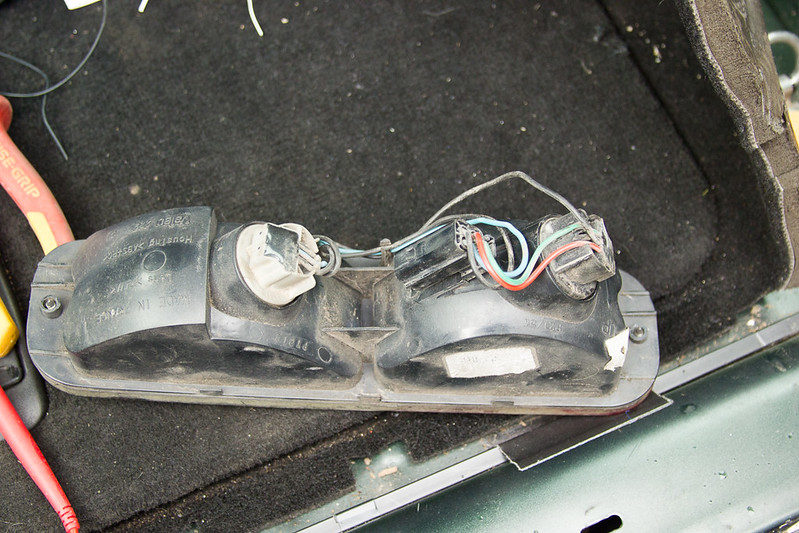
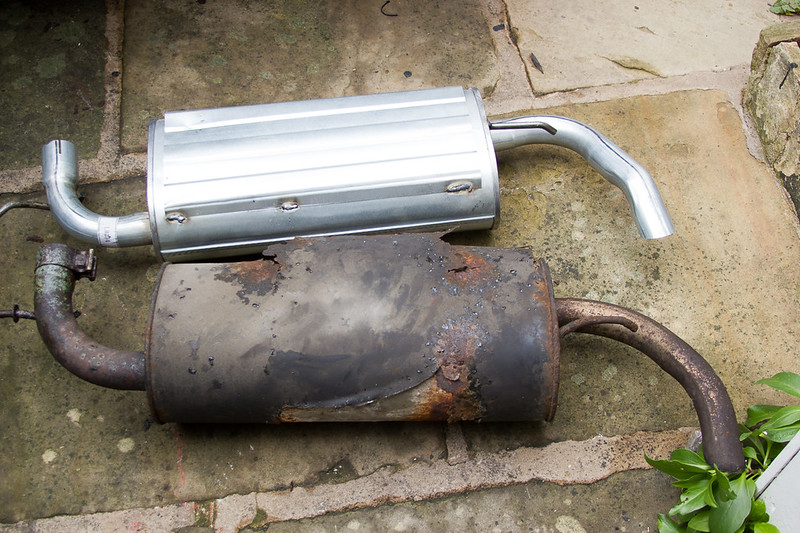 Freelander-5 by Stuart Burrows, on Flickr
Despite being stood 9 months it went straight through, exhaust was preventitive
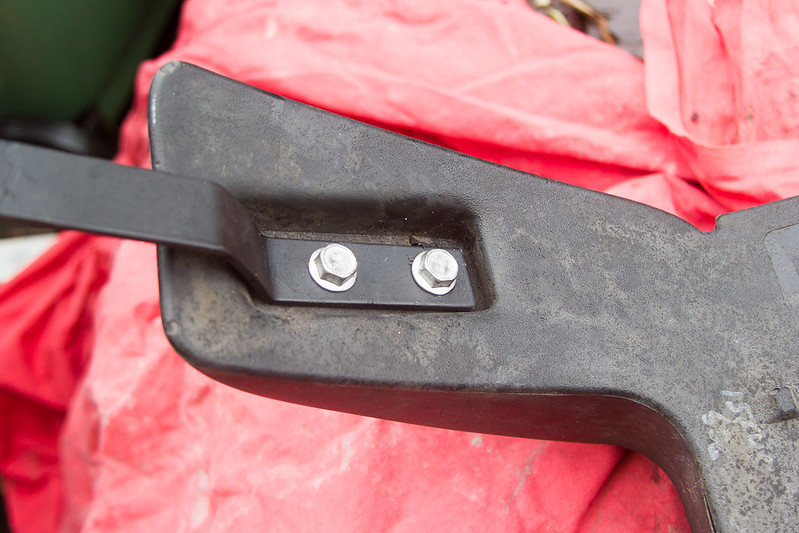
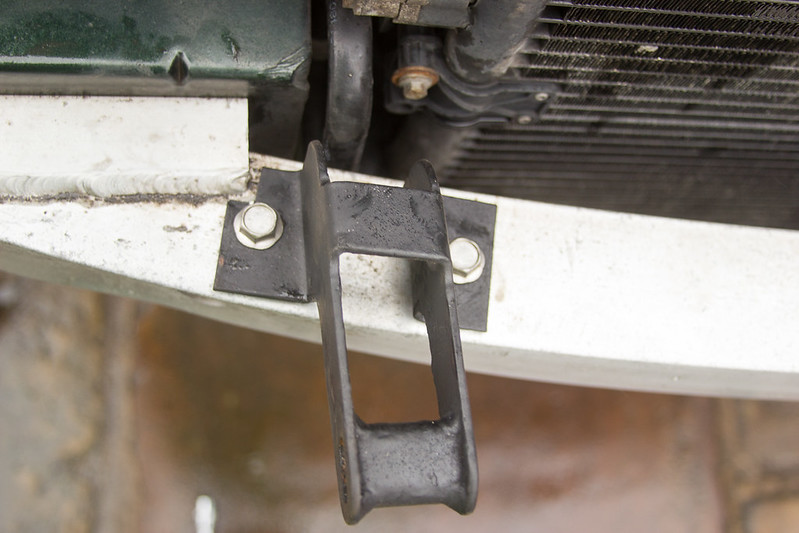
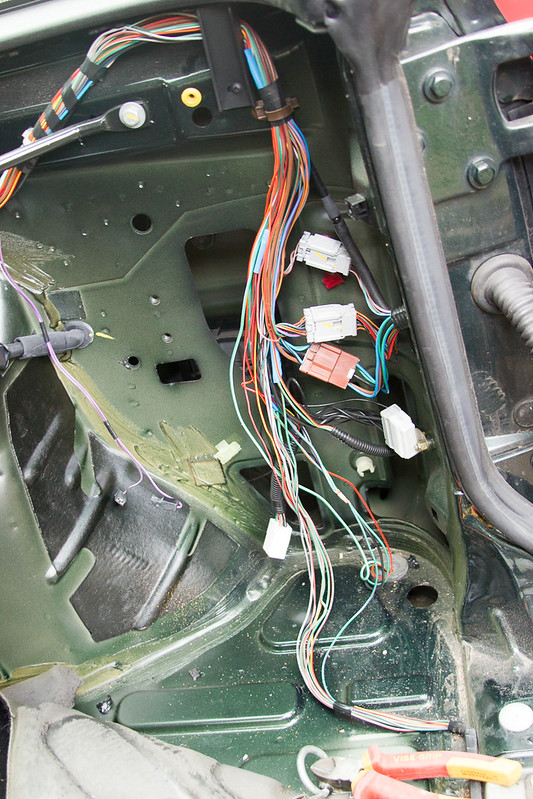
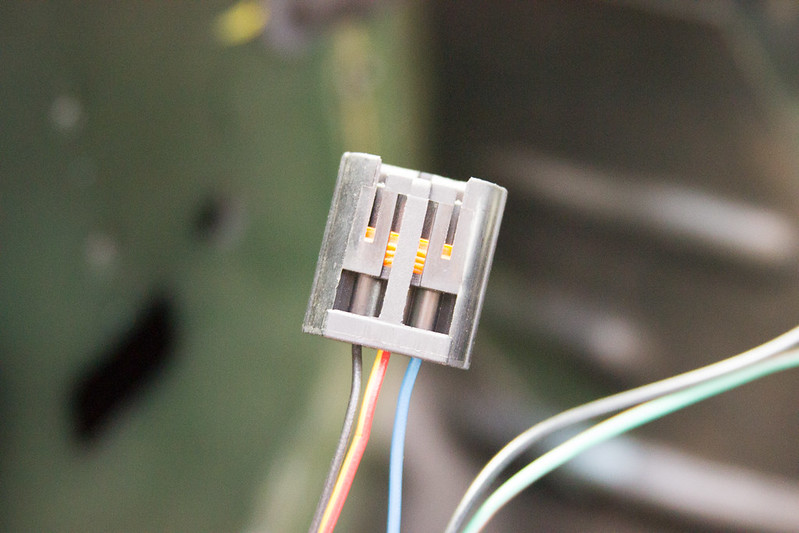
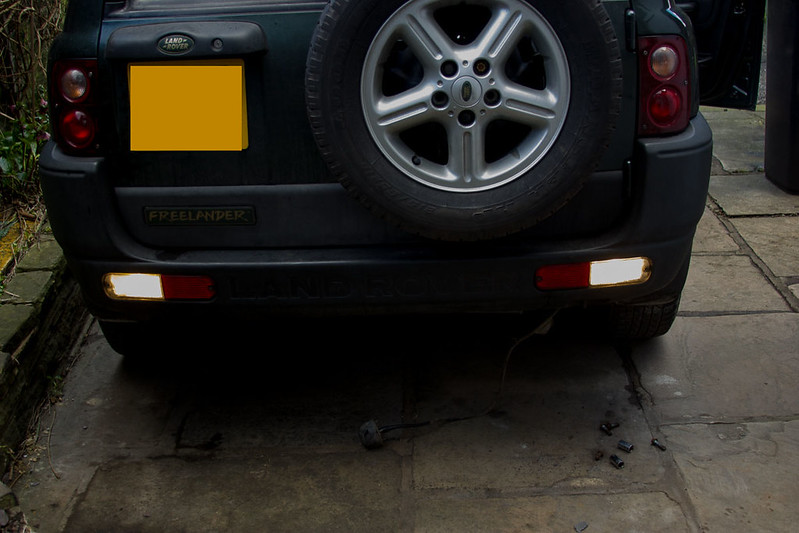
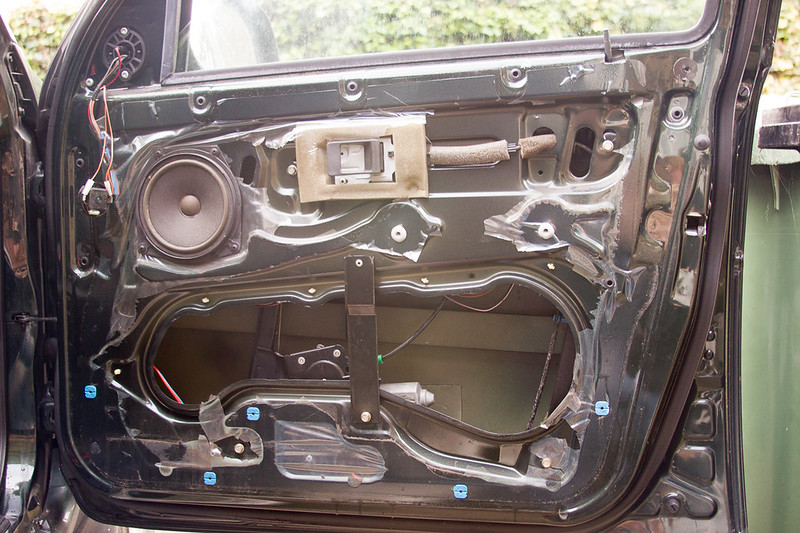
Also fitted this
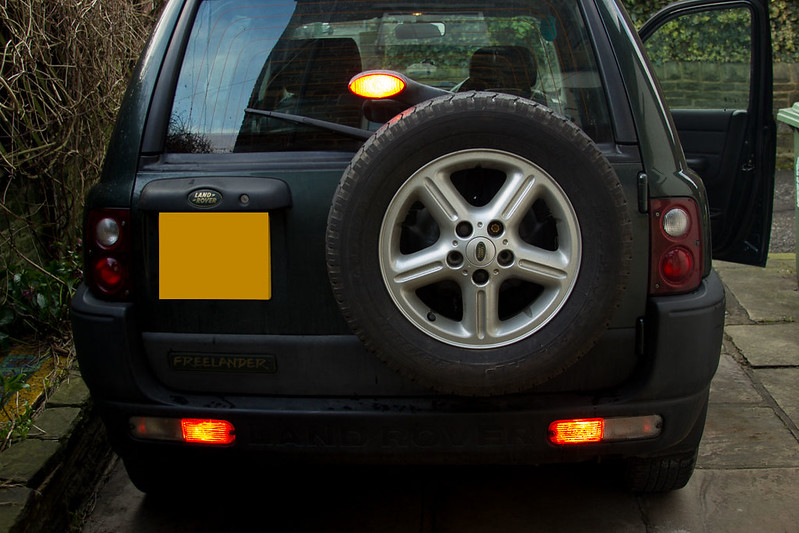
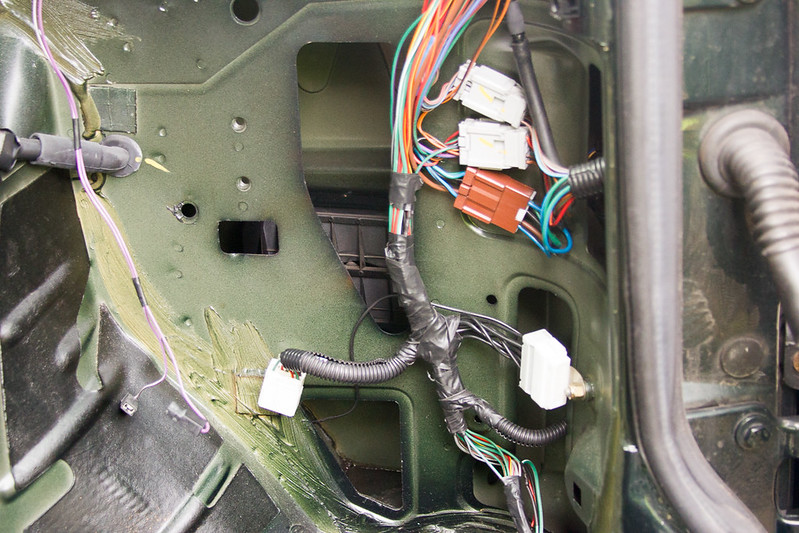
 Freelander-9 by Stuart Burrows, on Flickr
Digging through the history it had a coolant cap failure, and a note saying the HG may be gone, this was 200 miles before it was parked up.
Next task is drivers regulator as it broke today, then im refurbing a VCU thanks to the info I found here as the prop had been removed (knew that before I bought it, helped with the price) I also want to swap the rack as its weeping but it looks a simple job
Once the rack and prop are done I intend to do some laning, probably set my camera up and learn how Youtube works
Found one that was a bit of a project, nice spec, 62k, extensive history, been stood for a while and just needed some love
Gave it a very good inspection, let it idle for 30 mins, 15 minute test drive and it ran spot on, no noises or overheating
Drove through Sheffield and 10 minutes up the M1 it overheated
Due to the roadworks I pulled off at the next junction, lifted the bonnet, closed it again and rang the AA
Once it was home I decided not to rush into the HG, so water pump, stat, belts flush and refill the cooling system and it was fine, did 150 miles without issue; until I went on the motorway again.....
Now the HG is done the car is running sweet, just done 500 odd miles visiting relatives with no issues.
No pics of the HG being done, the site is full of them
Freelander-1 by Stuart Burrows, on FlickrFreelander-4 by Stuart Burrows, on FlickrSwapped the exhaust for the MOT
Freelander-5 by Stuart Burrows, on FlickrDespite being stood 9 months it went straight through, exhaust was preventitive
Also fitted this
Freelander-9 by Stuart Burrows, on FlickrDigging through the history it had a coolant cap failure, and a note saying the HG may be gone, this was 200 miles before it was parked up.
Next task is drivers regulator as it broke today, then im refurbing a VCU thanks to the info I found here as the prop had been removed (knew that before I bought it, helped with the price) I also want to swap the rack as its weeping but it looks a simple job
Once the rack and prop are done I intend to do some laning, probably set my camera up and learn how Youtube works
 Freelander-17
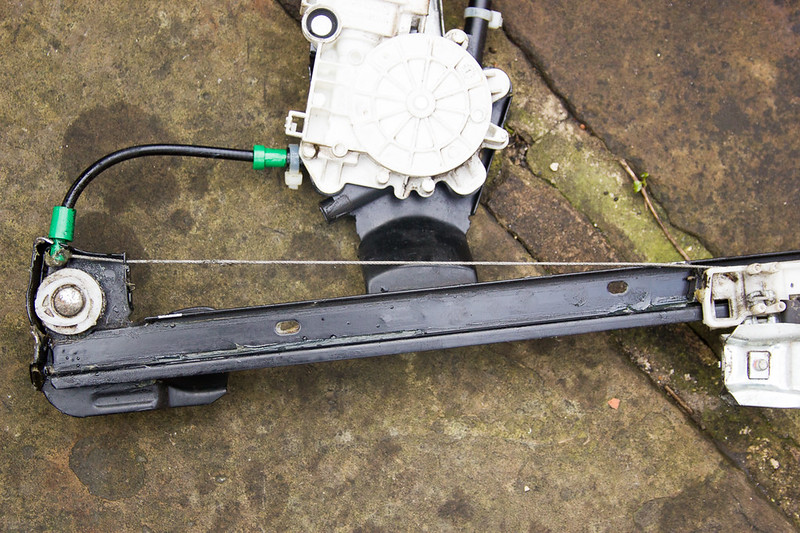 Freelander-18
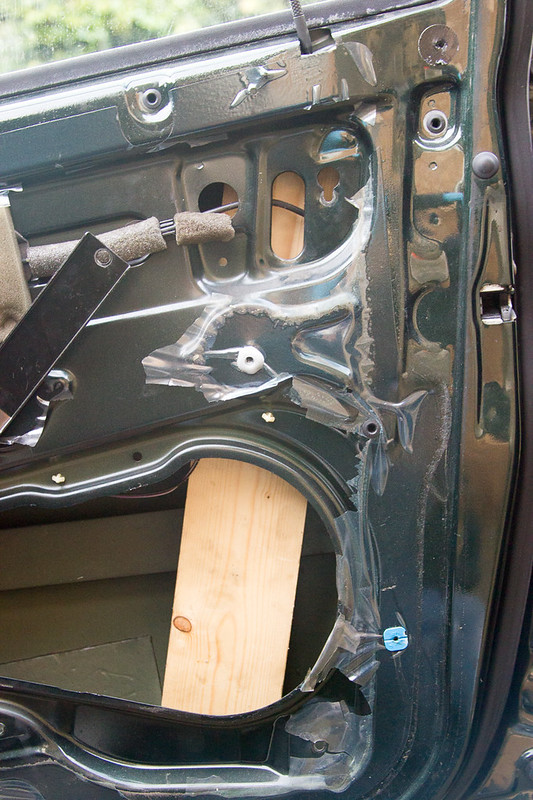 Freelander-19
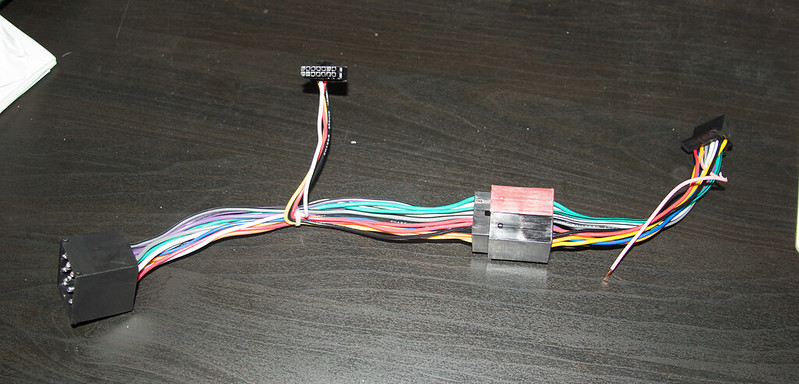 Freelander-20
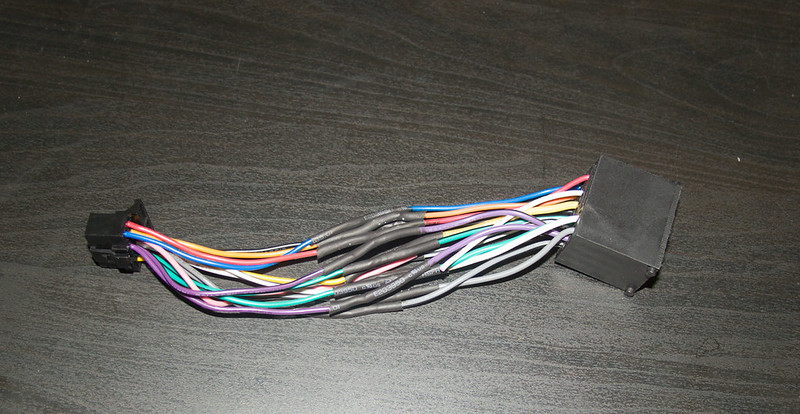 Freelander-21