How To Refurbish Your Door Pillars, A Step By Step Guide
Ok im not good at stuff like this so bear with me ok?
Now that i have enough leather to do mine, i can give you the girl who supplied it for me from ebay, she is very cheep and the quality was very good too, nice supple leather
june4288
http://cgi.ebay.co.uk/ws/eBayISAPI.dll?ViewItem&item=120560051503&ssPageName=STRK:MEWNX:IT
Give her my name Dopey113 and she will treat you right!!
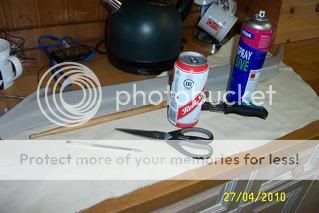
Your going to need a sharp Stanley type blade for cutting, a pen for marking, sharp scissors, spray adhesive, and a beer…..(now your getting interested ant you???)
Ok im not good at stuff like this so bear with me ok?
Now that i have enough leather to do mine, i can give you the girl who supplied it for me from ebay, she is very cheep and the quality was very good too, nice supple leather
june4288
http://cgi.ebay.co.uk/ws/eBayISAPI.dll?ViewItem&item=120560051503&ssPageName=STRK:MEWNX:IT
Give her my name Dopey113 and she will treat you right!!
Your going to need a sharp Stanley type blade for cutting, a pen for marking, sharp scissors, spray adhesive, and a beer…..(now your getting interested ant you???)
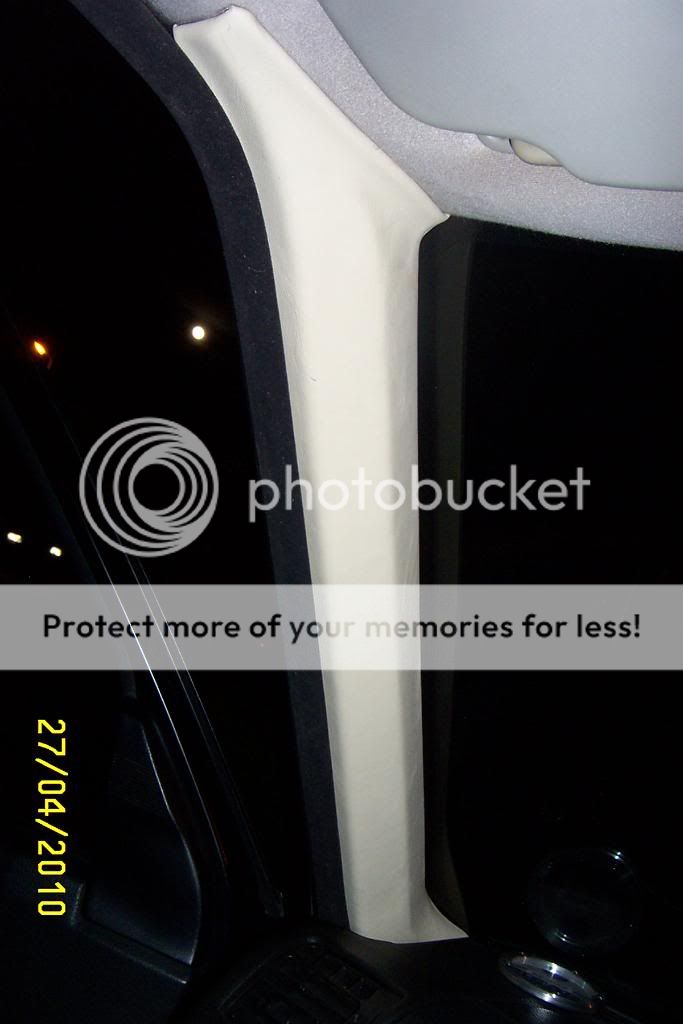
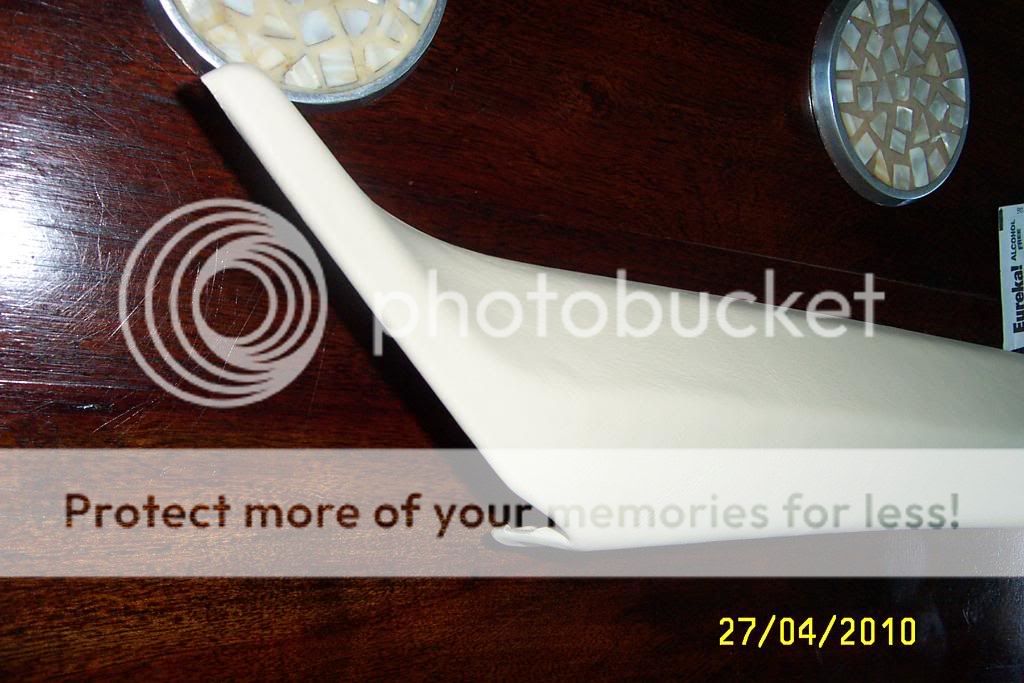
Taking the pillar off
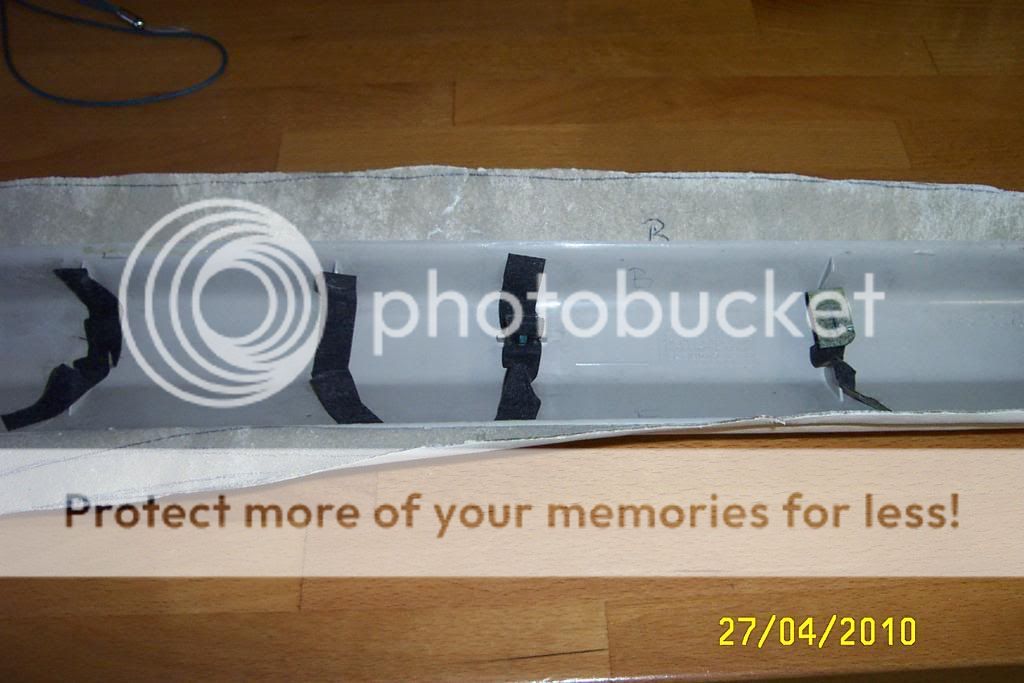
see the 3 holes in the pillar? that's where the clips are that hold it in, its a push fit so its easy to pry off and put on again, start at the top, pull back the trim that goes around the door frame just enough to clear the pillar, you use your fingers for this

then pull the pillar about 1/3 down (next to the top clip hole, NOT the round ones) it should come away easy, then do the middle one then the bottom one, and pull it out

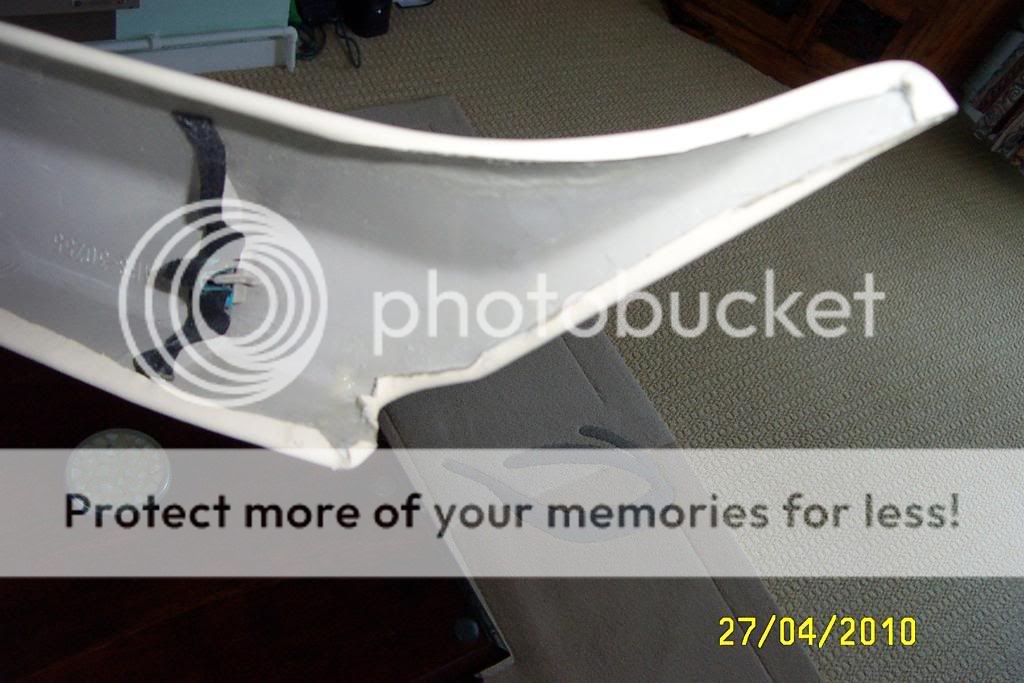
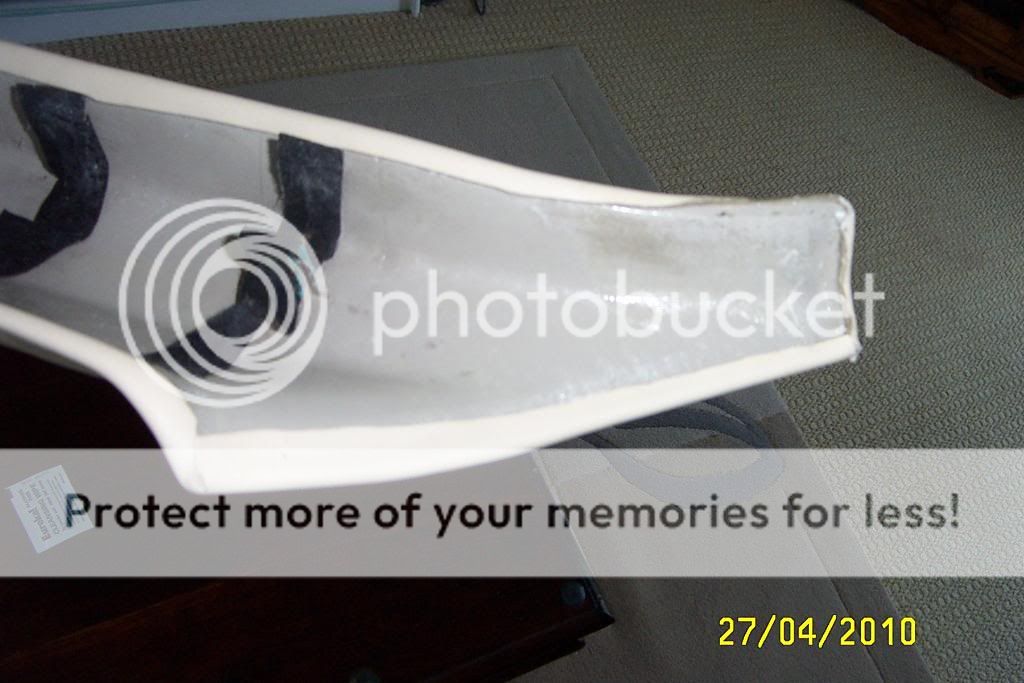
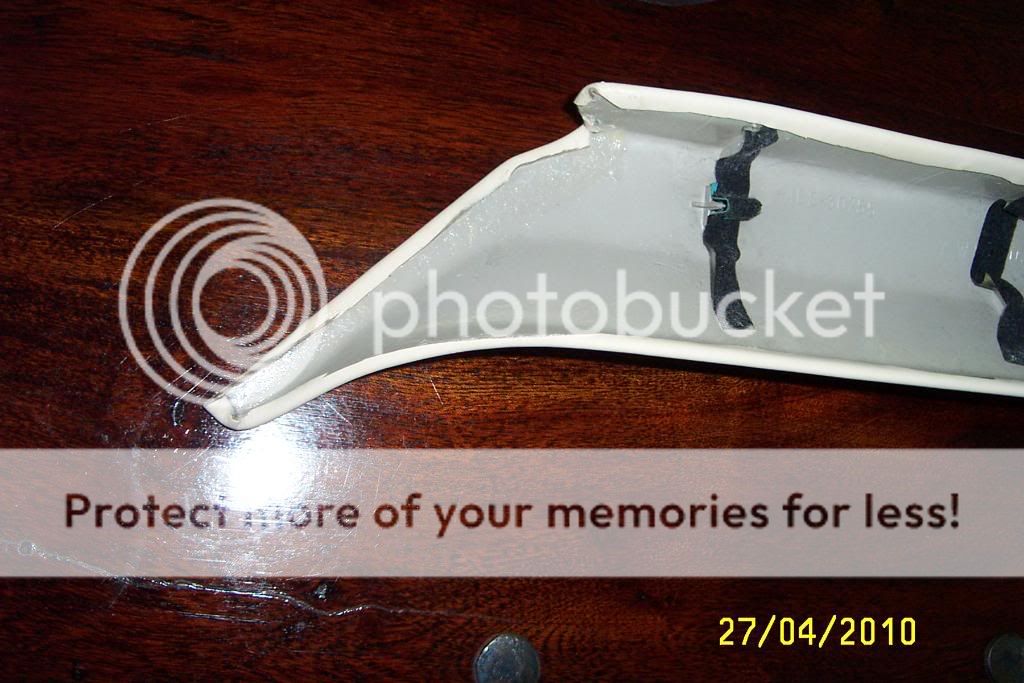
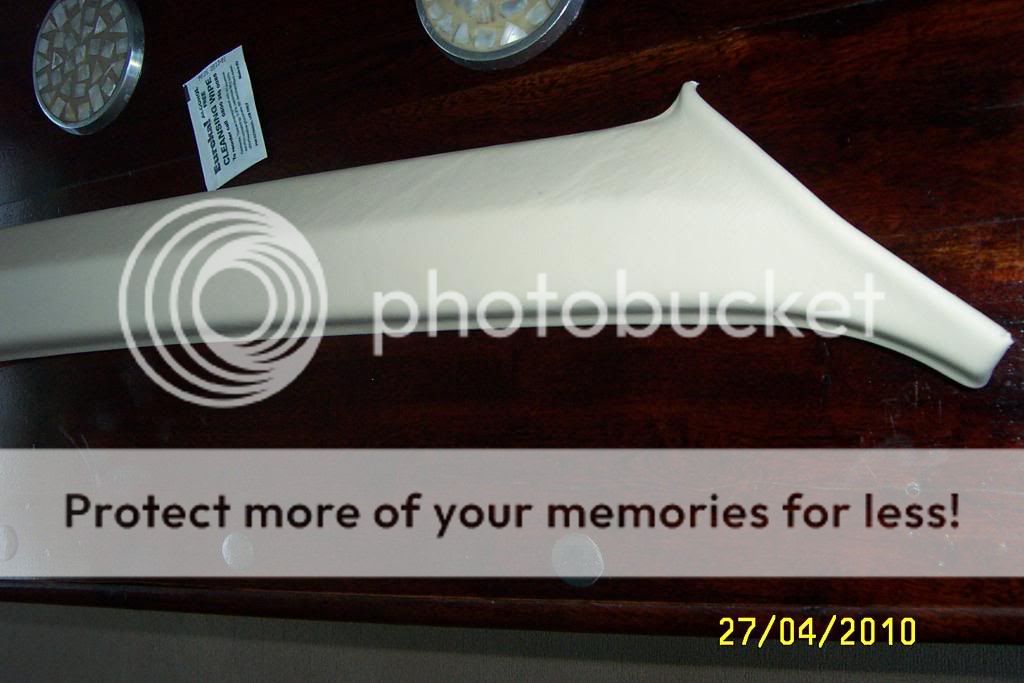
Now you have to clean it
use spirit or something with a solvent, any left overs just scrape off, it comes off easy,make sure its all of and nice and clean, it doesn't have to be perfect, the leather will hide the imperfections, just make sure it has no cleaning spirit left on it, the glue wont stick otherwise, i wont post picks, you know what a clean one will look like!!
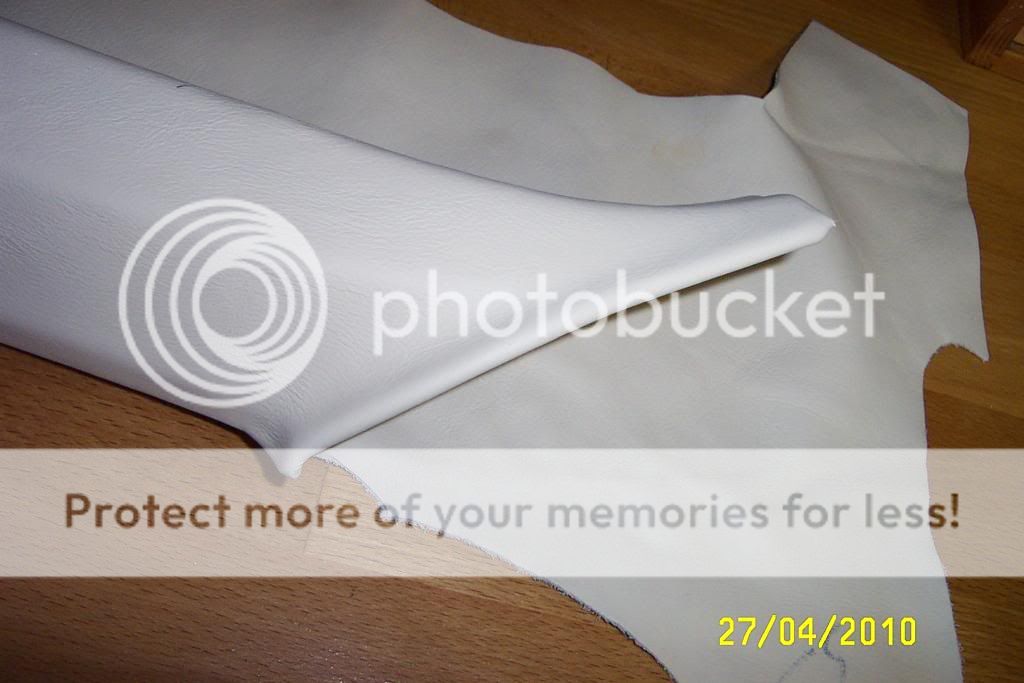
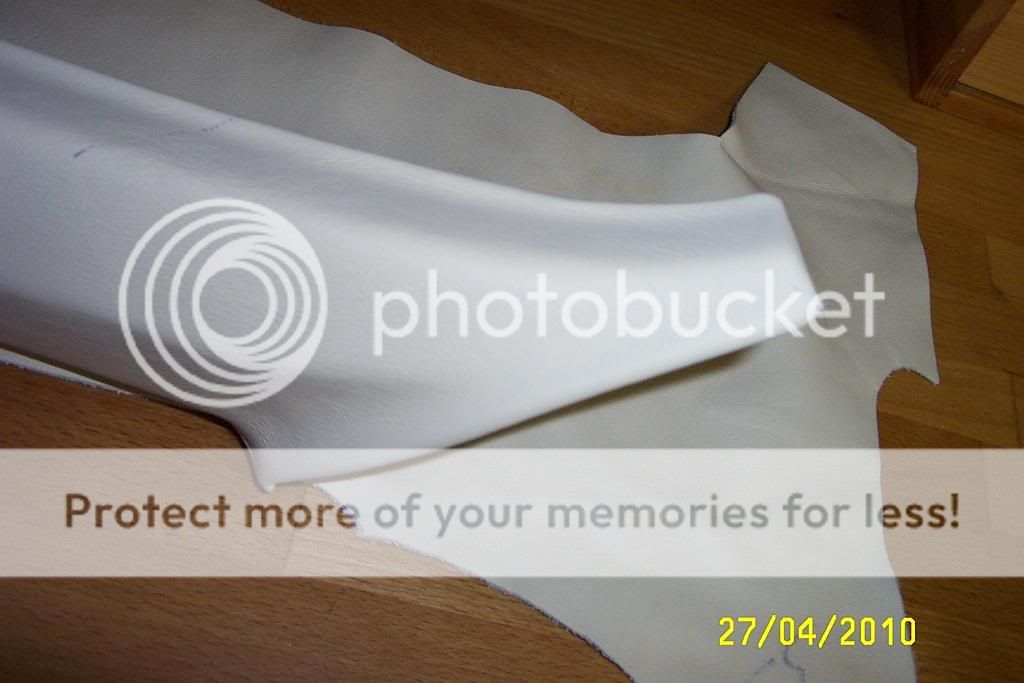
Marking up
You don't have to be precise with this (that will come later, and save you glue and time) just lay it on the table, put the pillar on top, roughly mark around it, leaving pleant of room around the pillor so you know it will all fit and go around the sides ok
mark pillar and leather right left up down, so when you put it back to glue it, your then 100% sure its the correct way around

Now Open your beer (if you done this already then your some kind on alcoholic !!)

Ok so far so good, now first spray the BACK of the leather (the fluffy bit, not the shiny bit) all over the back evenly, then set aside, now do the face of the pillar
DON'T use newspaper to lay any of this on, it will stick to the news paper otherwise
place the pillar on to the leather making sure its all uniform and will wrap around and along where you placed it, (otherwise you will have to rip it off and start again to re align it) take your time doing this, you only want to do it once!!
Now you need to shape that leather in to the pillar do all the creases and crevasses, push and mould it in to them with your fingers, working from the MIDDLE to the outside, dont wory about folding the edges over just yet, do that later...... you done all that? it should be nice and smooth now, and the face bonded, no pockets of air in the bends, on the bends and crevices just apply pressure with your fingers, it will stick, its a contact glue, it just needs you to apply the pressure, be hard and firm with it
Looks good already don't it??
Now trim it, about 1/4inch from the edge, this is easy, because when you sprayed the leather with the glue, the glue is now dry on the leather, and cuts like cardboard, because its stiff now,
Trimmed up now

Folding and finishing off
Don't rush this...its all easy, just take your time,
glue JUST ONE EDGE all the way along, spraying the leather and the pillar at the same time
Waite 3 mins for it to go off (follow instructions on you can of contact adhesive)
Then again FROM THE MIDDLE fold it over gently working out
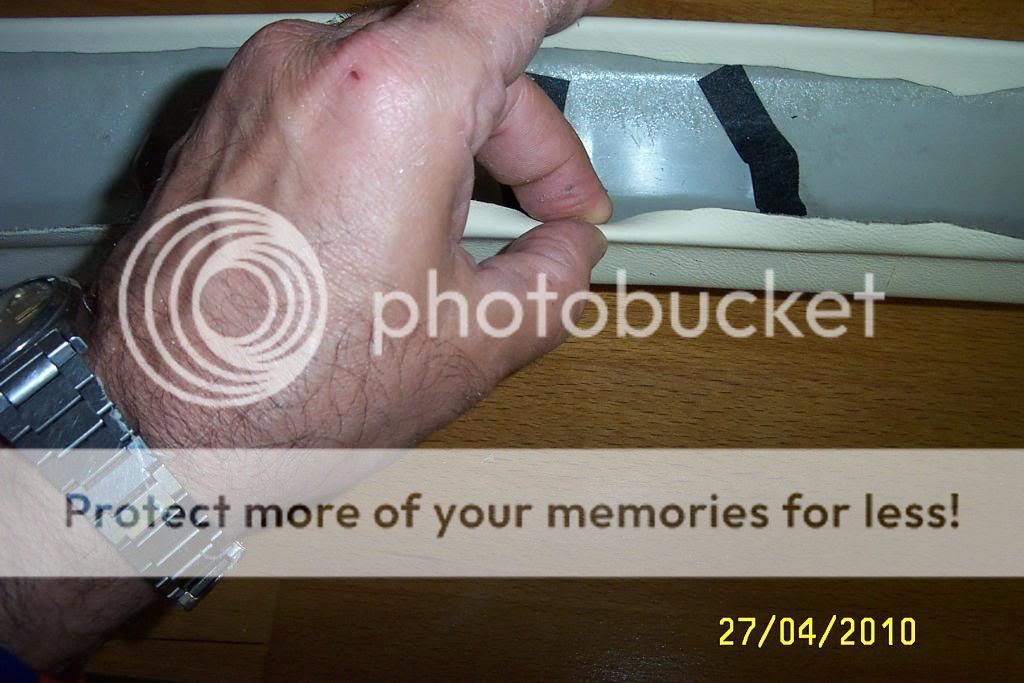
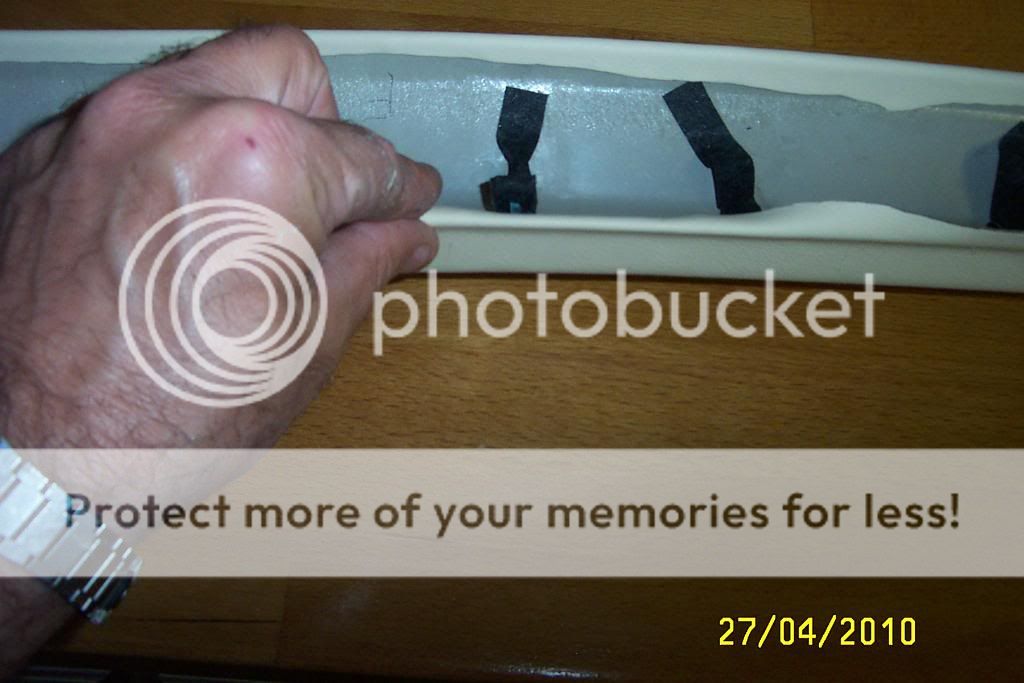
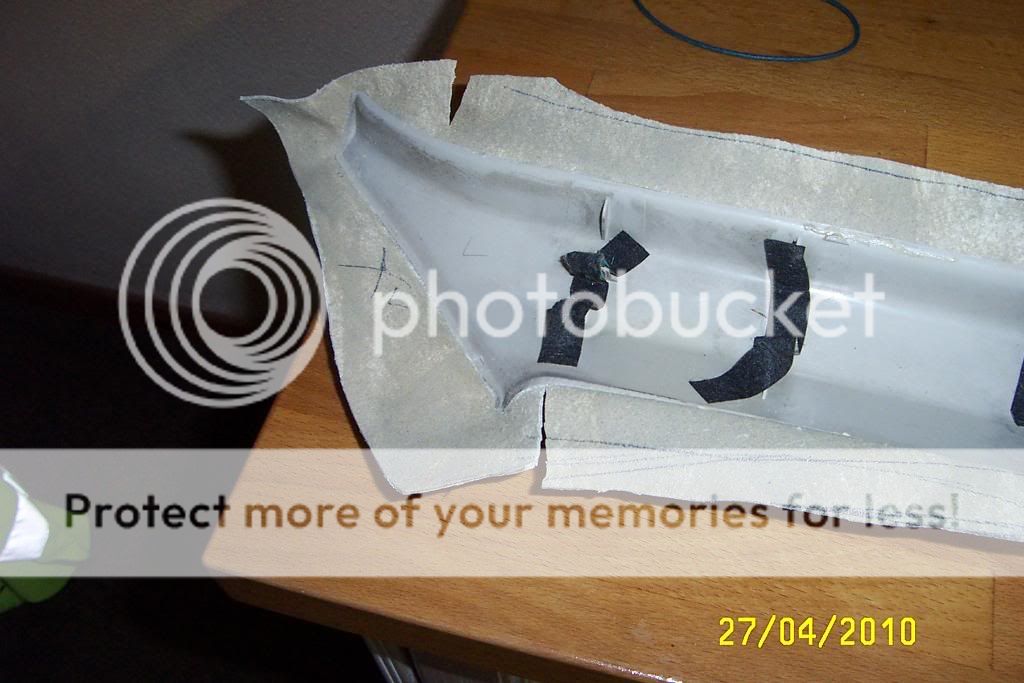
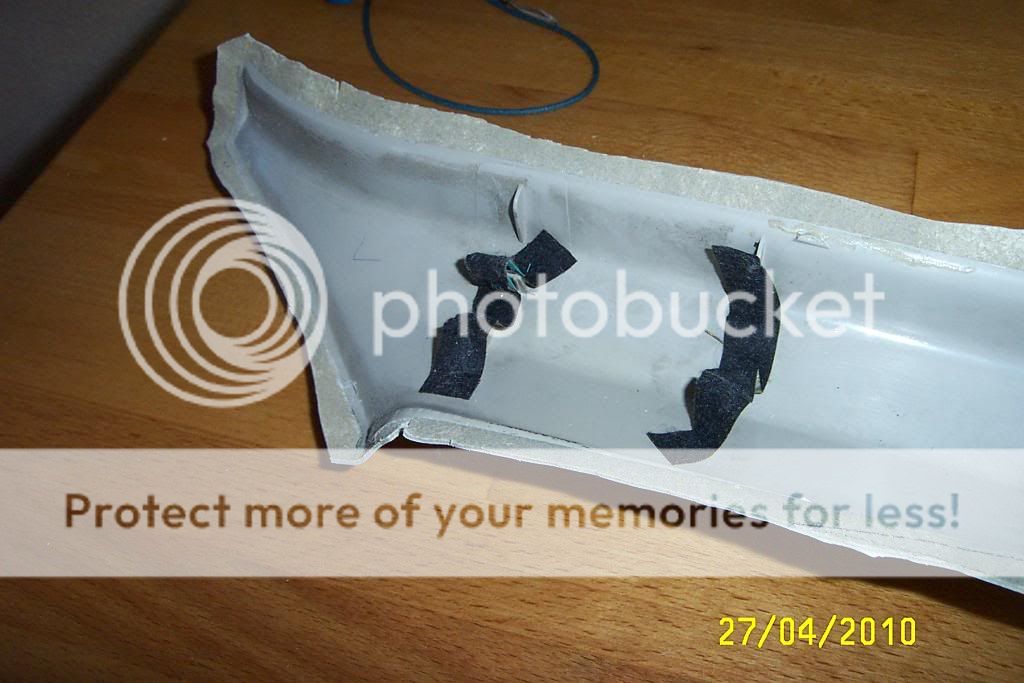
on bends you will have to cut the leather to go around curves like so...
It should all end up like this


see the 3 holes in the pillar? that's where the clips are that hold it in, its a push fit so its easy to pry off and put on again, start at the top, pull back the trim that goes around the door frame just enough to clear the pillar, you use your fingers for this
then pull the pillar about 1/3 down (next to the top clip hole, NOT the round ones) it should come away easy, then do the middle one then the bottom one, and pull it out
Now you have to clean it
use spirit or something with a solvent, any left overs just scrape off, it comes off easy,make sure its all of and nice and clean, it doesn't have to be perfect, the leather will hide the imperfections, just make sure it has no cleaning spirit left on it, the glue wont stick otherwise, i wont post picks, you know what a clean one will look like!!
Marking up
You don't have to be precise with this (that will come later, and save you glue and time) just lay it on the table, put the pillar on top, roughly mark around it, leaving pleant of room around the pillor so you know it will all fit and go around the sides ok
mark pillar and leather right left up down, so when you put it back to glue it, your then 100% sure its the correct way around
Now Open your beer (if you done this already then your some kind on alcoholic !!)
Ok so far so good, now first spray the BACK of the leather (the fluffy bit, not the shiny bit) all over the back evenly, then set aside, now do the face of the pillar
DON'T use newspaper to lay any of this on, it will stick to the news paper otherwise
place the pillar on to the leather making sure its all uniform and will wrap around and along where you placed it, (otherwise you will have to rip it off and start again to re align it) take your time doing this, you only want to do it once!!
Now you need to shape that leather in to the pillar do all the creases and crevasses, push and mould it in to them with your fingers, working from the MIDDLE to the outside, dont wory about folding the edges over just yet, do that later...... you done all that? it should be nice and smooth now, and the face bonded, no pockets of air in the bends, on the bends and crevices just apply pressure with your fingers, it will stick, its a contact glue, it just needs you to apply the pressure, be hard and firm with it
Looks good already don't it??
Now trim it, about 1/4inch from the edge, this is easy, because when you sprayed the leather with the glue, the glue is now dry on the leather, and cuts like cardboard, because its stiff now,
Trimmed up now
Folding and finishing off
Don't rush this...its all easy, just take your time,
glue JUST ONE EDGE all the way along, spraying the leather and the pillar at the same time
Waite 3 mins for it to go off (follow instructions on you can of contact adhesive)
Then again FROM THE MIDDLE fold it over gently working out
on bends you will have to cut the leather to go around curves like so...
It should all end up like this
Last edited:
