- Posts
- 16,475
Quite a common issue is rattling Brake Disc Shields....
Sounds like an exhaust rattle, but it is just where the shield is bolted on and over time the shield metal corrodes around the washer, no doubt through dissimilar metal corrosion, and becomes loose and rattles ...
The fix is dead simple Large Washers....
The job is simple, unless the Brake Disc havent been off in 10 years along with the Calliper Bracket Bolts that makes things a little interesting....
Well on Friday evening on the way home with a window open, I noticed the tell tale rattle...time to do mine by the sounds of it. A quick turn to lock, and a feel behind each wheel revealed the Drivers side was infact loose, the Passengers side can wait a while for better weather.
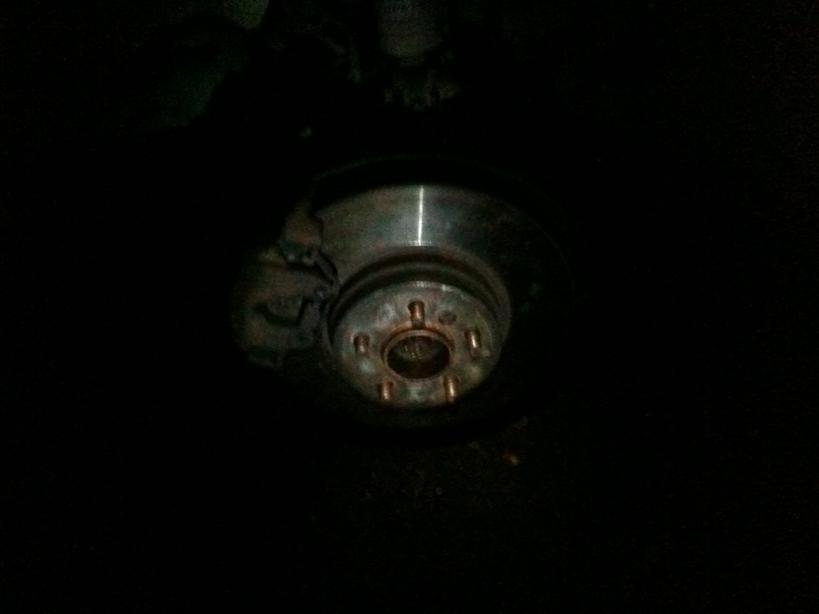
So after work I got home about 4.30pm, and only had very little daylight left hence why some of the photos are a little dark, I was trying to take them wearing a head torch and my iPhone which doesnt have a flash cos it is an old one!
Required tools:
Wheel nut spanner
5/8 Socket (Calliper Bracket)
Ratchet to suit Sockets
7mm Allen Key (Calliper Slide Pins)
6mm Allen Key (Disc Retaining Screw)
11mm Spanner (Brake Bleed Nipple)
Long Nose Pliers
Lever
Hammer and Wood
Copper Grease
Breaking Bar
10mm Spanner (Brake Disc Shield Bolts)
Large Washers to fit M8 bolts
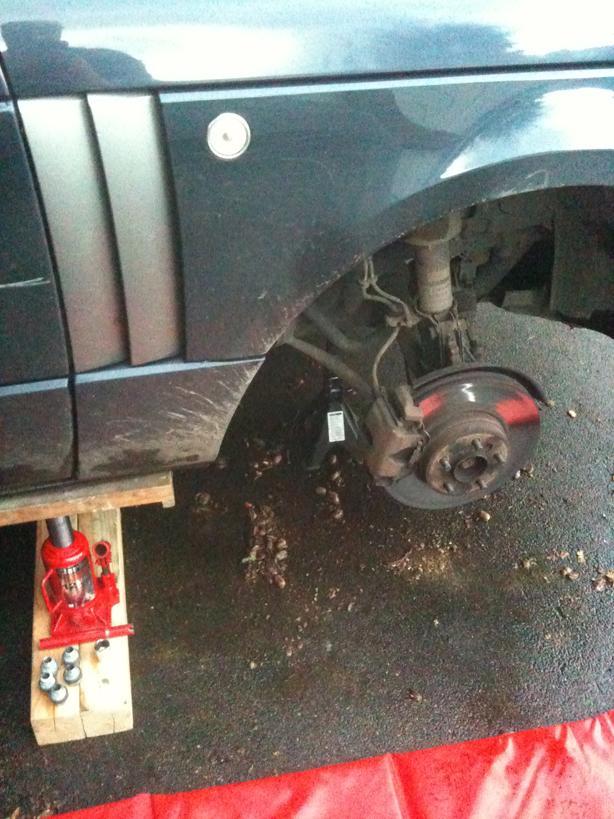
Loosen Wheel Nuts, Jack up vehicle, Secure on Stand, Remove Road Wheel....
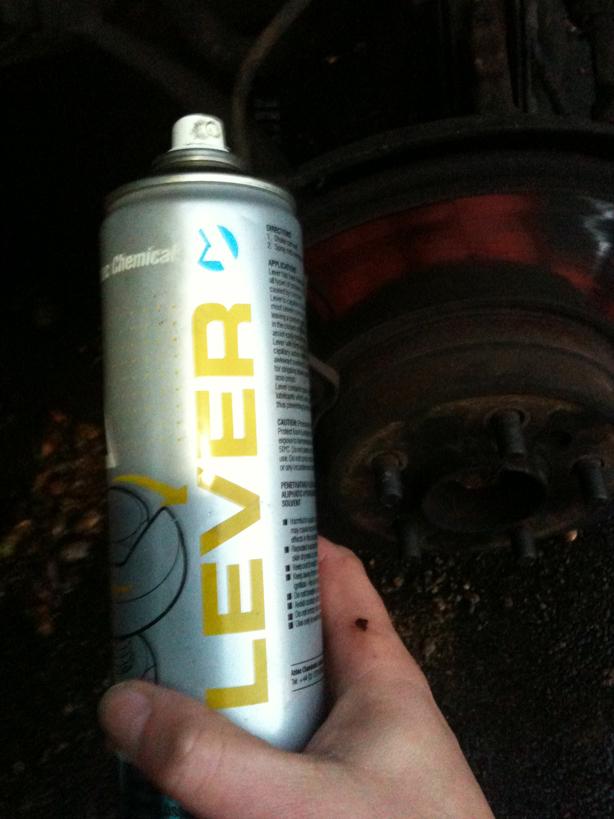
Liberally spray the Calliper Bracket Bolts with penetrating fluid...
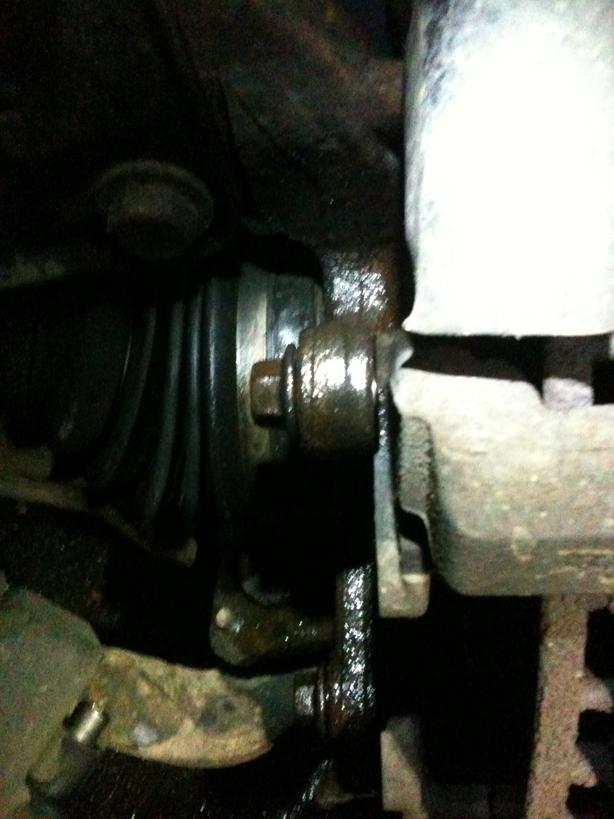
Using a lever and pliers, remove the Calliper retaining spring...
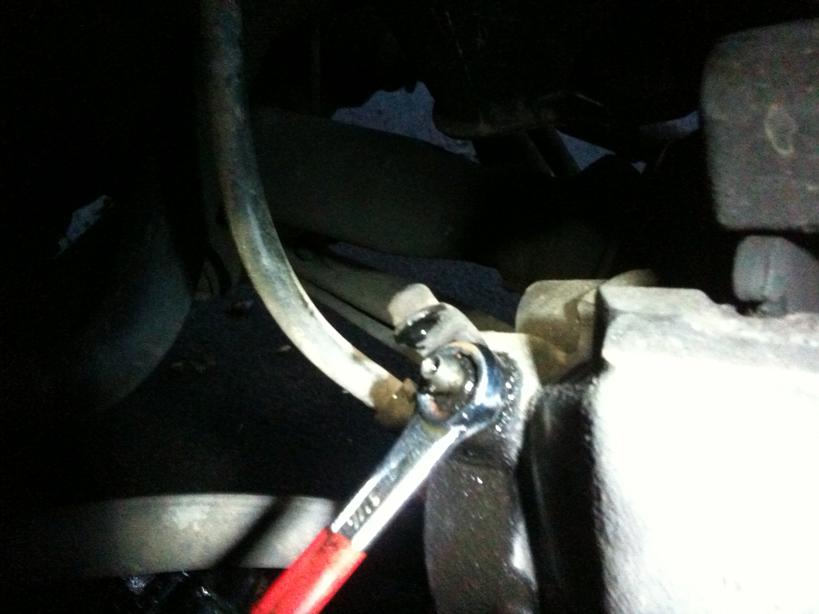
Using a lever, put pressure on the brake pads and open the bleed nipple, lever the pads off the disc. While maintaining pressure on the pads and with fluid still running out of the bleed nipple, close the nipple securely and then release pressure on the pads. This will prevent as much as possible air from getting into the calliper and as such wont require bleeding.
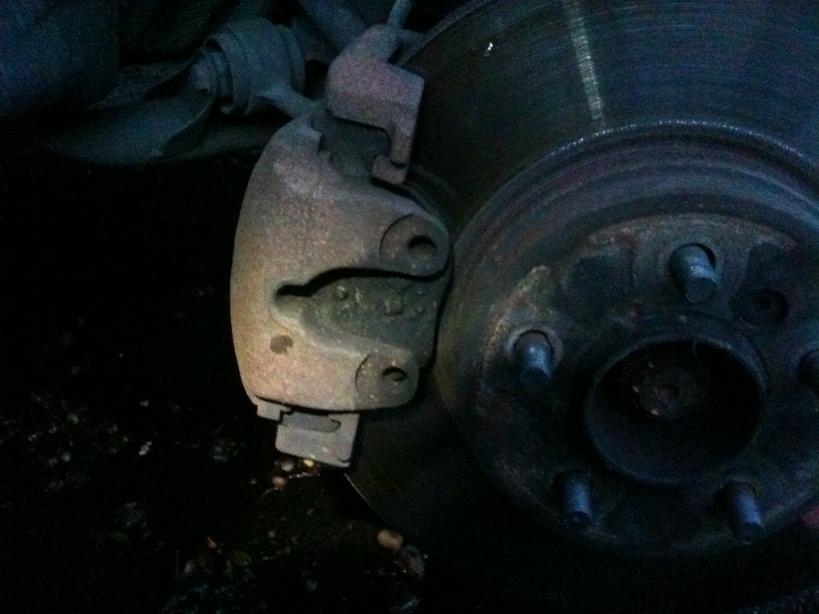
Using a 7mm Allen Key, remove the Calliper slide pins. These can be tight so an additional lever may be required on the allen key.
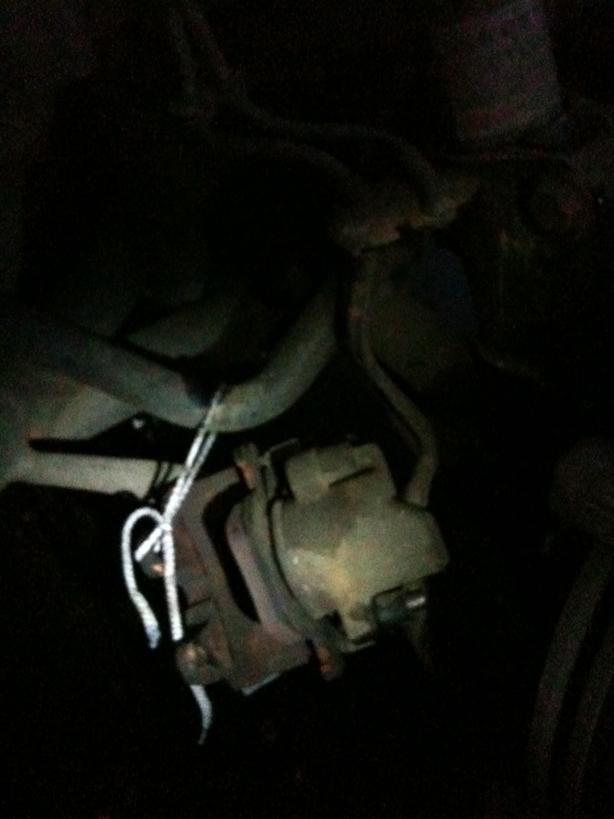
Remove the Calliper and tie out of the way, dont leave it dangling as this can damage the hose.
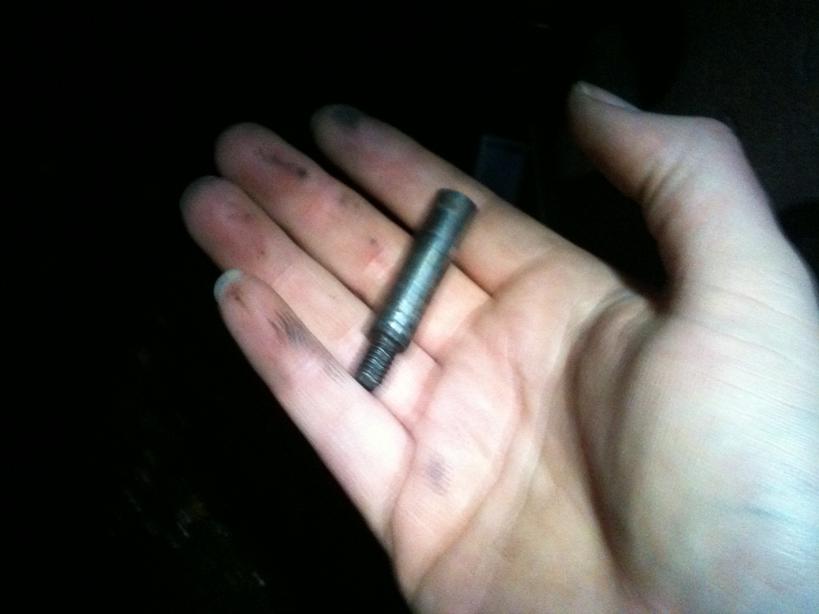
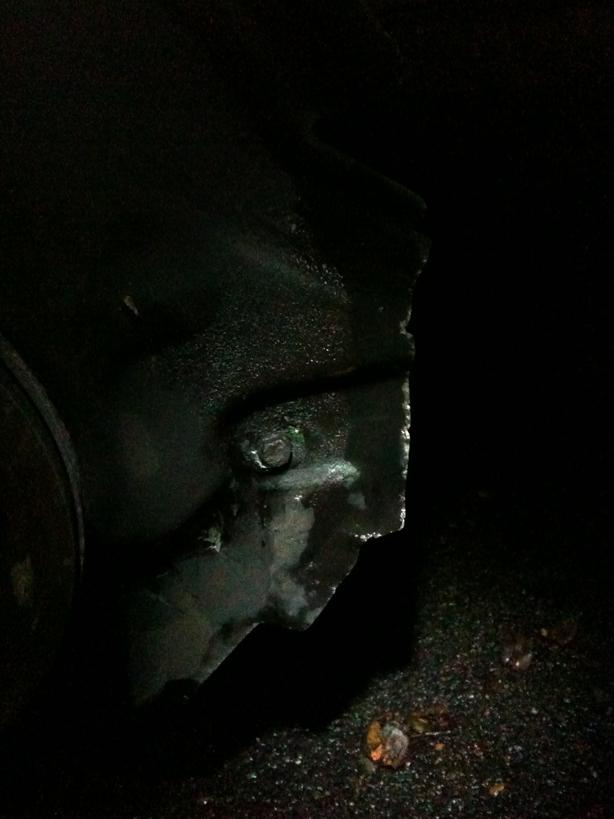
Again liberally spray the Caliper Bracket Bolts with penetrating fluid, and using a 5/8 socket and, if like mine and have been on since the car was built, a lot of force using a breaking bar to crack the bolts loose, then remove using a ratchet...they can be stiff all the way out.
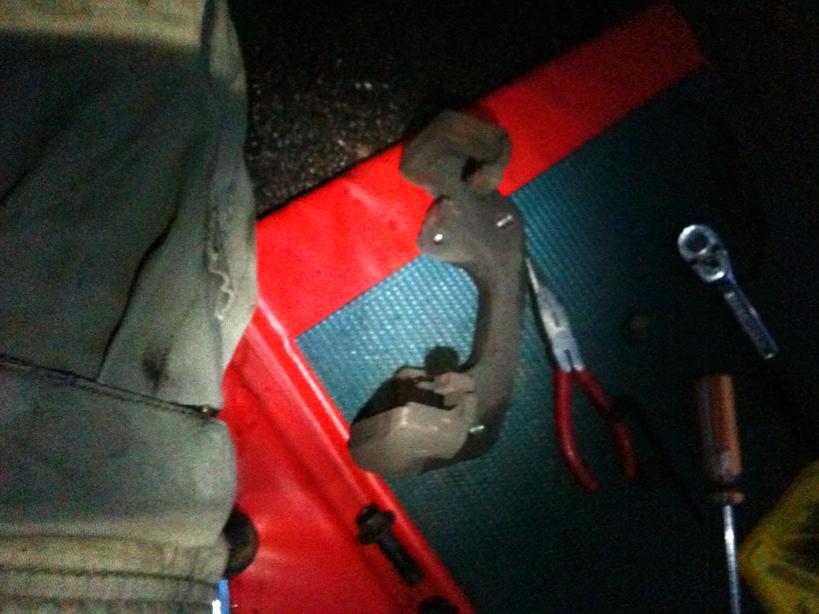
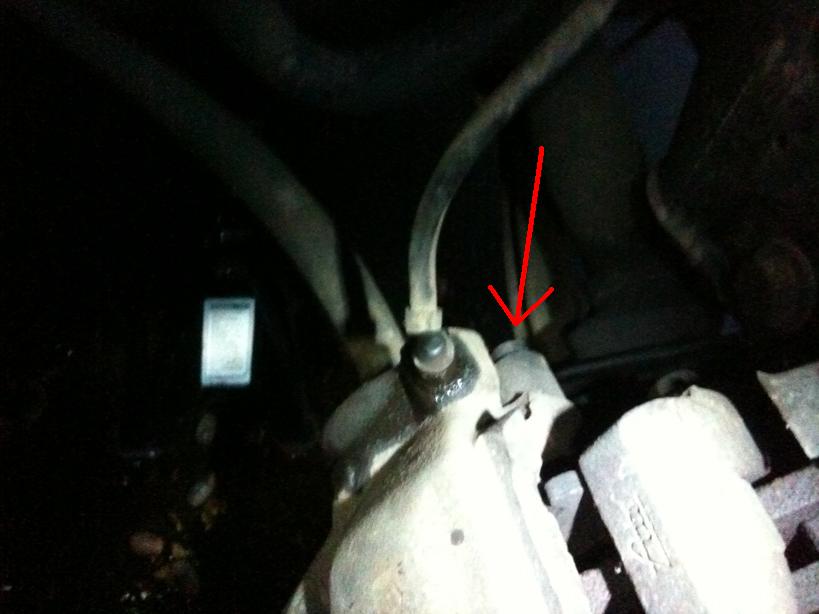
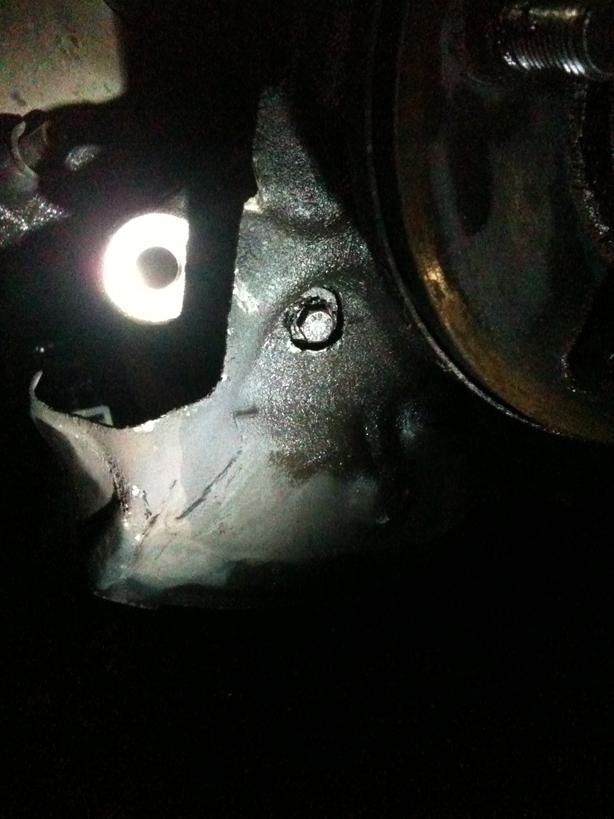
Using a 6mm Allen Key, remove the Disc retaining bolt. This can again be tight so an additional lever will help, just dont round of the bolt.
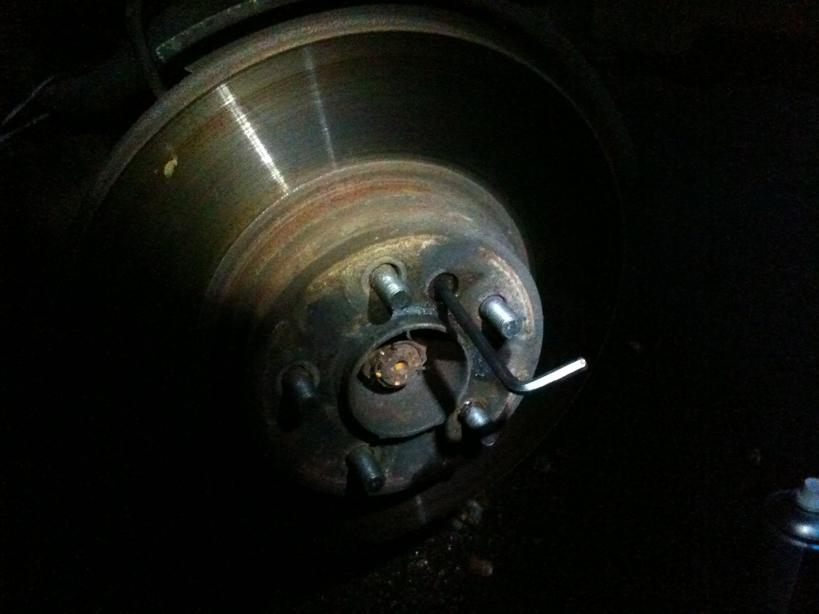
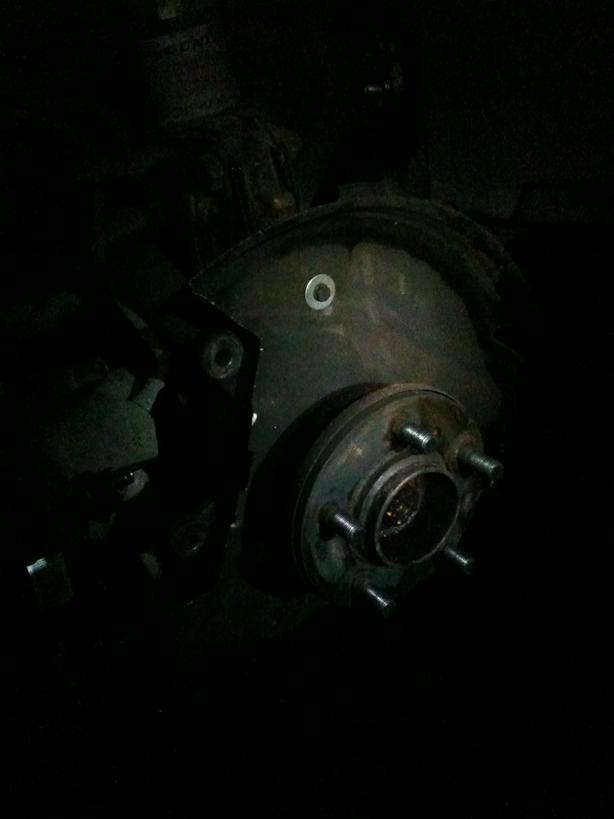
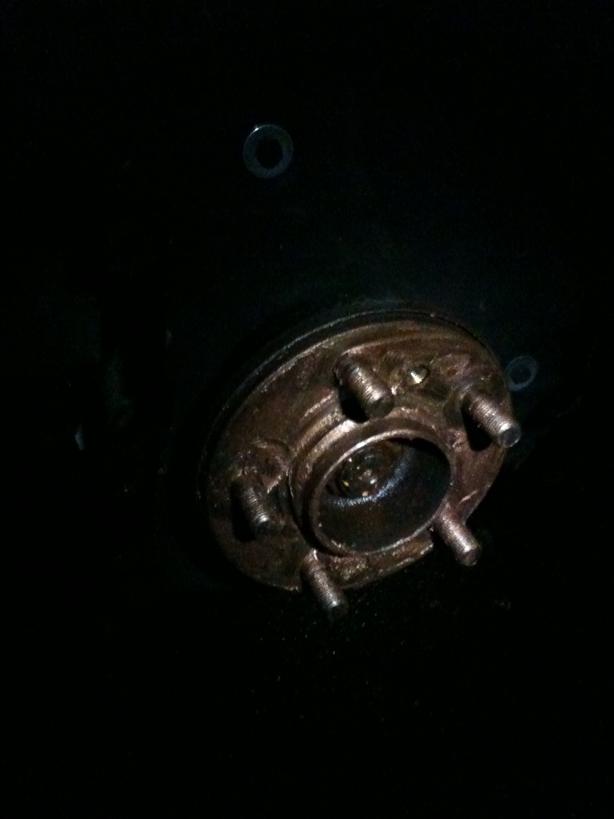
Now for me the fun began, about 20 minutes of levering, hammering, spraying with penetrating fluid, swearing, panting, sweating and general thuggery and I managed to get the Brake Disc free of the hub....
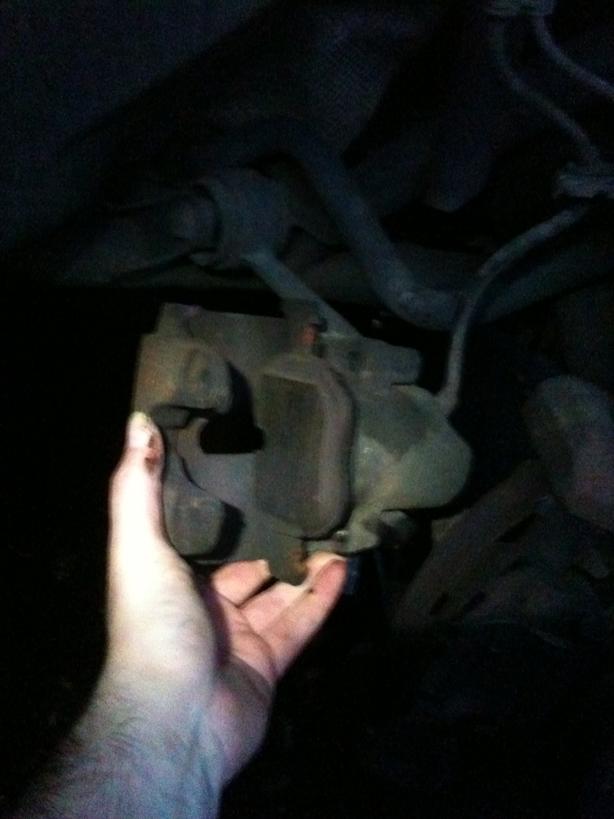
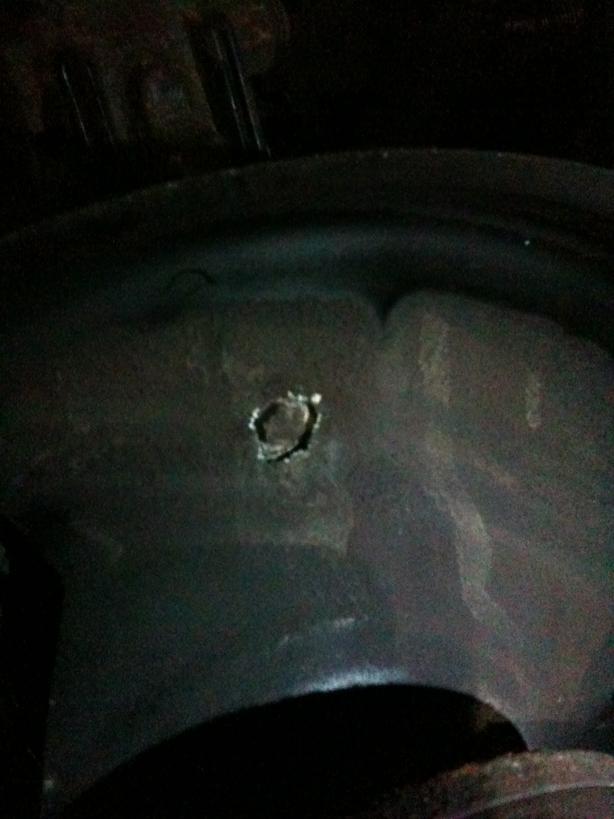
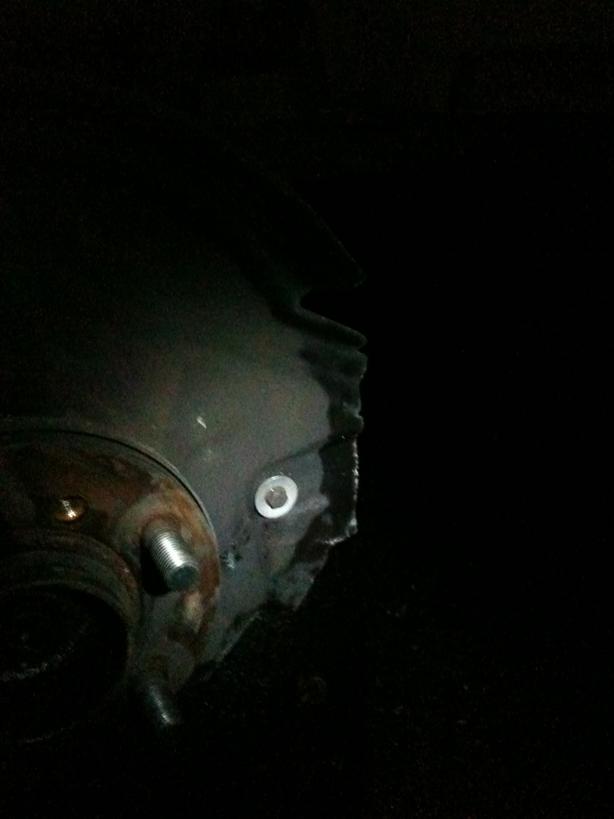
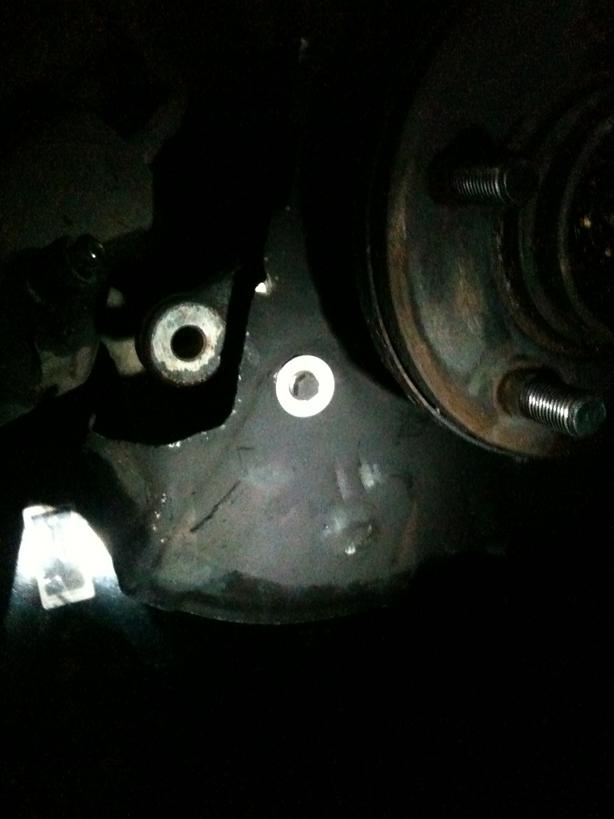
Now you can see the Shield retaining bolts and the corrosion causing it to rattle.
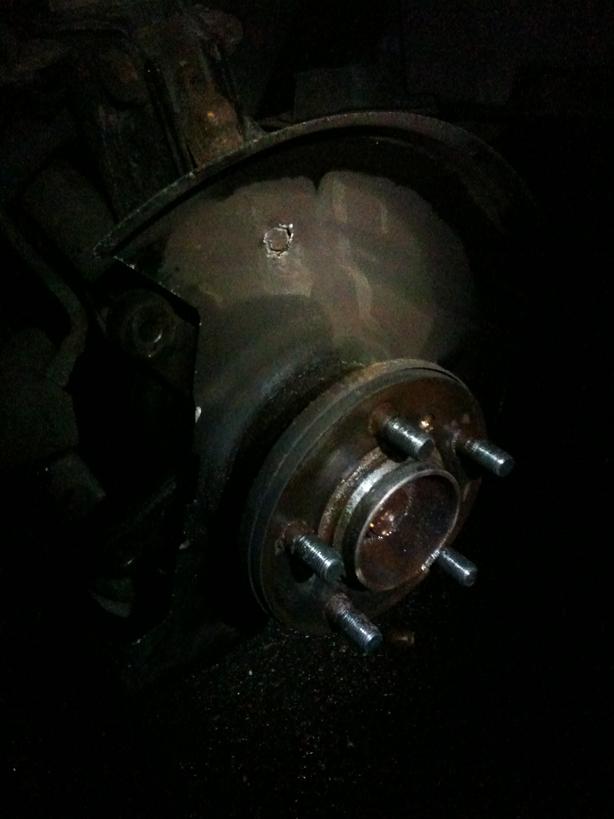
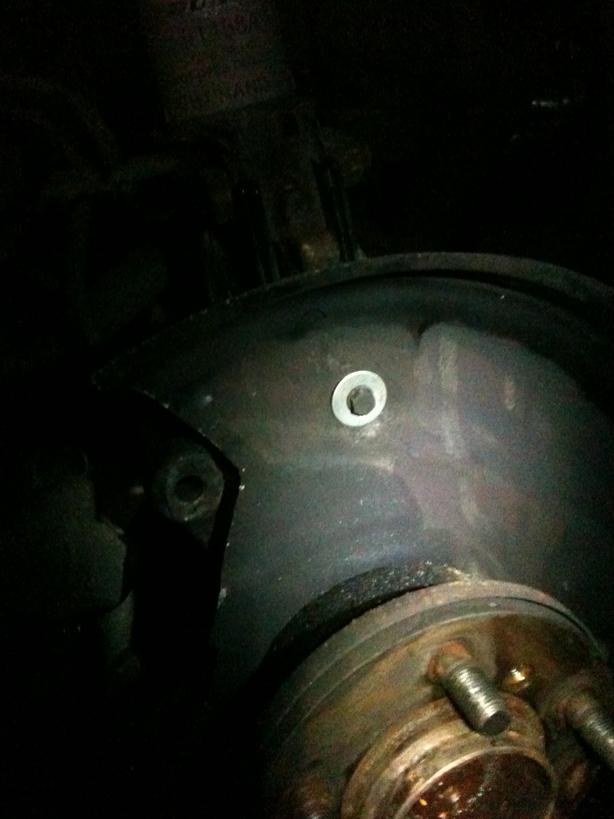
Undo the bolts and fit a large washer to hold the Shield in place....
Once that is done, refit the Disc using some Copper Grease to make the removal easier next time it has to come off, Replace the Calliper Bracket, refit the Brake Pads and Calliper, refit the Calliper Slide Pins using a blob of Copper Grease, Refit the Calliper retaining spring, and depress the brake pedal a few times to compress the pads.
Refit the Road Wheel, do up the nuts to hold in place.....de-jack, and do up the Wheel Nuts to the required torque.... (remember to recheck them after 50 miles or so)!
Clean your tools, clean yourself...
Job Done!
Sounds like an exhaust rattle, but it is just where the shield is bolted on and over time the shield metal corrodes around the washer, no doubt through dissimilar metal corrosion, and becomes loose and rattles ...
The fix is dead simple Large Washers....
The job is simple, unless the Brake Disc havent been off in 10 years along with the Calliper Bracket Bolts that makes things a little interesting....
Well on Friday evening on the way home with a window open, I noticed the tell tale rattle...time to do mine by the sounds of it. A quick turn to lock, and a feel behind each wheel revealed the Drivers side was infact loose, the Passengers side can wait a while for better weather.
So after work I got home about 4.30pm, and only had very little daylight left hence why some of the photos are a little dark, I was trying to take them wearing a head torch and my iPhone which doesnt have a flash cos it is an old one!
Required tools:
Wheel nut spanner
5/8 Socket (Calliper Bracket)
Ratchet to suit Sockets
7mm Allen Key (Calliper Slide Pins)
6mm Allen Key (Disc Retaining Screw)
11mm Spanner (Brake Bleed Nipple)
Long Nose Pliers
Lever
Hammer and Wood
Copper Grease
Breaking Bar
10mm Spanner (Brake Disc Shield Bolts)
Large Washers to fit M8 bolts
Loosen Wheel Nuts, Jack up vehicle, Secure on Stand, Remove Road Wheel....
Liberally spray the Calliper Bracket Bolts with penetrating fluid...
Using a lever and pliers, remove the Calliper retaining spring...
Using a lever, put pressure on the brake pads and open the bleed nipple, lever the pads off the disc. While maintaining pressure on the pads and with fluid still running out of the bleed nipple, close the nipple securely and then release pressure on the pads. This will prevent as much as possible air from getting into the calliper and as such wont require bleeding.
Using a 7mm Allen Key, remove the Calliper slide pins. These can be tight so an additional lever may be required on the allen key.
Remove the Calliper and tie out of the way, dont leave it dangling as this can damage the hose.
Again liberally spray the Caliper Bracket Bolts with penetrating fluid, and using a 5/8 socket and, if like mine and have been on since the car was built, a lot of force using a breaking bar to crack the bolts loose, then remove using a ratchet...they can be stiff all the way out.
Using a 6mm Allen Key, remove the Disc retaining bolt. This can again be tight so an additional lever will help, just dont round of the bolt.
Now for me the fun began, about 20 minutes of levering, hammering, spraying with penetrating fluid, swearing, panting, sweating and general thuggery and I managed to get the Brake Disc free of the hub....
Now you can see the Shield retaining bolts and the corrosion causing it to rattle.
Undo the bolts and fit a large washer to hold the Shield in place....
Once that is done, refit the Disc using some Copper Grease to make the removal easier next time it has to come off, Replace the Calliper Bracket, refit the Brake Pads and Calliper, refit the Calliper Slide Pins using a blob of Copper Grease, Refit the Calliper retaining spring, and depress the brake pedal a few times to compress the pads.
Refit the Road Wheel, do up the nuts to hold in place.....de-jack, and do up the Wheel Nuts to the required torque.... (remember to recheck them after 50 miles or so)!
Clean your tools, clean yourself...
Job Done!
Last edited: