lerk
New Member
- Posts
- 1,763
- Location
- Creswell, Derbyshire UK
As promised... This is how I replaced the broken spring on a rear passenger door, I will do another for a front door when I get round to changing one!
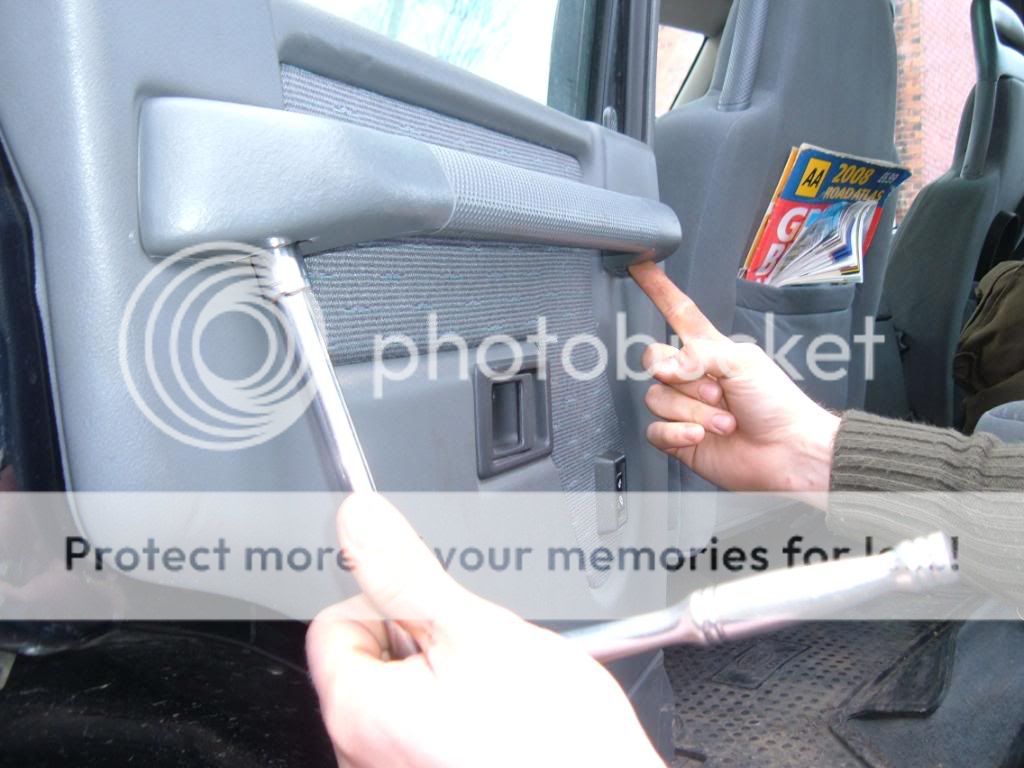
First, remove the grab handle which is secured by two 10mm hex-head bolts.
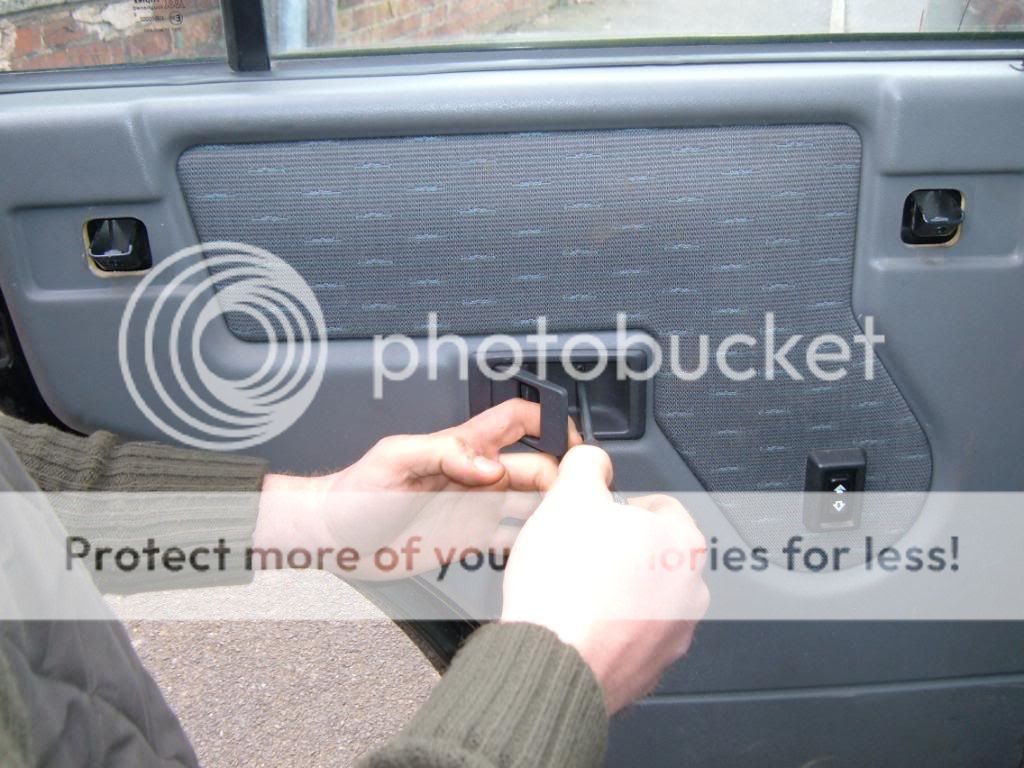
Then remove the latch lever surround by holding the lever open and then unscrewing the PZ screw underneath, then slide towards the front of the car and away.
Now prise away the door card, starting at the bottom and working around the card until it is free (you'll probably snap some of the studs off but don't worry about it too much - mine only has 4 holding it on!)
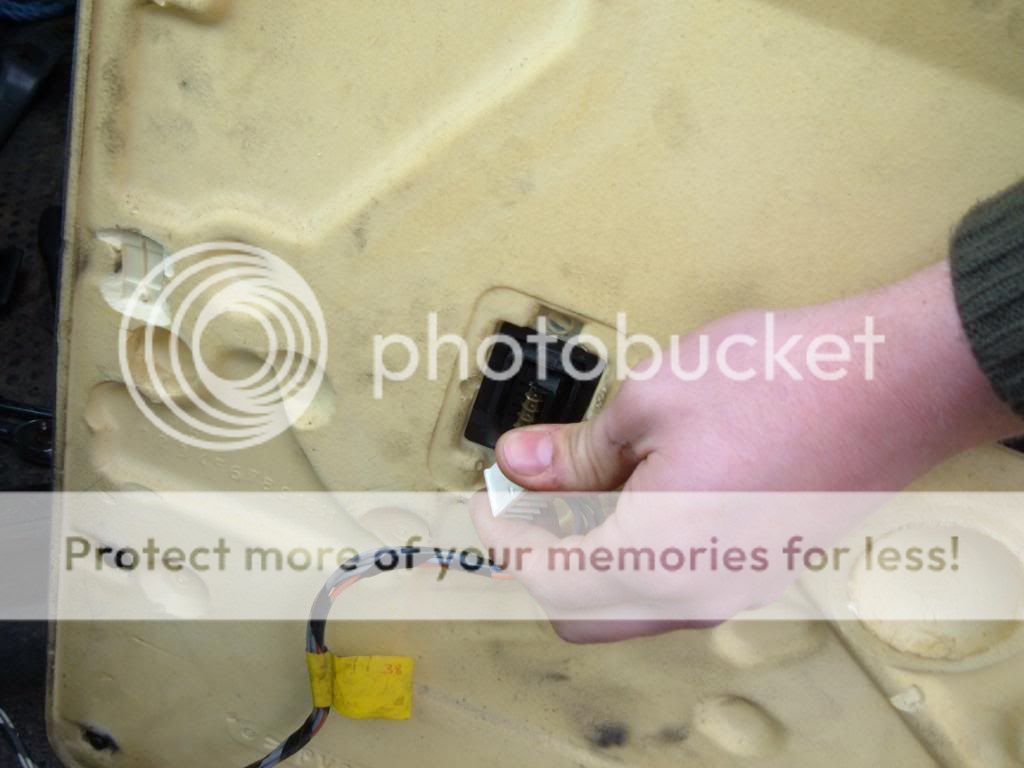
Lift the door card up and over the lock pin then disconnect the window switch. At this stage (depending on whos been in the door before you) you may have a plastic membrane stuck to the door which needs removing - or just cutting off if you're a rough get like me!
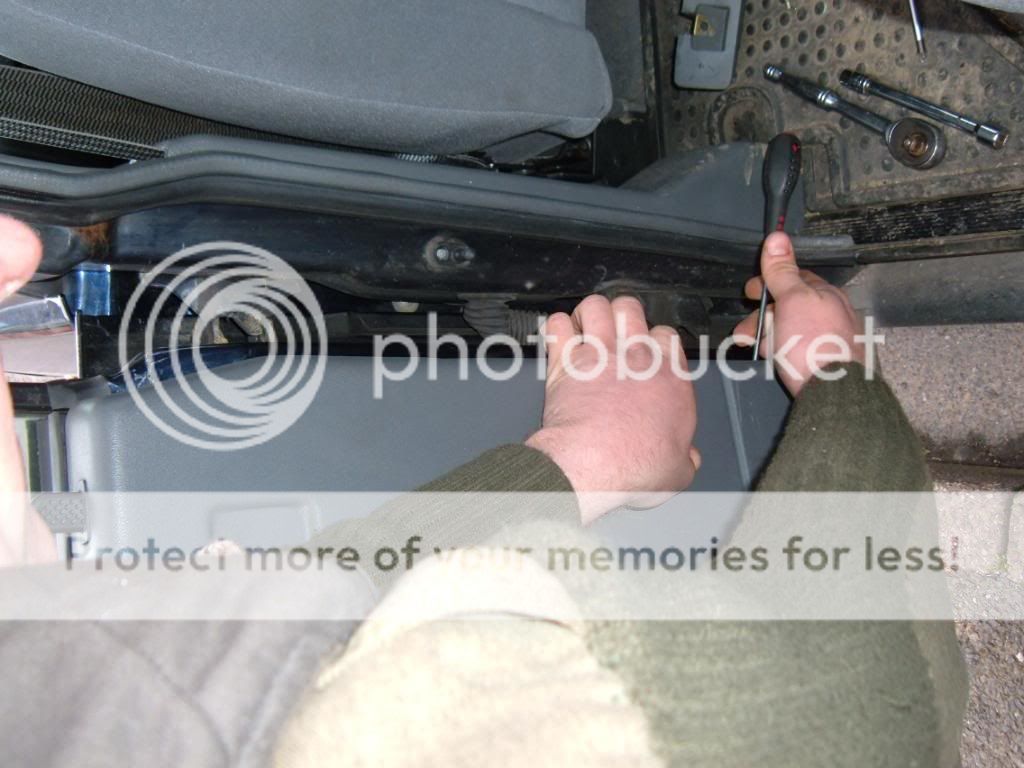
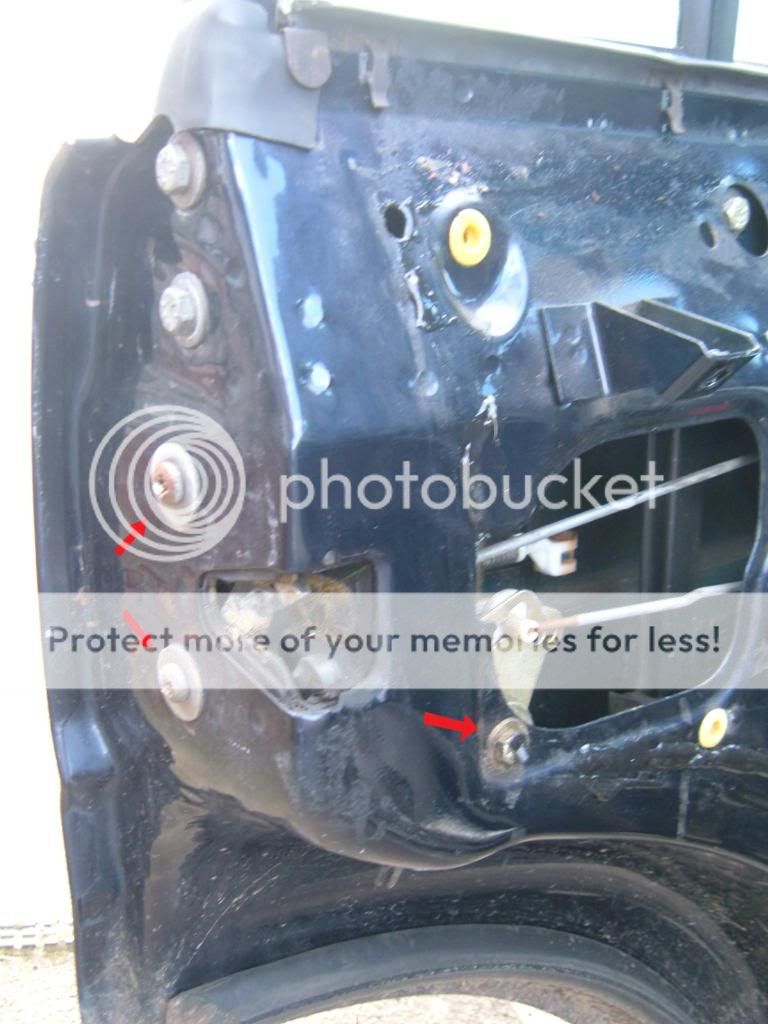
Now you can see the linkages to the latch but they're not that easily accessible, so remove the two large PZ screws on the rear edge of the door and the 10mm hex head bolt on the face. (don't loose the spacer from the bolt, inside door skin)
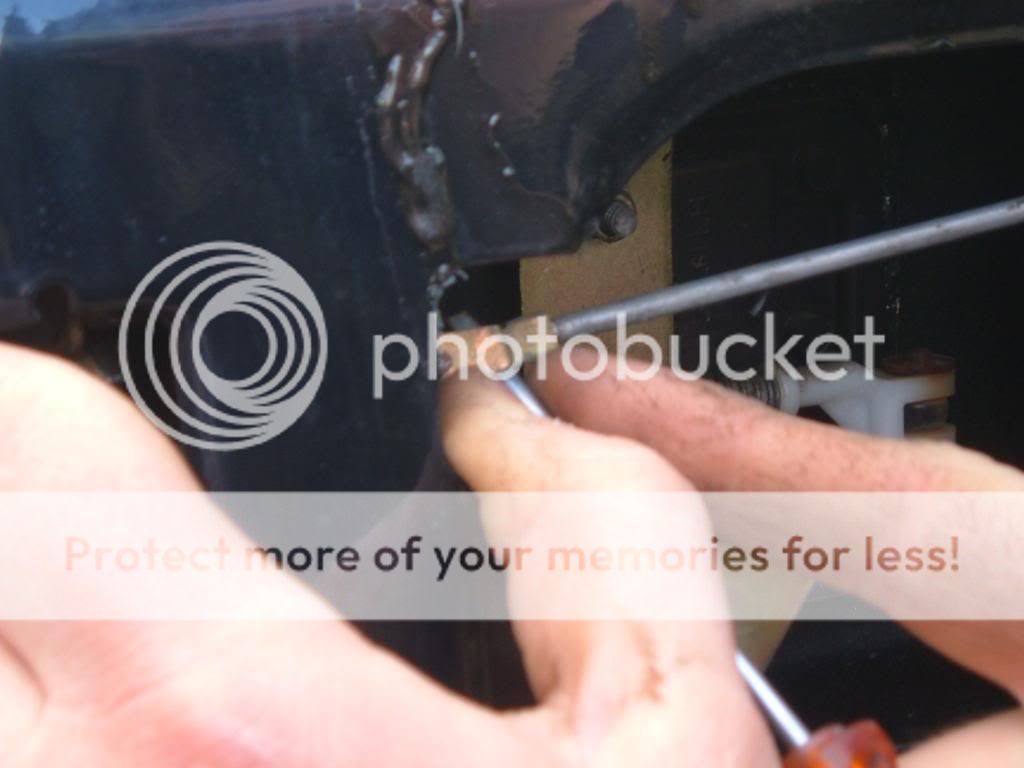
Now the latch mechanism is free you can get to the linkages a bit easier, start by removing the top front linkage, simply lift the clip over the rod then pull the clip off and keep it safe and push the rod back through the hole.
Unscrew the latch lever and unhook the linkage from it
Then remove the fiddlely little linkage to the outer handle, this uses the same attachement as the first linkage. be careful not to spin the rod as it has a thread on the latch end for adjustment...
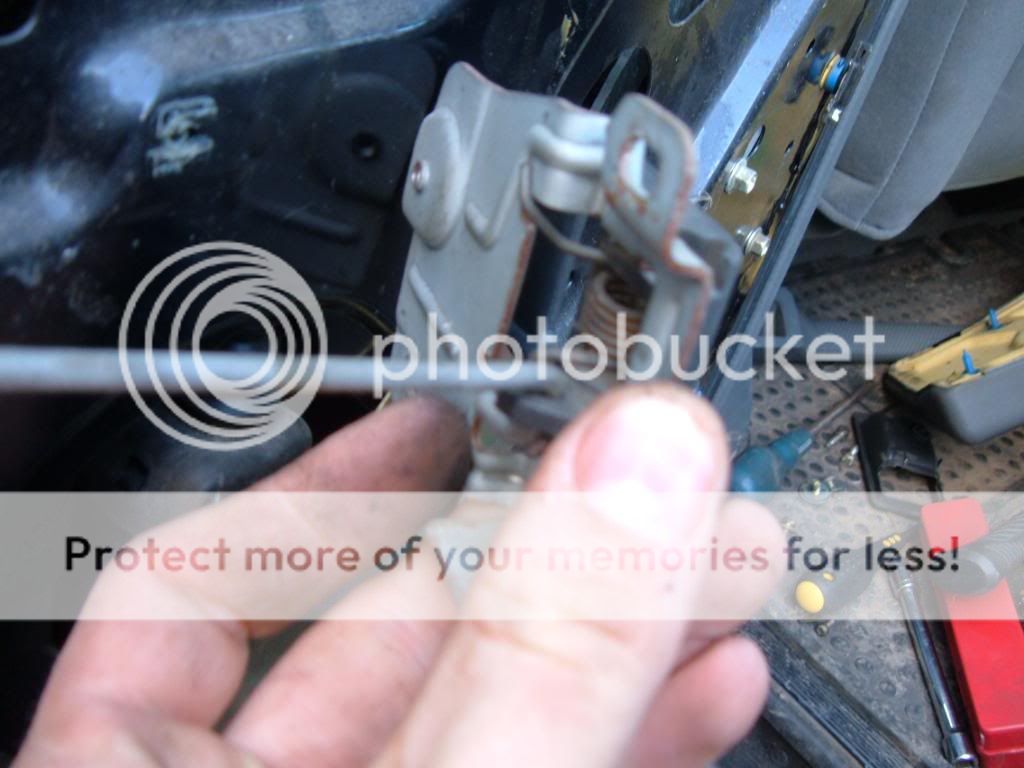
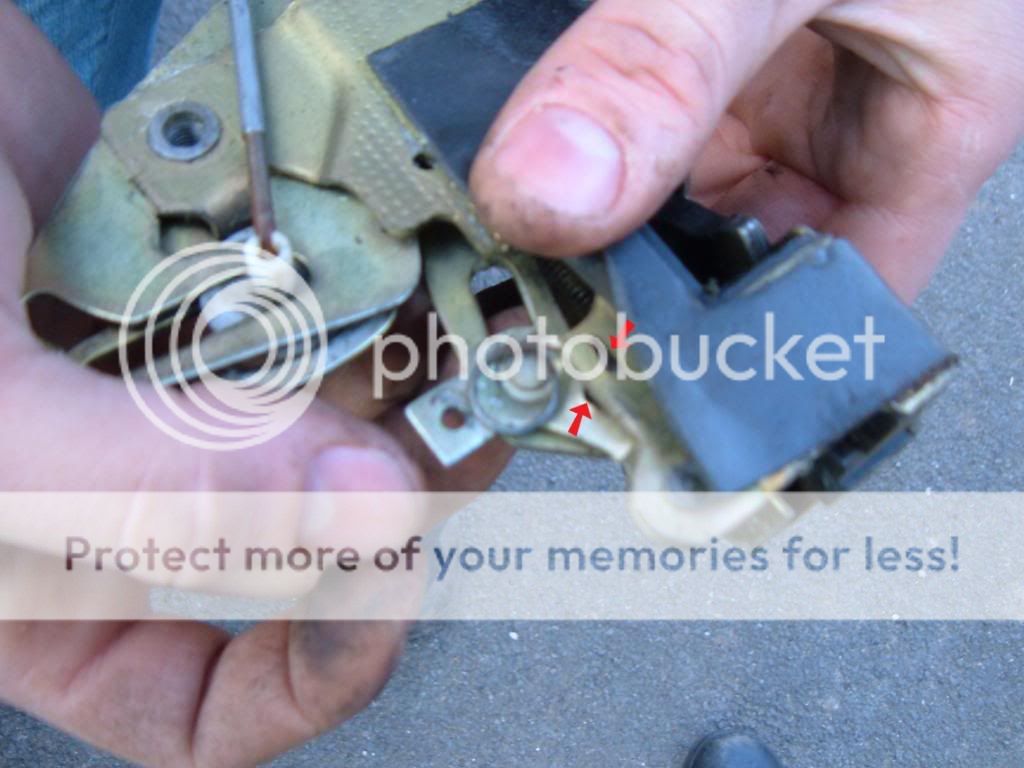
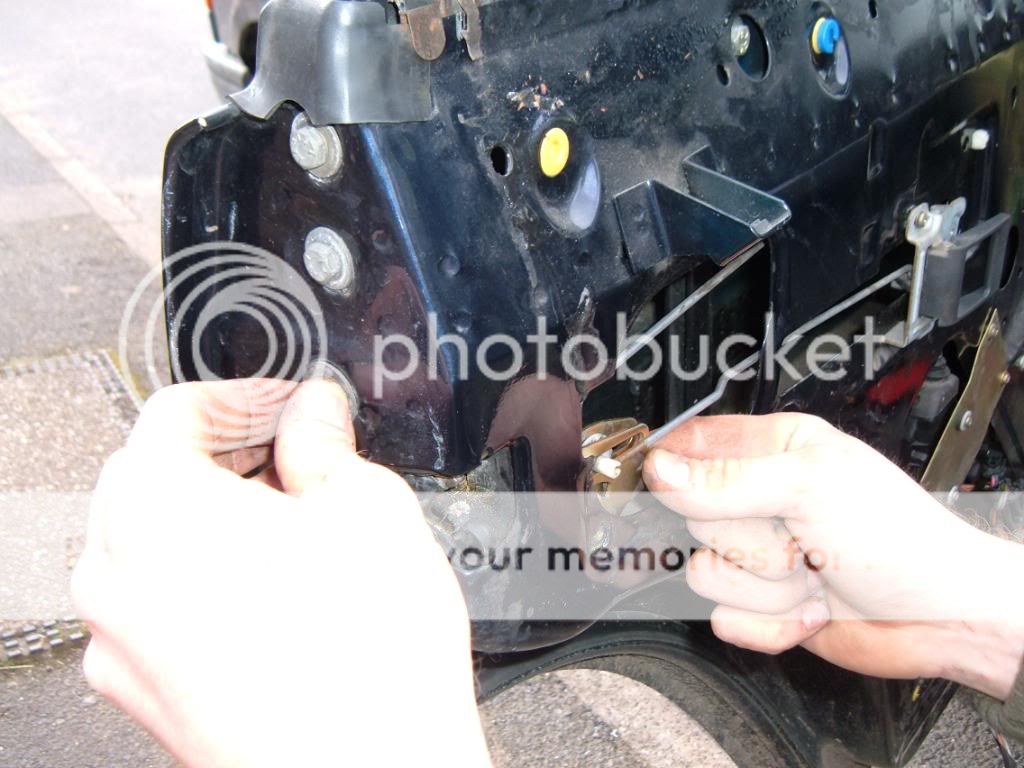
Now you can pull the latch out of the door, here's my broken spring and the two holes where it should be fitted are marked
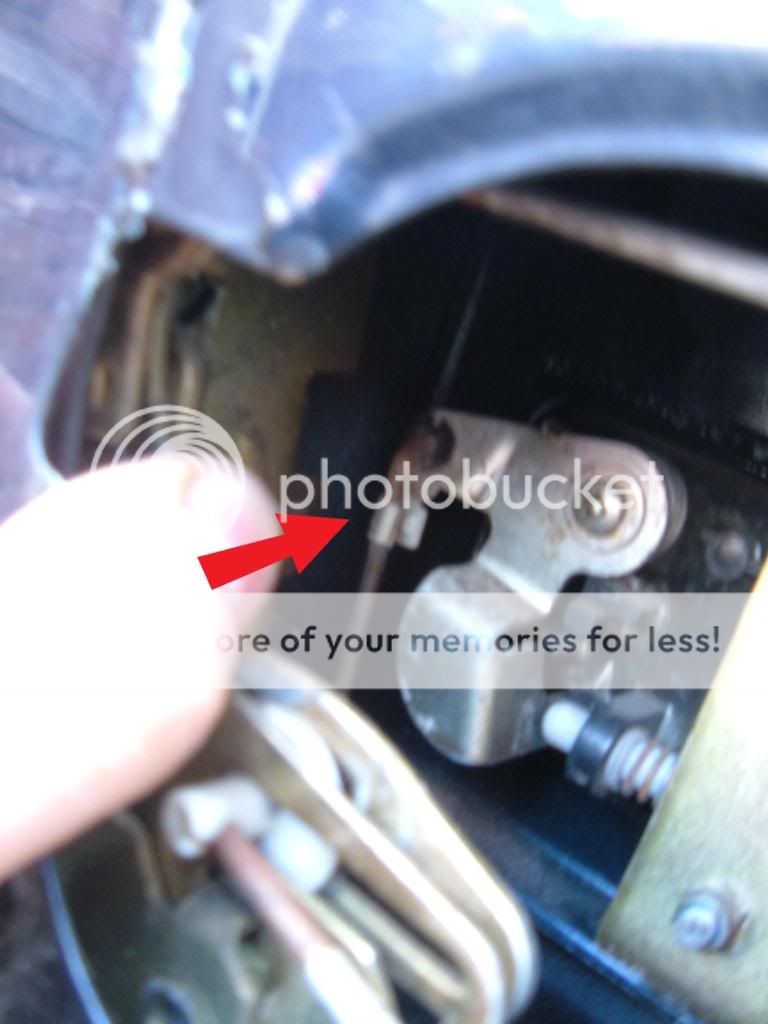
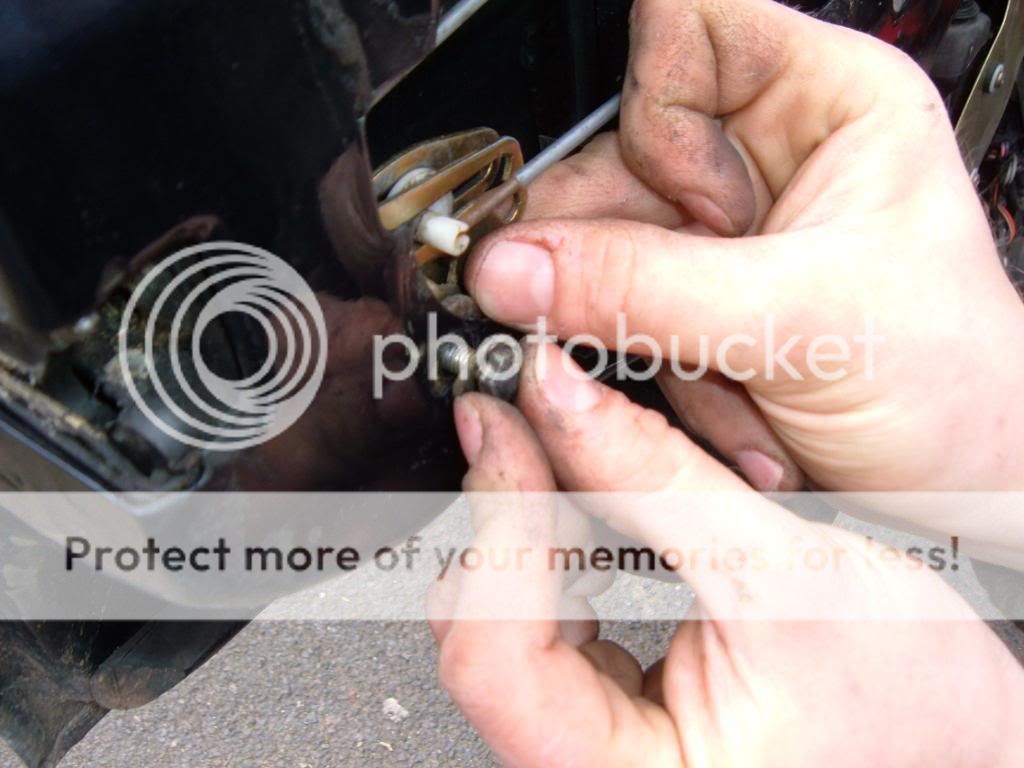
Remove the damaged spring, then fit the new one into the round hole first
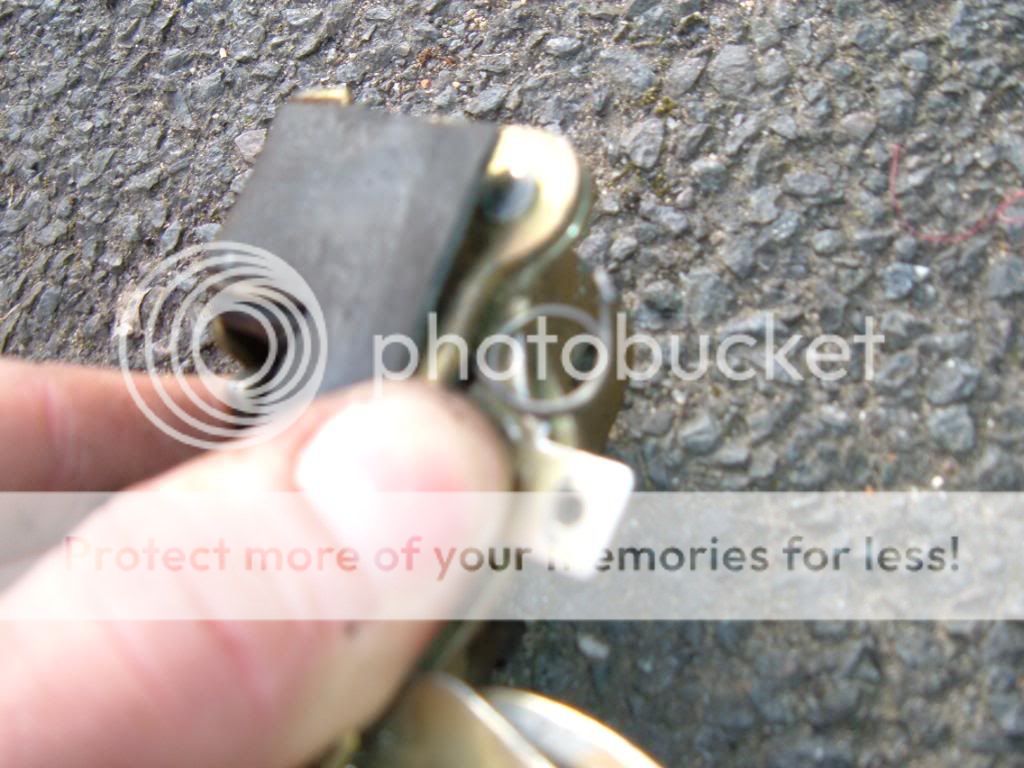
Then using a small screwdriver prise the free end of the spring into the triangular hole - the spring will sit with the round part facing downwards inbetween the two plates and will create a positive click between open and closed positions. Test before reinstallation
Slot the latch back into the door and reattach the outer handle linkage, refit the inner handle and the final linkage from the lock pin
Then align the latch and loosely refit the two PZ screws to the rear
Then fit the bolt from the side of the latch, don't forget the spacer!
Test the operation of the latch and tighten up all the screws/bolts then you can rebuild the door card assembly ant'jobs a fish!
Tailgate (Boot) Door How-to
Fairly brief this one due to having to change it in a rush... (READ: I forgot to take pictures until i was putting it back together!) but i'll try and write as many pointers in as possible to make up for the lack of pictures!
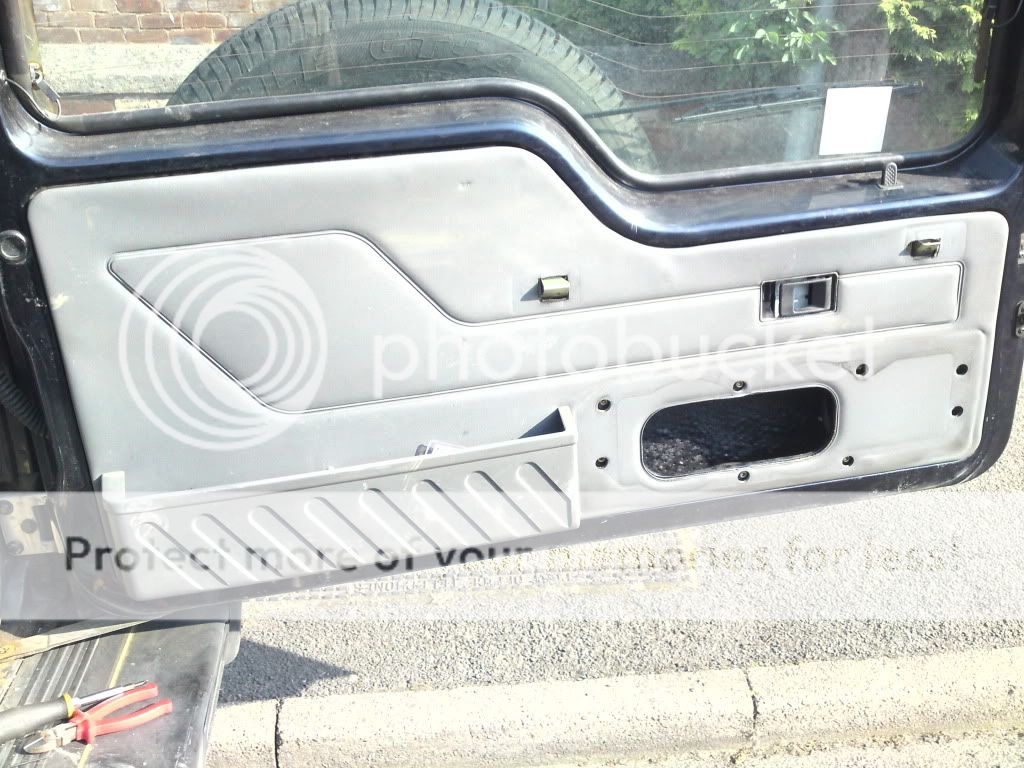
First remove 6 x PZ screws in the speaker grille
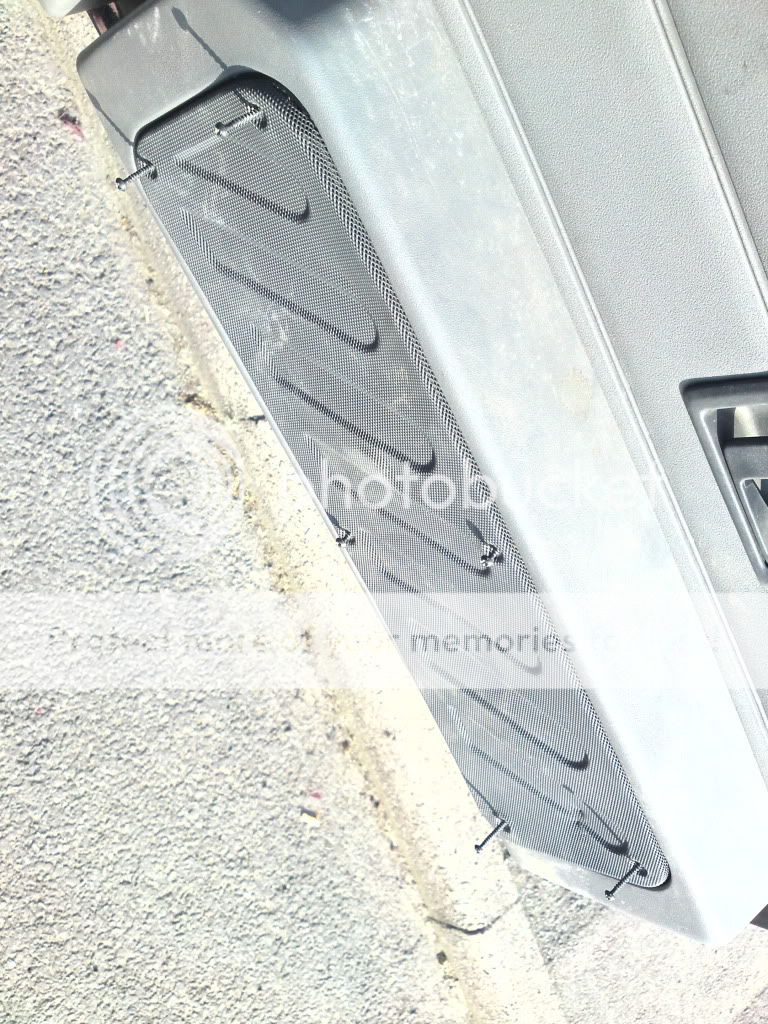
Then, remove the grille exposing 4 x PZ screws
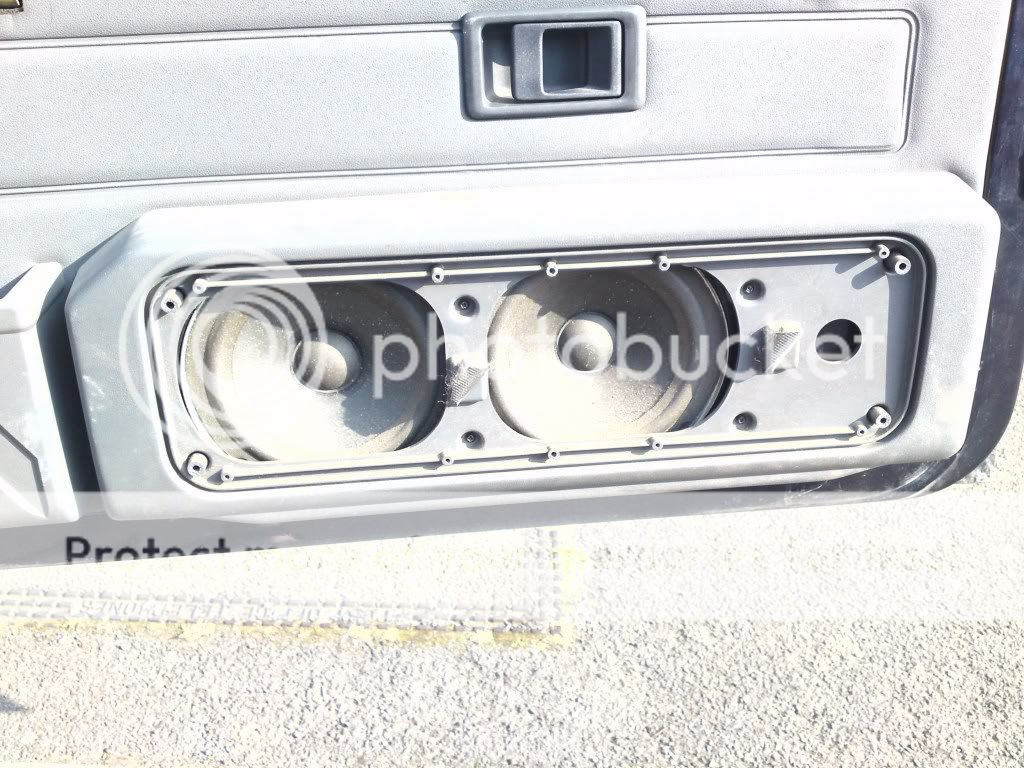
The plastic speaker surround should then pull off to reveal

The 8 PZ machine screws around the speaker can then be removed and the speaker/amp pack disconnected
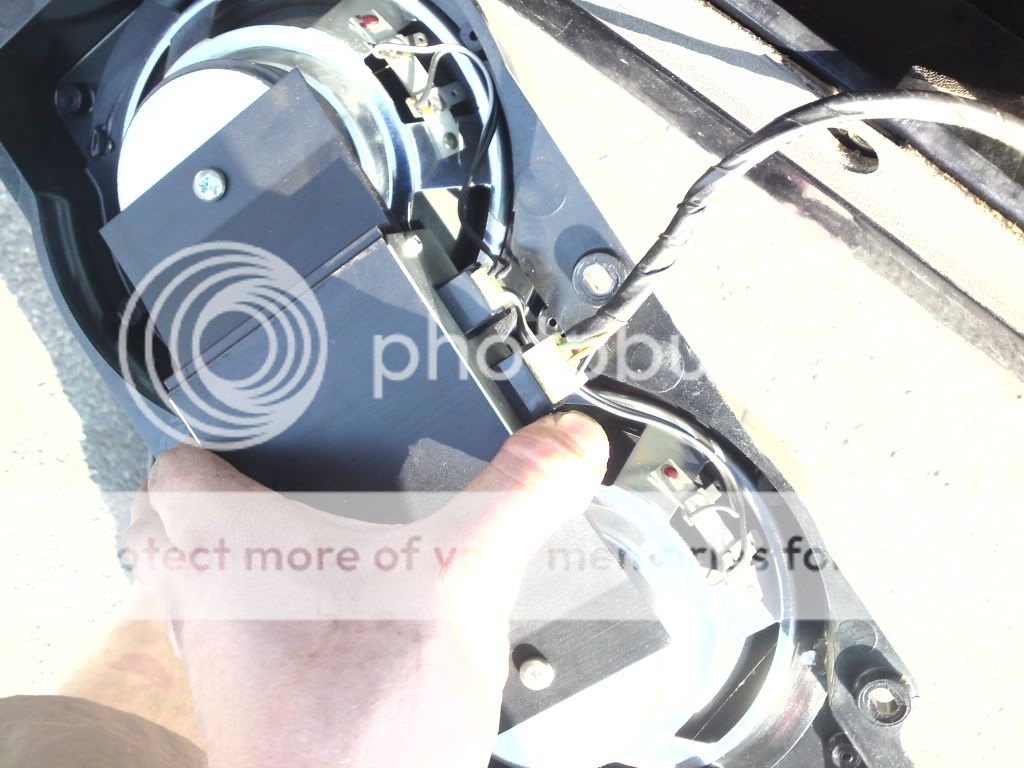
With the speaker removed and the cable tucked back into the door, take off the grab handle and latch pull surround as per the other doors - then the door card will be free to pull away (leaving at least 50% of the retaining lugs in the door NOT attached to the door card!)
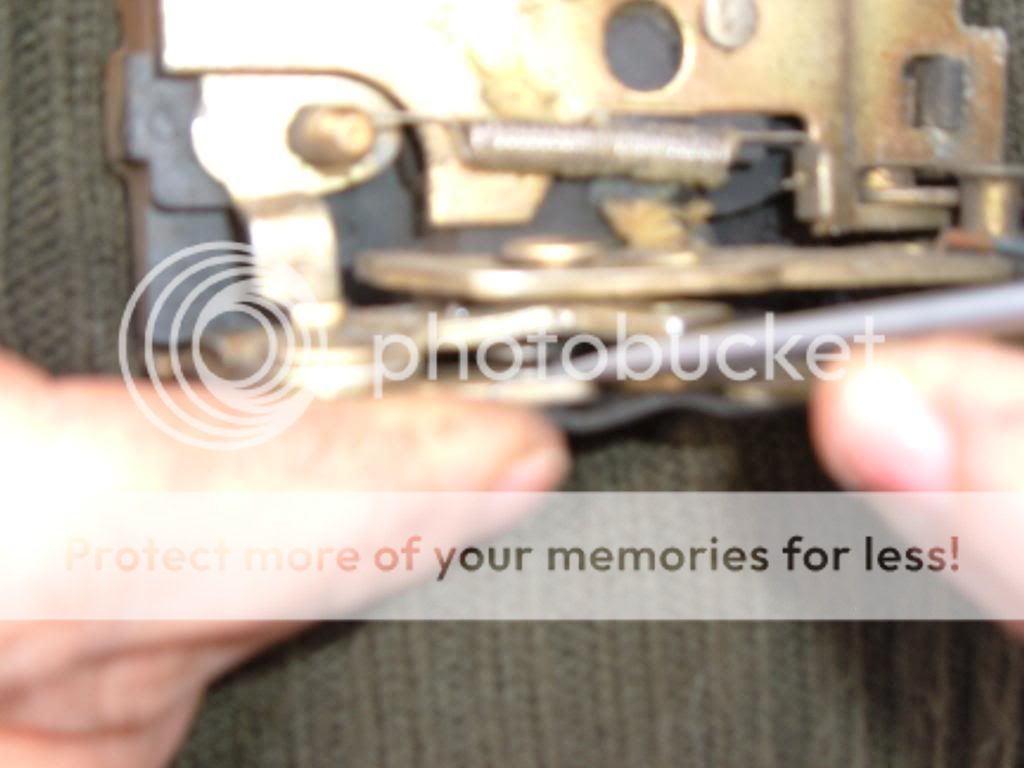
Now you'll be looking at the linkages and contemplating suicide... hopefully this picture will help you put them all back in the right places!
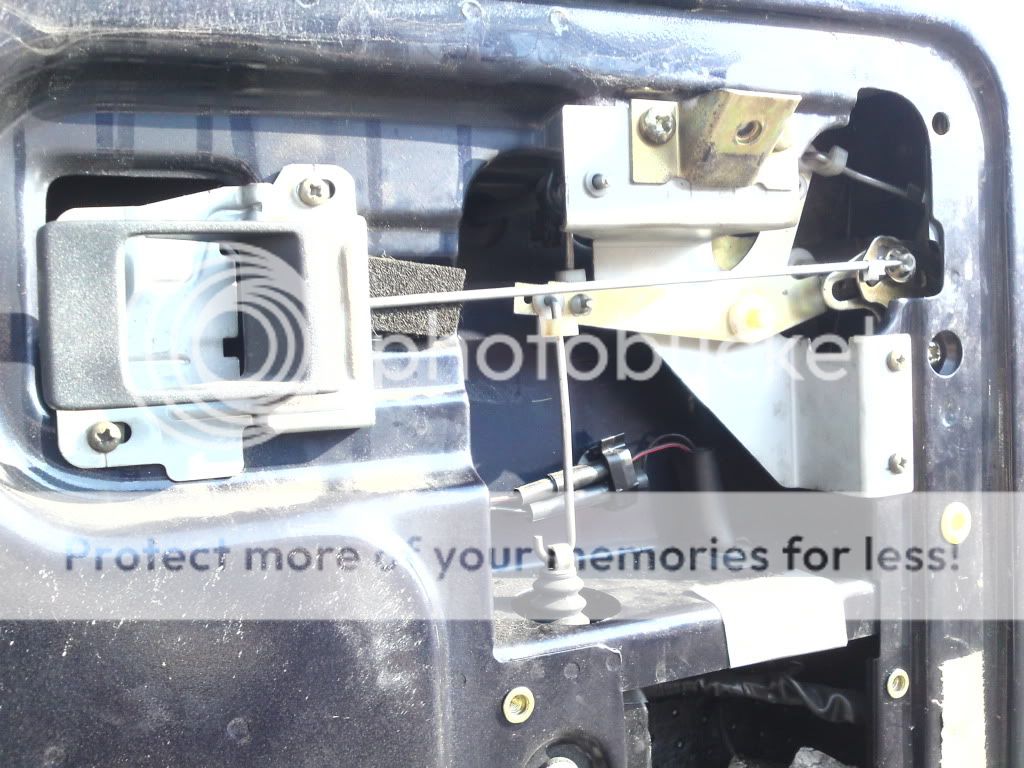
remove all linkages/pivots (most are same as rear passenger doors although there are some plastic retainer clips as well - be careful!), the plate holding outer pivot (attached by the right hand bracket for the grab handle) the inner pivot (pull out the centre of the plastic plug first) and the child lock.
You will then be able - after much swearing and cursing - be able to remove the latch. Unlike the rear passenger door, this one will only come out of the door space in one direction... pull the top of the latch up and out whilst pushing the bottom further into the door (towards where the top of the latch has just been) - Took me ages to work out how to get the bleeder out of there!
Once the spring is replaced, start rebuilding the mechanism.
This little metal clip took me 25mins and retrieving the clip from the bottom of the door skin around 40 times before reattaching!
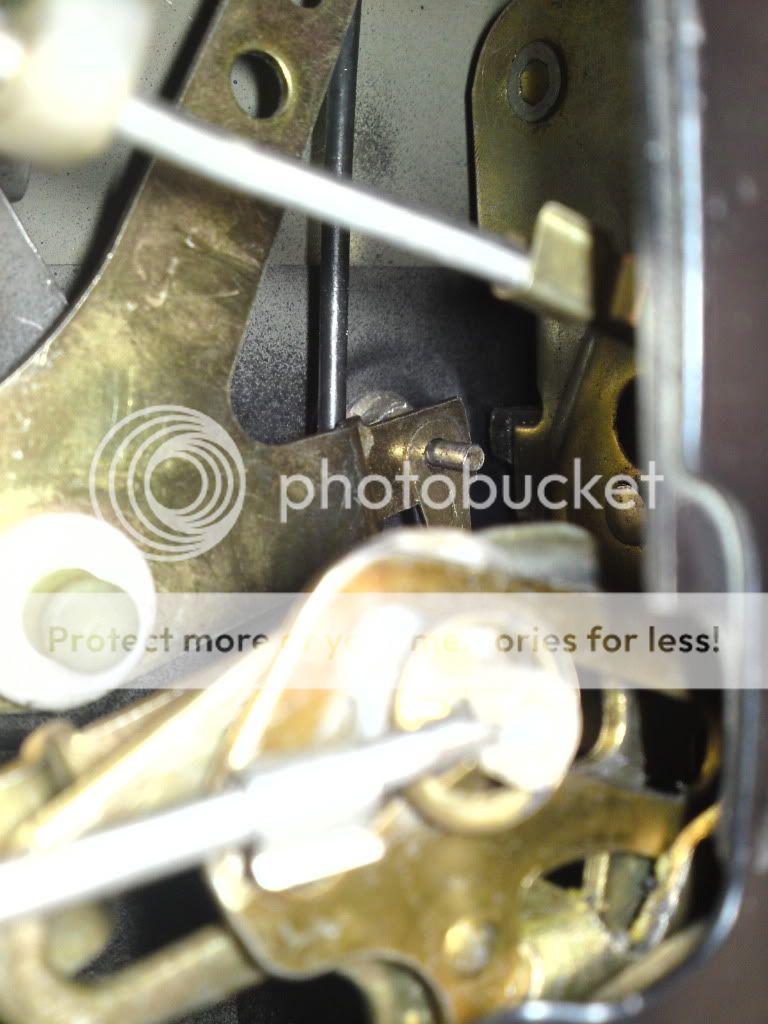
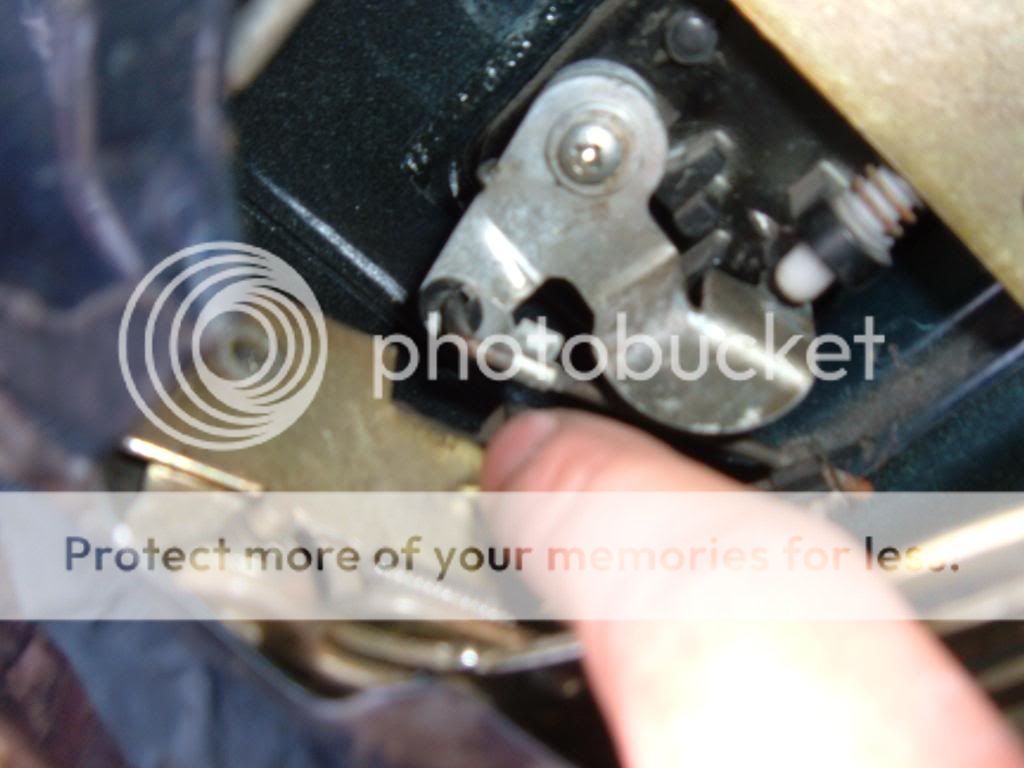
Whilst you had the latch out of the door you will have no doubt played with all the little levers (you did, didn't you! ) so you will have worked out the lever 'hanging' from the latch is the child lock. When refitting the child lock actuator, you need to put the pin on the actuator arm back through the slot of the lever, then screw back in place on the door.
Now you have plenty of access, locate where the outside handle comes through the door and the pivot points for it outside - give it a good spray of WD40 then a spray grease whilst working it, this will probably save you stripping the door again in 6 months time when it seizes!
Once again, before you refit the door card try every action of the latch to check you've reassembled it right!
First, remove the grab handle which is secured by two 10mm hex-head bolts.
Then remove the latch lever surround by holding the lever open and then unscrewing the PZ screw underneath, then slide towards the front of the car and away.
Now prise away the door card, starting at the bottom and working around the card until it is free (you'll probably snap some of the studs off but don't worry about it too much - mine only has 4 holding it on!)
Lift the door card up and over the lock pin then disconnect the window switch. At this stage (depending on whos been in the door before you) you may have a plastic membrane stuck to the door which needs removing - or just cutting off if you're a rough get like me!
Now you can see the linkages to the latch but they're not that easily accessible, so remove the two large PZ screws on the rear edge of the door and the 10mm hex head bolt on the face. (don't loose the spacer from the bolt, inside door skin)
Now the latch mechanism is free you can get to the linkages a bit easier, start by removing the top front linkage, simply lift the clip over the rod then pull the clip off and keep it safe and push the rod back through the hole.
Unscrew the latch lever and unhook the linkage from it
Then remove the fiddlely little linkage to the outer handle, this uses the same attachement as the first linkage. be careful not to spin the rod as it has a thread on the latch end for adjustment...
Now you can pull the latch out of the door, here's my broken spring and the two holes where it should be fitted are marked
Remove the damaged spring, then fit the new one into the round hole first
Then using a small screwdriver prise the free end of the spring into the triangular hole - the spring will sit with the round part facing downwards inbetween the two plates and will create a positive click between open and closed positions. Test before reinstallation
Slot the latch back into the door and reattach the outer handle linkage, refit the inner handle and the final linkage from the lock pin
Then align the latch and loosely refit the two PZ screws to the rear
Then fit the bolt from the side of the latch, don't forget the spacer!
Test the operation of the latch and tighten up all the screws/bolts then you can rebuild the door card assembly ant'jobs a fish!
Tailgate (Boot) Door How-to
Fairly brief this one due to having to change it in a rush... (READ: I forgot to take pictures until i was putting it back together!) but i'll try and write as many pointers in as possible to make up for the lack of pictures!
First remove 6 x PZ screws in the speaker grille
Then, remove the grille exposing 4 x PZ screws
The plastic speaker surround should then pull off to reveal
The 8 PZ machine screws around the speaker can then be removed and the speaker/amp pack disconnected
With the speaker removed and the cable tucked back into the door, take off the grab handle and latch pull surround as per the other doors - then the door card will be free to pull away (leaving at least 50% of the retaining lugs in the door NOT attached to the door card!)
Now you'll be looking at the linkages and contemplating suicide... hopefully this picture will help you put them all back in the right places!
remove all linkages/pivots (most are same as rear passenger doors although there are some plastic retainer clips as well - be careful!), the plate holding outer pivot (attached by the right hand bracket for the grab handle) the inner pivot (pull out the centre of the plastic plug first) and the child lock.
You will then be able - after much swearing and cursing - be able to remove the latch. Unlike the rear passenger door, this one will only come out of the door space in one direction... pull the top of the latch up and out whilst pushing the bottom further into the door (towards where the top of the latch has just been) - Took me ages to work out how to get the bleeder out of there!
Once the spring is replaced, start rebuilding the mechanism.
This little metal clip took me 25mins and retrieving the clip from the bottom of the door skin around 40 times before reattaching!
Whilst you had the latch out of the door you will have no doubt played with all the little levers (you did, didn't you!
) so you will have worked out the lever 'hanging' from the latch is the child lock. When refitting the child lock actuator, you need to put the pin on the actuator arm back through the slot of the lever, then screw back in place on the door.Now you have plenty of access, locate where the outside handle comes through the door and the pivot points for it outside - give it a good spray of WD40 then a spray grease whilst working it, this will probably save you stripping the door again in 6 months time when it seizes!
Once again, before you refit the door card try every action of the latch to check you've reassembled it right!