- Posts
- 16,475
Following on from my previous thread ..... http://www.landyzone.co.uk/lz/f10/possible-headlamp-ballast-ecu-fault-256103.html
Discotigger kindly pointed out that it would be prudent to ensure all the shattered glass is removed from the headlamp assembly so it doesnt jam the shutter that is fitted on the HID/Xenon system.
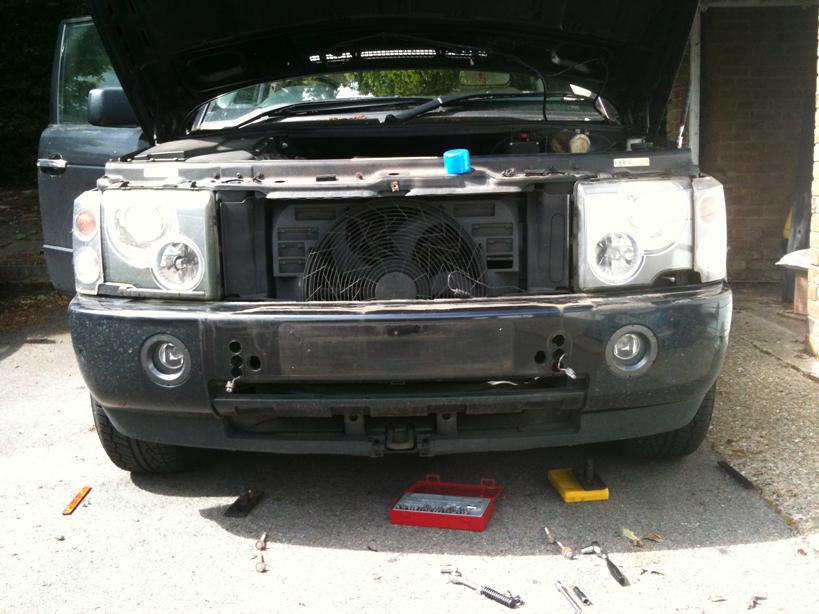
So in true Saint.V8 fashion, I thought Id do a mini How To in removing the headlamp assembly and removing the front glass and interior finisher.
REMEMBER: The HID/Xenon system uses very high voltages to strike the arc in the lamp as such DO NOT work on the system with the ignition and/or lamps switched on....turn it all off and wait a few minutes to allow for any voltages to dissipate first.
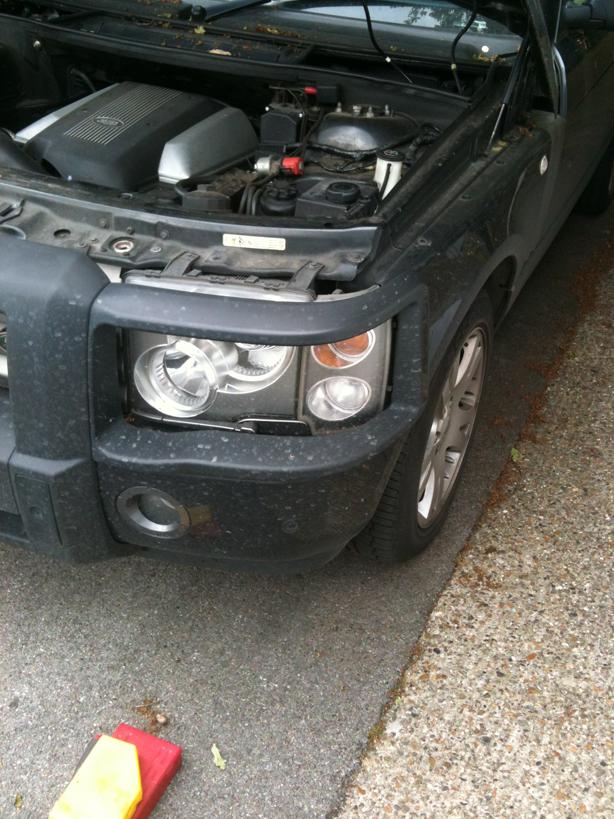
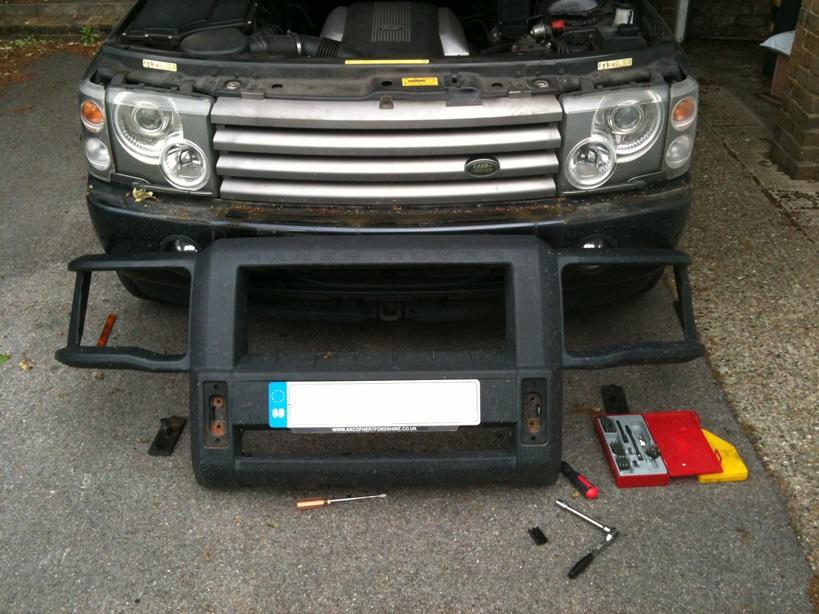
My L322 has a full wrap-around bullbar fitted so I detail the removal of this too as it also has to be removed before getting the headlamp unit out!
The Bullbar is bolted through the front bumper and also via brackets on the side which are fitted behind the indicator unit.
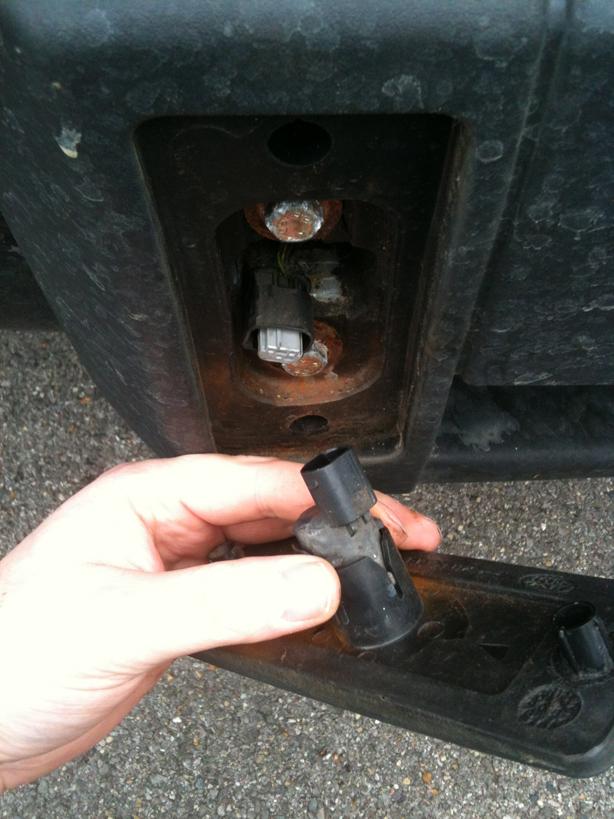
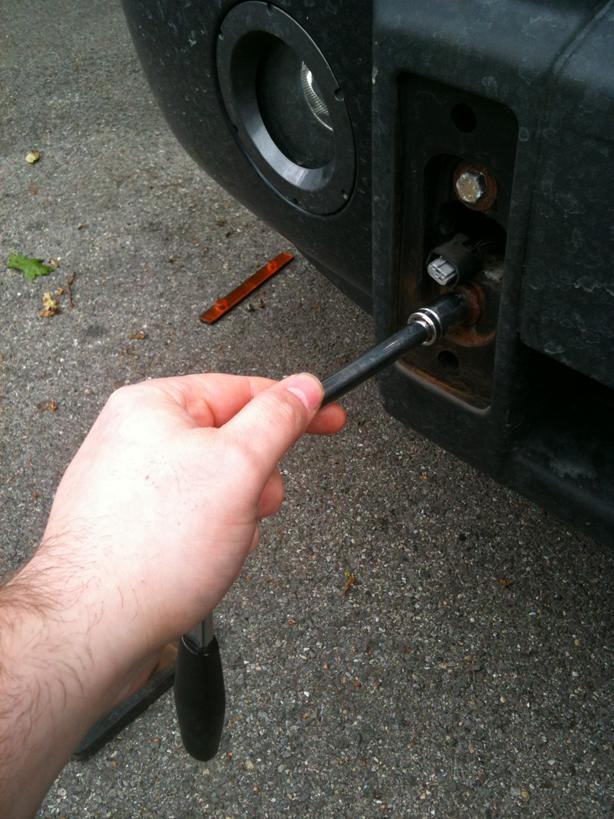
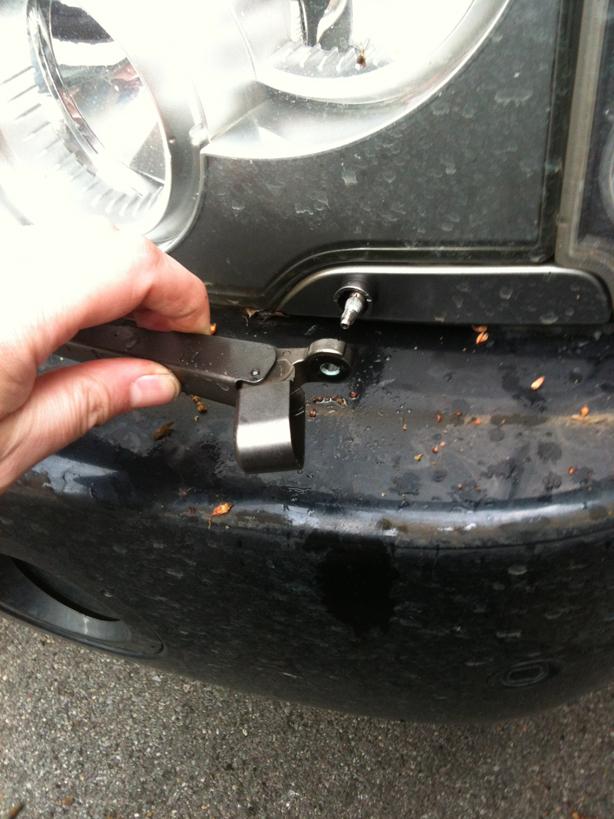
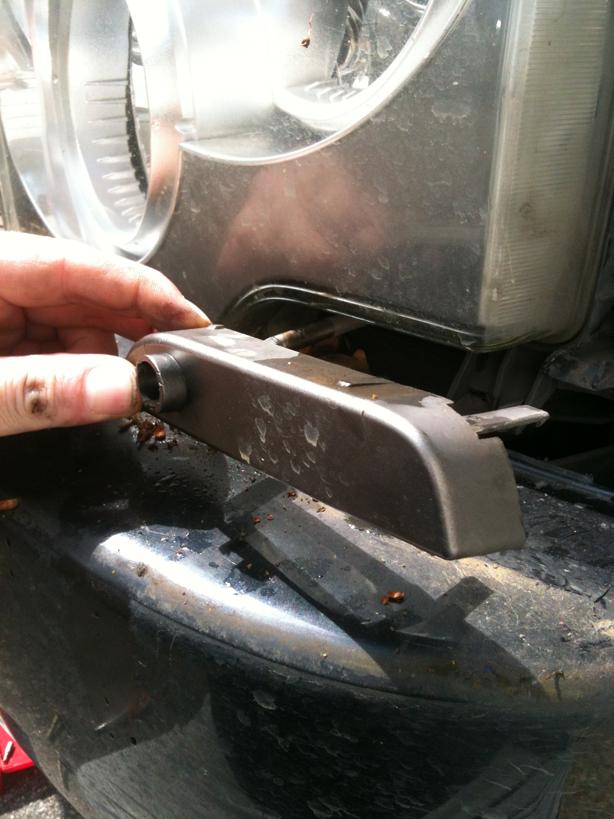
First carefully lever out the front PDC sensor holder from the bullbar
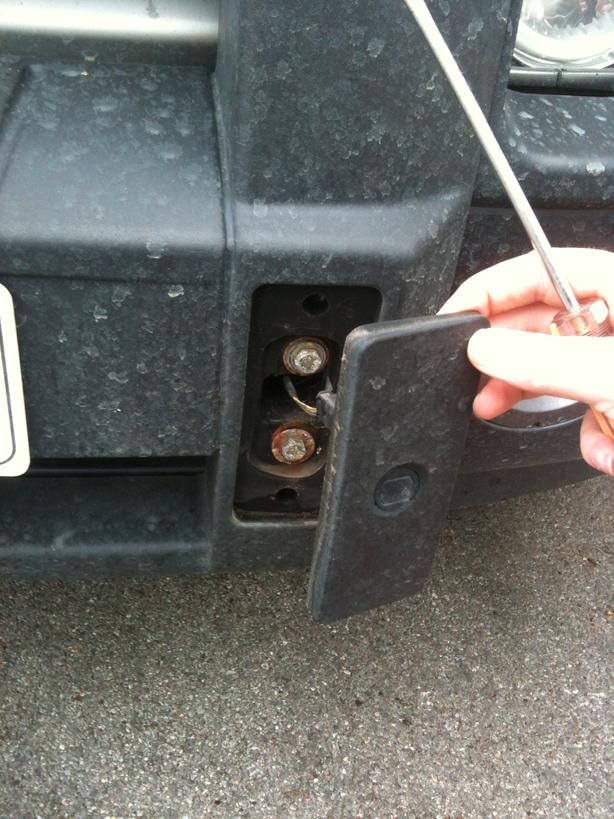
And disconnect the PDC multiplug
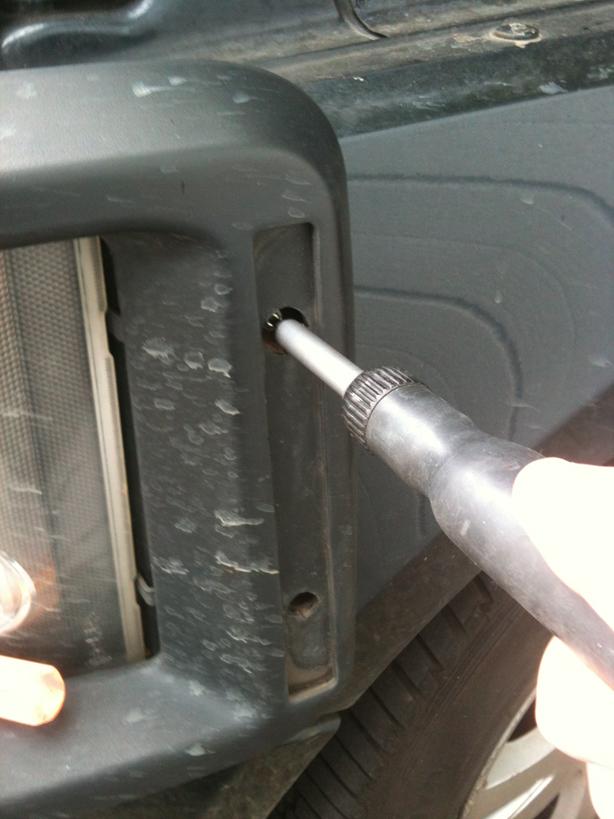
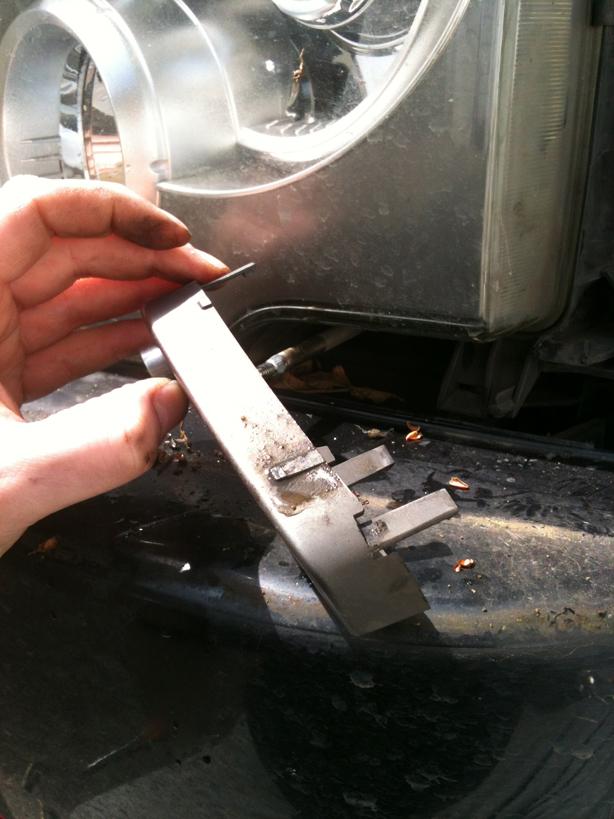
Then carefully prise out the side trim piece from the bullbar headlamp wrap to expose the mounting bolts and undo....
Back round the front and undo the 4 mounting bolts...keep a knee or shoulder against the bullbar to prevent it from falling forward
Slide the bullbar forward and off the bumper, recover the 2 pads that sit under the bullbar to prevent rubbing on the top of the bumper.
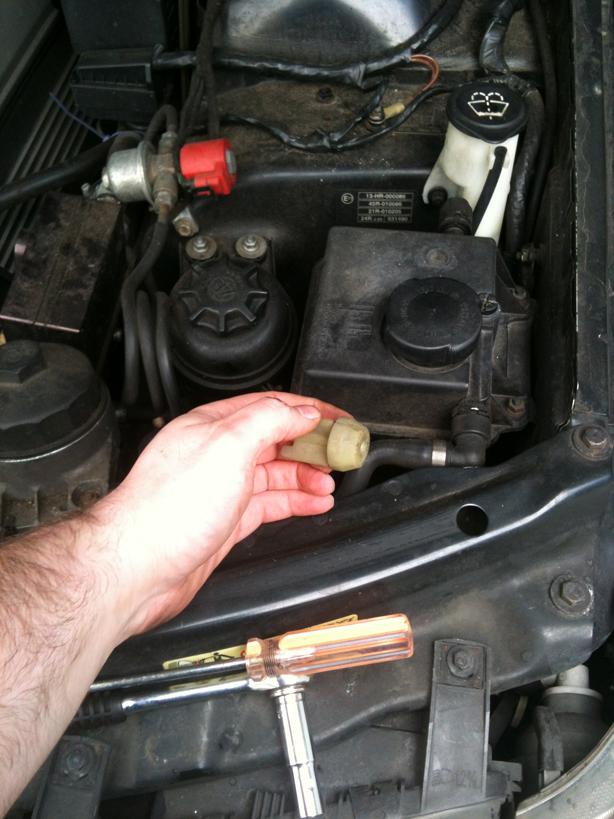
Setting the bullbar to oneside, next is to remove the headlamp wiper arm. A liberal spraying of penetrating fluid may help getting the arm off the spindle. Undo the 10mm retaining nut from the shaft and carefully lever off the wiper arm.
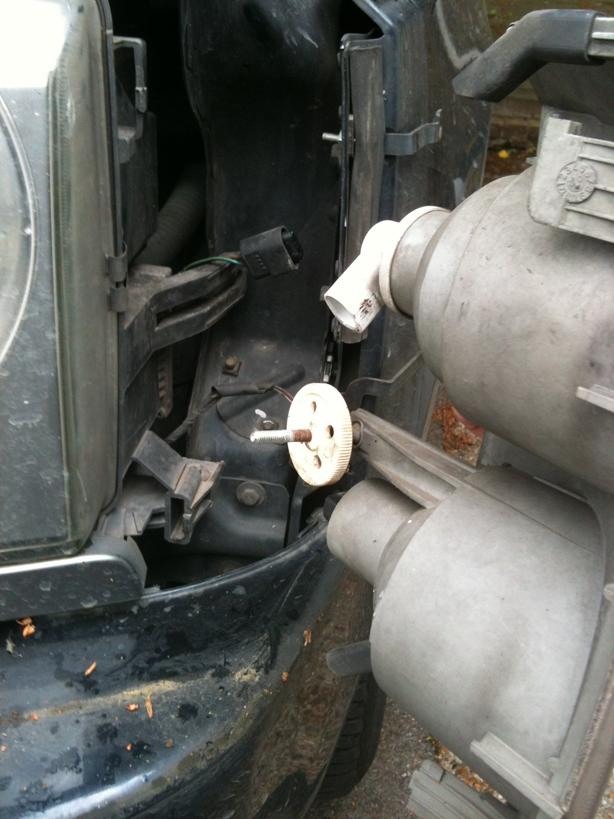
Reaching inside, undo the large plastic nut that retains the indicator assembly
Release the clip and slide the indicator unit forward slightly and undo the 2 multiplugs to the lamps
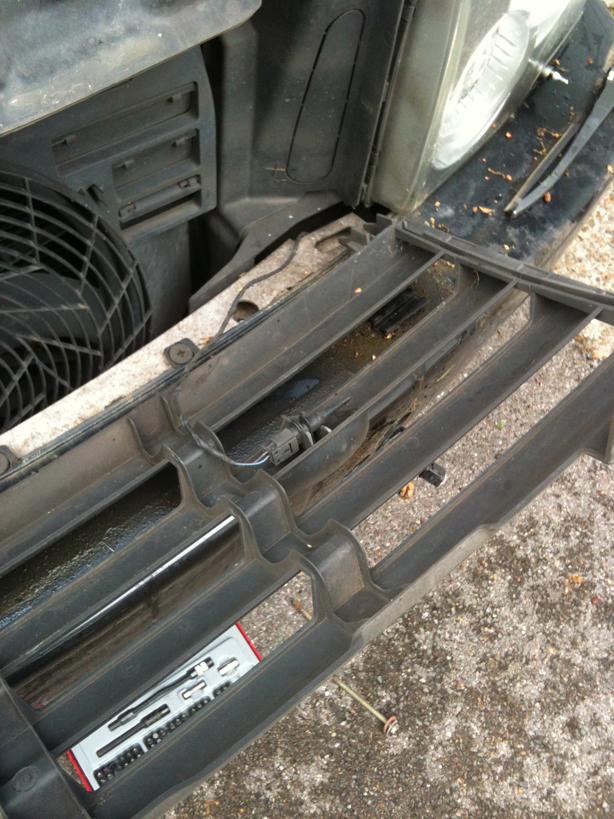
Next is to remove the front grill, undo the 3 mounting bolts and wiggle up and tilt forward the grill to reveal the ambient air temperature probe mounted behind the LR badge, disconnect this or remove the probe entirely
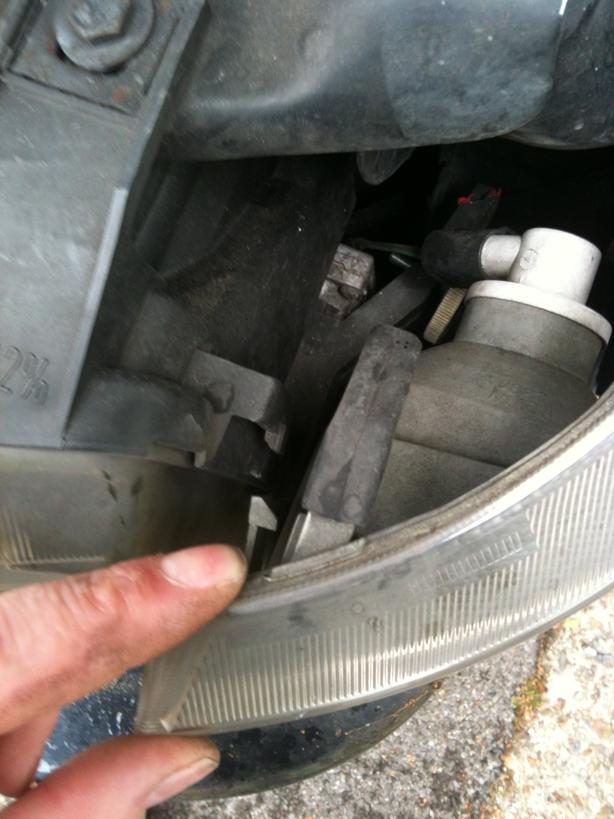
Next, carefully prise off the headlamp wiper arm surround this can be fiddly so just take your time and be patient
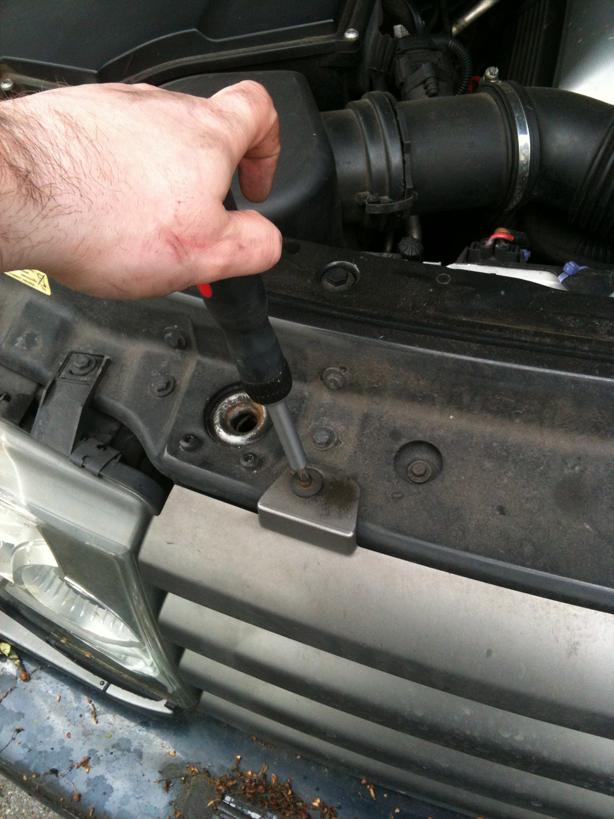
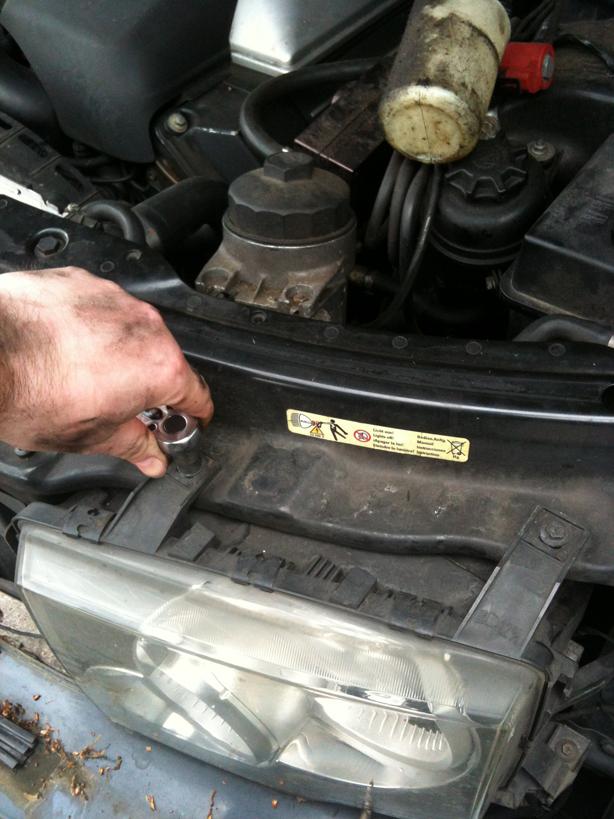
Time to unbolt the headlamp assembly....there are 4 bolts, 2x 10mm on top of the unit and 2x 8mm on the bottom (one is easy to get to as it is where the indicator unit was...but the other is under the Oil filter bowl but with a couple of extension bars through the Oil Filter bracket you should be able to get it out!!)
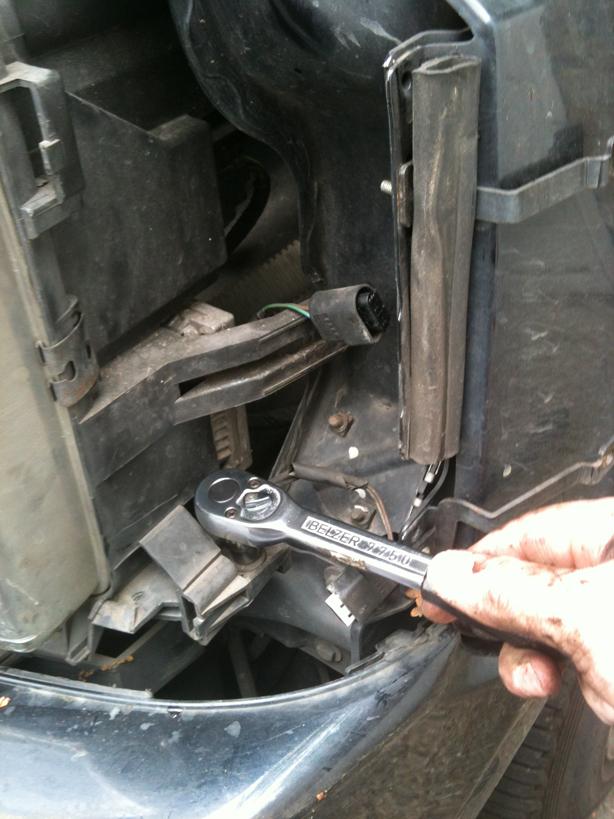
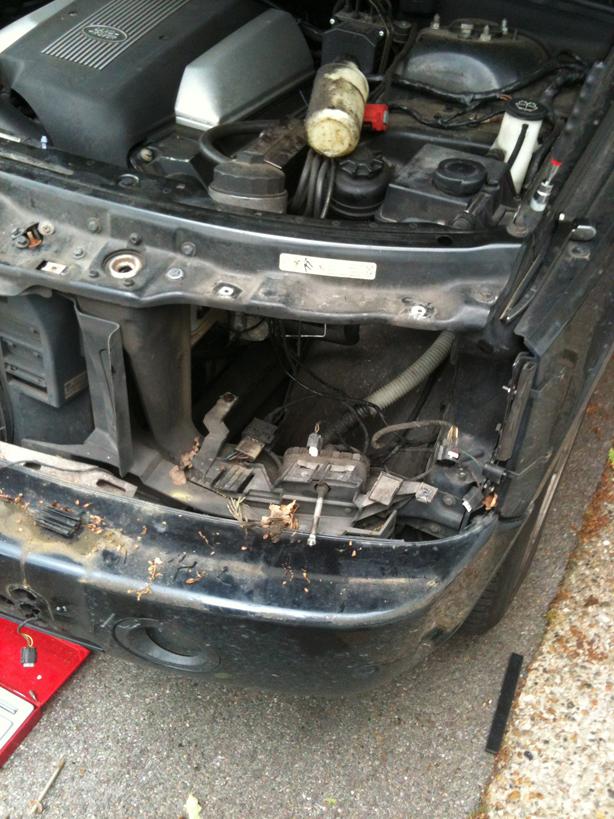
Now carefully slide the unit forward a couple of inches, you may have to slightly push the bumper plastic down a tad to ease removal, once out far enough, remove the two multiplugs to the lamp unit
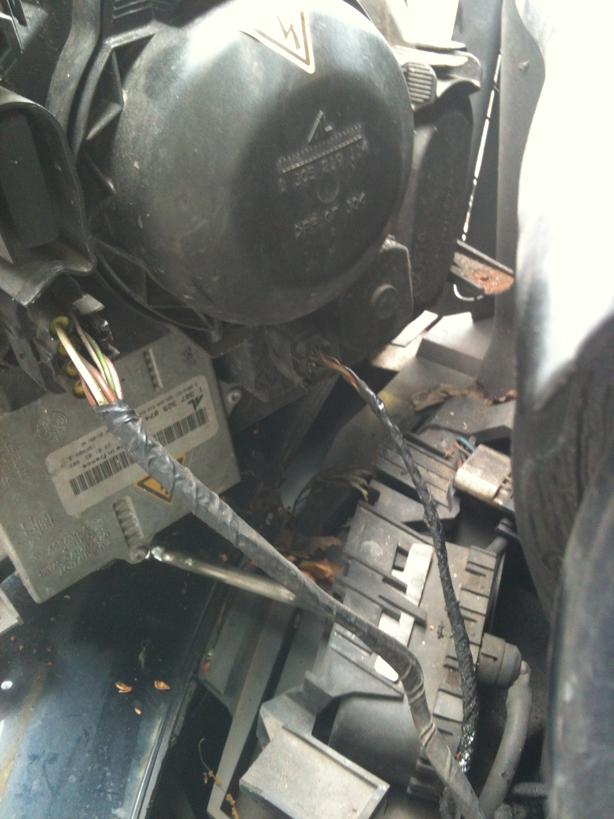
Voila, the unit is removed
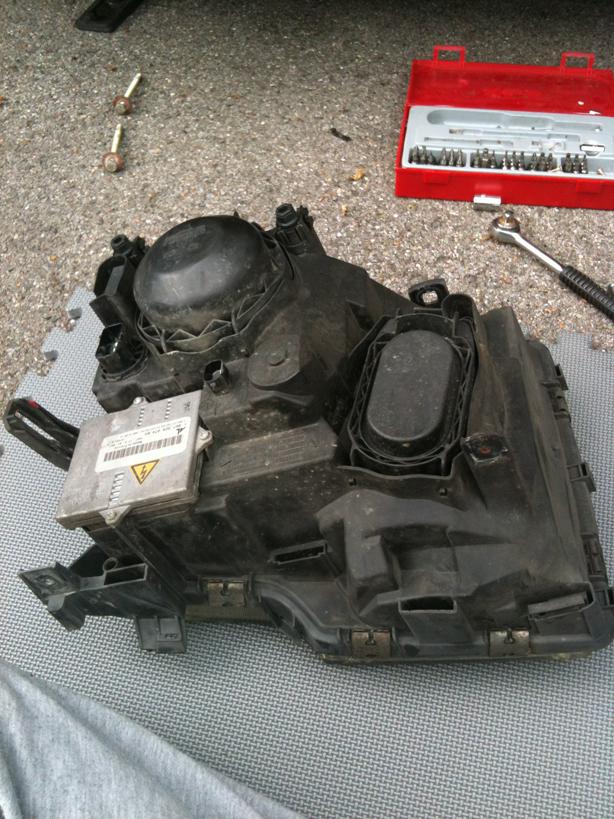
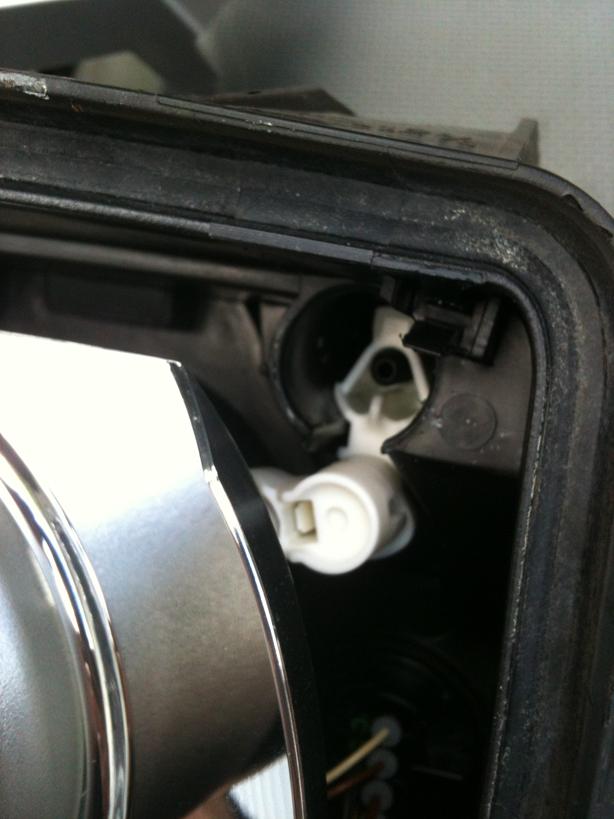
Quick view of the rear of the unit....
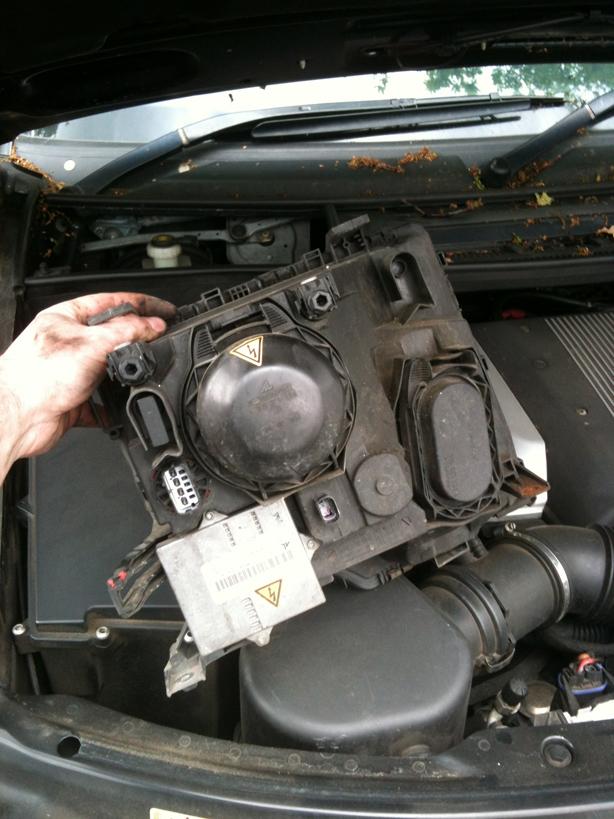
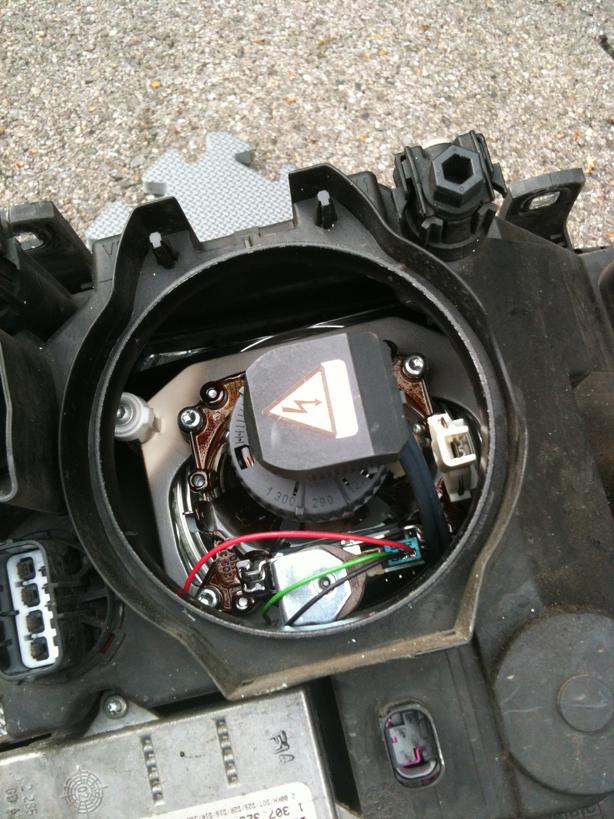
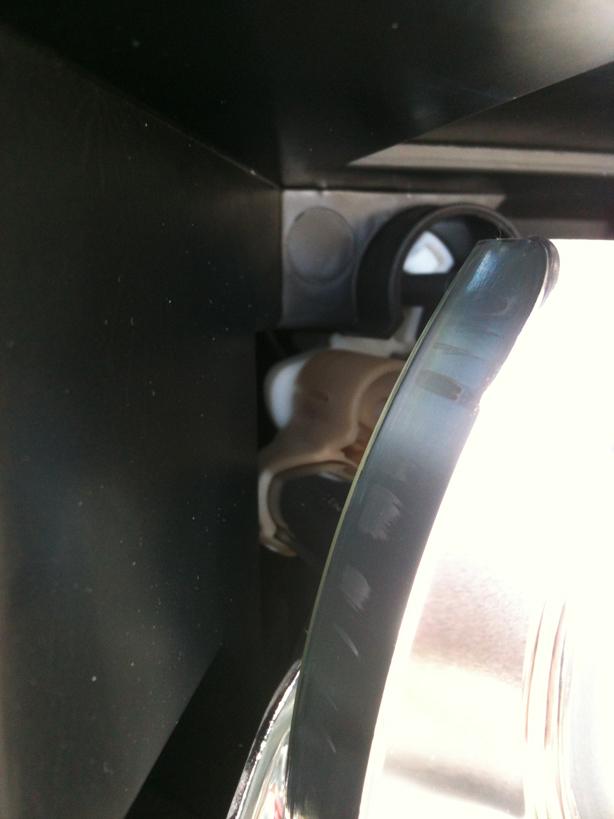
Time to remove the old Xenon lamp, place the unit on a soft surface to prevent damaging the front glass and unclip the cover to expose the electrical connection
The connector does a quarter twist off, then the retaining ring also does a quarter turn and the lamp can be removed...as can be seen, they do tend to go pop!!

Now it is prudent to try and get as much of the shattered glass out as possible...using a large flat blade screw driver, prise off the retaining clips, being careful not to let them fly off and get lost and to not let them chip the glass edge.
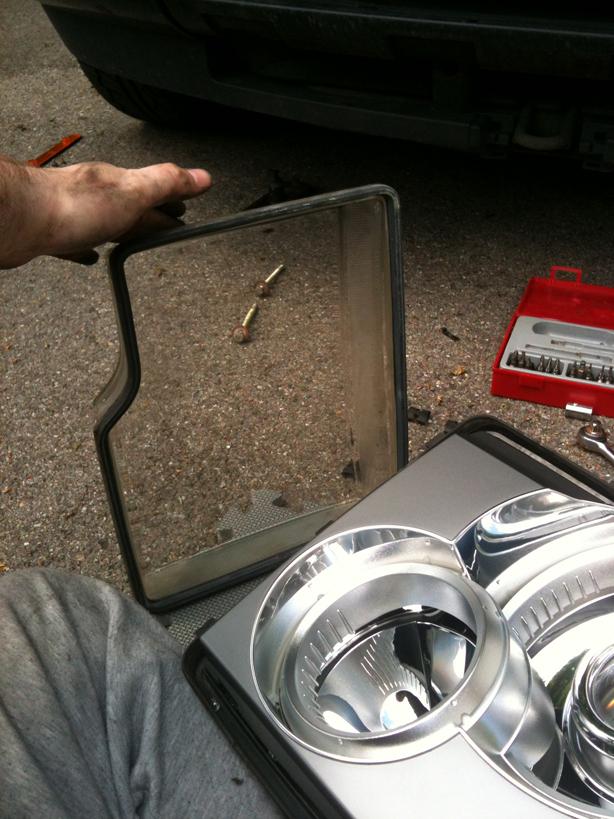
Carefully remove the glass and the weather seal strip
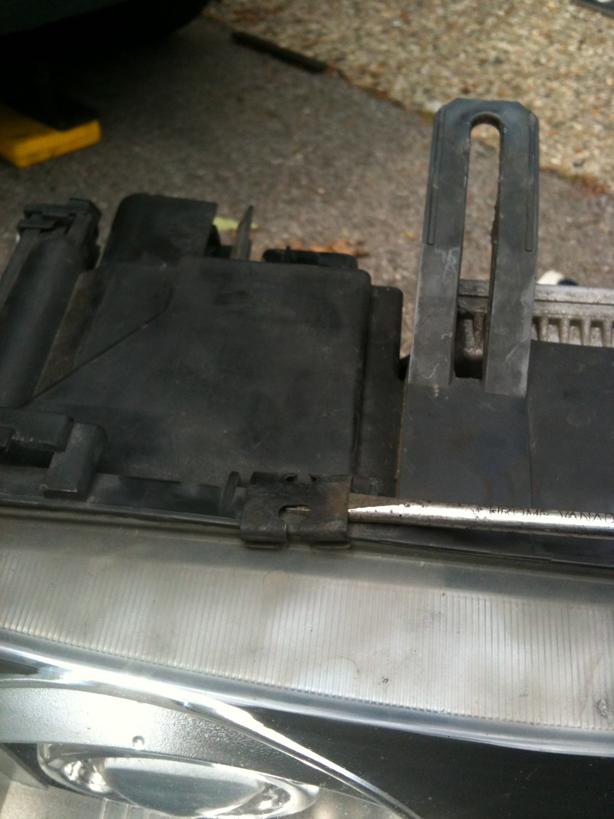
Now very carefully lift the internal finisher out, this has little locking tabs that hold it in place so go careful when removing

From what I could see, further removal of the lamp bezels would require undoing the lamp alignment screws, and as I have my MOT tomorrow, I thought against going further and to just get out as much as I could as was...
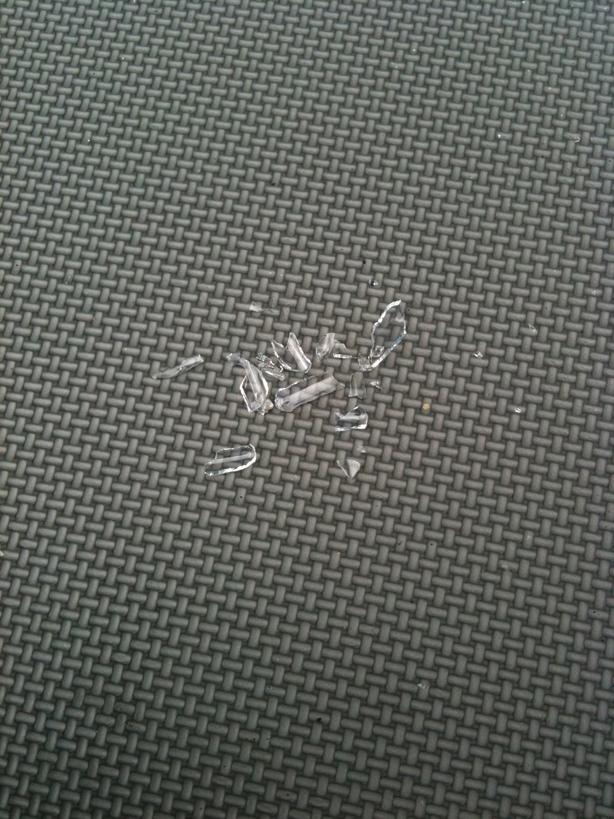
Some careful shaking and poking I managed to get the shattered glass out
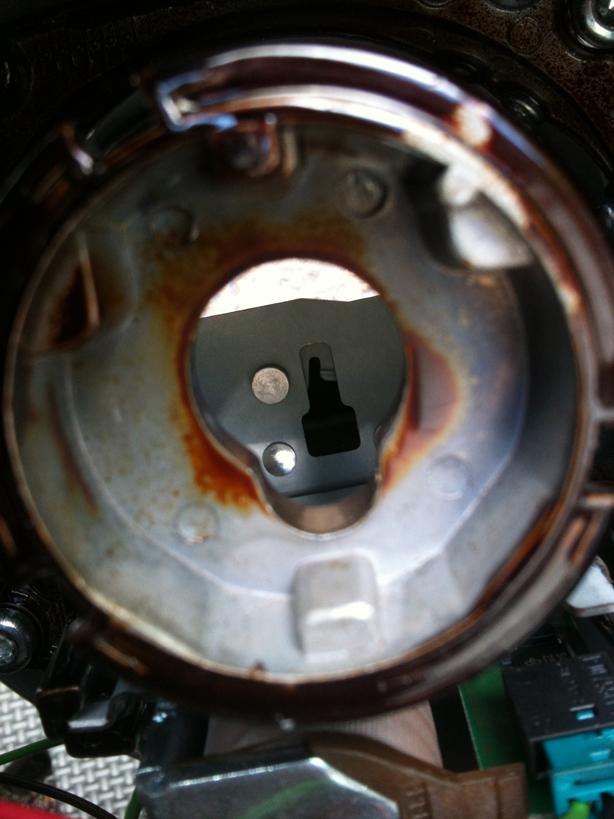
A quick visual check of the shutter seems to show that there was no glass trapped within it
Reassemble the headlamp unit and place back into the vehicle note there is a small tab at the bottom of the receiver that has to locate into the bottom of the headlamp unit as you fit it back into the car....dont bolt it back in just yet, reattach the multiplugs and give it a quick check....remembering the HID/Xenon system uses very high voltages to strike the arc in the lamp so if it doesnt work first time...dont try wiggling wires with the lamps switch on, switch off and also the ignition off, what a couple of minutes for any power to dissipate then check your connections.
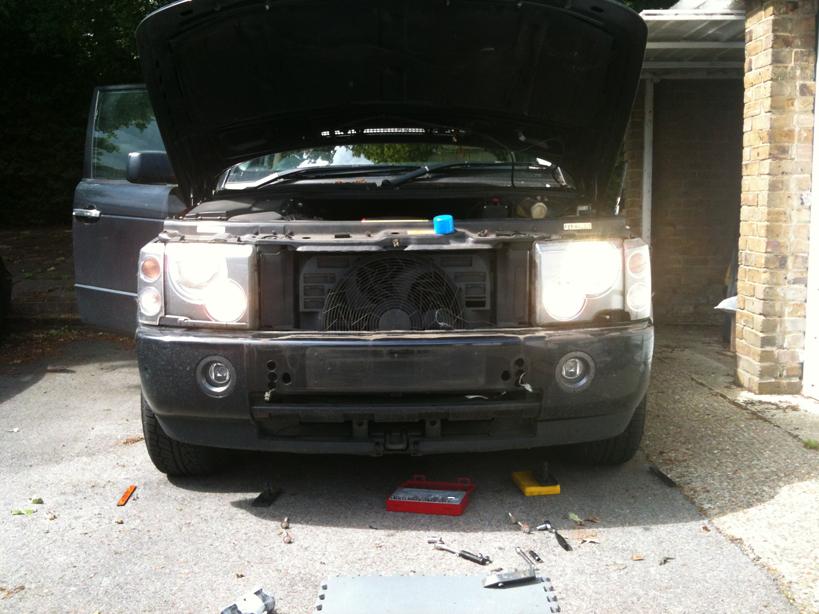
Once it is all working, rebolt the headlamp assembly in place, replace the wiper trim, replace the indicator unit, reattach the wiper arm in the correct place (not parking properly is a common cause of battery drain on the L322), refit the bullbar and reattach the PDC sensors....
Grab a coffee....
All I have to do know is figure out why the vehicle wont talk to the All Comms....
Discotigger kindly pointed out that it would be prudent to ensure all the shattered glass is removed from the headlamp assembly so it doesnt jam the shutter that is fitted on the HID/Xenon system.
So in true Saint.V8 fashion, I thought Id do a mini How To in removing the headlamp assembly and removing the front glass and interior finisher.
REMEMBER: The HID/Xenon system uses very high voltages to strike the arc in the lamp as such DO NOT work on the system with the ignition and/or lamps switched on....turn it all off and wait a few minutes to allow for any voltages to dissipate first.
My L322 has a full wrap-around bullbar fitted so I detail the removal of this too as it also has to be removed before getting the headlamp unit out!
The Bullbar is bolted through the front bumper and also via brackets on the side which are fitted behind the indicator unit.
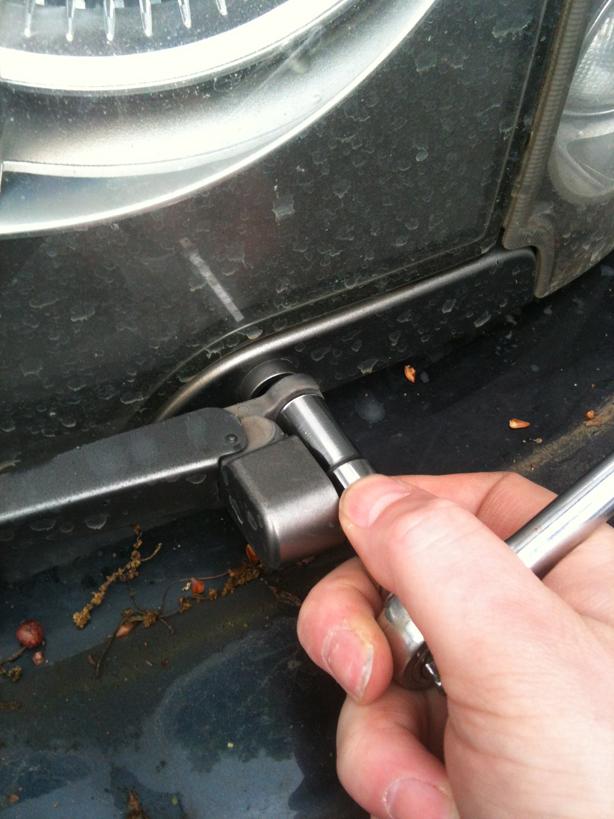
First carefully lever out the front PDC sensor holder from the bullbar
And disconnect the PDC multiplug
Then carefully prise out the side trim piece from the bullbar headlamp wrap to expose the mounting bolts and undo....
Back round the front and undo the 4 mounting bolts...keep a knee or shoulder against the bullbar to prevent it from falling forward
Slide the bullbar forward and off the bumper, recover the 2 pads that sit under the bullbar to prevent rubbing on the top of the bumper.
Setting the bullbar to oneside, next is to remove the headlamp wiper arm. A liberal spraying of penetrating fluid may help getting the arm off the spindle. Undo the 10mm retaining nut from the shaft and carefully lever off the wiper arm.
Reaching inside, undo the large plastic nut that retains the indicator assembly
Release the clip and slide the indicator unit forward slightly and undo the 2 multiplugs to the lamps
Next is to remove the front grill, undo the 3 mounting bolts and wiggle up and tilt forward the grill to reveal the ambient air temperature probe mounted behind the LR badge, disconnect this or remove the probe entirely
Next, carefully prise off the headlamp wiper arm surround this can be fiddly so just take your time and be patient
Time to unbolt the headlamp assembly....there are 4 bolts, 2x 10mm on top of the unit and 2x 8mm on the bottom (one is easy to get to as it is where the indicator unit was...but the other is under the Oil filter bowl but with a couple of extension bars through the Oil Filter bracket you should be able to get it out!!)
Now carefully slide the unit forward a couple of inches, you may have to slightly push the bumper plastic down a tad to ease removal, once out far enough, remove the two multiplugs to the lamp unit
Voila, the unit is removed
Quick view of the rear of the unit....
Time to remove the old Xenon lamp, place the unit on a soft surface to prevent damaging the front glass and unclip the cover to expose the electrical connection
The connector does a quarter twist off, then the retaining ring also does a quarter turn and the lamp can be removed...as can be seen, they do tend to go pop!!
Now it is prudent to try and get as much of the shattered glass out as possible...using a large flat blade screw driver, prise off the retaining clips, being careful not to let them fly off and get lost and to not let them chip the glass edge.
Carefully remove the glass and the weather seal strip
Now very carefully lift the internal finisher out, this has little locking tabs that hold it in place so go careful when removing
From what I could see, further removal of the lamp bezels would require undoing the lamp alignment screws, and as I have my MOT tomorrow, I thought against going further and to just get out as much as I could as was...
Some careful shaking and poking I managed to get the shattered glass out
A quick visual check of the shutter seems to show that there was no glass trapped within it
Reassemble the headlamp unit and place back into the vehicle note there is a small tab at the bottom of the receiver that has to locate into the bottom of the headlamp unit as you fit it back into the car....dont bolt it back in just yet, reattach the multiplugs and give it a quick check....remembering the HID/Xenon system uses very high voltages to strike the arc in the lamp so if it doesnt work first time...dont try wiggling wires with the lamps switch on, switch off and also the ignition off, what a couple of minutes for any power to dissipate then check your connections.
Once it is all working, rebolt the headlamp assembly in place, replace the wiper trim, replace the indicator unit, reattach the wiper arm in the correct place (not parking properly is a common cause of battery drain on the L322), refit the bullbar and reattach the PDC sensors....
Grab a coffee....
All I have to do know is figure out why the vehicle wont talk to the All Comms....
Last edited: