- Posts
- 16,475
So a follow on to my previous thread...
http://www.landyzone.co.uk/lz/f10/preapred-another-how-saint-v8-213912.html
Local Autofactors had the pump on the shelf for £68 odd +VAT, so after dropping the Girlfriend off at work, I went to pick it up.
Also picked up another 5 litres of Coolant concentrate.
Got home, and got started...
First things is to place the bonnet in Service Mode, and remove the Viscous Fan and Shroud...see my Radiator How To for how this is achieved.
http://www.landyzone.co.uk/lz/f71/2002-2005-v8-m62-radiator-replacement-212721.html
Next is to loosen the pulley bolts as this is easier with belt tension to hold the pulley
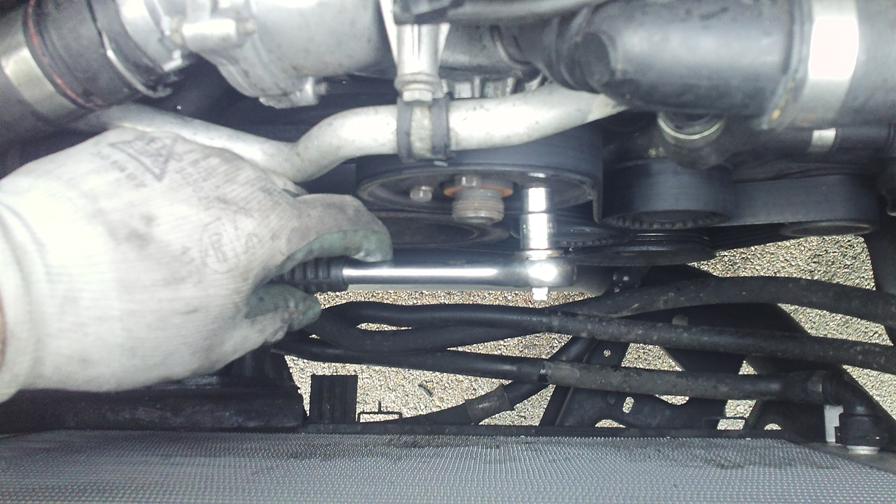
Loosen the Belt Tensioner locking bolts (2 of them) to relieve the tension on the belt
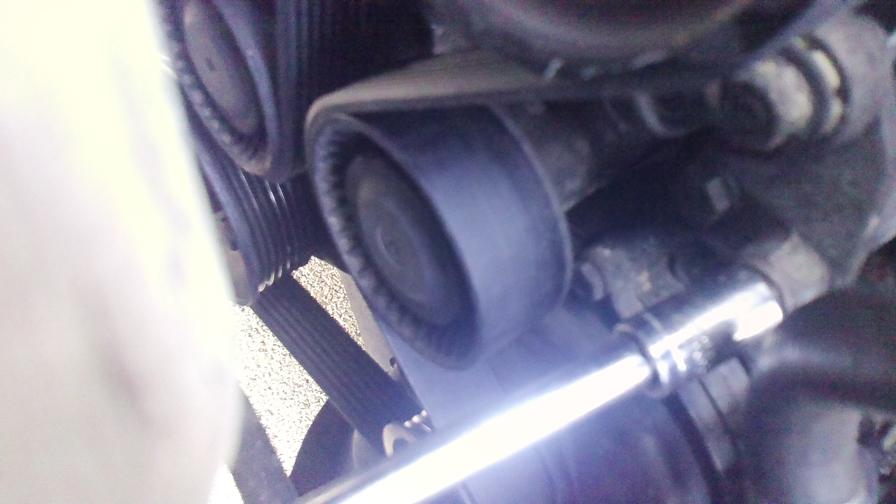
Slip the belt off
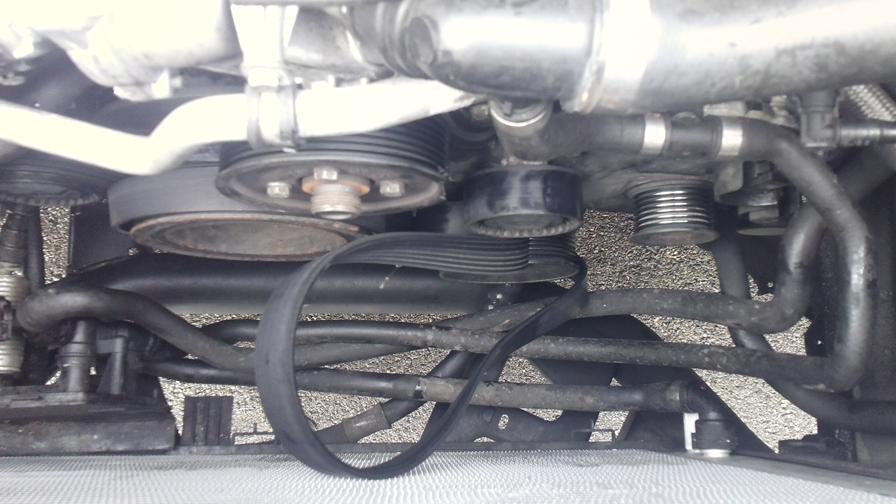
Unclip the pipes to the Alternator and the top of the Water Pump...these have little spring clips on, so lever the clip up and pull the hose off!
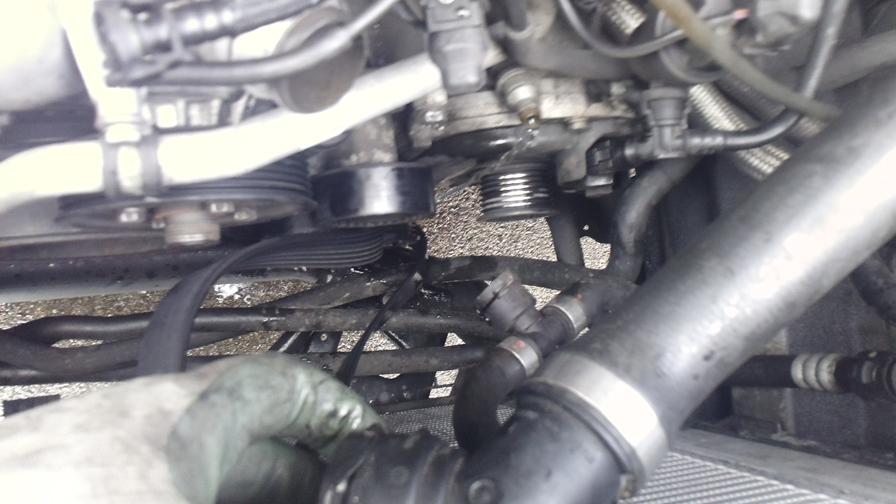
Next is to remove the Secondary Air Injection pipe work from in front of the pump, this is a bit of a fiddle as the L/H bank (R/H as facing engine) is hidden under the rocker cover and has to be done by feel....I remove the wrong bolt at first and was about 2” long....this is the wrong bolt, the correct one is slightly above the SAI pipe and only about 3/4” long...remove the P Clip from the front of the pump and the bolts on the R/H and L/H bank.
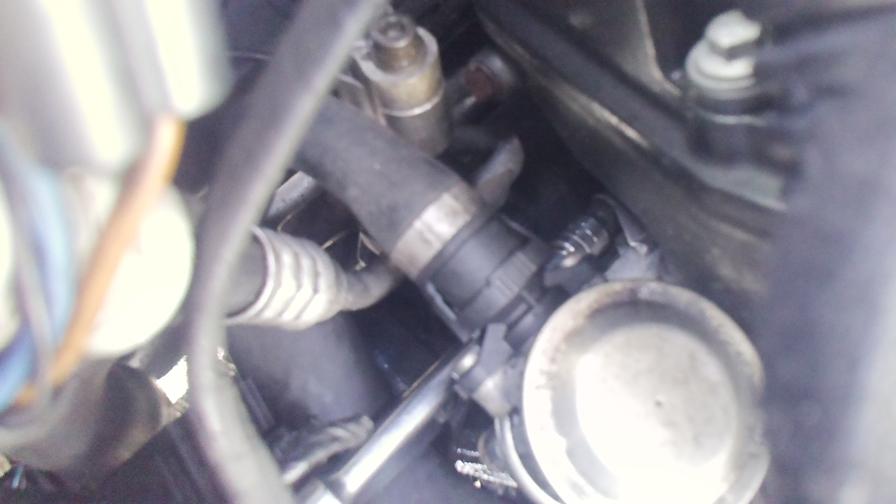
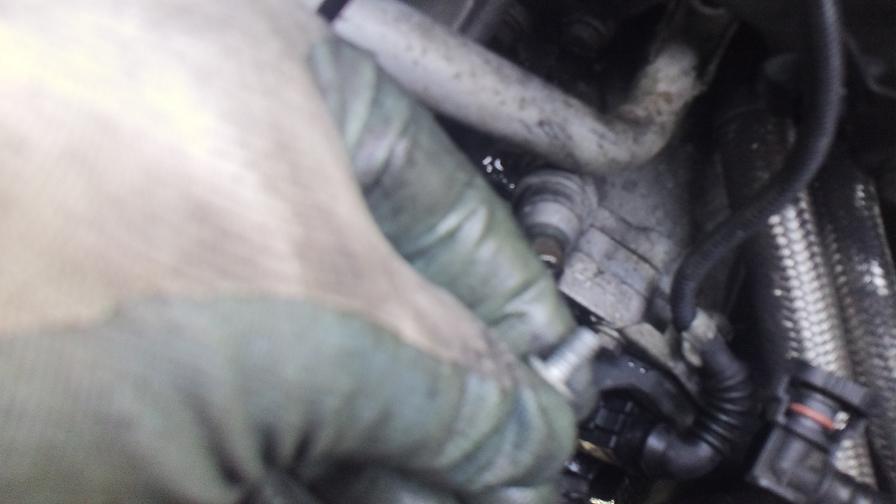
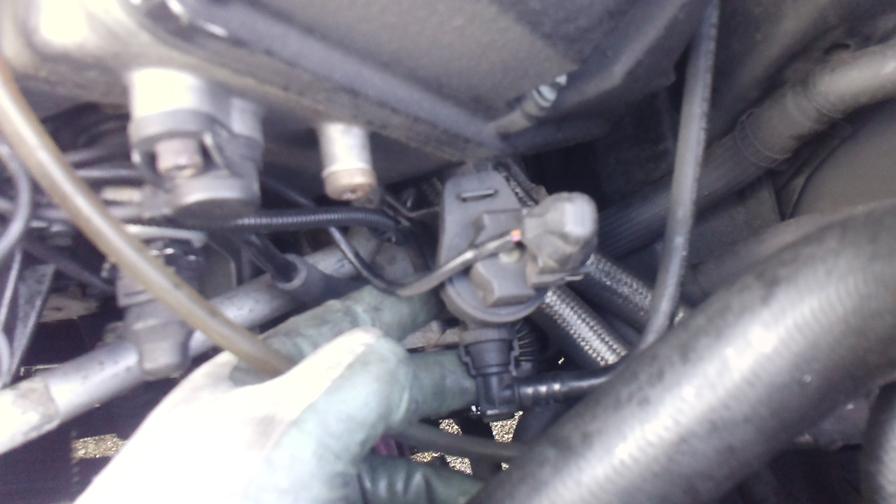
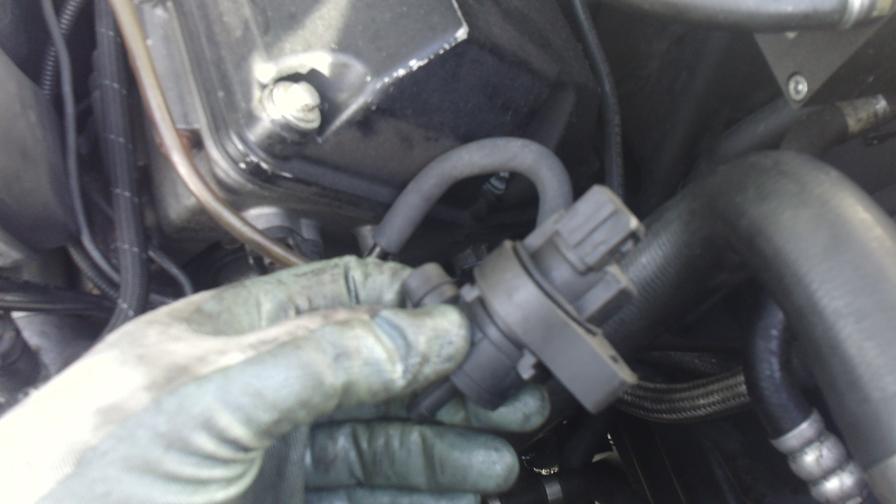
To get to the L/H Bank bolt, I had to remove this little device...pop the connection off the top, unclip the pipe on the front, and pull the hose off the bottom
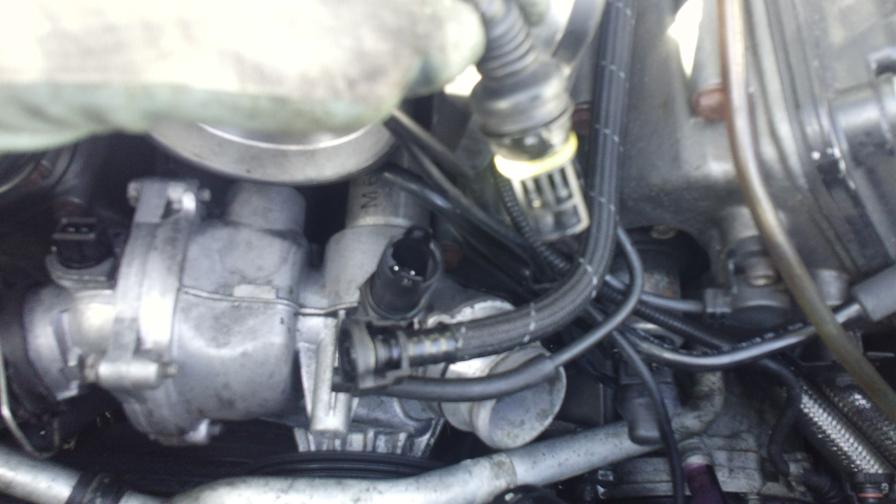
Disconnect the Coolant Temp Sensor
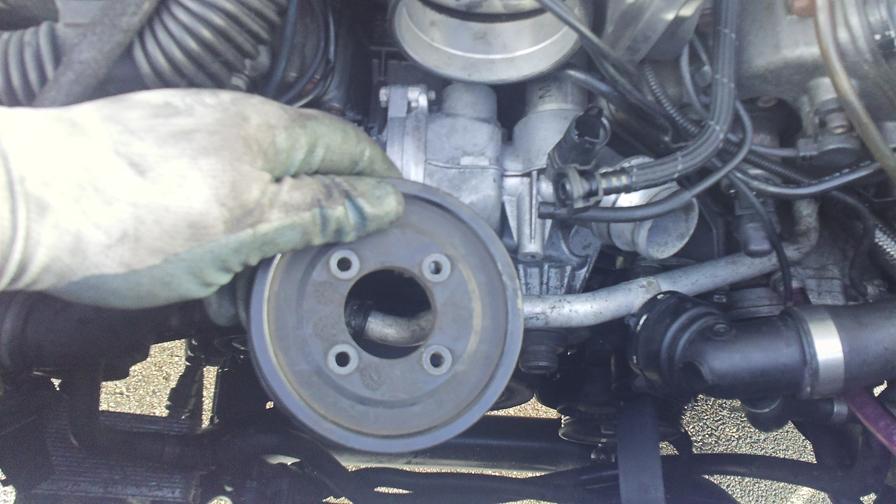
Remove all the bolts from the pulley and remove it
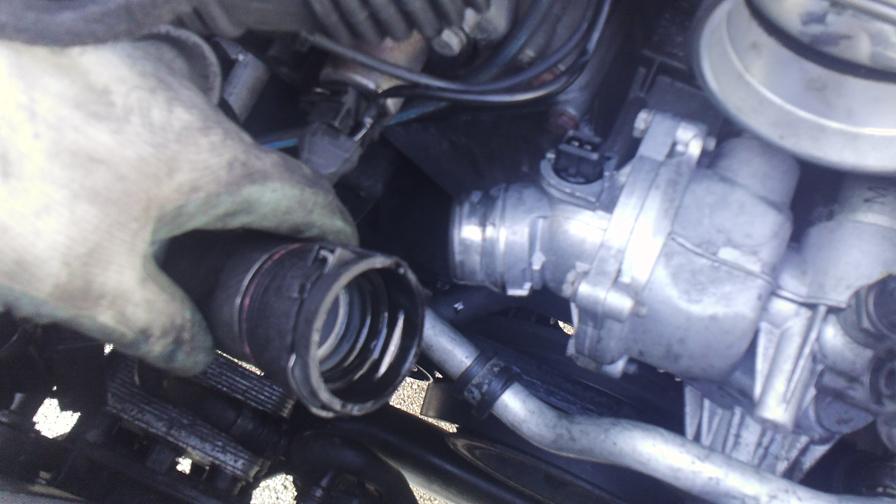
Disconnect the pipe to the Thermostat
Undo the 4 bolts to the Thermostat housing and disconnect the wiring plug (red tape is from a wiring repair I carried out)
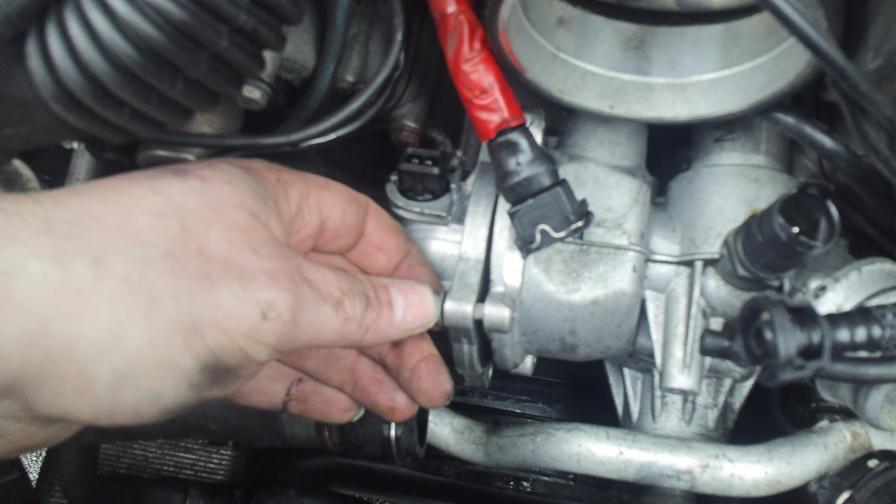
Remove the Thermostat housing
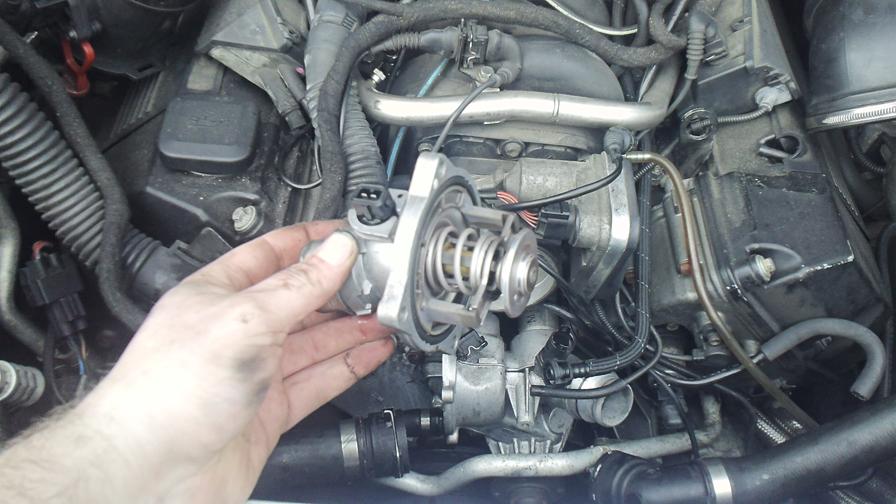
Remove the lower pipe under the Thermostat housing
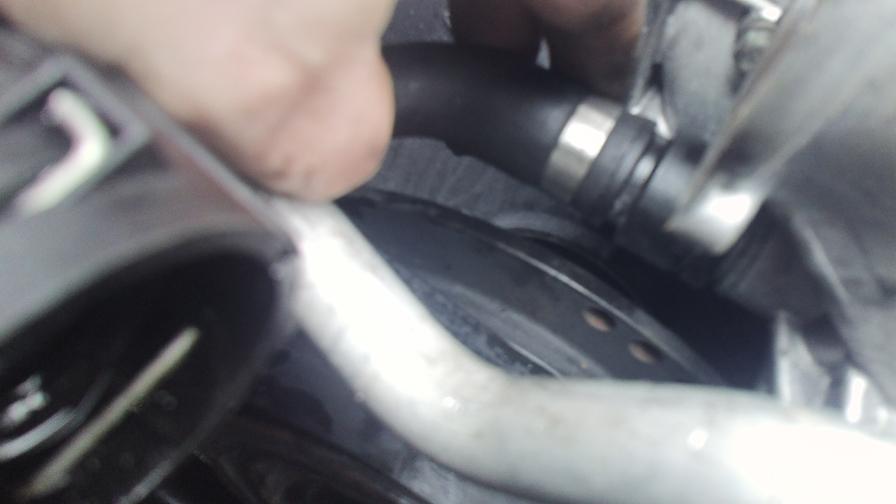
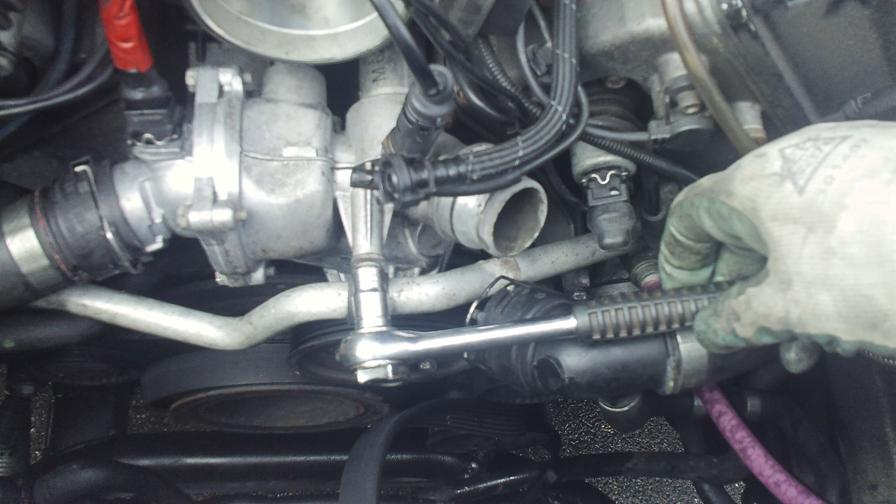
Time to unbolt the Pump....Looking at the new pump, identify the 6 mounting bolts. One of them is hidden underneath the pump and behind the Crank Pulley....this is a sod to get at, but with time and patience can be undone with small ratchet spanner movements....took a while and a few expletives later the bolt is out....
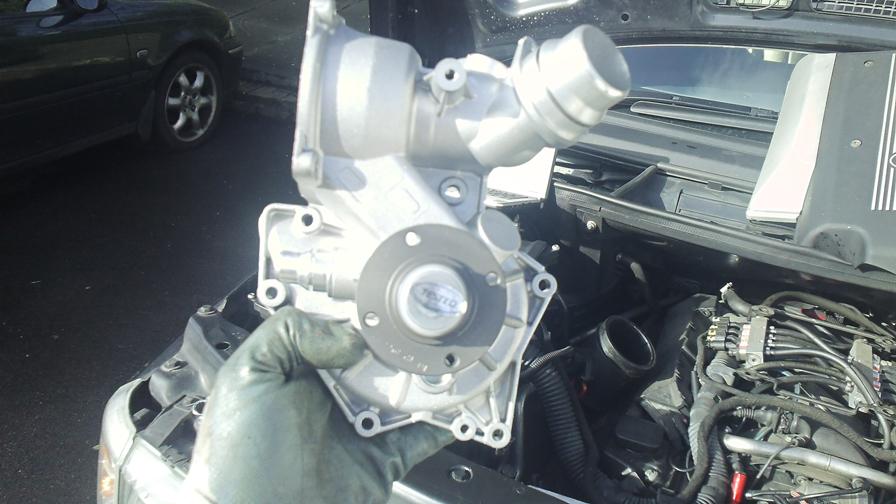
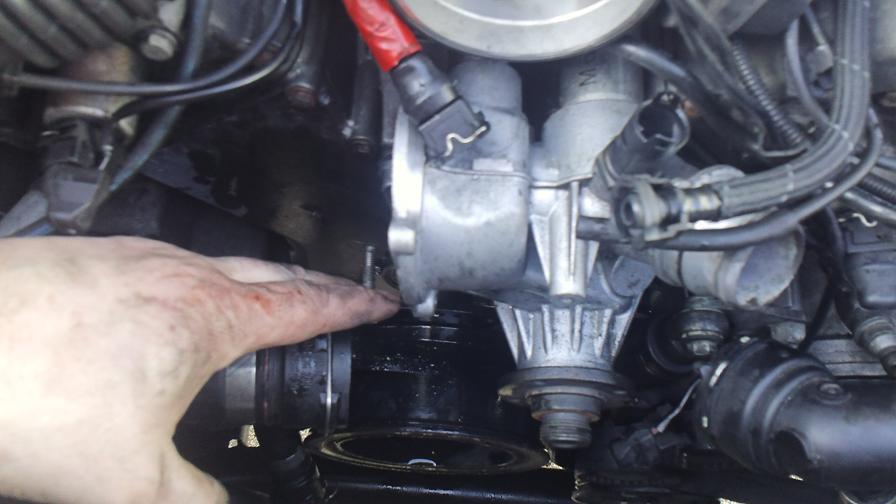
As you take the bolts out, note there positions (I used the new pump to hold them as I took them out) as 2 of them are longer than the others.
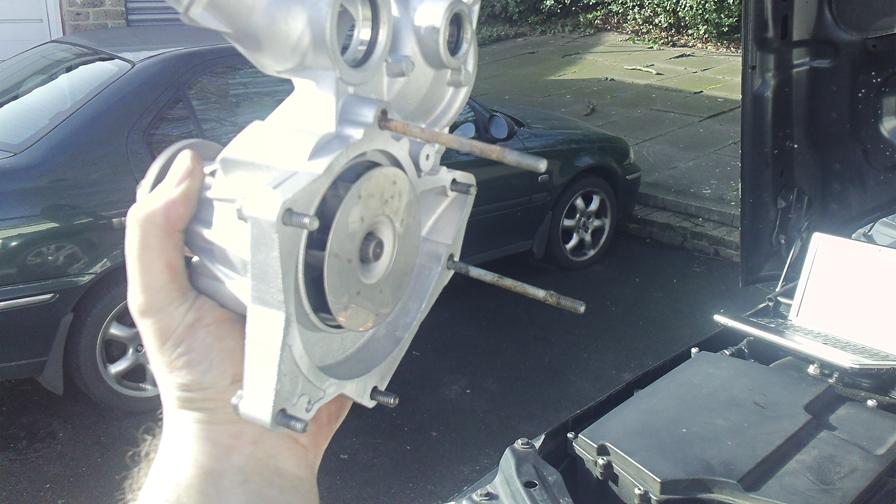
A bit of a tap and a tug to pull the pump off the two pipes to the rear and the pump is removed....
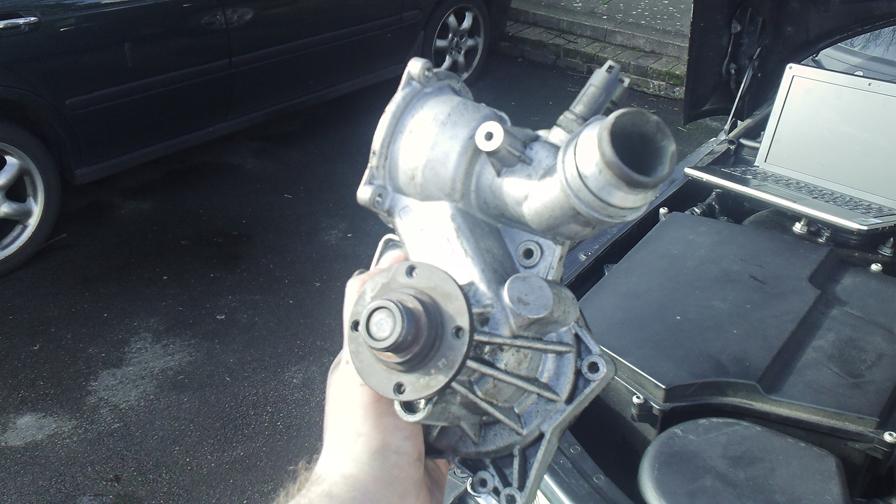
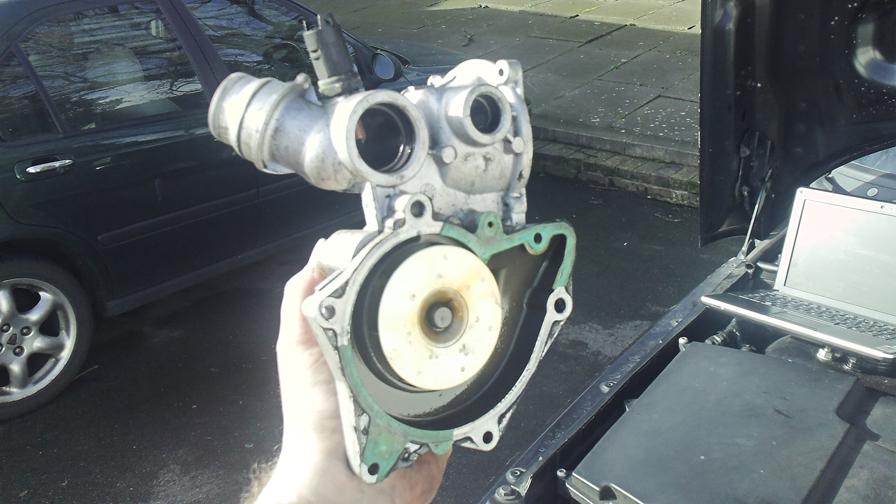
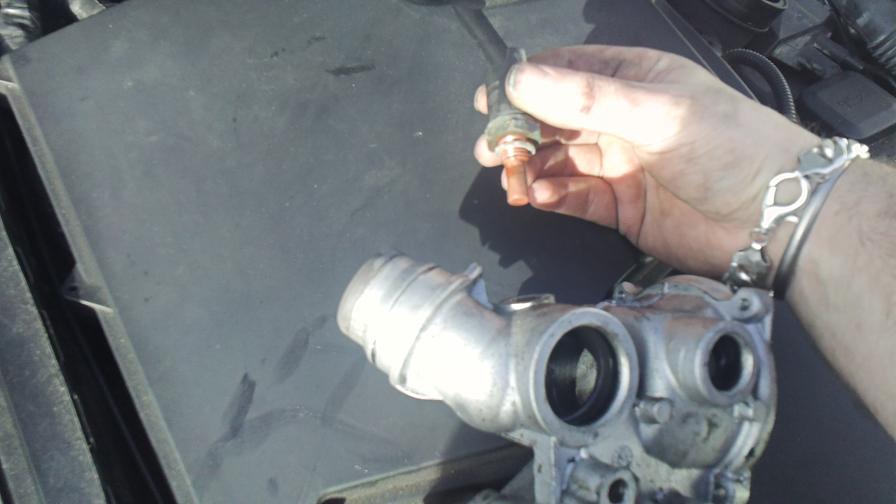
I left the Coolant Temp Sender on the old pump as I forgot to take it off...I think it is a 22mm AF size....I could only find my 23mm, so I carefully undid it without rounding it off....RAVE indicates to replace the sealing washer.
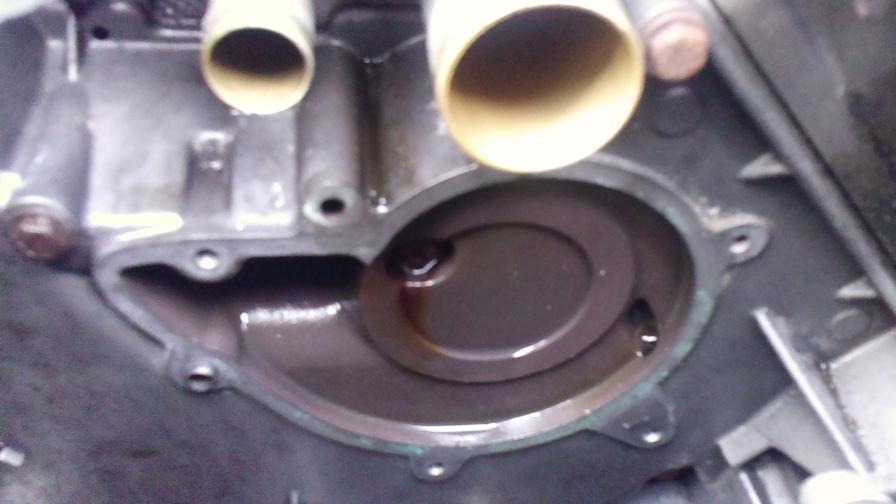
Clean up the mating face of old gasket
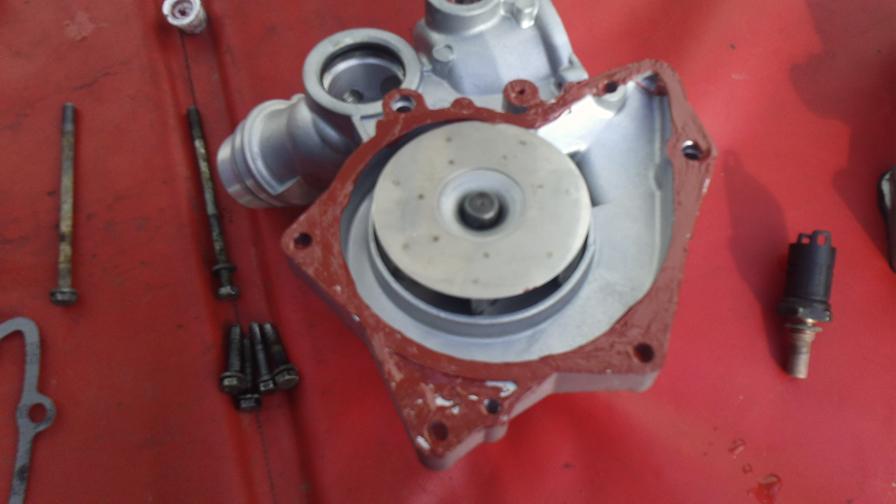
Time to prep the new Pump....
Gaskets are notorious for not staying in position during fitment, so I used some Gastite Sealant compound smeared onto the gasket face to hold the new paper gasket in place.....
Also grease the O Rings on the reverse of the pump and the ends of the two metal pipes to ease refitment.
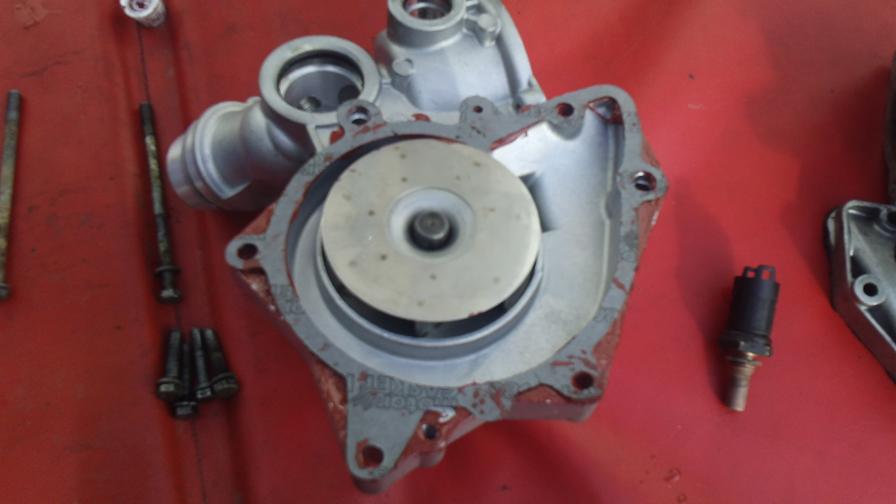
Fitting the new pump is a bit of a fiddle to ensure the gasket remains in place, position the two metal pipes in place and ensure the pump lines up on two small pegs on the block....with a firm push to seat the metal pipes, place the two long bolts in and then the remaining 4 bolts...I always like to nip up first, then tighten in a Cross ways fashion (similar to wheel bolts) to ensure the unit is bolted up squarely undistorted....
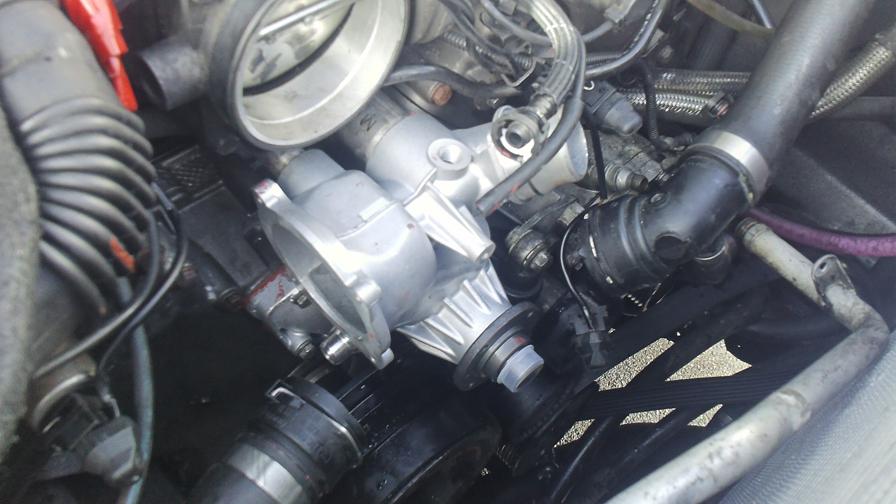
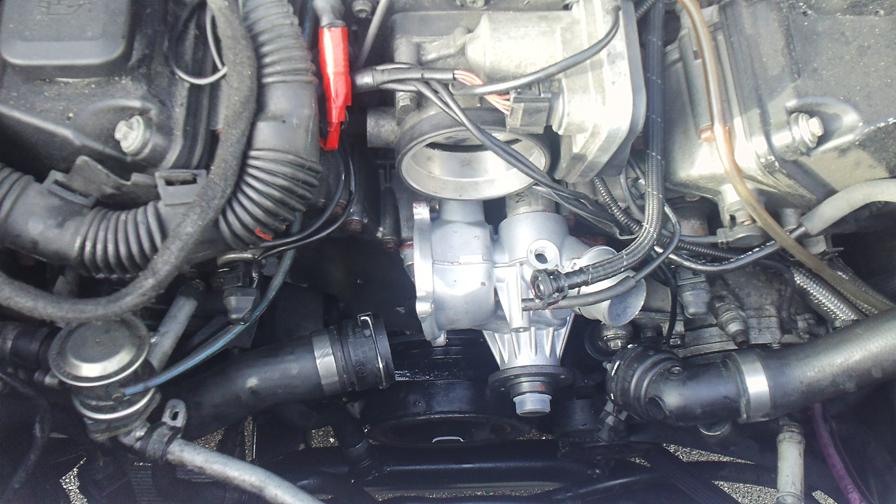
Replace the little pipe under the Thermostat housing....
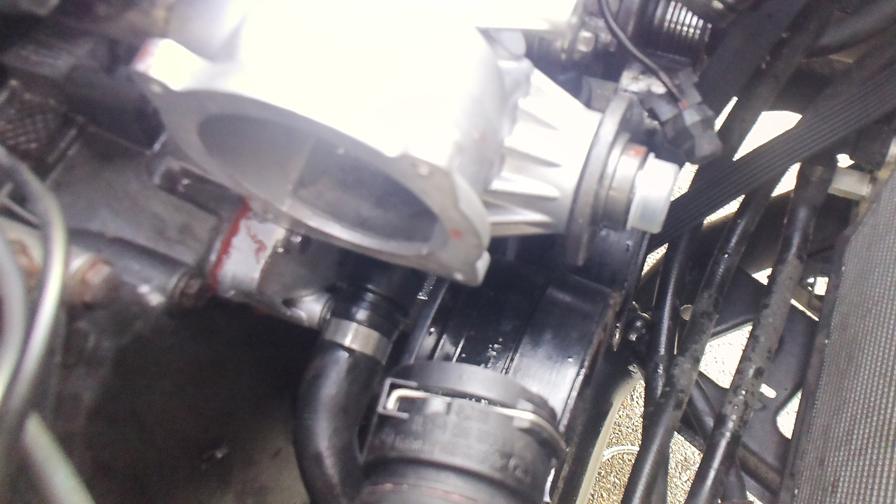
Bolt on the Thermostat housing....
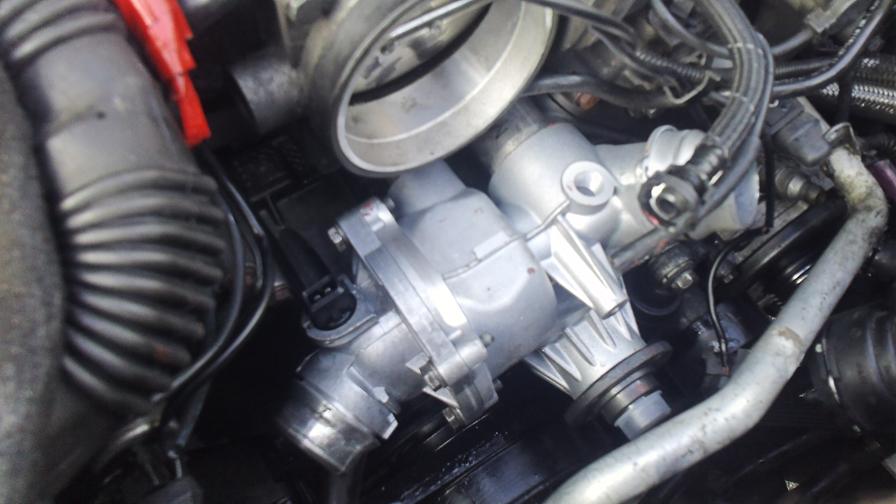
Replace the SAI pipe work ensuring you have it fitted firmly and squarely back into the cylinder heads....
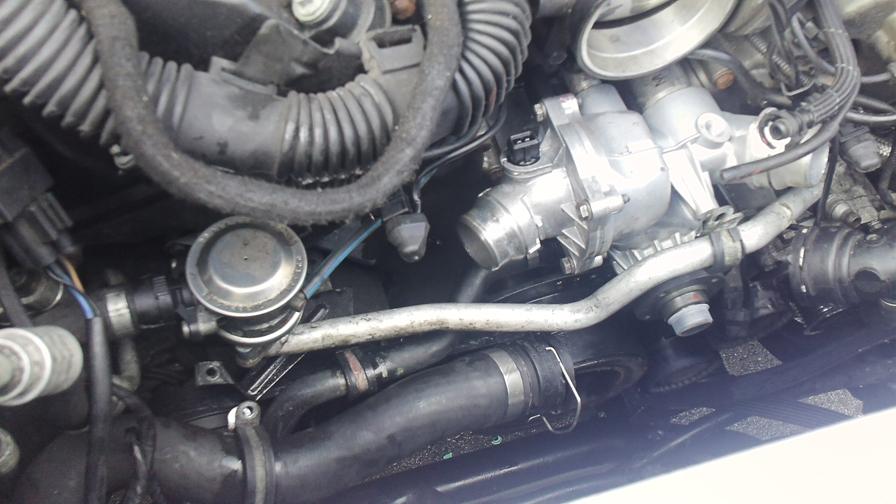
Replace the pipe and wiring plug to the Thermostat housing....
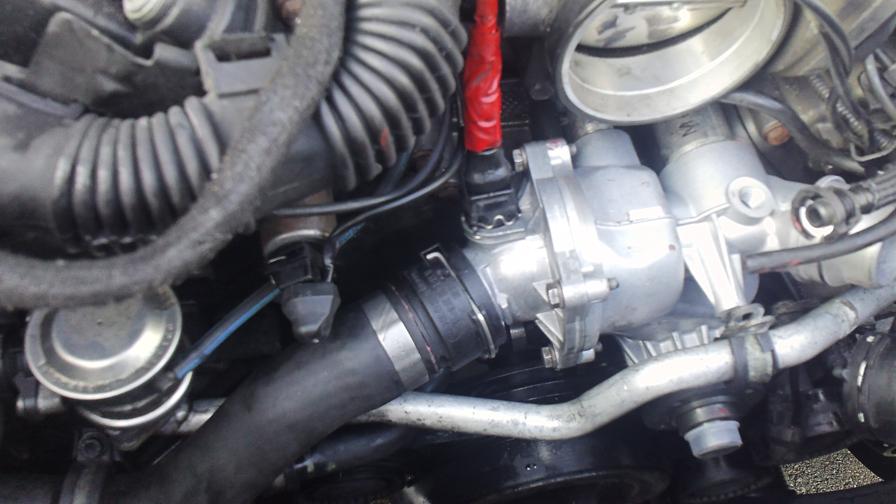
Replace the little gizmo on the L/H Bank (R/H as facing engine) that was removed to access the SAI bolt....
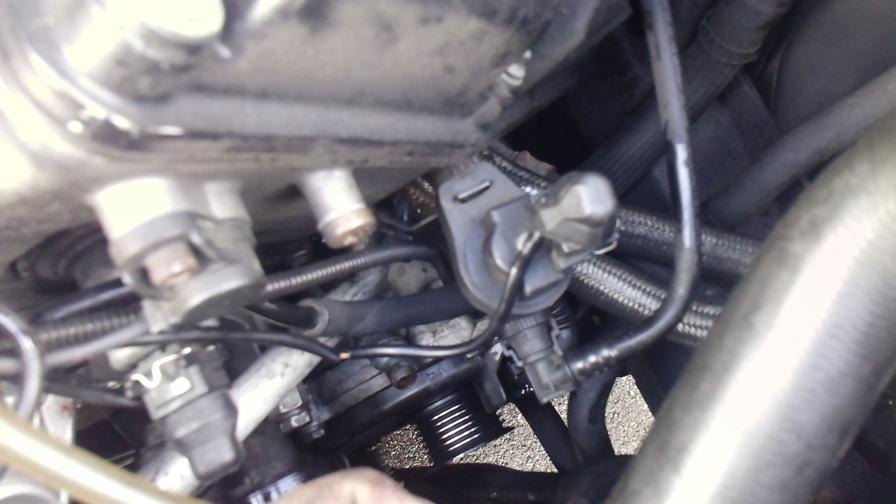
Replace the Coolant Sensor and Wiring Plug....
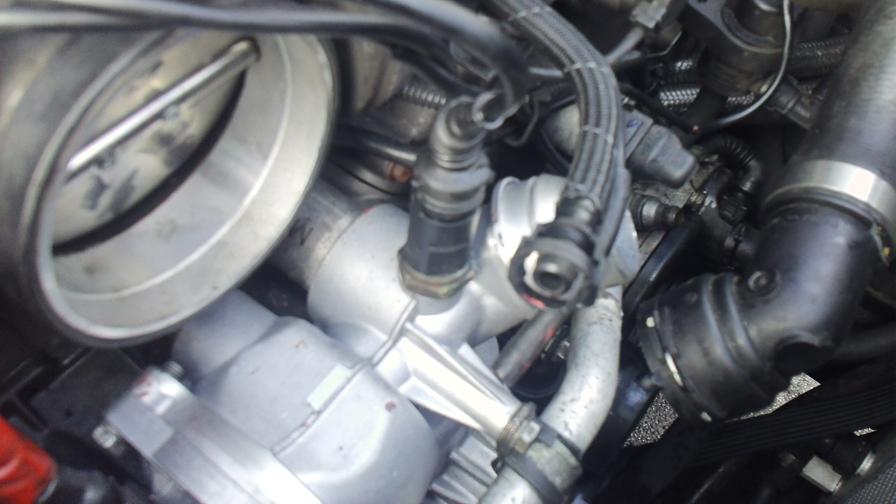
Replace the Water Pump Pulley...nip the bolts up for now....again using a cross-ways pattern and ensure the pulley is sitting squarely with no run-out or wobble.....
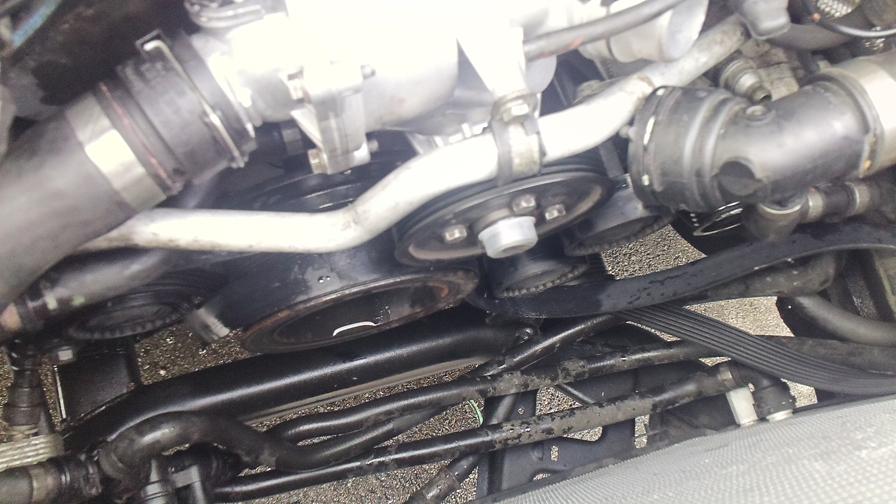
Rethread the Belt over the pulleys....now using a 17mm spanner on the tensioner arm, pull the tensioner anti-clockwise to compress the hydraulic ram and put tension into the belt....while holding this tension, do up the 2 locking bolts....with tension on the belt, do up the 4 pulley bolts
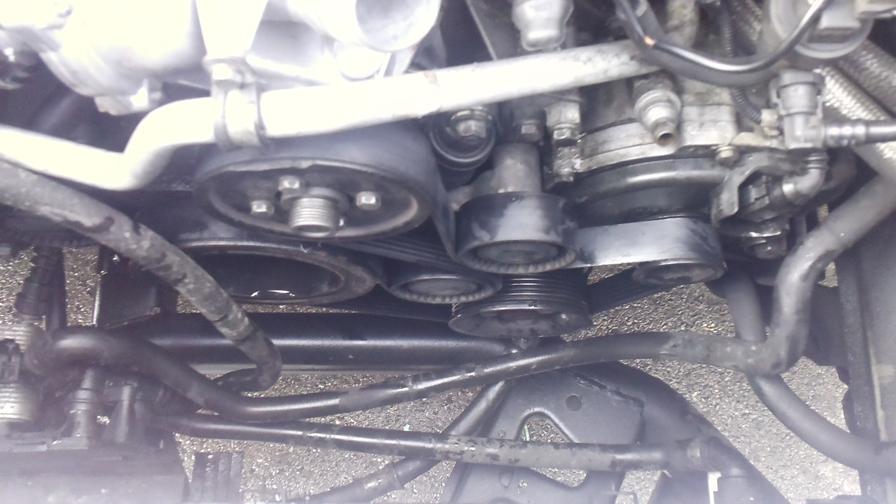
Refit the pipes to the Alternator and the top of the pump....
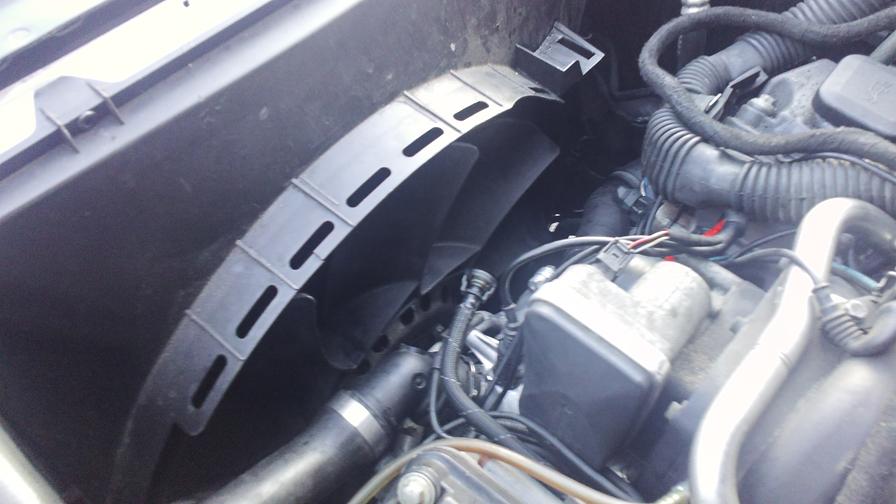
Refit the fan and shroud again follow the info in my Radiator Thread....
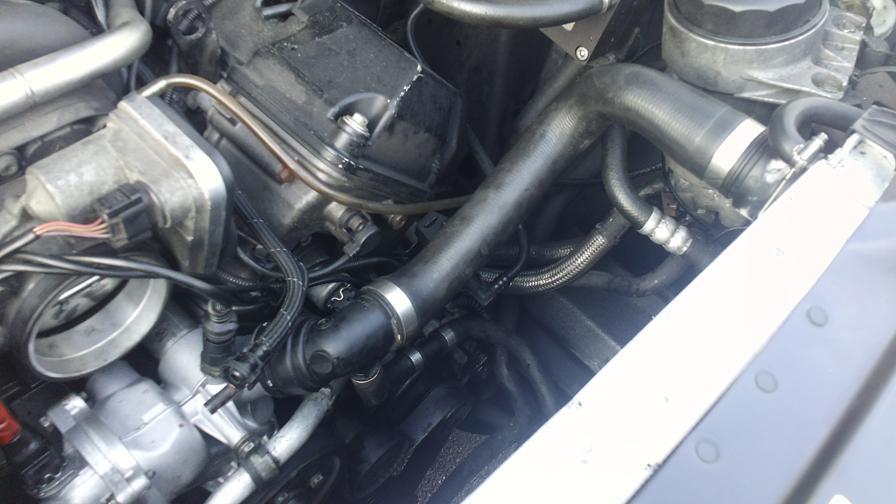
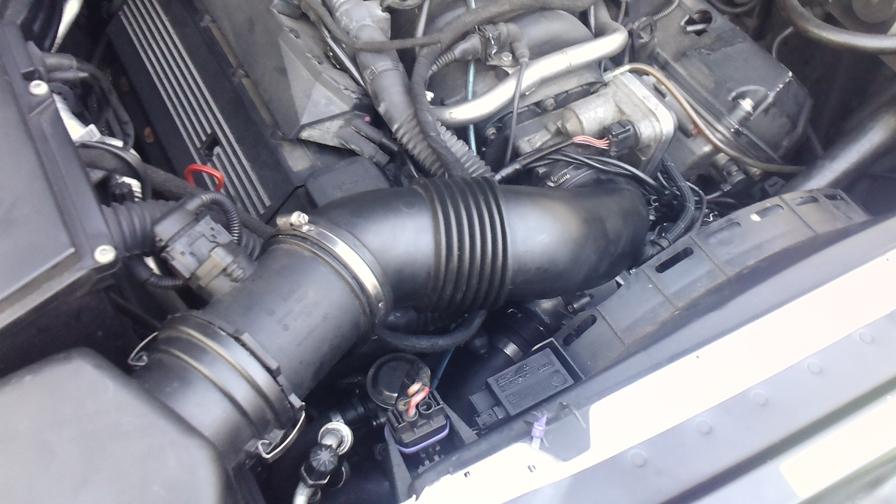
Refit the Intake Ducting and remember to attach all the pipes back to the shroud and to the ducting...
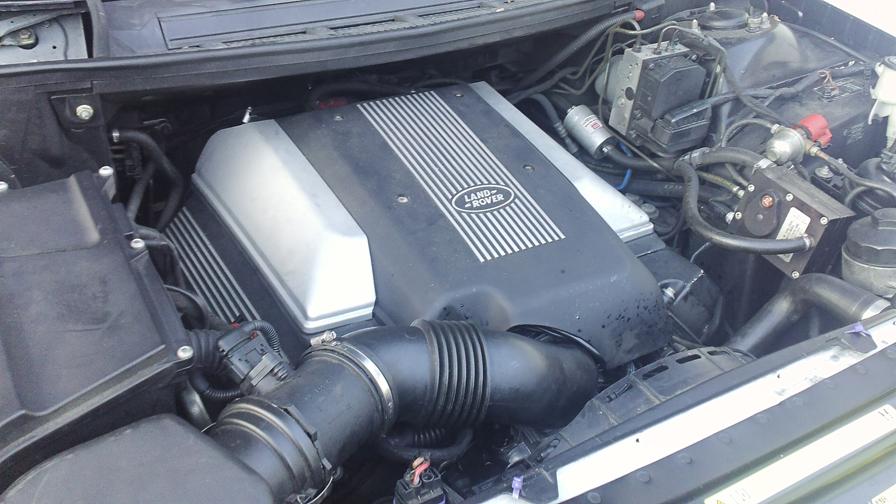
Put the acoustic cover back on.......
Now comes time to fill the coolant system....
I removed the top hose from the Rad and used a funnel and hose to fill the Rad up to over flowing....
I then used the funnel and poured coolant down the top hose into the Alternator and pump, block and anywhere else it finds its way too...this took about 4.5 litres to fill to over flowing....
Replace the top hose....
Fill the expansion tank and burp the top hose to pump the coolant from the tank through the top hose....keep topping up the expansion tank....
Start the engine and open the bleed screw on the Tank....keep the engine running, burping the hoses, topping up the tank, burping, until you get a solid stream of coolant from the bleed screw....tighten this and keep the engine running up to temp, burping hoses, topping up tank and opening the bleed screw a few times until you are satisfied you have burped all the air out, and the engine is up to a good temp to allow the stat to open.......
Fit Tank cap and clean up, switch engine off....wait to cool and check coolant level when cold!!
Job Done....
I started at 11.15am and was finished, washed and in the Car to pick up the Girlfriend by 5.10pm
http://www.landyzone.co.uk/lz/f10/preapred-another-how-saint-v8-213912.html
Local Autofactors had the pump on the shelf for £68 odd +VAT, so after dropping the Girlfriend off at work, I went to pick it up.
Also picked up another 5 litres of Coolant concentrate.
Got home, and got started...
First things is to place the bonnet in Service Mode, and remove the Viscous Fan and Shroud...see my Radiator How To for how this is achieved.
http://www.landyzone.co.uk/lz/f71/2002-2005-v8-m62-radiator-replacement-212721.html
Next is to loosen the pulley bolts as this is easier with belt tension to hold the pulley

Loosen the Belt Tensioner locking bolts (2 of them) to relieve the tension on the belt

Slip the belt off

Unclip the pipes to the Alternator and the top of the Water Pump...these have little spring clips on, so lever the clip up and pull the hose off!

Next is to remove the Secondary Air Injection pipe work from in front of the pump, this is a bit of a fiddle as the L/H bank (R/H as facing engine) is hidden under the rocker cover and has to be done by feel....I remove the wrong bolt at first and was about 2” long....this is the wrong bolt, the correct one is slightly above the SAI pipe and only about 3/4” long...remove the P Clip from the front of the pump and the bolts on the R/H and L/H bank.


To get to the L/H Bank bolt, I had to remove this little device...pop the connection off the top, unclip the pipe on the front, and pull the hose off the bottom


Disconnect the Coolant Temp Sensor

Remove all the bolts from the pulley and remove it

Disconnect the pipe to the Thermostat

Undo the 4 bolts to the Thermostat housing and disconnect the wiring plug (red tape is from a wiring repair I carried out)

Remove the Thermostat housing

Remove the lower pipe under the Thermostat housing

Time to unbolt the Pump....Looking at the new pump, identify the 6 mounting bolts. One of them is hidden underneath the pump and behind the Crank Pulley....this is a sod to get at, but with time and patience can be undone with small ratchet spanner movements....took a while and a few expletives later the bolt is out....


As you take the bolts out, note there positions (I used the new pump to hold them as I took them out) as 2 of them are longer than the others.

A bit of a tap and a tug to pull the pump off the two pipes to the rear and the pump is removed....


I left the Coolant Temp Sender on the old pump as I forgot to take it off...I think it is a 22mm AF size....I could only find my 23mm, so I carefully undid it without rounding it off....RAVE indicates to replace the sealing washer.

Clean up the mating face of old gasket

Time to prep the new Pump....
Gaskets are notorious for not staying in position during fitment, so I used some Gastite Sealant compound smeared onto the gasket face to hold the new paper gasket in place.....
Also grease the O Rings on the reverse of the pump and the ends of the two metal pipes to ease refitment.


Fitting the new pump is a bit of a fiddle to ensure the gasket remains in place, position the two metal pipes in place and ensure the pump lines up on two small pegs on the block....with a firm push to seat the metal pipes, place the two long bolts in and then the remaining 4 bolts...I always like to nip up first, then tighten in a Cross ways fashion (similar to wheel bolts) to ensure the unit is bolted up squarely undistorted....


Replace the little pipe under the Thermostat housing....

Bolt on the Thermostat housing....

Replace the SAI pipe work ensuring you have it fitted firmly and squarely back into the cylinder heads....

Replace the pipe and wiring plug to the Thermostat housing....

Replace the little gizmo on the L/H Bank (R/H as facing engine) that was removed to access the SAI bolt....

Replace the Coolant Sensor and Wiring Plug....

Replace the Water Pump Pulley...nip the bolts up for now....again using a cross-ways pattern and ensure the pulley is sitting squarely with no run-out or wobble.....

Rethread the Belt over the pulleys....now using a 17mm spanner on the tensioner arm, pull the tensioner anti-clockwise to compress the hydraulic ram and put tension into the belt....while holding this tension, do up the 2 locking bolts....with tension on the belt, do up the 4 pulley bolts

Refit the pipes to the Alternator and the top of the pump....

Refit the fan and shroud again follow the info in my Radiator Thread....

Refit the Intake Ducting and remember to attach all the pipes back to the shroud and to the ducting...

Put the acoustic cover back on.......

Now comes time to fill the coolant system....
I removed the top hose from the Rad and used a funnel and hose to fill the Rad up to over flowing....
I then used the funnel and poured coolant down the top hose into the Alternator and pump, block and anywhere else it finds its way too...this took about 4.5 litres to fill to over flowing....
Replace the top hose....
Fill the expansion tank and burp the top hose to pump the coolant from the tank through the top hose....keep topping up the expansion tank....
Start the engine and open the bleed screw on the Tank....keep the engine running, burping the hoses, topping up the tank, burping, until you get a solid stream of coolant from the bleed screw....tighten this and keep the engine running up to temp, burping hoses, topping up tank and opening the bleed screw a few times until you are satisfied you have burped all the air out, and the engine is up to a good temp to allow the stat to open.......
Fit Tank cap and clean up, switch engine off....wait to cool and check coolant level when cold!!
Job Done....
I started at 11.15am and was finished, washed and in the Car to pick up the Girlfriend by 5.10pm

Last edited:
