DarrenHS3
Active Member
- Posts
- 124
- Location
- north kent
i realise that most of this thread will be past tense and drip fed by copy paste, but here goes !!
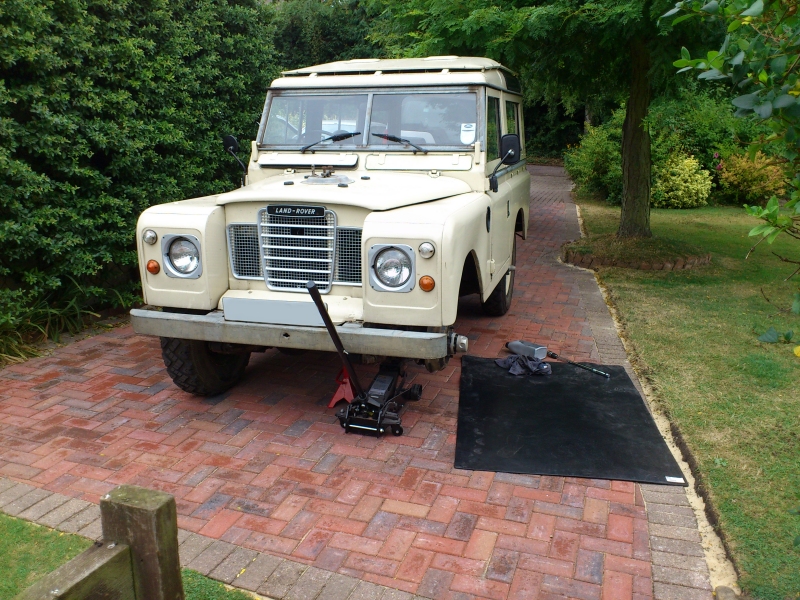
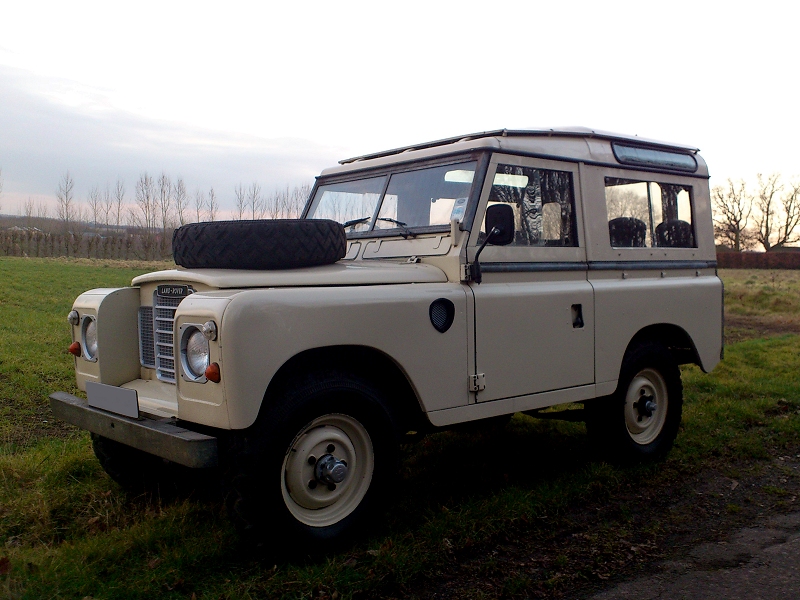
our gran passed away in 2015 (in her nineties) and a small amount of money filtered down from the will. i wasn't expecting anything to be honest so it was quite a surprise. i didn't want to stash it or blow it on pointless stuff (he says, about to buy another car) so decided to look for a physical keep sake, which in my mind translated as car ! something familiar, potential to be future classic and increase in value, plus be fun to drive and have a good owners scene behind it. having owned an early land rover ninety which i sold in 2013 i started looking at the older leaf sprung series 2a and 3. i viewed a couple and this one came up locally at a good price, i ended up viewing it and buying it on the spot!.
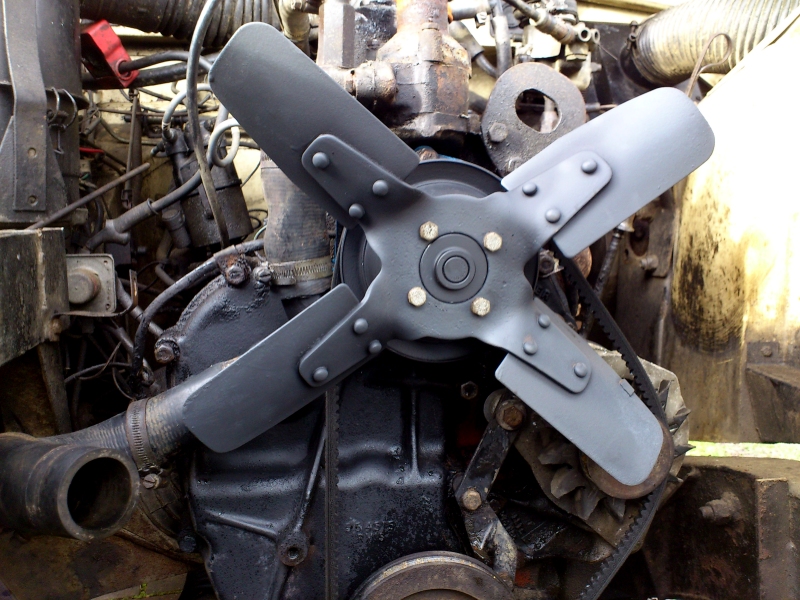
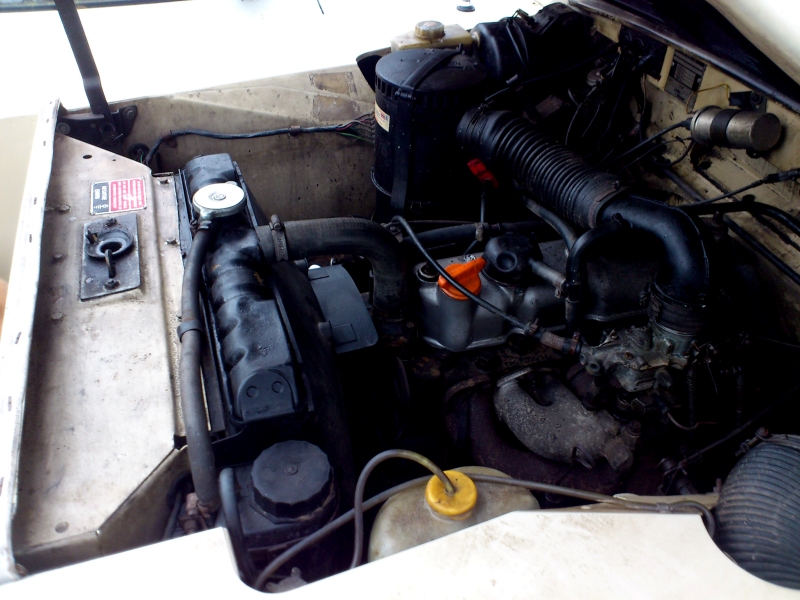
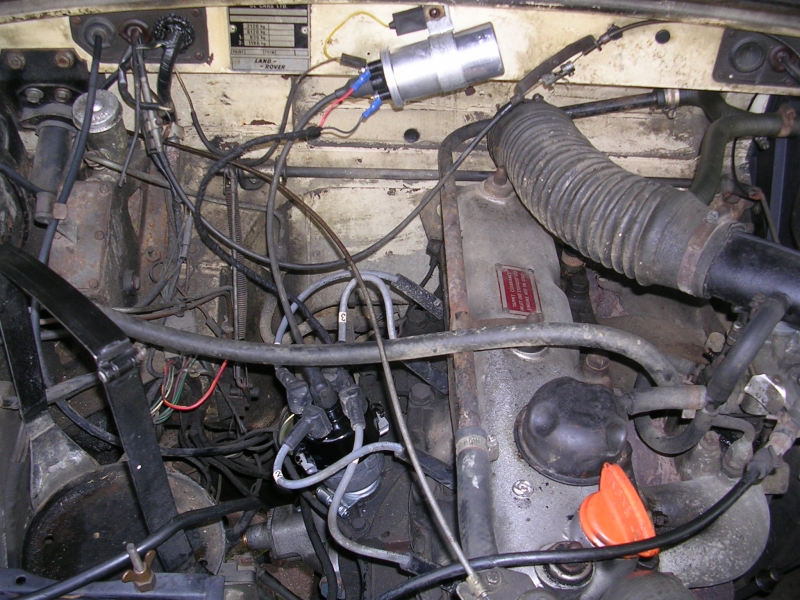
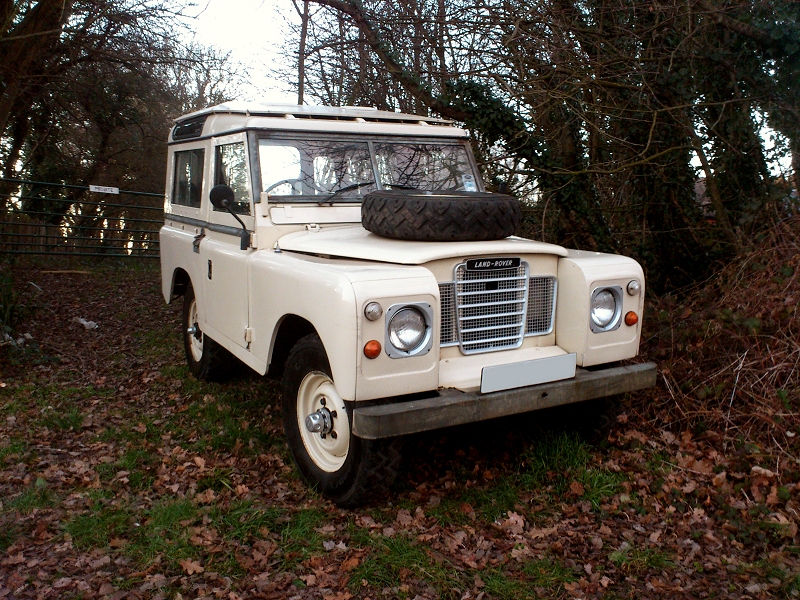
its a genuine factory series 3 station wagon 2.25 petrol (verified by vin) 109,000 miles but had engine rebuild in 1998 including new valves, guides, unleaded conversion, weber 34ich carb. it had a part respray in the noughties (unknown reasons) and a new OE steel chassis which is still in great condition, no welded repairs anywhere. manufacture date is 1981 but wasnt registered until summer 1982. the engine number comes back correct vintage 8:1 5 main bearing and the vehicle is otherwise original, untouched, completely knackered or gracefully restored. it has the original fairey overdrive and freewheeling hubs which were standard extras on the station wagon. It also came with a wallet of history dating back to its purchase from dutton forshaw ayelsbury (oxford registered) in the history is a little note book in which the second owner started writing down servicing and purchases, then each subsequent owners have carried it on, which is awesome ! even has date of purchase, price, name and address at each change of hands, amazing !
to do list at the time of purchase....
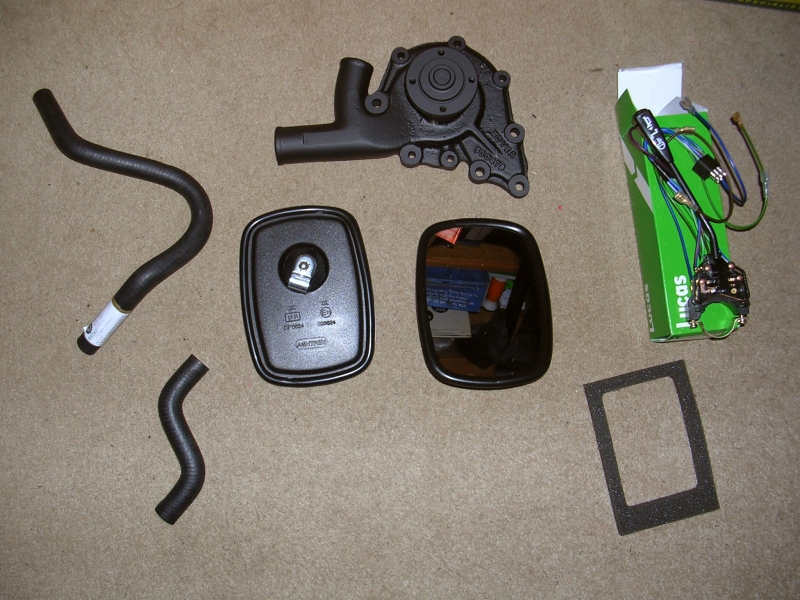
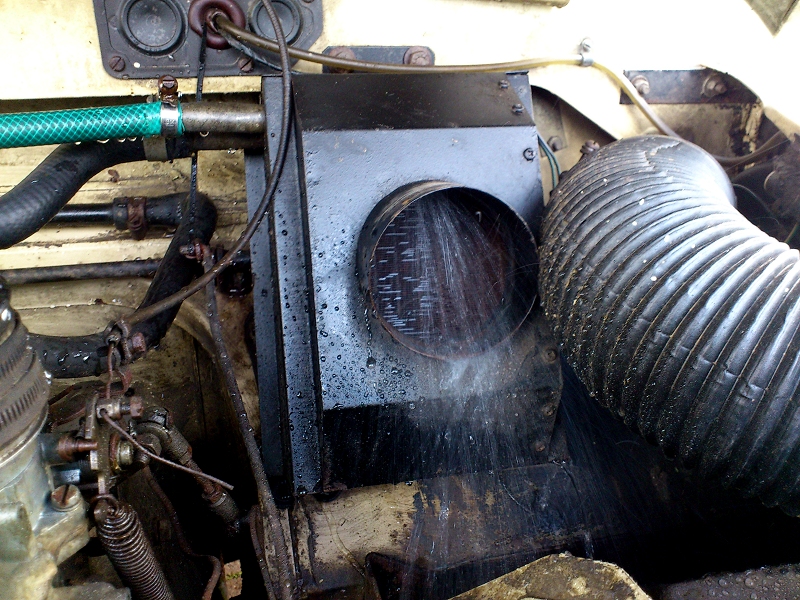
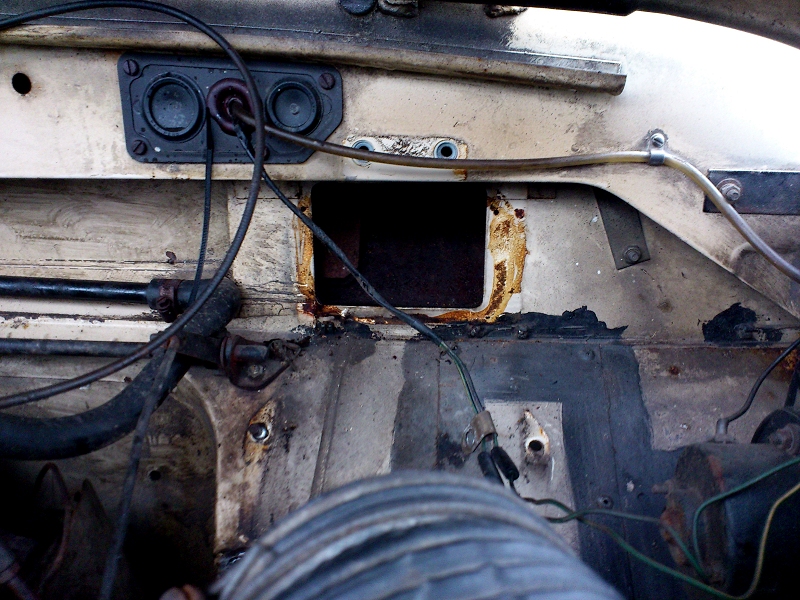
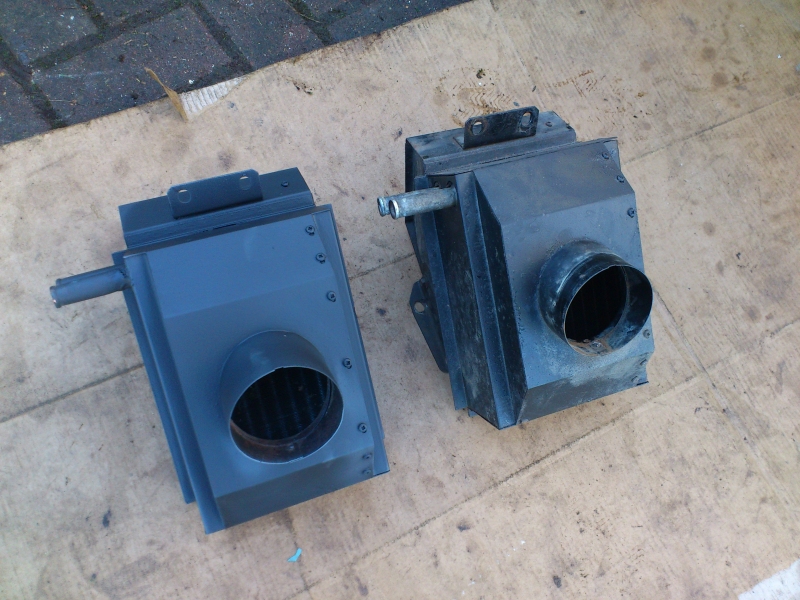
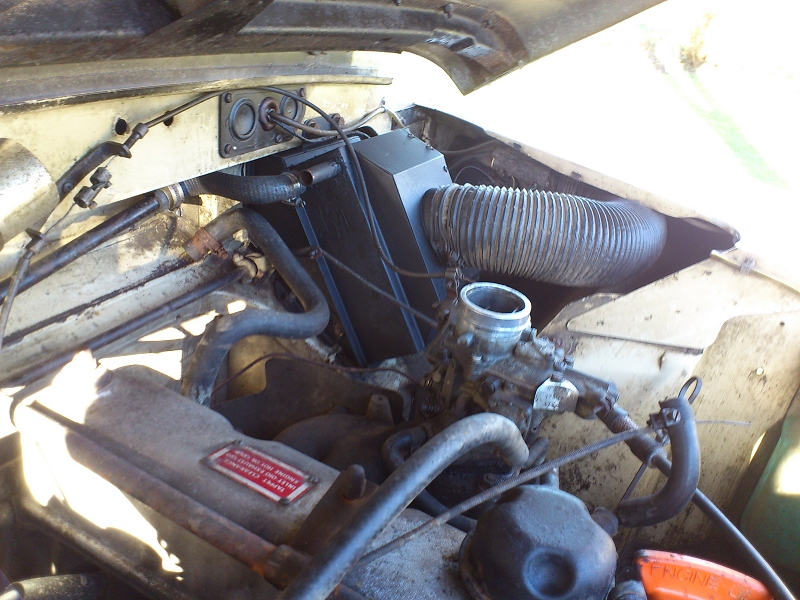
heater box is bypassed with rubber hose, replacement came with vehicle
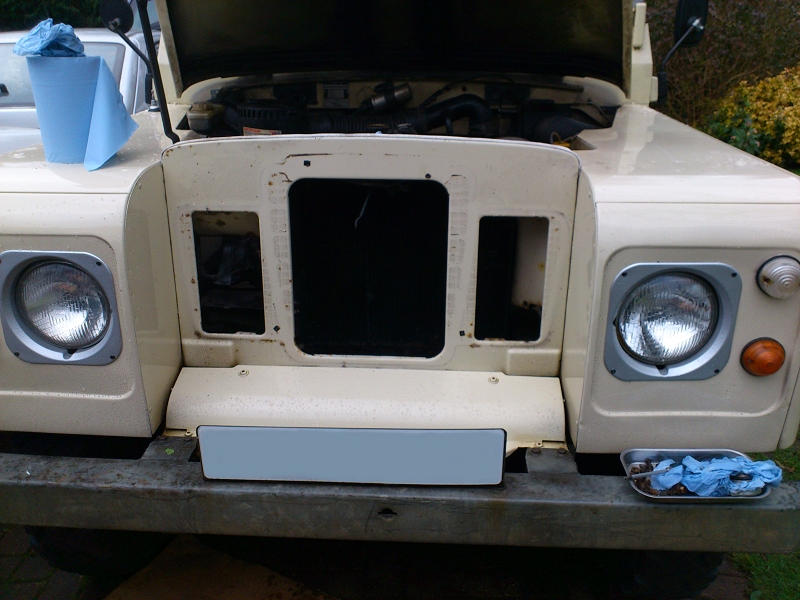
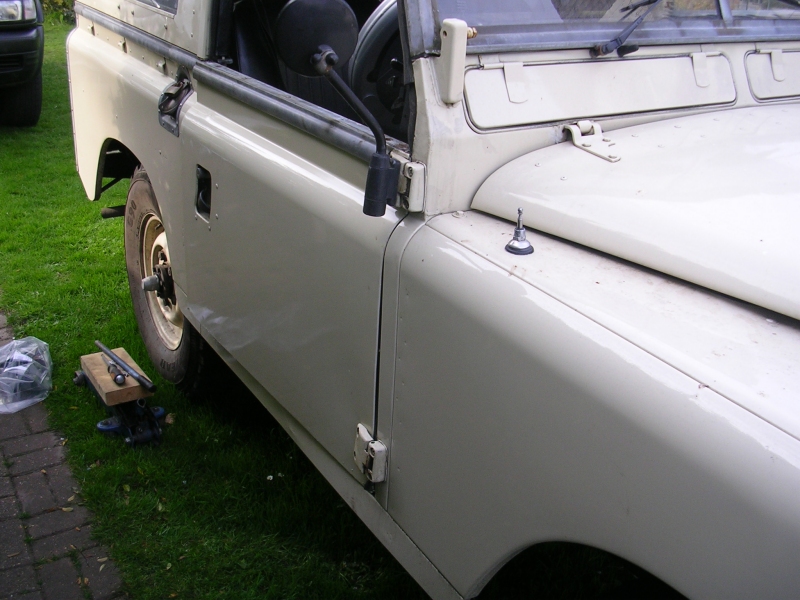
sort bonnet catch as it wobbles up and down 1/4 inch
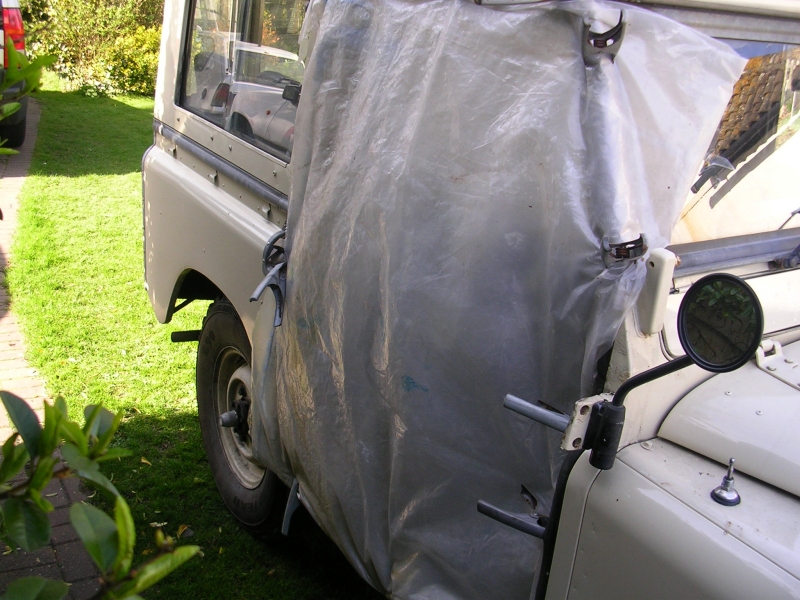
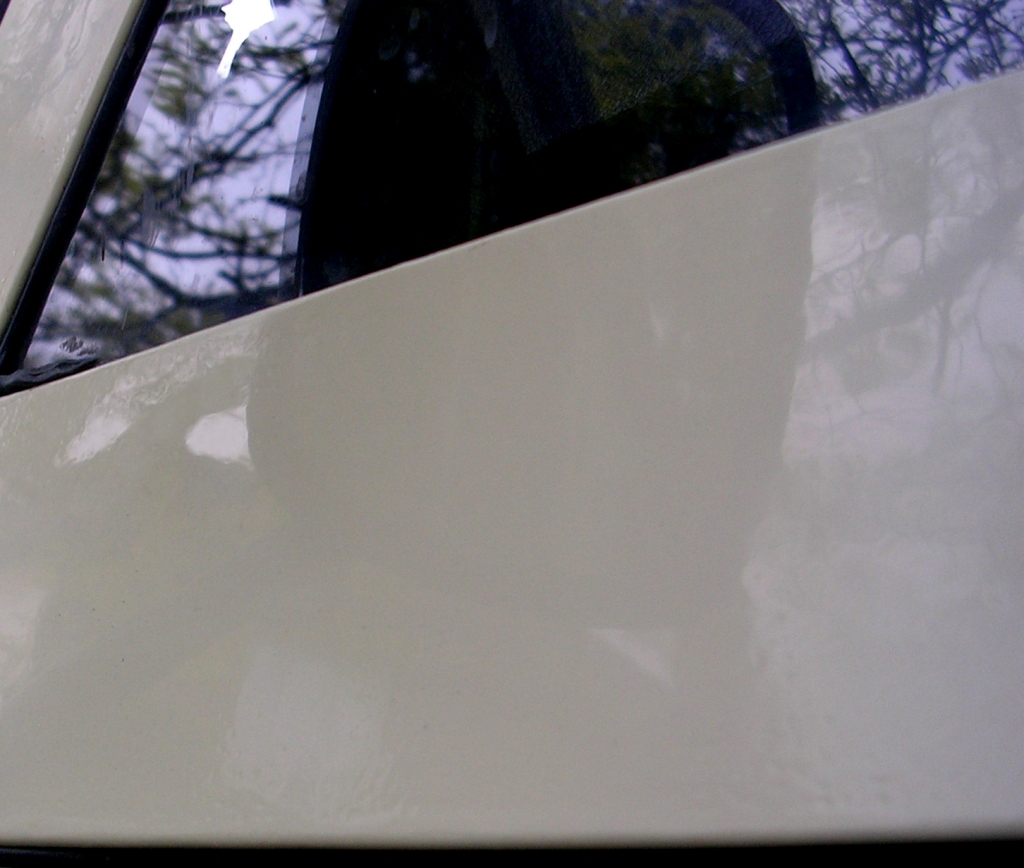
replace wing mirror as it has random round one the size of the top of pint glass (helpless)
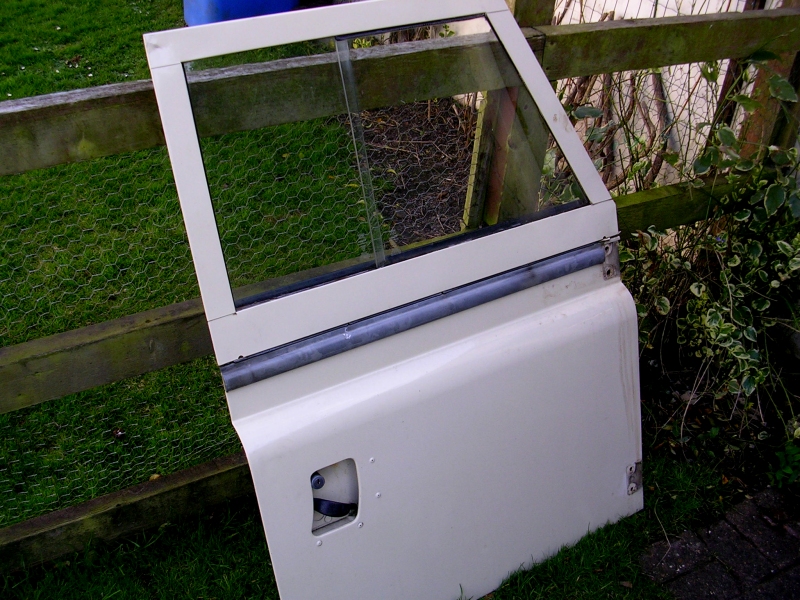
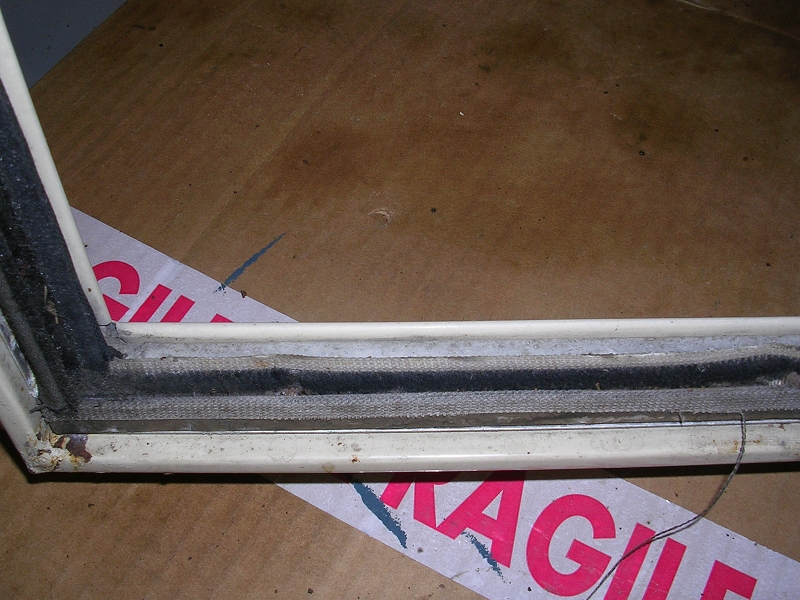
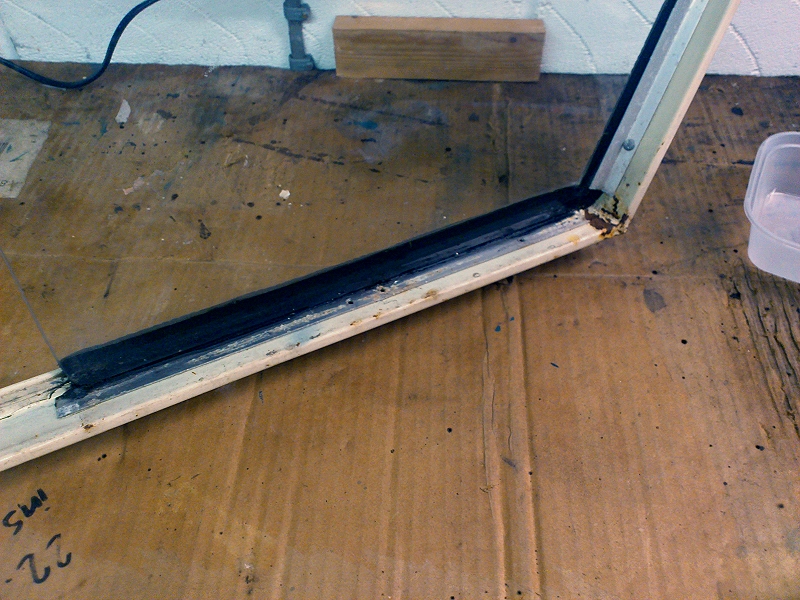
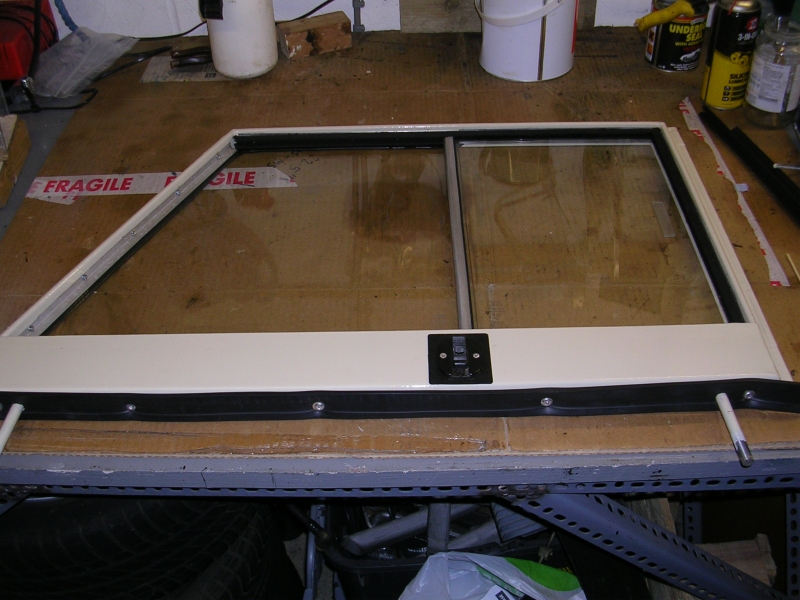
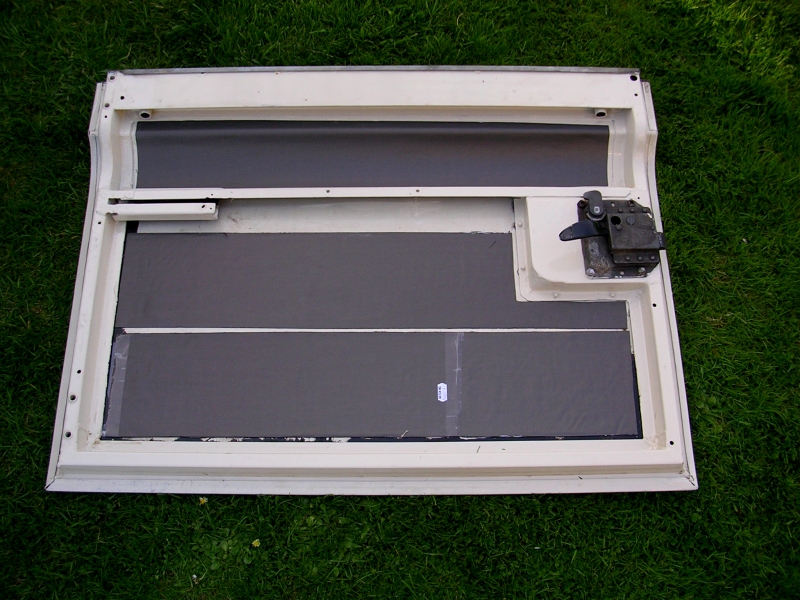
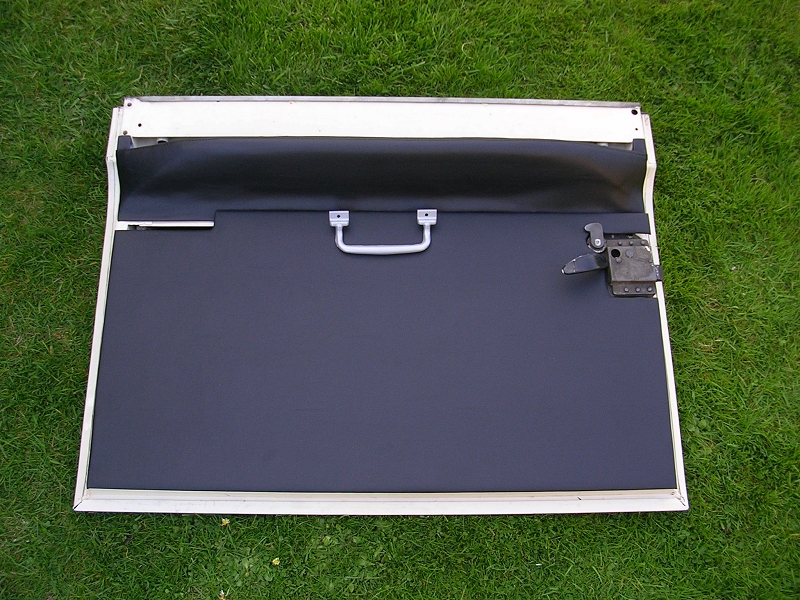
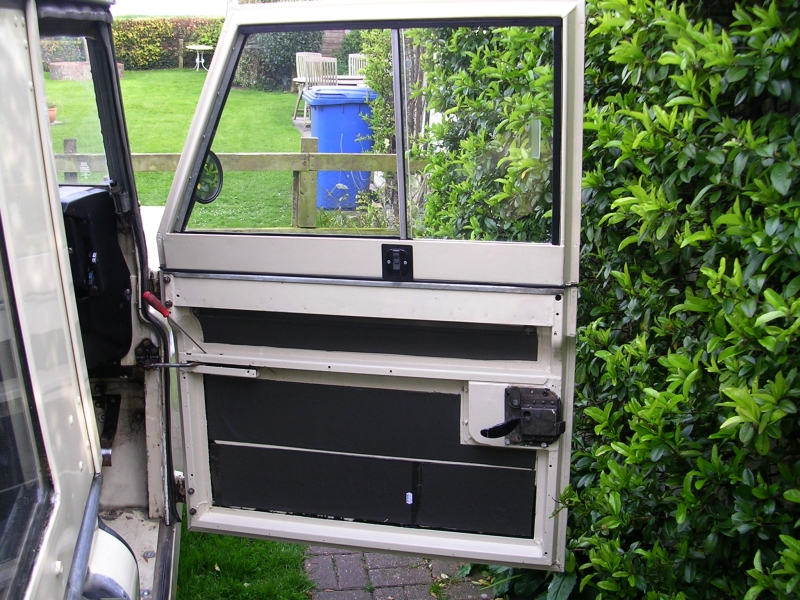
door glass wont slide, felt runners are swollen/jammed with moss
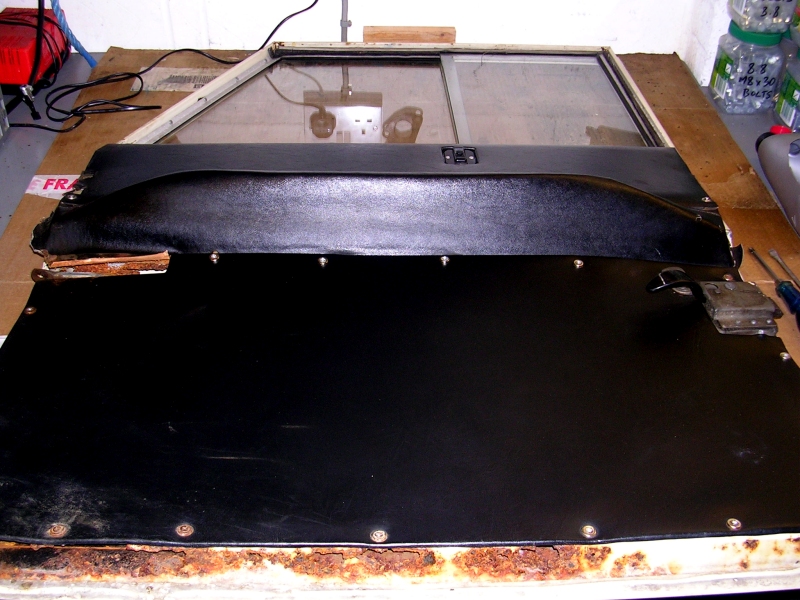
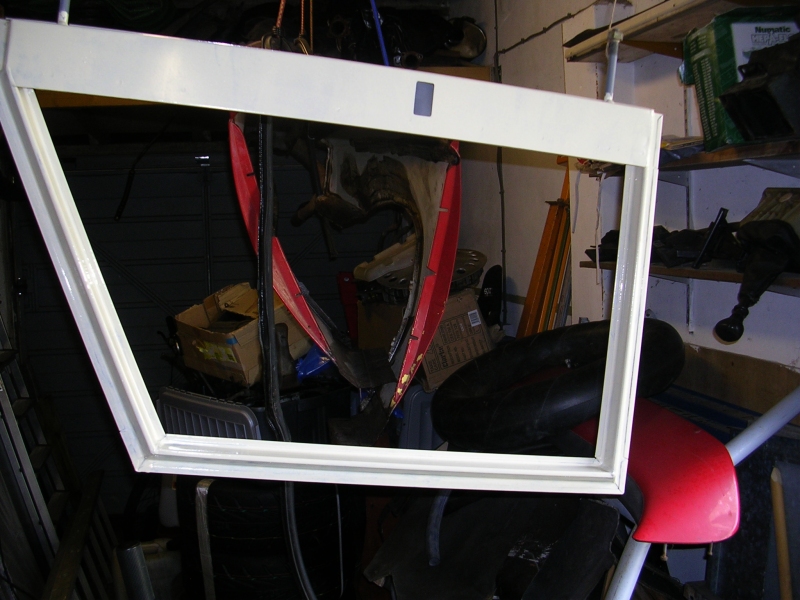
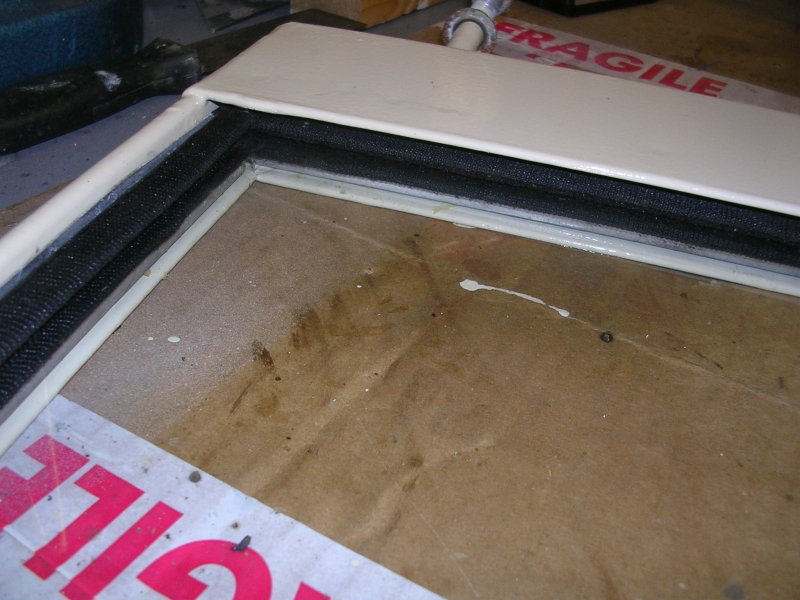
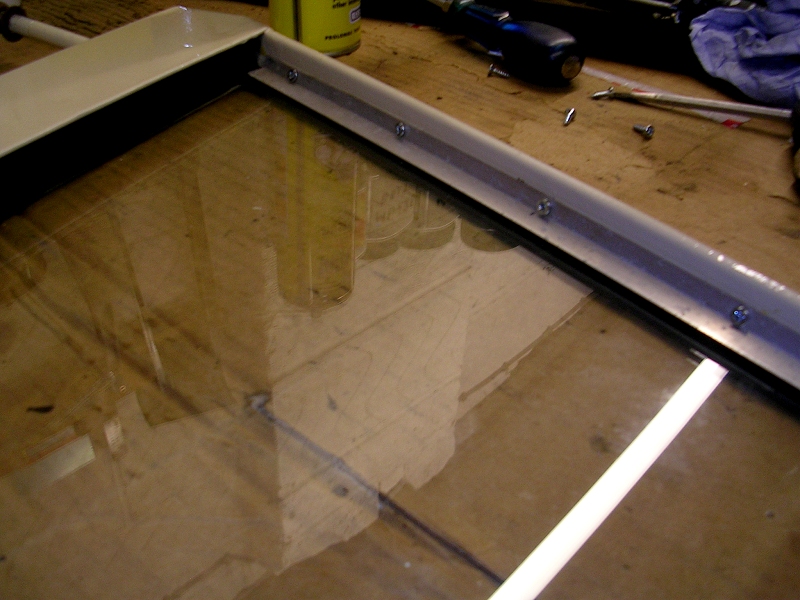
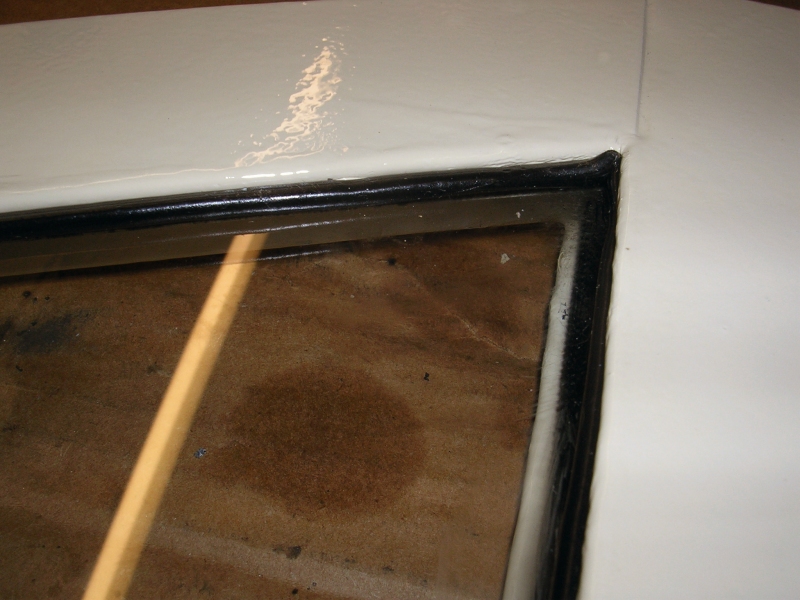
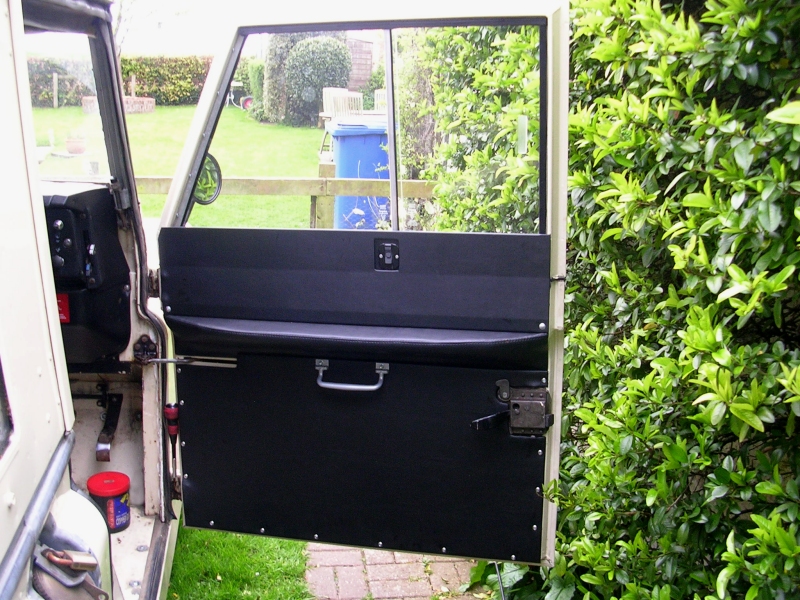
door tops bow out at speed, possible replacement or fettling
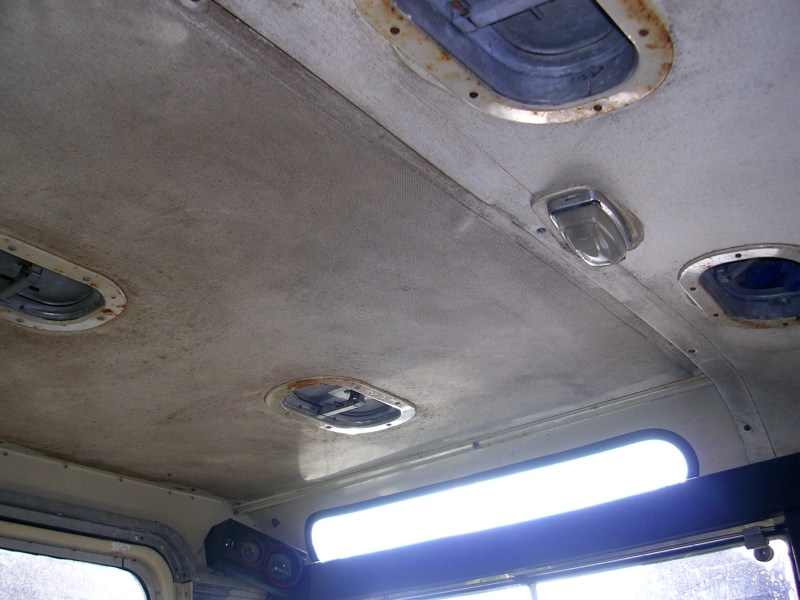
roof lining is mouldy
one safari vent jammed open
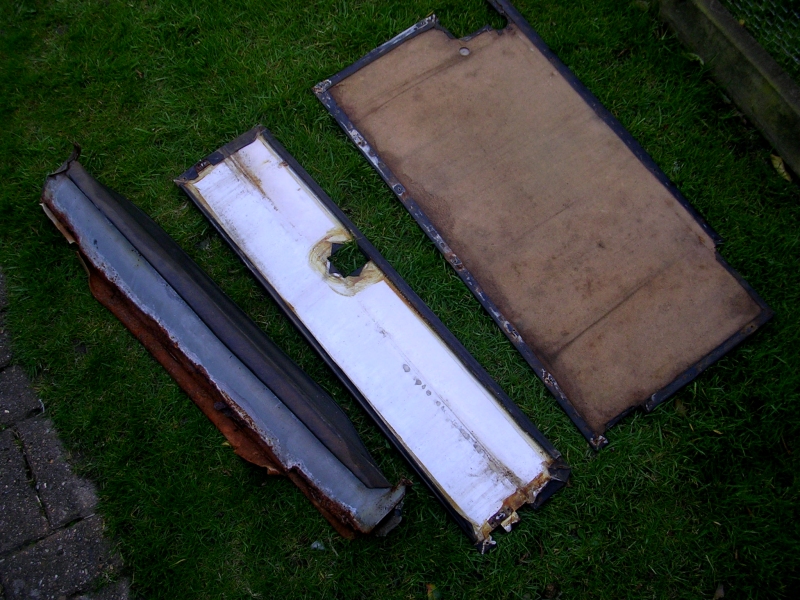
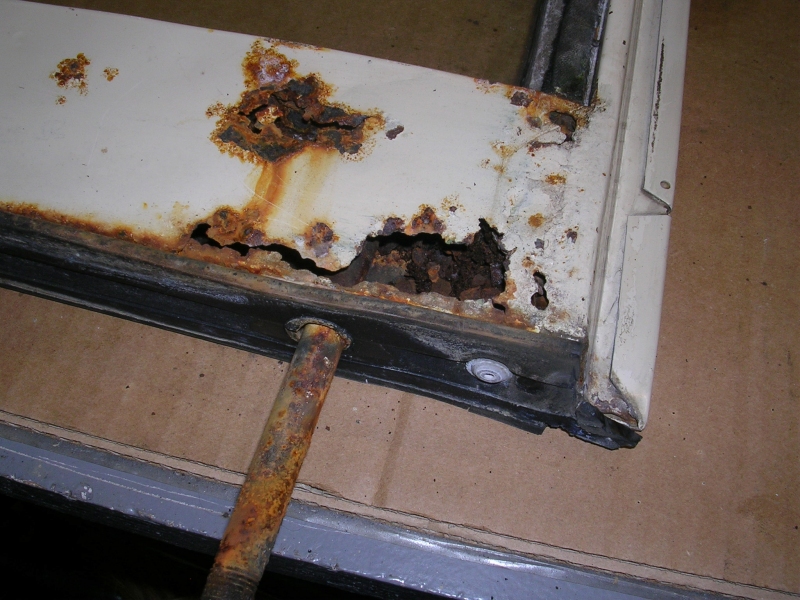
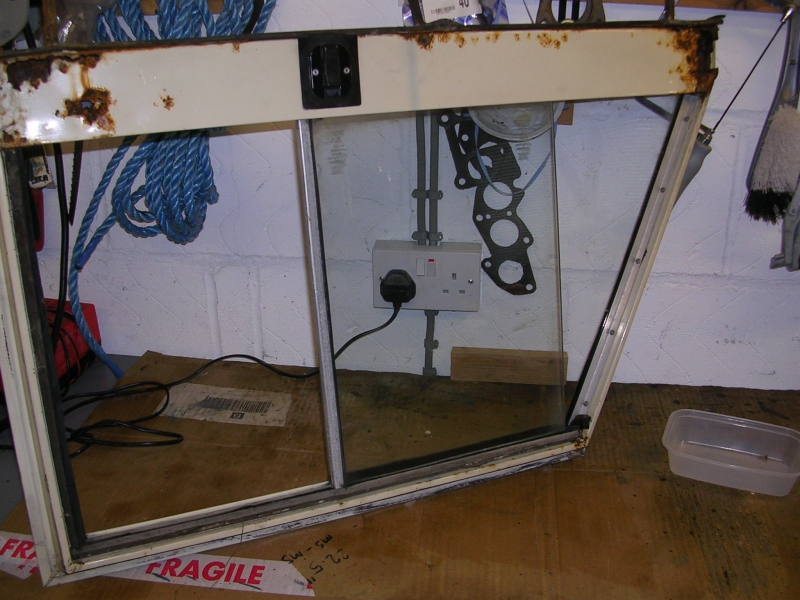
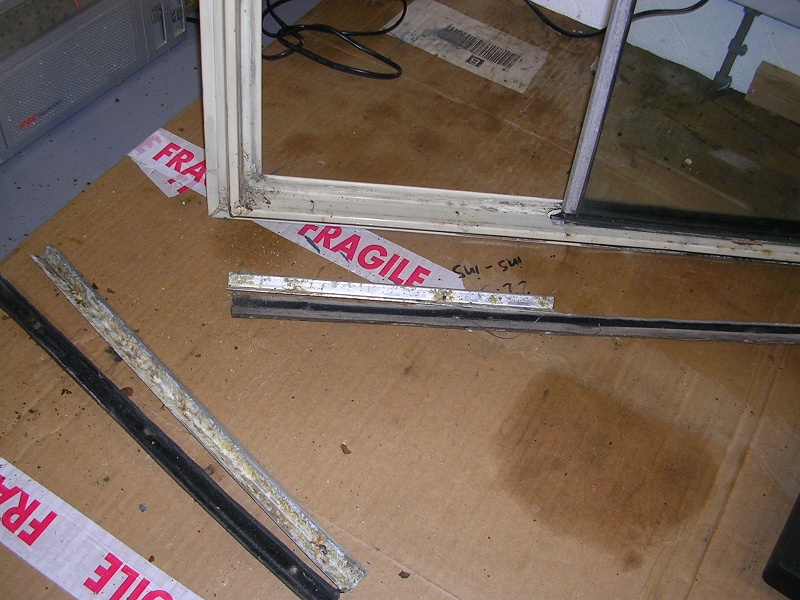
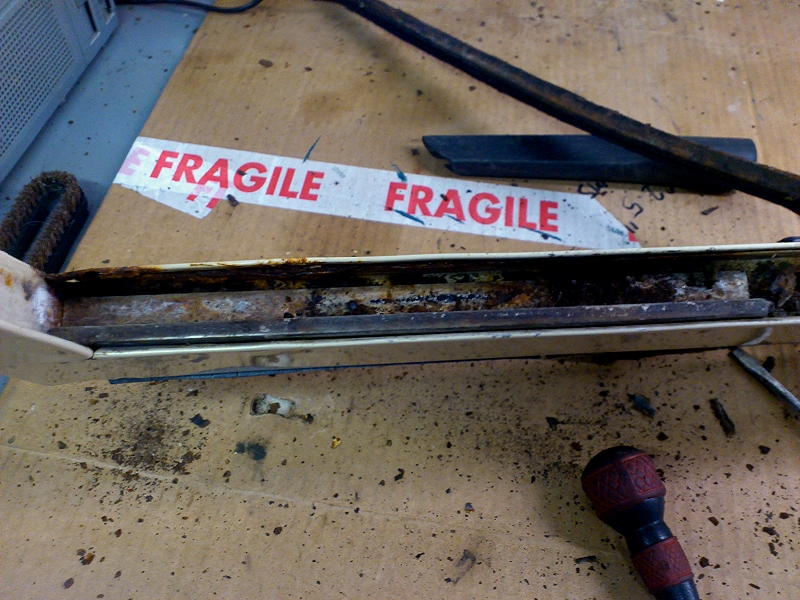
rear side window runners (bottom) are rotting/swollen with rust
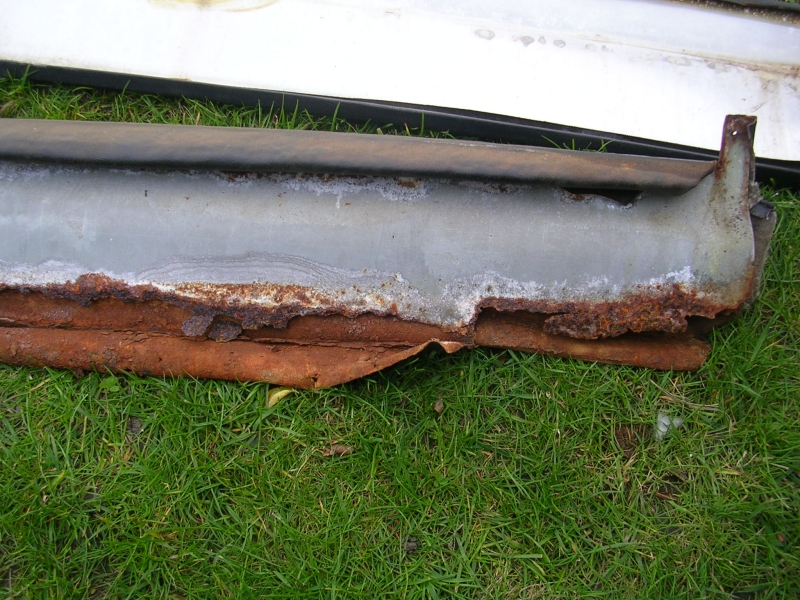
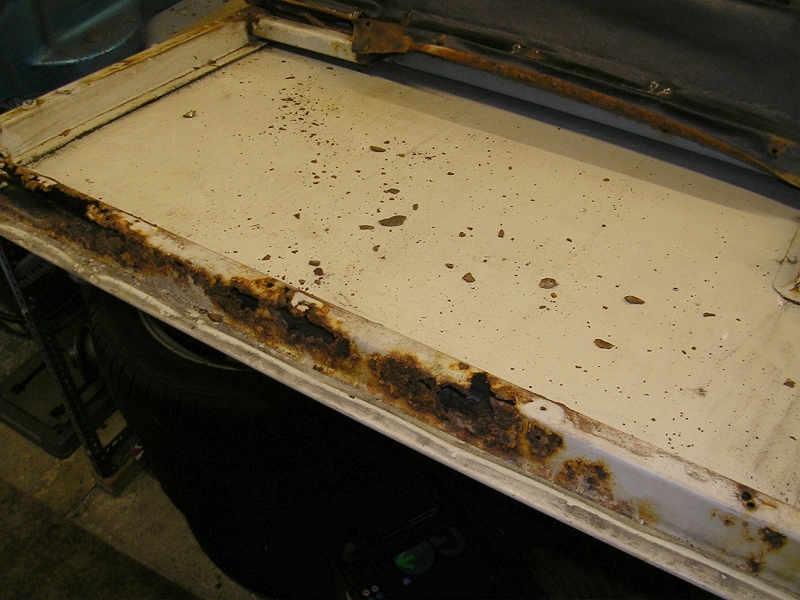
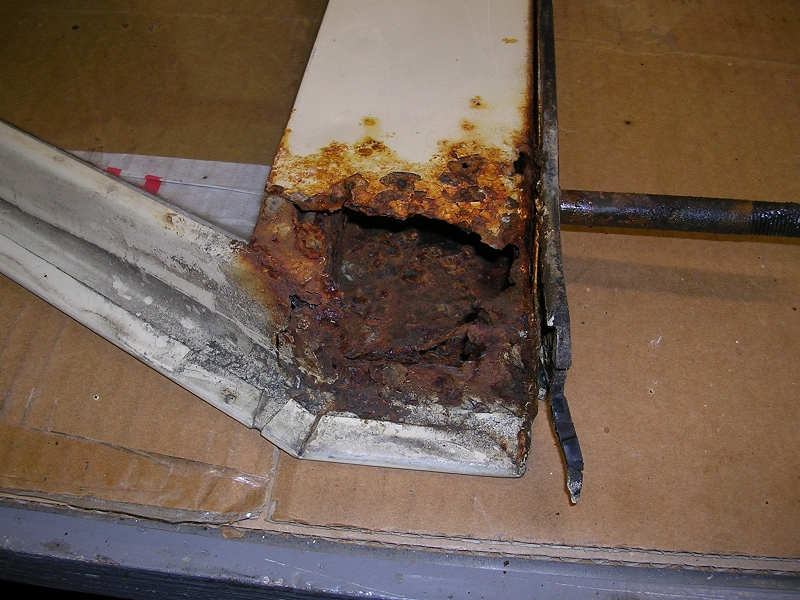
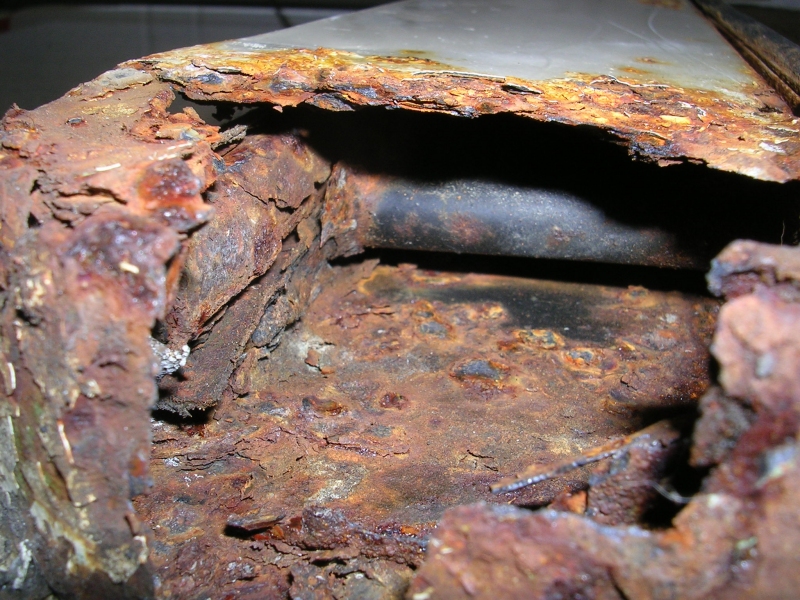
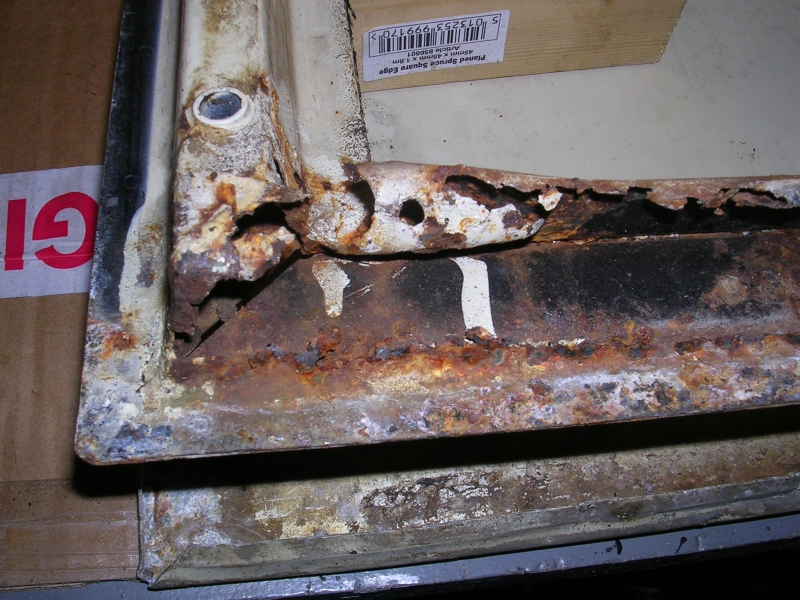
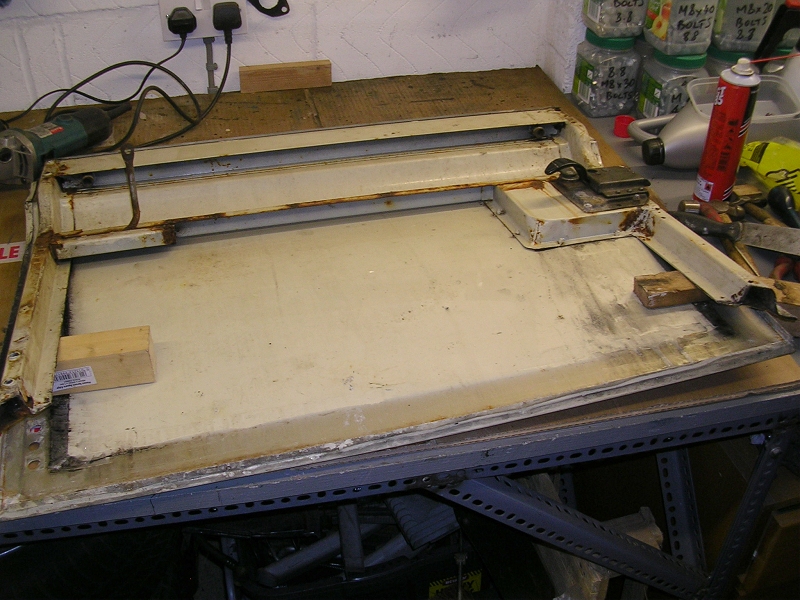
cross bars in rear door starting to rot
rear door check strap pulled out of floor pan
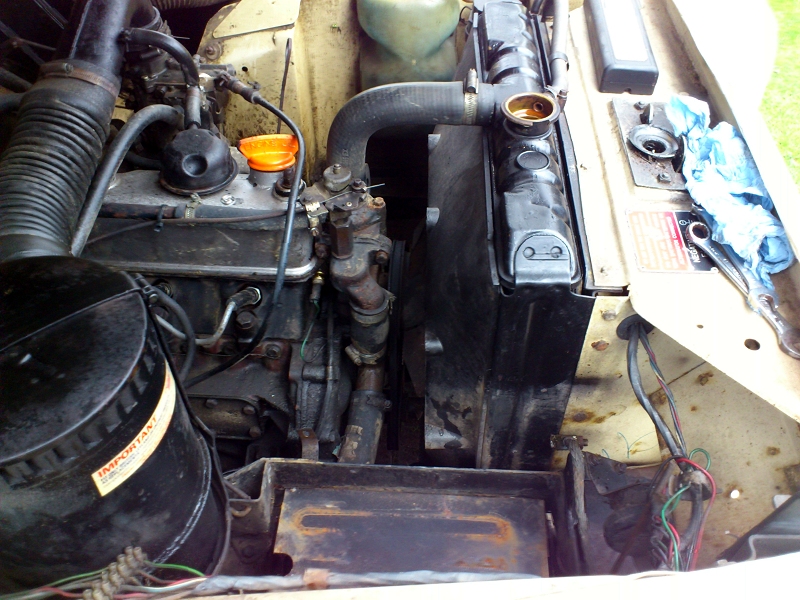
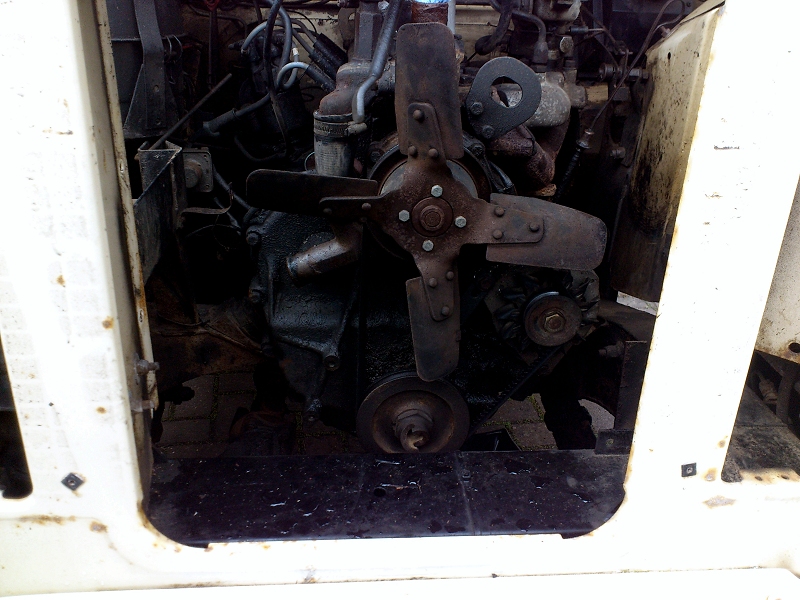
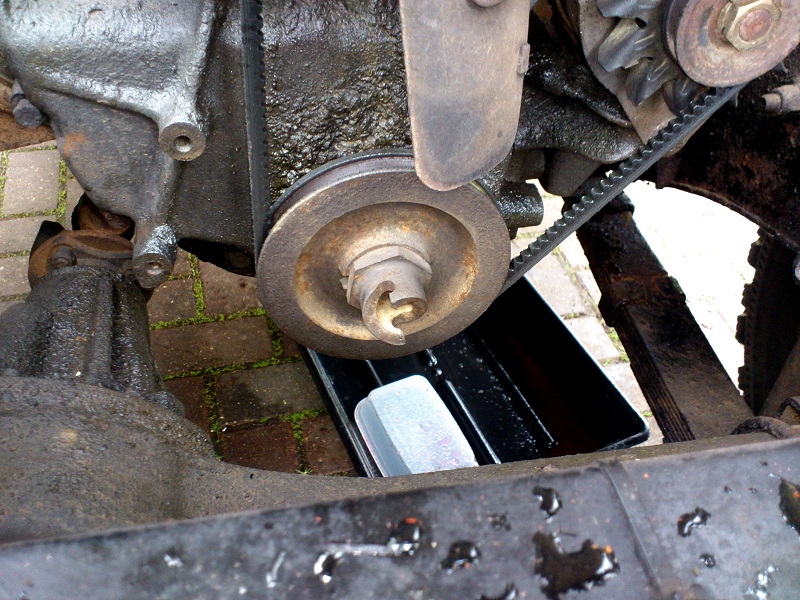
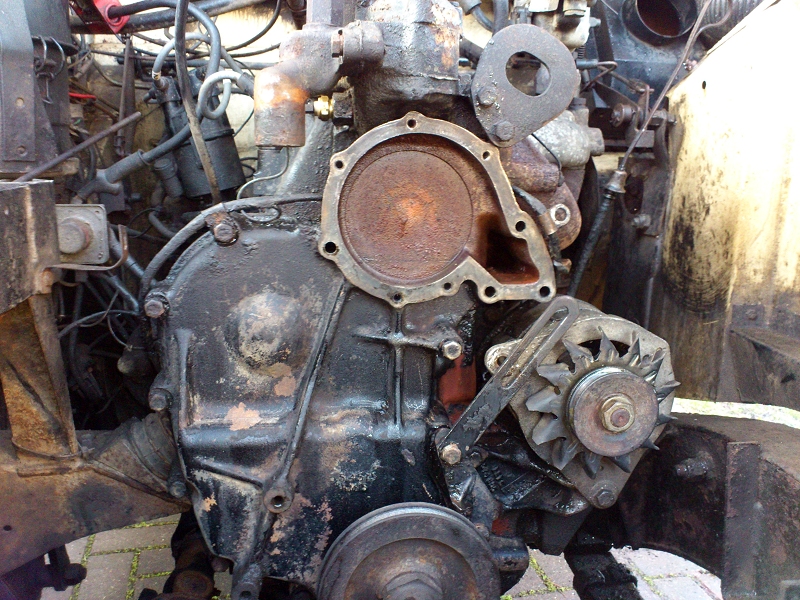
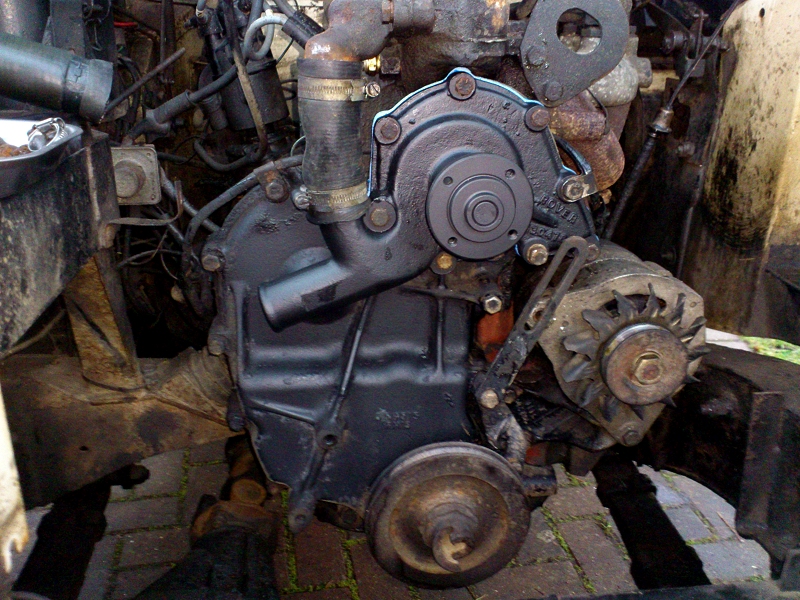
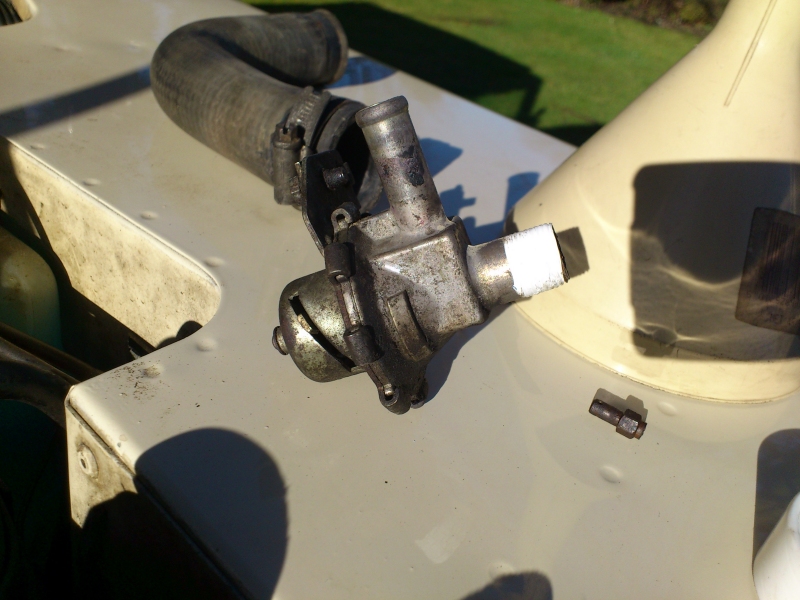
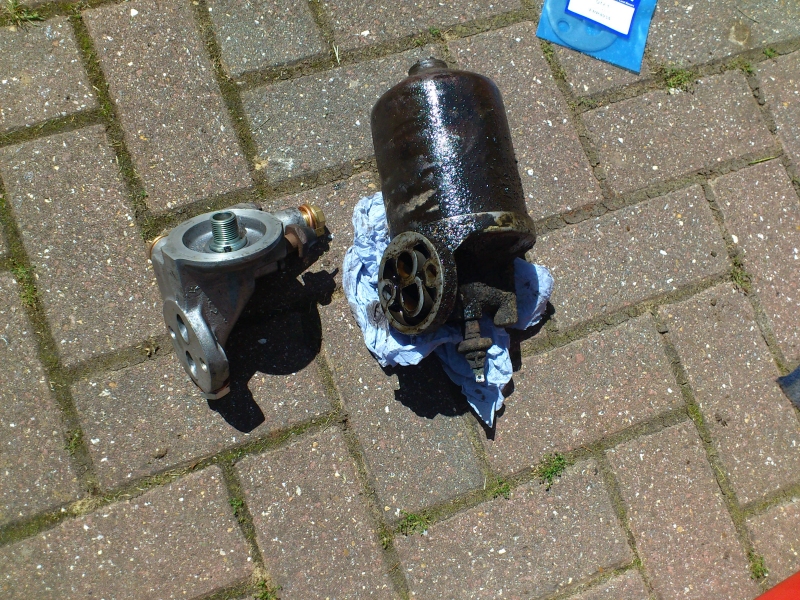
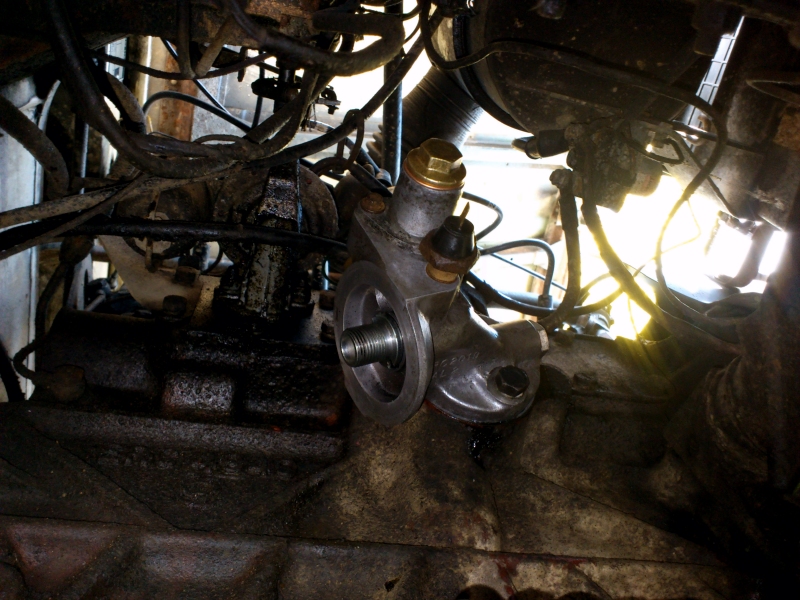
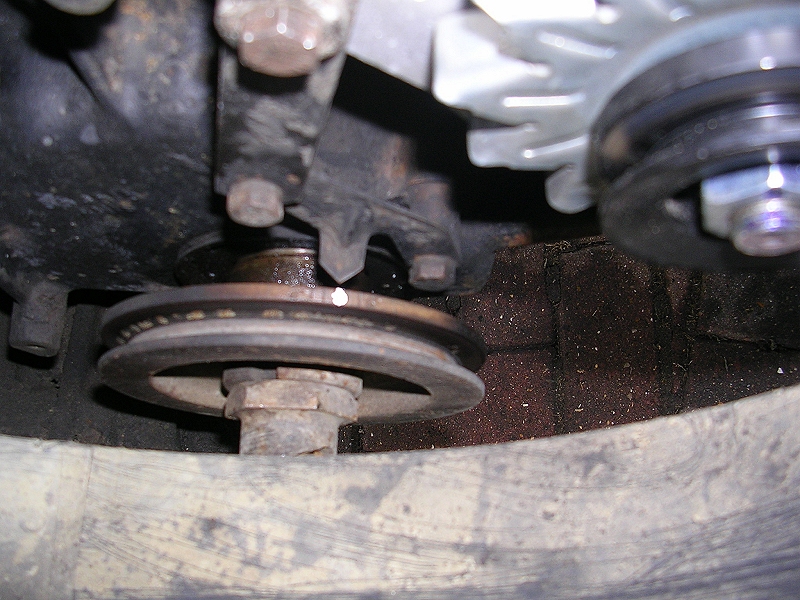
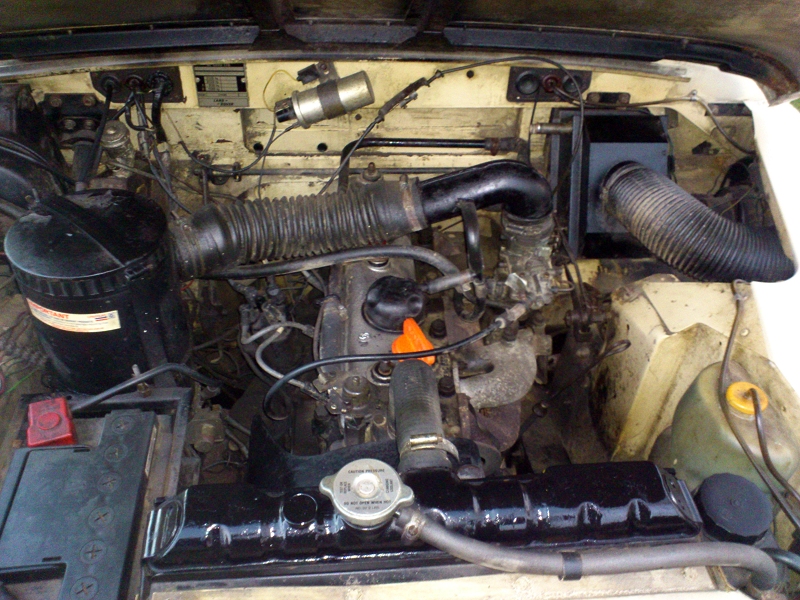
water pump is leaking out of the drain hole
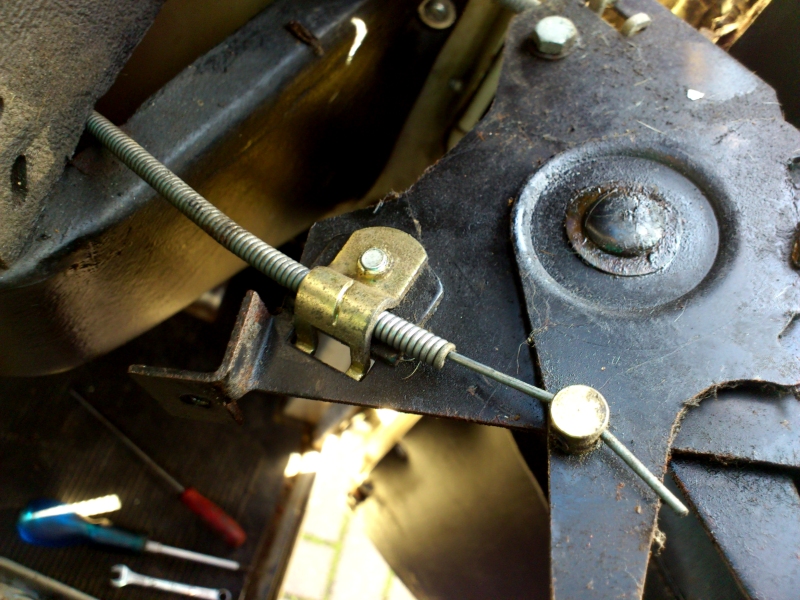
choke cable rusted solid internally
heater control cable rusted solid internally
indicator stalk not self cancelling
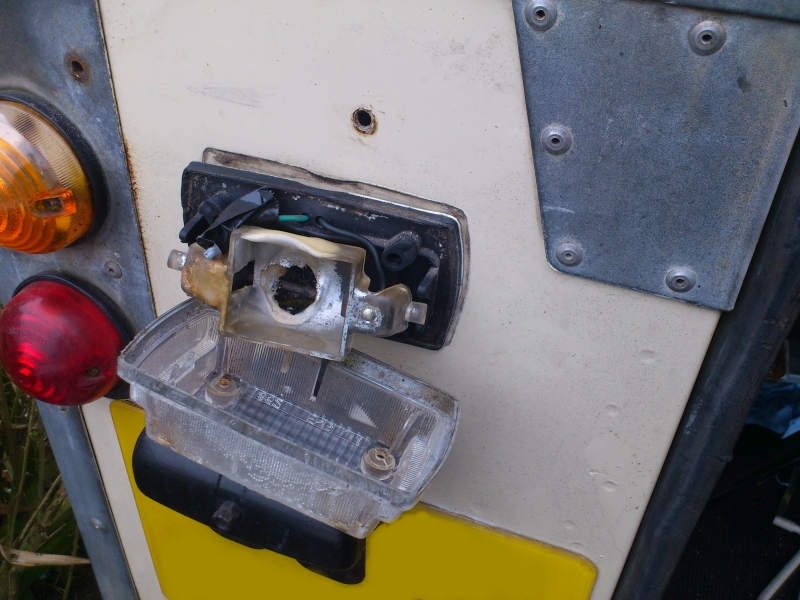
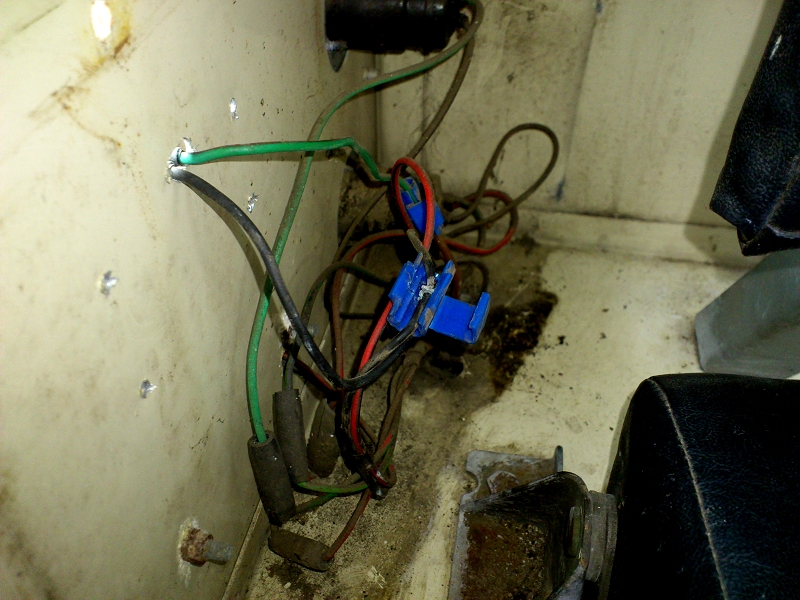
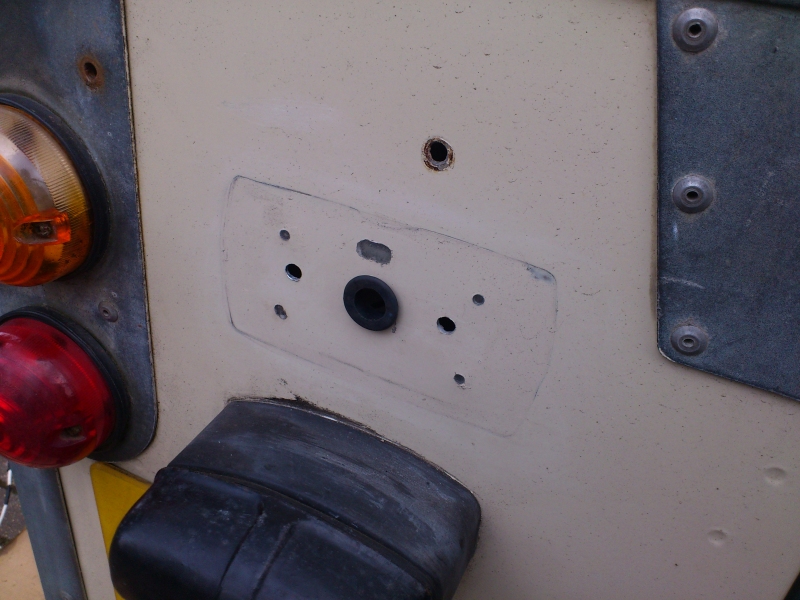
reverse light not working
awesome 80s sharp head unit not powering up
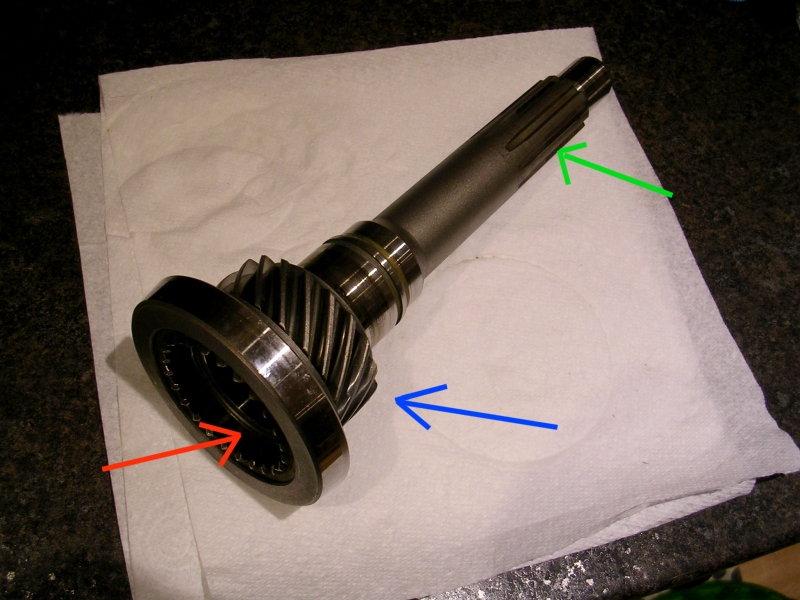
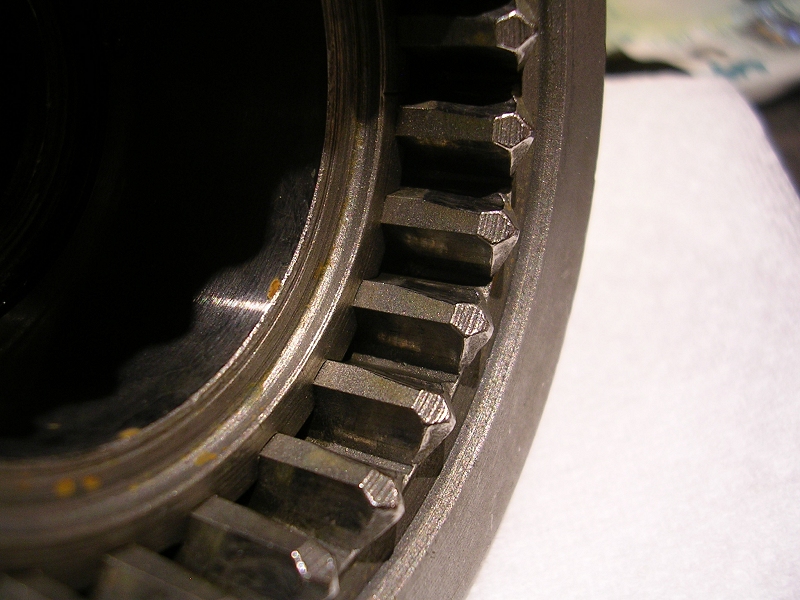
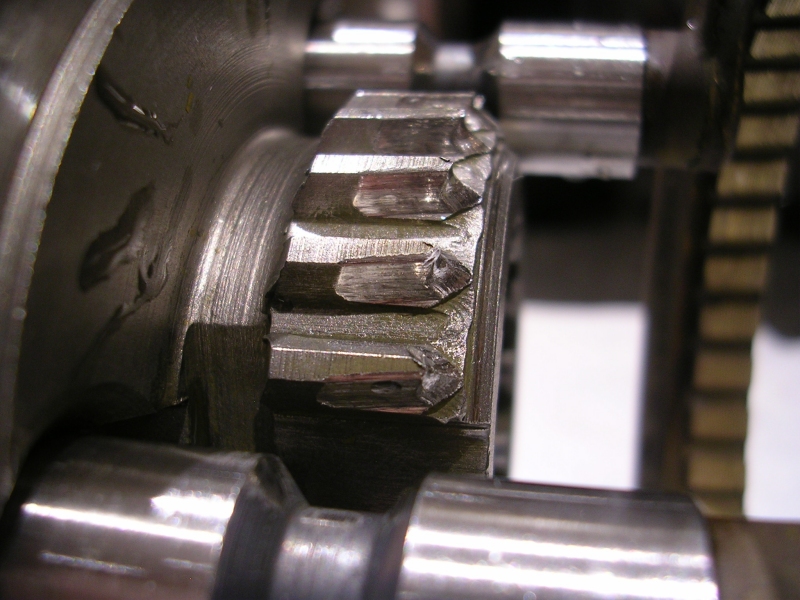
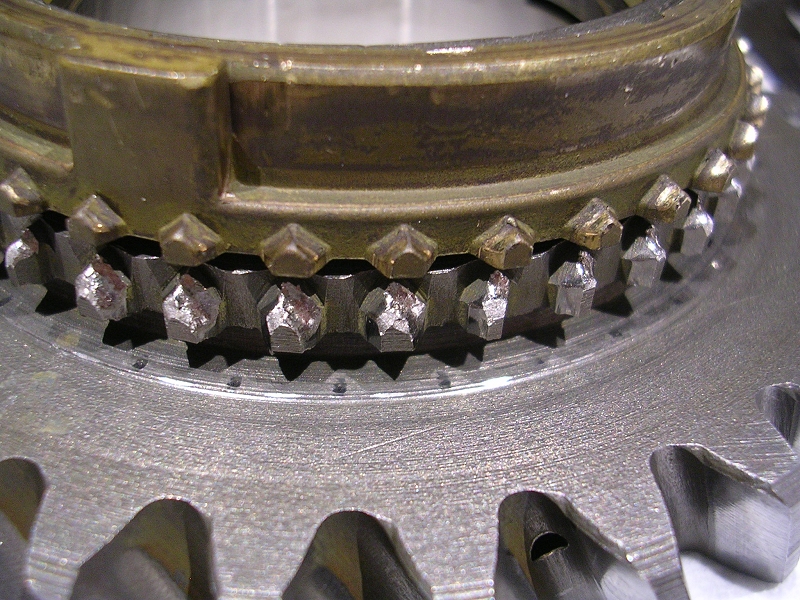
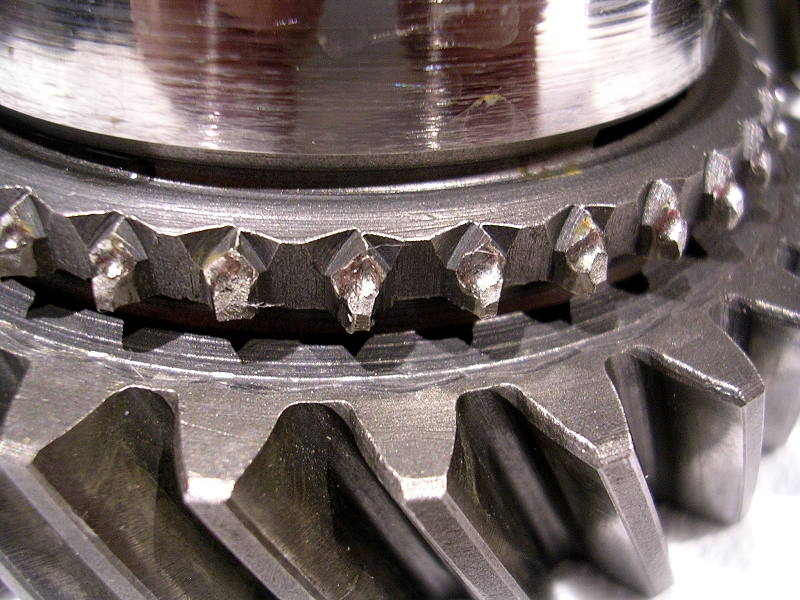
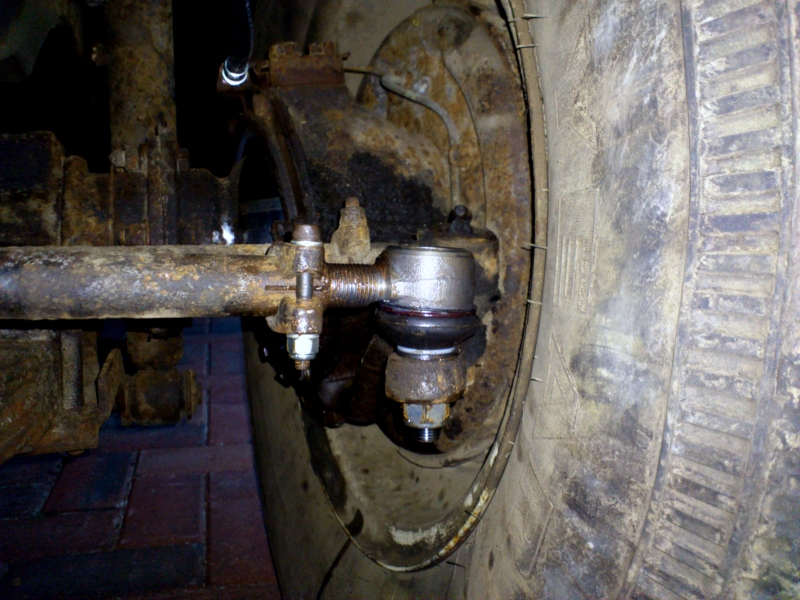
biggy is the gearbox pops out of 4th occasionally, 3rd and 4th syncro are also non existent (works ok double clutching) gearbox was booked back in on 23rd feb 2015 to have the syncros done and whatever else crops up (seals bearings kind of thing)

our gran passed away in 2015 (in her nineties) and a small amount of money filtered down from the will. i wasn't expecting anything to be honest so it was quite a surprise. i didn't want to stash it or blow it on pointless stuff (he says, about to buy another car) so decided to look for a physical keep sake, which in my mind translated as car ! something familiar, potential to be future classic and increase in value, plus be fun to drive and have a good owners scene behind it. having owned an early land rover ninety which i sold in 2013 i started looking at the older leaf sprung series 2a and 3. i viewed a couple and this one came up locally at a good price, i ended up viewing it and buying it on the spot!.
its a genuine factory series 3 station wagon 2.25 petrol (verified by vin) 109,000 miles but had engine rebuild in 1998 including new valves, guides, unleaded conversion, weber 34ich carb. it had a part respray in the noughties (unknown reasons) and a new OE steel chassis which is still in great condition, no welded repairs anywhere. manufacture date is 1981 but wasnt registered until summer 1982. the engine number comes back correct vintage 8:1 5 main bearing and the vehicle is otherwise original, untouched, completely knackered or gracefully restored. it has the original fairey overdrive and freewheeling hubs which were standard extras on the station wagon. It also came with a wallet of history dating back to its purchase from dutton forshaw ayelsbury (oxford registered) in the history is a little note book in which the second owner started writing down servicing and purchases, then each subsequent owners have carried it on, which is awesome ! even has date of purchase, price, name and address at each change of hands, amazing !
to do list at the time of purchase....
heater box is bypassed with rubber hose, replacement came with vehicle
sort bonnet catch as it wobbles up and down 1/4 inch
replace wing mirror as it has random round one the size of the top of pint glass (helpless)
door glass wont slide, felt runners are swollen/jammed with moss
door tops bow out at speed, possible replacement or fettling
roof lining is mouldy
one safari vent jammed open
rear side window runners (bottom) are rotting/swollen with rust
cross bars in rear door starting to rot
rear door check strap pulled out of floor pan
water pump is leaking out of the drain hole
choke cable rusted solid internally
heater control cable rusted solid internally
indicator stalk not self cancelling
reverse light not working
awesome 80s sharp head unit not powering up
biggy is the gearbox pops out of 4th occasionally, 3rd and 4th syncro are also non existent (works ok double clutching) gearbox was booked back in on 23rd feb 2015 to have the syncros done and whatever else crops up (seals bearings kind of thing)
 i took it back to the garage that sold it to me, who also happened to be a pretty clued up old school land rover garage. (RST land rovers in essex)