1975 Series 3 Rebuild (The second time around)

This site contains affiliate links for which LandyZone may be compensated if you make a purchase.

samc88

Drivels spiritual representative
Posts
2,838
Location
Anglesey, North Wales
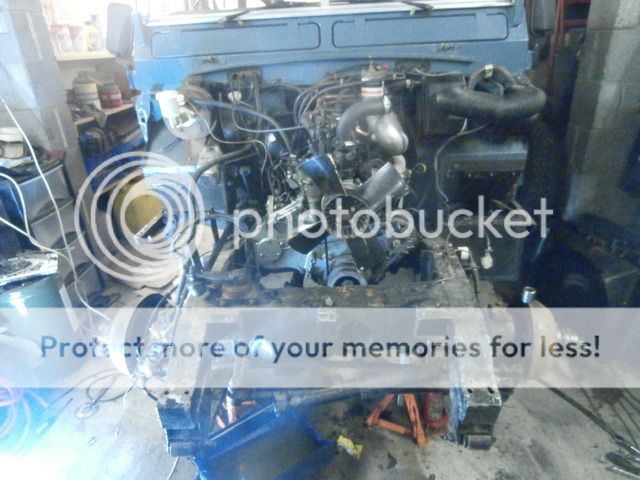
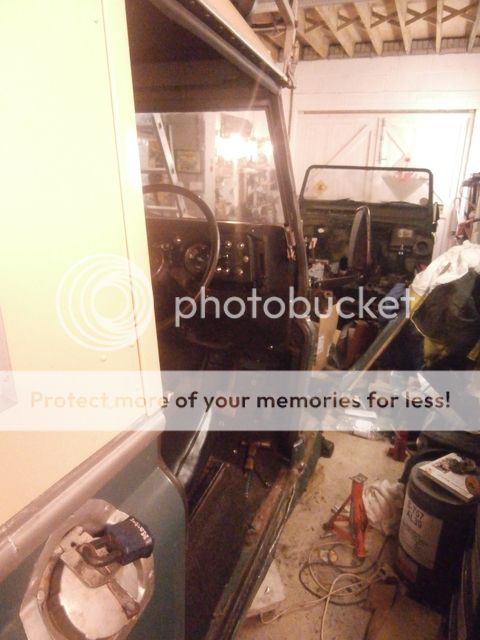
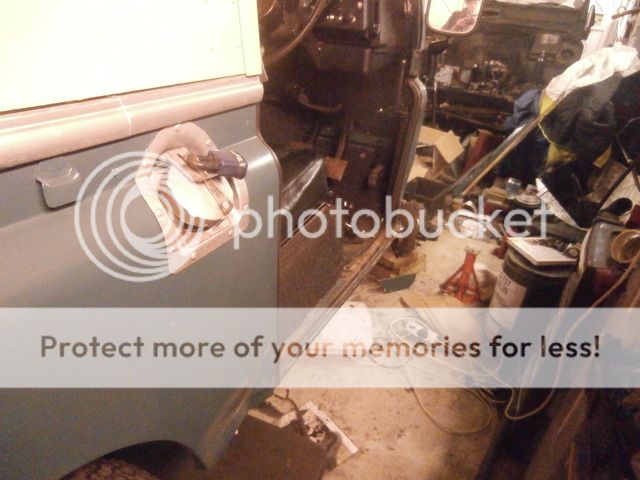
Yes, unfortunately I have to rebuild the front end of the series (or Margaret as she's been christened by my one of my mates) after a disagreement with a tractor. Whilst I'm at it I shall be upgrading and improving as I go along to really futureproof it and make it much nicer to use as a daily. Im not talking power steering (I dont like the feel of a ps setup on a series, had a go in one once and didnt like it) Im thinking of soundproofing as well as curing the numerous oil leaks she has as well as a few interior jobs.

In the accident she damaged:
Front bumper,
Both front wings,
Lost the indicator and sidelight lenses - all lights however still work suprisingly since the bloody things are britpart
Drivers side door bottom
Drivers side sill
Front apron (Dont care as im fitting a capstan winch)
Drivers side shock absorber was pierced leaking all its oil out,
Drag link bent slightly will swap for HD ones
Tubby the door has a massive dent
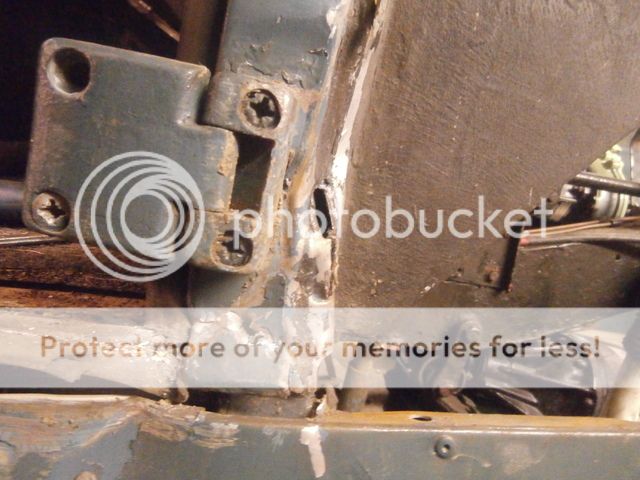
Bulkhead twisted at the bottom in front of door

Theres no chassis damage so all easily repairable, luckily im friendly with a few local places dealing in second hand landy bits

12244212_761646623945666_1675880807_n.jpg
12248859_761646597279002_1993104254_n.jpg
12272872_761646607279001_298914889_n.jpg
12277288_761646583945670_1748287028_n.jpg
12244212_761646623945666_1675880807_n.jpg
12248859_761646597279002_1993104254_n.jpg
12272872_761646607279001_298914889_n.jpg
12277288_761646583945670_1748287028_n.jpg
12244212_761646623945666_1675880807_n.jpg 12248859_761646597279002_1993104254_n.jpg 12272872_761646607279001_298914889_n.jpg 12277288_761646583945670_1748287028_n.jpg
 
Poor Margaret! She's certainly looking battered. Will you be able to fund the repairs from the insurance?

The cost to repair is so low (estimated <£300 for replacement parts) that they said carry on and use the money that would have been my excess for it. Means using my own money, however it also means i avoid hassle with insurance over the coming months over payouts and the potential to have it written off by someone who doesnt know landys for the bulkhead damage which would be a real possibility having seen a few written off for far less.

Ive been meaning to carry out a couple of mods on it for a while so this is an ideal time for it.
One of which is a pair of sliders from Dr.Evil

nice to see full size pics this time too , the thumbnails do my nut in !

good luck with the rebuild !
Thanks, still getting to grips with the new layout, think ive almost sussed it haha :D

Will make a start over the next couple of weeks to ascertain what bits i need then i'll be flat out over christmas
 
Good luck with it really enjoyed reading about your last rebuild. I'm sure the tractor came out the worst!!
 
Come up with a list of mods to carry out

Ø Box section sills/ rock sliders
Ø Bulkhead and wings soundproofing
Ø Straight Through Exhaust (Series set up I think may be slightly too restrictive for 2.5, so should help it flow better)
Ø CB Setup (Potentially use whip ariels on wings for both radio and CB)
Ø Capstan Winch
Ø External Sunvisor fitment
Ø Extra Waterproofing (Cure leaking door tops)
Ø Rear Window Locks
Ø Front Speakers
Ø Rear Camping Table that folds down off the back door
Ø Make awning to clip to rear of roof rack
Ø LED Dash Lighting

What do you think of that list? Any other ideas you can add?
 
Day 1 of rebuild:

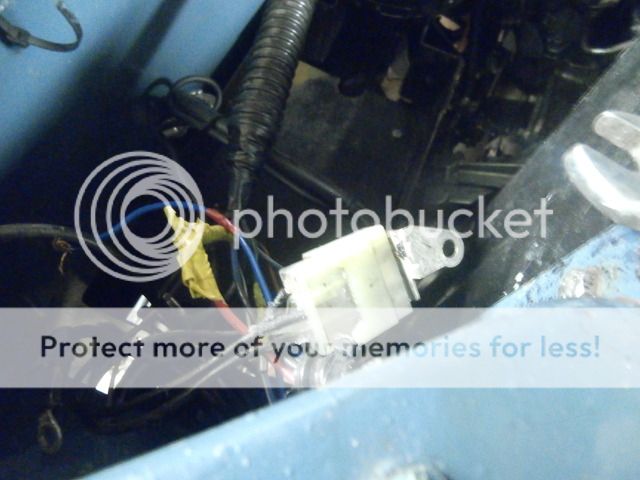
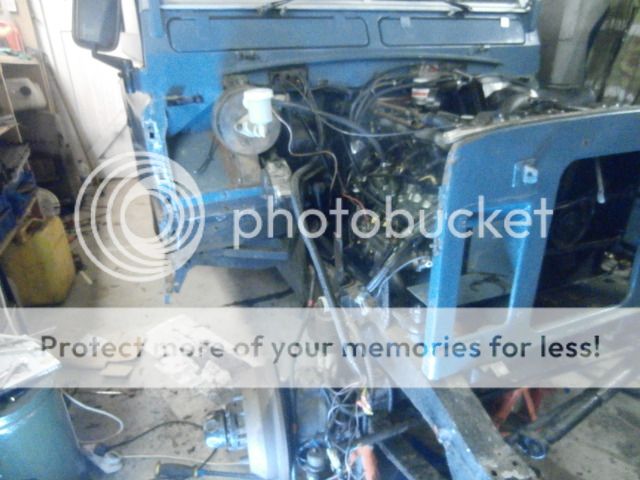
Started by removing the bonnet, and disconnecting the wiring loom for the wings (Its usually hidden in conduit which was removed before taking the photo


earth block removed (Ex Disco1 item)


Bonnet stay removed


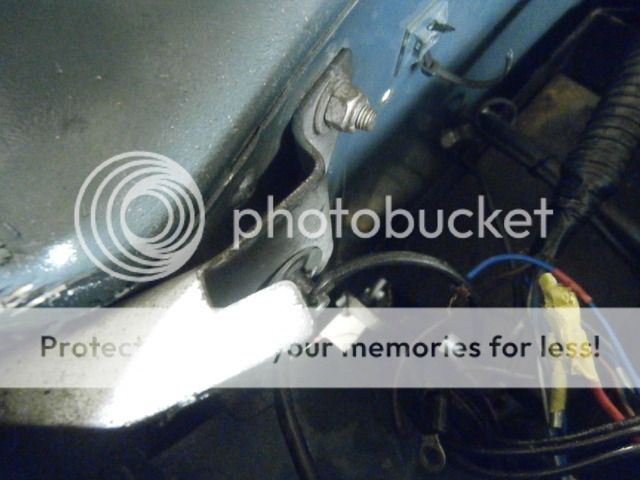
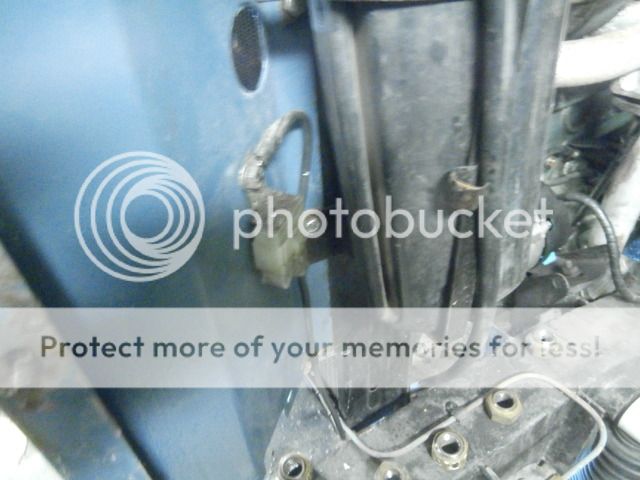
Then removed the drivers side wing (Below are a few pics of the fasteners holding the inner wings in place).

Bolts going into footwell (13mm)


There is also a small bolt above the steering box mudguard holding it on too (11mm)


The bolts going into the J clips are 11mm


11mm nuts going to front slam panel (The bolts are captive)


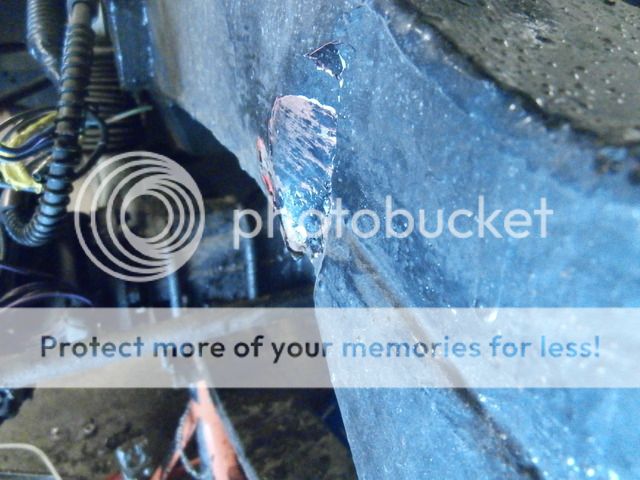
The drivers side wing was a right PITA to remove because of how it had buckled, I had to cut an access hole out the side to get at the bulkhead bolts. The passengers side one came away lovely. Im glad i copper slipped all the bolts last time, everything came apart easily.

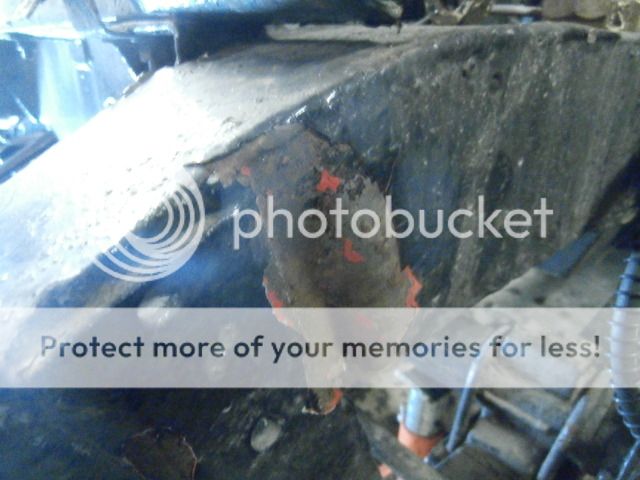
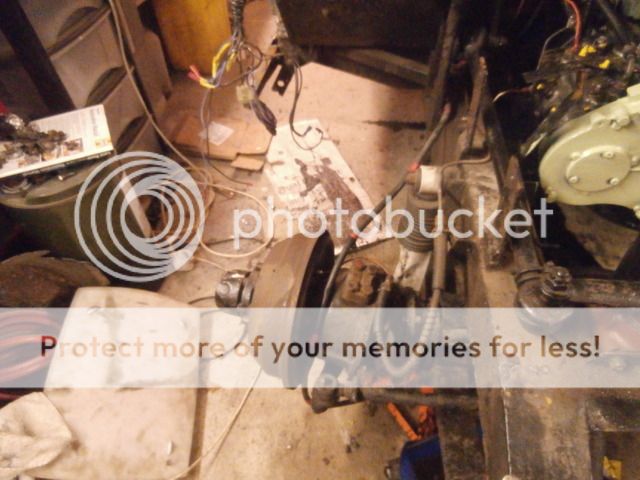
A shot showing the buckled dumbirons, this is the only chassis damage and it has resulted in the axle being misaligned giving me tracking issues. you can't see the damage looking head on or from above, only if you look from the side


Shot with the passenger side wing removed.


Drivers side


Next the front panel was removed, first I disconnected the bottom hose and drained the coolant into a tub. Whilst this was happening, I removed the earth wire which was attached to it with P-clips.


The 3 13mm bolts holding the panel to the chassis were then removed and the panel lifted out of the way


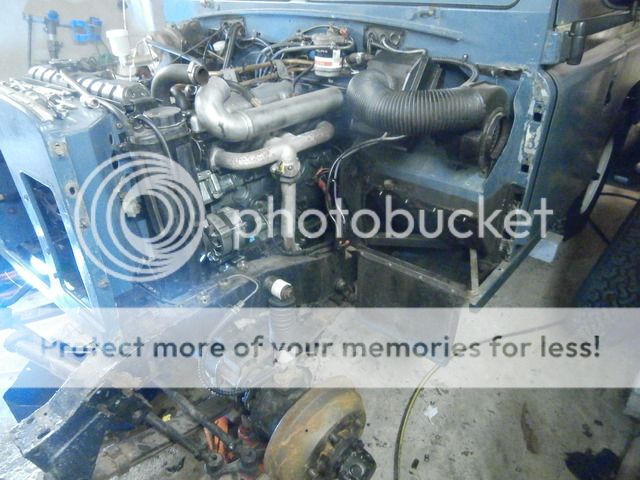
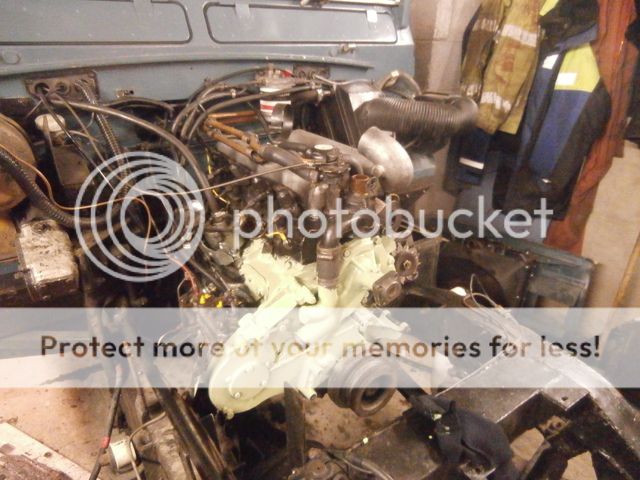
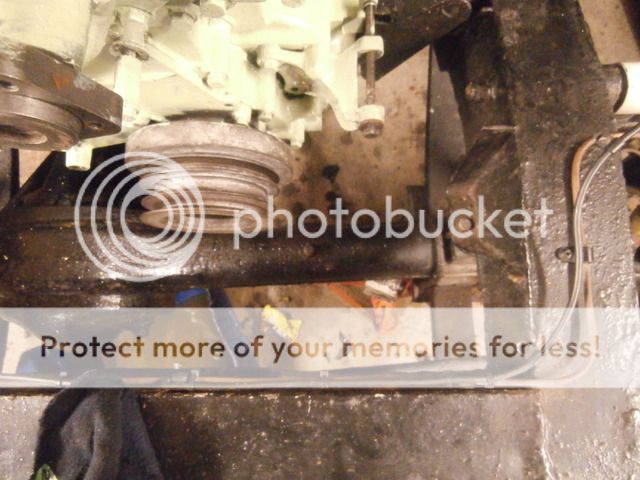
I was a bit bored so decided to tidy the engine up a bit, I removed the fan and the alternator and gave the front half of the block a quick first coat of eau-de-nil engine enamel (The colour I originally wanted). This is much brighter with a better finish and gives a nicer contrast to the marine blue


A couple of pics showing the axle issues


so thats all thats been done today, next job I'll do is probably remove the front axle and give that a good looking at whilst im waiting for my repair panels to turn up
 
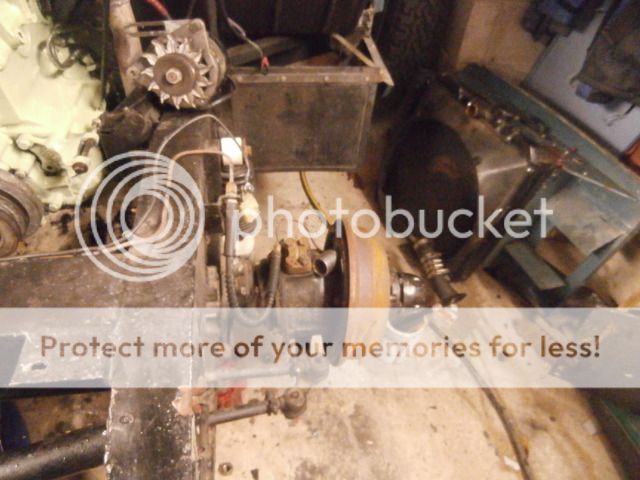
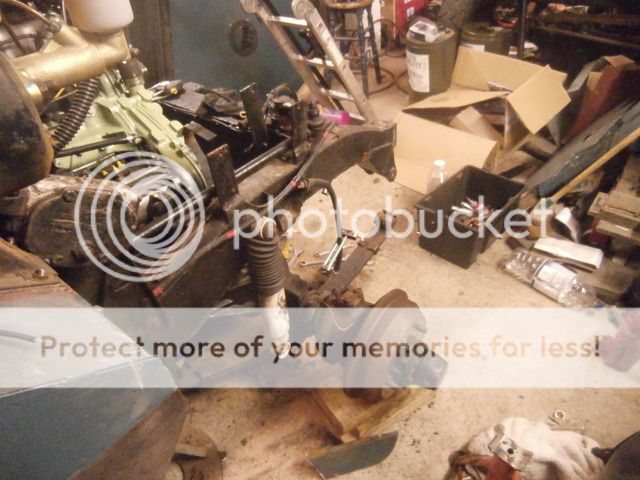
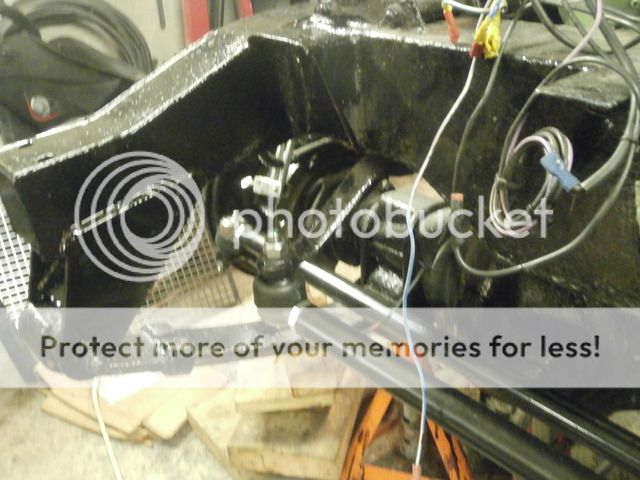
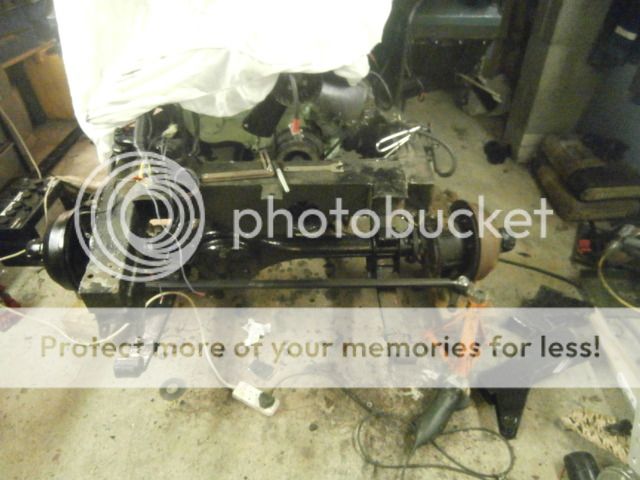
Little more progress today, I dropped the front of the axle down giving me better access to the dumbirons. Doing a mesurement between front crossmember and end of dumbiron revealed that the one dumbiron has crumpled in by 20mm which has pushed the axle back on that side which is what sent my tracking out. Also measured between the chassis spring bush and the front hangar and that measurement confirmed this so luckily no damage aft of the crossmember.

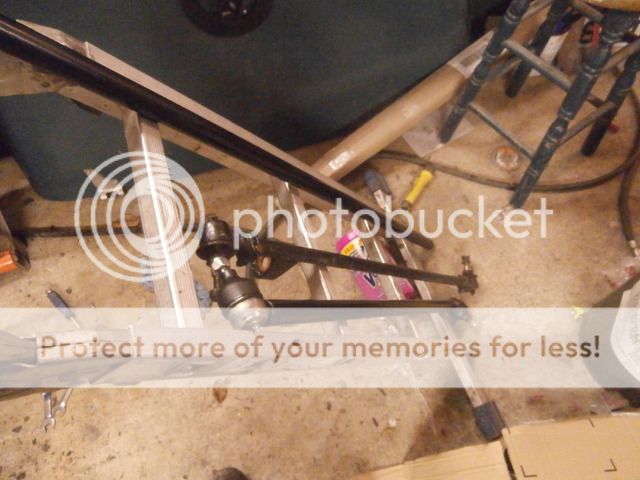
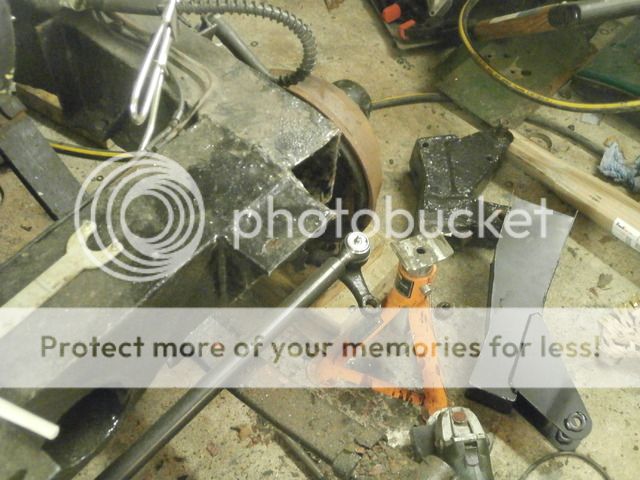
Also took off my track rod and drag links, these will be replaced by HD items I purchased. They seem much more substantial. checked all the swivels and brake bits and they all seem fine, no play anywhere and all moves freely as it should so I should be able to put the new drag links on, give everything a coat of paint and then put it all back together once i get my replacement dumbirons on. Also come up with a mighty fine idea for a jig for the replacement bits!
Pics to follow tomorrow hopefully as will get the steering relay out as well as maybe putting some new bits on but we shall see!
 
Woah that took a bigger hit than I realised to buckle that dumb iron like that

It's only done it as the bumper got dragged back so much, the side I actually hit is actually quite good and may not need replacing, it's quite weird how it's done it and I'm not exactly sure how the opposite side got that damaged
 
Right then more progress today, I took the damaged door and sill off


Pic of the bulkhead damage, the outrigger isnt affected (its sort of bent above that)


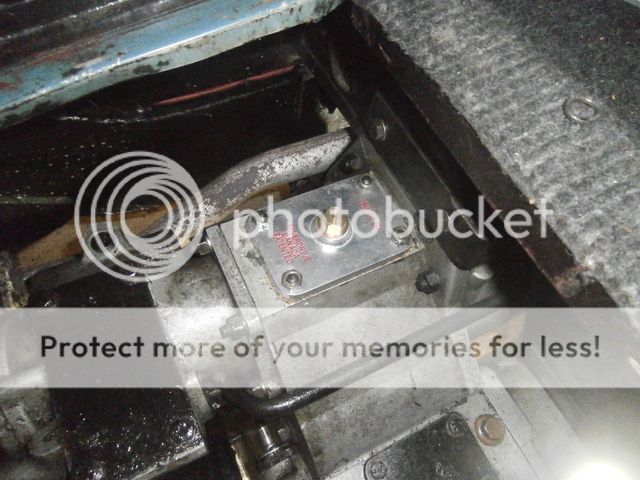
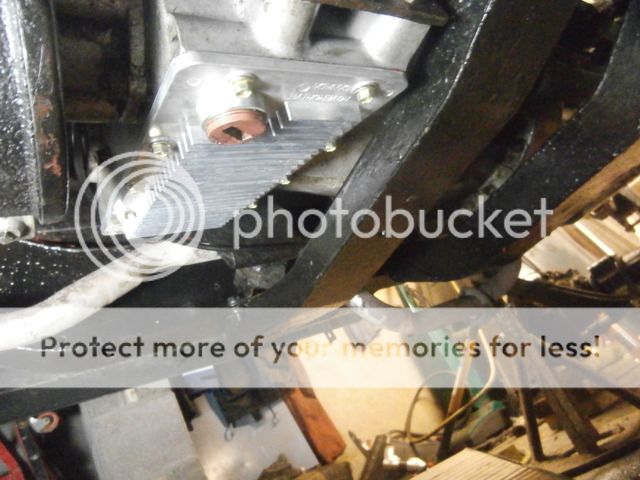
Also fitted some new stuff today, my filler plate from rocky mountain for the transfer box


I do have the dipstick to go with it but i couldnt get the filler plug out. I'll do that when i sort the rear oil seal on the transfer box which has given up all hope of retaining fluid. While Im at the improvement for easy living stage Im debating about making a similar dipstick/ filler arrangement for the main gear box. Will make transmission oil changes so much quicker and easier.
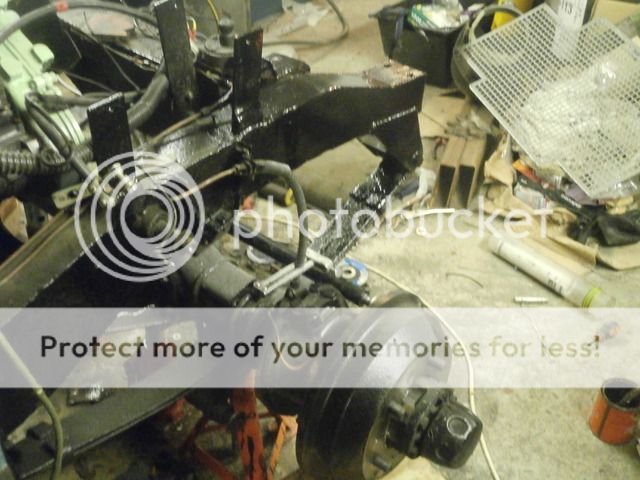
also as promised a pic of the front of the axle dropped


all the axle mechanical bits are fine. I even had time to run the new TREs in the new drag links to clean the threads upp. In the pic below you can see the difference in thickness between standard and HD. I bought the HD set from paddocks which includes all 4 track rod ends for £65 which i think is pretty good


At the minute its looking quite good for being back on the road around new year, every cloud has a silver lining and that will be that the landy will be much improved as a daily driver than it was and its given me the chance to cary out all the jobs ive been meaning to do over the last year.
 
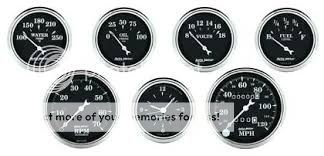
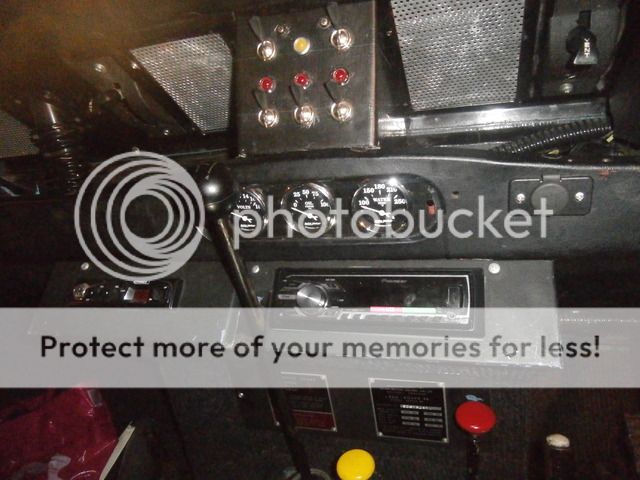
Just bought some autometer gauges for voltmeter, water temp and oil pressure. Pricey but worth it. The plastic durite ones were £50 cheaper but they look cheap and nasty, these should look great in place

 
Progress has resumed!

My gauges came from America this week so I set about fitting them. I cut the vinyl cover out with a stanley knife (I still have it so can always reuse it later if i want to. I discovered that although they were a perfect fit in the holes, they wouldnt sit right due to coming into contact with the switch panel above so I took that off and cut the bottom off it, result a perfect fit :) I will make a proper switch panel out of aluminium to go there eventually which is why it doesnt look amazing at the minute but the gauges look smart :)


I also got around to fitting my new transfer box sump plate


Also finally made a start on the dumbirons. The passenger side ones getting done first as that was the worst one. As Baldrick says, I have a cunning plan for aligning everything up


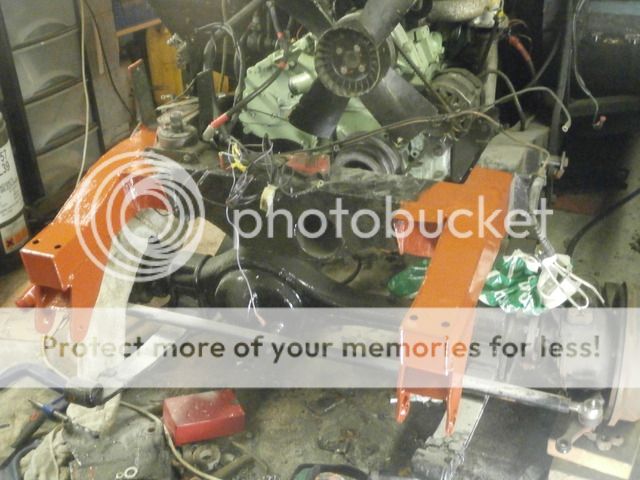
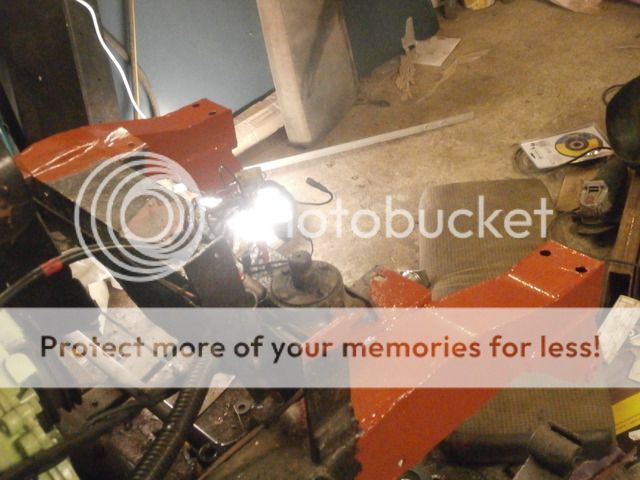
Finally with help from my Dad the new dumbirons were fitted. Used a bit of angle with 4 holes drilled through to replicate the bumper and rested the spring hangers on axle stands with blocks on top to give me the exact measurements I needed to get it spot on. Also clamped a bar to the front crossmember to act as a centerline. Simple to work with but needs a lot of double and triple checking after tacking that everything is in the right place.

will paint them black tomorrow and hopefully will be able to get the axle back on on thursday


Right then, more progress done today and im a bit ahead of schedule. Managed to singlehandedly refit the axle which was a faff as the passengers side had been shoved back but with use of a bottle jack, prybars and screwdrivers managed to get it all lined up nicely and fitted. All looks square again now so Im happy that my dumbiron repair has worked out :) Also got round to fitting the other track rod and set the tracking up. I will have to do this later on again when the wheels are on to set the toe in. Everything looks good so far, was very lucky with the chassis damage being so limited. Oh also painted everything gloss black so looks better now :)


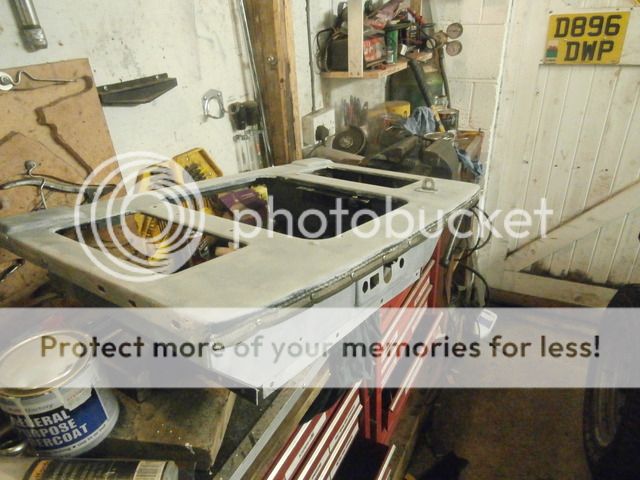
I also started on a bit of bodywork by straightening out my front panel and giving a coat of grey undercoat


So tomorrow I'll probably refit the new shock absorbers (Procomp ES3000s) so will be back to being an almost rolling chassis. I'll leave the wheels off till ive fitted the wings so I can have maximum access to everything. Plus it makes it easier to bledd the brakes.
 
Got the wheels back on and the new shocks fitted tonight. My free Wheeling hubs have been on borrowed time for a while so as the drivers side one is a bit buggered I'm going to swap for standard drive flanges. Always had them engaged anyway so won't feel a difference but less stuff to go wrong.

Also the drivers side wheel bearing needs tightening up due to play so will be sorting that tomorrow evening as well as making a start on the passenger side wing hopefully
 
Back
Top